
Few things say summer louder than a cold slice of watermelon, and drawing one is easier than cutting one. An oval and a triangle carry most of the work. In this lesson I'll show you how to draw a watermelon step by step, with a whole striped melon lying on its side and a big red slice standing in front of it. If you can draw a wiggly line, you can draw this.
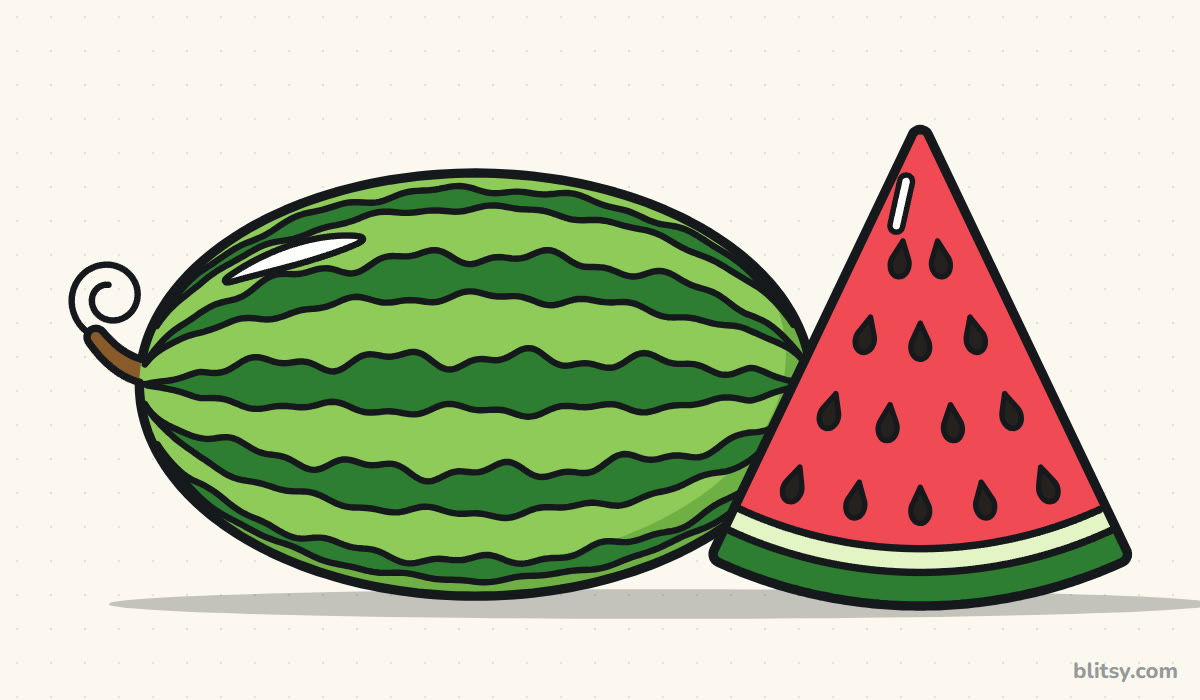
Watch for the blue: it marks what is new in that picture. Gray lines come from steps you already finished, so only the blue needs copying.
Quick overview
⏱️ Time: about 25 to 30 minutes, coloring included
🎯 Level: very easy, fine for kids from about 5 up
✏️ Steps: 10
🍉 You'll draw: a whole watermelon plus a triangle slice
Supplies for a Juicy Watermelon Sketch
- A regular pencil you can press lightly
- An eraser that doesn't smudge
- A black marker or fineliner for the final lines
- Colored pencils, crayons or markers in light green, dark green, red and black (a pale green helps too)
- Plain white paper, turned sideways
Nothing fancy is needed here, and crayons give the stripes a nice fruit-skin texture.
How to Draw a Watermelon Step by Step
Step 1: Sketch an oval and a tall triangle
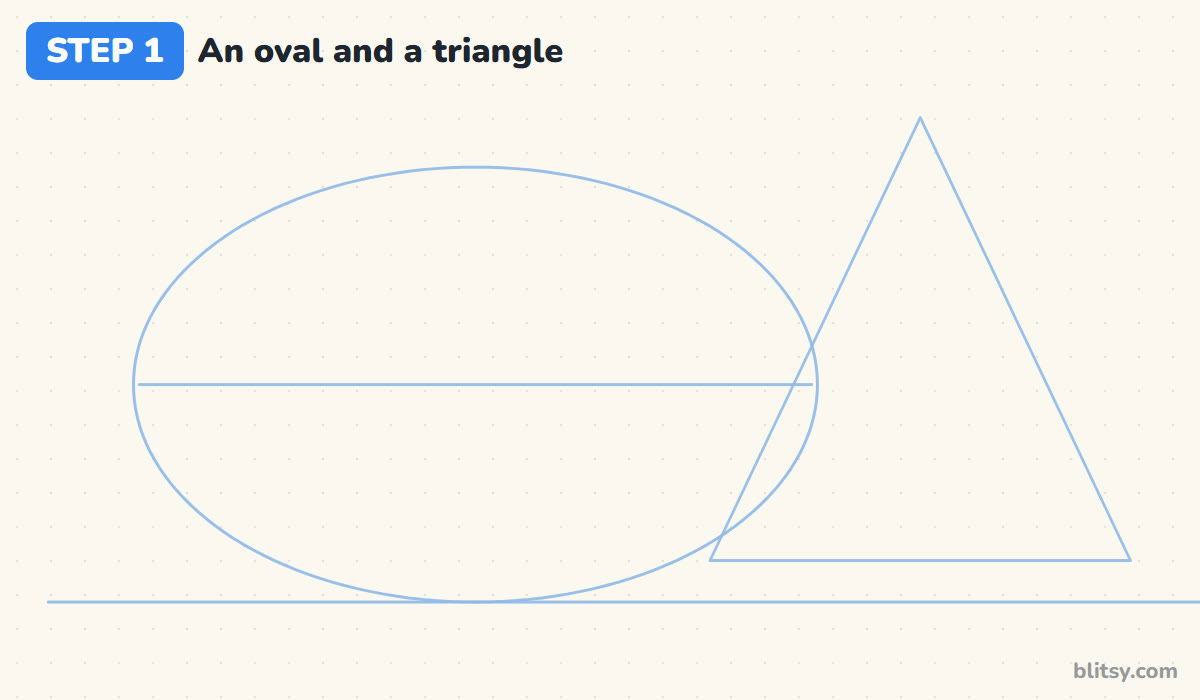
Draw a light ground line near the bottom of the page. Sit a long oval on it, a little left of center, about one and a half times as wide as it is tall. Cut it in half with a straight line from end to end. Then draw a tall triangle on the right that overlaps the oval's right end, with its base floating just above the ground line.
💡 Tip: Keep these lines faint enough that you have to squint. Every one of them gets erased.
Step 2: Outline the big slice
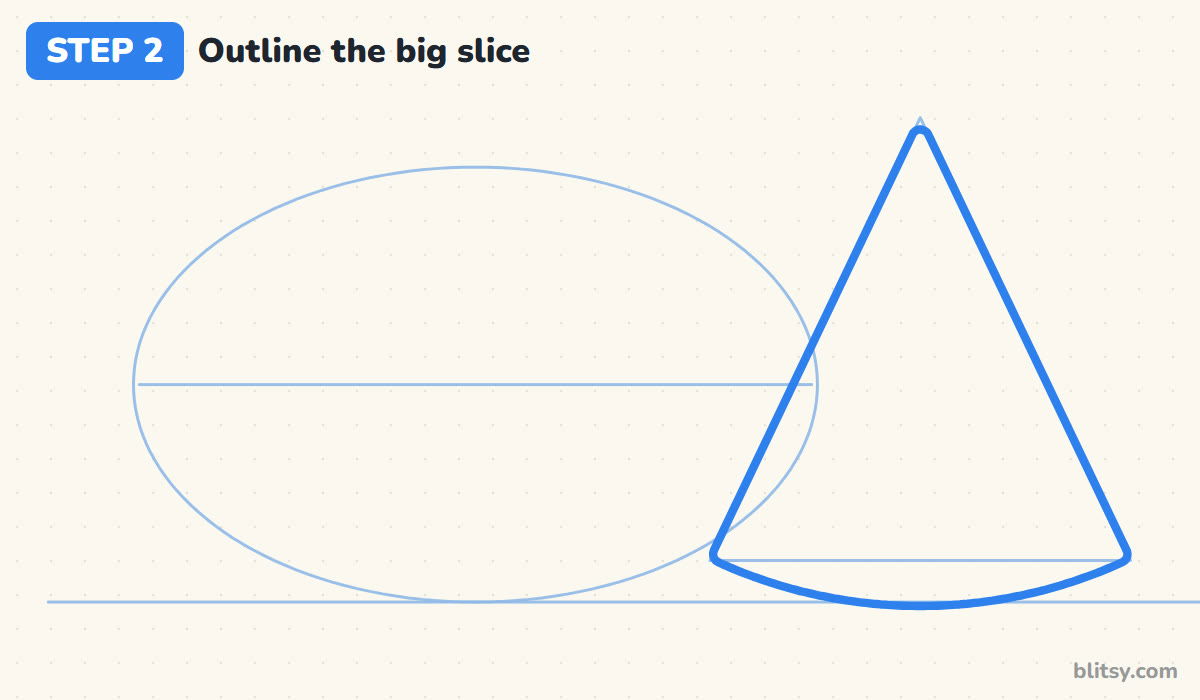
Trace the two long sides of the triangle with firm lines and round off the top point a little. For the bottom, skip the straight base. Instead, draw a curve that dips below it and just kisses the ground line, like a smile. That curve is the rind, and it's what makes the shape read as a melon slice and not a slice of pizza.
💡 Tip: Draw the bottom curve in one smooth swing from corner to corner, moving your whole arm, not just the fingers.
Step 3: Add two curved rind bands
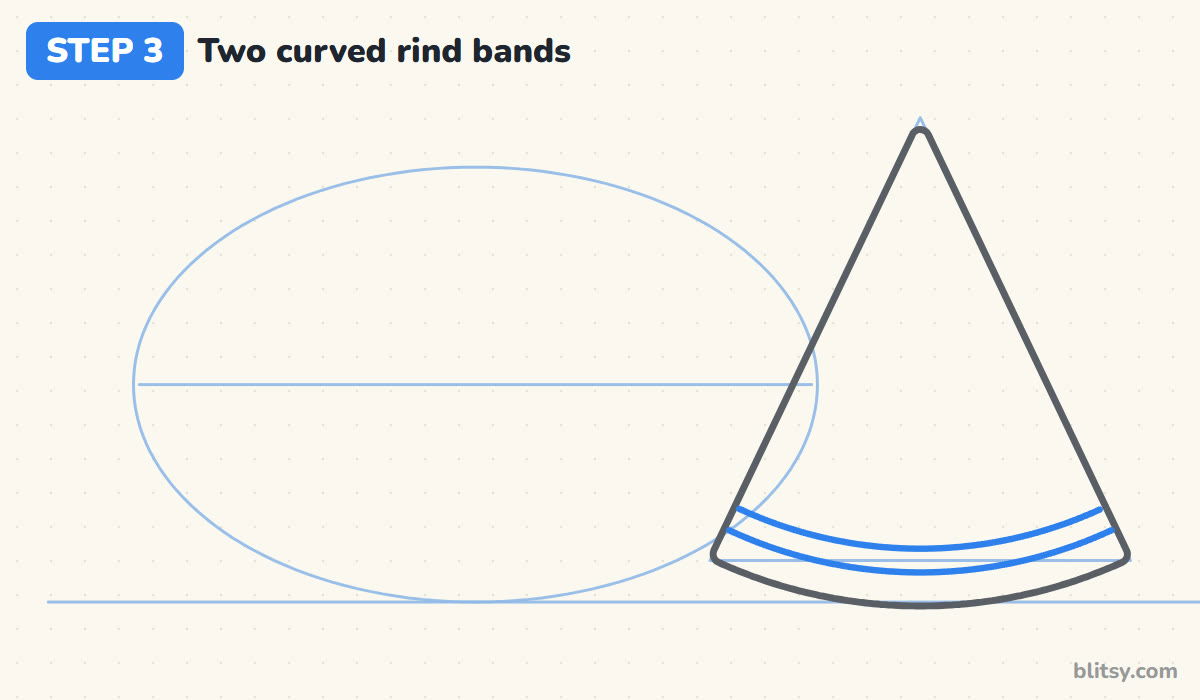
Inside the slice, draw two more curves that follow the bottom edge. The first sits about a finger width above it. The second goes a little higher, with a thinner gap. Now the slice has three zones: dark rind at the bottom, a pale strip in the middle, and the big red part on top.
💡 Tip: Make the lower band the thicker one. Real rind is wider than the pale strip above it.




Step 4: Draw the long melon outline
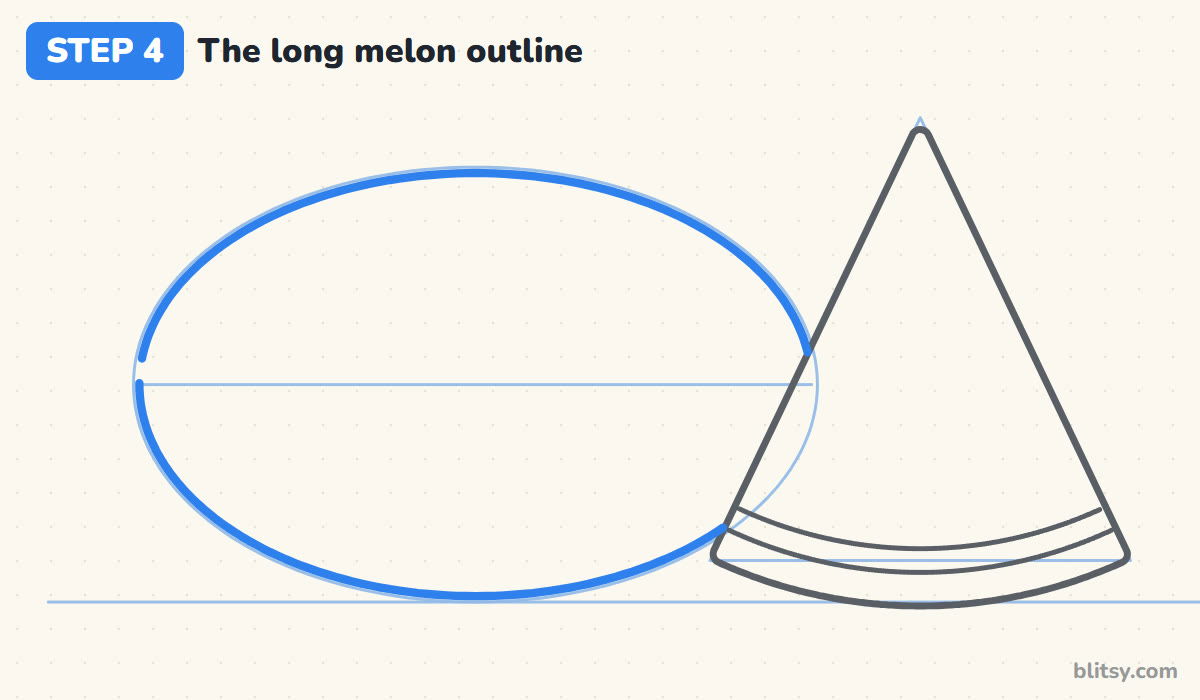
Go over the oval with a confident line, starting at the slice and running all the way around to the other side of the slice. Stop where the line meets the slice, because the slice is standing in front. I find this rule of stopping at the front object is the one trick that makes two things look like they share the same table.
💡 Tip: If your oval came out lumpy, fix it now while it's still pencil. A smooth outline matters more than the stripes.
Step 5: Add a stem and a curly vine
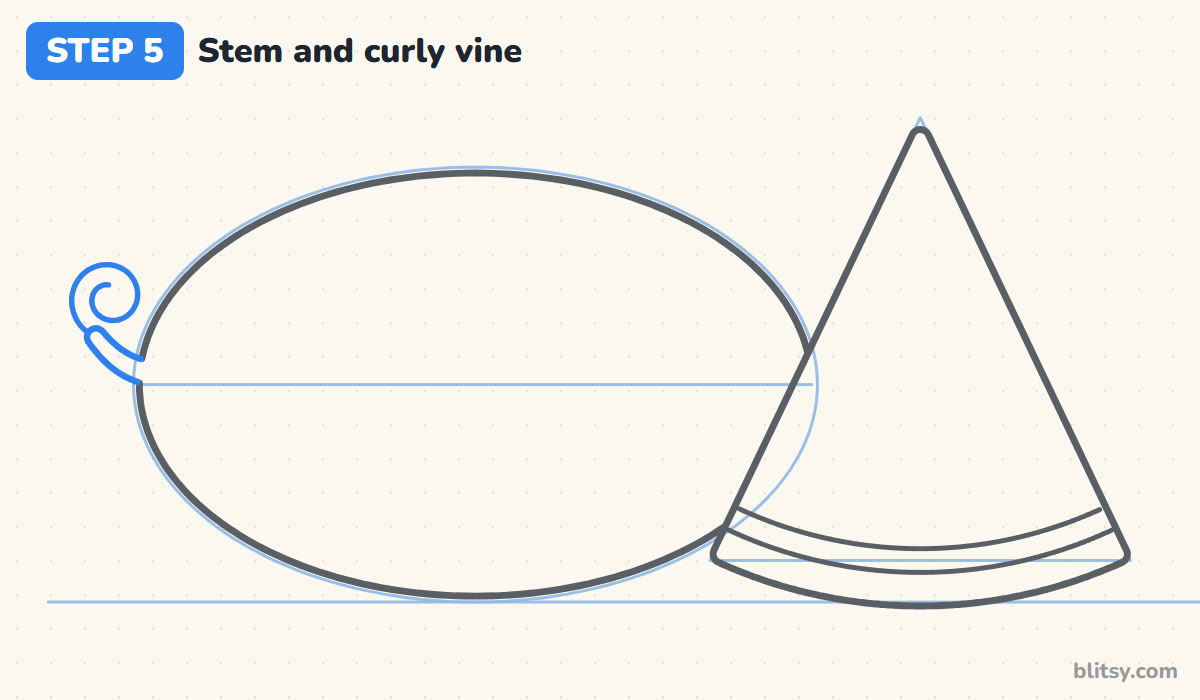
At the left end of the melon, right on the middle line, draw a short stem that bends upward, a bit like a thumb. From its tip, let a thin vine twist into a small spiral. Kids usually love this part. It's tiny, but it tells everyone this fruit grew on a vine in a garden.
💡 Tip: Draw the spiral from the outside in, getting smaller each turn, and stop before it closes up.
Step 6: Draw wavy stripes from end to end

This is the step that turns a green oval into a watermelon. Each stripe is a band with two wiggly edges, running from one end to the other. Start with the one on the middle line, then add two above and two below. Let them get thinner near the top and bottom edge and pinch together at the ends, which makes the melon look round.
💡 Tip: Wiggle the edges loosely. Perfectly straight stripes make the melon look like a striped ball.
Step 7: Draw teardrop seeds in rows
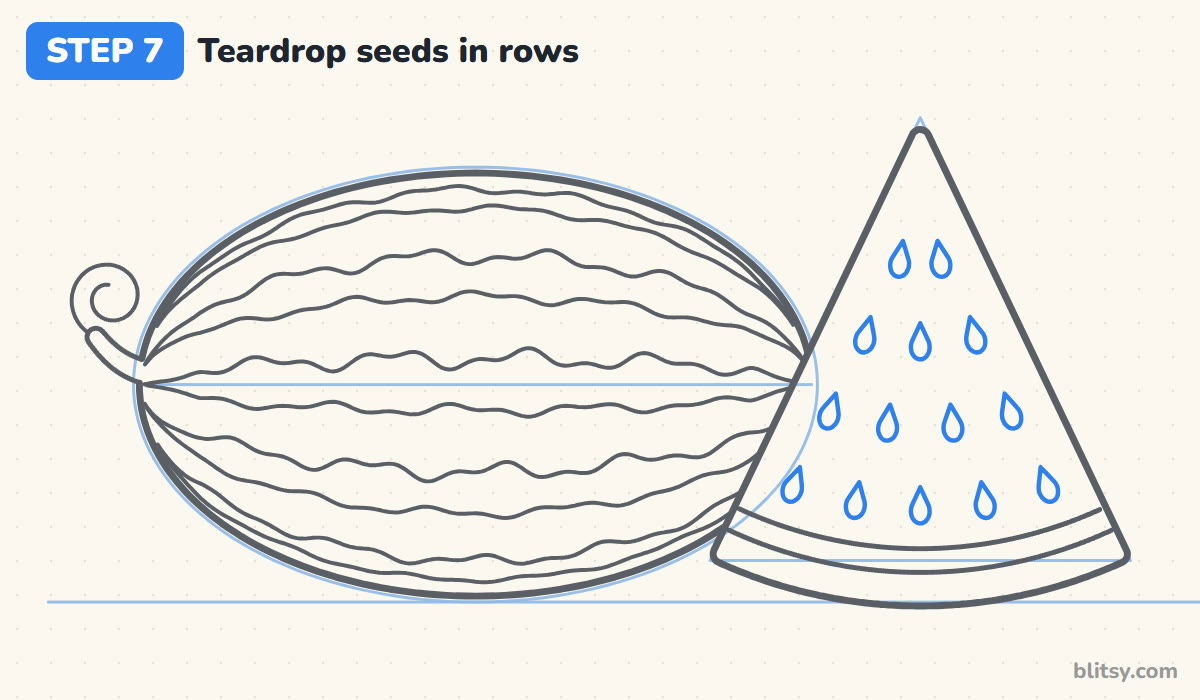
Fill the red part of the slice with small teardrops, pointy end up toward the tip. I place them in curved rows that follow the rind: two seeds near the top, then three, then four, then five just above the pale band. Leave a little space between them so each seed stays a clear shape.
💡 Tip: Tilt the outer seeds slightly so they lean with the sides of the slice. It looks more natural than all of them standing straight.




Step 8: Add two shiny spots
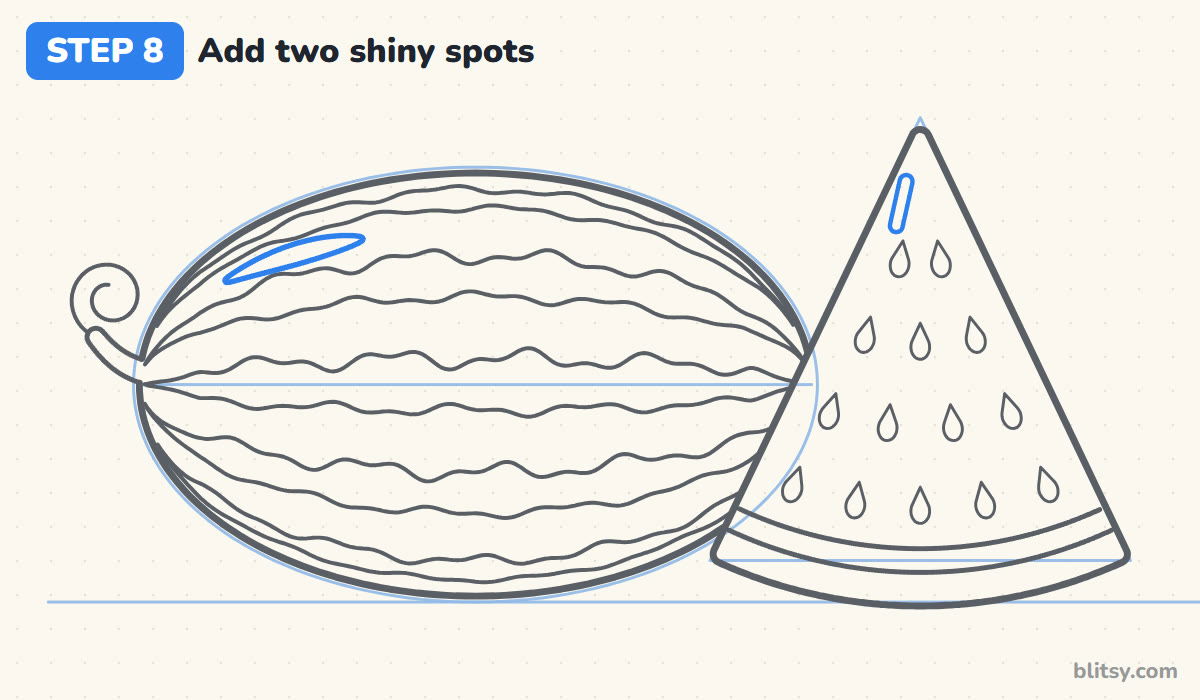
On the upper left of the whole melon, draw a thin curved highlight that sits in a light stripe, between two dark ones. Then put a short narrow streak near the top of the slice, along its left side. These two shapes stay white later, and they make both pieces look fresh and a little wet.
💡 Tip: Keep both shines on the same side, the left, as if the sun is shining from one spot.
Step 9: Ink the lines and erase the guides
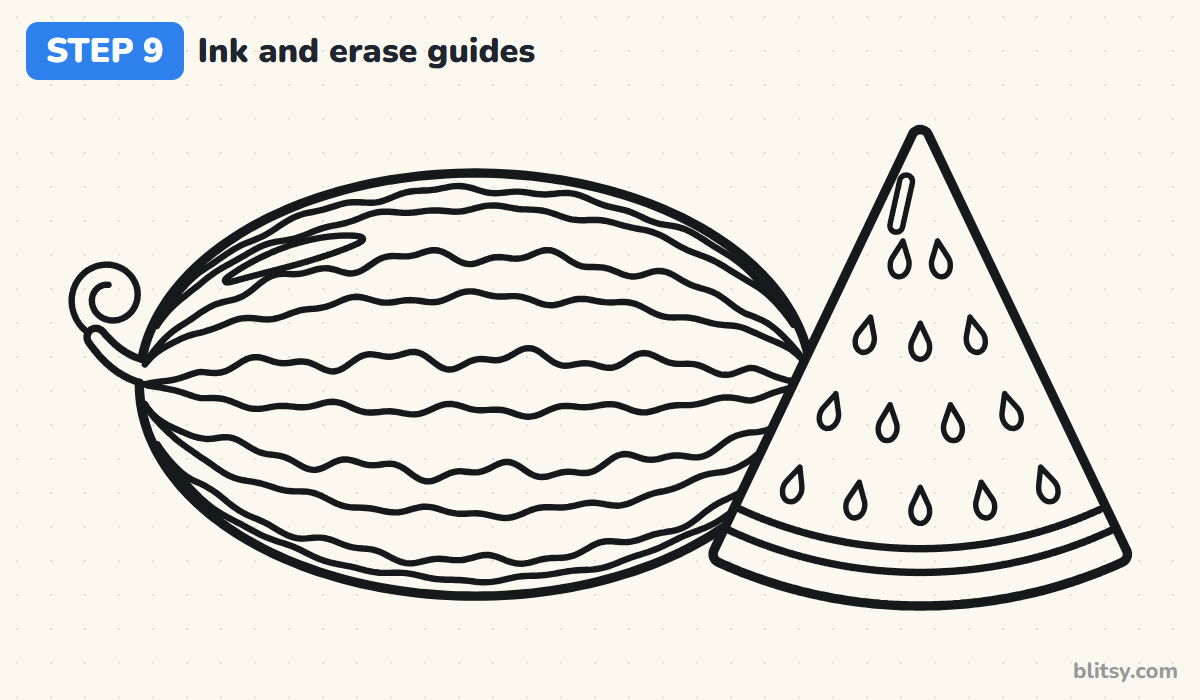
Trace every keeper line with your black marker. I do the slice first, then the melon outline, and the stripes last, since they take the longest. Skip the oval guide, the triangle and the middle line. Let the ink dry for a minute before you erase, or the marker will smear.
💡 Tip: Use a thicker line for the outer edges and a thinner one for the stripes and seeds. The drawing reads much cleaner that way.
Step 10: Color the watermelon
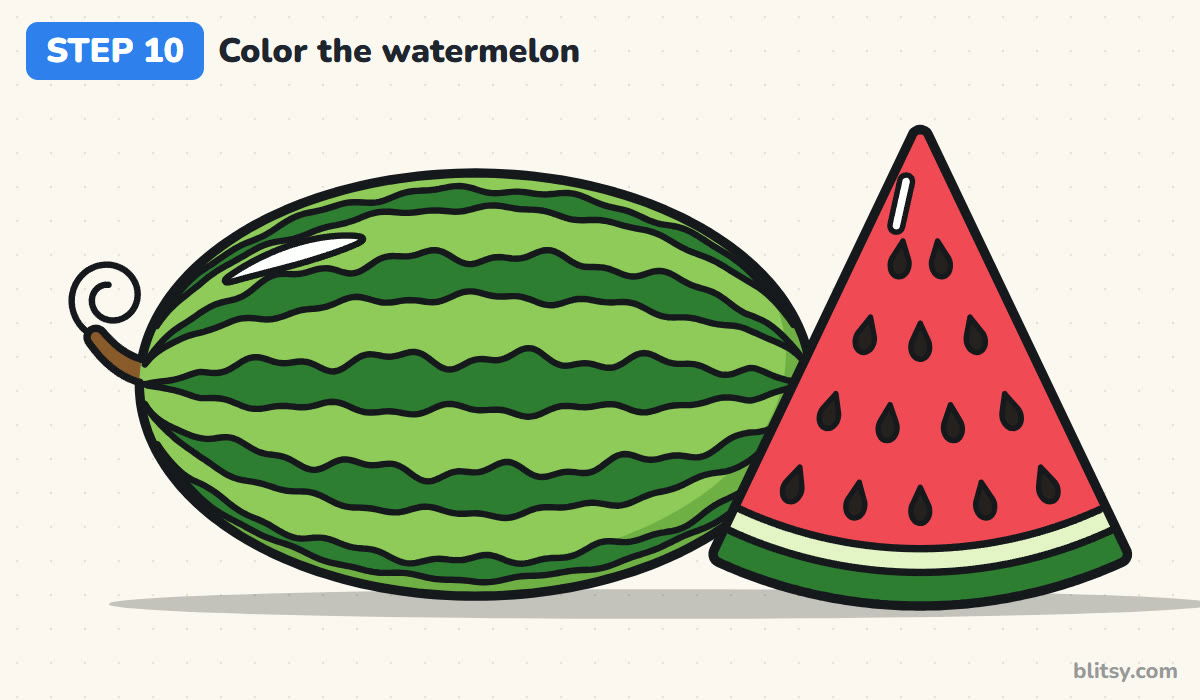
Color the whole melon light green first, then go over the stripes in dark green. Give the slice a dark green rind, a pale green band and bright red flesh. Seeds are black, the stem is brown, and both shiny spots stay white. A soft gray shadow under everything sets it on the table.
💡 Tip: Press harder on the dark stripes than on the light green. Strong contrast is what makes the pattern pop.
Watermelon Slip-Ups That Turn It Into a Football
- Stripes that stay the same width everywhere. Thin the top and bottom stripes and let them meet at the ends, so the melon looks round instead of flat.
- A straight bottom on the slice. A flat base turns it into a pizza slice or a cheese wedge. Curve it downward like a smile.
- Seeds scattered at random. A few loose rows that follow the rind look tidy and real. Random dots look like sprinkles.
- Skipping the pale band. Without the light green strip between rind and flesh, the red runs right into the dark green and the slice looks unfinished.
- Drawing the melon line through the slice. Stop the outline where it touches the slice, otherwise the two pieces look glued together.
Bites, Halves and Other Watermelon Ideas
Once you have the basic pair, change it up. Take a bite out of the slice tip with three small bumps, or lay a second slice flat on its side next to the first. A half watermelon works too: draw a wide oval for the cut face, fill it red and add a rind ring around the edge. Younger kids can drop the stripes' wiggles and use plain curved bands, and it still reads as a watermelon. For another fruit with a cut half, try the strawberry drawing step by step tutorial, and if you want a whole bowl of fruit to go with your melon, the fruit drawing tutorial is the natural next page. A watermelon also fits right into this easy beach summer drawing.
Free Watermelon Coloring Page and PDF Drawing Guide
Print the free watermelon coloring page for a rainy day or a classroom table. A colored example sits at the top with a small key that names each color, and a big clean outline waits underneath. The step-by-step PDF guide has all 10 steps with their pictures and tips, so you can practice without a screen. Both fit Letter and A4 paper.
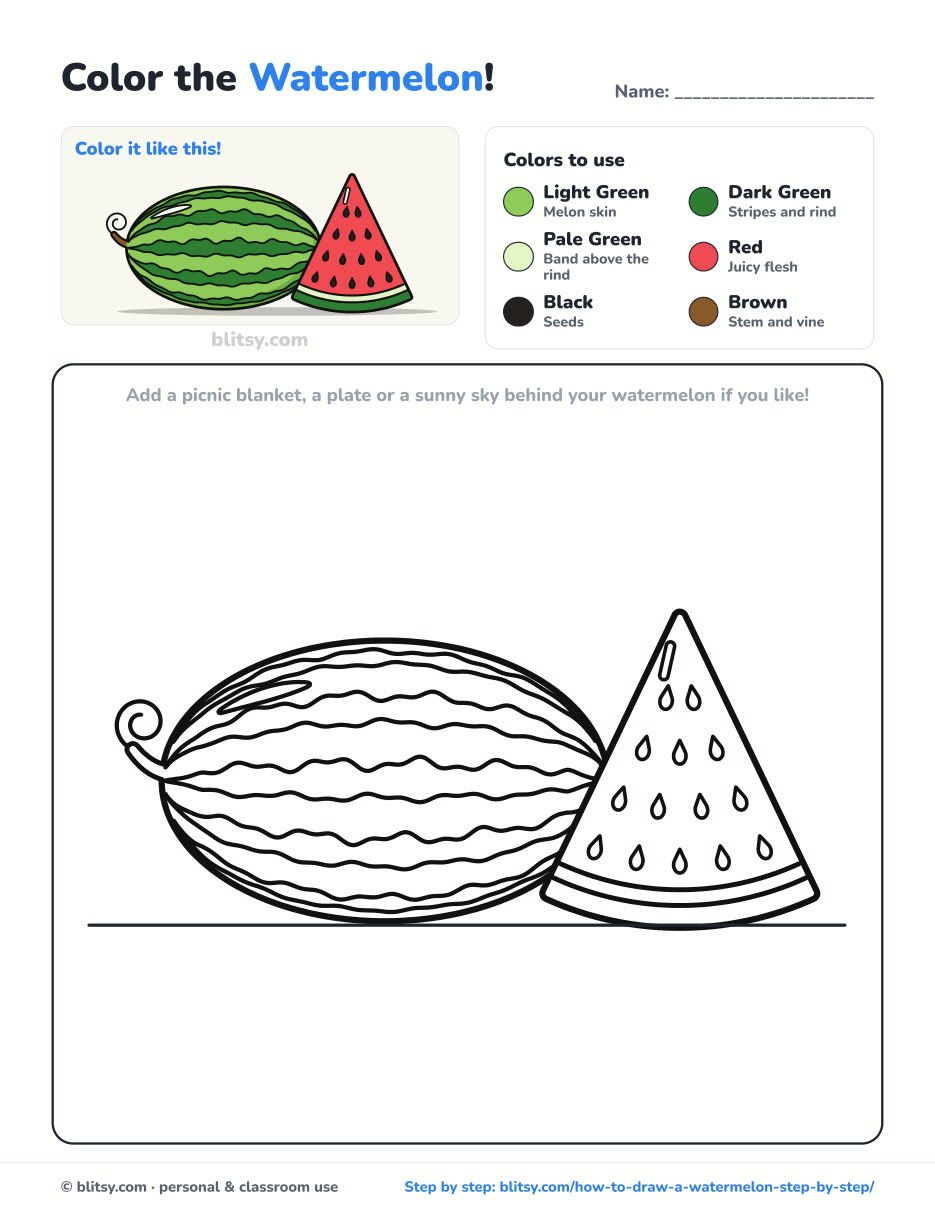
Black outlines with a colored example and the color names at the top. Ready to print and color.
⬇️ Download Coloring PageEvery step picture with its instructions and tips, to keep beside your paper while you draw.
⬇️ Download Drawing Guide📱 On a phone? Tap a download button, then open the file and choose Share → Save to Files or Print. On a computer, the PDF opens or saves straight to your Downloads folder.




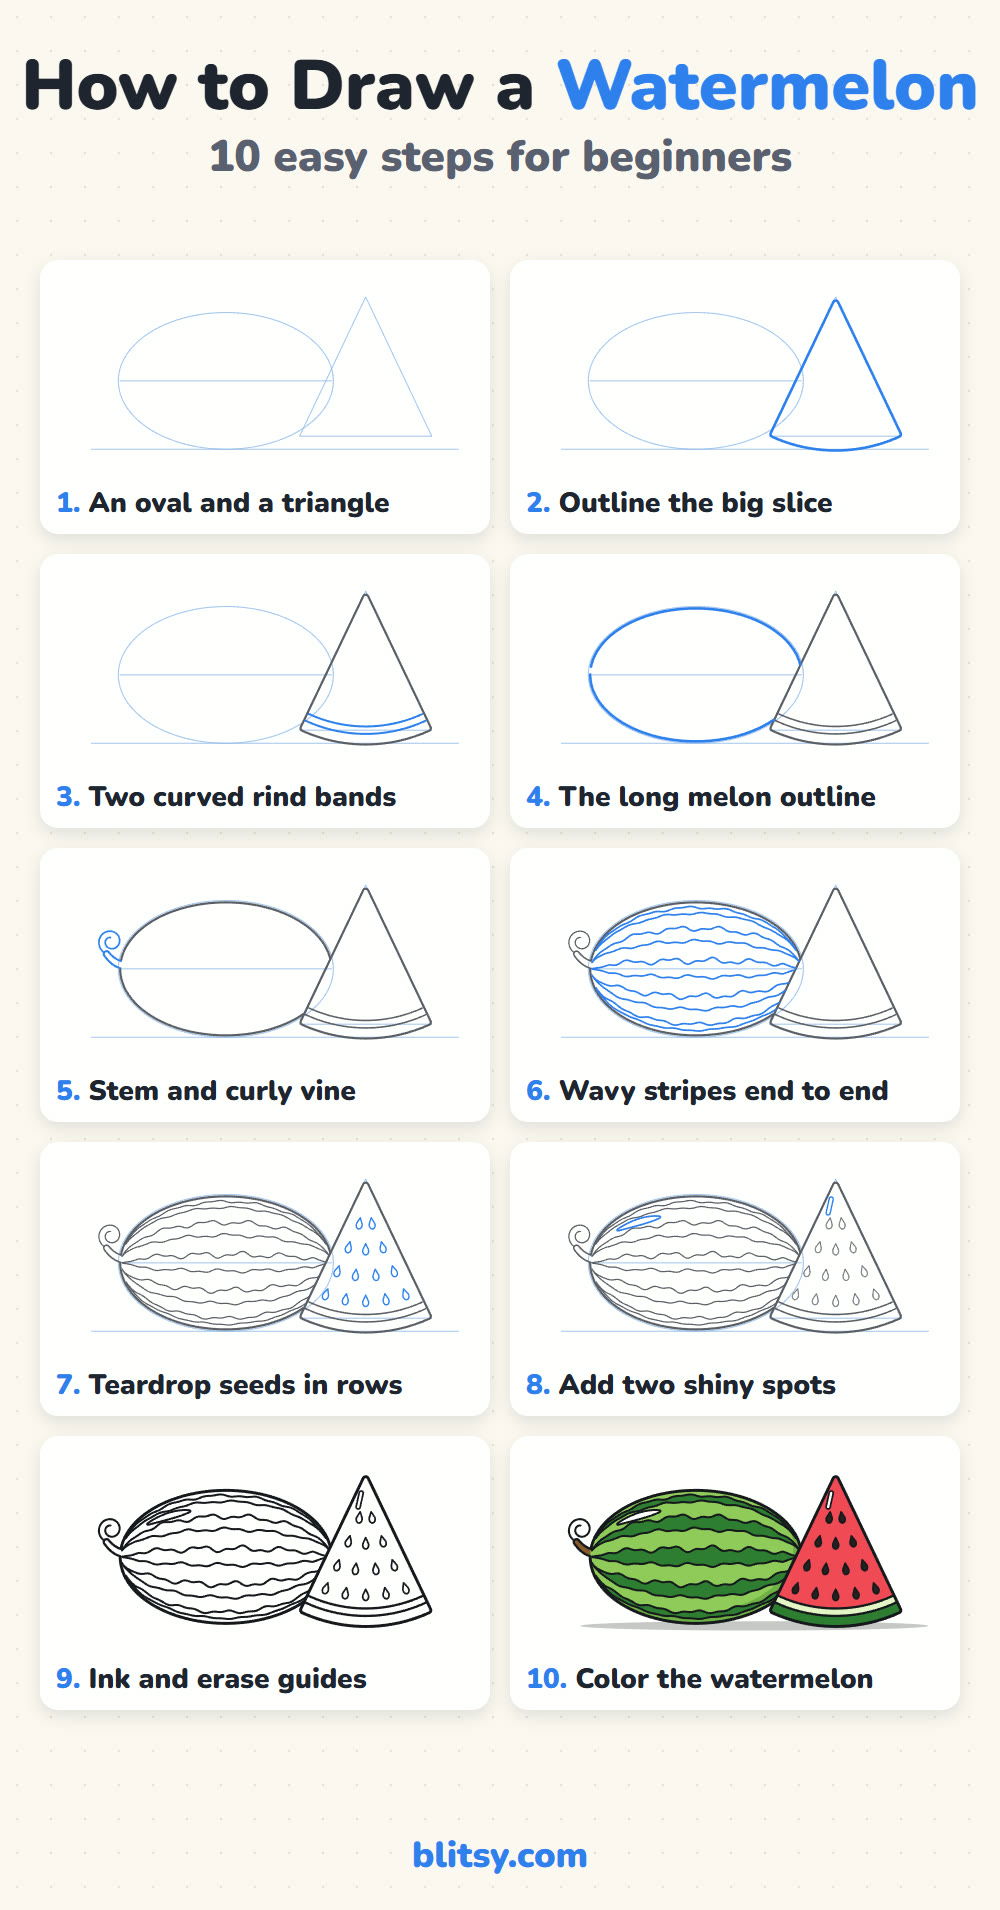
Save the Watermelon Steps to Your Pinterest Board
More Fruits and Summer Treats to Draw
Each of these is a full lesson with a picture for every step, just like this watermelon.
- Strawberry Drawing: A big seeded berry with a leafy cap sits beside a cut half and a tiny white flower in this strawberry drawing tutorial.
- Pineapple Drawing: Draw a whole pineapple with its spiky crown, plus a slice, in this how to draw a pineapple step by step lesson.
- Peach Drawing: A round whole peach sits next to its cut half in this peach drawing tutorial.
- Apple Drawing: Draw a shiny red apple next to a bitten green one in this apple drawing step by step guide.
- Summer Drawing: Draw an easy beach scene for the hot months with this summer drawing tutorial.
Watermelon Drawing Questions From Parents and Kids
What is the easiest way to draw a watermelon?
Start with a triangle for a slice. Curve the bottom edge, add two curved bands above it for the rind, and fill the top with teardrop seeds. That alone is a recognizable watermelon in under ten minutes.
How do you draw watermelon stripes?
Draw wavy bands that run from one end of the melon to the other. Make the middle stripe the widest and let the ones near the top and bottom get thinner and meet at the ends.
What colors do you need for a watermelon drawing?
Light green and dark green for the skin and rind, a pale green for the band, red for the flesh, black for the seeds and a little brown for the stem.
Is a watermelon a good drawing for little kids?
Yes. The slice is mostly a triangle and a few curves, so kids from about five can manage it. They can skip the whole melon and just draw two or three slices.
Grab a green crayon and a red one, and give your watermelon those wiggly stripes today. 🍉✏️
Related posts:
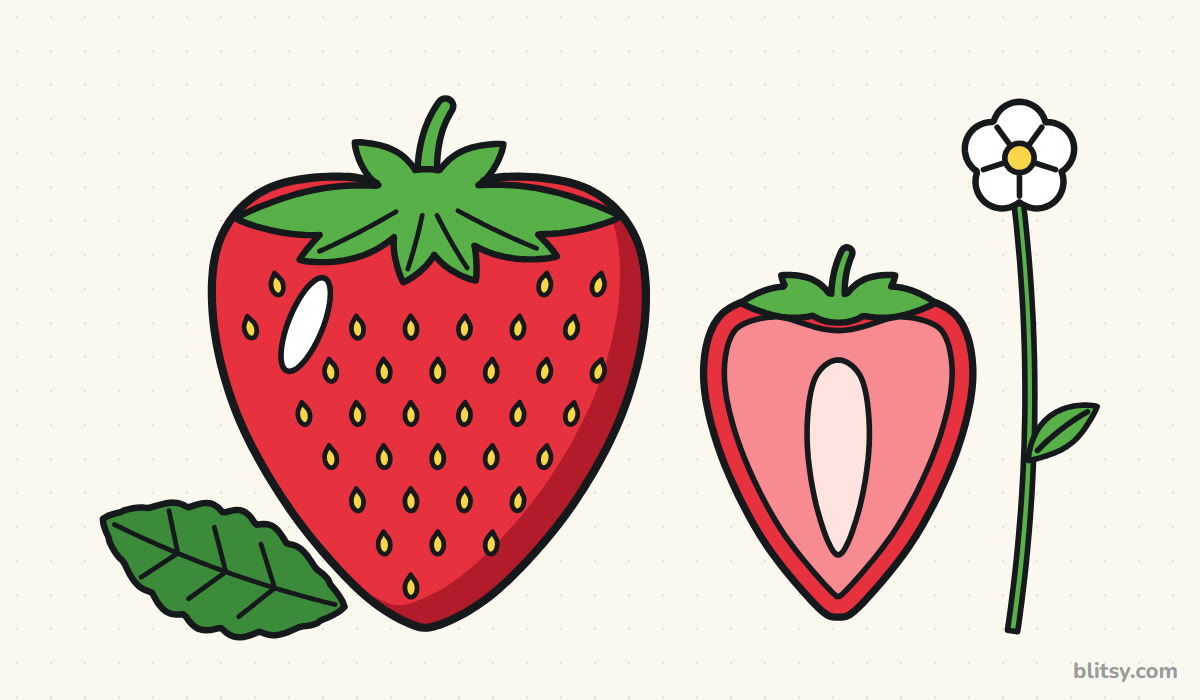 How to Draw a Strawberry Step by Step (Whole Berry + Cut Half)
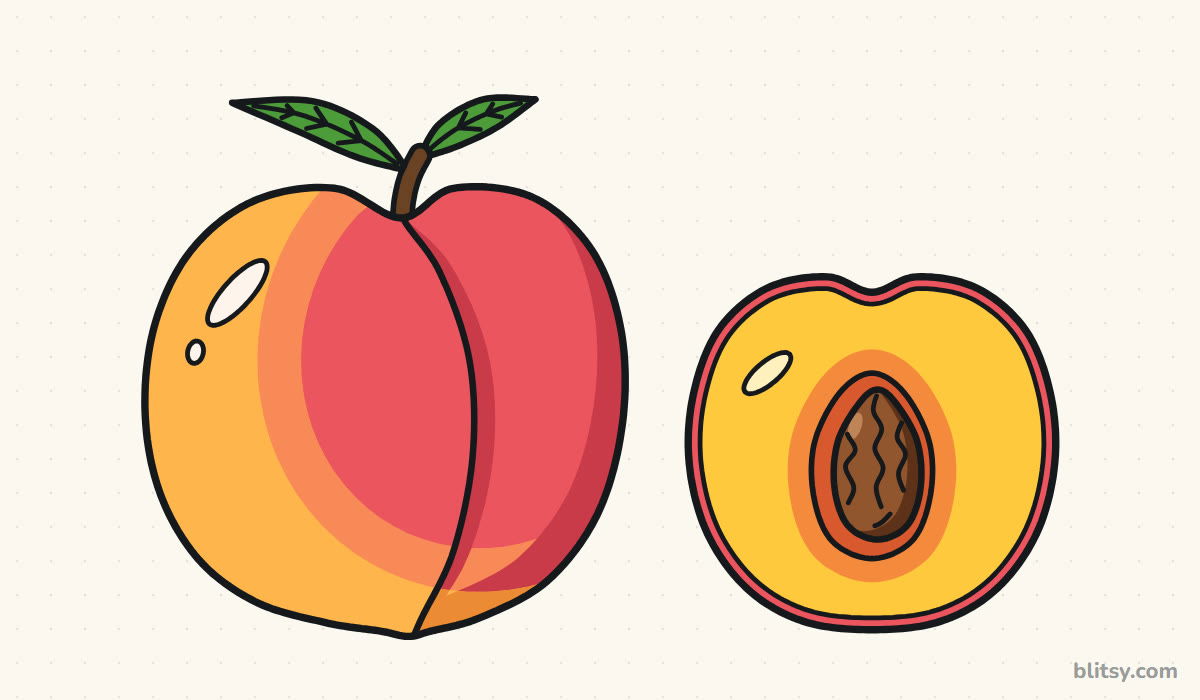 How to Draw a Peach Step by Step (Whole Fruit + Cut Half)
 How to Draw a Pizza Step by Step (Easy, with a Cheesy Slice)
 How to Draw a Pineapple Step by Step (Easy Crown and Slice)
 How to Draw a Whale Step by Step (Easy for Beginners)
 How to Draw Lungs Step by Step (Easy Science Diagram)
 How to Draw Iron Man Step by Step (Easy Chibi for Kids)
 How to Draw a Dress Step by Step (Easy Party Dress)
 How to Draw a Chicken Step by Step (Easy for Beginners)
 How to Draw a UFO Step by Step (Cute Alien Saucer)
 How to Draw Flames Step by Step (Easy Campfire Drawing)
 How to Draw a Moon Step by Step (Sleepy Crescent + Phases)

