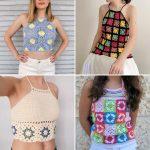
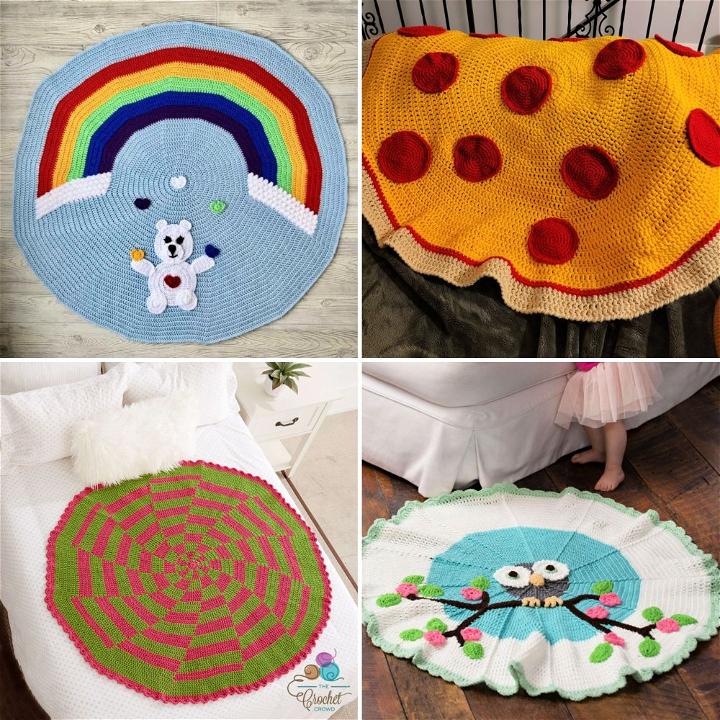
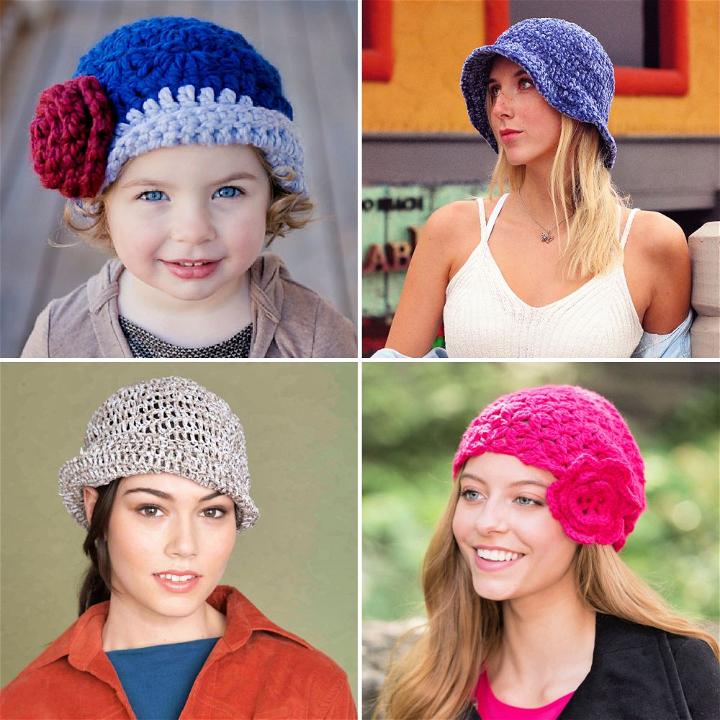
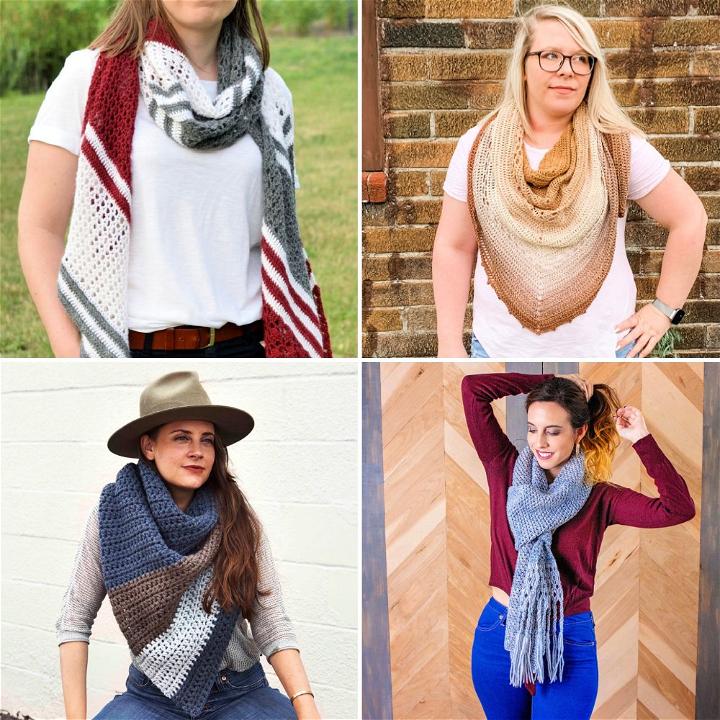
Crocheting a perfect circle is a fundamental skill that can open the door to a variety of projects, such as coasters, hats, doilies, and amigurumi. Understanding the technique not only allows for crocheting neat and flat circles but also ensures that your finished work looks professional and polished. In this comprehensive guide, we will walk you through the process of crocheting a perfect circle, step by step.
This tutorial serves as a compass for both novices and seasoned crafters wishing to perfect their crochet circles in single, half-double, or double crochet, with options for joined or spiral rounds. Discover the nuances of stitch count and tension that can make or break the symmetry of your work. Whether it's for hats, baskets, bags, or amigurumi, mastering the art of the crochet flat circle elevates your crochet repertoire.
Supplies:
- Worsted weight yarn
- Size H (5.0 mm) crochet hook
- Stitch marker
Why Crochet a Circle?
Crocheting a circle might seem like a simple task at first glance, but this basic shape holds a universe of creative possibilities. Whether you're a seasoned crocheter or just picking up the hook, understanding the why and how of crocheting a flat circle can elevate your craft and open doors to an array of projects. Below, we explore the reasons why learning to crochet a circle is a fundamental skill and how it can enhance your crocheting journey.
Endless Project Potential
Versatility for Various Crafts:
- Hats and Beanies: The top of many crocheted hats begins with a flat circle before extending downward to create the sides.
- Bags and Totes: From the base of a purse to the side of a market tote, circles are often the starting point for these fashionable and functional items.
- Home Decor: Crocheted coasters, placemats, and rugs often require a circular pattern to achieve their desired shape and aesthetic.
- Amigurumi: These adorable crocheted creatures often incorporate circles for body parts, such as heads or torsos.
The Foundation of Crochet Techniques
Skill-Building: Mastering flat circles helps you:
- Enhance your crochet skills by practicing increases and understanding how they shape your work.
- Gain confidence in maintaining even tension, a crucial aspect of creating a smooth and professional-looking project.
- Learn to read patterns and charts with circular instructions, which is invaluable for tackling more complex designs.
Customization and Expression
Personal Touch: Crocheting circles allows you to:
- Express creativity through color changes, resulting in vibrant patterns and personalized designs.
- Customize the size and thickness of your project, from delicate doilies to robust rugs, by adjusting your stitch choice and yarn weight.
Troubleshooting Common Issues
Smooth Edges, No Ruffles: By learning the magic increase formula, you can avoid common problems such as:
- Ruffling or waviness caused by too many increases, which you can fix by adjusting the number of stitches or hook size.
- Curling into a bowl shape due to too few stitches, rectified by increasing more frequently or choosing a larger hook.
A Relaxing and Rewarding Experience
Therapeutic Benefits: Crocheting is more than just a craft; it's a form of relaxation and mindfulness. Working on circular patterns can be particularly soothing as the repetitive nature of the stitches allows for a meditative crafting session.
How to Crochet a Circle? Step by Step Guide:
Learn how to crochet a circle with this step-by-step guide. Perfect for beginners! Start making crochet circle today.
1. Introduction to Crocheting Circles
Crocheting circles involves creating a series of rounds that gradually increase in size. The key to a flat, non-wavy circle is ensuring that you increase the number of stitches evenly with each round. Beginners might find it challenging at first, but with practice, crocheting circles becomes a simple and enjoyable task. Whether you are aiming for a small or large circle, the basic principles remain the same, and once mastered, you can apply them to a variety of crochet projects.
- Essentials for Crochet Circle Success
Choosing suitable yarn and hooks is crucial for any crochet project. For beginners, a medium-weight yarn and a corresponding hook (typically 5.0 mm for worsted weight) is a great starting point. Your tension will influence the final outcome, so adjust your hook size accordingly. Remember to make a gauge swatch to ensure your circle grows to the desired dimensions.
2. Starting with the Magic Ring
The crochet magic ring, also known as the adjustable loop, is a popular method for beginning a crochet circle because it allows you to pull the center tight, leaving no hole. To make a magic ring, loop the yarn around your fingers, and draw up a loop with your crochet hook. Chain one to secure the loop, and then work your first round of stitches into the ring. Once complete, pull the tail to tighten the loop and create a neat and closed center.
3. Understanding Stitch Increases
As you crochet in the round, you need to increase the number of stitches to keep the circle flat. The increase pattern depends on the type of stitch you are using. For example, if you're using single crochet, you might begin the first round with six stitches and then increase by six stitches in each subsequent round. This creates a series of segments that lay flat as your circle grows. Remember to count your stitches regularly to ensure that you're on track.
4. Crochet Circle Increase Chart
An increase chart can be a crocheter's best friend, especially when it comes to keeping track of where to place increases. A chart will typically show the number of stitches per round and where to make your increases. For instance, the second round may instruct you to place two stitches into each stitch from the first round, the third round may alternate between one and two stitches in each, and so forth.
5. Mastering the Spiral vs. Joined Rounds
There are two methods for crocheting in the round: spiral and joined. Spiral rounds continue without joining the end of each round to the beginning, creating a seamless piece. In contrast, joined rounds are completed by joining the last stitch of the round to the first with a slip stitch and then starting a new round with a chain. Both methods have their place in crochet, and your pattern should specify which to use.
6. Avoiding Common Mistakes
One of the most common issues when crocheting circles is the piece starting to curl or wave. This usually means there are either too many or too few increases. If your circle is curling up into a bowl shape, you're not increasing enough. If it's ruffling or waving, you're increasing too much. Adjust your stitch count as needed, and always refer back to your pattern or increase chart for guidance.
7. Finishing Your Circle
To finish your crochet circle, complete your last round according to the pattern without any additional increases. If you're using the spiral method, you'll want to smooth out the jog where the end of the spiral meets the beginning of the round. You can do this with an invisible join or by tapering off with smaller stitches. Trim your yarn, leaving a tail long enough to weave in with a yarn needle.
8. Crocheting Circles in Different Stitch Types
Single crochet is the most common stitch for circles, but you can create circles with half-double, double, and even treble crochet stitches. Each type of stitch will require a different number of starting stitches and increases. For example, double crochet circles will start with a larger number of stitches in the first round compared to single crochet because the stitches are taller.
9. Creative Applications of Crochet Circles
Once you've mastered the art of crocheting a flat circle, the possibilities are endless. Circles can be turned into hats, bags, art pieces, and even parts of larger crochet projects like blankets. Combining circles with different colors and textures of yarn can result in stunning pieces that showcase your crochet skills.
10. Advanced Techniques and Design Ideas
As you become more confident with crocheting circles, you can explore advanced techniques such as color changes, textured stitches, and creating mandalas. Try incorporating popcorn stitches, puff stitches, or back post stitches to add dimension to your circles. Use your circles as the foundation for crochet animals, intricate doilies, or geometric wall hangings.
By understanding the basics of crocheting a circle, you set a strong foundation for a variety of crochet projects. Remember that crocheting is a skill that improves with practice, so don't be discouraged by initial mistakes. Take your time, count your stitches, and soon you'll be creating perfect circles without even having to think about it. Happy crocheting a circle!
Essential Crochet Techniques for Crafting a Perfect Circle
Creating a perfect crochet circle can be both satisfying and a bit challenging for beginners and experienced crafters alike. To help you achieve that neat, flat circle for your projects, here are some essential techniques presented in an easy-to-understand and structured way.
Starting Your Circle: The Magic Ring
Magic Ring: This foundational technique is crucial for starting a crochet circle. It allows you to pull the center tightly closed, eliminating any gap at the start of your project.
- How to do it: Loop the yarn around your fingers to create a ring, insert your hook to pull up a loop, and then crochet the number of stitches required for the first round into the ring.
Increasing Stitches Evenly
Even Increases: The key to a flat circle is to increase the number of stitches evenly with each round. If you don't, you might end up with a wavy or ruffled edge, or a piece that curls up into a bowl shape.
- Tip for success: Use stitch markers to mark the start of each round, helping you keep track of increases.
Choosing the Right Number of Stitches
Starting Stitch Counts: Depending on the height of the stitches you're using (single, half-double, or double crochet), you'll start with a different number of stitches.
General Guide:
- Single Crochet: 6-8 stitches
- Half-Double Crochet: 8-10 stitches
- Double Crochet: 10-12 stitches
The Magic Increase Formula
The Increase Pattern: To maintain a flat shape, follow a consistent increase pattern. The magic formula involves adding the same number of stitches in each round that you started with in the magic ring.
Example:
- Round 1: Start with the recommended number of stitches.
- Round 2: 2 stitches in each stitch around.
- Round 3: 2 stitches in the first stitch, 1 in the next, and so on.
Working in Joined vs. Spiral Rounds
Joined Rounds vs. Spiral Rounds: Decide whether to join each round with a slip stitch and chain up for the next round (joined rounds) or continue crocheting in a spiral without joining (spiral rounds).
- Remember: For spiral rounds, you may want to use a stitch marker to indicate the beginning of each round since you won't have a seam as a reference point.
Preventing a Hexagon Shape
Avoiding Hexagon Edges: If your circle is starting to look more like a hexagon, it’s likely because the increases are stacking on top of each other.
- Solution: Vary the position of your increases in alternating rounds to spread out the increase stitches.
Adjusting Tension
Tension Matters: Your tension plays a role in how flat your circle will lay. If it’s too tight, your work may cup; too loose, and it may ruffle.
Adjusting Tension:
- If your circle is ruffling, decrease the number of stitches or use a smaller hook.
- If it’s curling into a bowl, increase the number of stitches or use a larger hook.
By following these techniques and paying close attention to stitch counts and tension, you'll be well on your way to crocheting perfect circles that can be turned into a myriad of beautiful and functional items.
Adjusting the Circle Size for Different Projects
Once you've mastered the basics of crocheting a flat circle, you might want to adapt the size for various projects. Whether you're aiming to create coasters, placemats, or a large rug, adjusting the size of your circle is an essential skill. Here's a helpful guide on how to do it:
Determine the Final Size
Before you begin, decide on the approximate diameter of the circle you want to create. Knowing the final size helps you plan the number of rounds you'll need to crochet.
Increasing Rounds
As you've learned, the increase formula is crucial for a flat circle. For larger circles:
- Continue the established pattern of increases for each round.
- After a certain point, you may need to add extra stitches between increases to maintain flatness. This will prevent the circle from ruffling.
Ending Your Project
To finish your circle:
- Complete the final round without any increases to keep the edge from ruffling.
- Cut the yarn, leaving a tail long enough to weave in.
- Use a yarn needle to weave in the end, securing your work.
Tips for Larger Circles
- For very large circles, such as rugs, consider switching to a thicker yarn or holding multiple strands together. This will make your project sturdier and save time.
- Periodically lay your work flat to check for ruffling or cupping. Adjust your tension or stitch count if necessary.
Customizing Your Circle
Customizing your circle can make your project unique. Here are a few ideas:
Color Changes
- Introduce new colors at the start of any round to create stripes or patterns.
- To make a clean color change, complete the last yarn-over of the final stitch of a round with the new color.
Textured Stitches
- Experiment with different stitches, like the bobble or popcorn stitch, for a textured look.
- Insert these textured stitches at regular intervals, or in a specific round, to achieve your desired design.
Borders and Edgings
- Once you've reached the desired size, consider adding a decorative border or edging to give your project a finished look.
- Simple edgings like slip stitch, reverse single crochet, or picot can add flair to your work.
Troubleshooting Common Issues
Here are solutions to common problems you might encounter:
The Circle Is Buckling
- Decrease the number of stitches in the increase rounds, or try using a smaller hook to tighten your stitches.
The Circle Is Wavy
- Reduce the frequency of your increases, or use a larger hook to loosen your stitches.
The Circle Is Turning Into a Hexagon
- Vary the placement of increases as explained earlier to maintain a round shape.
Final Thoughts
Remember, crocheting is as much an art as it is a craft. Your tension, the yarn, and hook size all contribute to the outcome of your project. Don't be afraid to make adjustments as you go. With practice, you'll develop a sense of when and how to tweak the increase formula for perfect circles every time.
25 Free Crochet Circle Patterns for Beginners
Discover 25 free crochet circle patterns perfect for beginners. Start your crochet journey with these easy-to-follow tutorials and make beautiful circular designs.
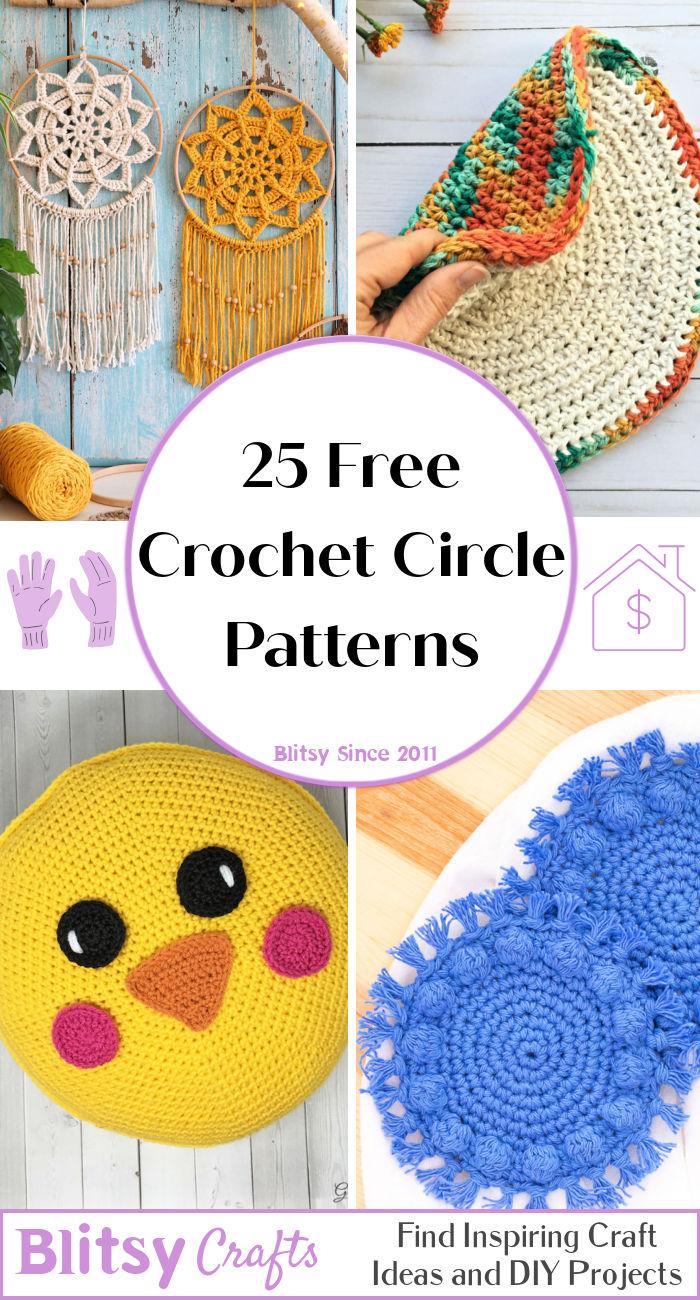
I curated this collection to inspire and guide you in making charming coasters, stylish bags, and more. Each free crochet pattern offers step-by-step instructions for an enjoyable and successful crocheting experience.
1. Bernat Around We Go Crochet Bag Pattern
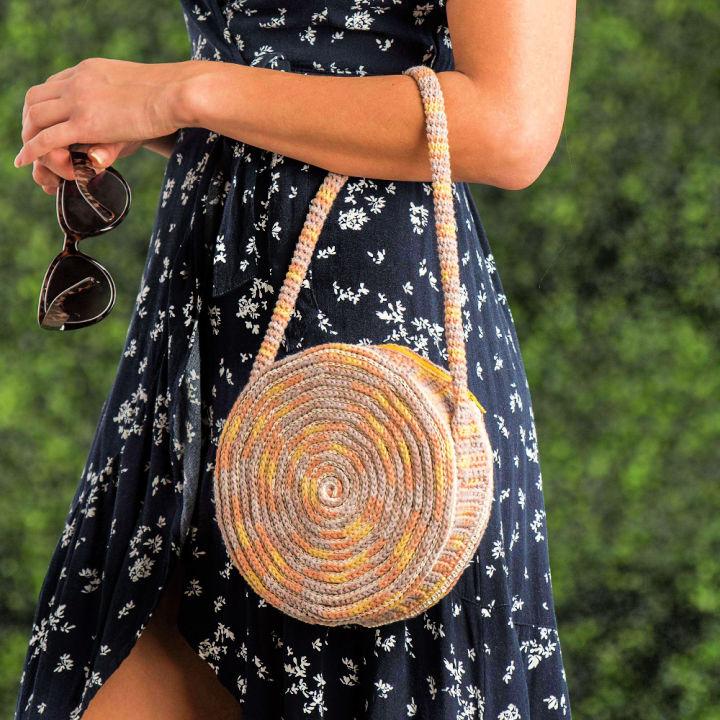
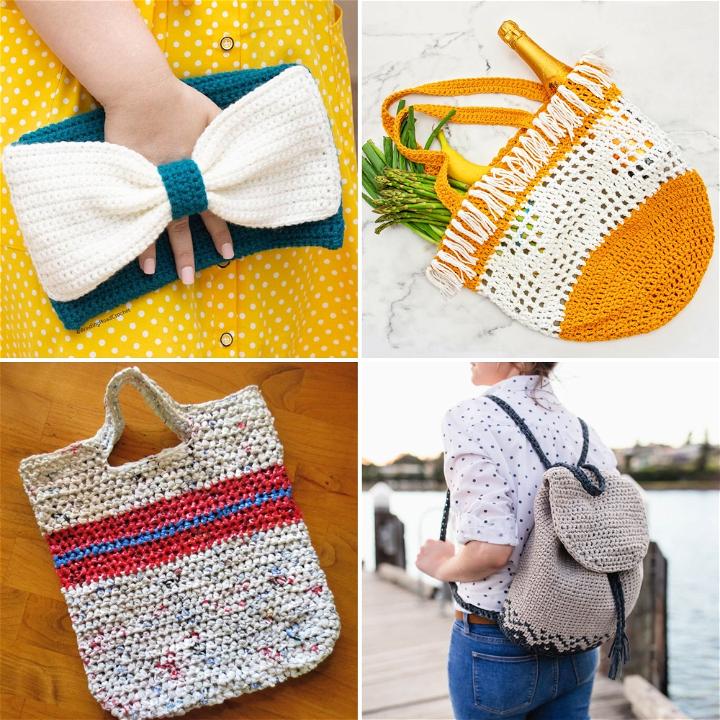
The bernat around we go crochet bag pattern is a charming way to carry your essentials. Its sturdy design and fashionable look make it a standout accessory for any outfit, combining practicality with handcrafted style.
2. Boho Crochet Circle Coasters Pattern
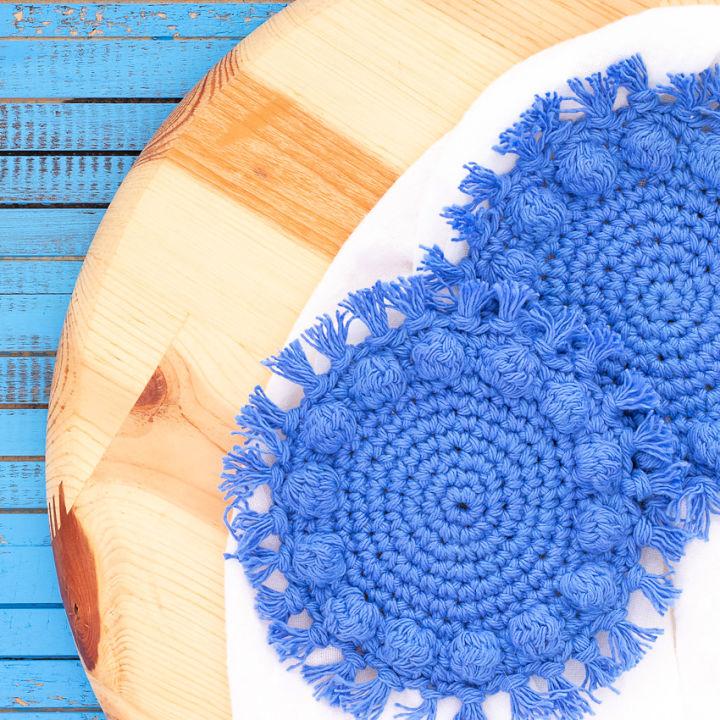
Boho crochet circle coasters are perfect for adding a touch of homemade elegance to your table setting. These coasters protect surfaces in style, embodying both functionality and a chic, bohemian aesthetic.
3. Free Crochet Circle Hot Pad Pattern
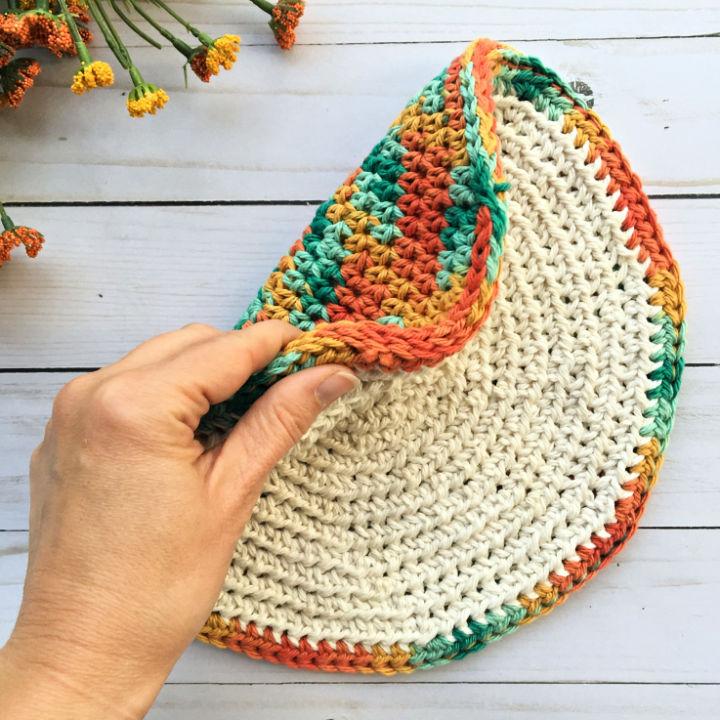
The free crochet circle hot pad pattern is a kitchen must-have. It guards against heat, making handling pots and pans safer, all while adding a splash of color and personality to your cooking space.
4. Crochet Circle of Skulls Wreath Pattern
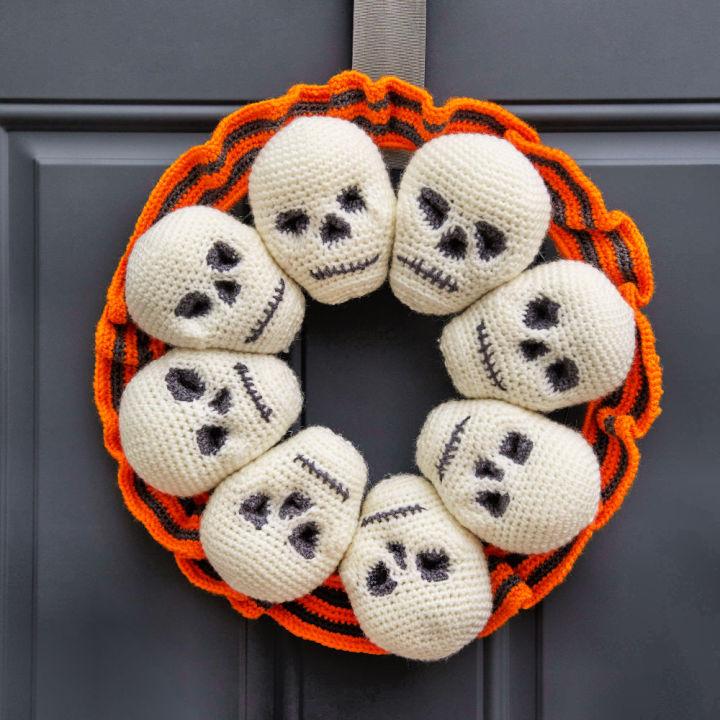
Dive into the spooky season with the crochet circle of skulls wreath pattern. It's a unique way to decorate, offering a blend of gothic charm and crafty flair to your halloween décor.
5. Crochet Love Bear Rainbow Baby Blanket Pattern
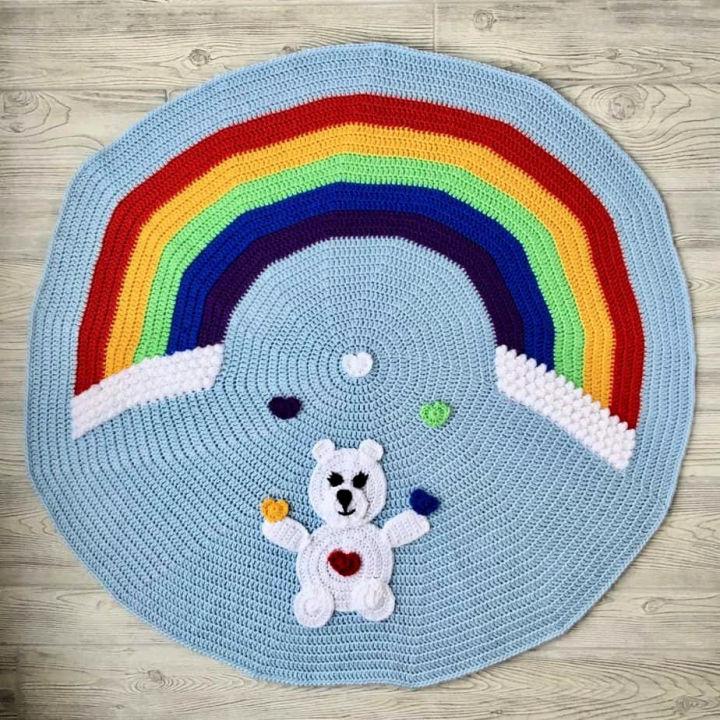
The crochet love bear rainbow baby blanket pattern wraps little ones in warmth and vibrant colors. Its comforting texture and joyful design make it a heartfelt gift for any newborn.
6. Free Crochet Circle Floor Pouf Pattern
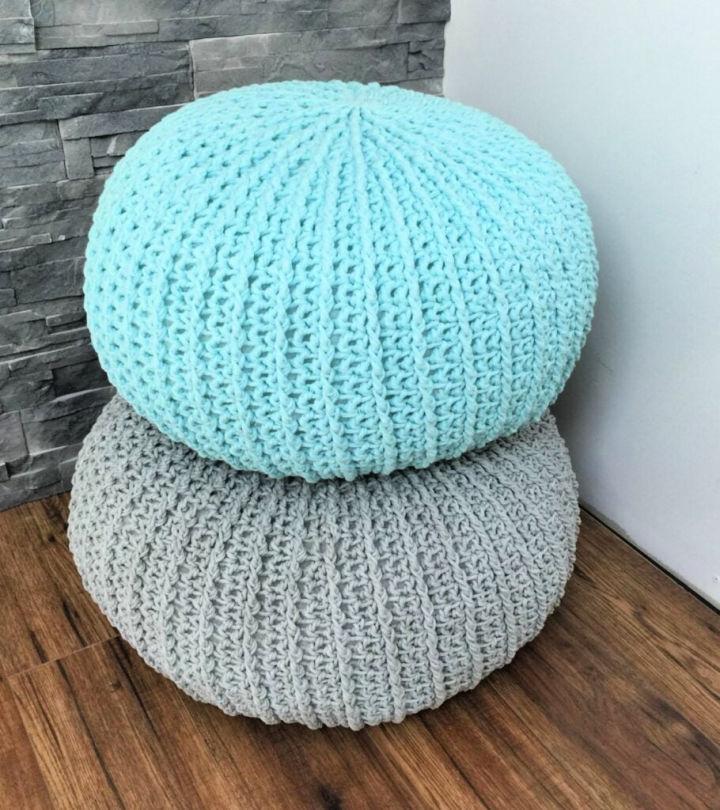
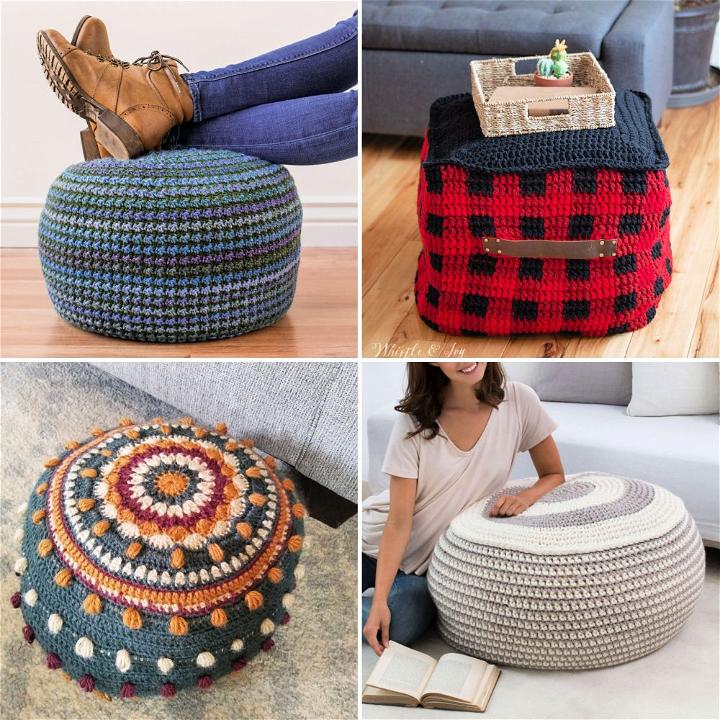
Transform your living space with the free crochet circle floor pouf pattern. It's an innovative and cozy addition, providing an extra seat or a comfortable footrest, all while enhancing your room's aesthetic.
7. Crocheted Circle Chick Pillow Pattern
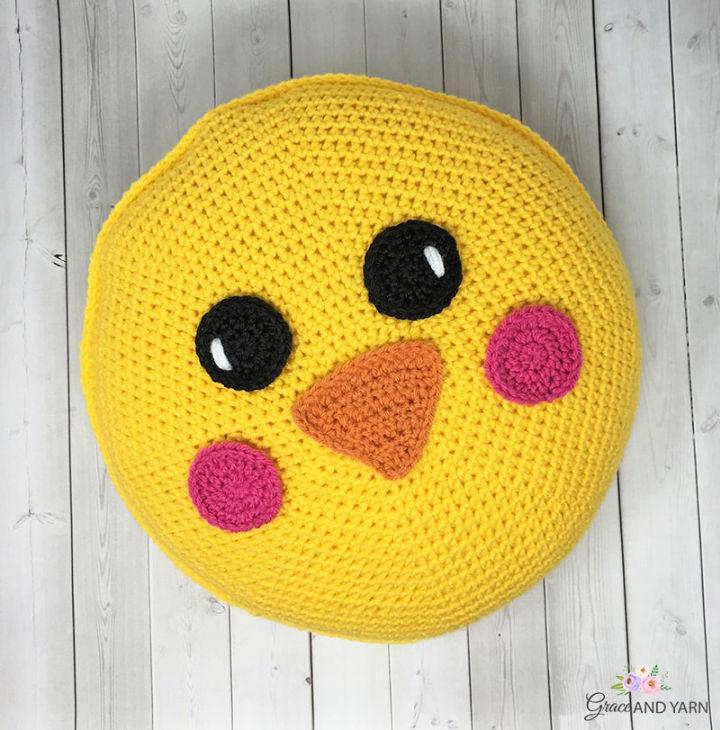
The crocheted circle chick pillow pattern brings a touch of playfulness to any room. It's soft, cuddly, and perfect for adding a dash of whimsy to children's bedrooms or living areas.
8. Crochet Archimedes Spiral Earrings Pattern
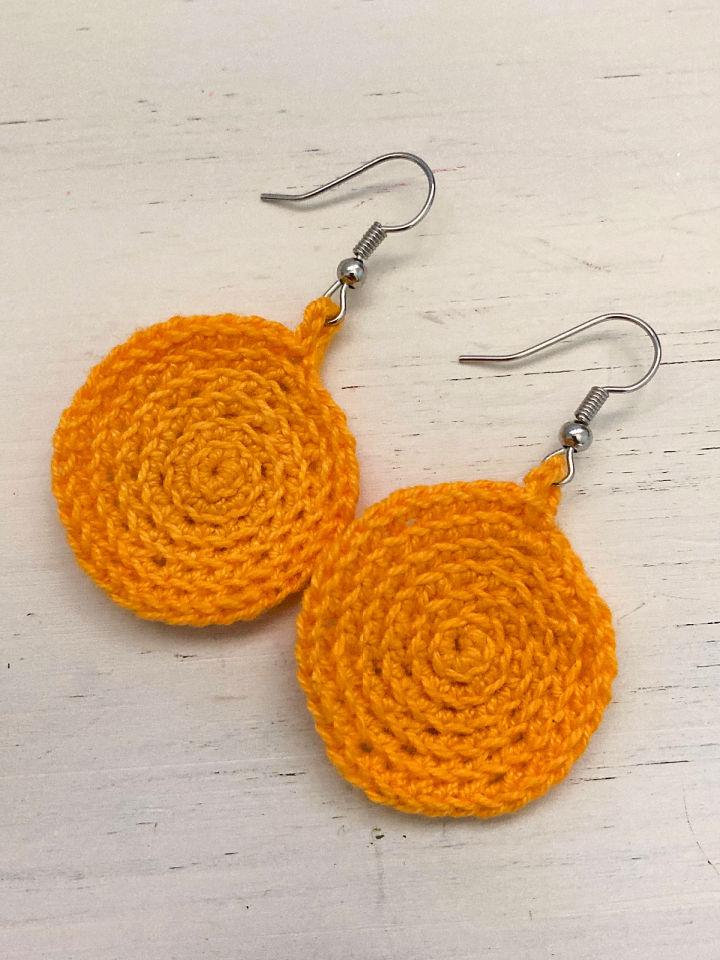
The crochet archimedes spiral earrings pattern offers a lightweight and eye-catching accessory option. These earrings stand out with their intricate design, adding a sophisticated touch to any ensemble.
9. How to Crochet Heart in a Circle
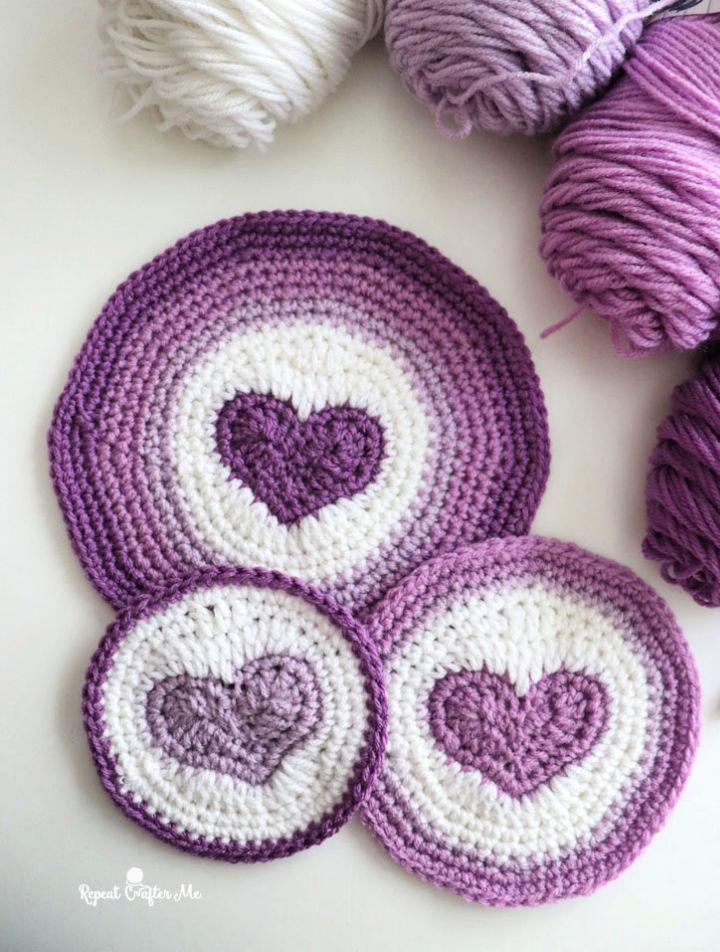
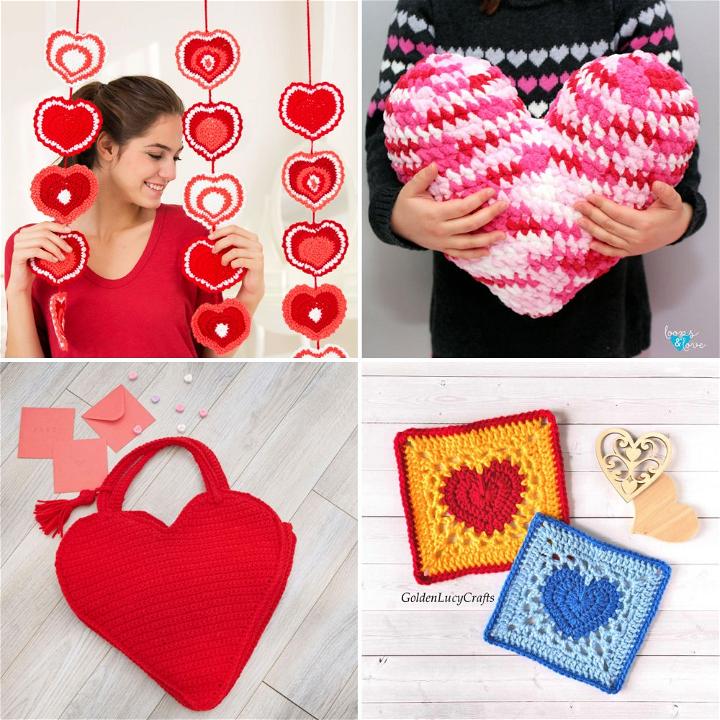
Learning how to crochet heart in a circle can add a romantic gesture to your crafts. This pattern is versatile, perfect for valentine's day decorations, heartfelt gifts, or simply as a symbol of love in your projects.
10. Inside Out Circles Top Crochet Pattern

The inside out circles top crochet pattern is fashion-forward, blending comfort with contemporary style. Its unique texture and design make it a standout piece in any wardrobe.
11. Free Crochet Round Placemat Pattern

The free crochet round placemat pattern elevates everyday dining. These placemats are not only practical, defending your table against spills and stains, but they also add an artisanal touch to meals.
12. Polka Dot Circle Crochet Face Pad Pattern
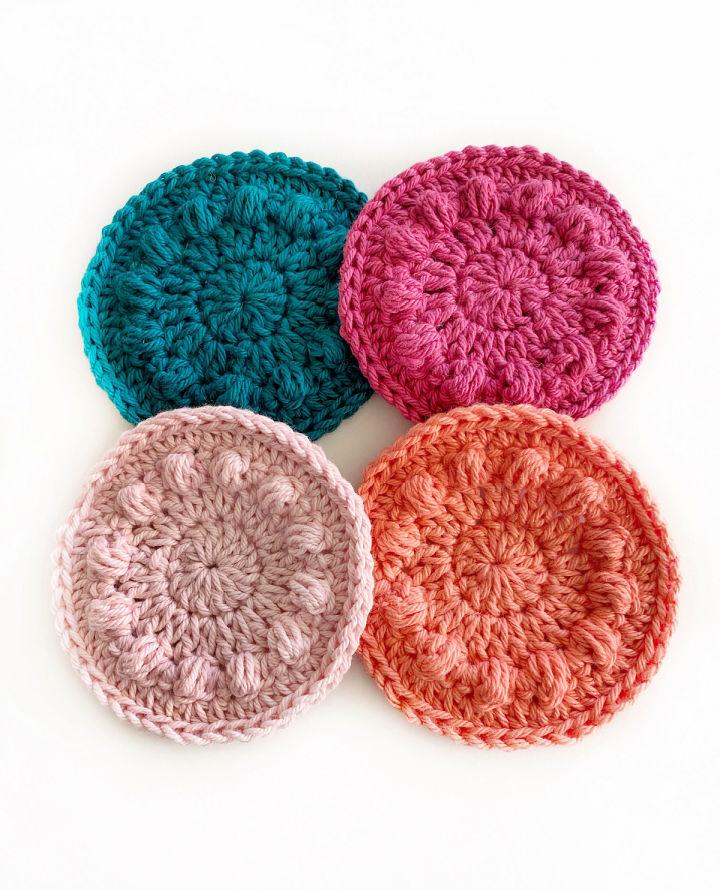
The polka dot circle crochet face pad pattern is both eco-friendly and gentle on the skin. Reusable and soft, these face pads are a delightful alternative to disposable cotton pads, perfect for your skincare routine.
13. Cute Crochet Star Dreamcatcher Pattern
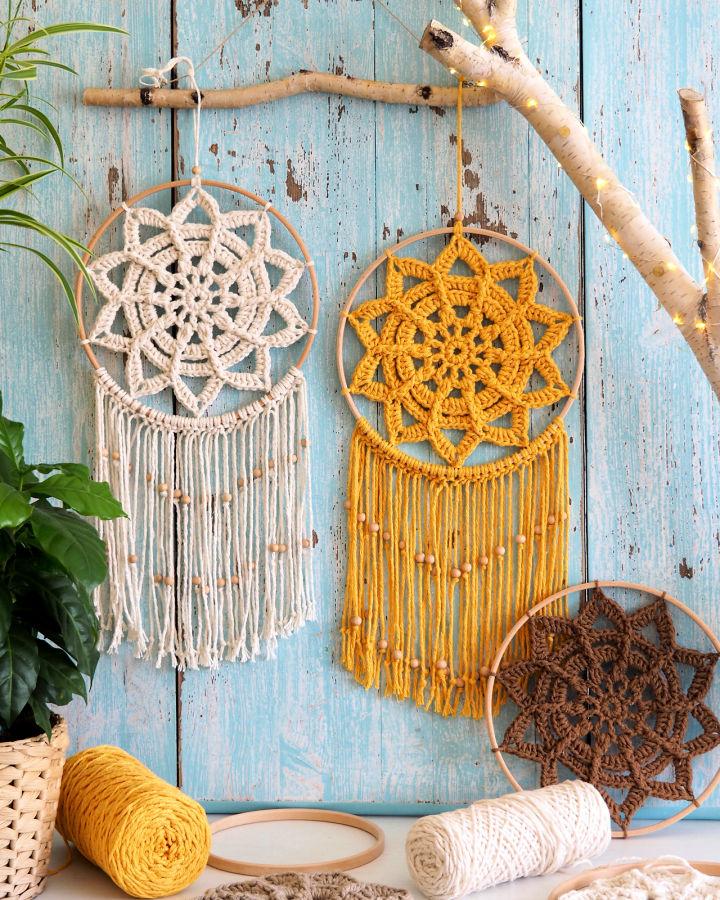
The cute crochet star dreamcatcher pattern serves as a whimsical addition to any bedroom. Dreamy and delicate, it captures the spirit of peaceful sleep while adding a touch of magic to your nighttime haven.
14. Crochet Circles Baby Blanket - Free Pattern
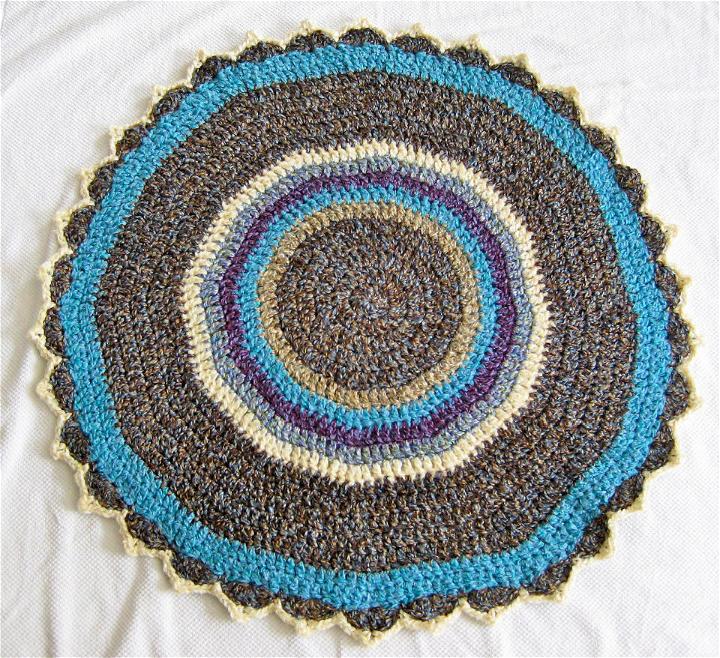
Making a crochet circles baby blanket from the free pattern provided is a delightful project. This blanket exudes warmth and comfort, making it a perfect gift for a newborn. Its design, featuring whimsical circles, adds a playful touch to any nursery décor.
15. How to Crochet Circle Lapghan - Free Pattern
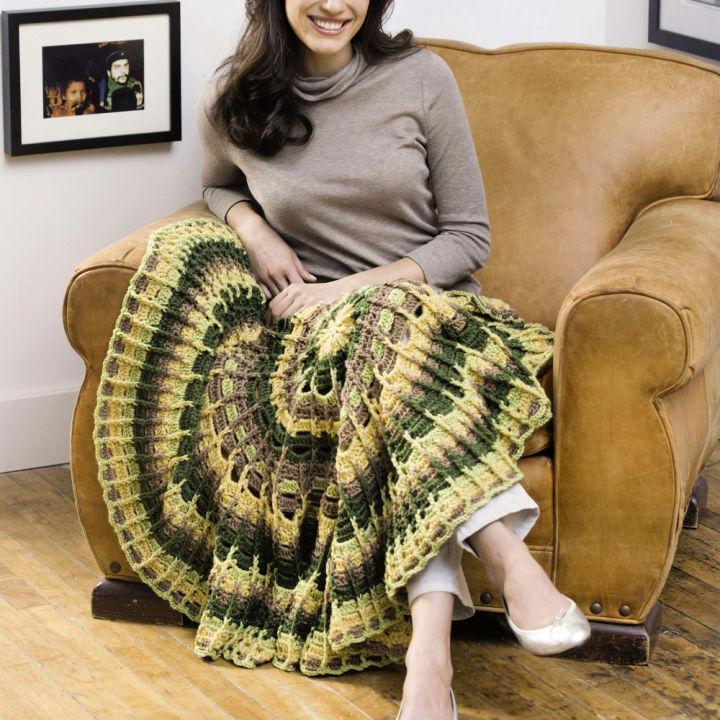
The crochet circle lapghan pattern not only offers a cozy addition to your living space but also serves as a charming lap warmer. This free pattern introduces a homely charm with its unique circular design, ideal for adding a touch of personality to your home.
16. Key West Circle Top Crochet Pattern
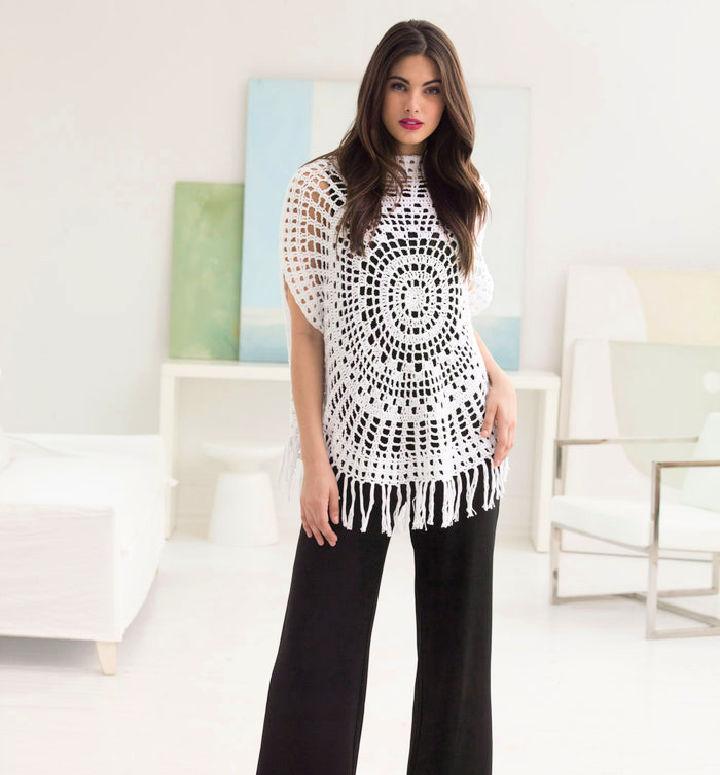
The key west circle top pattern brings a breezy, fashionable flair to crochet. Its open, airy design is perfect for warmer weather, allowing comfort and style to blend seamlessly. This piece effortlessly elevates a casual wardrobe, making it a summer must-have.
17. Free Crochet Raffia Circle Bag Pattern
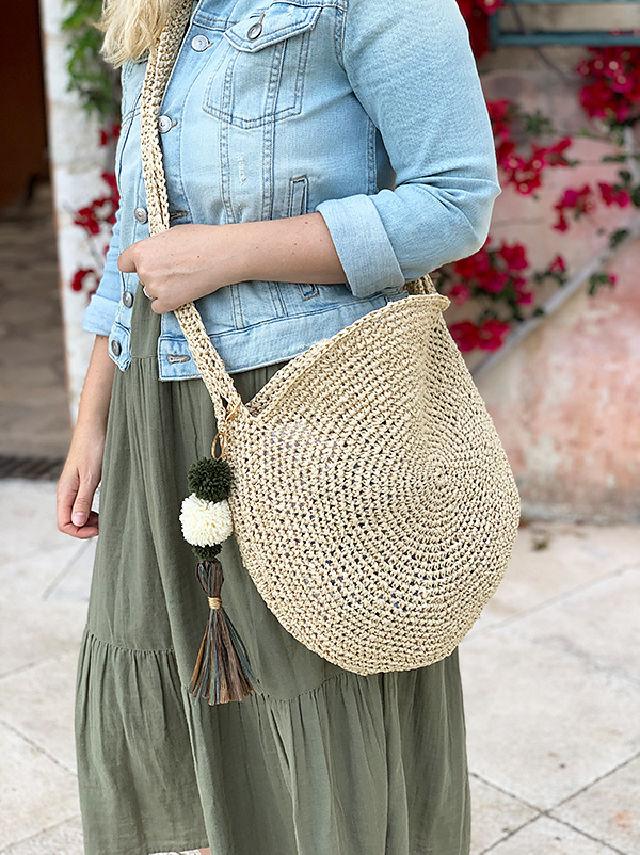
Making from raffia, this crochet raffia circle bag combines durability with style. Following the free pattern lets you create a versatile accessory, suitable for both beach outings and daily errands. Its earthy aesthetic and practical design make it a trendy choice.
18. Round Crochet Rug With T shirt Yarn - Free Pattern
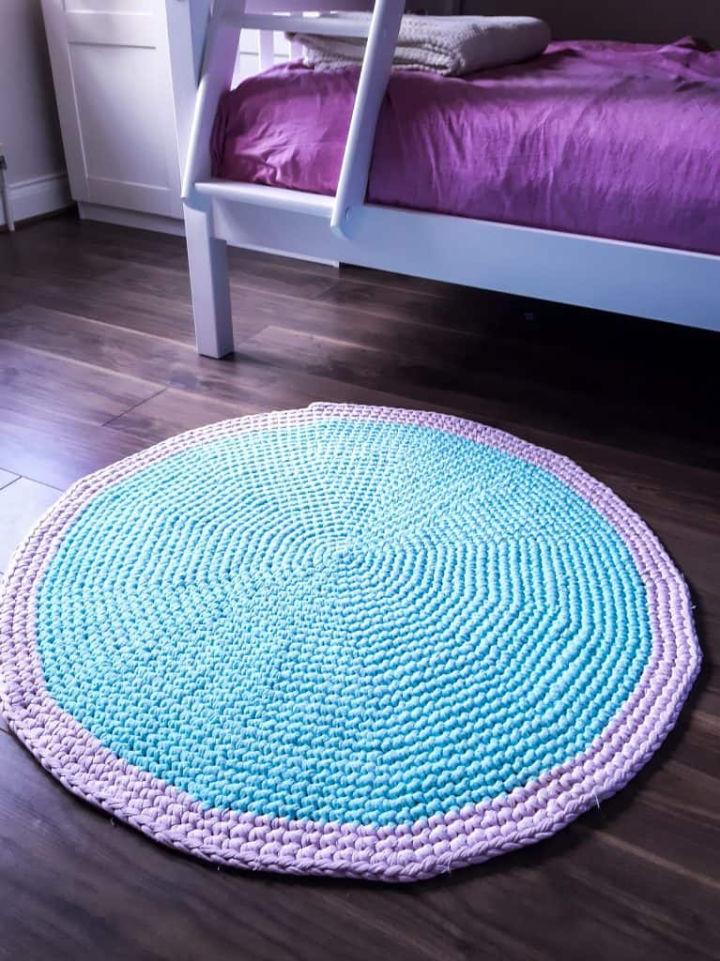
The round crochet rug made with t-shirt yarn introduces an eco-friendly twist to home décor. This free pattern creates a durable and soft rug, adding a cozy element to any room. Its circular design and texture contribute to a modern, laid-back vibe.
19. How to Crochet Circle Vest - Free Pattern
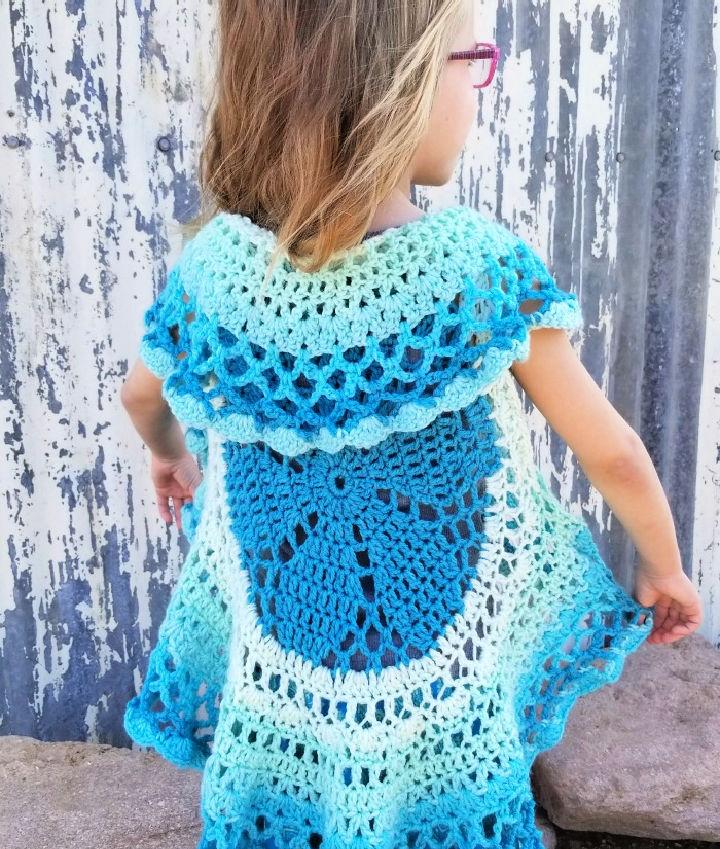
The circle vest crochet pattern offers an interesting layer to any outfit. With its flowing, open design, it's a statement piece that brings both comfort and bohemian chic. The pattern is fuss-free, aiming to inspire those looking to add a handmade touch to their wardrobe.
20. Crochet Circle Hanging Photo Frame Pattern
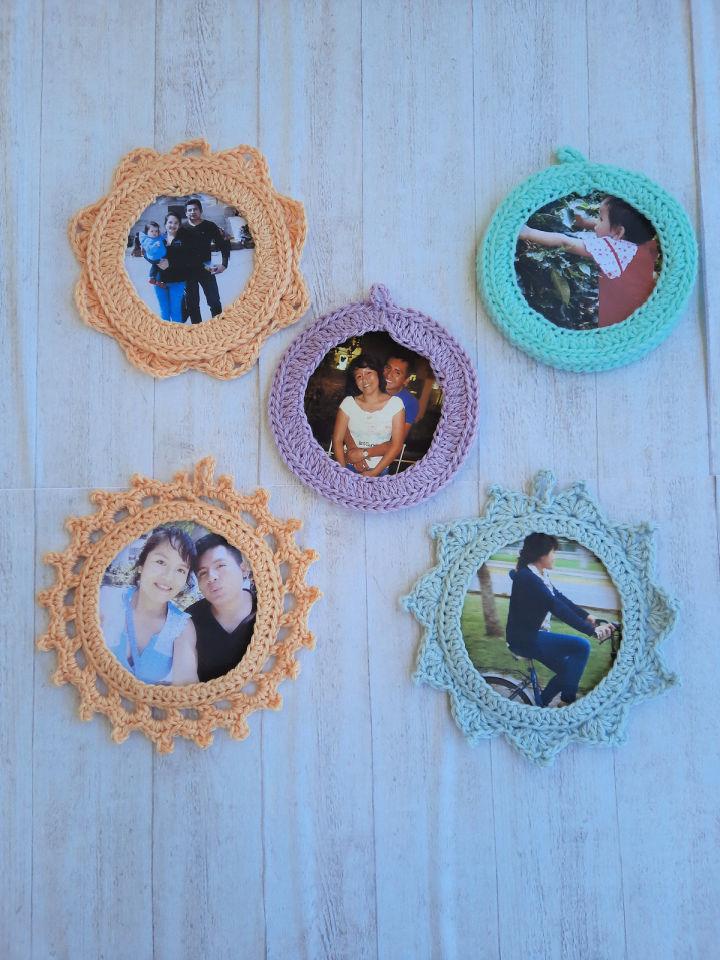
Enhance your home with a personal touch using the crochet circle hanging photo frame pattern. This charming design allows you to showcase your cherished memories in a unique, crafty way. it’s a heartfelt addition to any home, reflecting warmth and fond recollections.
21. Free Single Crochet Circle Pattern
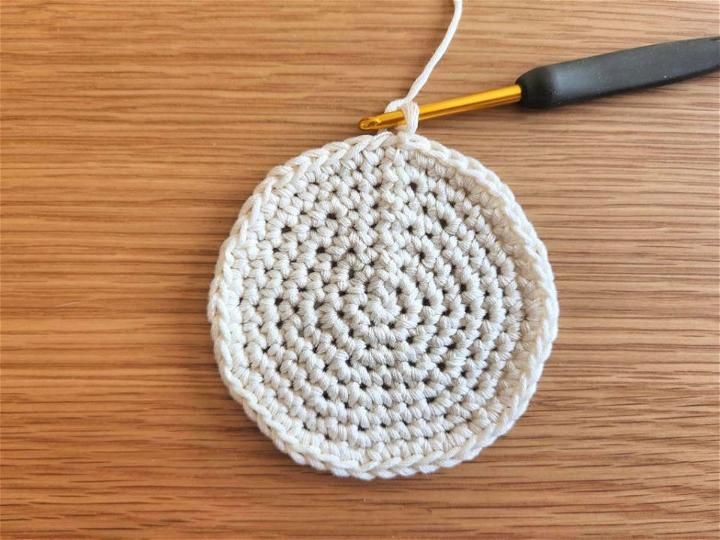
Mastering the free single crochet circle pattern is foundational for any crochet enthusiast. This basic technique allows for the creation of versatile projects, from simple coasters to intricate amigurumi. It’s a stepping stone towards more complex crochet adventures.
22. How to Double Crochet in Rounds
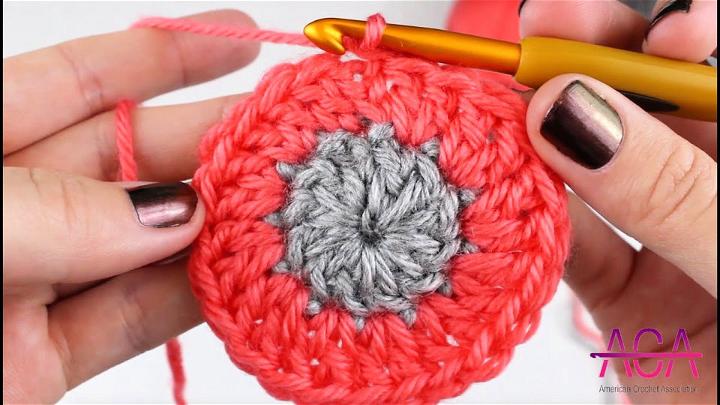
Learning how to double crochet in rounds opens up expansive possibilities in crochet projects. This technique is essential for hats, bags, and decorative items, adding texture and dimension to your creations. It’s a valuable skill that enriches your crochet repertoire.
23. Easy Crochet Flat Circle Coaster Pattern
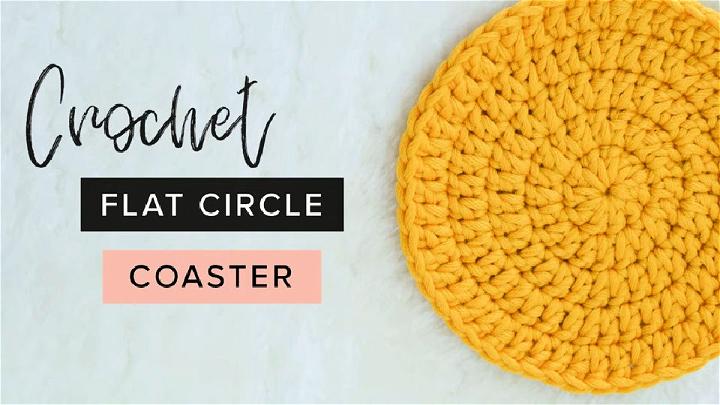
The easy crochet flat circle coaster pattern is perfect for beginners. It's a quick, satisfying project that also serves as a practical addition to your home. These coasters protect surfaces in style, adding a homemade touch that guests will admire.
24. Eye-catching Crochet Circular Lace Shawl Pattern
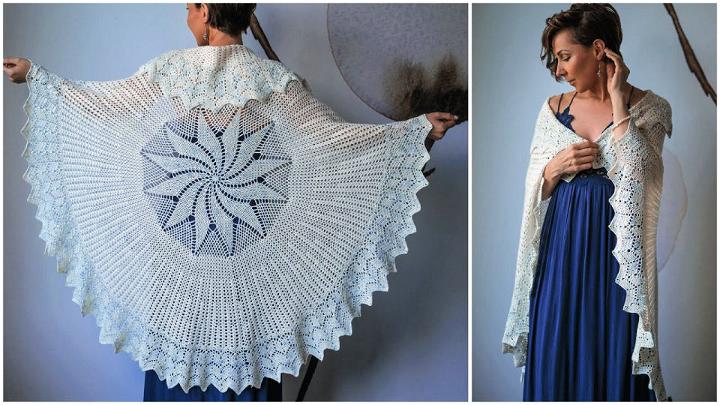
The crochet circular lace shawl pattern is a standout accessory. Its eye-catching design features intricate lacework that drapes beautifully, offering both warmth and elegance. This shawl can transform any outfit, making it an exquisite piece for special occasions.
25. How to Crochet a Perfect Circle
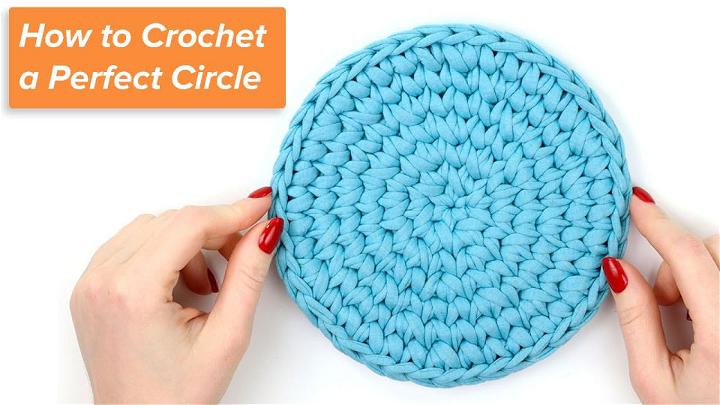
Mastering how to crochet a perfect circle is fundamental for creating various projects with finesse. This technique ensures your crochet pieces have a neat, professional appearance, laying the groundwork for creating everything from hats to decorative items with confidence.
Crochet Circle FAQs:
Discover answers to frequently asked questions about crochet in this helpful crochet circle resource. Perfect for beginners and enthusiasts alike.
What is the best yarn to use for crocheting flat circles?
A: For beginners, it's best to use a smooth, worsted weight yarn, as it's easier to handle and see your stitches. As you become more experienced, you can experiment with different types and weights of yarn.
How do I choose the right crochet hook size?
A: Your yarn label should suggest an appropriate hook size. If you're unsure, a size H (5.0 mm) hook is a good starting point for worsted weight yarn. You can adjust the size to achieve the desired tension.
My circle is ruffling. What am I doing wrong?
A: Ruffling occurs when there are too many stitches, causing the fabric to wave. Try decreasing the number of increases, using fewer starting stitches, or switching to a smaller hook size.
Why is my circle curling up like a bowl?
A: If your circle curls into a bowl shape, you might need more stitches. Increase the starting number of stitches, the frequency of your increases, or use a larger hook size to flatten it out.
Can I use the magic increase formula for any stitch type?
A: Yes, the magic increase formula works for single crochet, half-double crochet, and double crochet. Just be sure to adjust the starting number of stitches and increases according to the stitch height.
How can I prevent my circles from becoming hexagonal?
A: To avoid a hexagonal shape, vary the placement of your increases. Instead of stacking increases, stagger them by changing their position in alternate rounds.
What projects can I make with crocheted circles?
A: Crocheted circles are versatile and can be used for hats, bags, coasters, doilies, mandalas, and amigurumi toys, among other things.
Is there a difference between spiral rounds and joined rounds?
A: Yes, in spiral rounds, you continuously work stitches without joining, which is common in amigurumi. Joined rounds involve slip stitching at the end of each round and starting a new round with a chain.
What does "inc" mean in crochet patterns?
A: "Inc" stands for "increase." In crochet, this typically means making two stitches into the same stitch from the previous round to increase the number of stitches.
How can I keep track of my rounds?
A: Use a stitch marker to mark the first stitch of each round. Move the stitch marker as you complete each round to help you keep track.
What is blocking and do I need to do it for my crochet circle?
A: Blocking is the process of shaping and setting your crocheted piece using water or steam. It can help flatten out a circle that's curling or wavy. It's not always necessary but can improve the finished look of your project.
How can I make my crochet circle larger or smaller?
A: To make your circle larger, continue adding rounds, following the increase pattern. To make it smaller, stop at an earlier round. Remember to adjust the pattern if changing the size significantly.
Remember, practice makes perfect. Don't hesitate to unravel and retry if you're not satisfied with your circle. Happy crocheting!
Conclusion and Continued Learning:
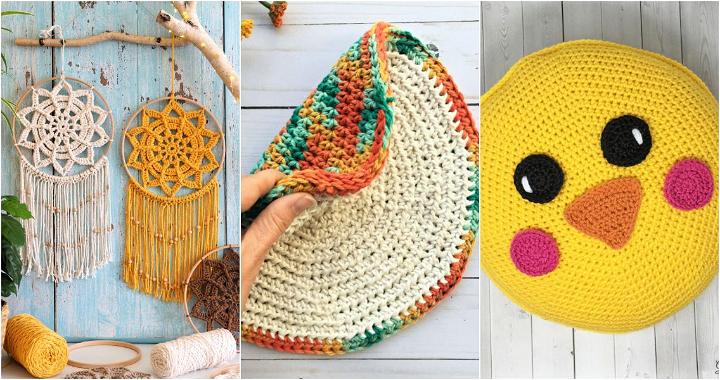
By following the tips and techniques outlined here, you're well on your way to making a beautiful crochet flat circle. Practice is key to achieving consistent results, so don't hesitate to experiment with different yarns, stitches, and tensions. Join online crochet communities to share your creations, seek advice, and stay inspired.
Remember, crochet is an evolving craft, and there's always more to learn. Keep challenging yourself with new and free crochet patterns and techniques, and most importantly, enjoy the creative process. Your dedication and attention to detail will shine through in every perfectly crafted crochet circle pattern you produce.

