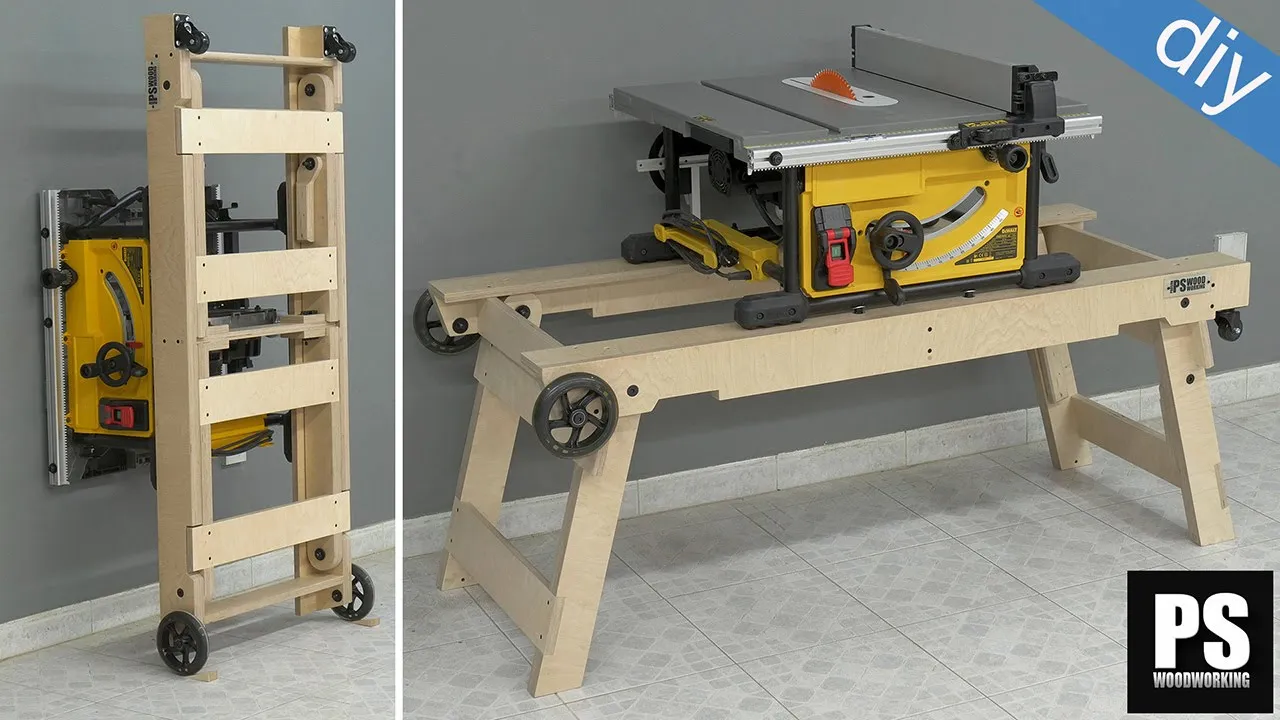
Building a portable and foldable table saw stand can significantly enhance your woodworking projects by allowing flexibility and mobility. This guide draws on the in-depth first-hand experience of crafting a robust, lightweight stand suitable for job site or home workshop conditions. By following these instructions, you can build a table saw stand that not only supports your saw securely but can also be easily transported and stored, solving common workspace and portability issues.
What Will You Get Out of This Guide?
By the end of this guide, you'll learn how to:
- Construct a durable, lightweight table saw stand.
- Choose the right materials for portability and stability.
- Implement mobility solutions for uneven terrains.
- Enhance storage and accessibility for your table saw.
- Customize your stand with additional features like cabinets and a router table
Materials Explained
- Birch Hard Plywood: Chosen for its strength and lightweight. Alternatives like poplar or pine can reduce the weight further.
- Caster Wheels & Scooter Wheels: These ensure mobility. Softer wheels or inflatable tires are recommended for uneven surfaces.
- Bolts, Washers, and Locking Nuts: Serve as the rotation axis for legs and for securing wheels. Ensures stability and mobility.
- Barrel Latches: To lock the legs in place, preventing accidental folding during use.
- Threaded Inserts: For attaching cabinets and the table saw, allowing for easy assembly and flexibility.
- Wood Glue, Screws, and Nails: For assembling the stand's frame and legs, ensuring a strong bond and build integrity.
Constructing Your Stand
Preparing the Frame
- Glue the Frame Rails: Use wood glue and nails on pre-cut birch plywood to form the frame rails. Ensure they're straight and square.
- Cut and Join the Frame: Mark and cut dados for joining all frame pieces. Use a dado stack for precision.
- Attach Legs and Casters: Prepare holes for leg rotation axes and installment of casters. Glue parts for locking mechanisms.
Assembling the Base
- Construct the Base Legs: Glue together the parts required for each leg. Mark and drill holes for the rotational axis.
- Install Rotation System: For each leg's axis, use a steel pipe, bolts, washers, and locking nuts to ensure a tight fit and smooth operation.
- Add Mobility Features: Install the caster and scooter wheels. Use cardboard as spacers when affixing the legs to avoid unintentional opening or closing.
Final Touches
- Varnish and Protective Coating: Sand down all parts and apply a water-based varnish for protection and a clean finish.
- Attach the Table Saw: Secure the table saw onto the base using drilled holes and bolts. Verify the measurement twice to ensure proper alignment.
- Install Barrel Latches and Handles: Attach barrel latches to lock the legs. Install handles for easy transportation.
Troubleshooting and Enhancements
- Adjust Wheel Types for Terrain: Replace wheels with softer ones if you frequently move the stand on uneven terrain.
- Leg Stops Installation: For added stability on uneven floors, install stops for the legs once unfolded.
Video Tutorial
Want a visual demonstration? Watch a step-by-step video tutorial on YouTube for more clarity on the construction techniques and a real-time view of the process:
Watch the video tutorial here.
This guide, armed with insightful tips and comprehensive steps, ensures you craft a highly functional table saw stand tailored to your woodworking needs. Stay tuned for Part 2, where we delve into adding a router table and cabinets for enhanced utility.
FAQs About DIY Table Saw Stands
When embarking on the project of building a DIY table saw stand, several questions might arise. Here are some of the most common inquiries with clear and concise answers to guide you through the process.
What materials are best for building a table saw stand?
The best materials for a table saw stand are those that combine durability with ease of workability. Plywood is a popular choice due to its strength and affordability. For a more mobile option, consider adding wheels made from hard rubber or metal that can lock in place.
Which tools are essential for constructing a table saw stand?
You'll need a reliable set of tools for this DIY project. A circular saw or hand saw, drill, screwdriver, measuring tape, and level are fundamental. Additionally, clamps can be very helpful to hold pieces in place as you work.
How can I ensure my table saw stand is stable?
Stability is key for a safe and effective table saw stand. Make sure the base is wide enough to support the saw without tipping. Use sturdy materials and joinery techniques, and consider adding a lower shelf that can hold weights or tools to add extra stability.
What safety measures should I take when building and using my table saw stand?
Always wear protective gear such as safety glasses and gloves when constructing your stand. Ensure all screws and bolts are tightened securely. When using the stand, check that the saw is firmly attached and the stand is on a level surface.
Can I customize my table saw stand for additional storage?
Absolutely! Customizing your stand with drawers or shelves can provide convenient storage for tools and accessories. Plan your design to include these features, and use drawer slides and durable handles for best results.
25 DIY Table Saw Stand Plans and Inspirations
Discover the ultimate collection of 25 DIY table saw stand plans and inspirations to enhance your woodworking projects. Get started today!
1. DIY Table Saw Stand With Auto Brake
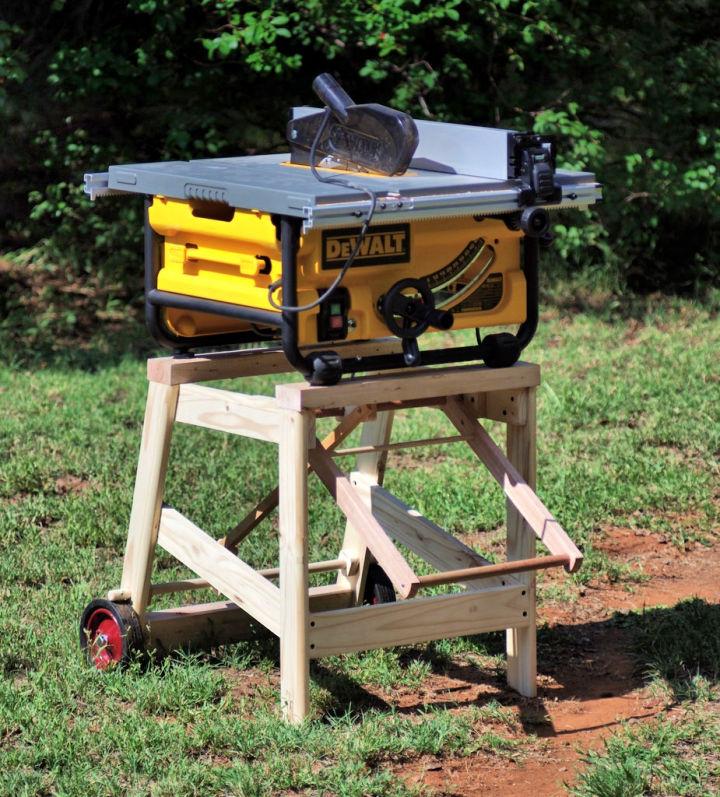
Making a DIY table saw stand with an auto brake is quite the game changer for your workshop. This setup increases safety with the auto brake feature, ensuring instant stops, which is a big win for any woodworker. Besides safety, its robust design enhances stability during vigorous cutting sessions. Perfect for those looking to combine safety with efficiency!
2. Building a Rolling Miter Saw Stand
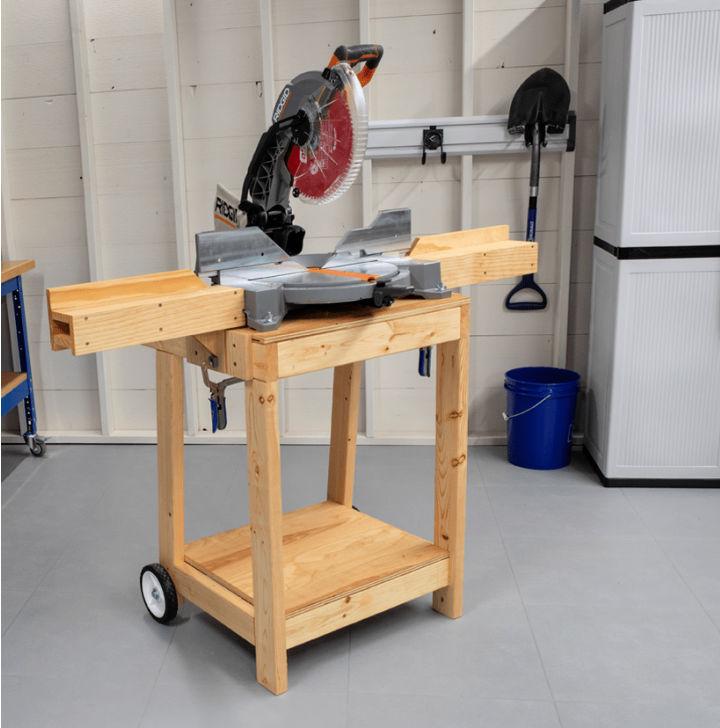
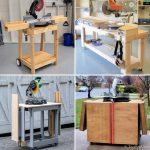
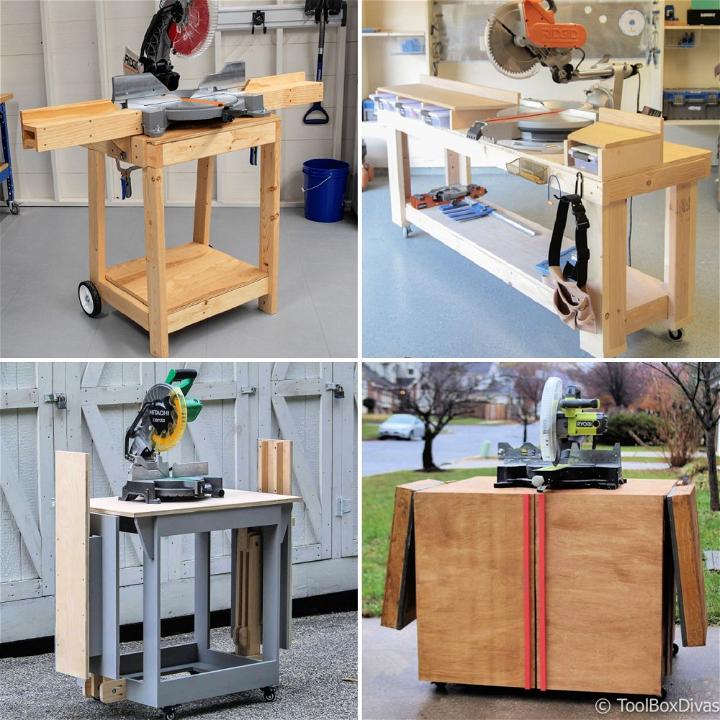
A rolling miter saw stand breathes mobility and convenience into any project. It's like a dance partner for your miter saw, gracefully moving wherever the project demands. With sturdy wheels and a solid base, this stand brings your work to you, making it ideal for dynamic workshop environments or multi-location projects. Effortlessly roll into your next task!
3. Free Table Saw Stand Plan
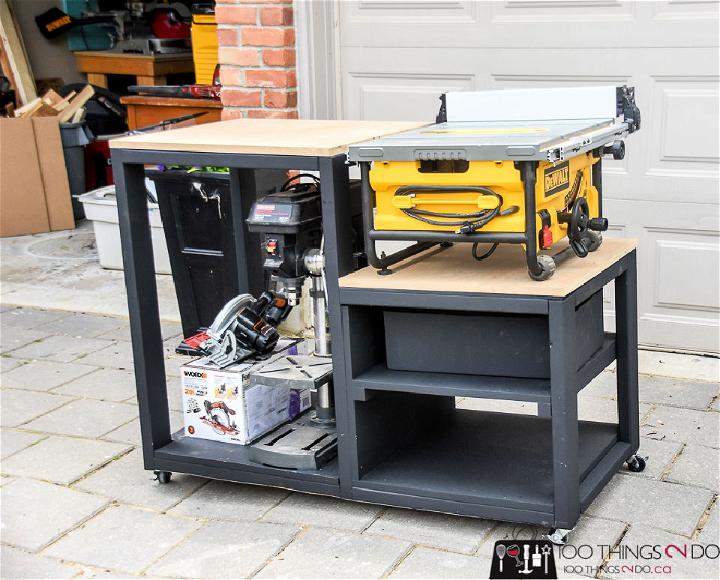
Looking for a cost-effective way to level up your workshop? A free table saw stand plan might just be your ticket. Not only does it save you some pennies, but it also allows for customization to fit your specific needs and space. It's a wonderful starting point for those dipping their toes into DIY woodworking projects. Embark on this creative journey without breaking the bank!
4. DIY Table Saw Stand With Folding Outfeed Table
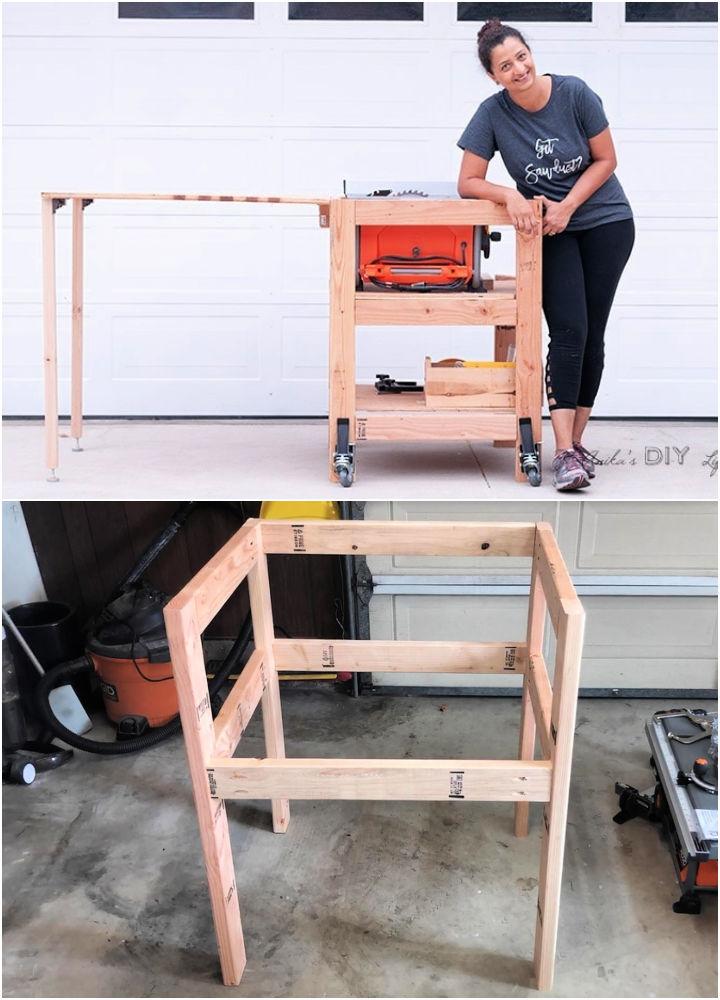
Imagine a DIY table saw stand that not only holds your saw but also features a folding outfeed table. It's the multitasking hero of small workshops, significantly expanding work surface without permanently occupying precious space. Cleverly designed to fold away, it's there when you need it and gone when you don't, optimizing your workspace like never before.
5. Build Your Own Table Saw Stand
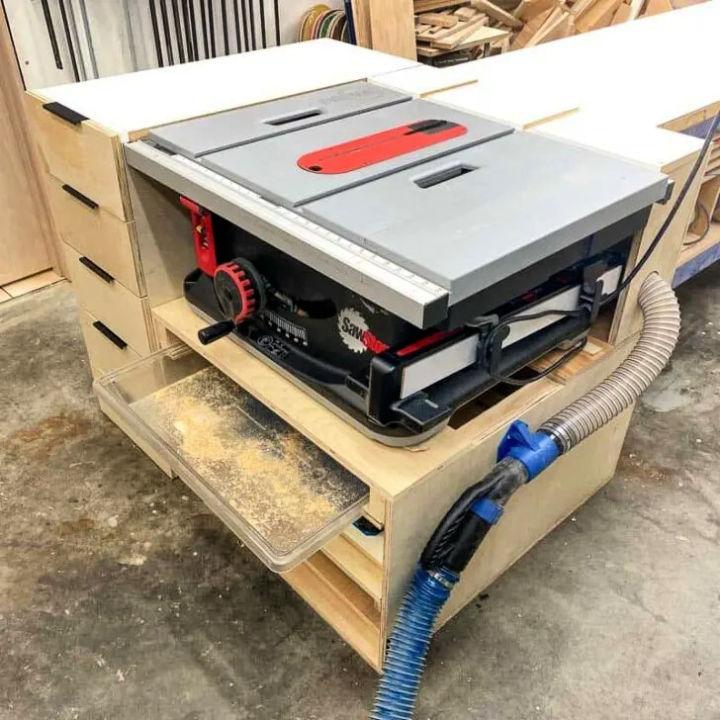
Diving into building your own table saw stand is quite the empowering project. It's a fantastic opportunity to tailor every aspect to your preferences and the peculiarities of your work area. Whether it's integrating storage solutions or adjusting the height for comfort, this project lets you call all the shots, crafting a stand that feels truly yours.
6. Table Saw Stand with Flip up Out Feed
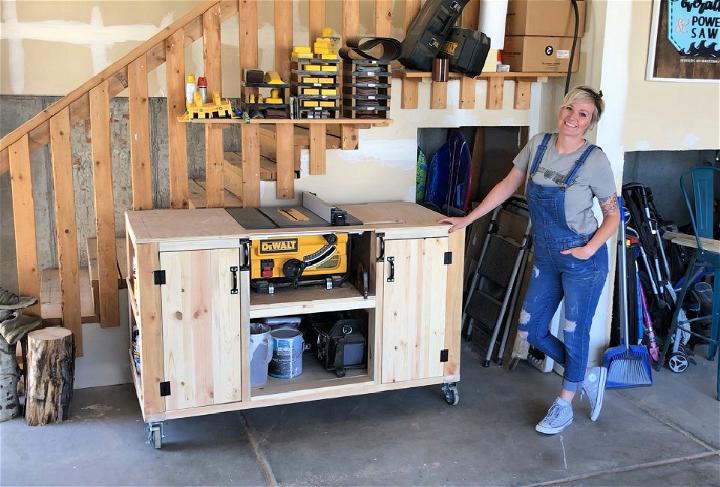
A table saw stand with a flip-up outfeed offers an ingenious solution to managing long boards and large projects single-handedly. Suddenly, you're not just working smarter, but your output's quality skyrockets too, thanks to the added support where it counts. This design cleverly combines compactness with practicality, ensuring your workshop remains versatile and ready for any challenge.
7. DIY Table Saw Table
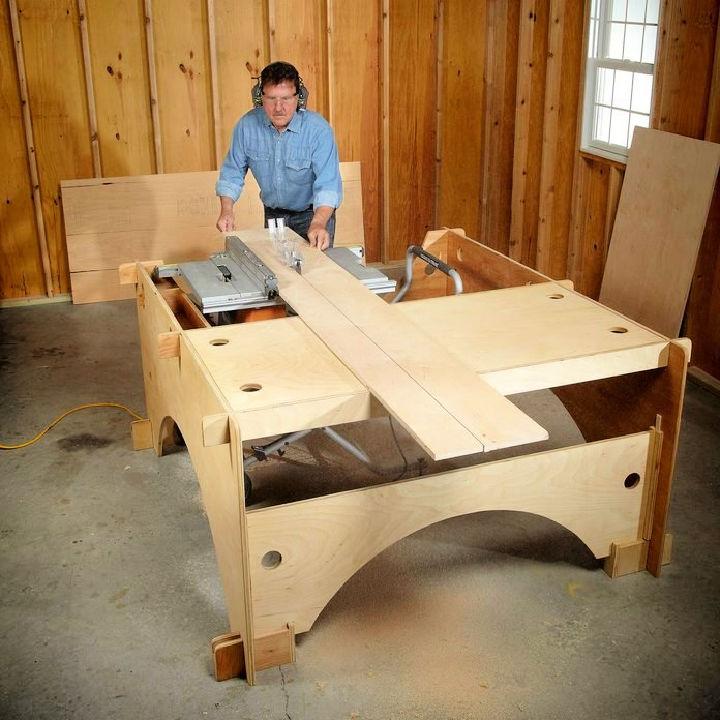
Embarking on a DIY table saw table project is not just about building a stand; it's about making a cornerstone for precision and efficiency in your workshop. With ample room for your saw and customized storage options, it's designed to keep everything you need within arm's reach. Say goodbye to clutter and hello to streamlined projects!
8. How to Build a Table Saw Stand
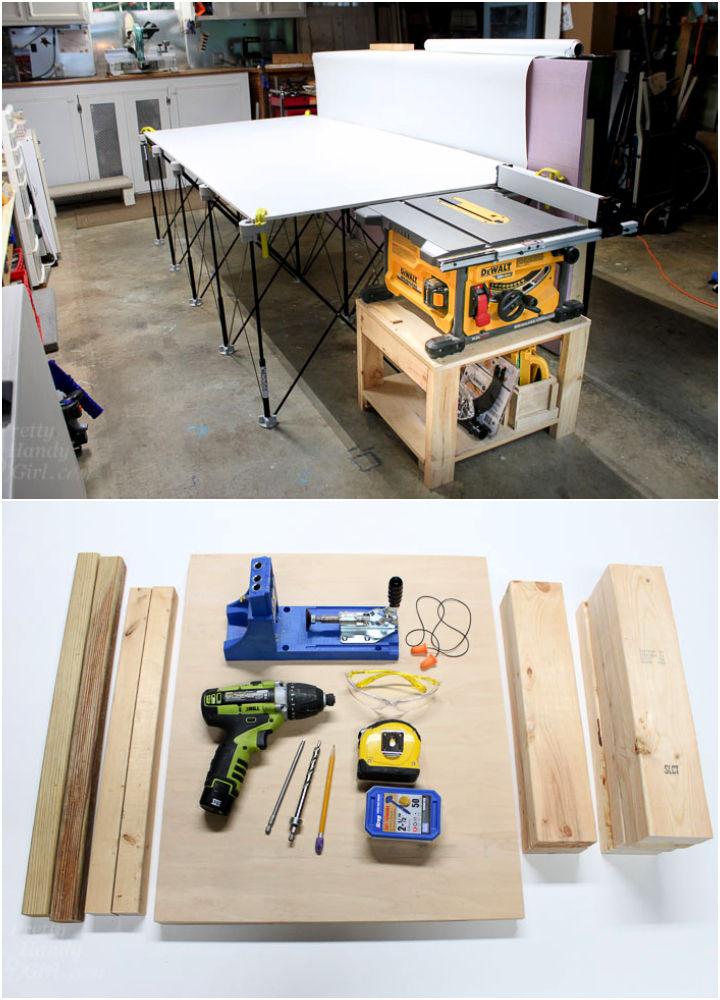
Learning how to build a table saw stand can transform your woodworking projects with a foundation of stability and precision. It's about crafting a dedicated space that elevates your saw's performance, making every cut more accurate and every project more enjoyable. Plus, it's a great way to infuse your personal touch into your workspace.
9. Built-in Mobile Table Saw Workbench
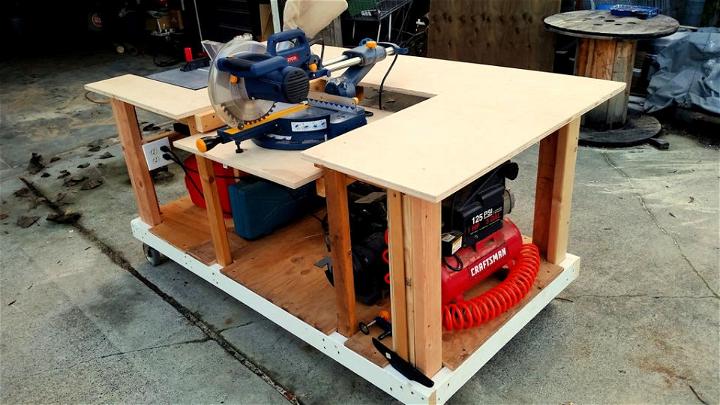
Envision a built-in mobile table saw workbench that moves with you—literally. This design combines the robustness of a fixed workbench with the agility of mobile stands. It's a workspace that adapts to your needs, offering flexibility and stability, all while keeping your saw and tools neatly organized. A dream setup for those seeking efficiency and mobility in one.
10. Mobile Workbench with Table Saw
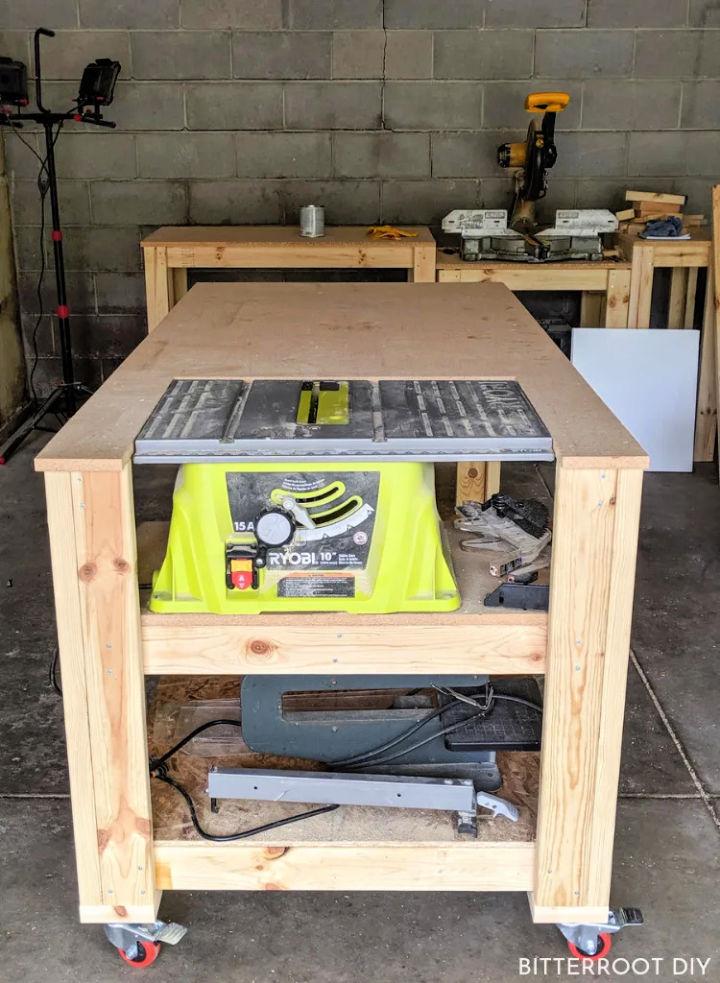
A mobile workbench with an integrated table saw stands as a testament to flexibility and innovation in modern workshops. It's not just about having a portable workbench; it's about integrating your essential tools into a cohesive, movable unit. Perfect for maximizing small spaces or for woodworkers on the move, it makes sure your workspace works as hard as you do.
11. How to Build a Table Saw Workbench
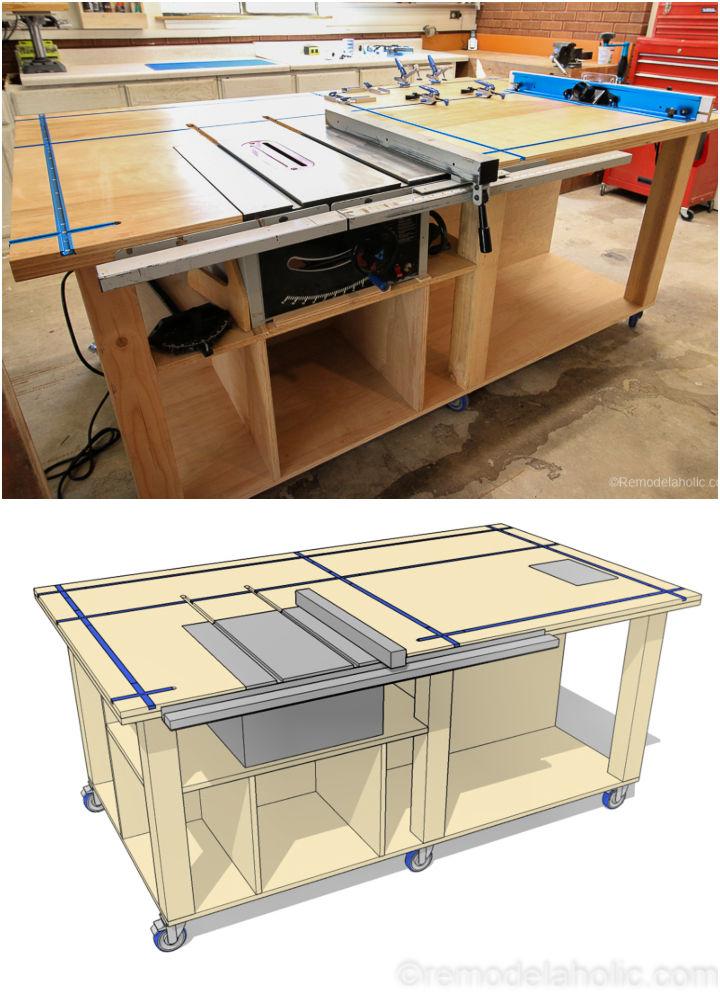
Building a table saw workbench integrates your table saw into a broader workspace, allowing more room for maneuvering and accuracy. This design promotes efficiency and safety, enabling you to manage larger projects effortlessly. It's a wonderful approach to establish a more functional and streamlined workspace.
12. Workbench With Table Saw and Router Table
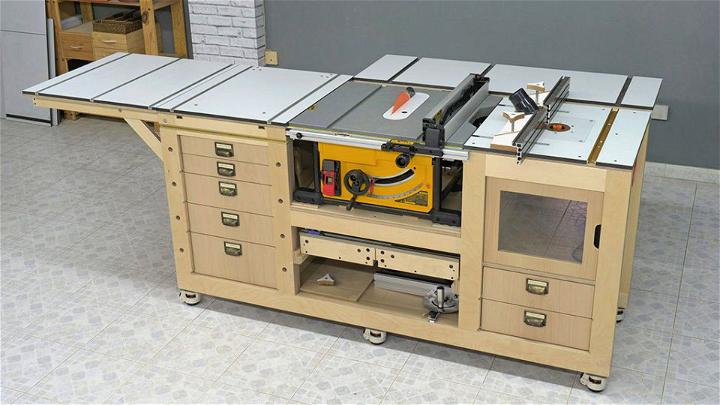
A workbench with a table saw and router table combines two essential power tools in one compact design, maximizing your workshop's versatility. This setup saves space while offering the flexibility to switch between tasks seamlessly, enhancing your project quality and enjoyment.
13. DIY Folding Table Saw Station
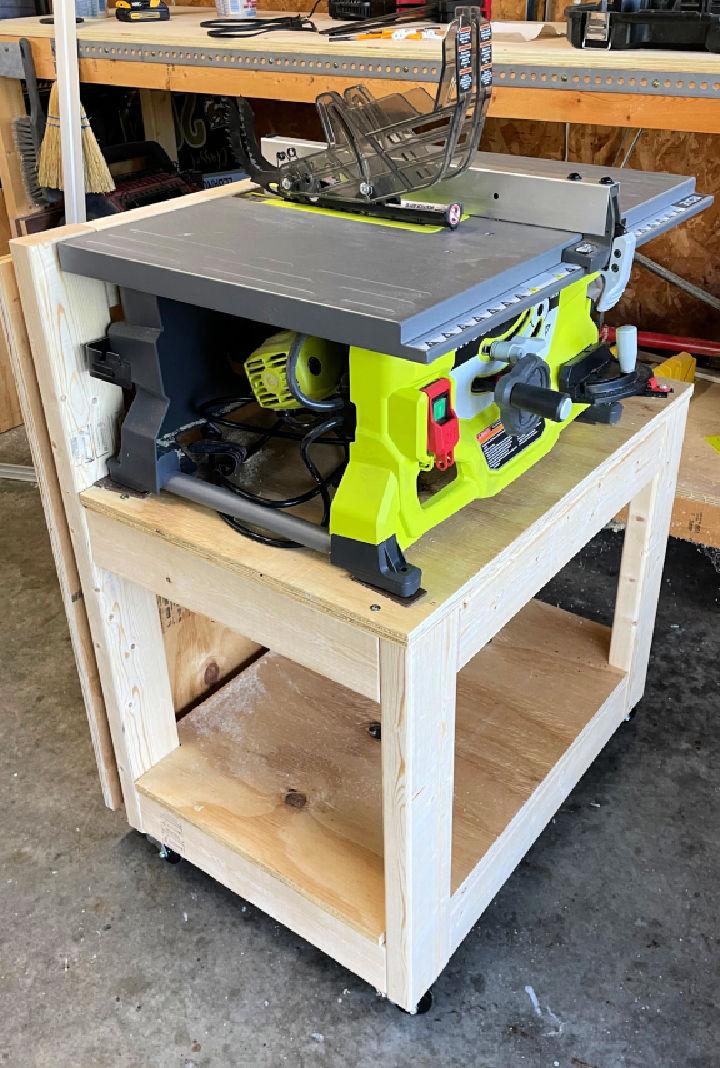
A DIY folding table saw station is the epitome of convenience for small workshops or multi-purpose spaces. It allows you to easily store your table saw when not in use, freeing up precious floor space. This clever design ensures your workspace remains adaptable to your needs, whatever the project.
14. Customizing a Table Saw Stand
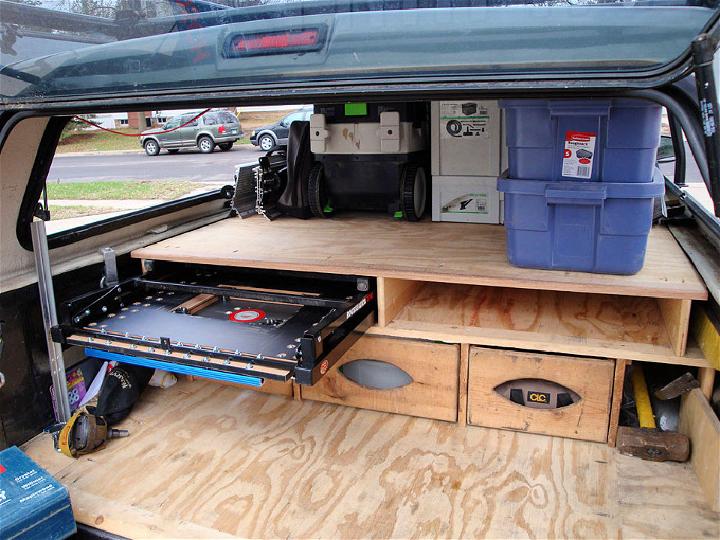
Customizing a table saw stand can significantly improve your woodworking experience. By tailoring dimensions and adding features like drawers or shelves, you build a stand that meets your specific needs. This personalized approach enhances organization and efficiency, making your time in the workshop both enjoyable and productive.
15. Handmade Table Saw Stand on Casters
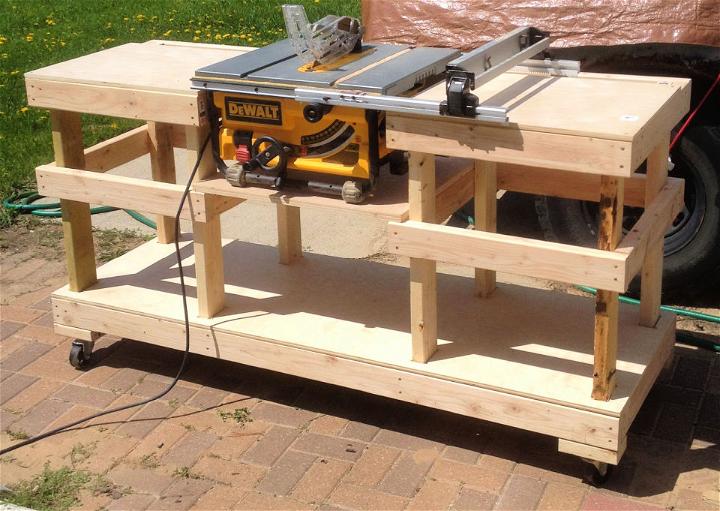
Making a handmade table saw stand on casters offers unparalleled mobility in your workspace. This design allows you to move your table saw to wherever it's needed, optimizing your workshop layout for any project. It's perfect for those who value flexibility and convenience in their crafting space.
16. DIY Miter Saw Stand
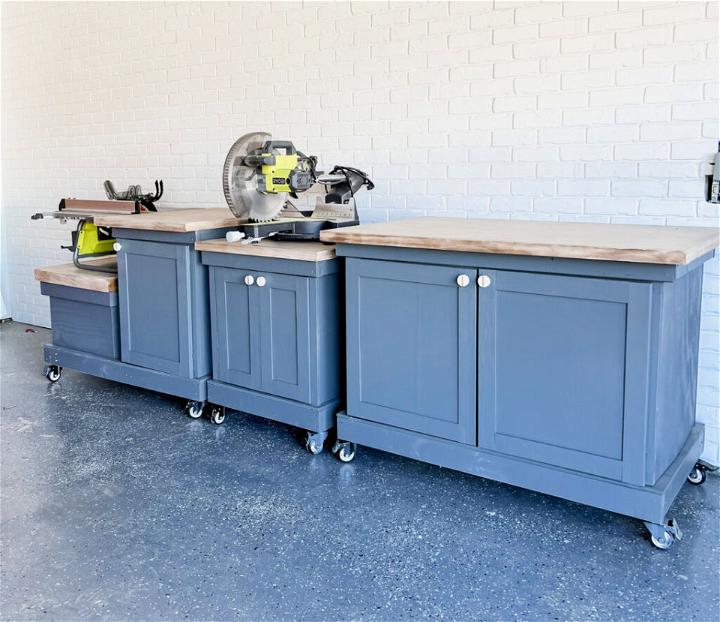
A DIY miter saw stand is a fantastic project to elevate your woodworking skills. It provides a sturdy, dedicated space for your miter saw, improving accuracy and efficiency. This addition to your workshop is not only practical but also a stepping stone to more advanced woodworking projects.
17. Building a Foldable Miter Table Saw Stand
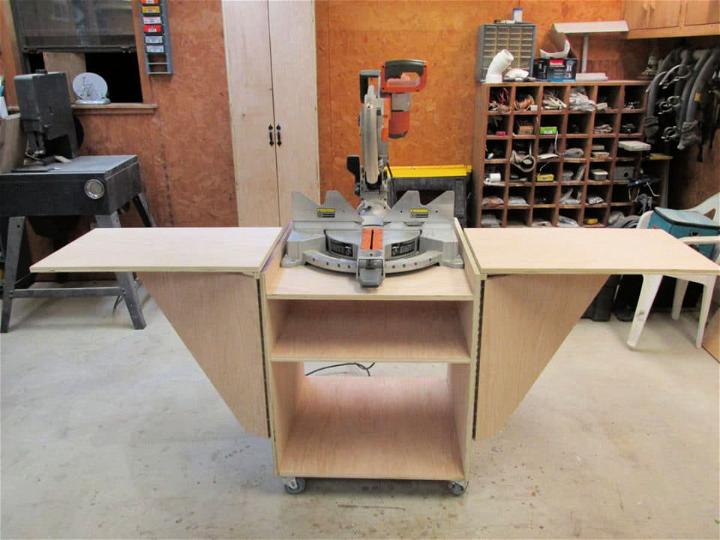
Constructing a foldable miter table saw stand brings together the best of both worlds: convenience and functionality. Its foldable design makes it easy to store, while still offering a robust platform for precise cuts. Ideal for hobbyists and seasoned woodworkers alike looking to optimize their workspace.
18. DIY Miter Saw Stand with Wheels
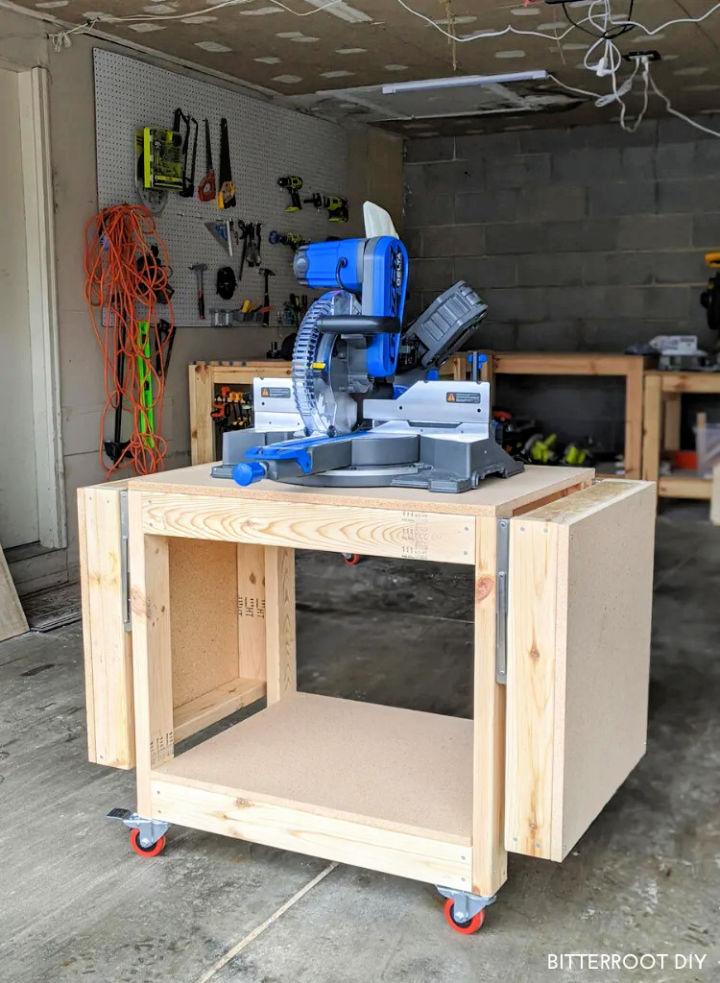
An innovative approach to enhancing your workshop's functionality is building a DIY miter saw stand with wheels. This design offers mobility, allowing you to easily move your saw as needed, while also providing a stable base for accurate cutting. It's a smart solution for dynamic woodworking environments.
19. Build a Portable Mobile Miter Saw Stand

Making a portable mobile miter saw stand expands your woodworking possibilities beyond the confines of your workshop. This stand is designed for easy transportation, so you can take your miter saw to various work sites or storage locations. It's perfect for woodworkers who value flexibility and portability in their tools.
20. DIY Folding Outfeed Table for Table Saw
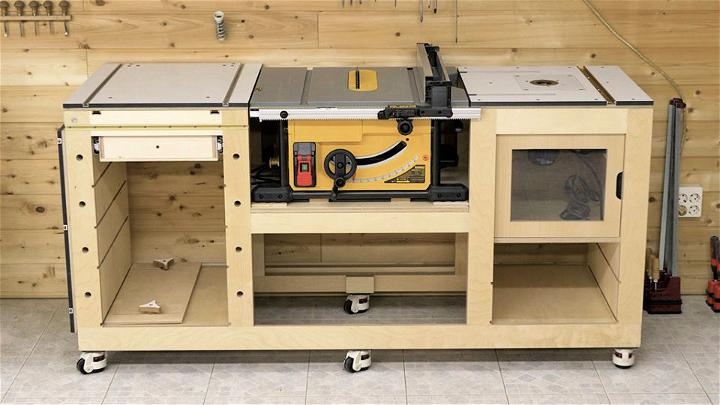
A DIY folding outfeed table for your table saw is a game-changer for handling long pieces of wood safely and efficiently. When not in use, it conveniently folds away, preserving valuable workspace. This simple addition can significantly enhance the functionality of your table saw, making it a wise choice for any woodworker.
21. Making a Miter Saw Table Stand
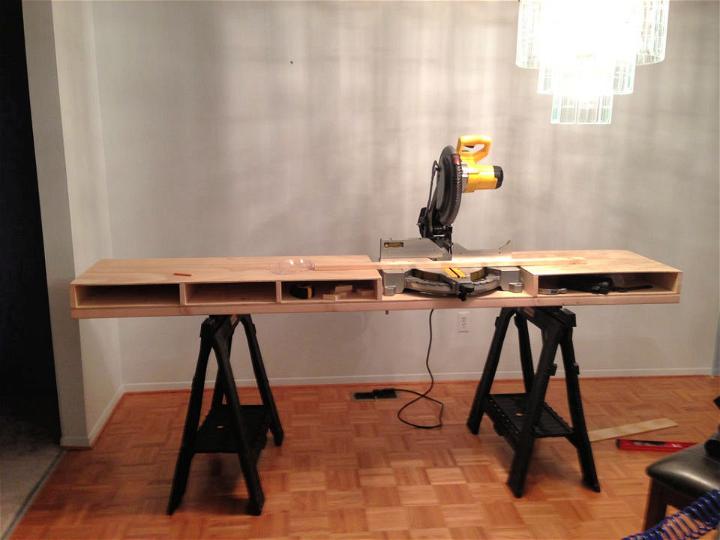
Making a miter saw table stand can truly enhance your woodworking projects. This stand provides a stable platform, allowing for precise cuts every time. Its design typically includes adjustable supports for handling various sizes of wood, making your job smoother and more efficient. The benefits extend to improved accuracy and safety during use.
22. Mobile Miter Saw Stand With Wheels
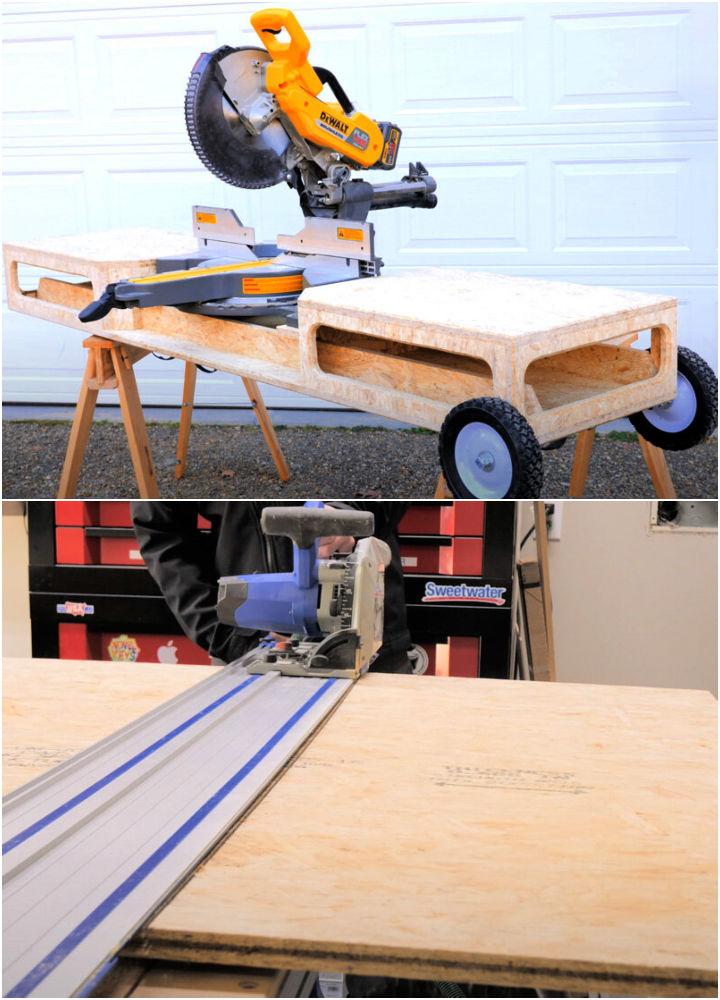
Imagine the convenience of a mobile miter saw stand on wheels. This innovative design means you can easily move your workstation to wherever it's needed, indoor or outdoor. It's perfect for DIY enthusiasts who have limited space but unlimited creativity. The wheels add a layer of versatility, ensuring that your saw is always where the action is.
23. How to Make Table Saw Cart
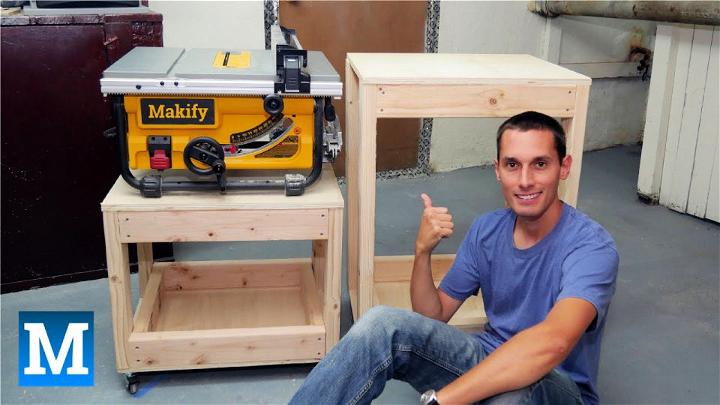
Making a table saw cart from scratch can be a rewarding project. Not only does it offer a mobile solution for your saw, but it also provides additional storage for tools and accessories. A DIY cart can be customized to fit your specific needs, making your woodworking tasks more organized and less time-consuming.
24. DIY 2x4's Table Saw Stand
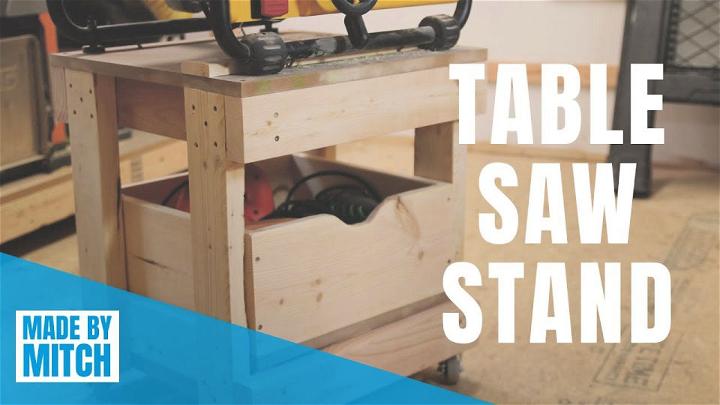
Consider the simplicity and cost-effectiveness of building a DIY 2x4's table saw stand. This project is perfect for those who appreciate minimalism but require functionality. Using just 2x4's, you can construct a sturdy, reliable stand that supports your saw and projects, demonstrating that sometimes, less really is more.
25. Table Saw Bench for Dewalt DWE
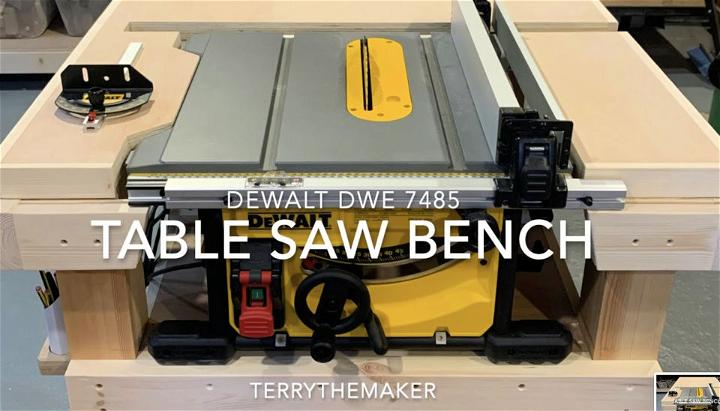
Designing a table saw bench specifically for your Dewalt DWE can significantly enhance your cutting experience. This customized bench not only fits your saw perfectly but also includes features such as extended work areas and built-in storage, making it an indispensable addition to your workshop. Its tailored design ensures that every cut is as effortless as possible, showcasing the power of customization.
Conclusion:
In conclusion, making a DIY table saw stand is a practical and cost-effective way to enhance your woodworking projects. By customizing the stand to meet your specific needs, you can improve efficiency and safety in your workshop. With the right tools and materials, you can easily build a sturdy and reliable table saw stand that will support your projects for years to come.


