Building your own 14ft shuffleboard can be an incredibly rewarding project. It's a great way to make a stunning piece of leisure equipment that's sure to entertain friends and family for years. Follow this detailed, step-by-step guide to craft your own shuffleboard. This process involves several major steps, including preparing the wood, assembling the legs, making the playing surface, and final touches.

Step by Step Instructions
Explore DIY shuffleboard table plans with detailed instructions, from wood prep to the final touches, and master game rules and techniques.
Preparing the Wood
- Selecting the Wood: Begin by selecting high-quality soft maple boards for the playing surface and red oak for the legs. These materials were chosen for their durability and aesthetic appeal.
- Milling the Boards: Mill the soft maple boards down to size. Aim for the boards to be 14ft long and ensure they're perfectly straight and uniform in thickness.
- Butcher Block Glue-up: Arrange the boards side by side and perform a butcher block glue-up to make the playing surface. This helps in minimizing expansion and contraction. Remember, the grain should run vertically to ensure stability.
- Adding Dominos for Alignment: For extra stability and to aid in the glue-up process, add Dominos along the top edge of the boards. This step is crucial for keeping the boards aligned during the glue process and for minimizing the amount of work required during flattening.
Assembling the Legs
- Cutting and Shaping the Legs: Cut the red oak to the required dimensions for the legs. For enhanced visual appeal and structural integrity, opt for a boxed miter leg design.
- Making Spline Joints: Add spline joints to the mitered corners to increase strength and durability. This involves cutting slots into the mitered edges and inserting a strip of maple for additional support.
- Glue-up Process: Carefully glue and clamp the legs together, ensuring each joint is perfectly aligned and secure.
Making the Playing Surface
- Cutting to Size: Once the butcher block surface is prepared and glued, cut it down to the precise dimensions required for your shuffleboard.
- Adding Reference Lines: Using either a CNC machine or by hand, add reference lines and scoring zones to the playing surface. Personalize the surface with initials or a logo for a custom touch.
- Applying Epoxy: Apply a layer of tabletop epoxy over the playing surface. This provides a smooth, durable finish that will protect the wood and enhance playability.
- Final Sanding and Waxing: After the epoxy has dried, sand the surface with up to 320-grit sandpaper to eliminate any imperfections, followed by waxing for a sleek, smooth finish.
Final Touches
- Installing Legs: Attach the legs to the playing surface, ensuring everything is perfectly squared and aligned. Use knock-down fasteners for easy assembly and disassembly if necessary.
- Leveling Feet: Install leveling feet at the bottom of the legs to ensure the playing surface is perfectly level. This is crucial for fair play.
- Adding Tension Rods: Install tension rods beneath the playing surface to maintain the slight concavity necessary for optimal play.
- Laying the Carpet: Add carpet to the gutters along each side of the playing surface for a finished look and to protect any pucks that stray off the playing area.
Video Tutorial
For a step-by-step video tutorial on building an epic 14ft shuffleboard, watch this YouTube video: Epic 14ft. Shuffle Board Build.
It pairs well with this written guide, enriching your understanding by showing each technique in action to demystify the construction process.
Making your own shuffleboard table can be a challenging but incredibly rewarding DIY project. With patience, precision, and a bit of elbow grease, you can build a beautiful and fun addition to your home entertainment offerings.
Understanding Shuffleboard: Rules and Techniques
Shuffleboard is a game that combines skill, strategy, and a bit of luck. Whether you're playing on a classic table or a deck, the objective remains the same: slide your pucks to the scoring area and earn points. Let's break down the basics and some techniques to help you enjoy and excel at shuffleboard.
The Basics of Shuffleboard
Scoring
- Points are only scored by the pucks that are furthest down the board.
- Pucks must pass the foul line to be eligible for points.
- The puck closest to the end, not hanging off, scores.
- Pucks in different zones score 1, 2, 3, or 4 points, based on their position.
The Play
- Players take turns sliding pucks down the board.
- Each player has four pucks.
- The round ends when all pucks have been played.
Techniques to Improve Your Game
The Slide
- Use a smooth, steady motion to slide your puck.
- Aim for a consistent speed and direction.
The Knock Off
- Target your opponent's pucks to knock them off the board.
- Protect your high-scoring pucks by knocking off threats.
The Bump
- Bump your own pucks into higher-scoring positions.
- Use lighter pucks to push heavier ones forward.
Strategy Tips
- Control the Speed: Learn to control the speed of your pucks; too fast and you risk falling off the board, too slow and you won't score.
- Aim for the Sides: Aiming slightly to the sides can help keep your pucks on the board.
- Practice the Hammer: The last shot, or ‘the hammer', is crucial. Practice to make it count.
By understanding these rules and techniques, you'll not only enjoy shuffleboard more but also increase your chances of winning. Remember, practice makes perfect, so keep playing and refining your skills. Happy shuffling!
FAQs About DIY Shuffleboard Table
Shuffleboard is a game enjoyed by many, and with its increasing popularity, several questions often arise. Here are answers to some of the most frequently asked questions about shuffleboard.
What is the Standard Size of a Shuffleboard Table?
The standard size for a shuffleboard table is 22 feet in length, but tables can range from 9 to 22 feet. The width typically spans 16 to 20 inches, and the thickness of the playfield may vary from 1.5 to 3 inches. When purchasing a table, ensure you have at least 2 feet of clearance on each end for players.
How Do I Maintain My Shuffleboard Table?
Maintaining your shuffleboard table involves regular cleaning and waxing to keep the playfield smooth and free of debris. Use shuffleboard-specific cleaners and silicone spray to protect the surface. Adjust climate adjusters if your table has them to prevent warping due to temperature changes.
Can Shuffleboard be Played by Different Age Groups?
Absolutely! Shuffleboard is a game that can be enjoyed by all ages. It requires minimal physical exertion, making it perfect for both young and older players. The key is to ensure the playing surface is accessible to all participants.
What Are the Basic Rules of Shuffleboard?
In shuffleboard, players slide pucks down the table, aiming to reach the highest scoring areas without falling off the end. Each player or team takes turns, and only the pucks that are furthest down the board and past the foul line score points. The game can be played one-on-one or in teams.
How Can I Improve My Shuffleboard Game?
Improving your shuffleboard game involves practice and developing a strategy. Focus on controlling the speed and direction of your pucks, aim for the sides to prevent them from falling off, and learn to use the ‘hammer'—the final shot effectively. Defensive play, such as protecting your high-scoring pucks, is also crucial.
10 DIY Shuffleboard Table Plans
Discover 10 expertly designed DIY shuffleboard table plans to make your own game room masterpiece. Step-by-step instructions for making endless fun!
1. DIY Shuffleboard Table for Game Room
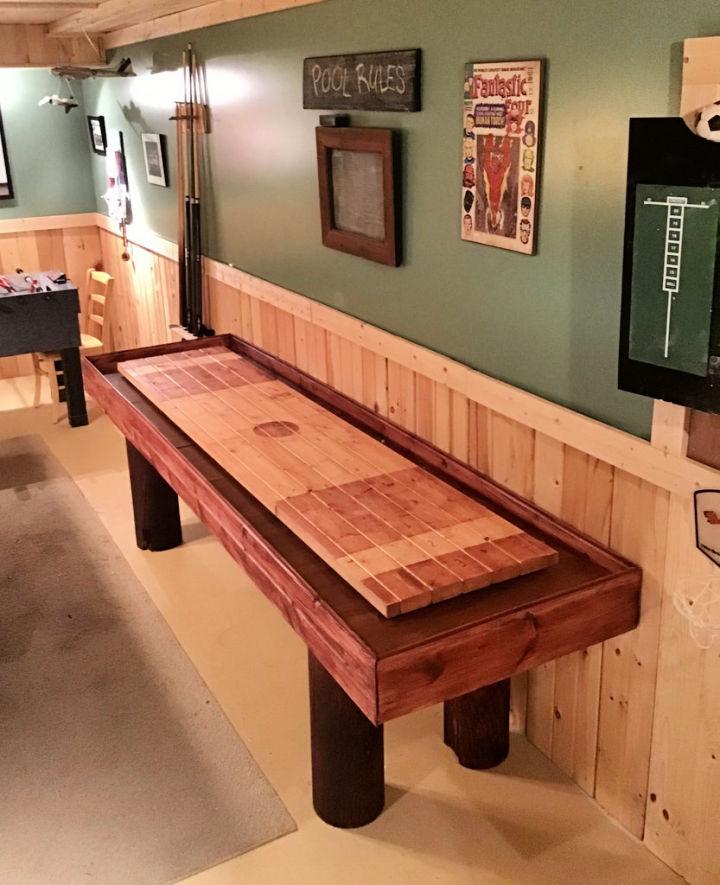
A DIY shuffleboard table can elevate your game room, offering endless entertainment. Its sleek design and smooth surface ensure thrilling gameplay, making it a fantastic addition to your leisure area.
2. How to Build a Shuffleboard Table
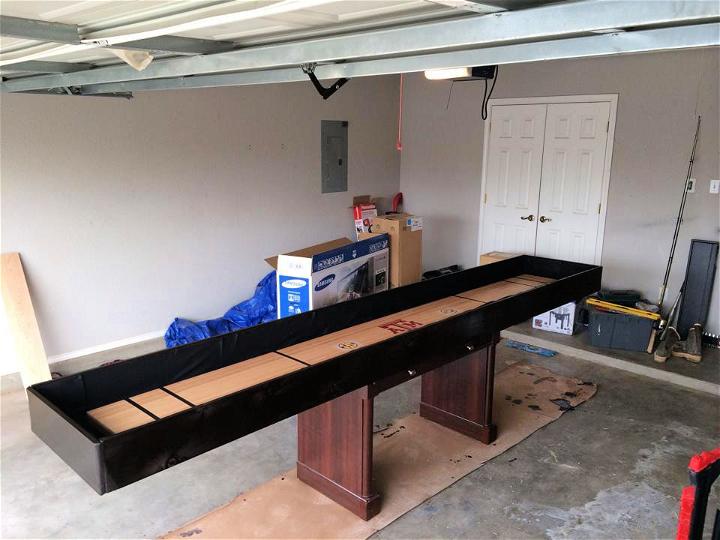
Building a shuffleboard table can be a rewarding project. It not only hones your woodworking skills but also gives you a custom piece that sparks joy and competition among friends and family.
3. Making a Wooden Shuffleboard Table
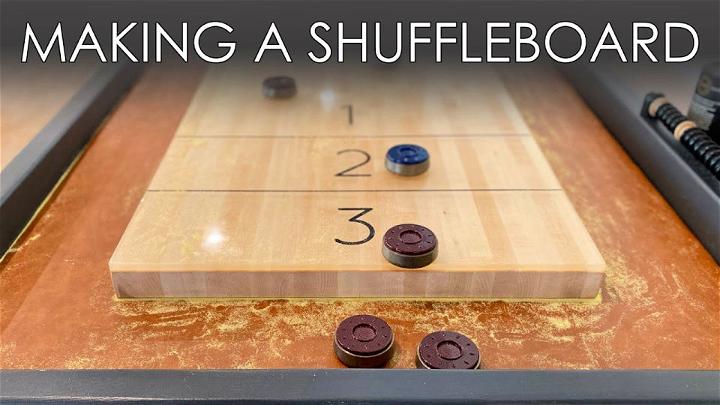
Constructing a wooden shuffleboard table brings a touch of elegance and durability. Wood offers a classic look and a sturdy playing field, ensuring your creation lasts for generations of fun.
4. Build Your Own Shuffleboard Table from Scratch
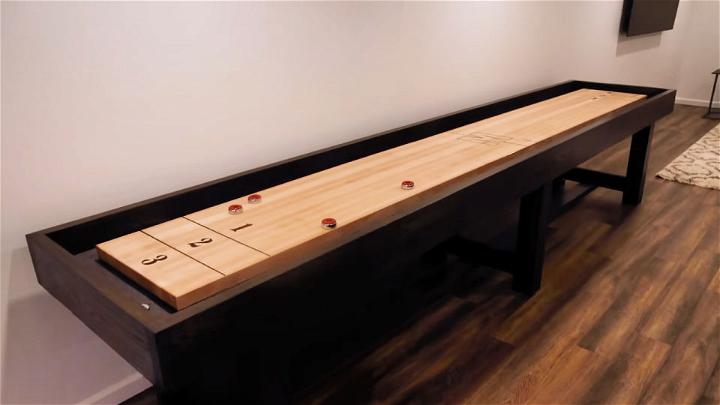
Embarking on building your shuffleboard table from scratch is an adventure. It allows you to tailor every detail to your preference, resulting in a personalized game table that's uniquely yours.
5. Meter-Long DIY Shuffleboard Table Plans
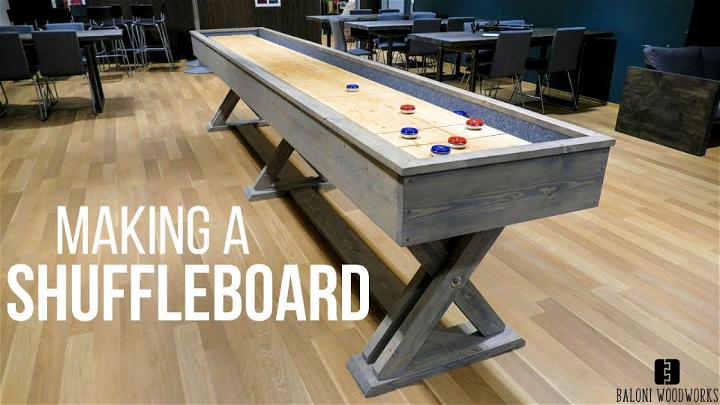
Building a meter-long shuffleboard is ideal for tighter spaces. This compact version packs the same fun in a smaller footprint, making it perfect for cozy game rooms or apartments.
6. Shuffleboard Table Plans with Bourbon Moth and Nick Key
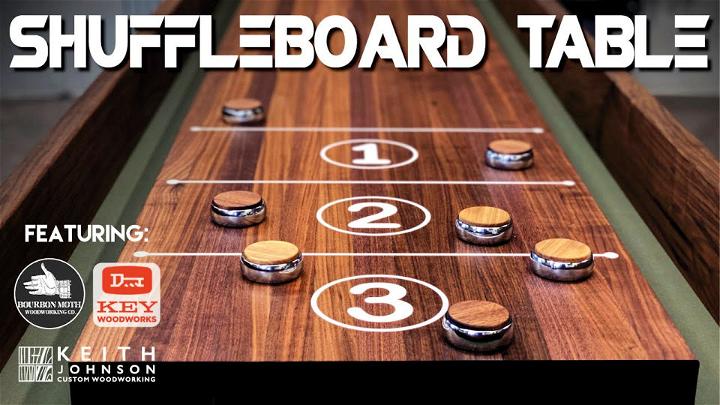
Gathering around a shuffleboard table crafted with the expertise of Bourbon Moth and Nick Key is not just a game; it's an experience. This table blends impeccable design with robust craftsmanship, ensuring every game is smooth and memorable. Ideal for those who appreciate both leisure and style.
7. How to Make a Live Edge Shuffle Board Table
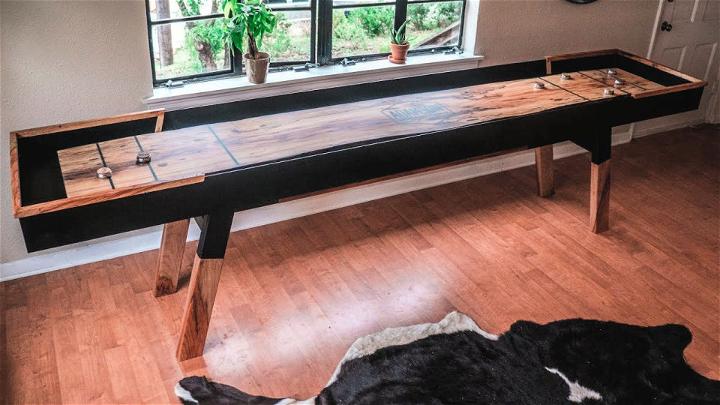
This guide on building a live-edge shuffleboard table introduces a touch of nature to your game room. This design features the raw beauty of wood, making a stunning focal point and a fun activity space.
8. Ultimate DIY Shuffleboard Table Plans
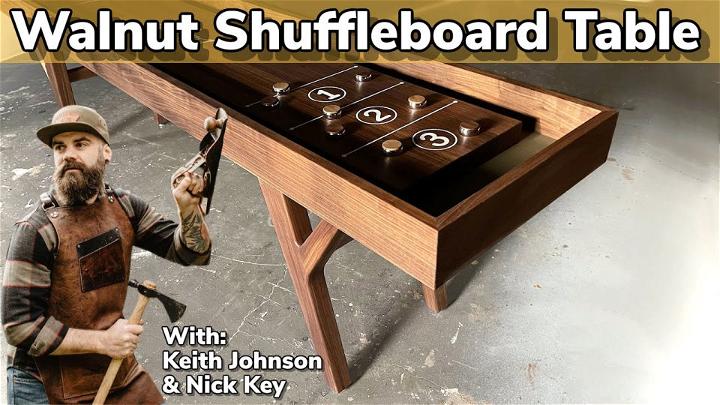
The ultimate DIY shuffleboard table encompasses functionality, style, and personal achievement. By taking this project on, you're set to make not just a game table, but a source of pride and joy.
9. DIY Wooden Shuffleboard Table
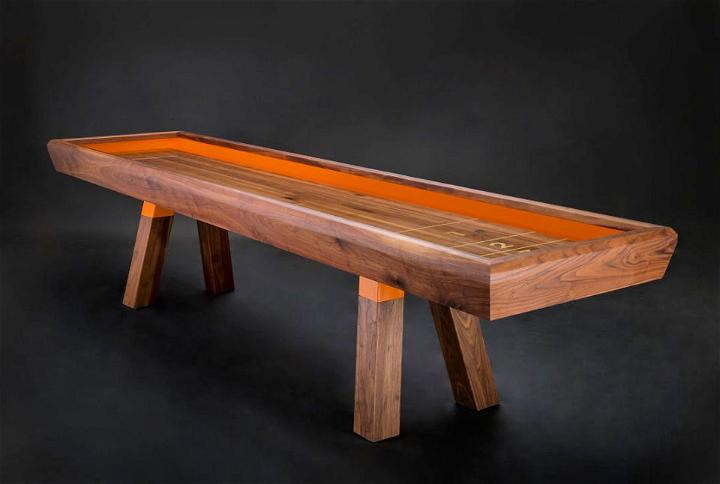
Building your wooden shuffleboard table brings a touch of classic elegance to your home. Its sturdy design ensures durability, while the smooth, polished surface offers optimal playability. It's a project that combines both fun and functionality, making it a rewarding addition to any game room.
10. Handmade Tabletop Shuffleboard
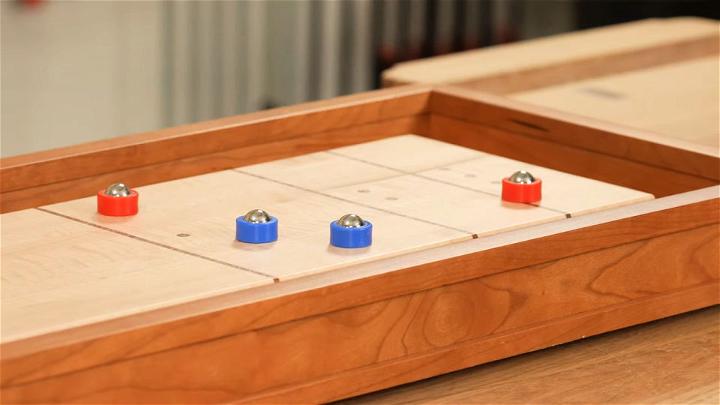
Making a handmade tabletop shuffleboard offers a personal touch to your gaming collection. Select materials that cater to your aesthetic and functionality preferences, ensuring a unique piece. Its tabletop compatibility makes it convenient for spaces of all sizes, engaging players in hours of competitive fun.
Conclusion:
In conclusion, DIY shuffleboard table plans are a fantastic way to create your own customized game table. By following these step-by-step guides, you can unleash your creativity and build a high-quality shuffleboard table at a fraction of the cost. Whether you're a beginner or an experienced woodworker, these plans provide a fun and rewarding project for all skill levels.
