I once bought a tie dye kit on a whim. My friends and I were looking for a fun weekend project, and spiral tie dye caught our eye. We had a bunch of plain white T-shirts ready to be transformed. I was excited but also a bit unsure. I had never done anything like this before. However, the idea of turning something plain into something vibrant was too tempting to pass up. So, we rolled up our sleeves and got to work, eager to see how our shirts would turn out.
The process was surprisingly simple yet so satisfying. We twisted our shirts into spirals, secured them with rubber bands, and started applying the dye. It was like magic, watching the dye soak into the fabric, knowing that we were creating something unique. After drying and washing the shirts, revealing the patterns brought genuine joy. Each shirt was a burst of color, a beautiful mess of spirals that we had created with our own hands.
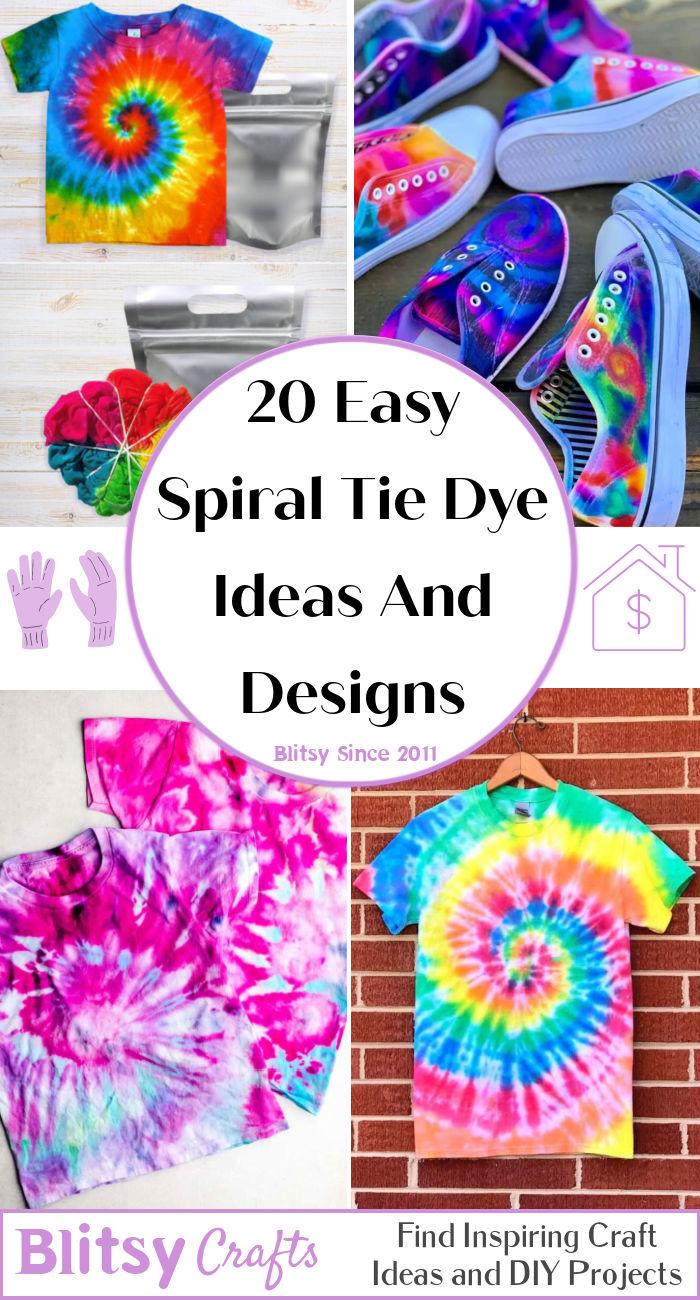
I’m here to guide you through 20 spiral tie dye patterns and show you how to do spiral tie dye yourself. These patterns are perfect for adding a splash of color to your wardrobe or creating unique gifts for friends and family.
1. Woodstock Tie Dye Spiral Shirt

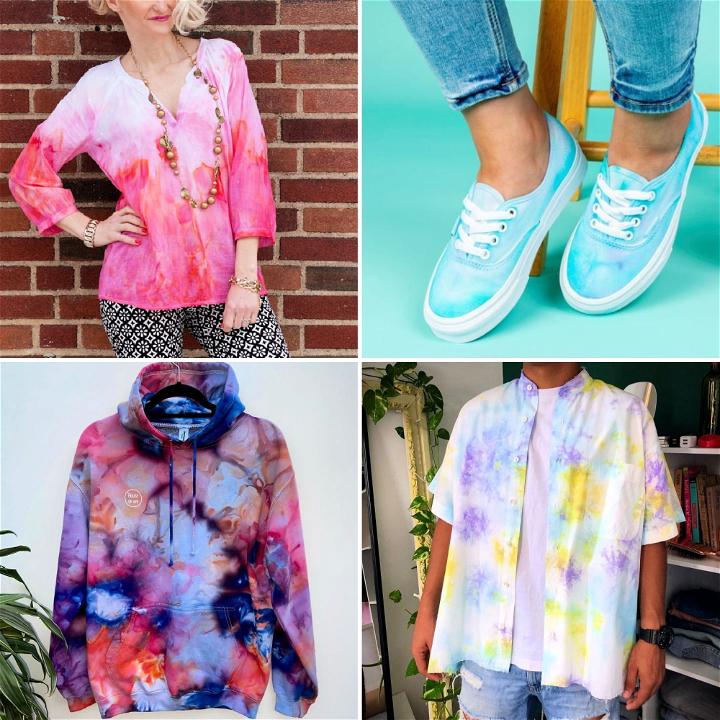
The Woodstock tie-dye spiral shirt takes you back to the groovy 60s. With its vibrant colors and psychedelic patterns, it not only makes a statement but also brings a sense of nostalgia. It’s perfect for festivals or adding a pop of color to your everyday wear.
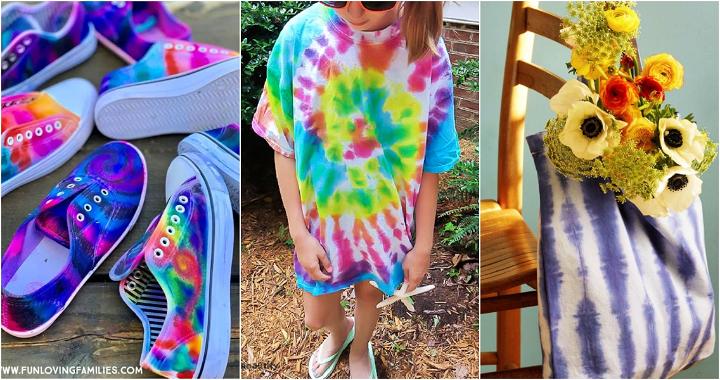
2. Spiral Tie Dye Tote Bag

A spiral tie-dye tote bag combines functionality with style. It's ideal for those who appreciate unique accessories. Whether you're hitting the beach or just carrying your daily essentials, this tote bag ensures you stand out with its eye-catching design.
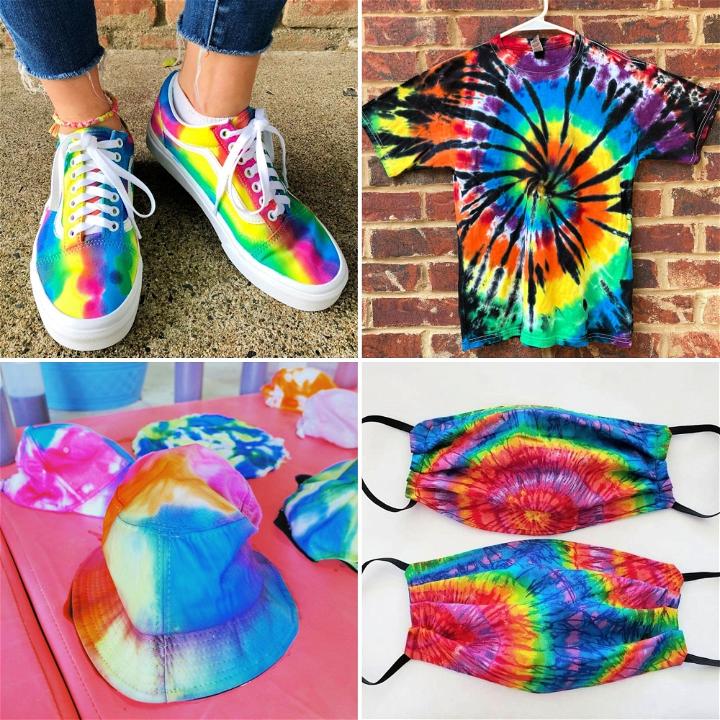
3. Sharpie Spiral Tie Dye Shoes
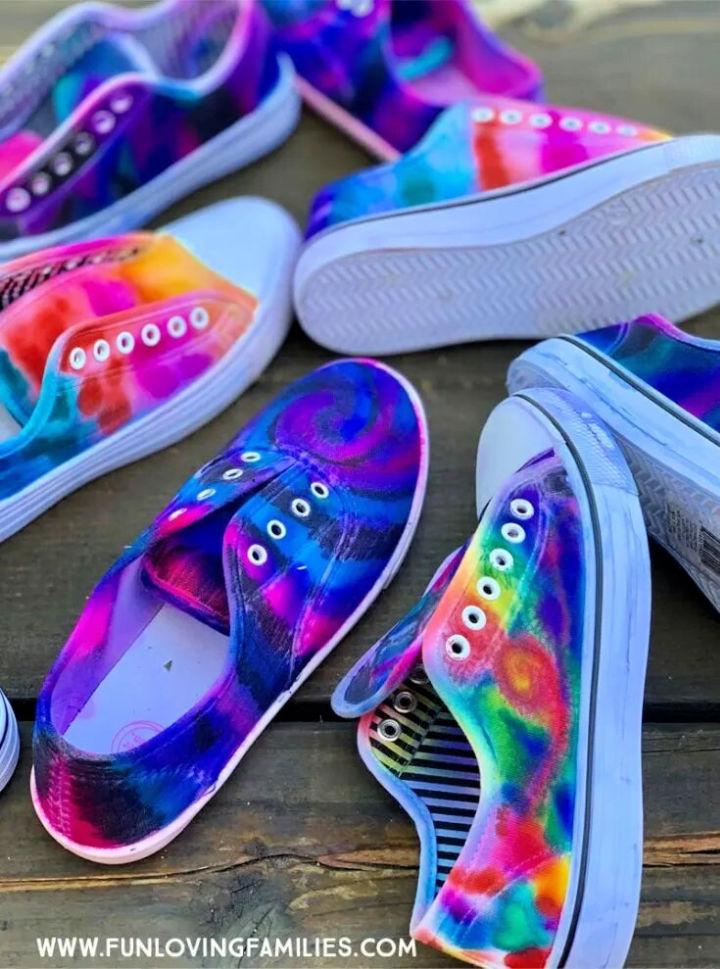
Sharpie spiral tie-dye shoes are a fun way to spruce up plain sneakers. This DIY project lets you express your creativity and add a personal touch to your footwear, resulting in a one-of-a-kind pair that's bound to catch eyes and start conversations.
4. Spiral Tie Dye T Shirt Pattern
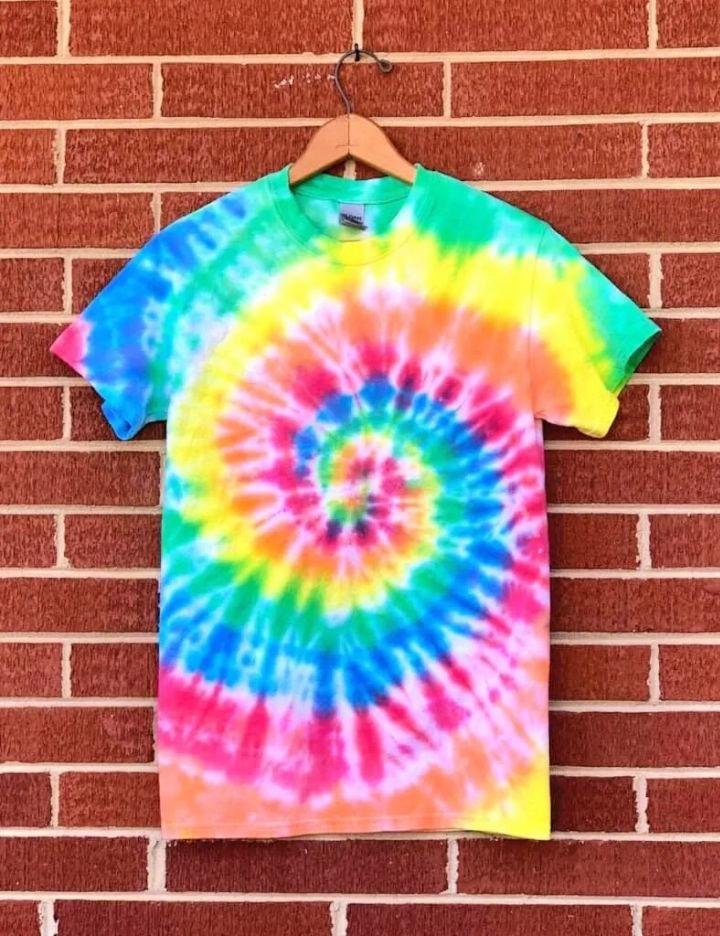
Mastering the spiral tie-dye t-shirt pattern can transform any plain tee into a masterpiece. This pattern, known for its captivating swirls, adds a dynamic twist to your wardrobe, making each piece a reflection of your artistic flair.
5. Make a Spiral Tie dye T shirt
Making a spiral tie-dye t-shirt is a delightful activity that combines creativity with simple techniques. It's a fantastic way to breathe new life into an old shirt, giving it a colorful makeover that radiates positive vibes wherever you go.
6. 4th of July Spiral Tie Dye Pattern
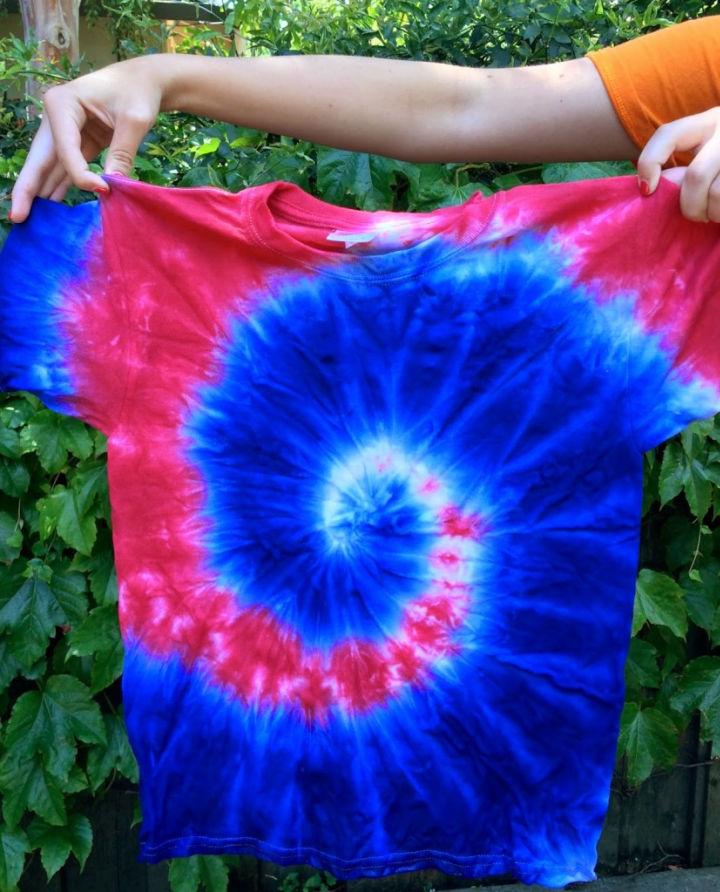
The 4th of July spiral tie-dye pattern is perfect for showing off your patriotic spirit. By incorporating red, white, and blue, you can make a festive garment that's ideal for Independence Day celebrations or any occasion that calls for a burst of american pride.
7. Swirl Tie Dye Design
A swirl tie dye design offers a mesmerizing pattern that's always in motion. It's a versatile choice that works well on everything from shirts to beddings, injecting a playful and artistic touch into your items with its hypnotic appeal.
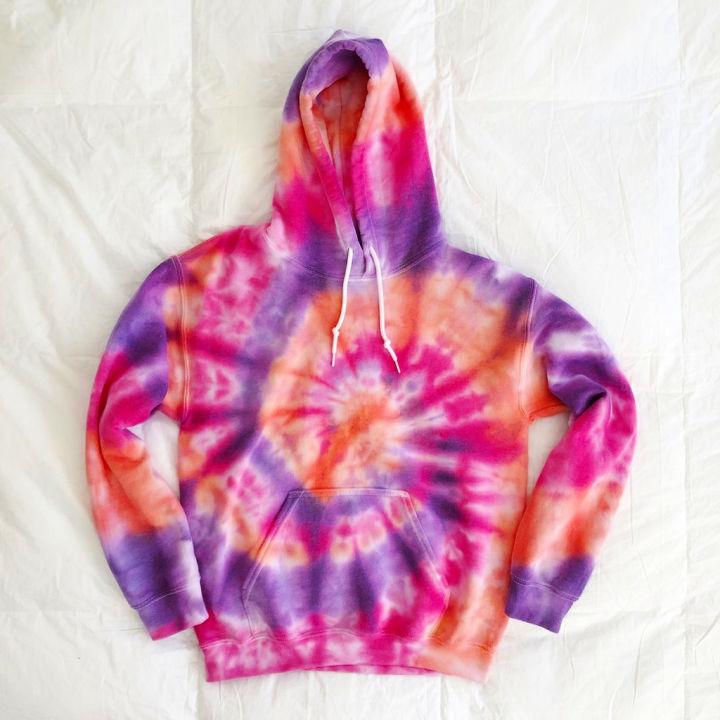
8. Spiral Tie Dye Hoodie
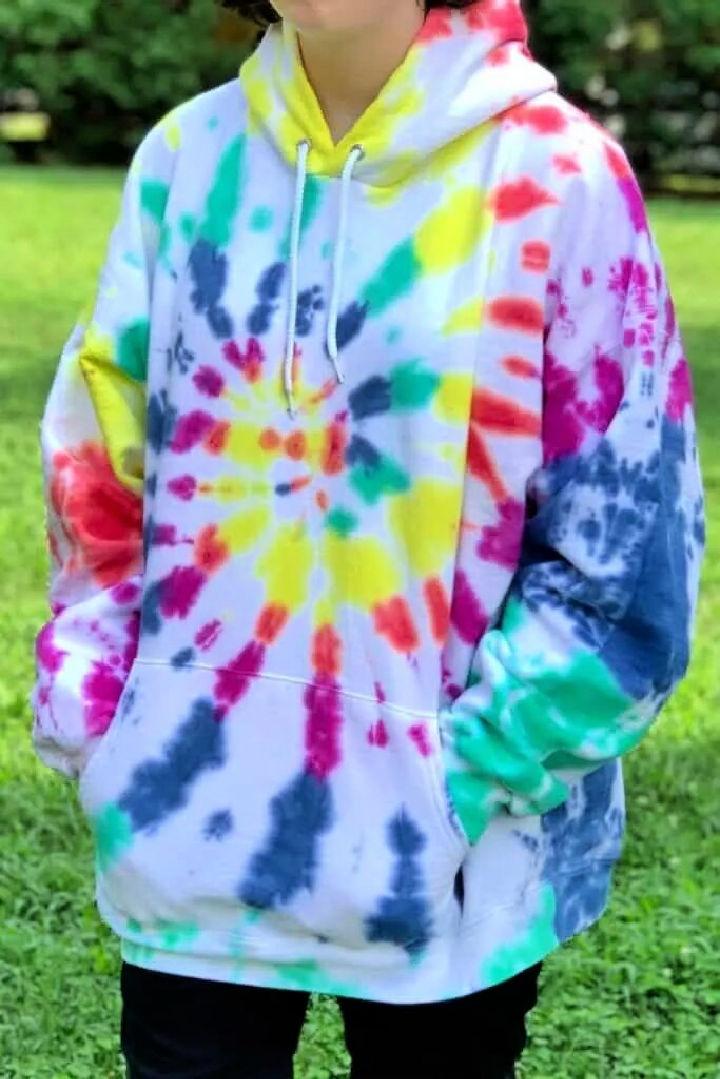
Cozy up in style with a spiral tie-dye hoodie. This piece combines the comfort of your favorite hoodie with the funky twist of tie-dye. It's an excellent choice for casual outings or lazy days at home when you still want to look cool.
9. Spiral Tie Dye Sweatshirts
Spiral tie-dye sweatshirts bring a splash of color to cooler days. Perfect for those who love to keep their wardrobe vibrant year-round, these sweatshirts are as cozy as they are stylish, ensuring you stand out in the chillier seasons.
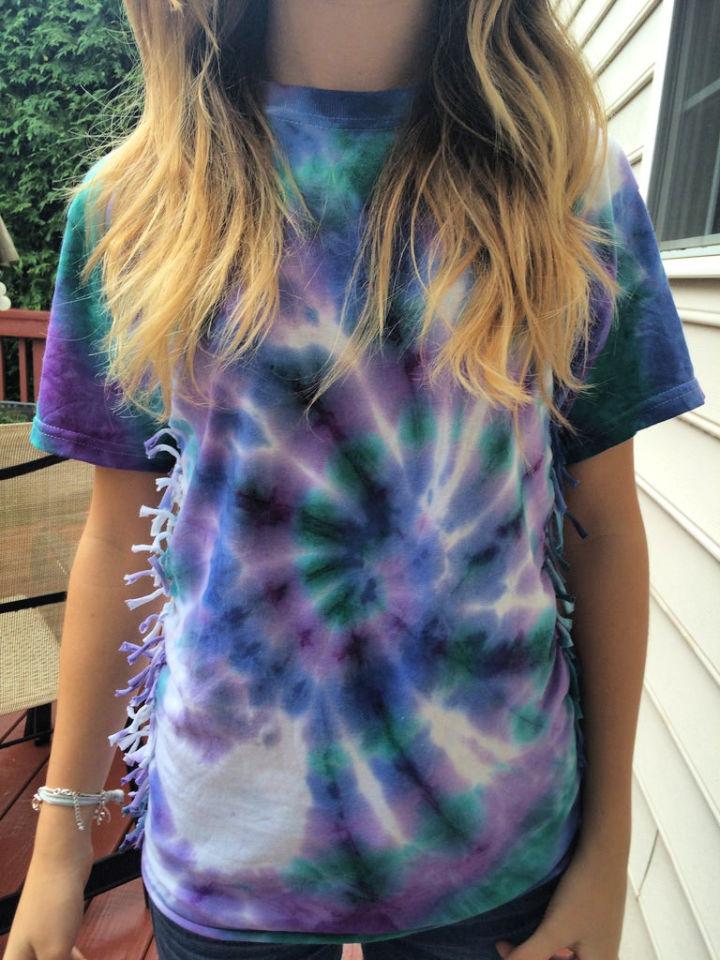
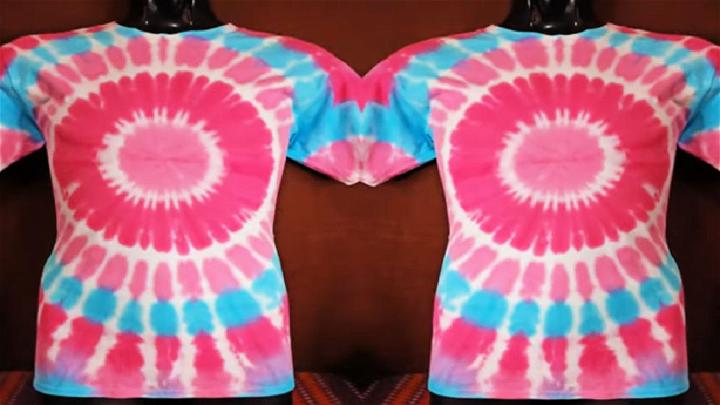
10. Double Spiral Tie Dye Shirt
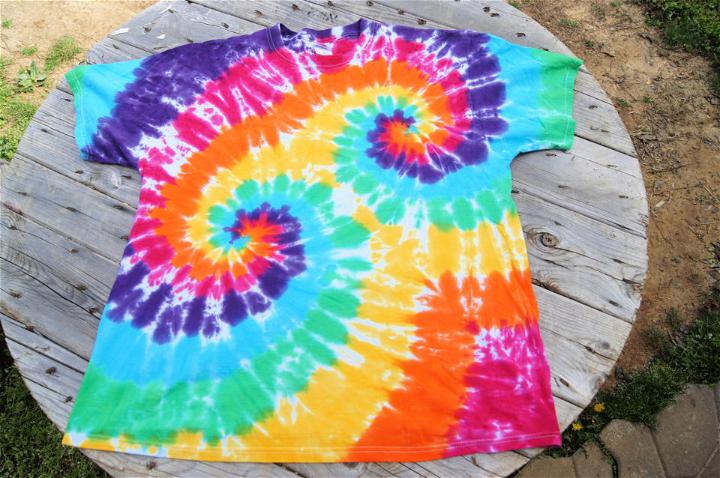
A double spiral tie-dye shirt puts a unique spin on classic tie-dye with its mirrored effect. This eye-catching design doubles the fun and stands out in a crowd, making it a fantastic conversation starter at any casual gathering.
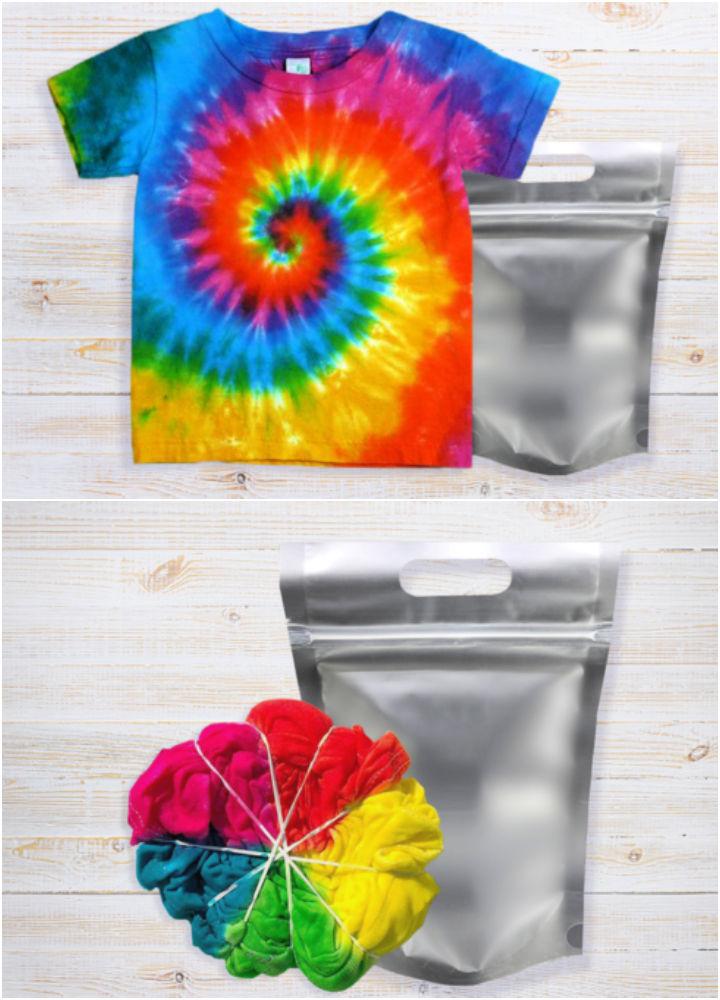
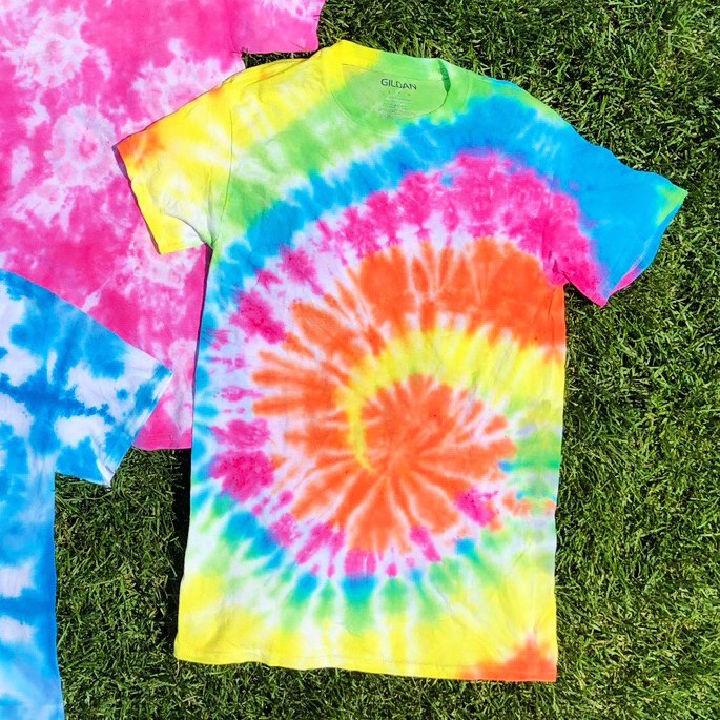
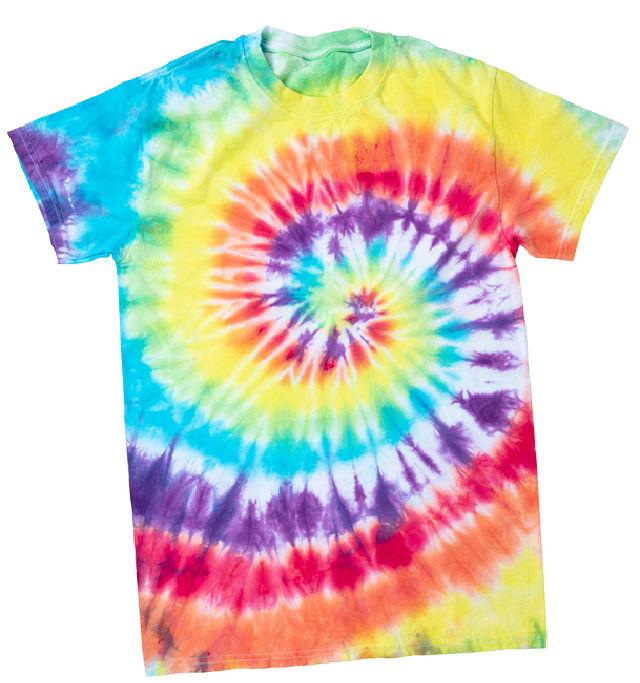
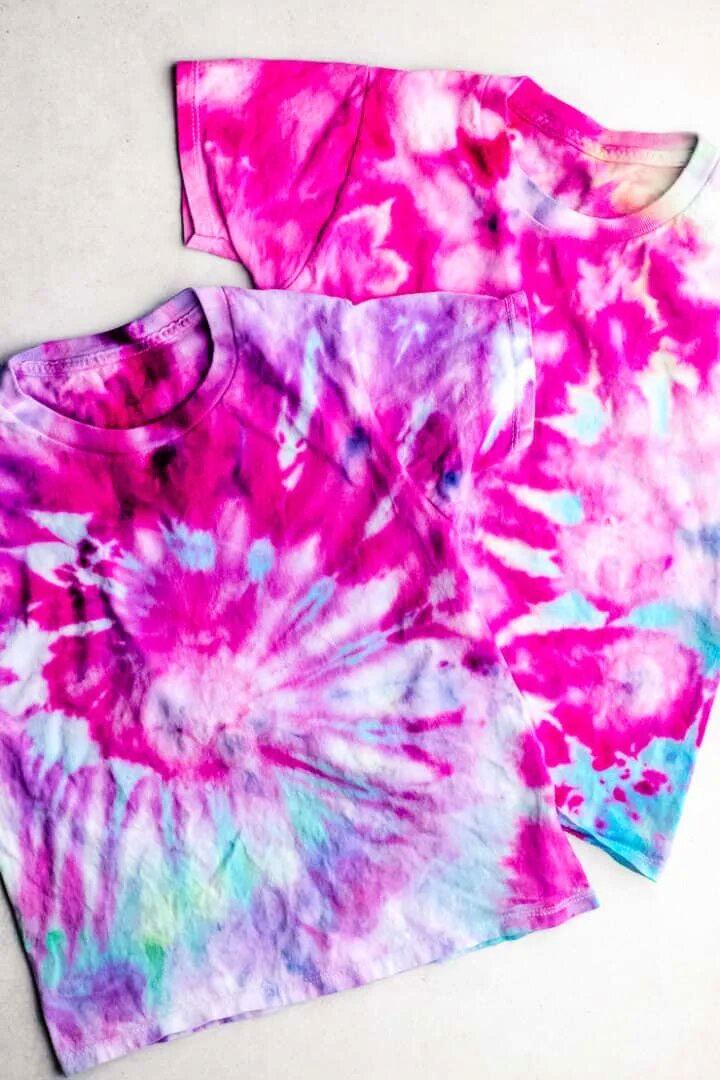
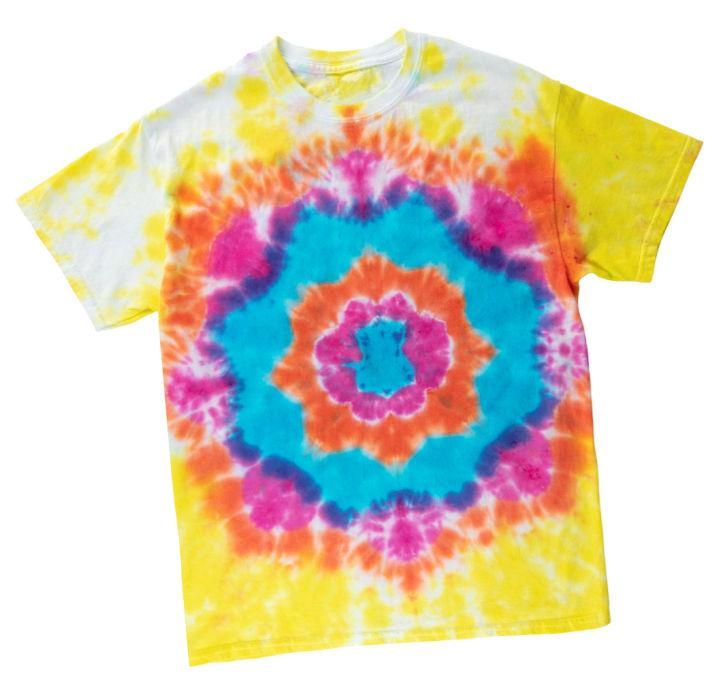
11. Rainbow Spiral Tie Dye T-Shirt
Embrace the full spectrum of colors with a rainbow spiral tie-dye t-shirt. This cheerful garment radiates positivity and inclusivity, making it a wonderful choice for festivals, pride events, or simply brightening up your daily outfit.
12. Spiral Tie dye Technique
The spiral tie dye technique is all about twisting and turning fabric into dazzling designs. Once you get the hang of it, you can make various patterns that range from subtle swirls to bold explosions of color, showcasing your artistic prowess.
13. Swirl Tie Dye Shirt
A swirl tie-dye shirt is your go-to for casual, artsy vibes. This design never goes out of style, offering a playful touch to your wardrobe with its swirling patterns and blended hues. It's perfect for anyone looking to make their outfit a bit more exciting.
14. How to Ice Dye Spiral
Learning how to ice-dye spiral introduces you to a fascinating variation of tie-dye. This method uses ice to create unpredictable, watercolor-like patterns, resulting in garments that are as unique as they are beautiful. It’s a great way to experiment with tie dye.
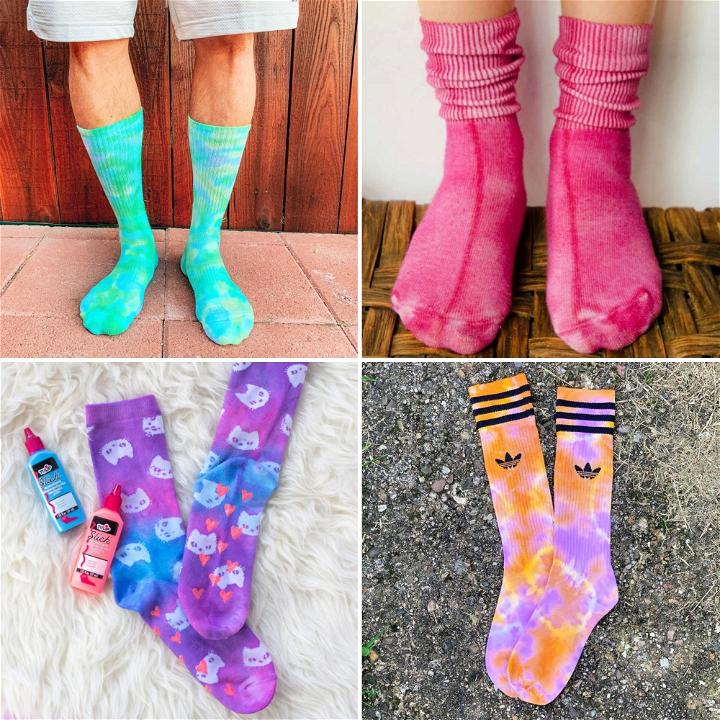
How to Tie Dye Socks: Master the art of creating stunning tie dye socks with our simple, step-by-step guide and unleash your inner creativity.
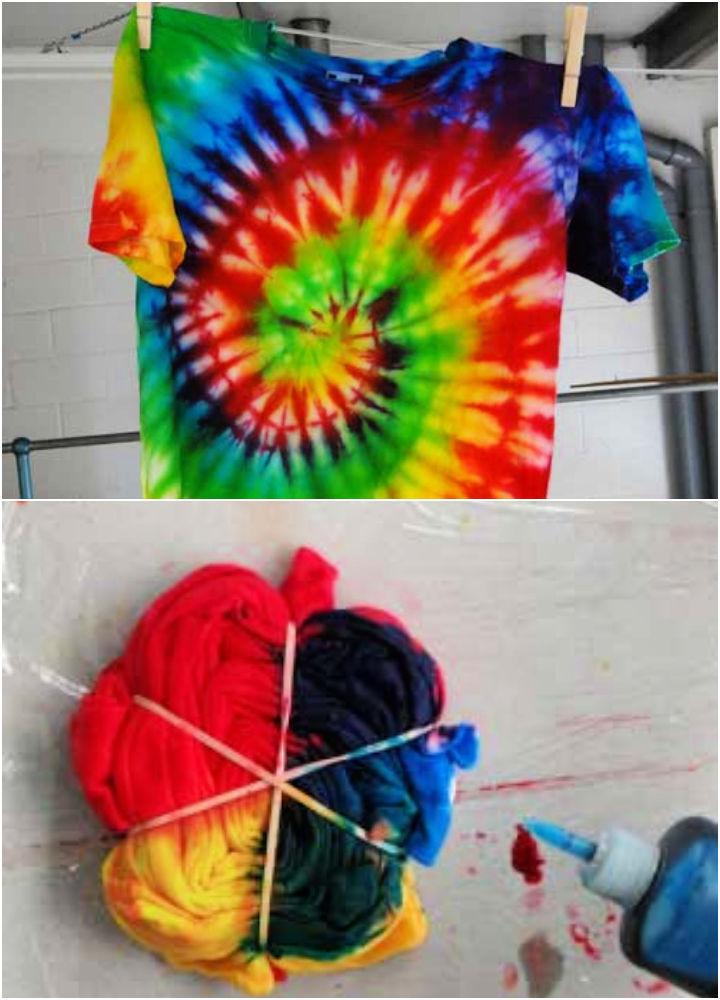
15. How to Rubber Band Spiral Tie Dye
The rubber band spiral tie dye method is a classic technique that’s both simple and effective. By strategically placing rubber bands, you can control the dye's flow, creating stunning spiral patterns that are sure to impress at any casual gathering.

16. Mandala Tie Dye Pattern with Rubber Bands
Making a mandala tie-dye pattern with rubber bands is akin to making a piece of wearable art. This method allows for intricate designs that require a bit of patience but result in a breathtaking garment that showcases your creativity and attention to detail.
17. Unique Tie Dye Swirl Technique

The unique tie-dye swirl technique stands out for its ability to produce distinct and captivating patterns. With each twist and turn, you can make pieces that are not just clothes but canvases for your creativity, making each creation a personal statement.
18. Single Color Spiral Tie Dye Pattern
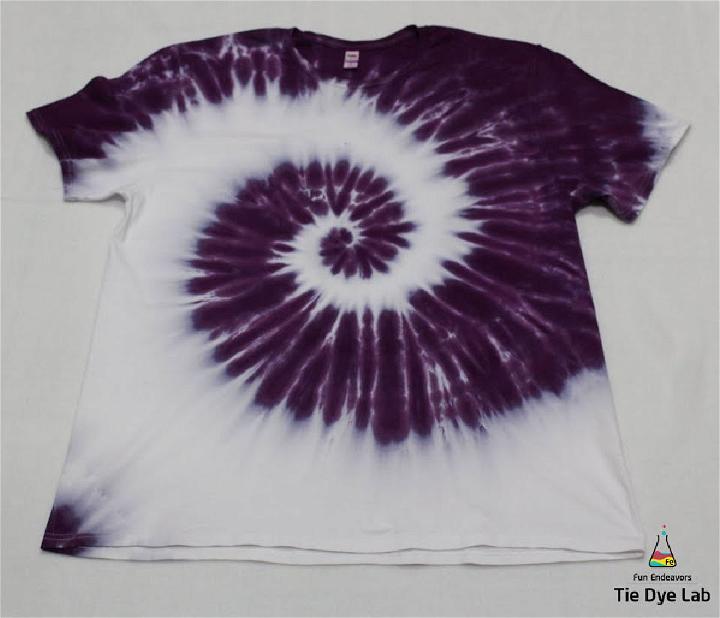
A single-color spiral tie dye pattern proves that sometimes simplicity is key. by focusing on one color, this technique offers a subtler take on tie dye, resulting in elegant and understated pieces that can easily blend with various styles.
Reverse Tie Dye Patterns: Add a unique touch to your clothes with these easy reverse tie dye patterns. Easy-to-follow instructions are included.
19. Black and White Spiral Tie Dye Pattern
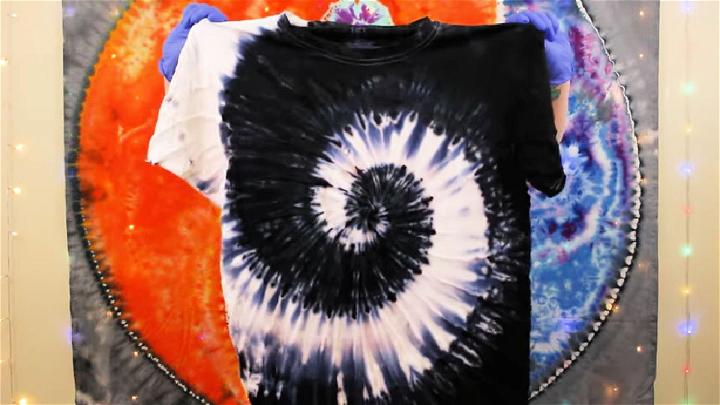
The black and white spiral tie dye pattern offers a sophisticated twist on traditional tie-dye. Perfect for those who love the tie-dye look but prefer a monochrome palette, this design adds a modern edge to any wardrobe.
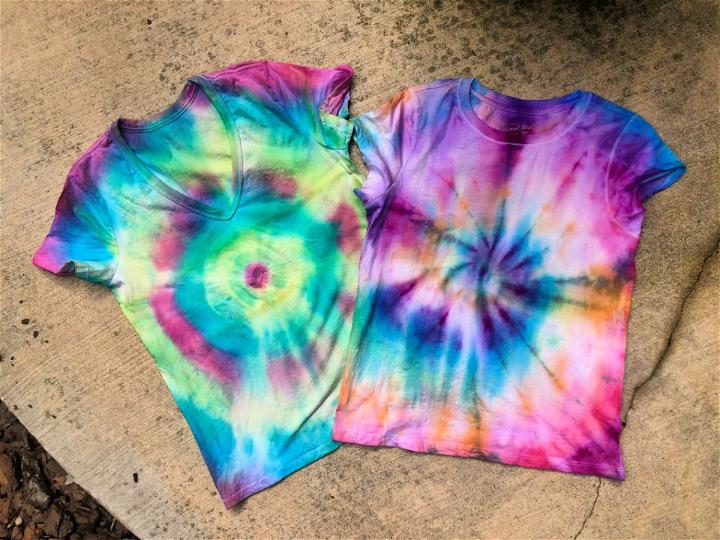
20. Circle Tie Dye Designed
Circle tie dye design is all about creating concentric circles that radiate outward, mimicking the effect of ripples in water. This technique offers a calming, hypnotic look that's perfect for those seeking a more tranquil and subtle approach to tie-dye.
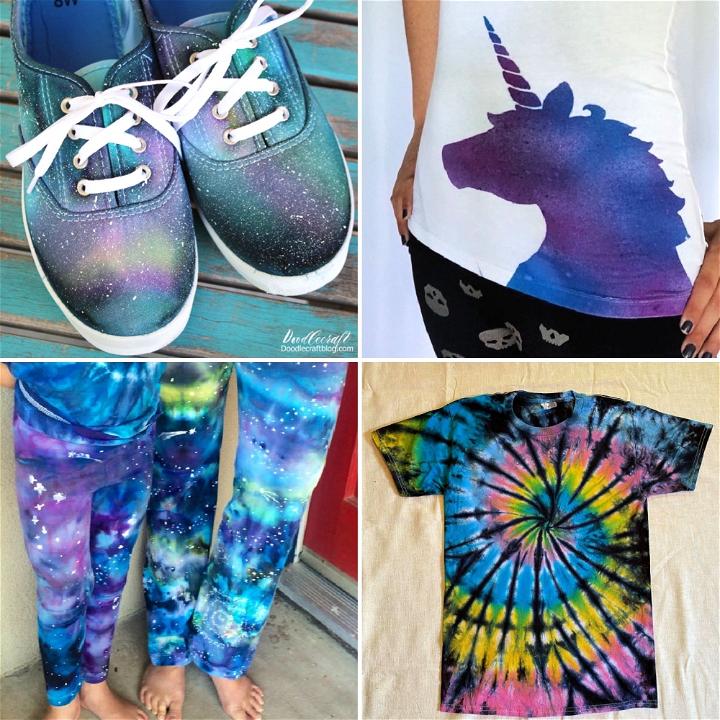
Related Tie Dye Patterns
Tie dye patterns are not just for hippies. Discover how to create stunning designs with these easy tutorials and tips.
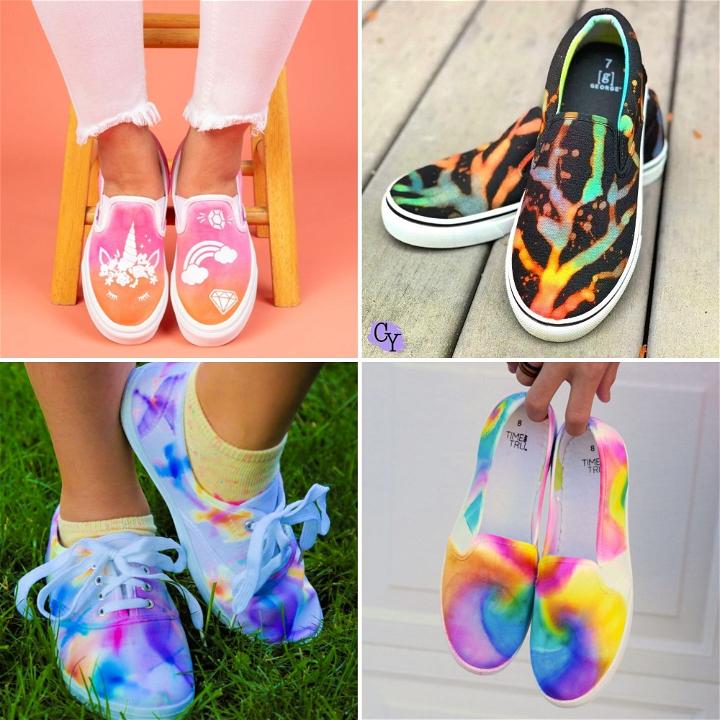
- Tie Dye Shoes: Bring some color to your wardrobe with this easy-to-follow guide on how to tie dye shoes! Add a unique, vibrant look that'll make all your friends jealous.
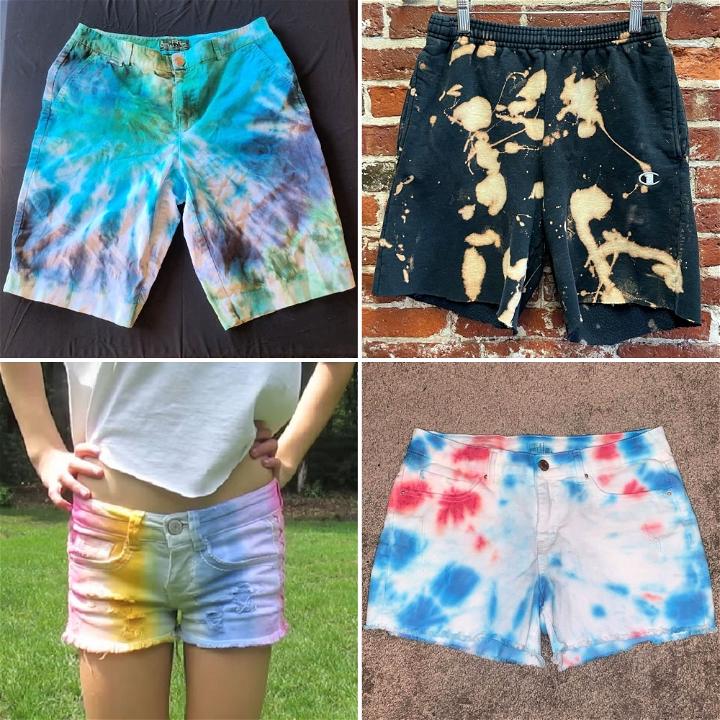
- Bleach Tie Dye: Transform your wardrobe with a splash of color! Learn how to create stunning tie-dye designs using bleach in just 3 simple steps.
- Tie Dye Shirts: Elevate your wardrobe with these captivating tie dye shirt tutorials, and learn to create stylish, colorful tees in no time.
- Rainbow Tie Dye: Brighten your day with our easy rainbow tie dye guide, featuring simple techniques for creating stunning, multi-colored patterns on fabric.
- DIY Face Mask Tie Dye: Stay safe and stylish with step-by-step instructions for creating eye-catching tie dye face mask designs.
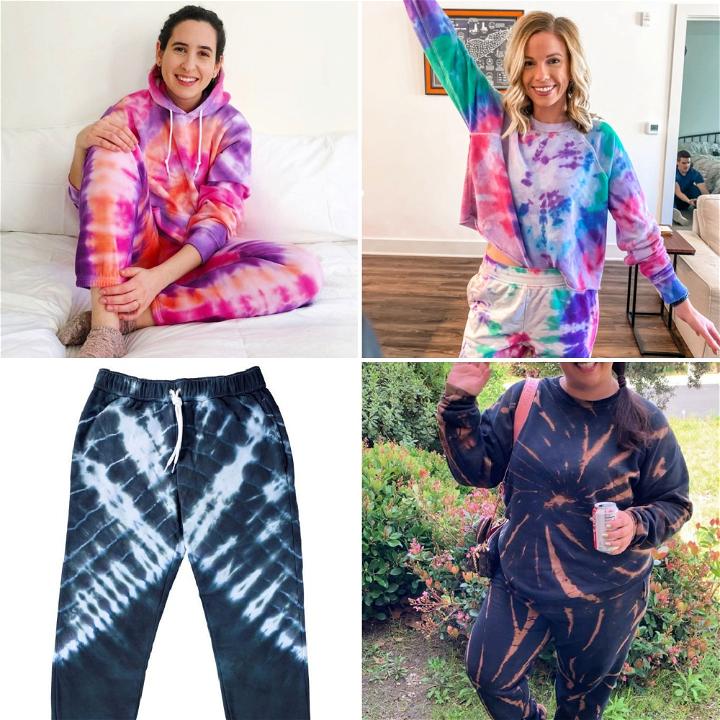
- Tie Dye Sweatpants: Personalize your loungewear with these innovative tie dye sweatpant techniques, perfect for cozy days and casual wear.
- Tie Dye Sweatshirts: Discover how to create fashionable, custom tie dye sweatshirt patterns that showcase your creativity and individuality.
Conclusion:
This experience showed me the joy of creating something with my own hands, turning the ordinary into extraordinary. So grab some dye, round up your friends, or just dive in solo. Let's get started and fill your life with vibrant spiral patterns.
Related posts: