One summer, I decided to try my hand at tie dyeing. My first project was a shirt, just a simple cotton one that had been sitting in my drawer. I had always loved the look of tie dye but never thought I could do it myself. It was more than just a way to pass the time; it was a creative outlet and a chance to wear my art. I watched a couple of tutorials, gathered the supplies, and got to work, not entirely sure what the outcome would be.
The process was surprisingly straightforward and incredibly fun. I learned about different patterns you can make, like spirals, bullseyes, and stripes. Each method involved folding, twisting, or tying the shirt in a unique way before applying the dye. When I finally rinsed out the shirt and unveiled the design, I was amazed. The vibrant colors and patterns were exactly what I hoped for, and the sense of accomplishment was unbeatable.
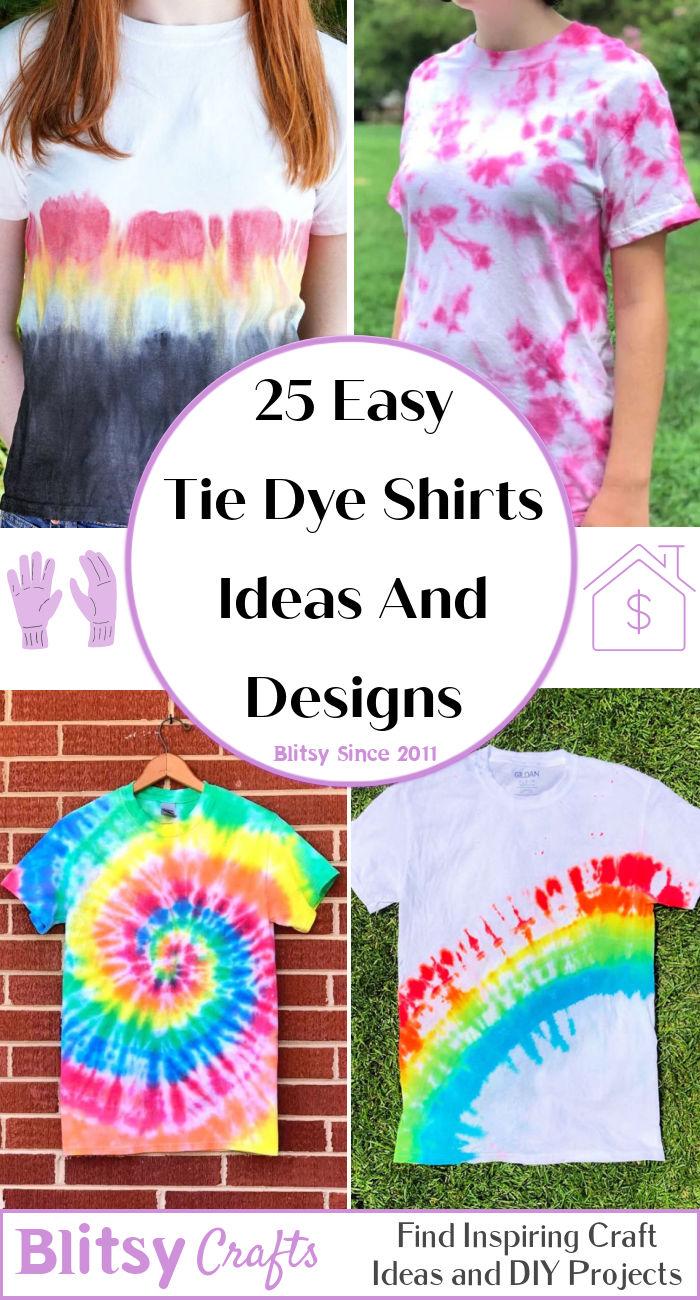
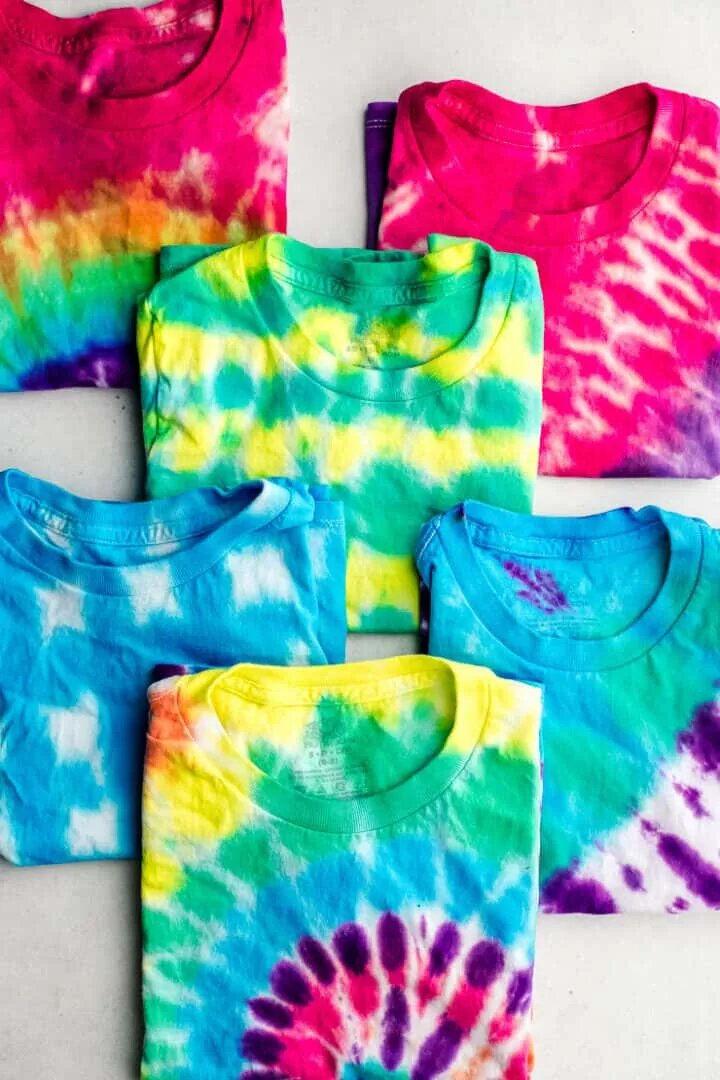
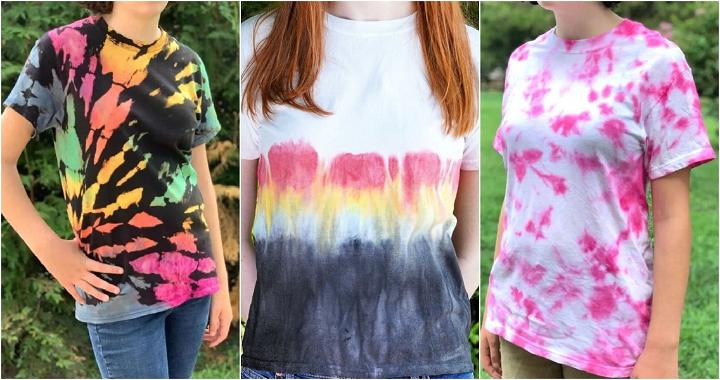
I'm excited to share these 25 tie dye shirt patterns with you, complete with tips on how to tie dye a shirt. These guides will help spark your creativity and make the process enjoyable. Let's transform those plain shirts into something extraordinary together.
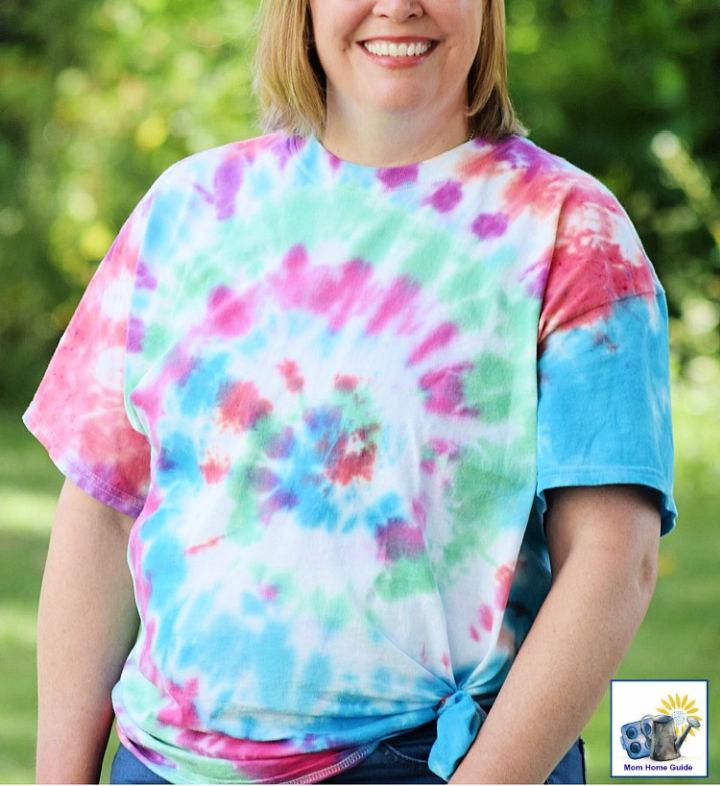
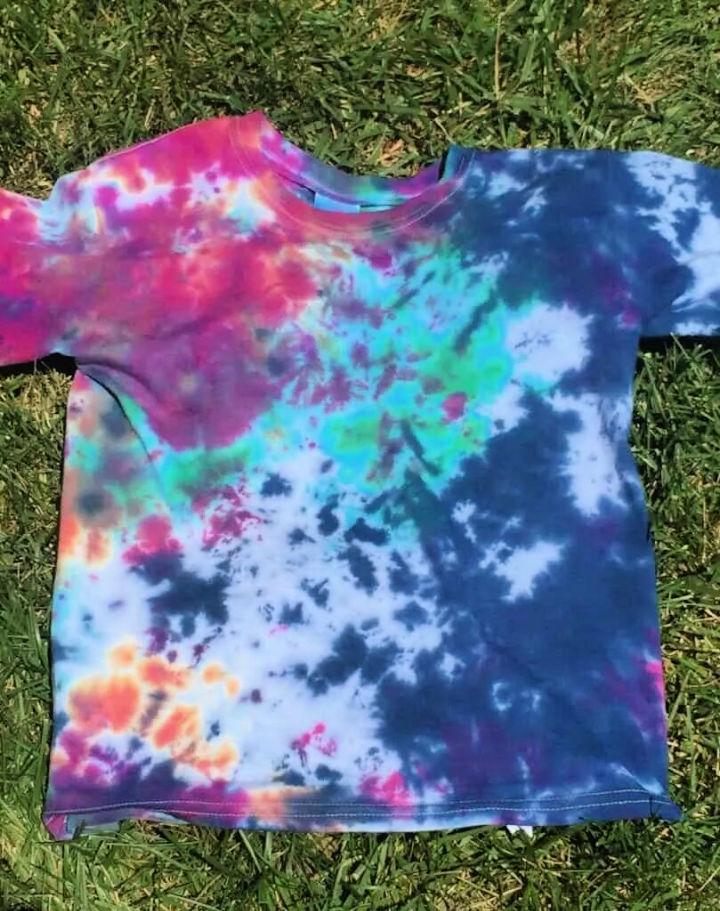
1. Easy Tie Dye T-Shirt
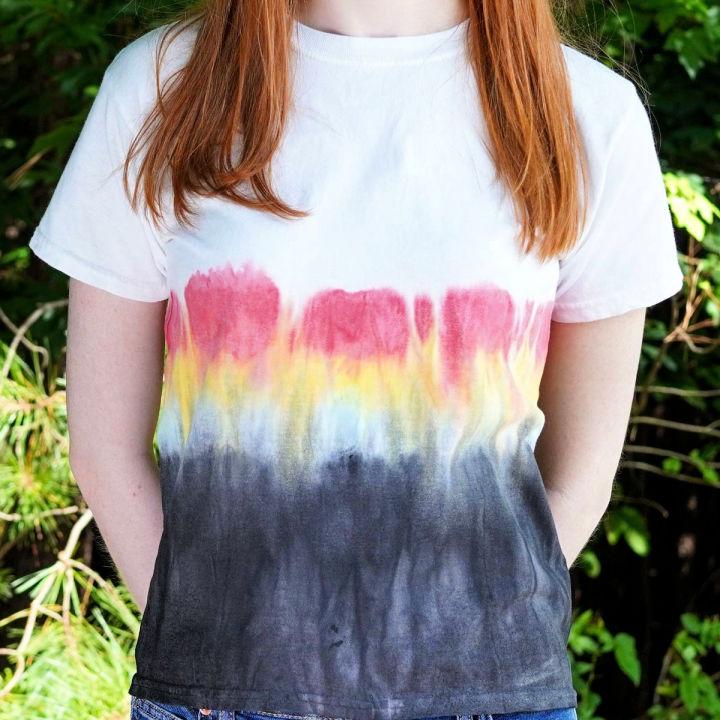
Get ready to unleash your creativity with an easy tie dye T-shirt. This fun project is perfect for beginners, offering a laid-back way to personalize your wardrobe. Its simplicity and versatility are great for sparking joy in your everyday outfits.
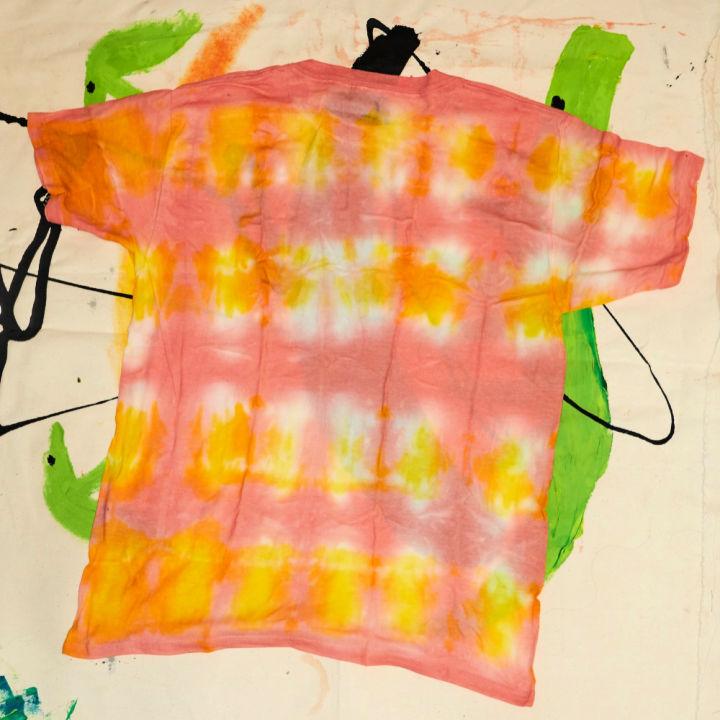
2. Make a Sunburst Tie Dye Shirt
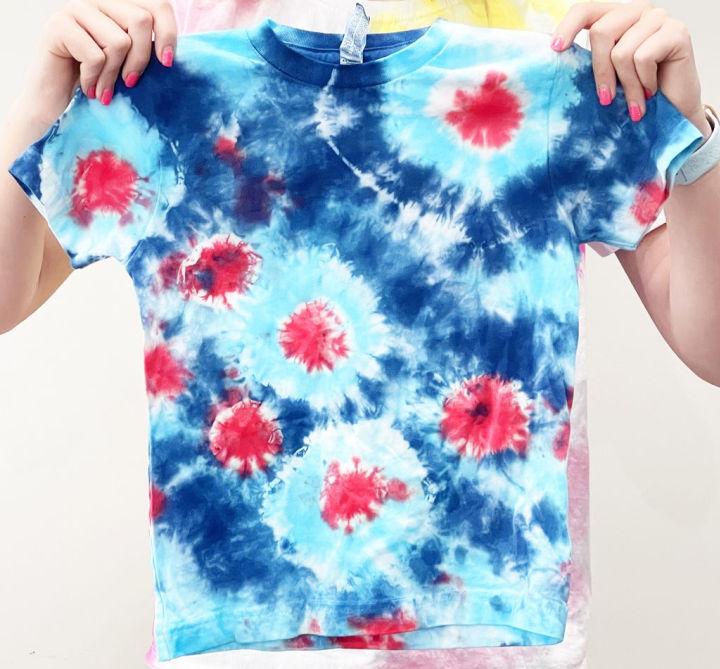
Brighten up your wardrobe with a sunburst tie dye shirt. Its radiant design brings a burst of positivity, reflecting warmth and energy. Ideal for those looking to add a vibrant touch to their attire, this style shines with boldness and excitement.
3. Tie Dye Shirt for the Fourth of July
Celebrate Independence Day in style with a tie dye shirt designed for the Fourth of July. Its patriotic colors make it a festive choice, symbolizing freedom and joy. It's a perfect wear for BBQs, fireworks, and gatherings, embodying the spirit of the holiday.
4. DIY Mermaid Scales Tie Dye Shirt

Dive into a fantastical look with a DIY mermaid scales tie dye shirt. Its unique pattern mimics the enchanting beauty of mermaid scales, offering an aquatic allure to your style. It’s an imaginative choice for those who love mystical and ocean-inspired themes.
5. Crumple Tie Dye Shirt with Rubber Band
Discover the beauty of randomness with a crumple tie dye shirt. Using rubber bands to crumple the fabric creates unexpected patterns, making each shirt a one-of-a-kind masterpiece. It's an excellent way to explore texture and color in fashion.
6. Pride Ice Dye Rainbow Shirt
Show your support for the LGBTQ+ community with a pride ice dye rainbow shirt. Its vibrant colors and distinctive ice dye technique result in a striking look that's as unique as it is meaningful. It's a wonderful expression of love and inclusivity.
7. Resist Tie dye Shamrock T shirt
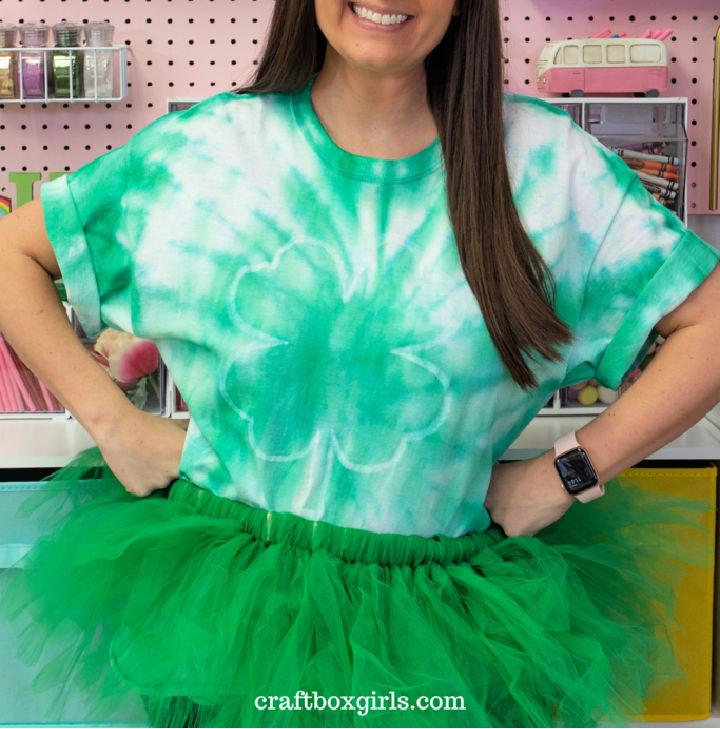
Get into the spirit of St. Patrick's Day with a resist tie dye shamrock T-shirt. The shamrock design stands out against vibrant color backgrounds, symbolizing luck and festive cheer. It’s a playful and creative way to join in the celebrations.
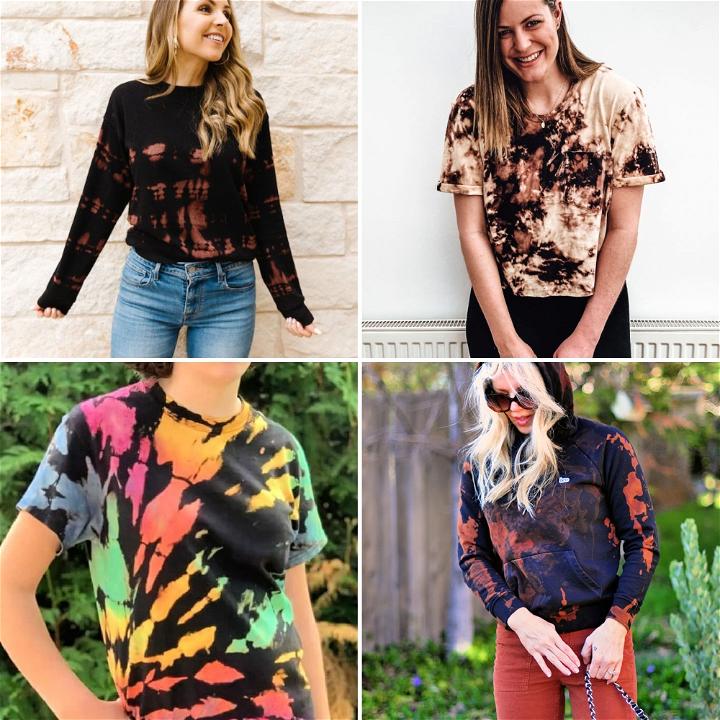
8. Bleach Tie Dye Black Shirt

Revamp your black shirts with the bleach tie dye technique. It creates a stark contrast and edgy vibe, perfect for those who love a more minimalist or gothic style. It’s an easy way to breathe new life into old clothes.
9. Rainbow Arch Tie Dye Shirt

Embrace the beauty of diversity with a rainbow arch tie dye shirt. Its sweeping colors represent unity and hope, making it a wonderful addition to any positive-minded wardrobe. It’s a statement piece that spreads love and happiness wherever you go.
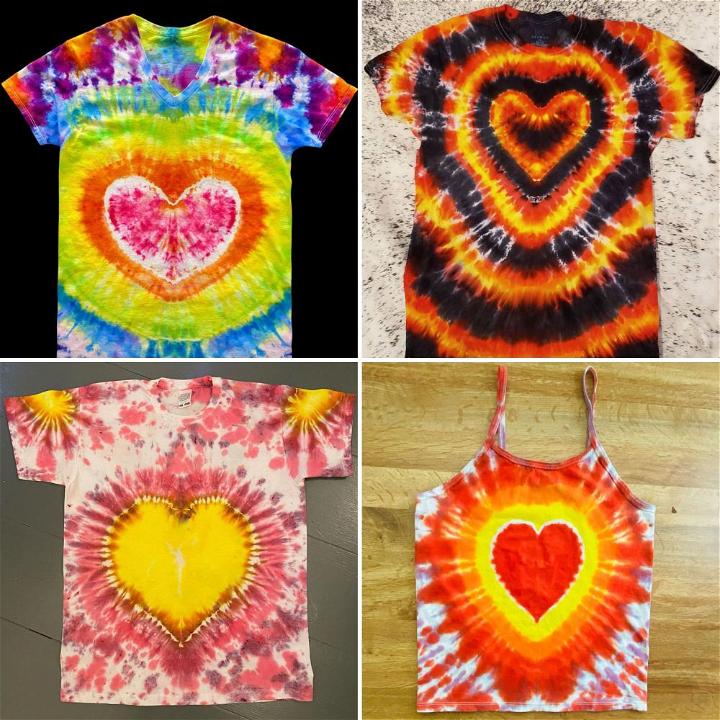
10. Heart Tie Dye Shirt for Valentines Day

Spread love on Valentine's Day with a heart tie dye shirt. The heart pattern symbolizes love and affection, making it a sweet choice for the day of love. It’s the perfect way to wear your heart on your sleeve, literally!
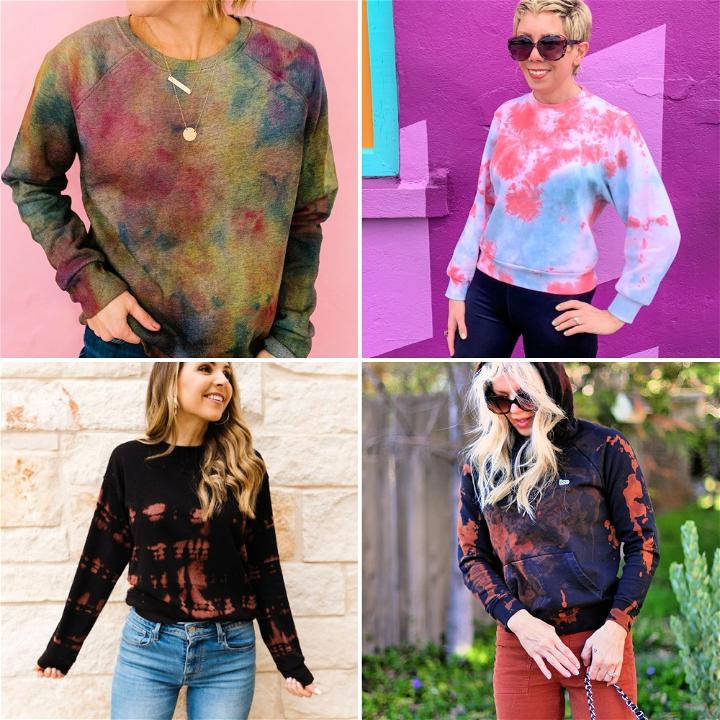
11. Easy Bleach Tie Dye Sweatshirt

Transform your cozy sweatshirts with an easy bleach tie dye technique. It adds a fresh, modern twist to your comfortable wear, making it both stylish and snug. It’s a fantastic project for refreshing your loungewear collection.
12. How to Tie Dye a Shirt
Embarking on a tie dye project is a joyful journey into color and creativity. It’s an artistic expression that allows for personalization and experimentation. Whether for leisure or learning, it’s a fulfilling experience that brightens both fabric and mood.
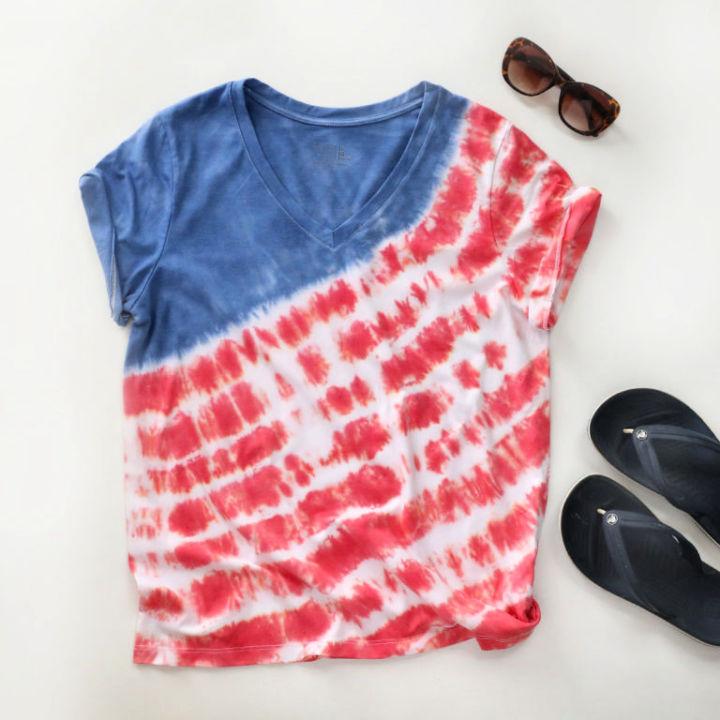
13. American Flag Tie Dye Shirt
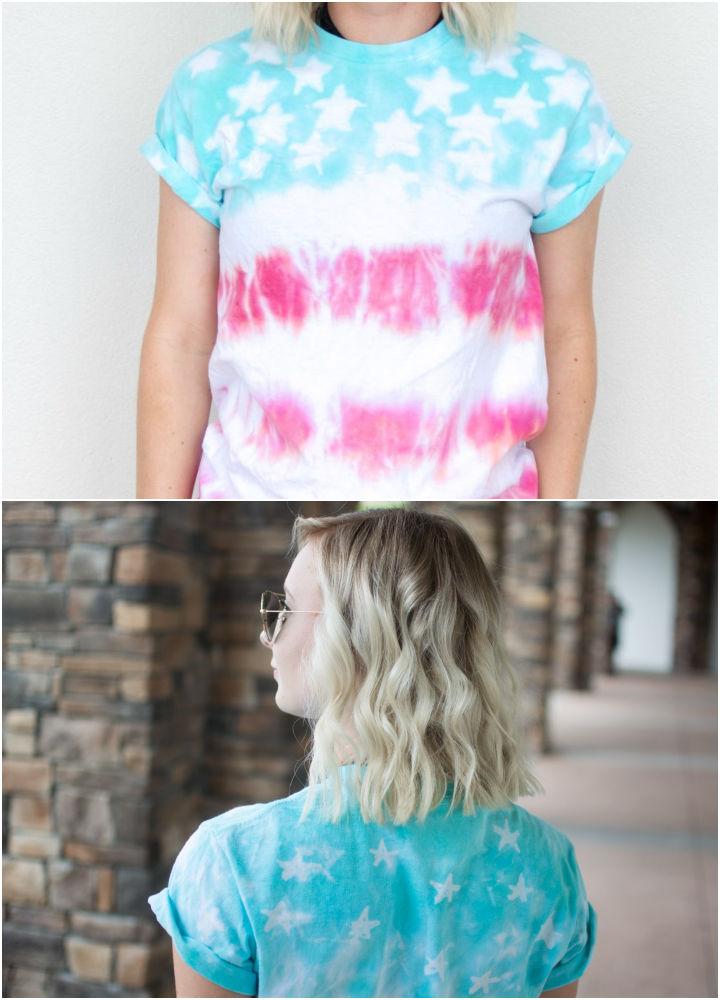
Show your patriotic spirit with an American flag tie dye shirt. Its symbolic colors and patterns pay homage to the nation’s flag, making it an ideal choice for national holidays or everyday expression of national pride. It’s a stylish way to honor your country.
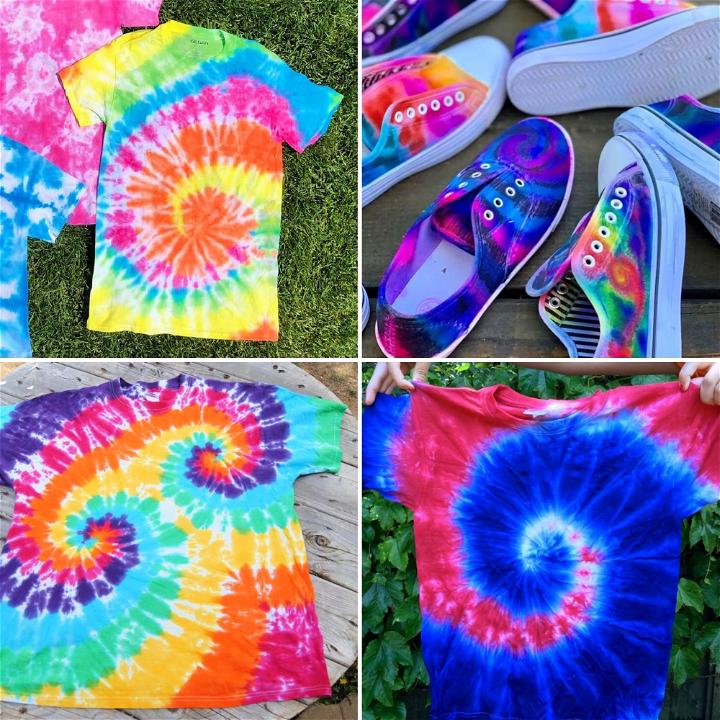
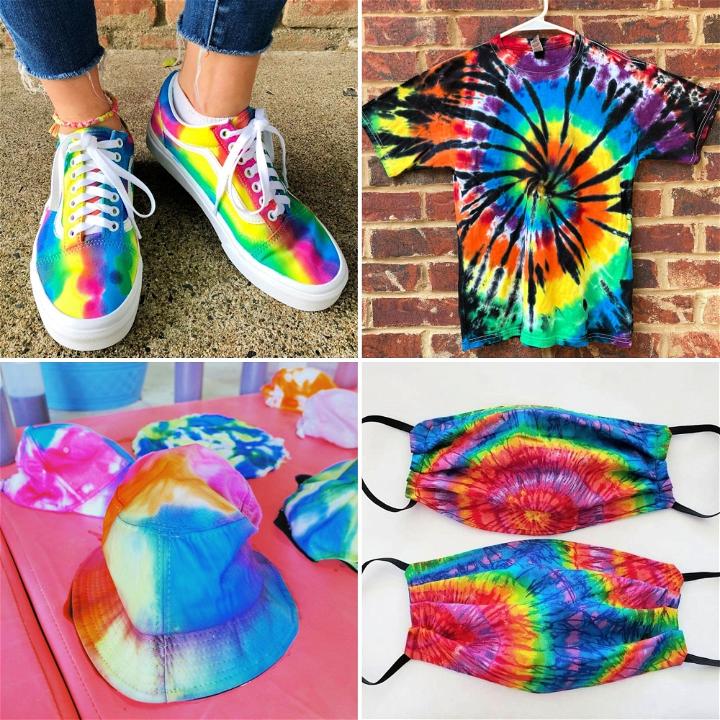
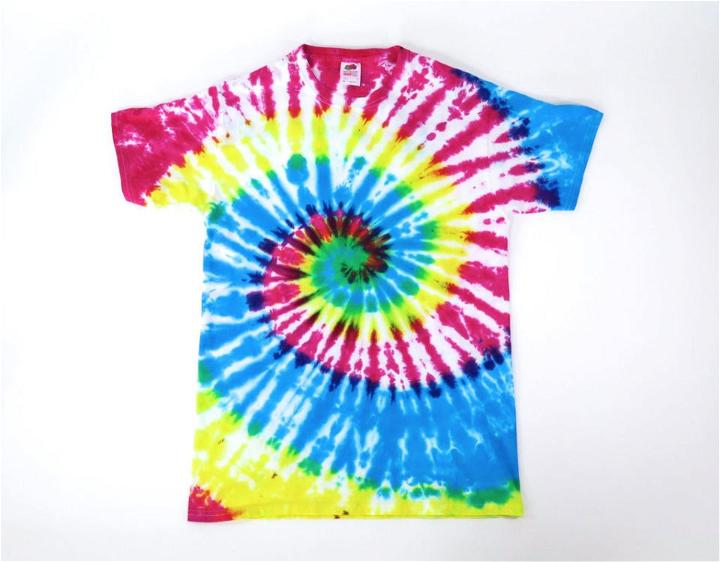
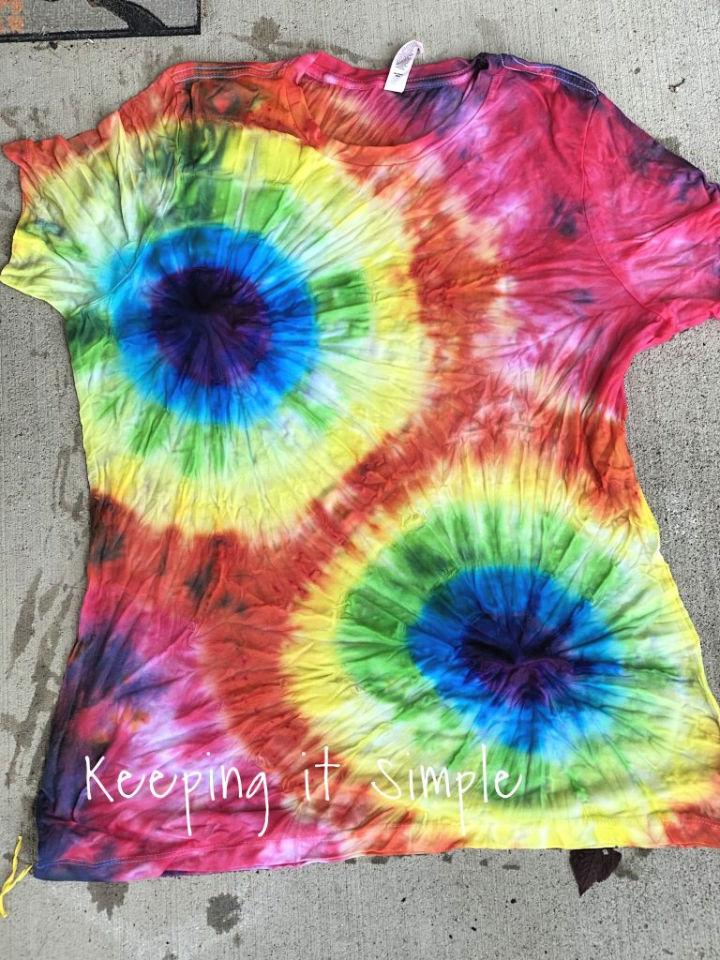
14. Spiral Tie Dye Tee
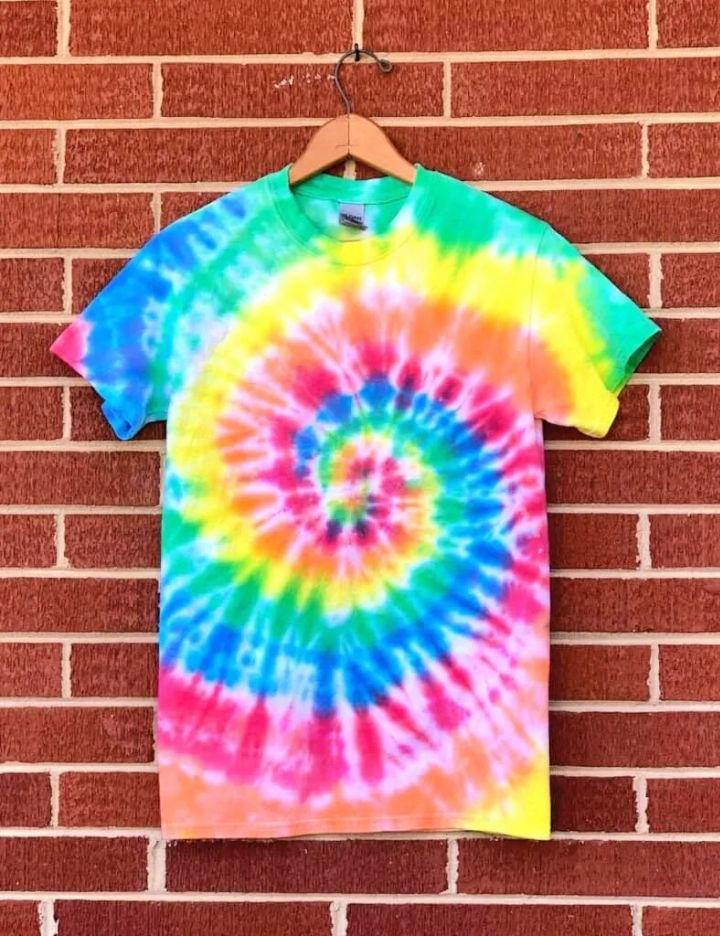
The spiral tie dye tee brings an energetic twist to any wardrobe. Its swirling colors grab attention, making it a playful choice for outings or casual gatherings. The design, reminiscent of a kaleidoscope, adds a vibrant and youthful feel.
15. How to Yin Yang Tie Dye a White Shirt
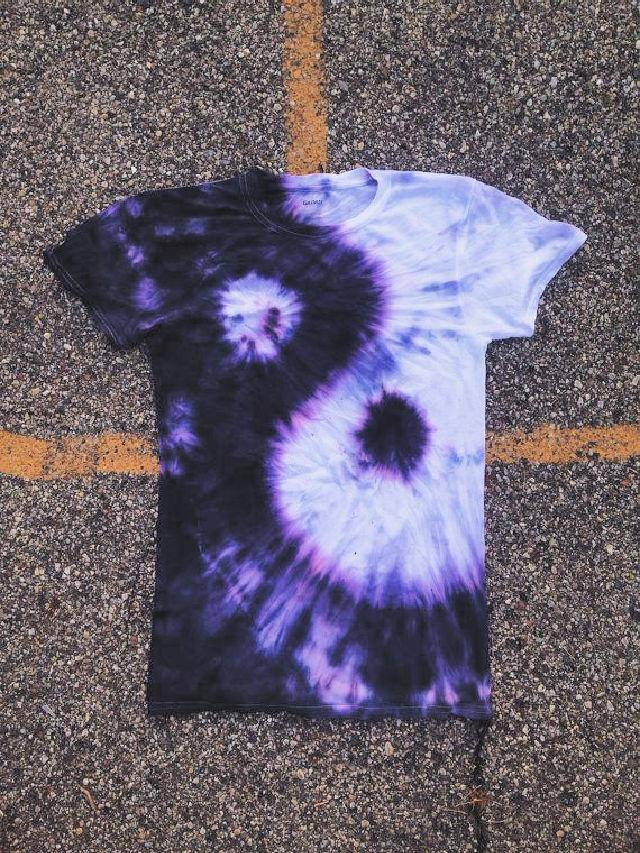
Making a Yin Yang pattern on a white shirt using tie-dye is a serene blend of art and philosophy. This design embodies balance and harmony, offering a unique and thoughtful statement piece that stands out with its symbolic contrast.

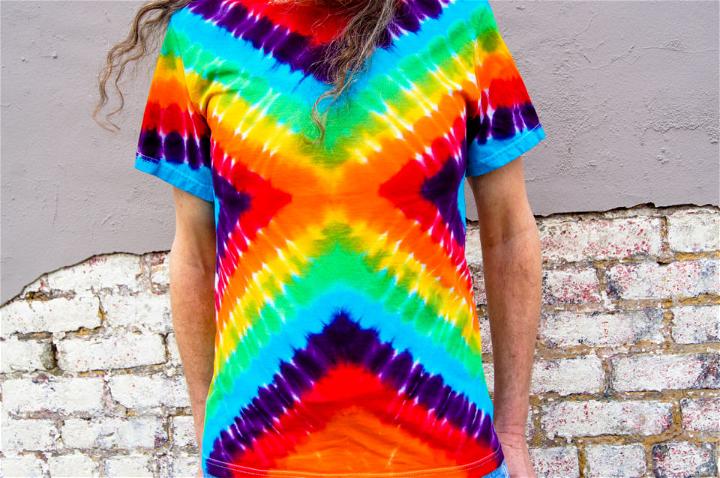
16. Tie Dye Folding Technique Shirt
Employing various tie-dye folding techniques can elevate a simple shirt into a masterpiece. Each fold unfolds into a different story, producing intricate patterns and designs. This method allows for endless creativity, making each piece a unique expression of individuality.
17. Plus Size Tie Dye Summer Shirt
Plus size tie dye summer shirts are all about embracing color and comfort. Their inclusive sizing ensures everyone can enjoy the fun of tie-dye, while their breezy design makes them perfect for warmer weather, promoting both style and body positivity.
18. Camo Tie Dye Shirts Pattern
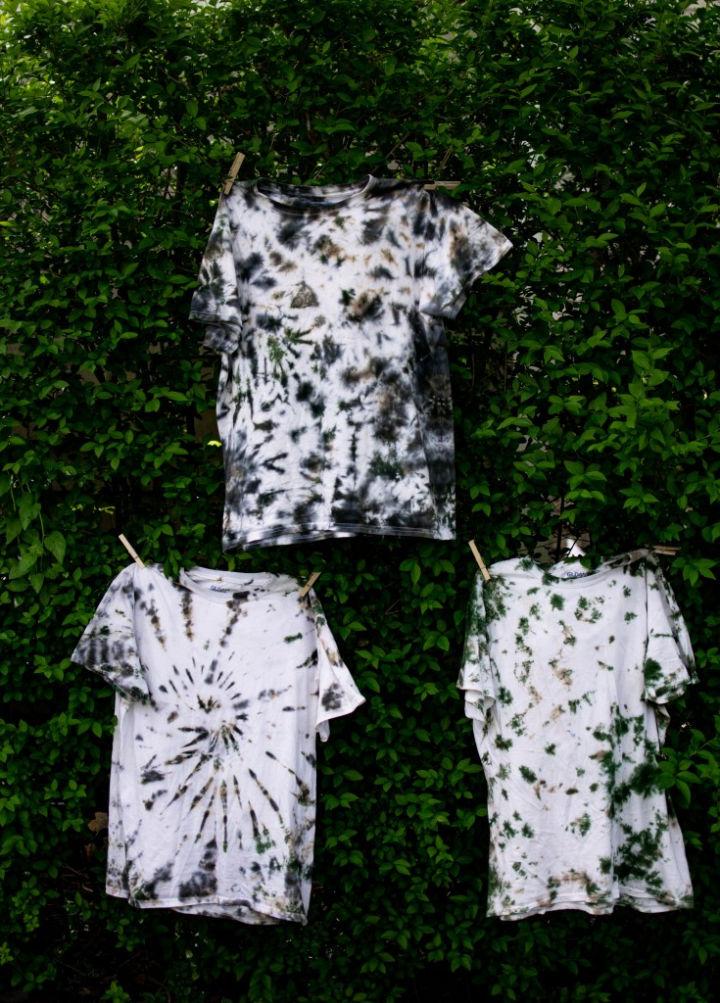
Camo Tie Dye Shirts blend the wild patterns of camouflage with the fluid, vibrant hues of tie-dye. This fusion creates an edgy and unique look, perfect for making a bold statement while retaining an element of surprise in the design.
19. How to Make Tie Dye Shirt
Making a tie-dye shirt is an inviting venture into creativity. This DIY project allows you to mix colors and patterns, resulting in a one-of-a-kind piece. It's a fun activity that ends with a wearable art that radiates your personal flair.
20. How to Tie Dye an Old White Shirt
Revitalizing an old white shirt with tie-dye breathes new life into it. This transformation process not only upcycles but also allows for a personal touch, giving the shirt a second chance to make a first impression with vibrant colors and patterns.
21. Crumple Tie Dye Shirt Pattern
The crumple tie dye shirt pattern is all about unpredictability and surprise. This method creates a textured, marbled effect, making each shirt a unique piece of art. it’s an effortless way to introduce a splash of color and intrigue into your wardrobe.
22. Vegetables Tie Dye Shirt
Using vegetables to tie-dye shirts introduces an eco-friendly twist to the traditional method. This innovative approach utilizes natural dyes, making it a safer and more sustainable option. Plus, it connects crafters with nature, creating uniquely beautiful patterns.
23. How to Tie Dye Shirts
Learning how to tie-dye shirts can be a captivating journey into the world of color and design. It's a versatile craft that lets you experiment with different techniques and color combinations, leading to personalized and vibrant creations.
24. Make a Tie Dye Shirt

Making a tie-dye shirt is an engaging activity that unleashes your creative side. This approach to design allows for unique expressions, turning a plain shirt into a statement piece. It's a fun and colorful way to showcase your personality.
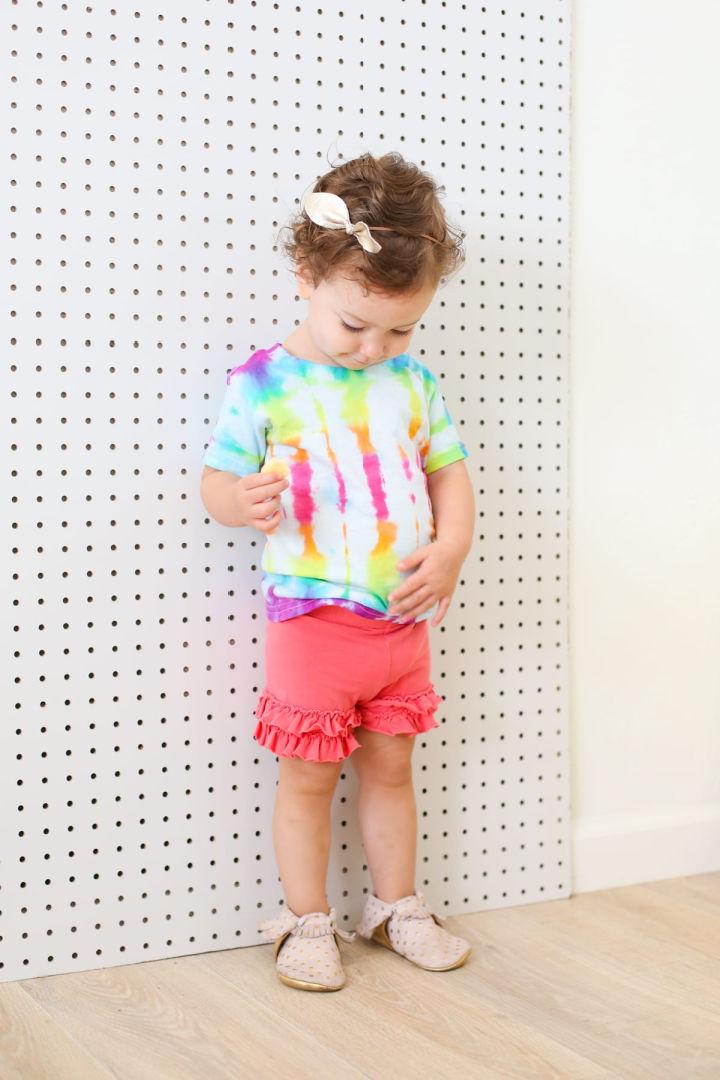
25. Tie Dye T shirt for Girls
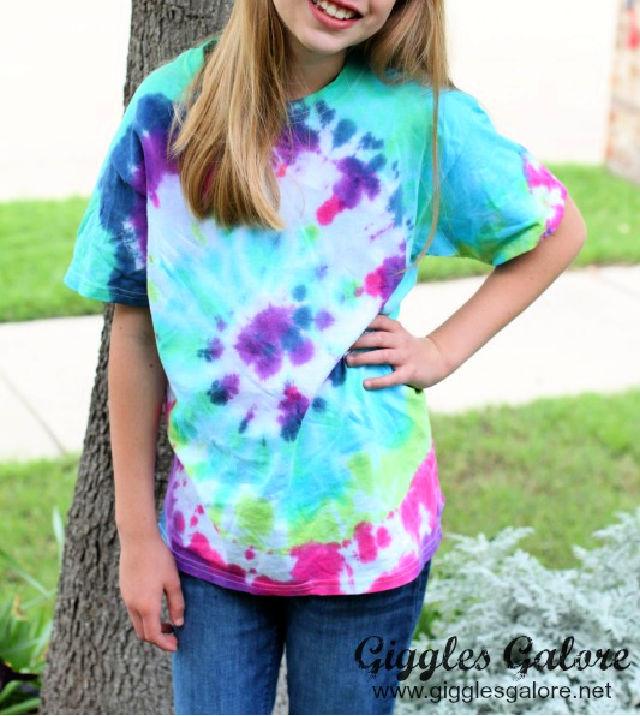
A tie dye t-shirt for girls merges vibrant colors with playful designs. It's perfect for expressing youthfulness and creativity, making it a favorite for activities or casual wear. The adaptability of tie-dye ensures each shirt is as unique as the girl wearing it.
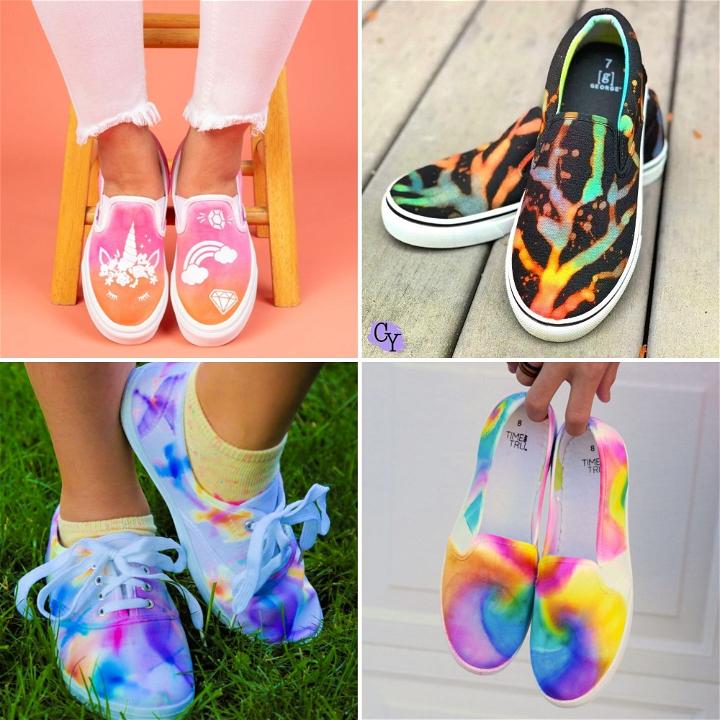
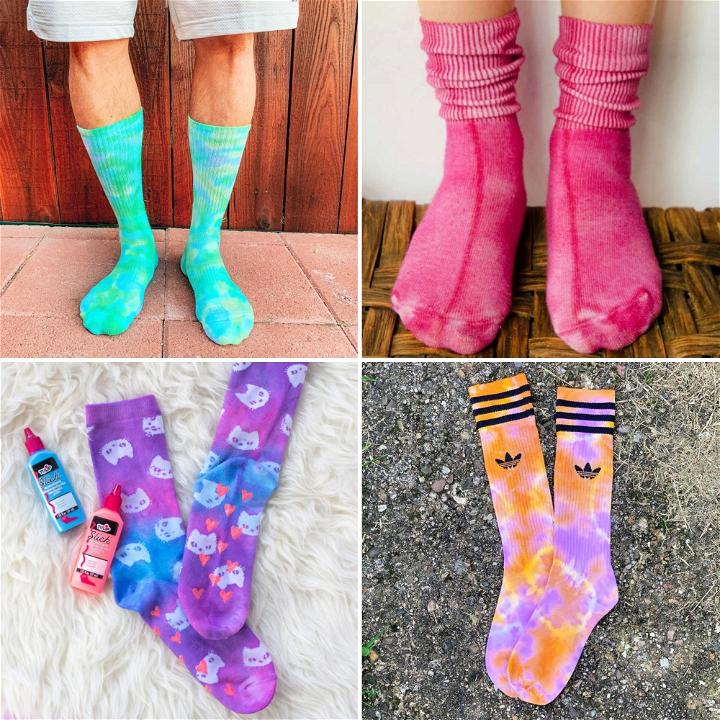
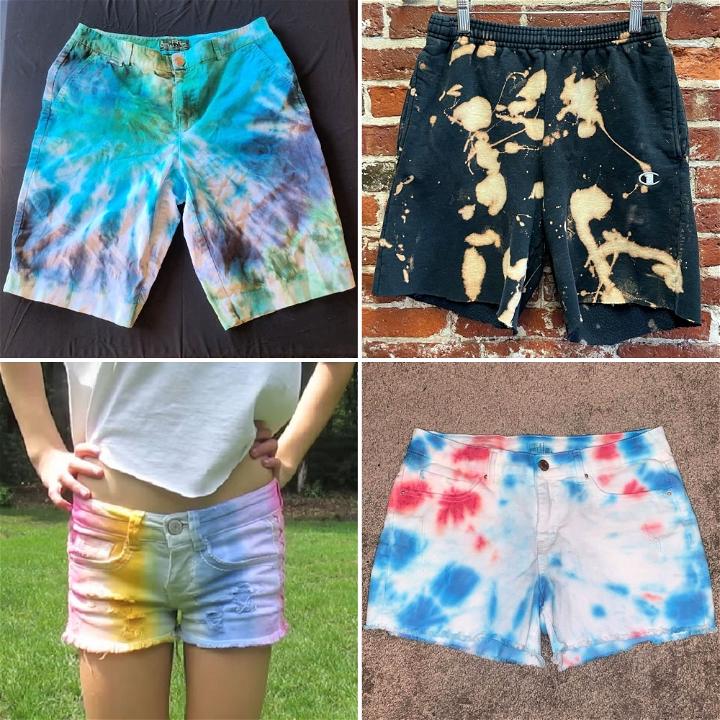
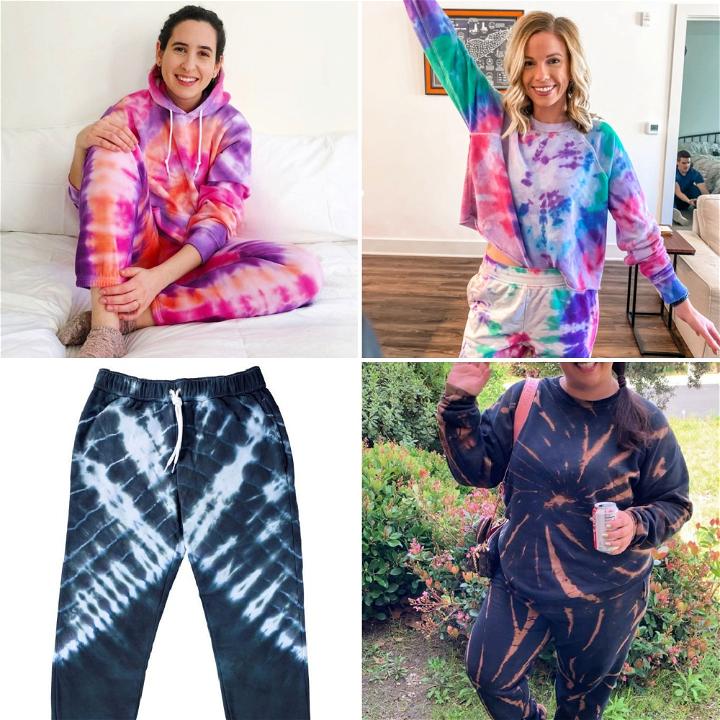
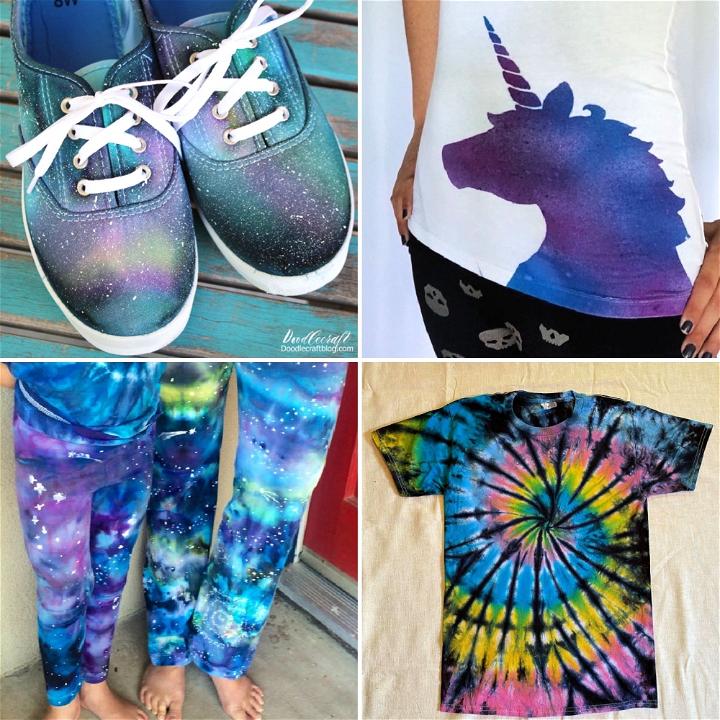
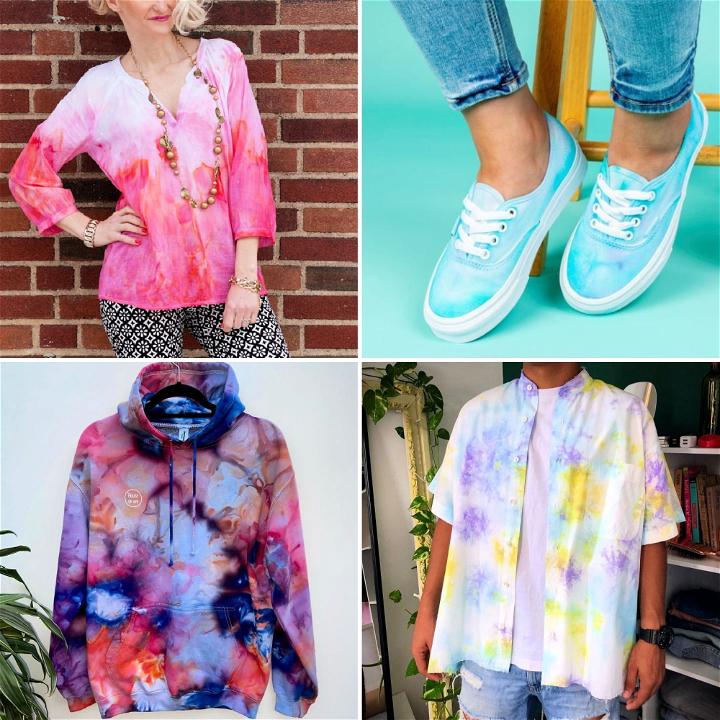
Related Tie Dye Patterns
Nothing says summer like tie dye patterns. Find out how to make your own with our step-by-step guides and inspiration gallery.
- Bleach Tie Dye Patterns: Explore vibrant bleach tie dye patterns and create stylish, one-of-a-kind clothing pieces with our easy-to-follow guide.
- Face Mask Tie Dye: Spice up your look with fun and unique tie-dye face masks! Our easy techniques make it simple to create stunning designs full of vibrant colors.
- Spiral Tie Dye Tutorials: Create a work of art with our easy-to-follow spiral tie dye tutorials! With simple steps and guidance, you can create beautiful designs to wow your friends.
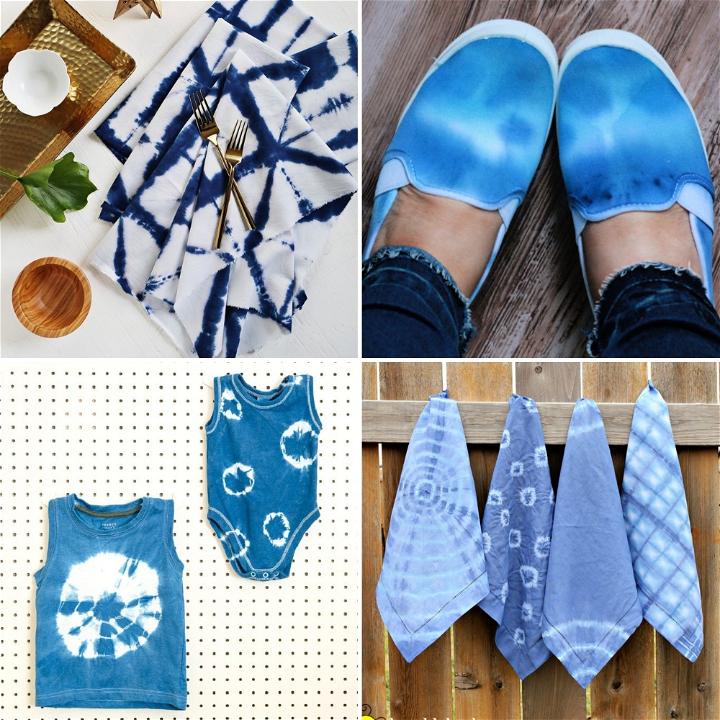
- Sneaker Tie Dye Techniques: Give your sneakers a colorful makeover with our step-by-step guide on how to tie dye shoes for a fresh look.
- Sweatpants Tie Dye: Upgrade your loungewear with our tutorial on how to tie dye sweatpants, perfect for staying stylish and comfy.
- How to Tie Dye Sweatshirt: Learn wonderful tie dye sweatshirt techniques and add a pop of color to your wardrobe with our easy-to-follow instructions.
- Rainbow Tie Dye Patterns: Brighten up your outfits with our fabulous rainbow tie dye tutorials, perfect for creating bold and colorful clothing designs.
Conclusion:
This journey into tie dye has been a blast, proving that with a little dye and a lot of imagination, you can create something truly unique. So, why not give it a try? It's an art project and fashion statement all in one.
Related posts: