Last year, I stumbled upon something called bleach tie dye. It was during a weekend when I was cleaning out my closet and found a bunch of old black t-shirts. They were too plain for my taste now, but I didn’t want to just throw them away. I had heard about tie dye with dye, but using bleach sounded like a cool twist. It was about taking something dark and transforming it into a design that popped. So, I decided to give it a shot. Armed with just bleach, water, and rubber bands, I was ready to breathe new life into those shirts.
The process was both easy and mesmerizing. Mixing water and bleach, I twisted and tied my shirts, then applied the mixture. Waiting for the bleach to work felt like magic. When I rinsed out the shirts, I was greeted with unique patterns where the bleach had lifted the color. Each shirt was a surprise, revealing designs ranging from spiral galaxies to random abstract shapes. It felt great to recycle my old shirts into something fun and new without spending much money.

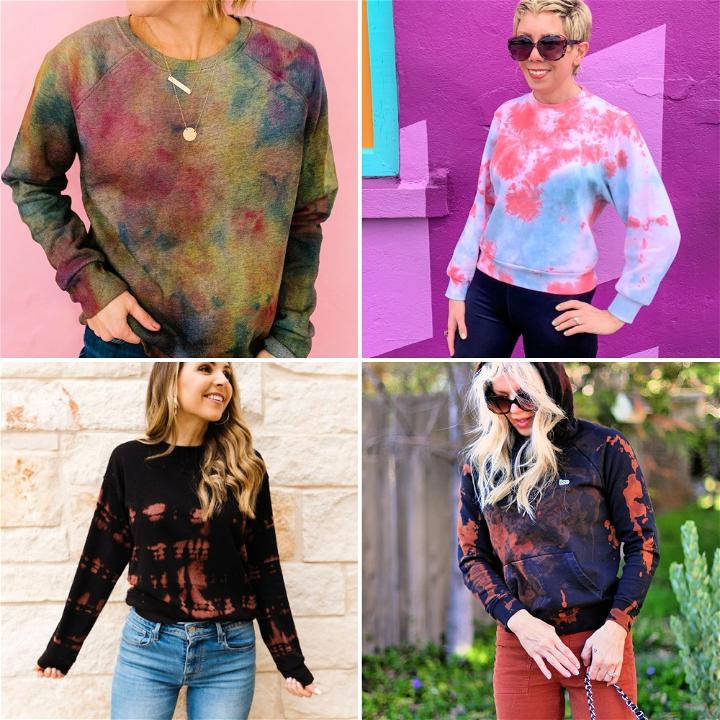
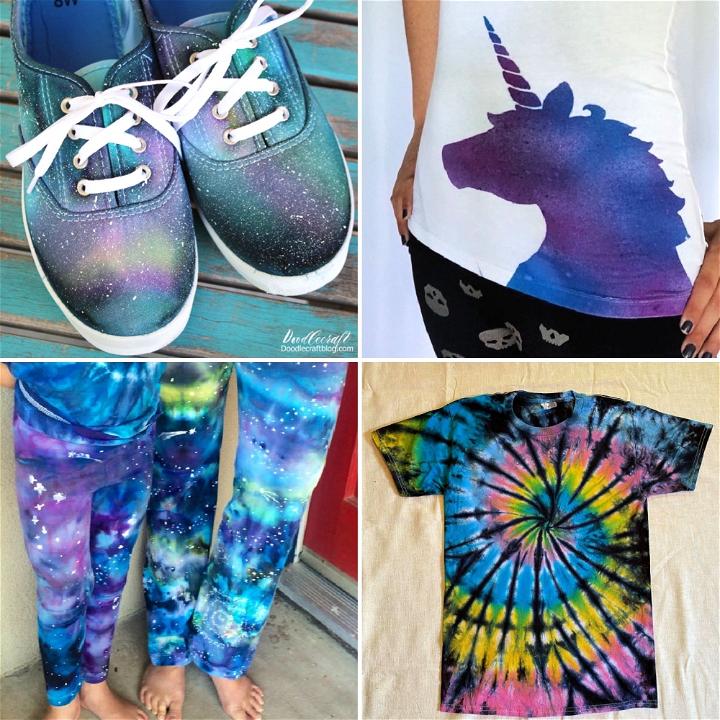
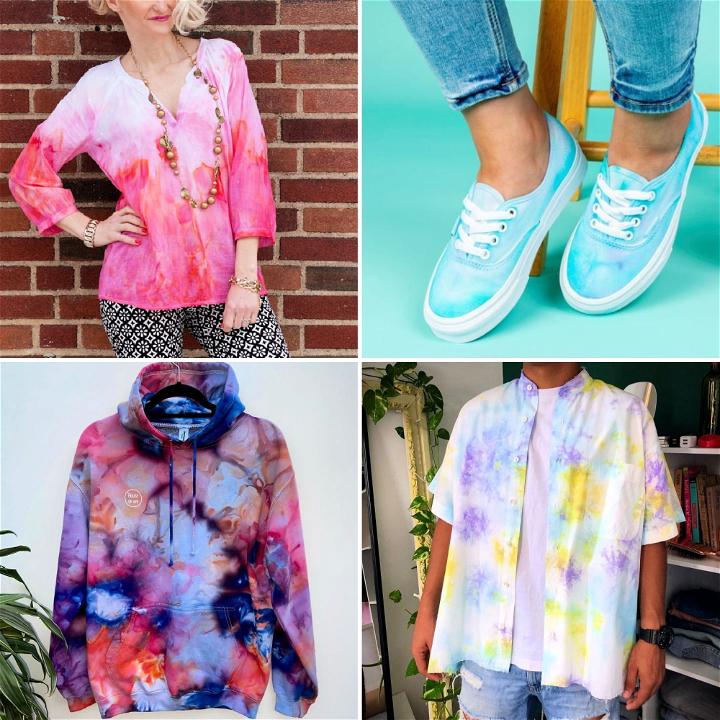
I'm here to share these 25 bleach tie dye patterns and guide you through the steps on how to tie dye with bleach. These ideas will help you rejuvenate your old clothes with thrilling designs. Ready to transform your wardrobe?
1. DIY Tie Dye Bleach Jeans
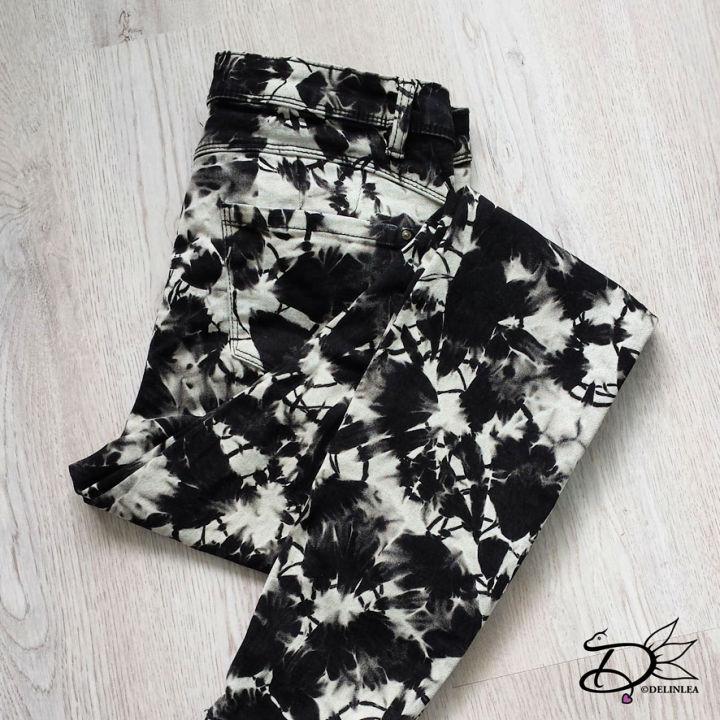
Transforming your jeans with DIY tie-dye bleach gives them a fresh, trendy look. This method adds a personalized touch to your wardrobe, proving that style can be both unique and budget-friendly.
2. Make Your Own Bleach Ice Dye
Making your own bleach ice dye masterpiece offers a twist on traditional tie-dye. This chilly method results in striking patterns, making your garments stand out. It's an innovative way to refresh your clothes and showcase creativity.
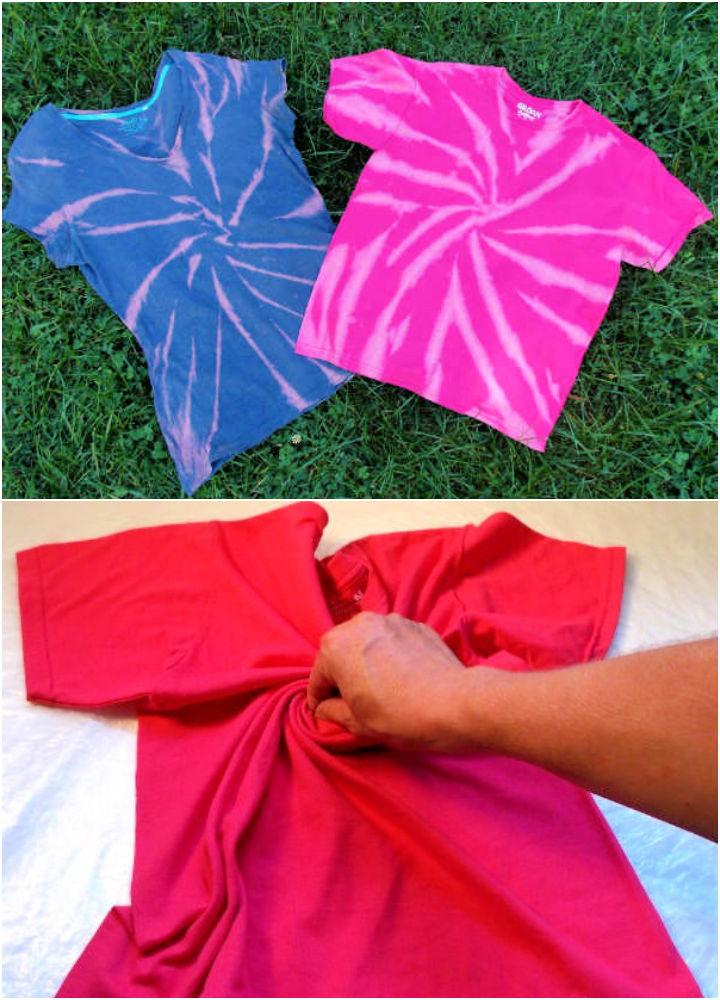
3. How to Tie Dye with Bleach
Learning how to tie dye with bleach opens up a world of possibilities. This technique subtracts color, delivering a stunning contrast on fabric. It's a fun, easy project that brings new life to old textiles.
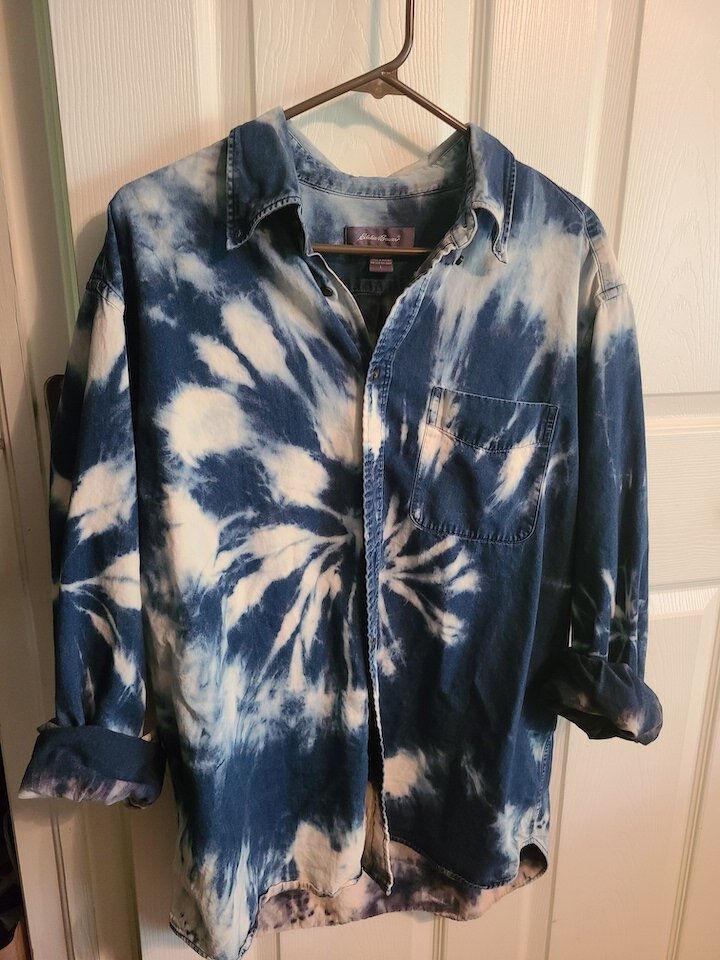
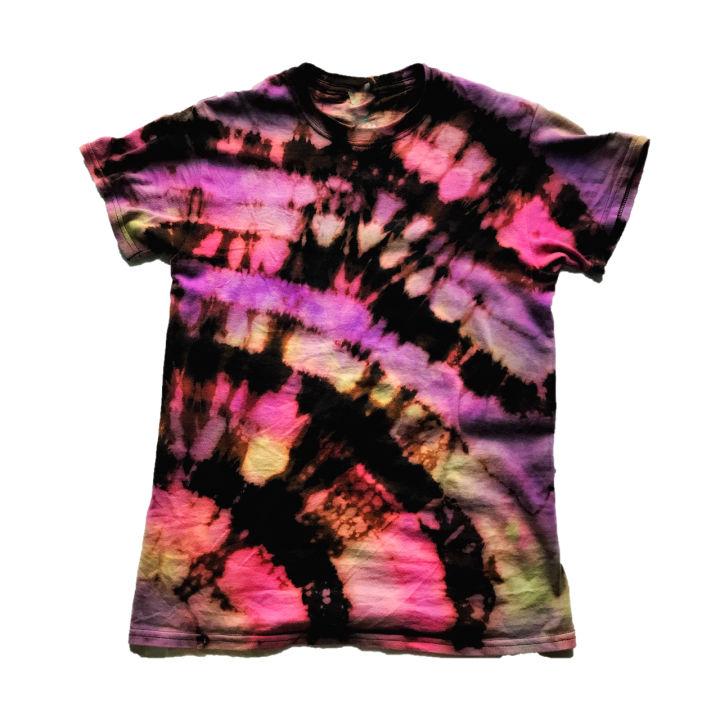
4. Navy Blue Bleach Tie Dye Instructions
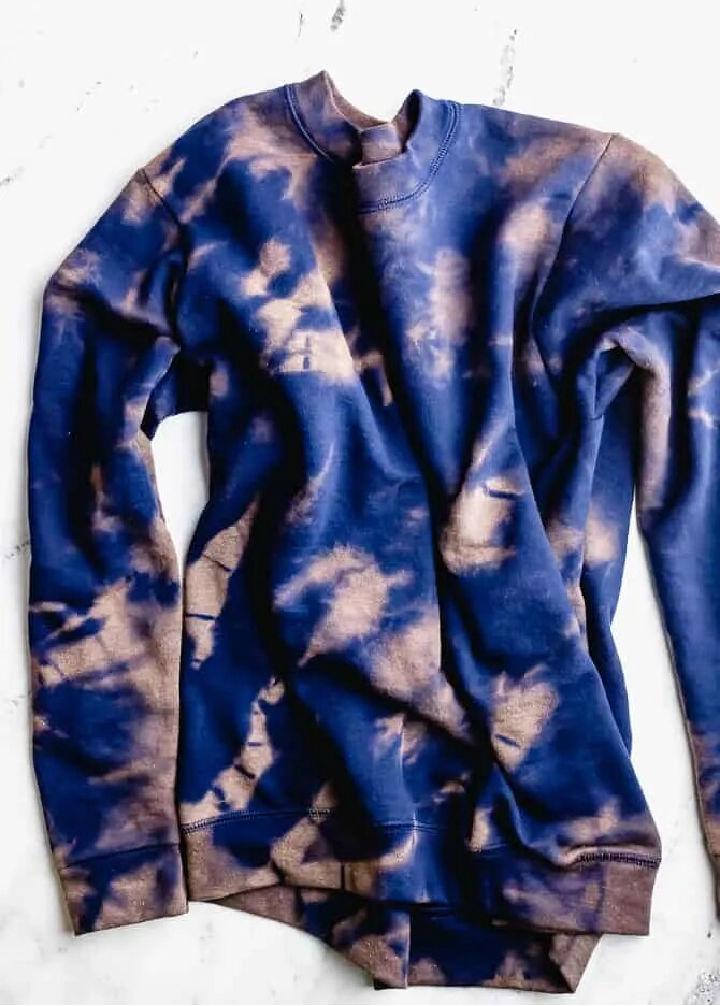
Navy blue bleach tie dye creates a galaxy of patterns on the fabric. This specific color choice lends an air of sophistication to your project, perfect for those looking to blend art with elegance.
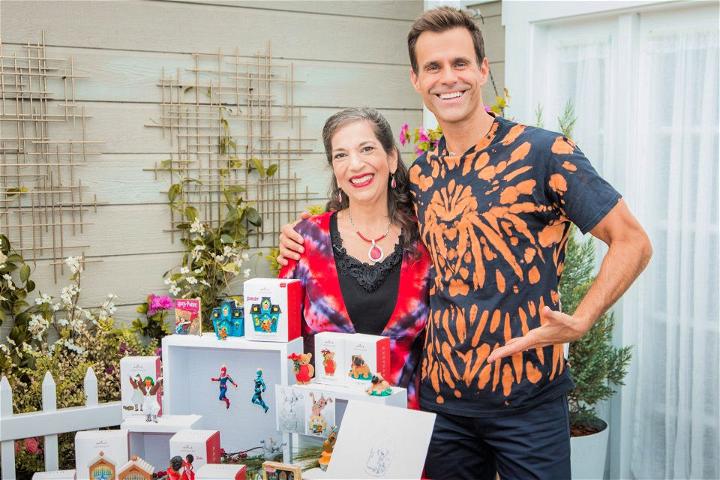
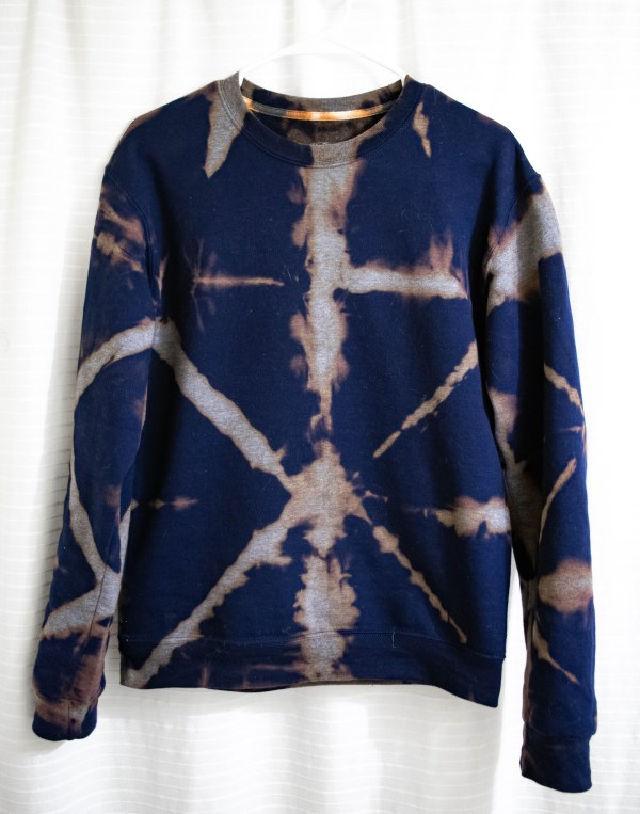
5. DIY Reverse Tie Dye with Bleach
DIY reverse tie-dye with bleach is about making a statement. This technique selectively removes color for a captivating effect. It's a creative twist on fabric design, ideal for those eager to experiment.
6. How to Make a Bleach Tie Dye
Mastering how to make a bleach tie dye is empowering. This technique transforms plain garments into eye-catching pieces. It's a simple yet effective way to express your personal style and creativity.
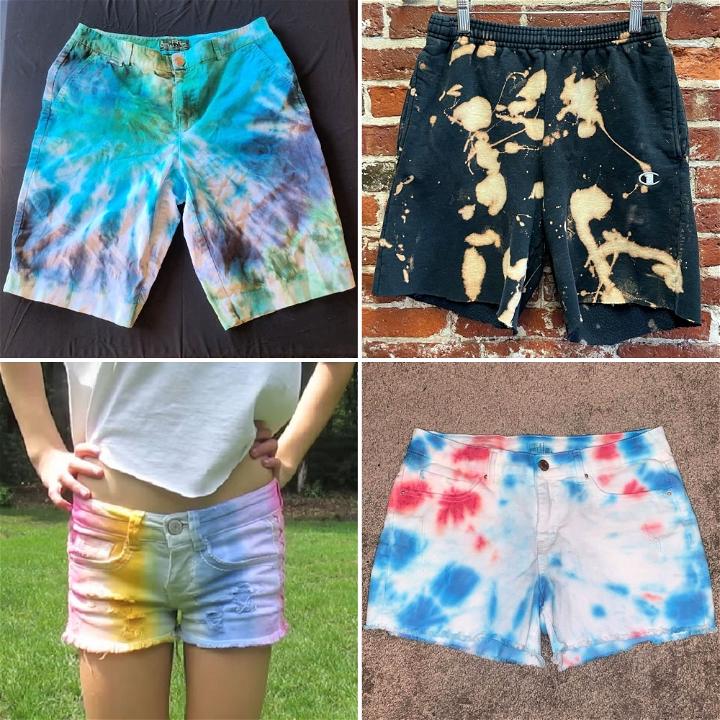
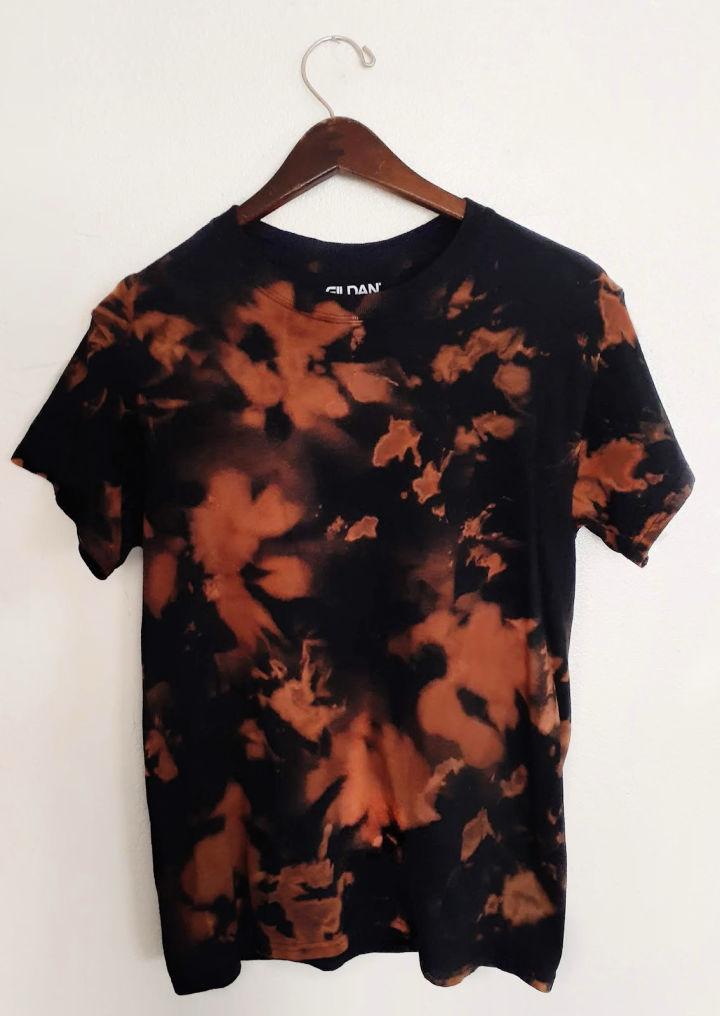
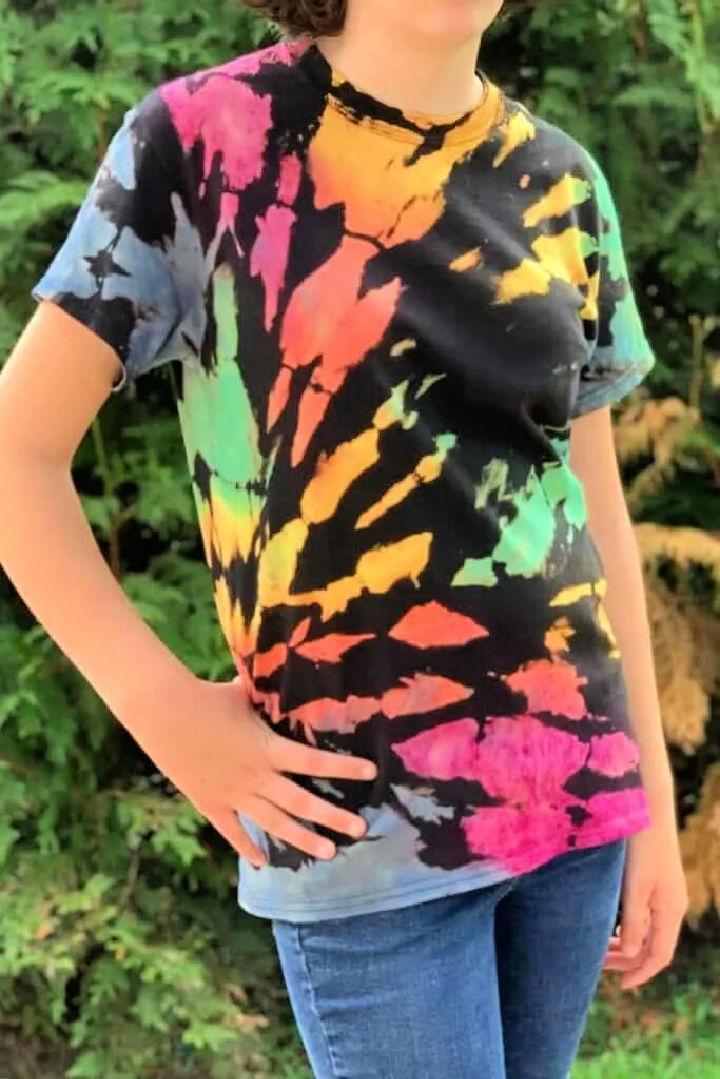
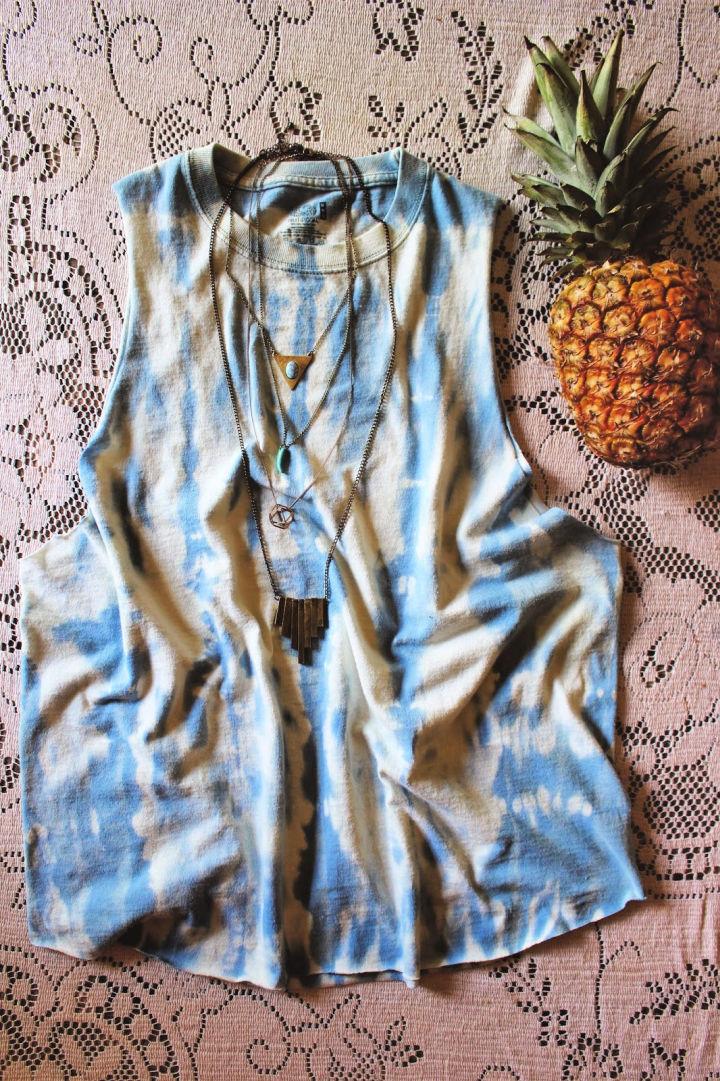
7. DIY Black Bleach Tie Dye
DIY black bleach tie-dye brings an edgy vibe to any garment. This method makes a dramatic contrast with minimal effort, perfect for updating your wardrobe with a touch of boldness.
8. DIY Bleach Tie Dye Crop Top
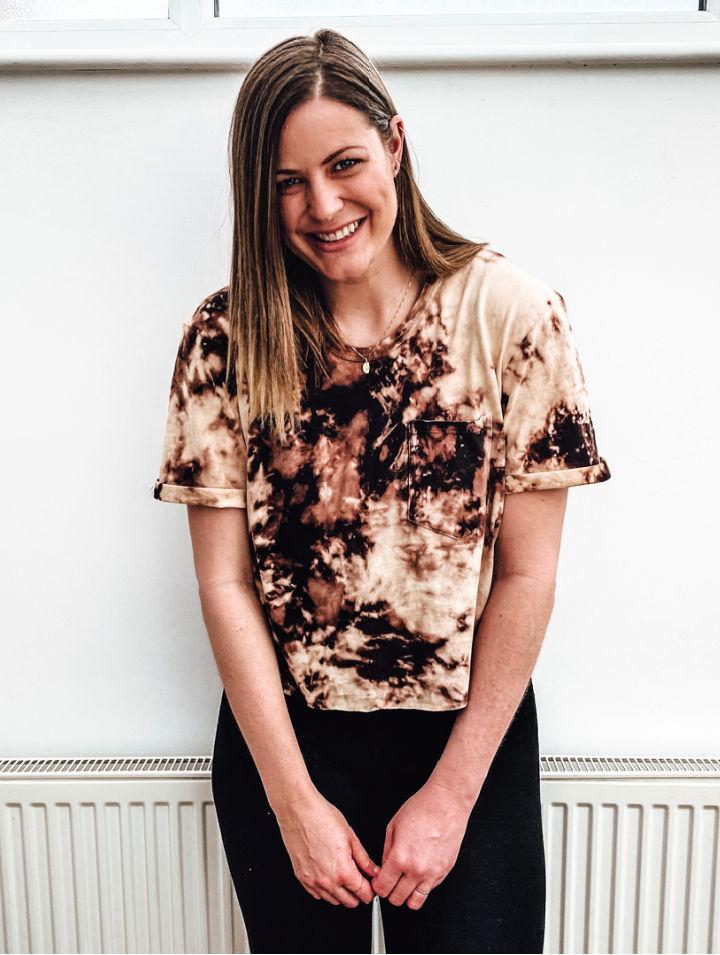
Making a DIY bleach tie-dye crop top is the epitome of custom chic. This project turns a basic top into a summer must-have, blending comfort with your unique style.
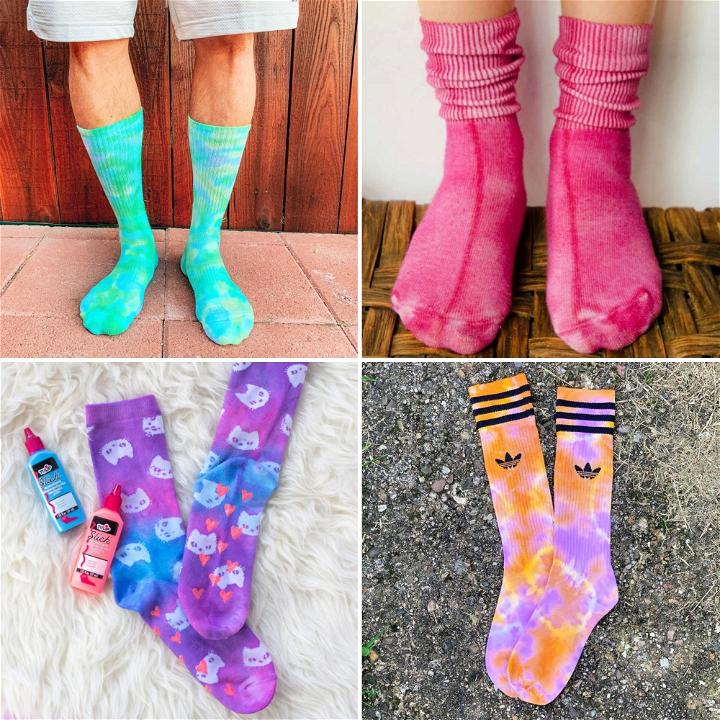
9. Make a Bleach Tie Dye Socks
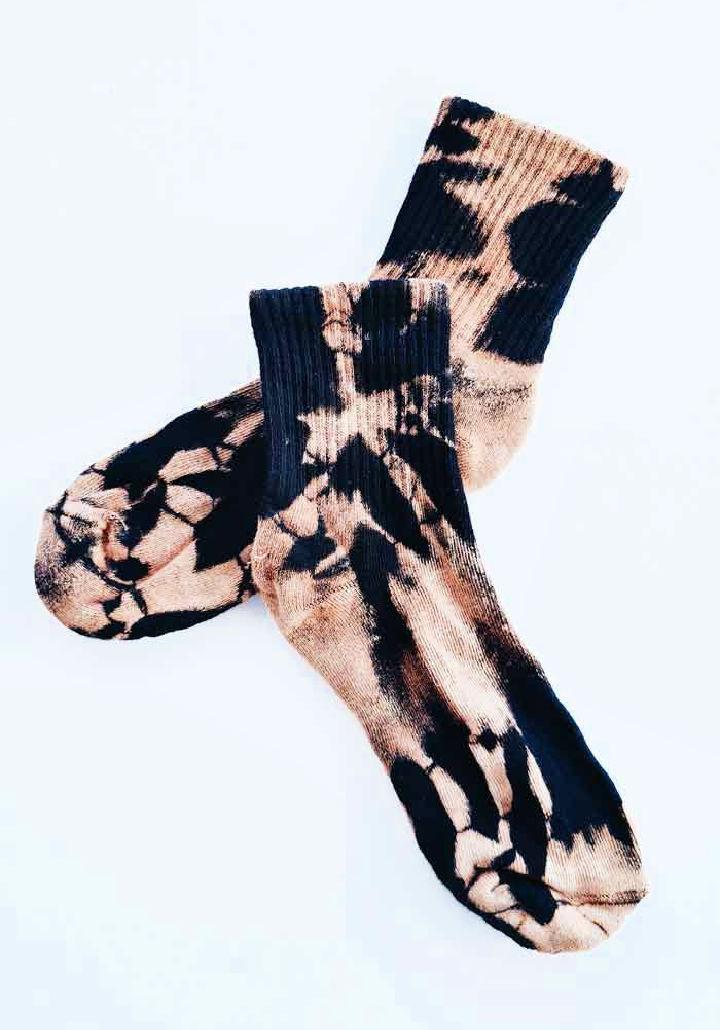
Making bleach tie-dye socks injects a fun pop of pattern into everyday wear. This small project has a big impact, proving that even the smallest items can showcase big personality.
10. Bleach Tie Dye a Hoodie Sweatshirt
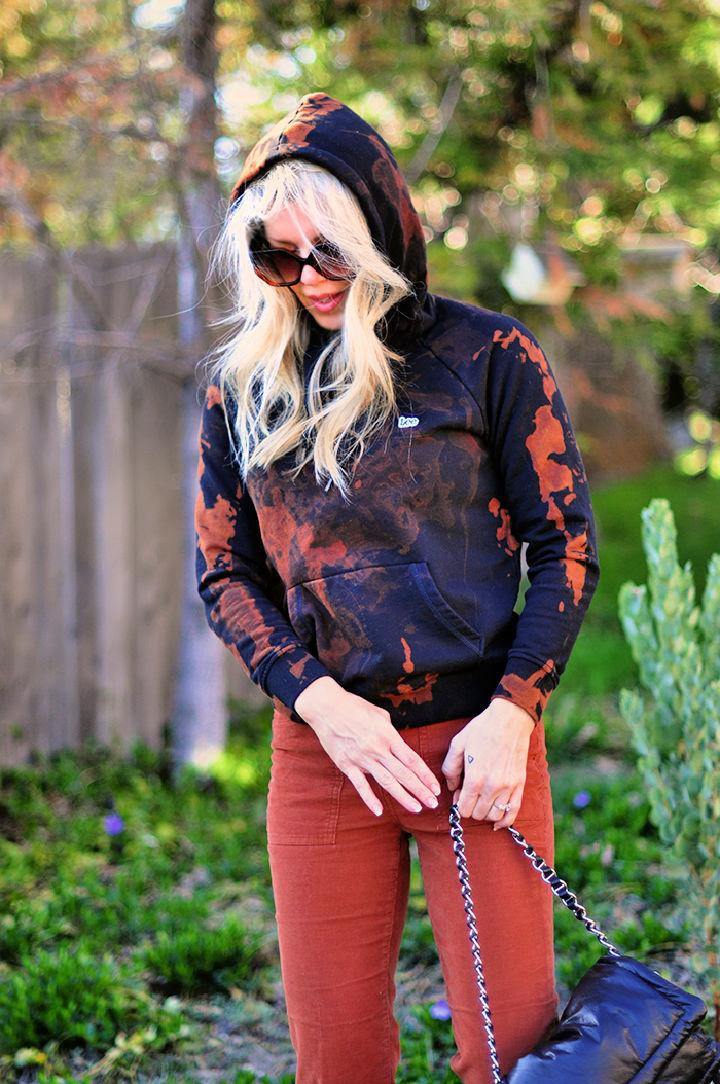
Bleach tie-dyeing a hoodie sweatshirt combines comfort with cool. This method spices up your cozy attire, making it a statement piece even on the most casual days.
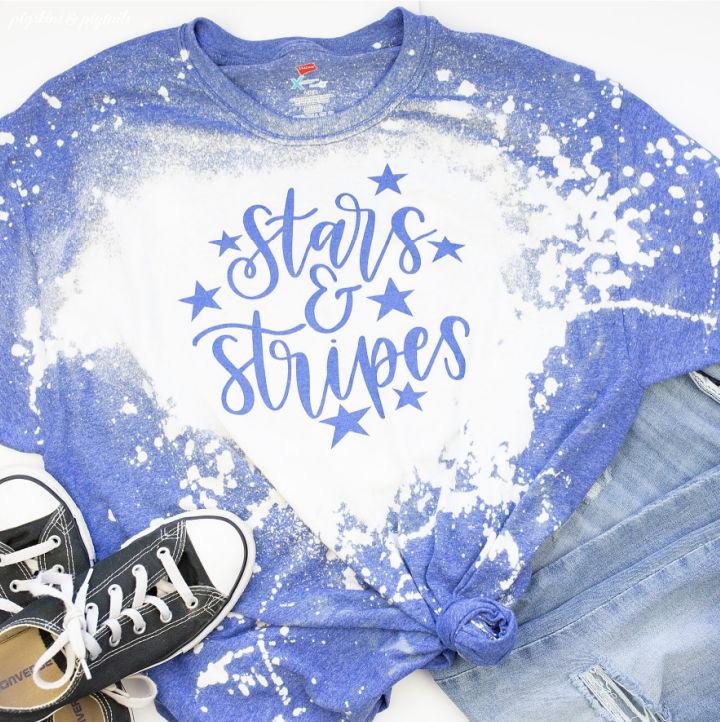
11. Reverse Red Tie Dye Shirt Using Bleach
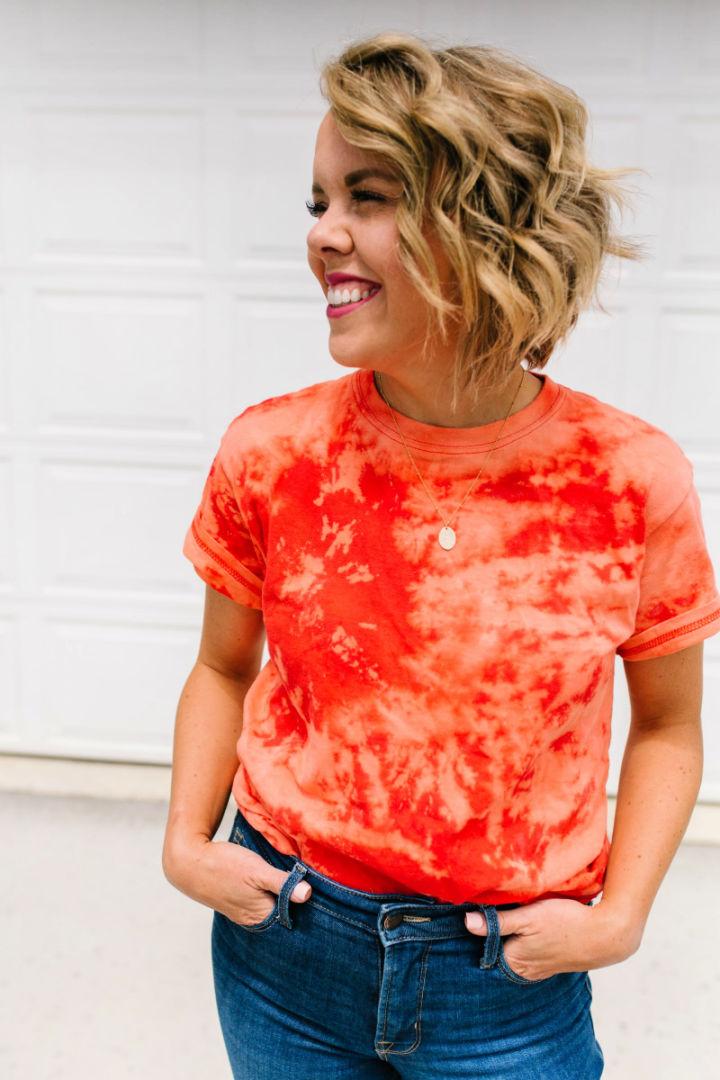
A reverse red tie-dye shirt using bleach is visually striking. This project is perfect for those looking to add a fiery flair to their outfits, making a vibrant contrast that captivates.
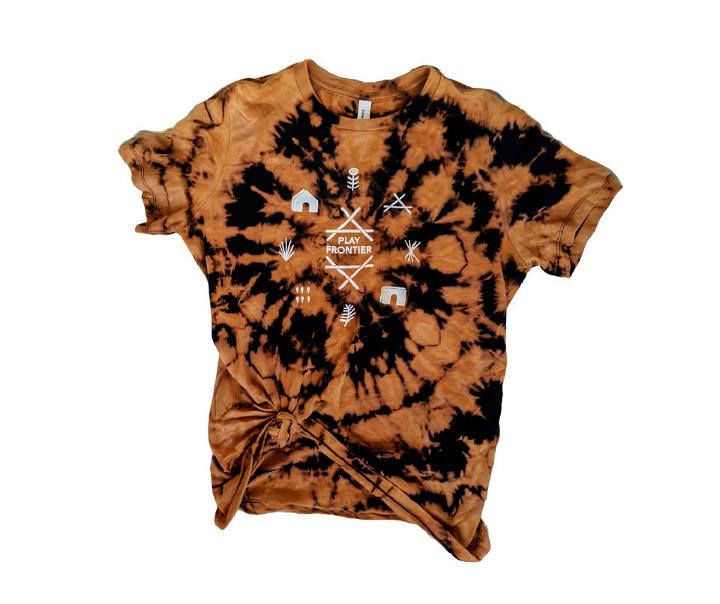
12. DIY Bleach Tie Dye Pattern
Making a DIY bleach tie-dye pattern unravels endless creative possibilities. This process allows for personalized designs, making each piece a unique expression of imagination.
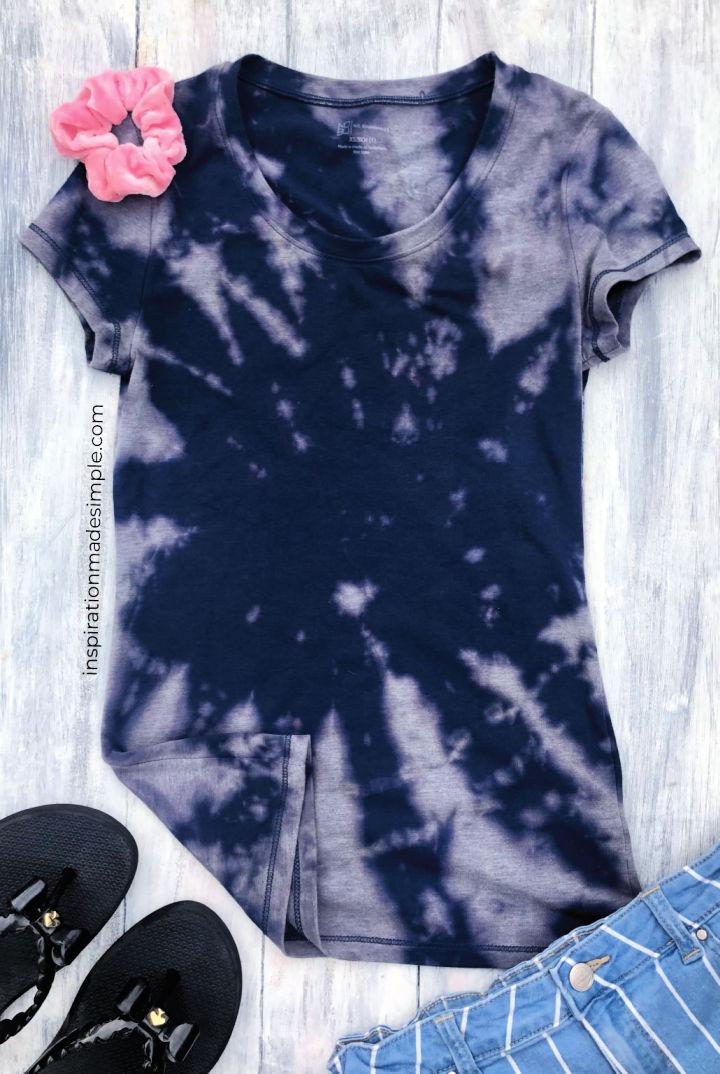
13. DIY Blue Bleach Tie Dye T Shirt
A DIY blue bleach tie-dye t-shirt is cool and casual. This project is perfect for bringing a splash of the ocean into your wardrobe, ideal for those who love unique, handcrafted clothing.
14. Reverse Tie Dye with Bleach
Reverse tie-dye with bleach offers an artistic twist on traditional methods. This technique focuses on removing color for brilliant results, which is ideal for anyone looking to stand out.
15. DIY Bleach Tie Dye Shirts
DIY bleach tie-dye shirts bring a fresh perspective to your wardrobe. This approach is about reinventing and personalizing, ensuring that your style truly reflects who you are.

16. Easy DIY Reverse Tie Dye with Bleach
Diving into easy DIY reverse tie-dye with bleach is like unlocking a new level of fashion customization. It's a simple technique that revamps your clothing, giving old items a brand-new, edgy look with minimal effort.
17. Bleach Tie Dye Technique
Exploring the bleach tie-dye technique adds an adventurous twist to crafting. This method allows for creative expression on various fabrics, offering a unique way to personalize your wardrobe with eye-catching designs.
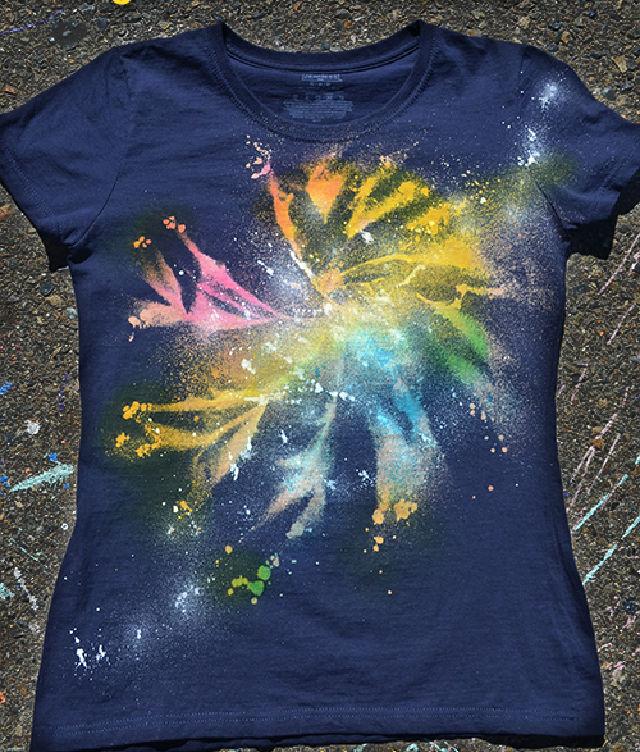
18. DIY Spray Bleach Tie Dye
DIY spray bleach tie-dye brings a dynamic flair to any piece of clothing. Using a spray bottle gives you control over the bleach application, enabling intricate patterns and gradients that stand out.
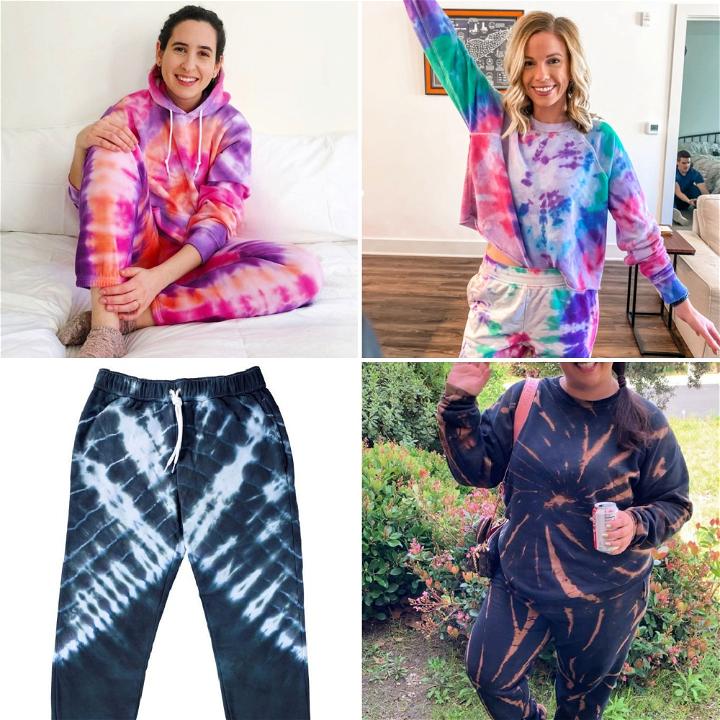
19. Grey Bleach Tie Dye Sweatsuit

Making a grey bleach tie-dye sweatsuit combines comfort and style. This cozy ensemble not only elevates your loungewear game but also introduces a chic, understated design element that's versatile for any casual occasion.
Tie Dye Socks: Add a splash of color to your wardrobe with our colorful tie dye socks collection, perfect for expressing your unique style!
20. Reverse Tie Dye Using Bleach
Venturing into reverse tie-dye using bleach is an exciting journey toward personalized fashion. This method offers a fresh take on fabric decoration, removing color to reveal hidden treasures within the material.
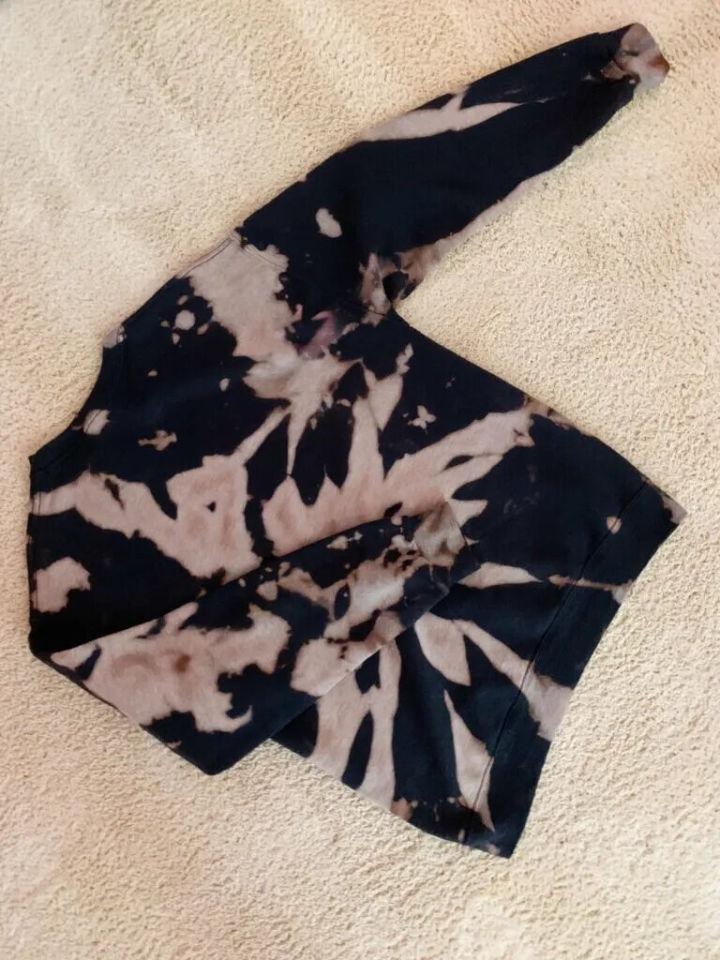
21. Reverse Tie Dye Sweatshirt with Bleach
Making a reverse tie-dye sweatshirt with bleach is not just about making a style statement; it's about reimagining your wardrobe. This process transforms a plain sweatshirt into a bespoke piece, reflecting your creative spirit.
22. Galaxy Twist Bleach Tie Dye Shirt
Making a galaxy twist bleach tie-dye shirt is like painting a celestial masterpiece on fabric. This technique results in a stunning, starry night effect, making each shirt a unique piece of wearable art.
23. Making Bleach Tie Dye
Embarking on making bleach tie-dye is a creative adventure. This process turns plain garments into eye-catching fashion statements. It's an accessible way to inject personality and flair into your clothing.
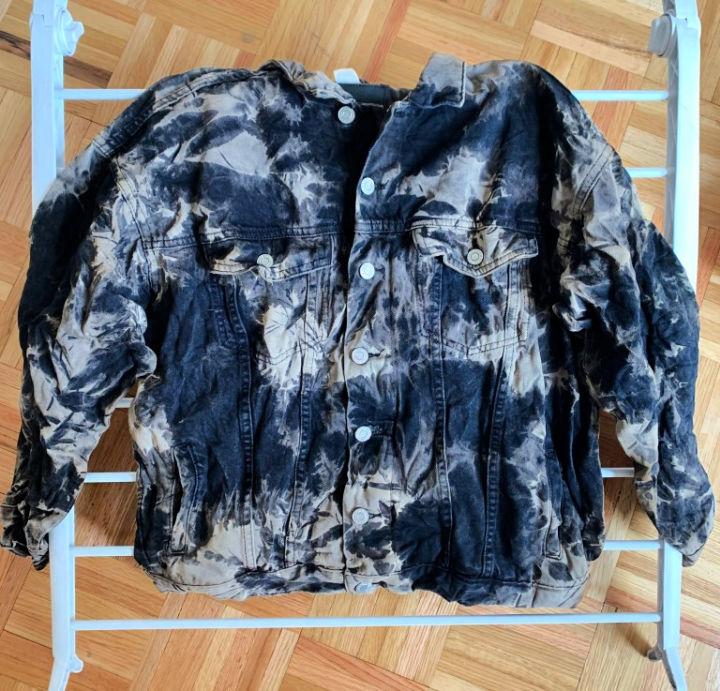
24. Bleach Tie Dye Jean Jacket
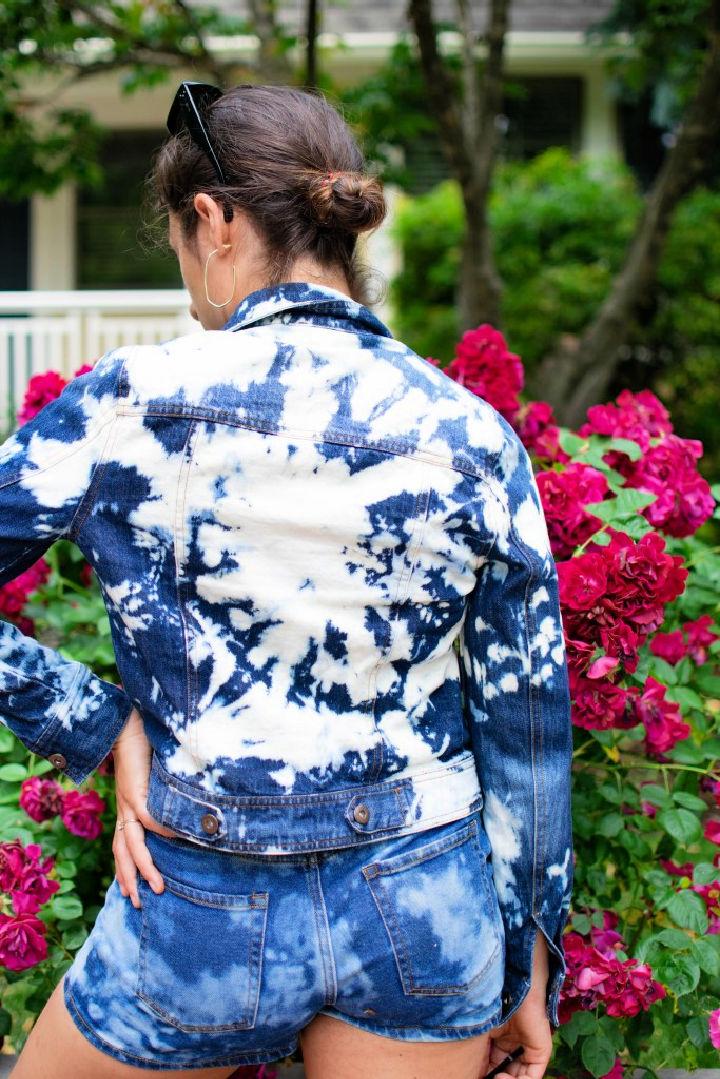
Customizing a bleach tie-dye jean jacket adds a cool, moto edge to any outfit. This project is perfect for those looking to revamp their denim with a touch of grunge and personalized detail.
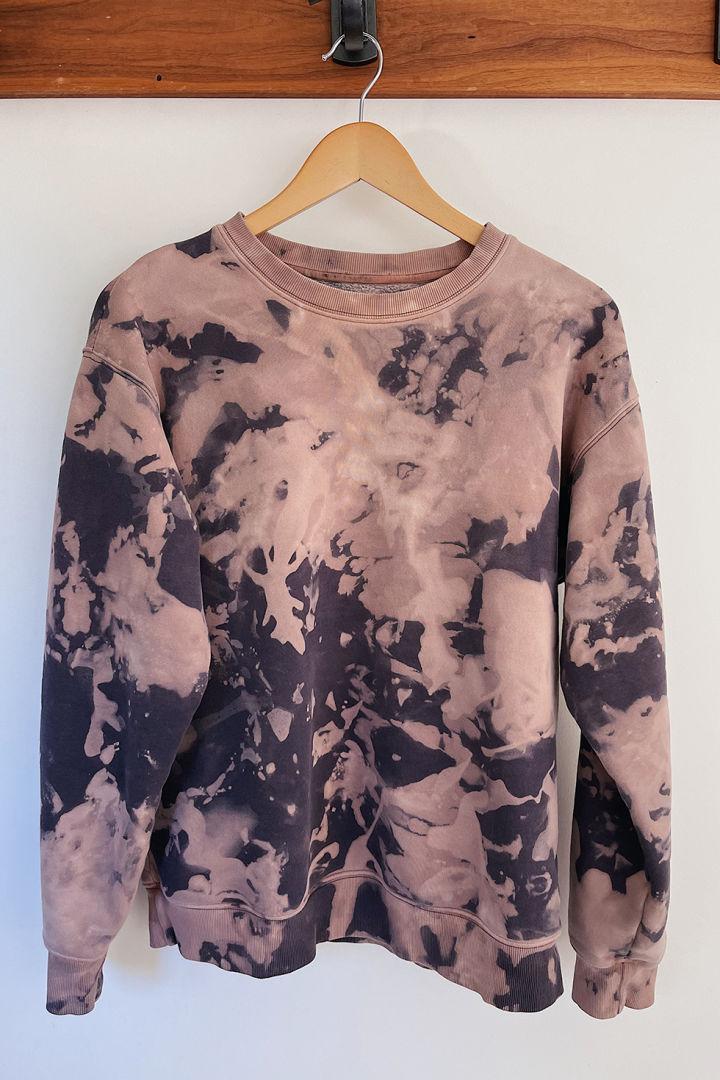
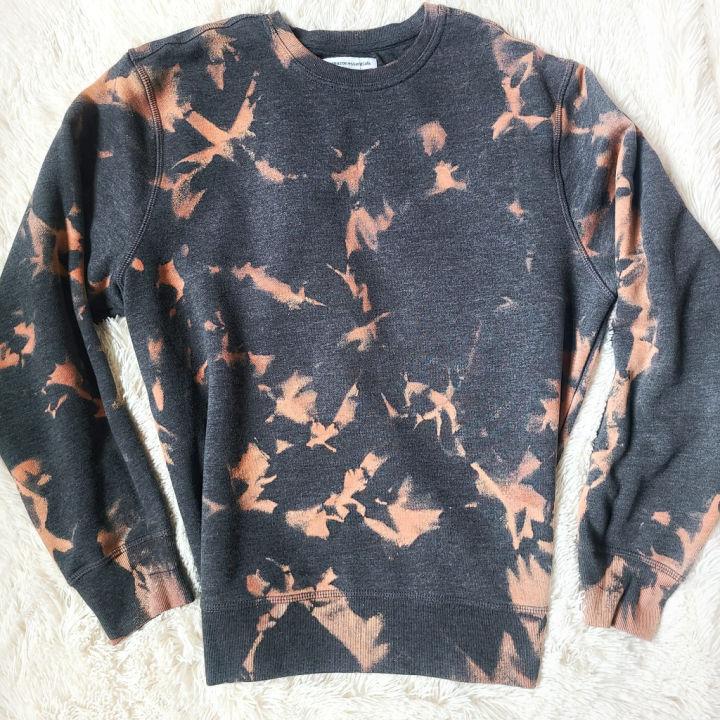
25. DIY Bleach Tie Dye Sweatshirt

Making a DIY bleach tie-dye sweatshirt crafts cozy comfort into a statement piece. This method offers a fun way to bring a unique twist to your everyday wear, turning a simple sweatshirt into a canvas for creativity.
Related Tie Dye Patterns
Whether you want to spice up your wardrobe or make a unique gift, tie dye patterns are the way to go. Explore our collection of fun and colorful ideas.
- How to Tie Dye shirts: Learn how to tie dye a shirt with our easy-to-follow guide, creating vibrant and unique patterns for an artistic wardrobe staple.
- Rainbow Tie Dye Patterns: Discover stunning rainbow tie dye techniques to add a splash of color to your wardrobe, perfect for shirts, socks, and more.
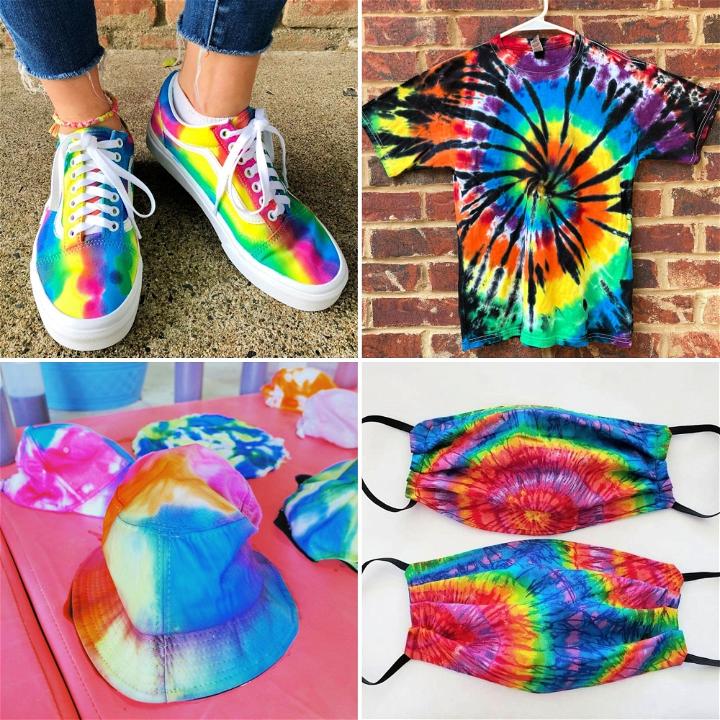
- Face Mask Tie Dye Designs: Create a vibrant new look with our pretty tie dye face mask designs. These masks come in a variety of beautiful colors, for the ultimate fashion and protection combo.
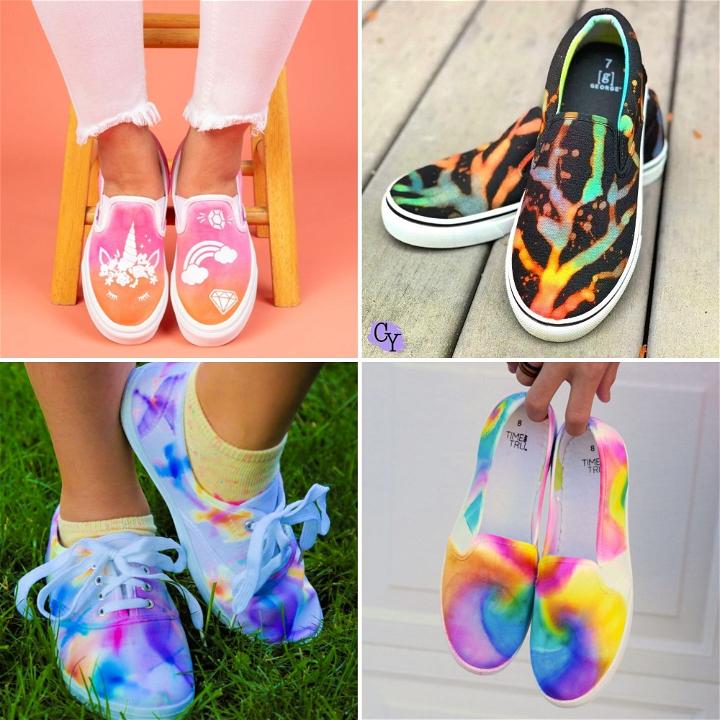
- Shoes Tie Dye Tutorials: Make a bold fashion statement with your own creative shoes tie dye designs! Learn DIY tutorials to create stunning color combinations and vibrant patterns for any occasion.
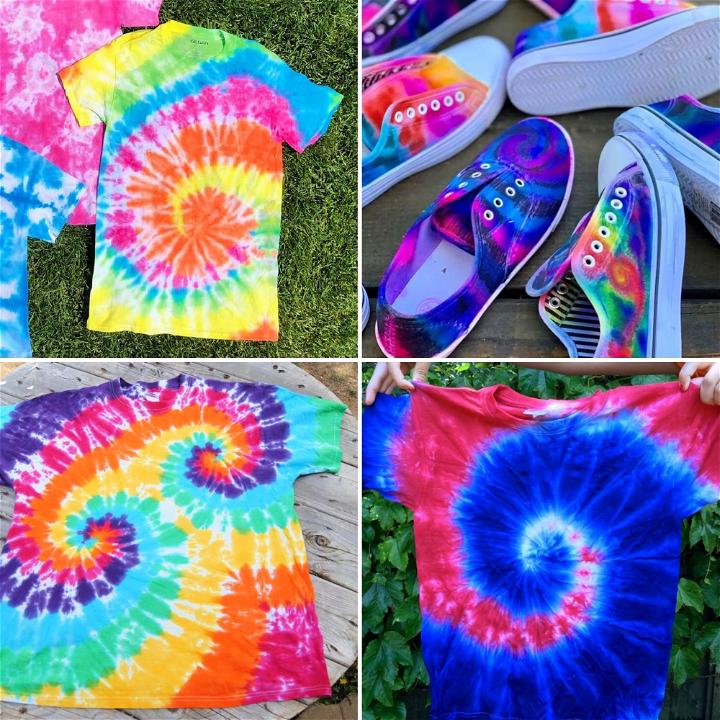
- Spiral Tie Dye Techniques: Unlock your creative spirit and develop beautiful works of art with amazing spiral tie dye techniques! Learn easy steps to create mesmerizing designs for any type of fabric.
- Sweatpants Tie Dye Makeover: Get creative with our amazingly fun sweatpants tie dye tutorial! Find step-by-step instructions and unique techniques to make your own customized style.
- Sweatshirt Tie Dye Patterns: Explore awesome tie dye sweatshirt patterns and techniques to make cozy, fashionable, and personalized loungewear you'll love.
Conclusion:
Venturing into bleach tie dye opened up a creative avenue for me, showing that with a bit of bleach and imagination, you can reinvent and personalize your clothes. So, why not try it out and see what vibrant designs you can create?
Related posts: