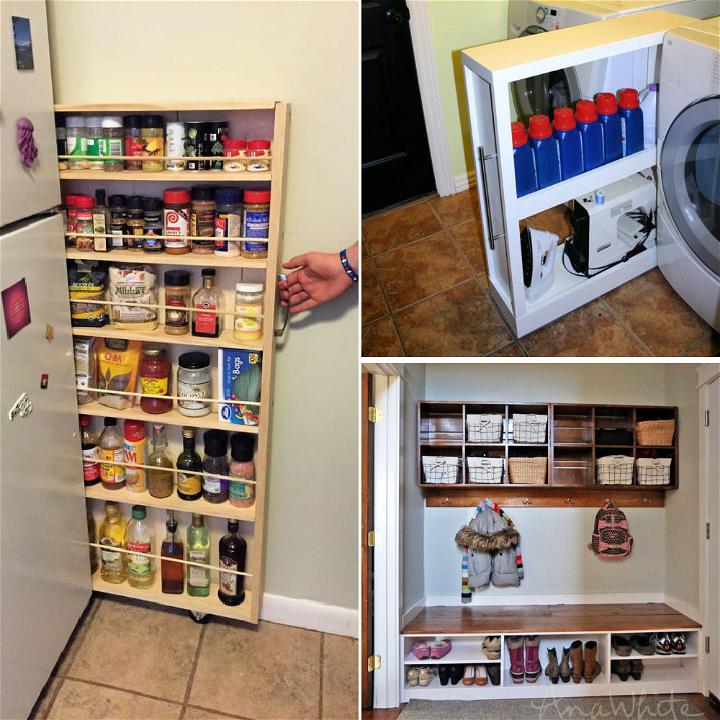
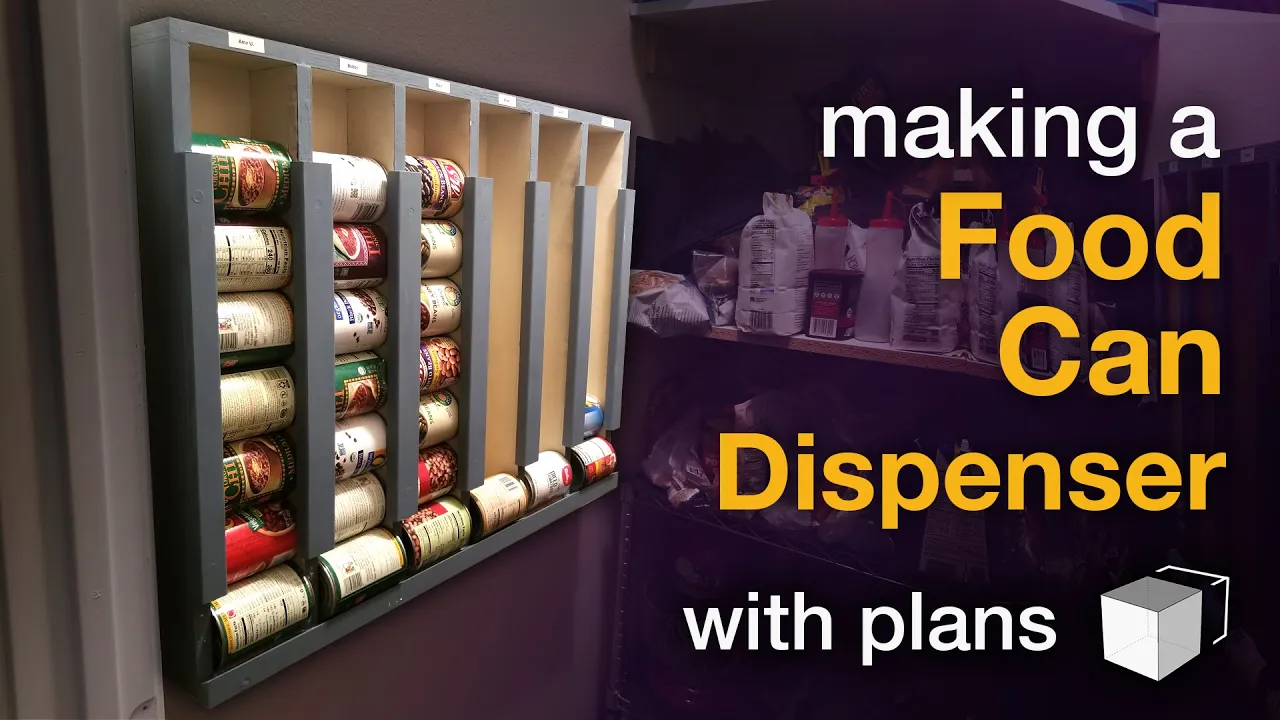
Making a DIY food can dispenser is an excellent way to organize your pantry, save space, and ensure a first-in, first-out food rotation system. This project is particularly useful for those looking to optimize their kitchen space or for preparedness enthusiasts who maintain a stock of canned goods. By the end of this guide, you'll learn how to build a wall-mounted can dispenser that can store up to 42 cans, efficiently using your available space and keeping your cans organized and accessible.
What Will I Get Out of This?
You'll be equipped to tackle a practical woodworking project that solves the common problem of disorganized canned goods. This DIY venture is not only about building storage but also about enhancing kitchen efficiency, minimizing waste by preventing expiration unnoticed, and applying a straightforward yet impactful system of rotation for your canned food. With clear plans and a bit of elbow grease, you'll build a sturdy, wall-mounted can dispenser customized to fit your space and needs.
Materials
- ¼ inch plywood: Forms the back panel and dividers for structural integrity.
- 1x2 inch wood strips: Used for the frame, providing a sturdy outline.
- Wood screws: To assemble parts securely, ensuring a durable structure.
- Wood glue: For additional bonding, especially at critical joining points.
- Paint or sealant (optional): Enhances appearance and protects the wood from moisture.
Constructing Your Food Can Dispenser
- Measure Your Space: Begin by measuring the intended wall space. The design mentioned accommodates up to 30 inches width-wise, but adjust according to your needs.
- Cut Your Plywood: Based on your measurements, cut the ¼ inch plywood for the back panel and dividers. Ensure precision for smooth assembly.
- Frame and Dividers: Cut and assemble the 1x2 inch wood strips to form the frame. The dividers will be placed between these strips, building slots for the cans.
- Assemble the Structure: Attach the back panel to the frame and dividers using wood screws and glue for a secure structure. Make sure everything is square and flush.
- Spacing and Alignment: Use cans to determine proper spacing between dividers. It's crucial for the functionality of the dispenser. Temporary spacers can be helpful in maintaining an even distribution.
- Final Touches: Sand any rough edges. Optionally, apply paint or sealant for a finished look.
- Installation: Choose a location and securely mount the dispenser to the wall, ensuring it's anchored well to support the weight of the cans.
Troubleshooting and Tips
- Misalignment: If dividers are misaligned, cans may jam. Ensure dividers are perpendicular to the back panel.
- Spacing Issues: Too tight spacing prevents cans from rolling smoothly. Test and adjust before final assembly.
- Humidity Resilience: In damp environments, consider sealing the wood to prevent warping or swelling.
Video Tutorial
Want a visual demonstration? Watch a step-by-step video tutorial on YouTube for this specific project. It provides a clear and easy-to-understand visual walkthrough of the techniques, making it a great companion to this written guide.
By following these steps and tips, you'll not only organize your kitchen space more effectively but also enjoy the satisfaction of completing a practical woodworking project. Whether you're a DIY enthusiast or simply looking to declutter your pantry, this food can dispenser is a worthwhile endeavor that combines utility with the joy of making.
FAQs About DIY Can Organizers
Discover all you need to know about DIY can organizers in this comprehensive FAQ guide. Find answers to your burning questions now!
What materials do I need for a basic can organizer?
To build a basic can organizer, you will need:
- Plywood or sturdy cardboard
- Wood glue or strong adhesive
- Measuring tape
- Saw (if using plywood)
- Scissors (if using cardboard)
- Sandpaper (for smoothing plywood edges)
- Paint or varnish (optional, for finishing)
How do I measure and cut the materials accurately?
- Measure the height, width, and depth of the space where you plan to place your organizer.
- Decide how many cans you want to store and calculate the required dimensions based on can sizes.
- Mark your measurements clearly on the plywood or cardboard.
- Use a saw for plywood or scissors for cardboard to cut along the marked lines.
- Always double-check your measurements before cutting to ensure accuracy.
Can I customize my can organizer to fit different can sizes?
Yes, you can customize your can organizer by adjusting the width and height of the slots or shelves to accommodate various can sizes. Consider building adjustable shelves using pegs or slots that can be moved to fit different can dimensions.
What is the best way to ensure the stability of my can organizer?
To ensure stability:
- Use thicker plywood or double-layered cardboard for strength.
- Secure all joints with wood glue or adhesive, and allow them to dry completely.
- Attach the organizer to a wall or cabinet using brackets or mounting strips for added support.
- Distribute weight evenly by placing heavier cans at the bottom.
How can I make my can organizer more visually appealing?
To enhance the appearance of your can organizer:
- Paint or varnish the plywood to match your decor.
- Cover cardboard with decorative paper or fabric.
- Use labels or stencils to make a clean, organized look.
- Incorporate design elements like curves or patterns into the structure.
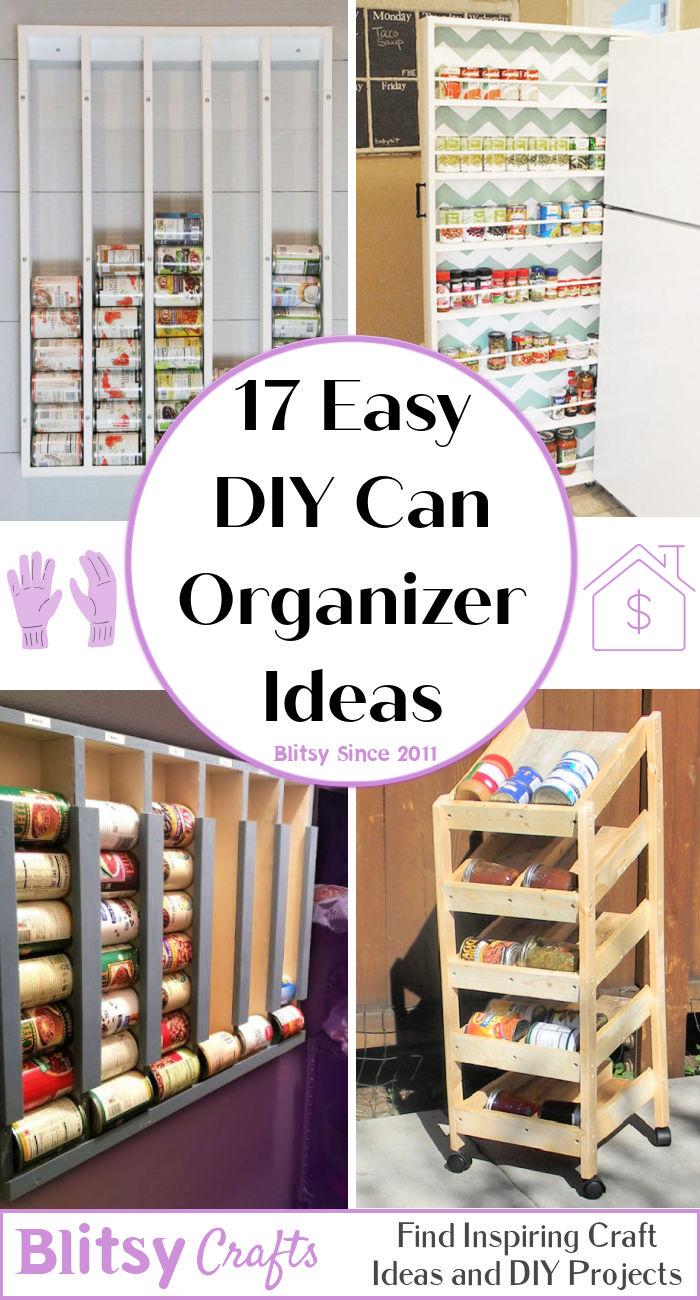
17 DIY Can Organizer Ideas and Inspirations
Discover 17 DIY can organizer ideas to declutter your space and efficiently store your canned goods. Get inspired to organize your pantry today!
1. DIY Wall-Mounted Can Organizer
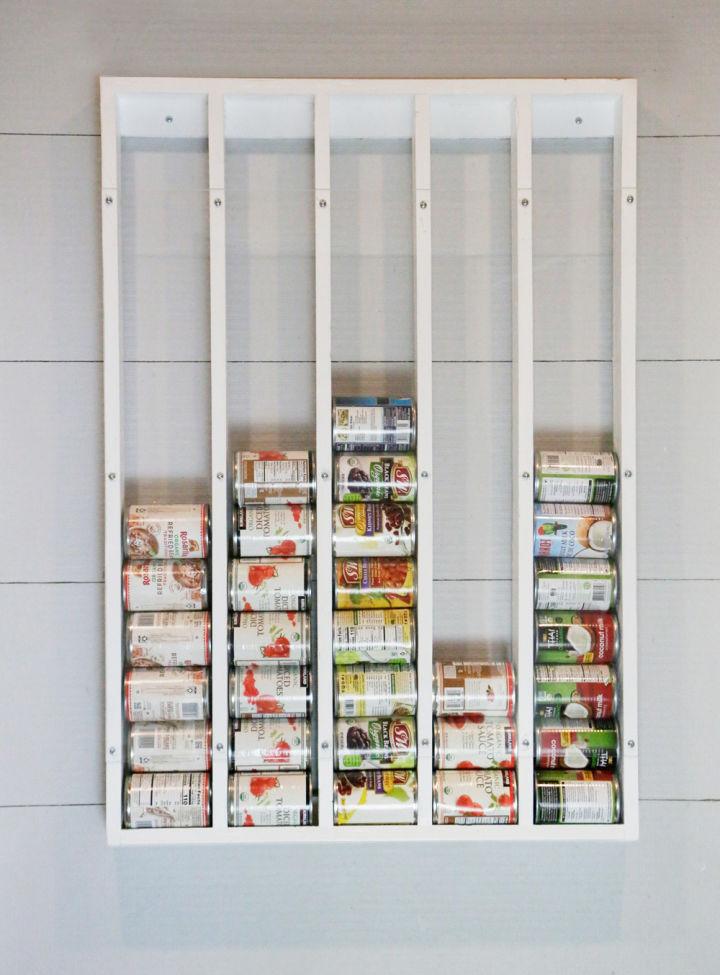
Imagine freeing up precious cupboard space with a DIY wall-mounted can organizer. This handy device allows for easy visibility and access to your canned goods, optimizing kitchen space with a sleek, vertical design that's both practical and aesthetically pleasing.
2. Making a Cardboard Can Food Organizer
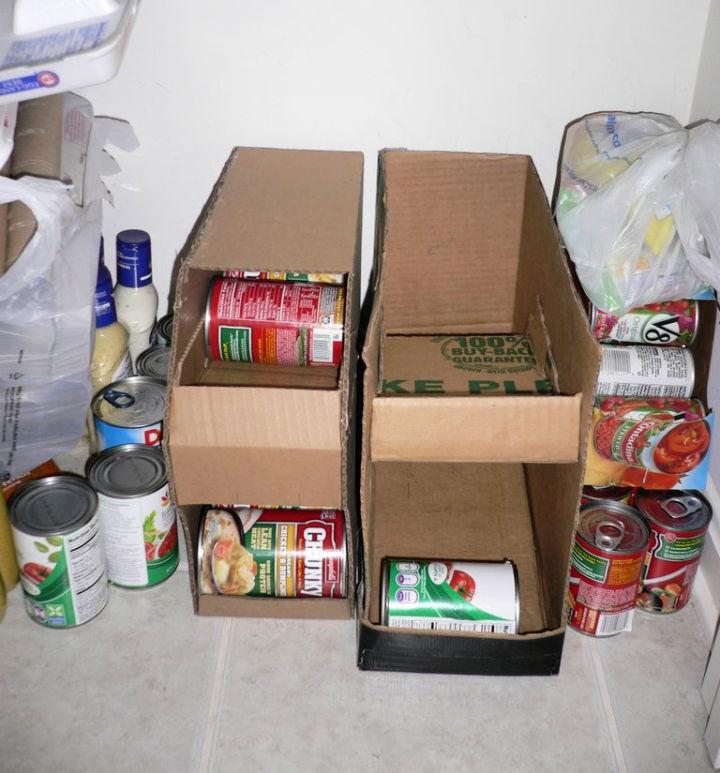
Making a cardboard can food organizer is a fantastic project for those looking to recycle materials creatively. Not only does it provide a cost-effective solution for organizing your pantry, but it also offers the flexibility to customize the size and compartments according to your needs, all while being eco-friendly.
3. Pull Out Canned Food Organizer Plan
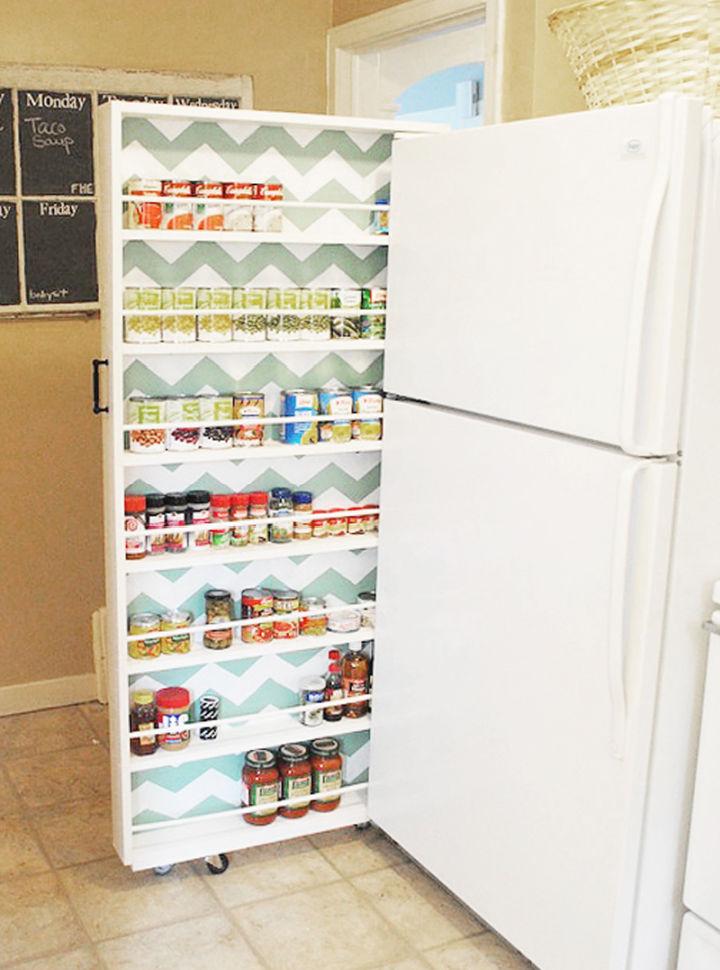
Integrating a pull-out canned food organizer into your kitchen setup enhances convenience and functionality. This design slides smoothly in and out of cabinets or pantries, making it easier to locate and retrieve cans without rummaging. It's a space-saver that brings modernity and order to any kitchen.
4. Bulk Can Organizer Using Plywood
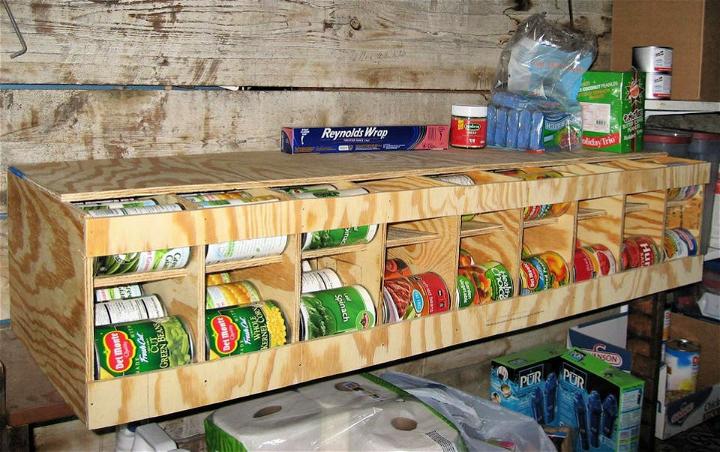
Using plywood to make a bulk can organizer is both sturdy and customizable. This approach allows for a durable storage solution capable of holding numerous cans, tailored to fit any pantry size. The natural wood finish can also add a touch of rustic charm to your storage area.
5. Handmade Canned Food Storage

Handcrafting canned food storage is a delightful project that personalizes your pantry. Whether woven baskets or painted wooden crates, these storage solutions not only keep your cans neatly organized but also add a unique character to your kitchen décor.
6. DIY Rolling Can Storage
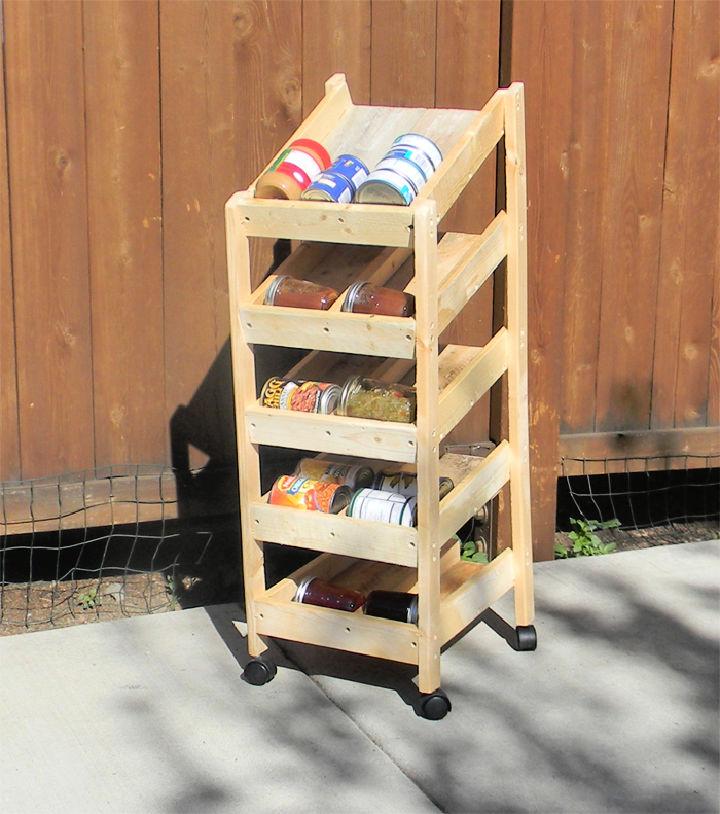
A DIY rolling can storage system is a game-changer for those with limited space. This movable unit can be easily tucked away when not in use and pulled out during meal prep. Its mobility and convenience make it an ideal addition to small kitchens.
7. How to Make a Can Organizer Pantry

Making a can organizer pantry involves both creativity and strategic planning. This project transforms your pantry with custom shelving or racks designed to hold cans efficiently, allowing for a clutter-free zone where everything is in sight and within reach.
8. Build a Hanging Food Can Dispenser

Building a hanging food can dispenser is a novel way to utilize vertical space effectively. Mounted under cabinets or on pantry doors, this dispenser keeps cans organized and easily accessible, making it a space-smart addition for those looking to streamline their kitchen.
9. Homemade Cardboard Can Organizer

A homemade cardboard can organizer proves that simplicity doesn't sacrifice functionality. This budget-friendly solution can be easily assembled and decorated to fit your pantry's aesthetic, offering an organized home for your cans without breaking the bank.
10. How to Build a Canned Food Storage Rack

Constructing a canned food storage rack from scratch provides a sense of accomplishment and customization. This project allows you to tailor the size, shape, and capacity to perfectly suit your pantry, ensuring your cans are stored in an orderly and accessible fashion.
11. Wooden Can Storage System for Can

A wooden can storage system introduces warmth and natural beauty while keeping your cans neatly lined up. This DIY project can be a statement piece in your kitchen or pantry, offering a blend of functionality and rustic charm.
12. DIY Canned Food Holder
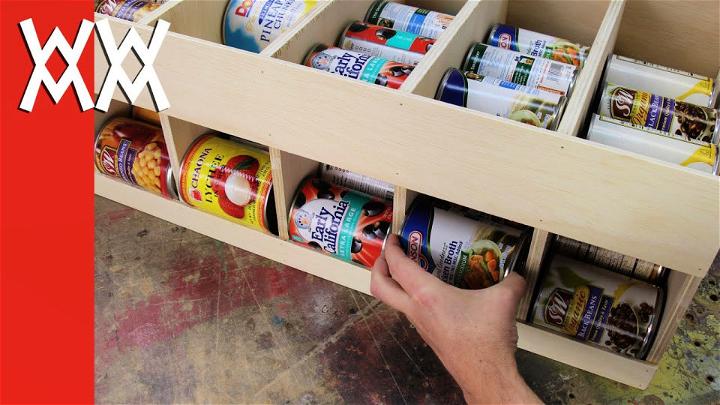
Making your own DIY canned food holder is a straightforward and satisfying project. This solution can be as simple or as complex as you prefer, resulting in a neat and efficient way to store and display your canned goods, making meal prep easier and your kitchen tidier.
13. Can Storage Rack Woodworking Plans
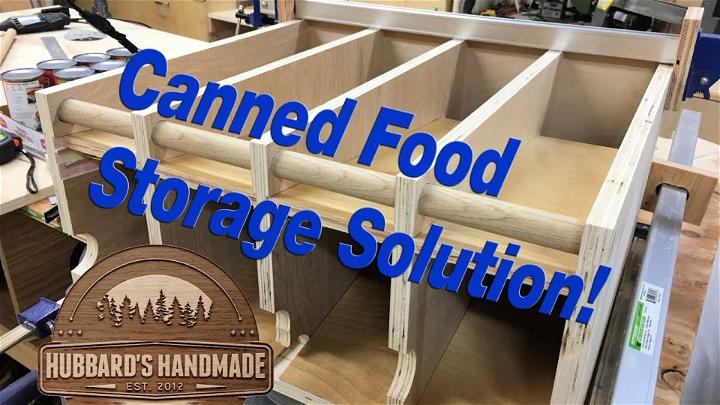
Delving into can storage rack woodworking plans can be a rewarding venture for enthusiasts. This approach offers precision and durability, allowing you to craft a storage solution that's not only effective in organizing cans but also enhances the overall look of your pantry or kitchen.
14. DIY Rotating Canned Food System

Implementing a DIY rotating canned food system revolutionizes pantry organization. This innovative design ensures older cans are used first, minimizing waste. It's a clever and efficient way to keep track of inventory while keeping everything within arm's reach.
15. Make Your Own Soda Can Organizer

Making your own soda can organizer brings an element of fun and personalization. This project caters to those who enjoy fizzy drinks, providing a designated spot that keeps cans sorted and stationary, making it easier to grab a cold one without the search.
16. Shelving for Canned Goods with Rotation

Designing shelving for canned goods with rotation functionality is not only practical but also a great space saver. This system keeps your pantry organized while ensuring that cans are rotated correctly, offering you peace of mind that nothing goes to waste.
17. DIY Vertical Can Storage Ideas

Exploring DIY vertical can storage ideas can be the answer to small kitchen woes. This space-saving solution takes advantage of unused vertical space, keeping cans neatly organized and accessible. It's a perfect project for maximizing efficiency in tight spaces.
Conclusion:
In conclusion, building a DIY can organizer is a fun and practical project that can contribute to a more organized and efficient home. By repurposing materials and customizing the design to suit your needs, you can enjoy a personalized storage solution that adds both functionality and style to your space. Get started on your DIY can organizer today for a clutter-free and streamlined storage system.


