Making a butcher block for your home or workshop can be a rewarding DIY project. With the right materials and tools, you can craft a durable and attractive countertop or work surface. This guide walks you through each step of the process, ensuring clarity and ease.
Materials Needed
- Pine wood planks (or your choice of wood)
- Titebond 3 glue (waterproof)
- Sandpaper (80, 120, 150, 220 grit)
- Wipe-on polyurethane or mineral oil
- Clamps
Tools Needed
- Roller for glue application
- Planer
- Sander
Step by Step Instructions
Learn to make a DIY butcher block table with our easy step-by-step guide, including materials, tools, and expert tips for perfect results.
Step 1: Prepare the Wood Planks
Select pine wood planks or any wood of your choice, ensuring they're all the same length. Pine is a budget-friendly option that works well for workshop surfaces.
Step 2: Apply the Glue
Using Titebond 3 glue for its waterproof qualities, spread an even layer across each plank with a roller. This step is crucial for solid adhesion and water resistance.
Step 3: Clamp the First Set of Planks
Align the glue-coated planks next to each other and start clamping them together. If your planer is less than the total width you desire, do this in sections. Ensure plenty of clamps are used and tighten them until glue squeezes out from between the planks.
Step 4: Plane for Evenness
After the glue dries, run the assembled section through a planer. This process flattens the surface, removing any unevenness caused by the gluing process. Repeat the task on both sides until smooth.
Step 5: Glue the Sections Together
If you've prepared your butcher block in sections, apply glue to the edges and clamp the pieces together to form the final width. Adjust for evenness and eliminate any gaps or lips between the sections.
Step 6: Sand the Surface
Start sanding the seam with 80 grit sandpaper, moving on to 120 grit for the entire piece. Progress to 150 and then 220 grit for a smooth finish.
Step 7: Apply the Finish
To protect and enhance your butcher block, apply wipe-on polyurethane or mineral oil. Polyurethane is suitable for non-food surfaces, while mineral oil is better for kitchen counters. Apply several coats for best results.
Tips for Success
- Ensure all planks are of equal length and width for a uniform look.
- Apply glue generously for a strong bond but avoid excess wastage.
- Planer use is critical for a flat, even surface. Take your time with this step.
- Sand thoroughly before applying the finish to avoid rough spots.
Video Tutorial
For a step-by-step video tutorial on building a DIY butcher block, watch this helpful guide.
It pairs well with this written guide, offering a visual aid that makes following along even easier, especially for visual learners.
Making your butcher block can provide a custom and satisfying addition to your kitchen or workshop. With patience and attention to detail, you'll build a beautiful and functional piece that lasts for years.
FAQs On DIY Butcher Block Tables
Discover all the essential information on DIY butcher block tables in this comprehensive faq guide. Learn how to build your own stunning and functional piece!
What is a Butcher Block Table?
A butcher block table is a sturdy, heavy-duty surface traditionally used for chopping and food preparation. It's made by gluing together straight cuts of wood, building a durable and attractive tabletop.
Why Choose a Butcher Block Table?
Durability and Aesthetics: Butcher block tables are not only strong and long-lasting but also add a warm, natural look to your space.
How Do I Maintain My Butcher Block Table?
Routine Care: Keep your table clean and dry. For regular maintenance, apply a food-safe mineral oil to prevent the wood from drying out.
Can I Cut Directly on My Butcher Block Table?
Yes! It's designed for direct chopping. Just remember to sand out any knife marks and re-oil the surface to keep it smooth.
Are Butcher Block Tables Sanitary?
Absolutely. With proper cleaning and maintenance, they are as sanitary as any other kitchen surface.
How Do I Remove Stains from My Butcher Block Table?
Light Stains: Use a mixture of vinegar and water. For tougher stains, a paste of baking soda and water works well. Apply the paste, let it sit, then wipe clean.
What Types of Wood Are Best for Butcher Block Tables?
Maple, Walnut, Cherry, and Oak: These are popular choices, each offering different colors and grain patterns.
Does the Type of Wood Affect the Table's Performance?
Yes. Harder woods like maple are great for heavy use, while softer woods like walnut may show marks more easily but offer rich colors.
What Should I Consider When Selecting My Butcher Block Table?
Thickness and Size: Match these to your space and usage needs. Wood Type: Choose based on durability requirements and aesthetic preference.
15 DIY Butcher Block Table Ideas
Discover 15 easy DIY butcher block table ideas for your home. Upgrade your space with these stylish and functional designs.
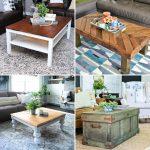
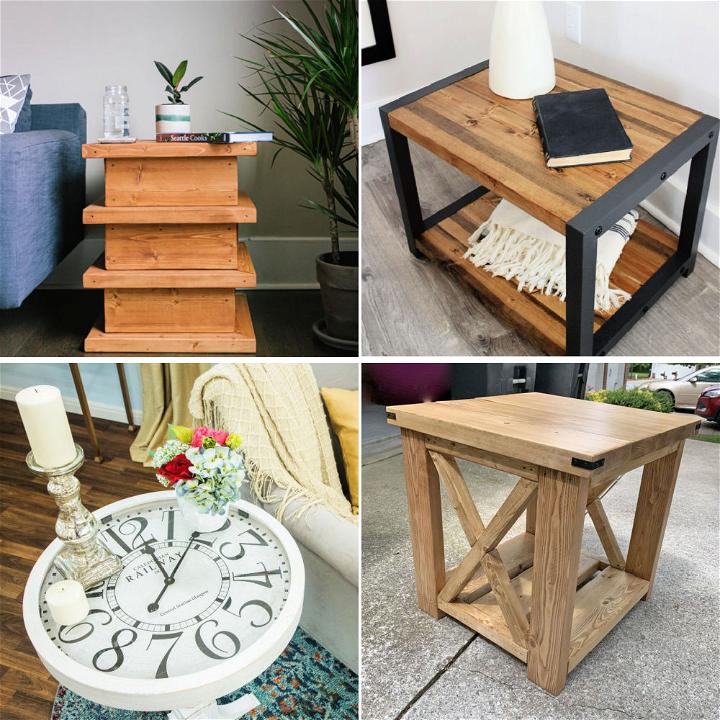
1. How to Build a Butcher Block Coffee Table
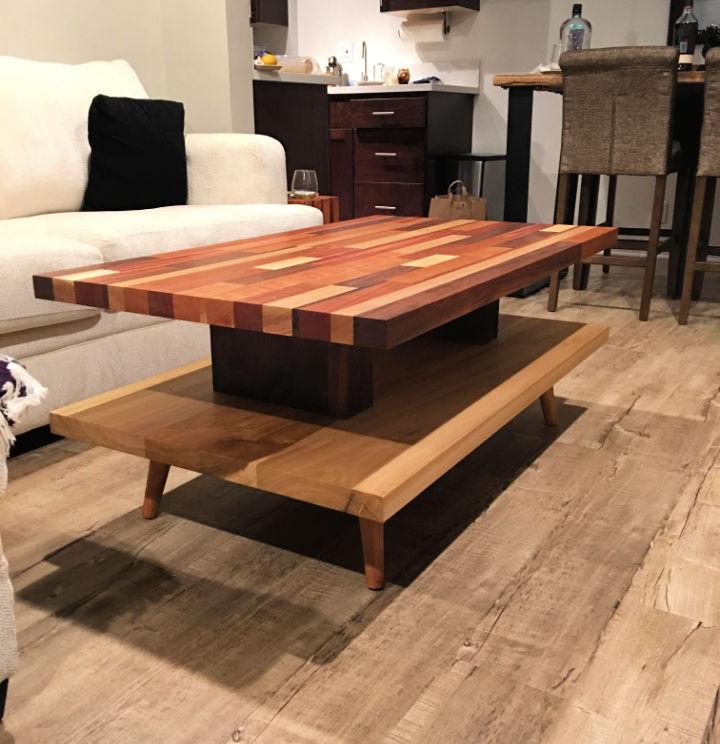
Transform your living space with a butcher block coffee table that blends both style and practicality. This sturdy table adds a warm, rustic vibe to any room, offering a durable surface for your coffee mugs and magazines, all while elevating your home's aesthetic.
2. Nested Cube Butcher Block Tables
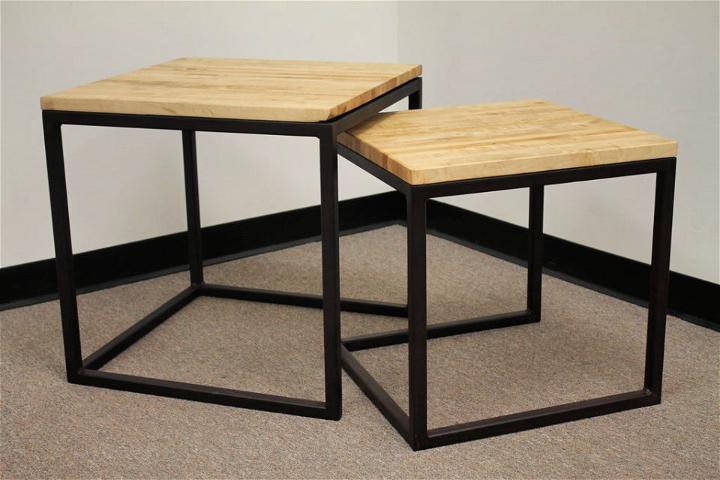
Imagine a piece that's as functional as it is stylish - that's the nested cube butcher block tables for you. Perfect for small spaces, they tuck away neatly when not in use. Their solid construction and modern design make them a great addition to any contemporary home.
3. How to Make Butcher Block Table
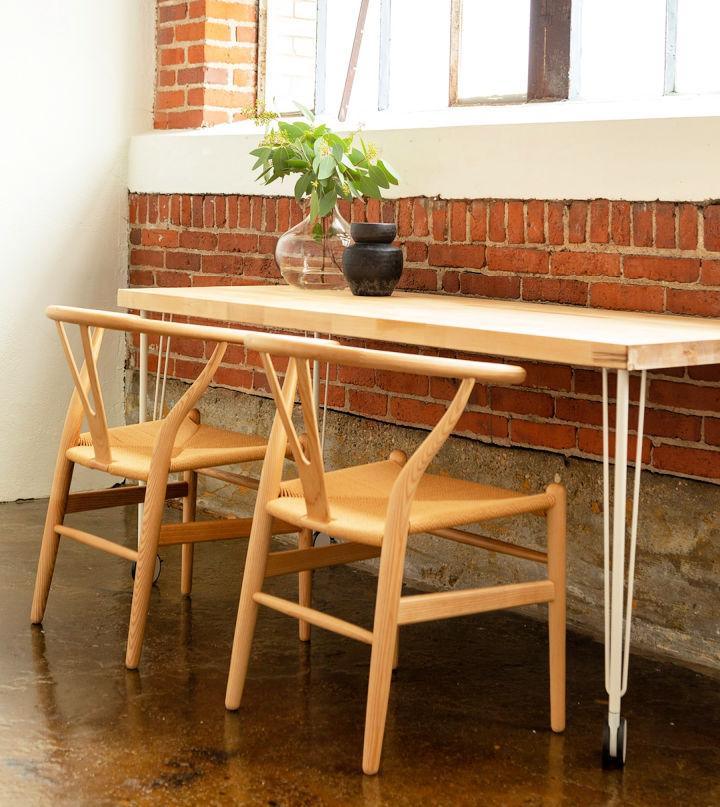
Building a butcher block table brings a touch of bespoke elegance to your dining or kitchen area. This easy-to-do project allows you to customize size and finish, ensuring a perfect fit for your space. Plus, it's a satisfying way to introduce a durable, timeless piece to your home.
4. DIY Butcher Block Hardwood Table
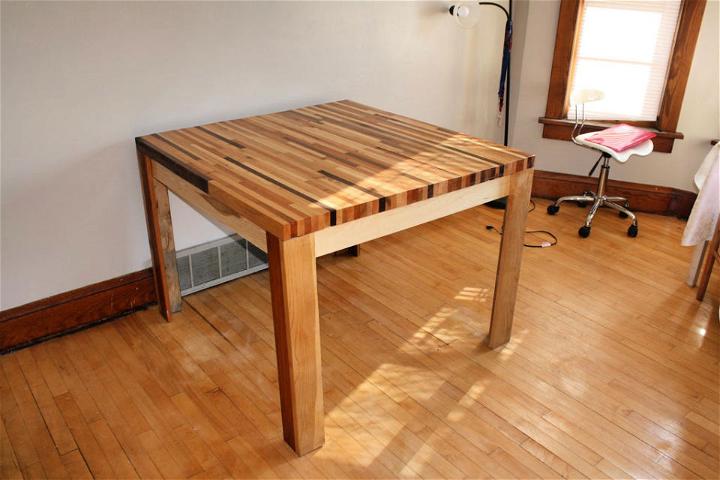
Channel your inner craftsman by building a DIY butcher block hardwood table. Not only does this simple project let you tailor dimensions and finishes, but it also offers the satisfaction of making something durable and beautiful with your own hands.
5. Making a Butcher Block Dining Table
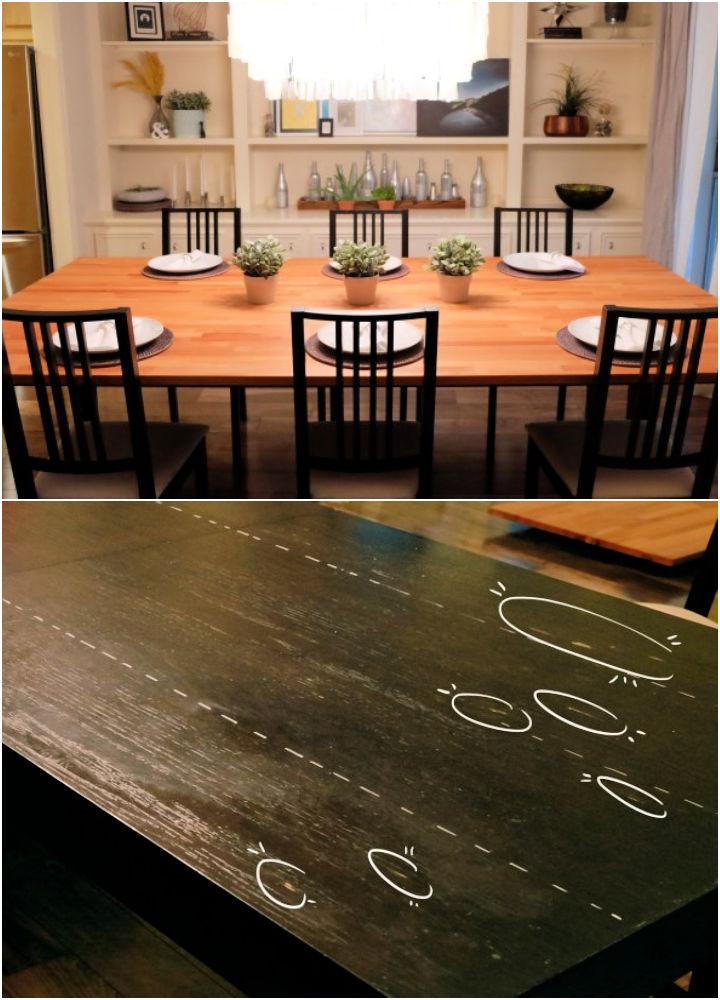
Elevate your dining experience with a homemade butcher block dining table. This sturdy centerpiece brings warmth and character to meals, providing a spacious and robust surface for family dinners and gatherings. It's a stylish way to make memories around the table.
6. Free Butcher Block Table Plan
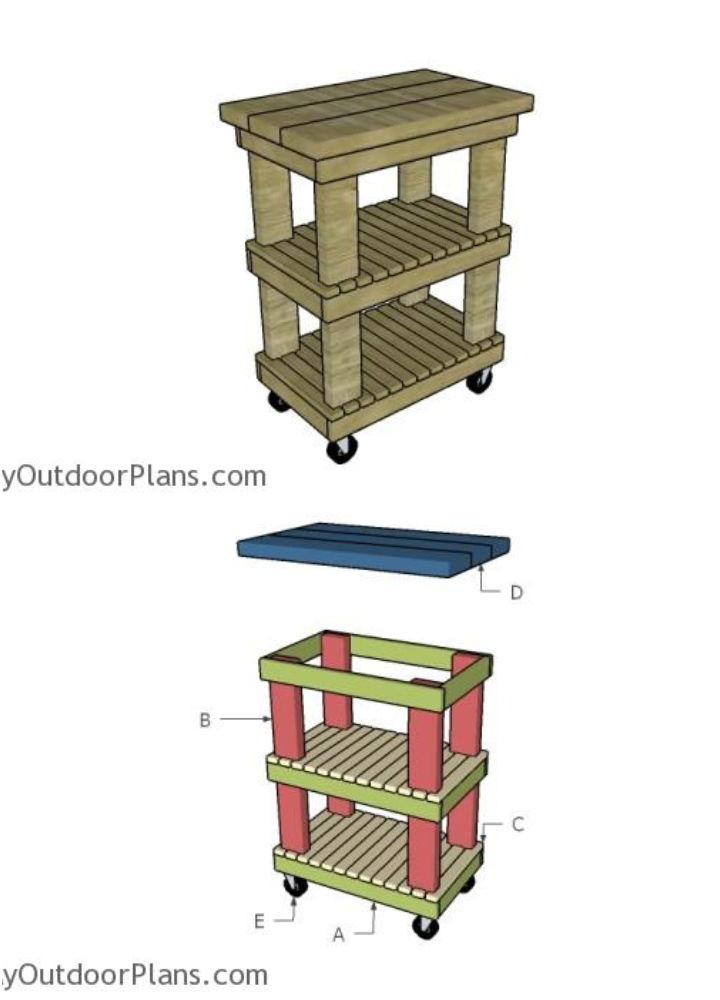
Dive into DIY with a free butcher block table plan. This resource is perfect for getting your feet wet in woodworking, offering step-by-step guidance to construct a practical piece for your kitchen or dining room. It's an affordable way to add custom furniture to your home.
7. DIY Butcher Block Countertop Table Design
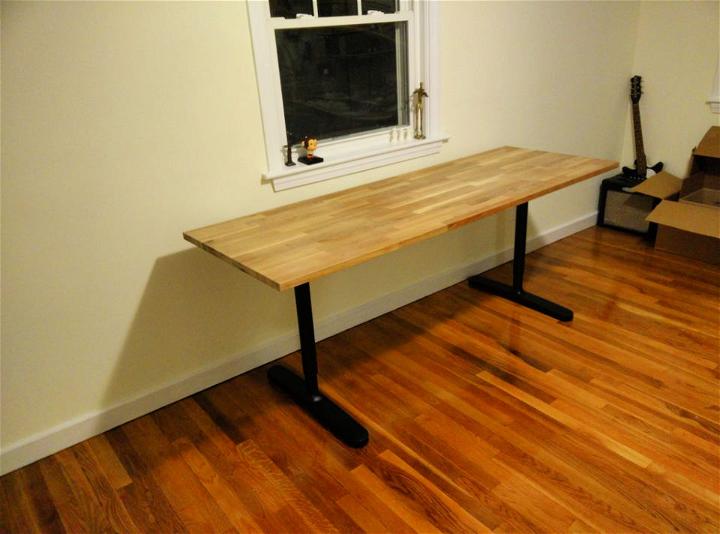
A DIY butcher block countertop table fuses functionality with a sleek design. Ideal for kitchens needing extra prep space or a casual dining spot, this project empowers you to construct a multipurpose surface. Crafting something so useful and attractive will surely give you a sense of pride.
8. Homemade Butcher Block Table
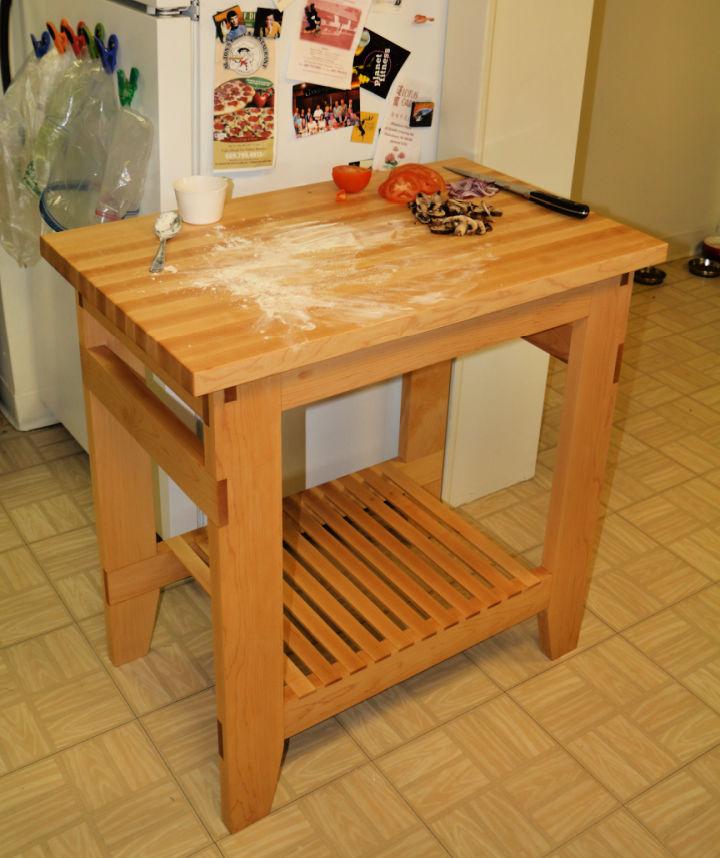
Constructing a homemade butcher block table is a venture into timeless design and durability. This piece, known for its sturdiness, brings an element of classic craftsmanship into your living space. It's an endeavor of love that results in a functional yet beautiful addition to your home décor.
9. Butcher Block Coffee Table with Hairpin Leg
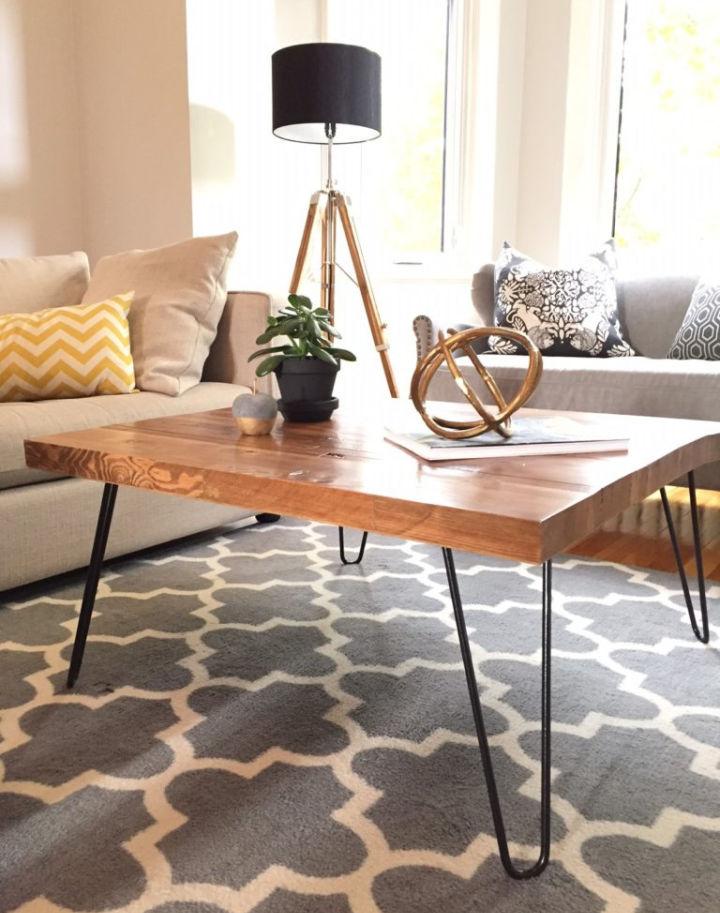
The butcher block coffee table with hairpin legs adds an industrial yet warm touch to any living room. The sleek yet sturdy hairpin legs offer stable support, while the wood top brings coziness. It's a chic statement piece that blends modern design with rustic charm, building a welcoming atmosphere.
10. Outdoor Butcher Block Patio Table
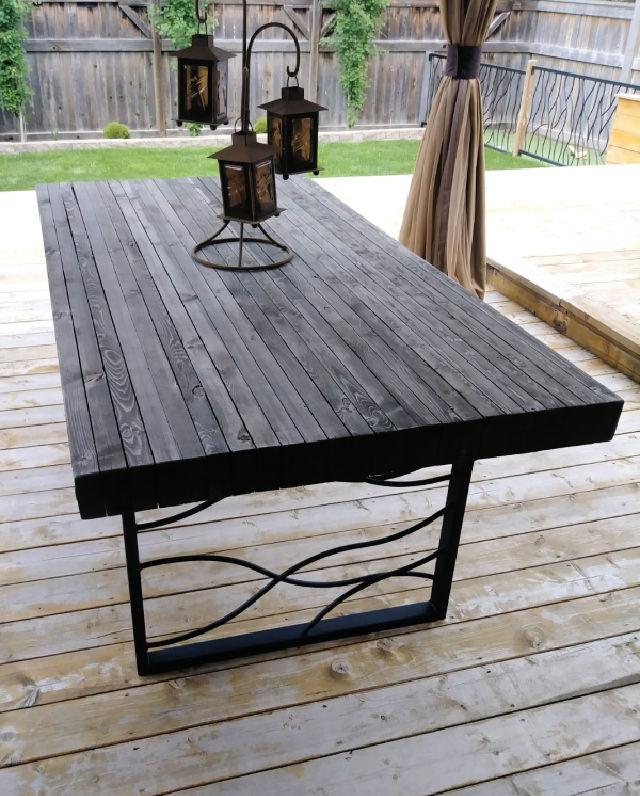
The outdoor butcher block patio table is perfect for your al fresco dining needs. Designed to withstand the elements, this DIY patio table combines function with fashion, ensuring durability without compromising on style. It's the ideal addition to any patio, blending seamlessly with the great outdoors.
11. DIY Butcher Block Table Out of Scrap Wood
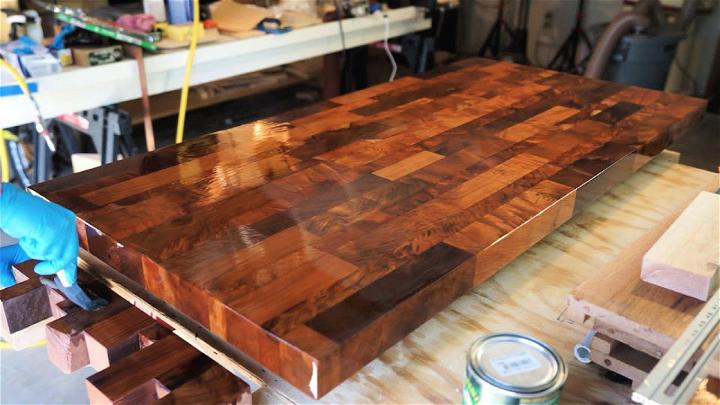
Making a DIY butcher block table out of scrap wood is a fantastic way to recycle and add a unique piece to your home. This simple project allows for personal customization, turning leftover wood into a functional masterpiece. It's an eco-friendly and creative solution that adds character.
12. Big Beefy End Grain Butcher Block Table
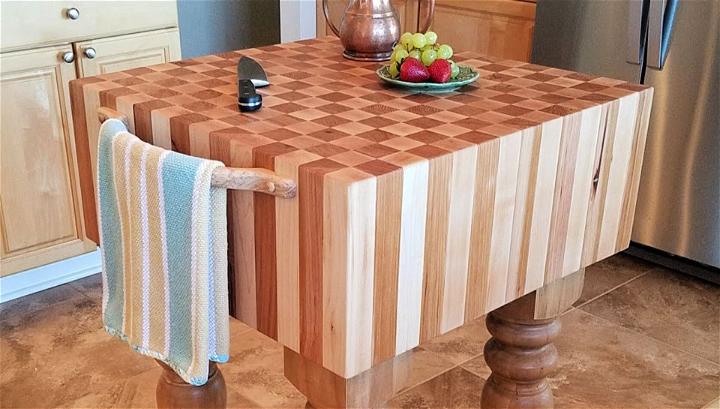
The big beefy end grain butcher block table is a robust addition to your kitchen. Its end-grain surface is knife-friendly and durable, perfect for heavy-duty food prep. This table is not just practical; its grand presence makes it a focal point in any kitchen space.
13. Butcherblock Table Made From Scrap Hardwood
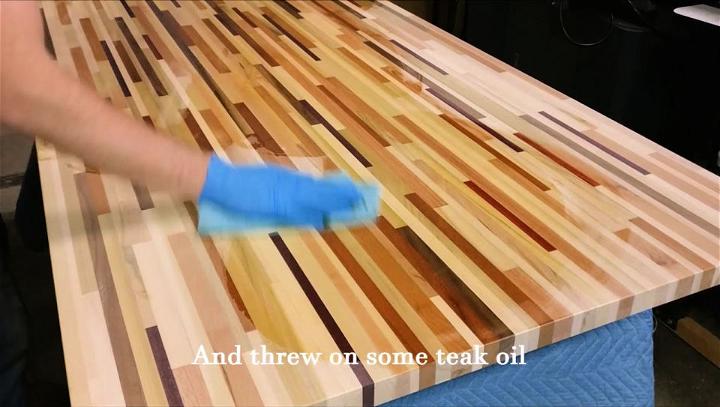
A butcherblock table made from scrap hardwood combines sustainability with elegance. Each piece of hardwood tells a different story, making your table a mosaic of tales. It's a creative endeavor that results in a beautiful, durable table, perfect for any space needing a touch of warmth.
14. Building Oak Butcher Block Table
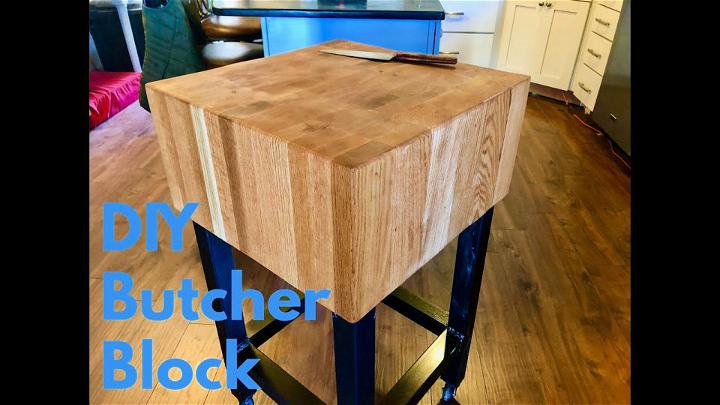
Building an oak butcher block table introduces timeless elegance to your space. Oak, known for its strength and durability, makes this table not just a meal prep station, but a piece of art. It's a beautiful blend of functionality and natural beauty, elevating your home's aesthetic.
15. DIY Butcher Block Table for Small Kitchen
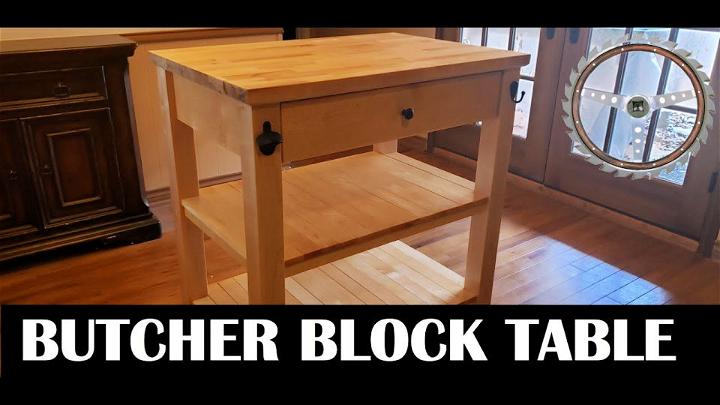
The DIY butcher block table for a small kitchen is a space-saving wonder. Designed with compact spaces in mind, it offers a solid, functional worktop without overcrowding your kitchen. It's an attractive solution that maximizes efficiency, proving that great things indeed come in small packages.
Conclusion:
In conclusion, making your own DIY butcher block table is a rewarding and practical project that can add a touch of rustic charm to your home. With the right tools and materials, you can build a sturdy and stylish piece of furniture that will be the centerpiece of any room. Get started on your project today and enjoy the satisfaction of making something with your own hands.

