Making a dance floor at home can completely transform your practice sessions, whether you are dancing alone or with a few friends. For dancers looking for a customizable, affordable solution, building a dance floor offers flexibility and convenience. This guide will walk you through everything you need to know about building your ultimate dance floor based on insights from VincaniTV's tutorial on YouTube.
Step by Step Instructions
Learn to build your DIY dance floor with our easy steps - from material sourcing to assembly and maintenance. Watch our video tutorial and start dancing!
Step 1: Material Sourcing
Linoleum
Firstly, consider linoleum as a top choice for your dance floor surface. It's durable, smooth, and perfect for spinning moves. While brand new rolls can be expensive, there are cost-effective solutions:
- Check hardware store scrap sections for discounted pieces, often available for around $10-$20.
- Look for sales at garage sales or from businesses disposing of unneeded materials. These places can offer large pieces at low prices.
Padding
For those desiring a bit more cushion or looking to protect their joints, adding padding underneath the linoleum is an excellent idea:
- Martial arts pads are ideal due to their firm yet forgiving surface. Avoid overly soft pads to prevent injuries.
- Acquire pads from closing martial arts studios or online marketplaces. Sometimes, you can find them at a significantly lower cost.
Step 2: Assembly
- Clear the Area: Ensure you have ample space to lay down the padding and linoleum.
- Lay Down the Padding: Start by placing the martial arts pads or your chosen padding on the floor. Fit them together to cover the entire area where you'll be laying your linoleum.
- Place the Linoleum: Roll out the linoleum over the padding. If it doesn't cover the entire padding area, focus on covering the central zone where you'll be dancing the most.
- Secure the Edges: Use durable tape to secure the edges of the linoleum to the floor or the padding underneath. This prevents it from sliding during use.
Cutting and Adjusting
If your linoleum is larger than needed or if it gets damaged:
- Cut away the excess or damaged parts using a sharp utility knife.
- For tears, apply duct tape on the underside of the linoleum to hold it together.
Step 3: Maintenance
- Cleaning: Before using your new dance floor, clean the linoleum thoroughly with a damp mop. For used linoleum, consider a deeper clean with a steam mop to ensure it's germ-free.
- Regular Care: After each session, wipe down the surface to remove sweat or dirt. Occasionally, deep clean the linoleum to maintain its smooth surface.
Step 4: Enjoy Your Practice
With your dance floor ready, it's time to enjoy your practice sessions. This DIY solution provides a personal, comfortable space for you to work on your moves, experiment with new material, and prepare for performances without the constraints of public spaces.
Video Tutorial
For a step-by-step video tutorial on crafting your ultimate dance floor, check out VincaniTV’s guide on YouTube.
It pairs well with this written guide, offering a visual representation of the steps described here in an accessible and easy-to-comprehend format.
Through this guide, designing a personalized dance floor is made simple. Perfect for home practice spaces or portable setups, this project elevates any dancer's routine. Express yourself with freedom and creativity on your own custom dance floor.
FAQs About DIY Dance Floors
Learn all about DIY dance floors with our comprehensive FAQs. Find answers to all your questions and make the perfect dance floor for your event.
What materials do I need to build a DIY dance floor?
To build a DIY dance floor, you will need plywood sheets, screws, a drill, a saw, dance floor finish (like vinyl or laminate), and optional materials for customization such as paint or LED lights. Ensure all materials are suitable for the weight and movement of dancers.
How do I ensure the dance floor is safe to dance on?
Safety is paramount. Make sure the surface is even, the floor is secured properly to avoid shifting, and the finish is non-slip. Regularly check for any wear and tear or protruding nails and screws.
Can I build a DIY dance floor on grass?
Yes, you can build a dance floor on grass. Use interlocking dance floor tiles or a sturdy base of plywood with a waterproof underlay to protect against moisture and make a flat surface.
How do I maintain my DIY dance floor?
Maintain your dance floor by sweeping or vacuuming to remove debris, cleaning with appropriate cleaners for your floor type, and checking for any damage after use. For outdoor floors, ensure they are properly covered or stored to protect from weather damage.
What are some creative ways to customize my dance floor?
Customize your dance floor by painting it with patterns or colors that match your theme, adding a glossy finish, installing LED lights for a party atmosphere, or even making a monogram or logo in the center for a personal touch.
15 DIY Dance Floor Ideas
Discover 15 DIY dance floor ideas to elevate any event. Make a custom dance floor with these simple and creative tutorials. Start dancing!
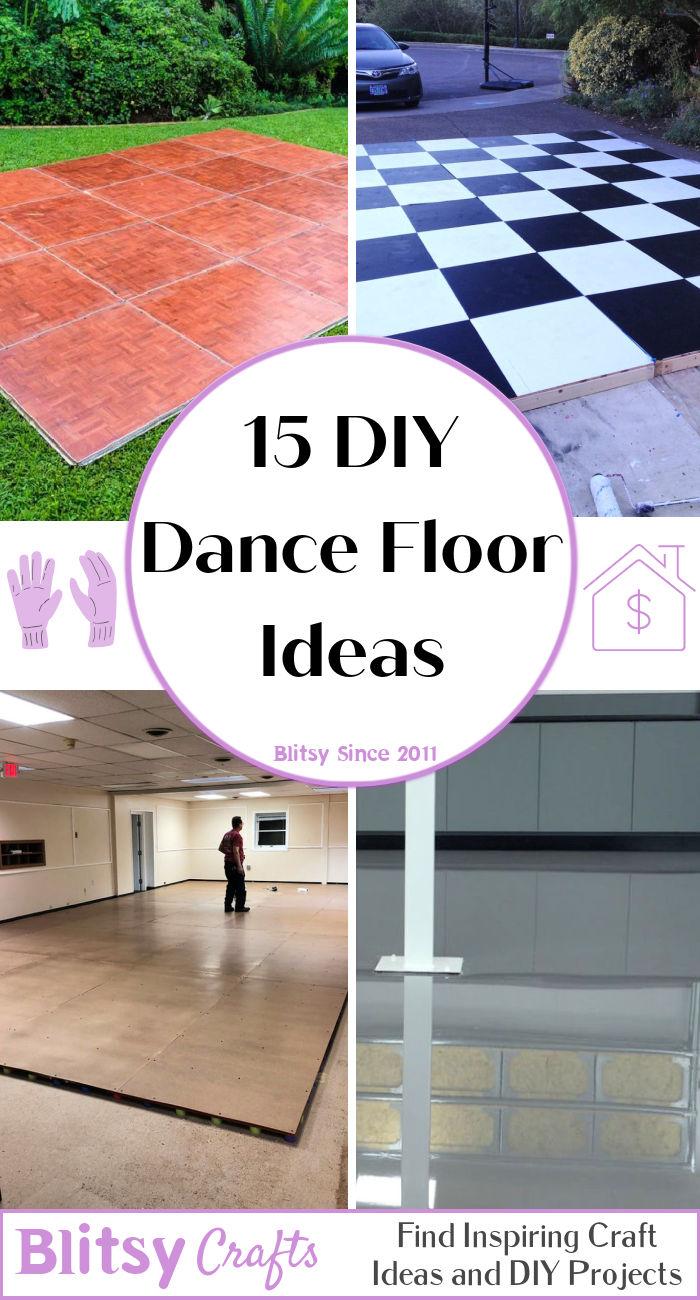
1. Backyard Dance Floor Out of Plywood
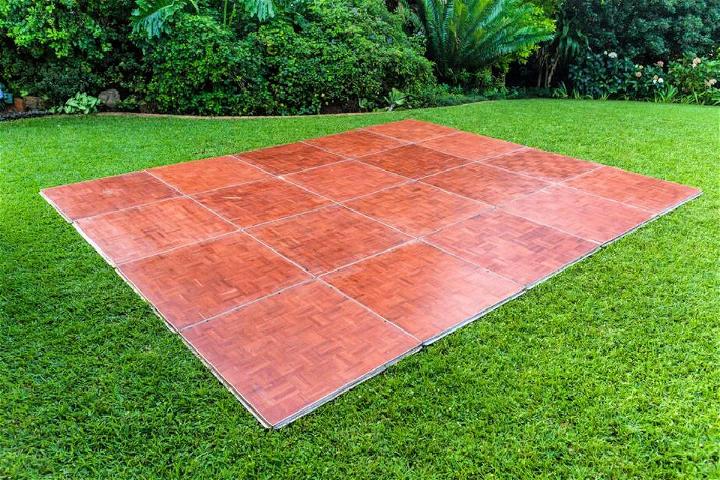
Transforming your backyard into a dance haven starts with plywood. This lightweight, yet sturdy material can be easily arranged and personalized, making it ideal for an impromptu dance surface. It's a cost-effective way to bring joy and movement into any outdoor gathering.
2. DIY Indoor Epoxy Dance Floor
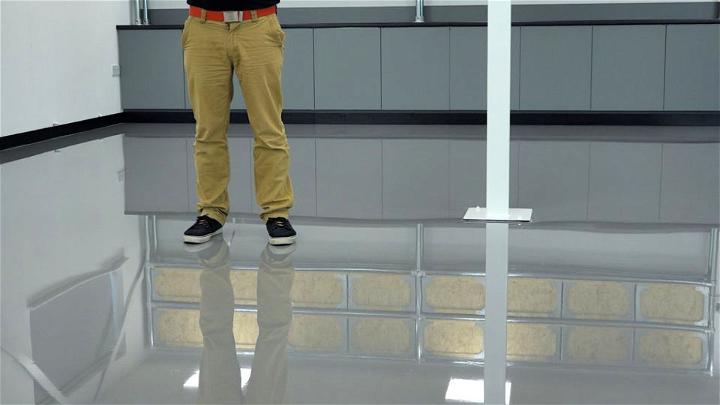
An indoor epoxy dance floor combines durability with a sleek design. The smooth, glossy finish not only enhances performance but also adds a touch of elegance to any room. Epoxy floors are resistant to scuffs and marks, ensuring your dance space remains pristine.
3. Build a Dance Floor Using 2 X 2’s
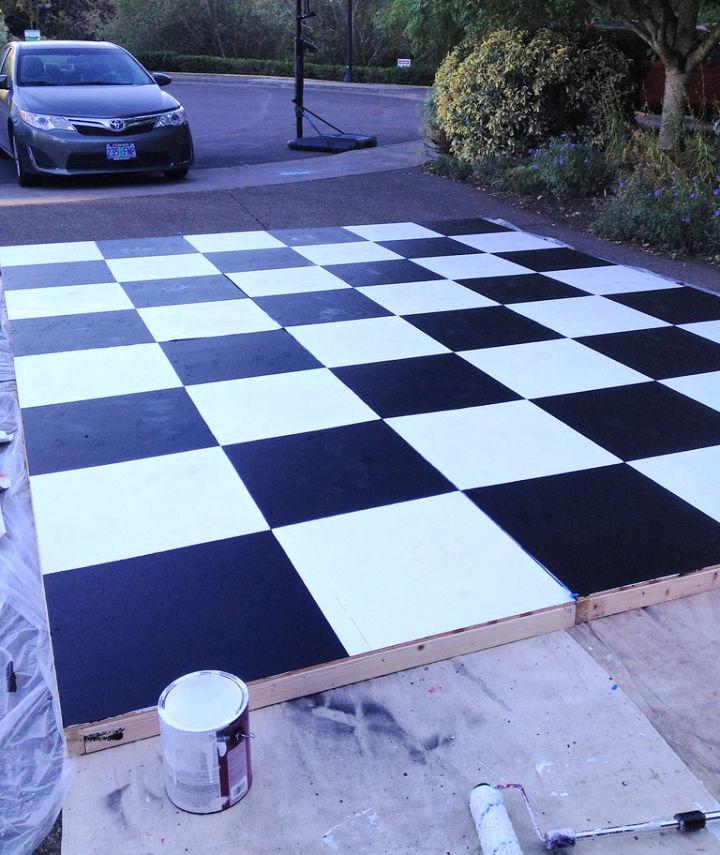
Building a dance floor with 2 x 2's offers unparalleled customization. This approach allows you to make a solid, interlocking base that can be adapted to any size or shape. It's a great way to craft a dance area that precisely fits your needs and space.
4. Tap Dance Floor from Scrap Wood
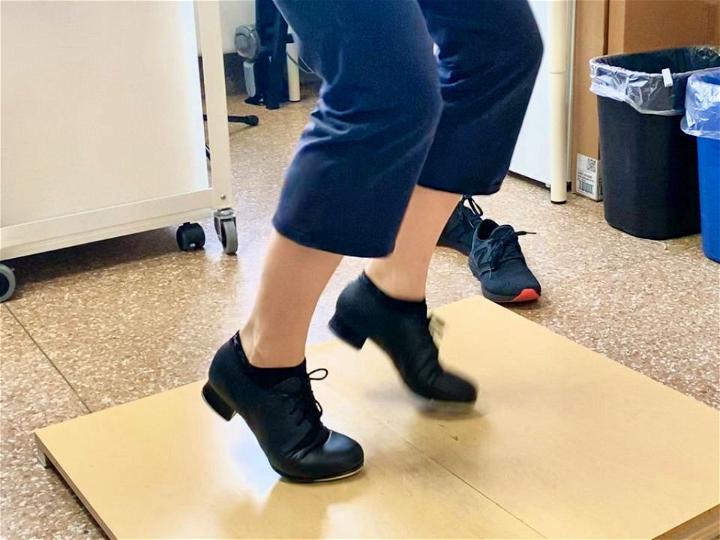
Utilizing scrap wood for a tap dance floor is an eco-friendly and creative solution. This method gives discarded materials a new life, resulting in a unique and acoustically vibrant surface ideal for tap dancing. It's an innovative way to merge sustainability with the art of dance.
5. Outdoor Recycled Pallets Dance Floor
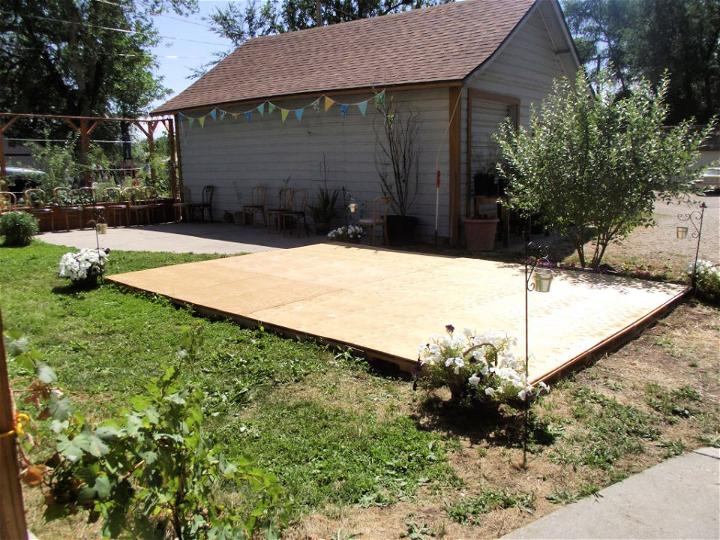
Building an outdoor dance floor from recycled pallets is both environmentally conscious and visually appealing. Pallets offer a rustic charm and are robust enough to withstand the elements, making them perfect for any outdoor event. It's a smart choice for those looking to blend function with aesthetics.
6. Homemade Dance Revolution Floor Pad
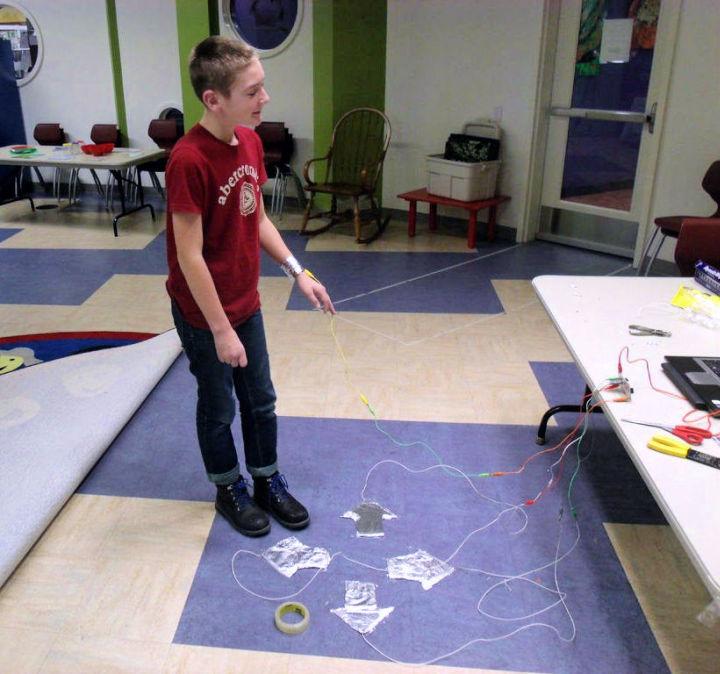
A homemade Dance Revolution floor pad brings the arcade experience into your home. Crafting one allows for customization to fit personal preferences and space. It’s a fun project that leads to endless entertainment, helping you stay active while enjoying your favorite dance game.
7. DIY Dance Floors using Pool Noodles
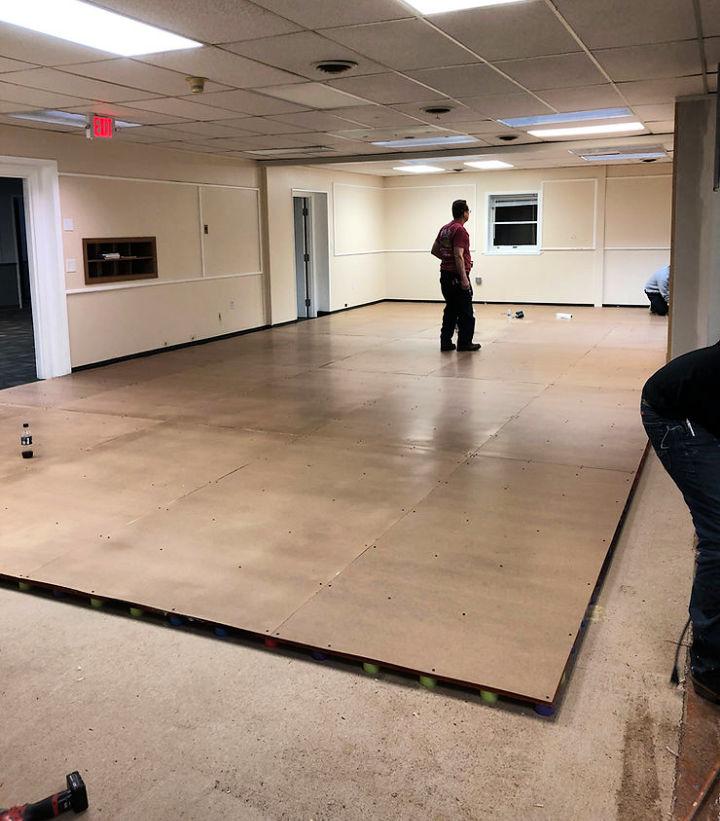
Building DIY dance floors with pool noodles offers a soft, shock-absorbent base. This innovative method is gentle on joints, making dance practices more comfortable. It's a clever and inexpensive approach to enhancing your dance floor's safety and comfort.
8. Easy DIY Sprung Wood Dance Floor
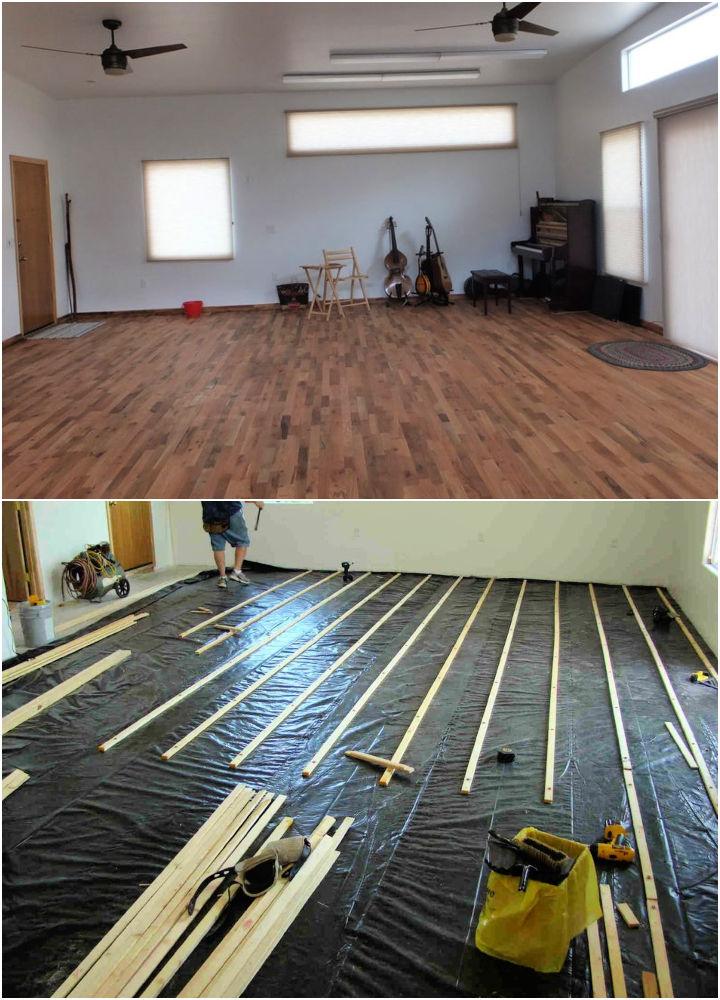
Imagine gliding effortlessly on a sprung wood dance floor you've crafted yourself. This option brings comfort and safety to your moves, minimizing injury risks with its shock-absorbent design. It's a perfect way to marry function and aesthetics in your dance space.
9. Building a Folding Practice Dance Floor
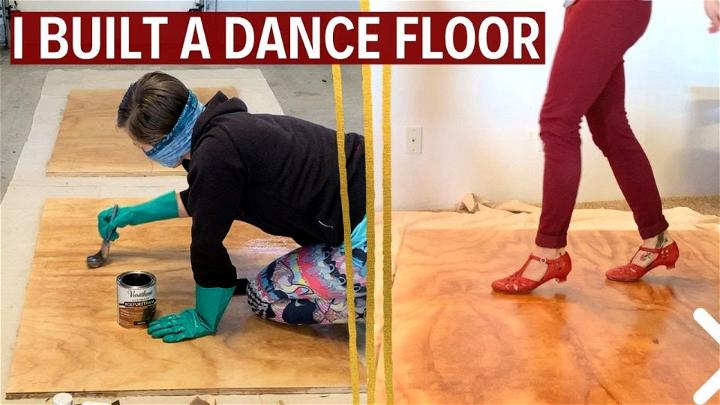
For dancers needing flexibility, a folding practice dance floor can be a game-changer. It's great for honing your craft anywhere, offering easy storage when not in use. This design marries convenience with the sheer joy of dancing anytime, anyplace.
10. DIY Rental Dance Floor Set Up
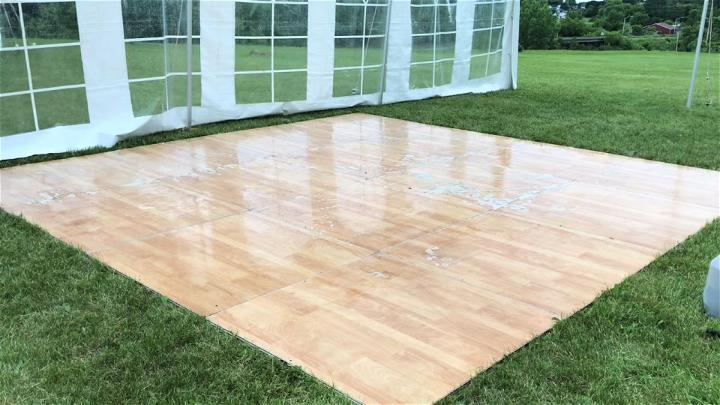
Hosting an event? Setting up a DIY rental dance floor could elevate it beautifully. This solution is budget-friendly and customizable to any theme, ensuring guests have a memorable time dancing away on a floor that feels professionally done yet has your personal touch.
11. How to Build a Floating Dance Floor
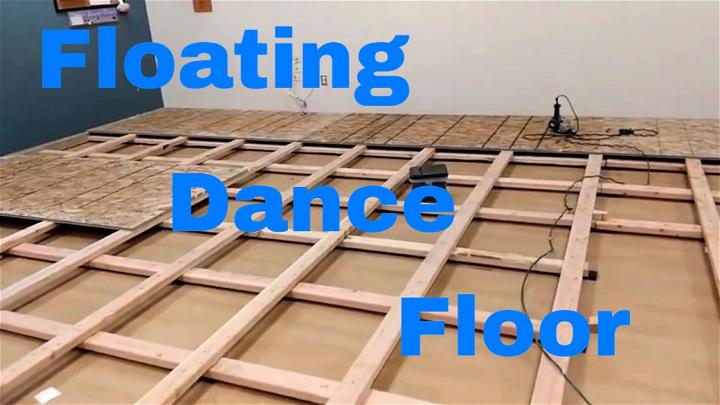
A floating dance floor could revolutionize your home studio. It offers resilience and reduces noise, making it ideal for apartments or shared spaces. This design not only protects dancers from injuries but also the floor beneath — a win-win for everyone involved.
12. Ultimate DIY Wooden Dance Floor
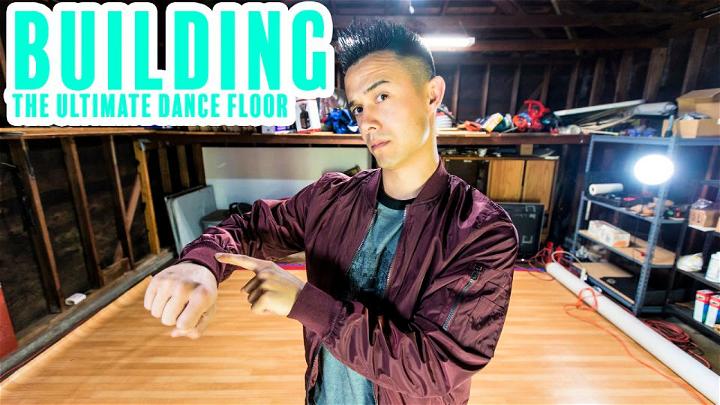
Building your own wooden dance floor can make a bespoke space for movement and fun. Using high-quality, durable wood ensures longevity and safety. Its design can be customized to fit any area, making it perfect for personal studios or event spaces. The natural aesthetic adds warmth and elegance, inviting everyone to step up and dance.
13. Do It Yourself Pixel Dance Floor
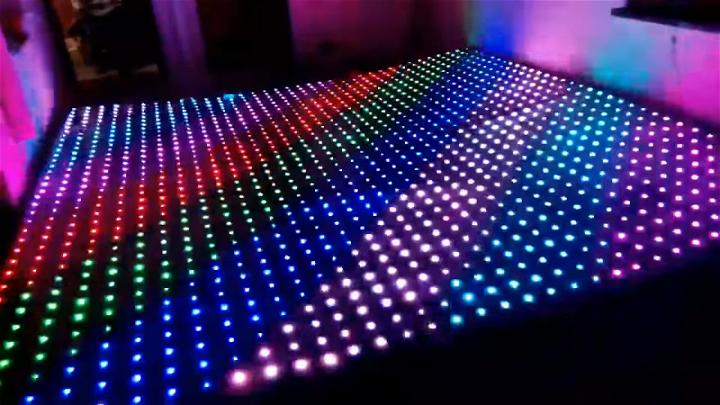
Dive into a world of color with a DIY pixel dance floor. It's a fantastic way to add a dynamic visual element to any event, lighting up with every step. Not just a floor, but an interactive experience, encouraging people to dance more and marvel at the technology.
14. Cheap DIY Dance Floor
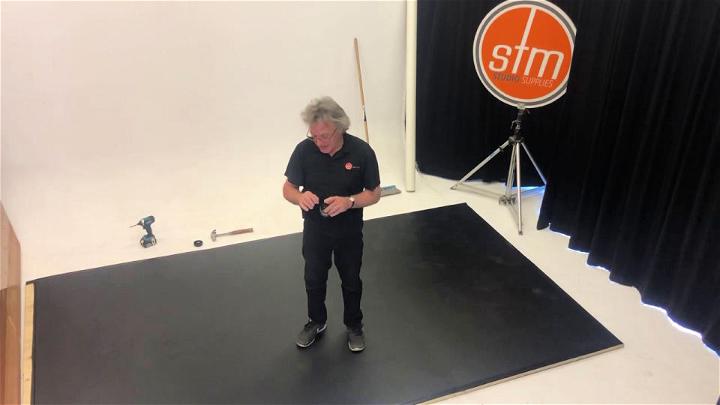
Who said elegance has to be expensive? A cheap DIY dance floor can still look chic and provide a safe, smooth surface for dancing. With some creativity, even budget materials can transform into a space where dreams and dances are made.
15. High Gloss Wedding Dance Floor
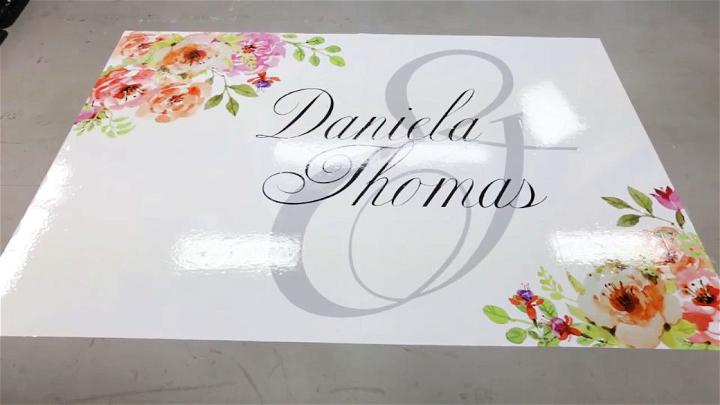
Elevate your wedding reception with a high-gloss dance floor. Its reflective surface adds a luxurious touch, making every moment shine. This option is not just about practicality; it’s about making a stunning centerpiece that invites every guest to dance and celebrate in style.
Conclusion:
In conclusion, making a DIY dance floor can be a fun and rewarding project for your next event. With just a few materials and some elbow grease, you can have a dance floor that will impress your guests. Whether it's for a wedding, birthday party, or any other celebration, this DIY project is sure to be a hit. Get creative and start dancing!
