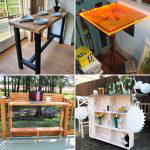
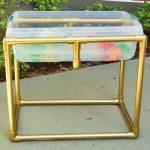
Building wooden table legs can add a personalized and unique touch to your furniture projects. Whether you're a woodworking novice or a seasoned pro, this guide will walk you through the process of making sturdy and beautiful wooden legs for your table or bench. We'll cover everything from choosing the right wood to adding the final finishes. Let's dive in!
Step by Step Instructions
Choosing the Right Wood
- Select Rough Lumber: Start with selecting rough lumber that fits the size requirements of your table legs. Keep in mind the final dimensions and any specific grain patterns or characteristics you'd like to include.
Preparing the Wood
- Square and Clean the Lumber: Ensure your wood is squared and cleaned properly to remove any dirt or imperfections. This step is crucial for a seamless fit and finish.
- Layout Planning: Use a clear template to plan the layout of your legs on the lumber. This allows you to strategically avoid knots and position grain patterns according to your preference.
Joining the Pieces
- Build Joints: Use a Domino joiner, dowels, or biscuits to join the wood pieces. Although dominos are recommended for ease, dowels or biscuits are also effective. Remember, these joints assist primarily in alignment and clamping, not structural strength.
- Glue Up: Apply a generous amount of wood glue on the joints and clamp the pieces together. Ensure there is glue squeeze-out to confirm full coverage.
Shaping the Legs
- Mounting the Template: Once the glue is dried, attach your template to the lumber using two-sided template tape. This tape should be strong enough to hold but also allow for easy removal.
- Initial Cutting: Use a bandsaw to cut close to the template outline, approximately ⅛-inch away. This step reduces the amount of material to be removed later and protects the template from damage.
- Routing: Use a flush trim bit to remove the remaining material up to the template edge. Ensure not to remove too much material at once to prevent damage.
Building Double Thickness
- Laminating for Thickness: If you're making a bench or require thicker legs, laminate two shaped pieces together for stability. Use dominos or dowels for alignment, apply glue thoroughly, and clamp until dry.
Adding Finishing Touches
- Sanding: After the glue has dried, sand the legs until smooth.
- Edge Details: Add a chamfer or round-over edge detail for aesthetics. Choose the style based on your project design.
- Mounting Plates: Position and attach universal mounting plates for easy installation. Use a clear template for drilling accurate holes and epoxy threaded inserts for secure bolt attachment.
Final Assembly and Finish
- Positioning and Attaching Legs: Locate the exact position for your legs on the underside of the table or bench, and mark it. If desired, rout pockets for the top plates to sit flush. Finally, secure the legs with bolts into previously installed inserts.
- Apply Finish: Choose a durable finish, like Rubio Monocoat oil, to protect the wood and enhance its look.
Video Tutorial
For a step-by-step video tutorial on making wooden table legs, watch this guide by Jeff Mack Designs.
It pairs well with this written guide, offering a visual complement to the techniques discussed and making the learning process more comprehensive and engaging.
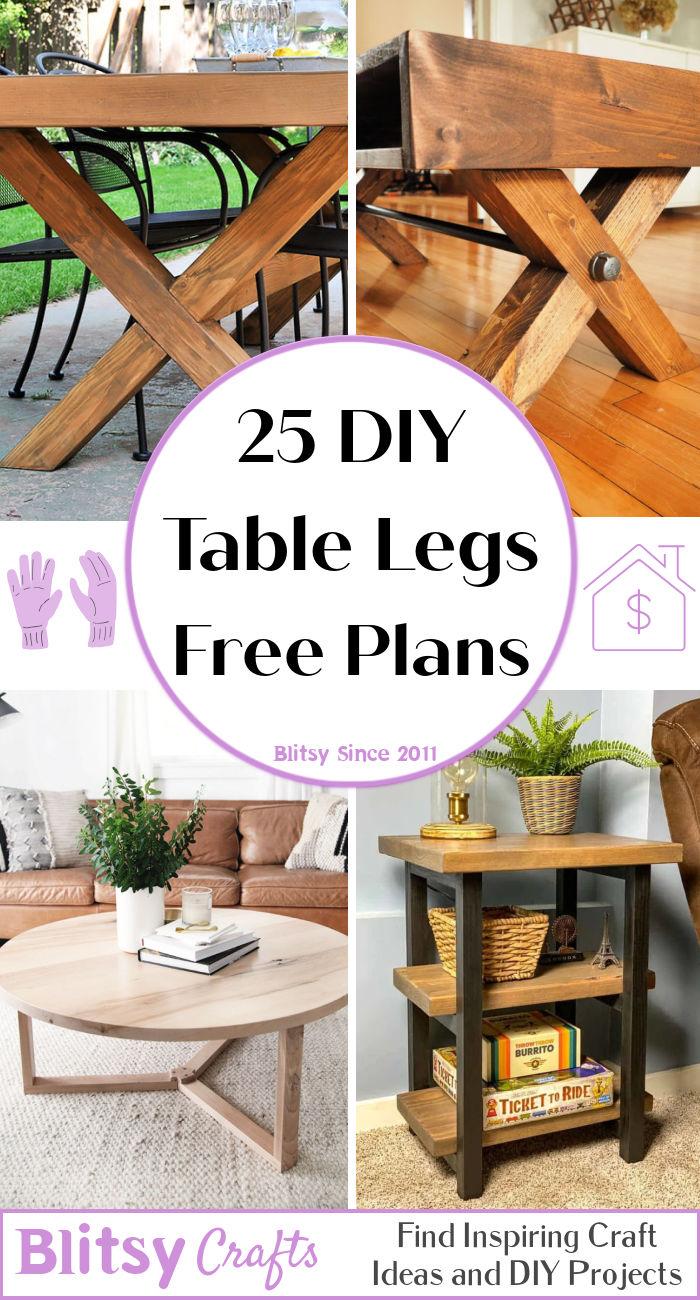
Discover 25 DIY Table Legs Ideas to Upgrade Your Furniture
1. Outdoor X Brace Table Legs
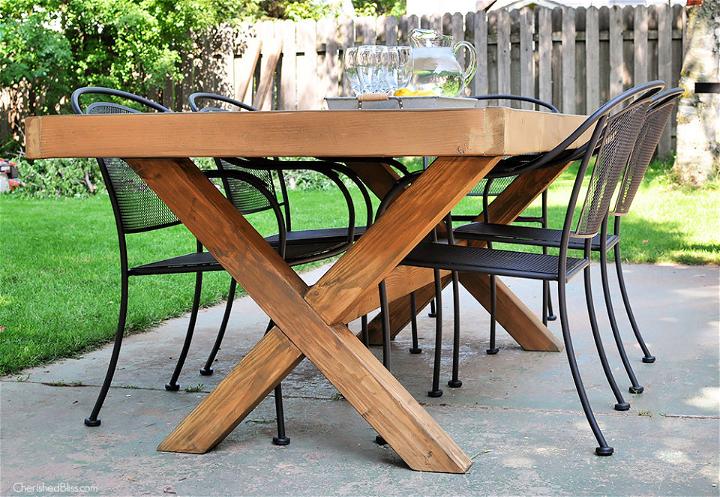
Outdoor X-brace table legs add an industrial flair to any garden or balcony space. Their sturdy design not only enhances the visual appeal but also ensures durability against the elements. They're a great pick for a solid yet stylish outdoor setup.
2. Reclaimed Wood Table Legs
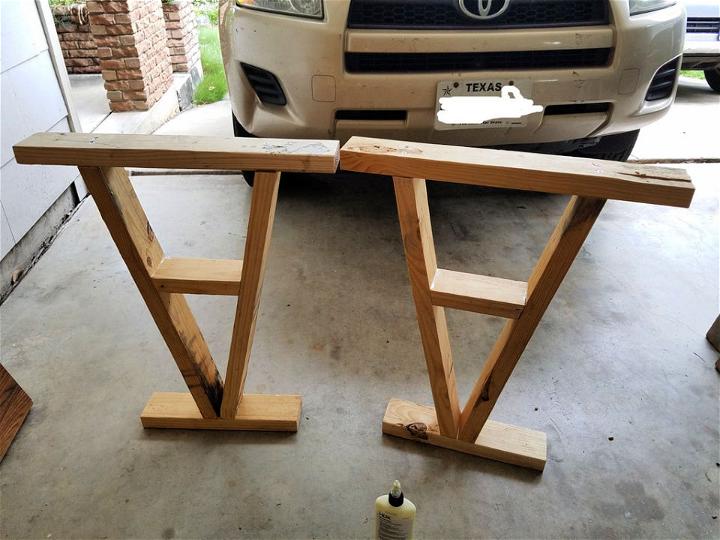
Reclaimed wood table legs bring a piece of history into your home. Each leg tells a story, making your table not just a piece of furniture but a conversation starter. They're eco-friendly and add a warm, rustic charm to any room.
3. DIY H-Shaped Dining Table Legs
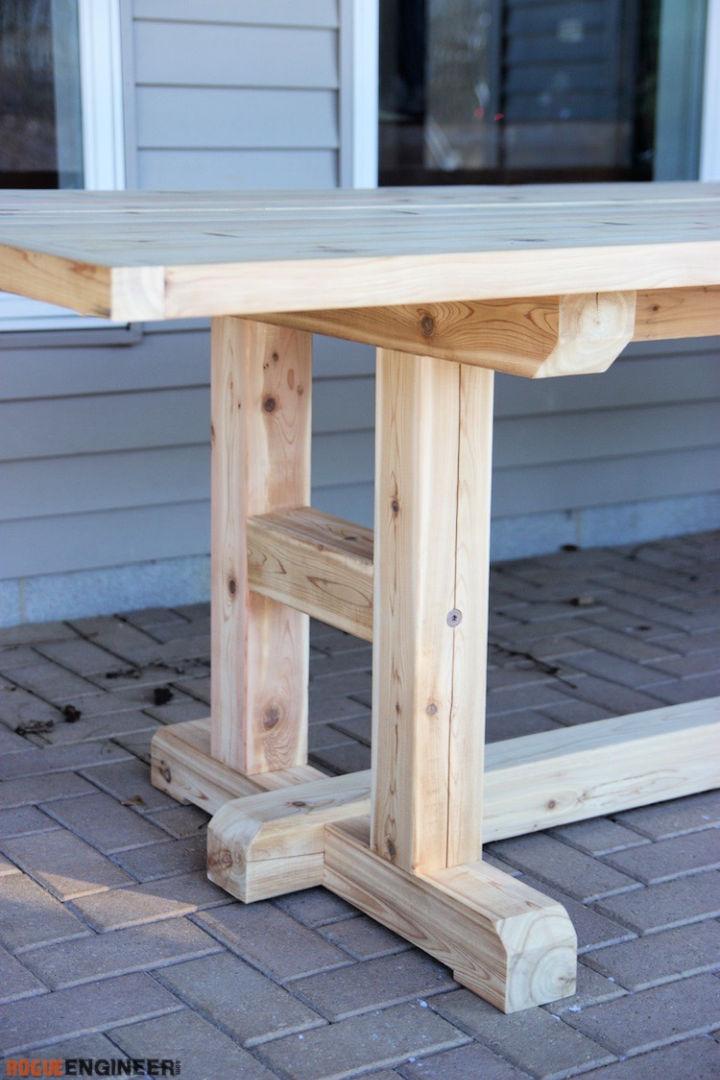
DIY h-shaped dining table legs offer a sleek, minimalist look. Easy to make, they provide a stable support for your dining surface. Perfect for those who love a clean and simple aesthetic in their dining area.
4. How to Build an Angled X legs
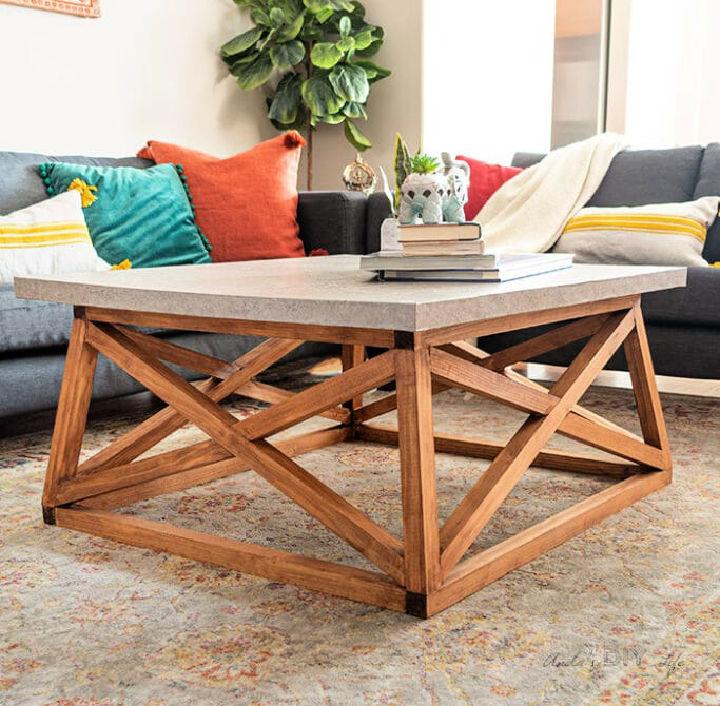
Building angled X-legs can give your table a unique twist. This design merges stability with style, making a dynamic focal point. They're perfect for adding an artistic touch to traditional or modern settings.
5. DIY Welded Steel Table Legs
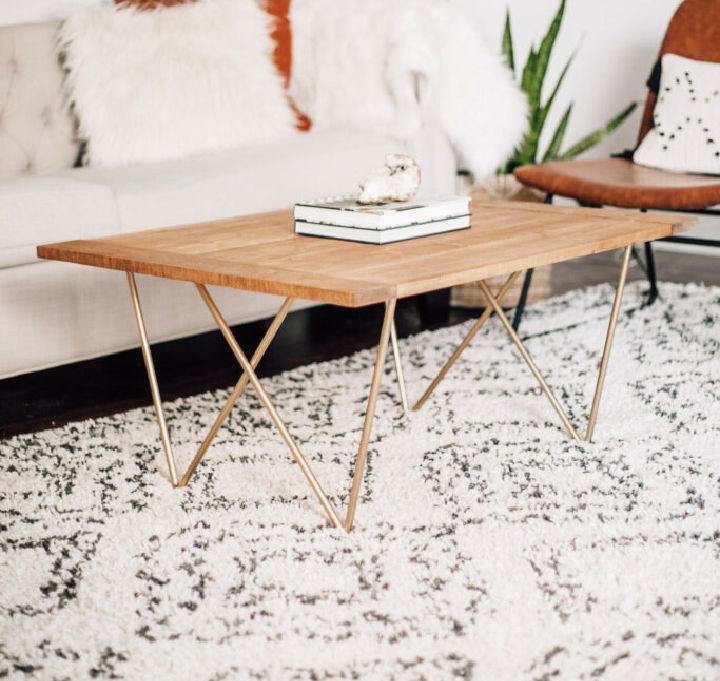
DIY welded steel table legs are ideal for industrial and contemporary interiors. Though it requires some skill, the outcome is worth it—a set of strong, sleek legs that can support heavy tops and add an edgy look.
6. Make a Table Legs Out of Books
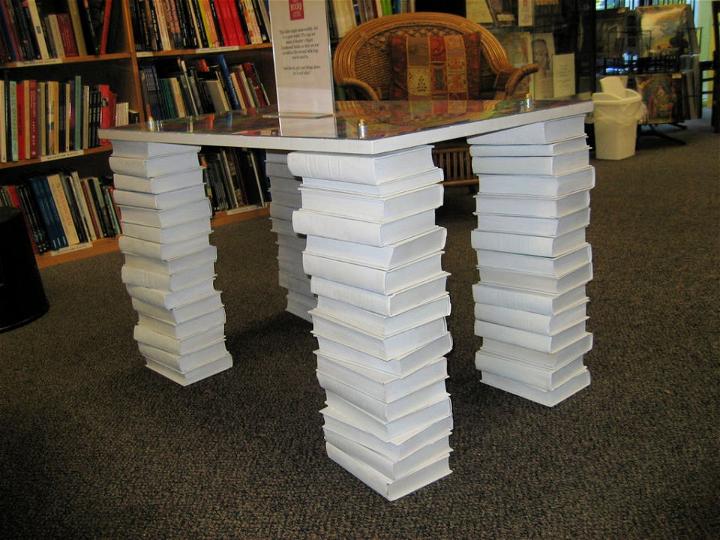
Transforming books into table legs is a creative and quirky way to repurpose old novels. Besides being a great conversation starter, it adds a personal touch to your living space, perfect for book lovers wanting to showcase their collection.
7. Wooden Trapezoid Table Legs
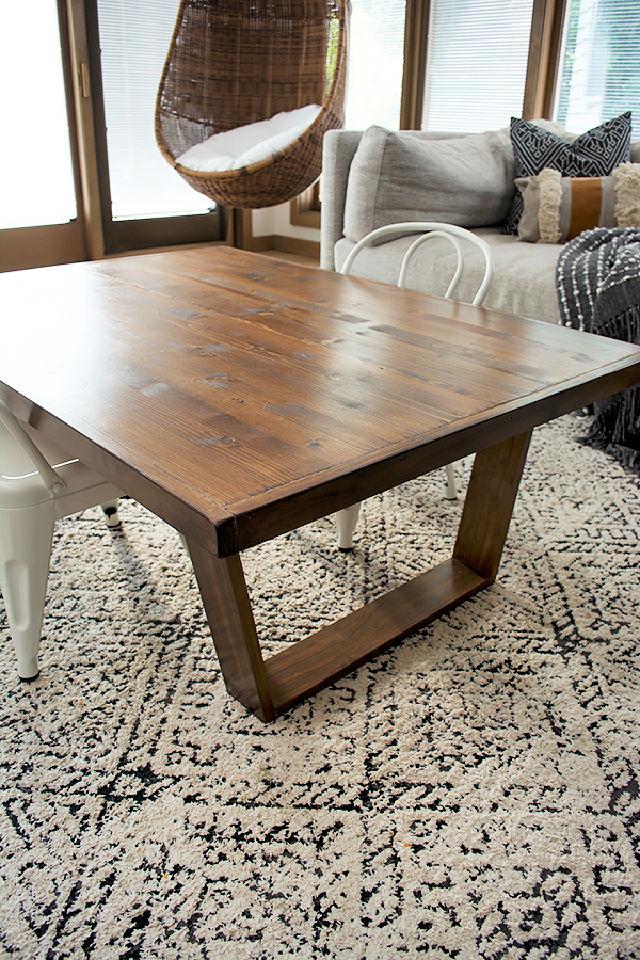
Wooden trapezoid table legs offer a geometric elegance to any furniture piece. Their unique shape provides a stable base while adding a modern architectural look to your living or dining room.
8. Easy to Build Table Legs from 2x4s
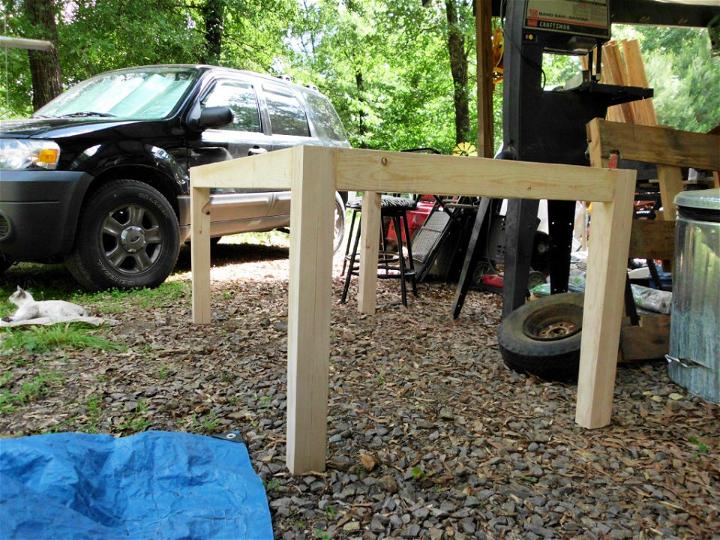
Building table legs from 2x4s is a budget-friendly and simple solution for any DIY enthusiast. This method allows for customization and gives a solid, rustic appearance to tables without the need for advanced woodworking skills.
9. DIY X Legs for Coffee Table
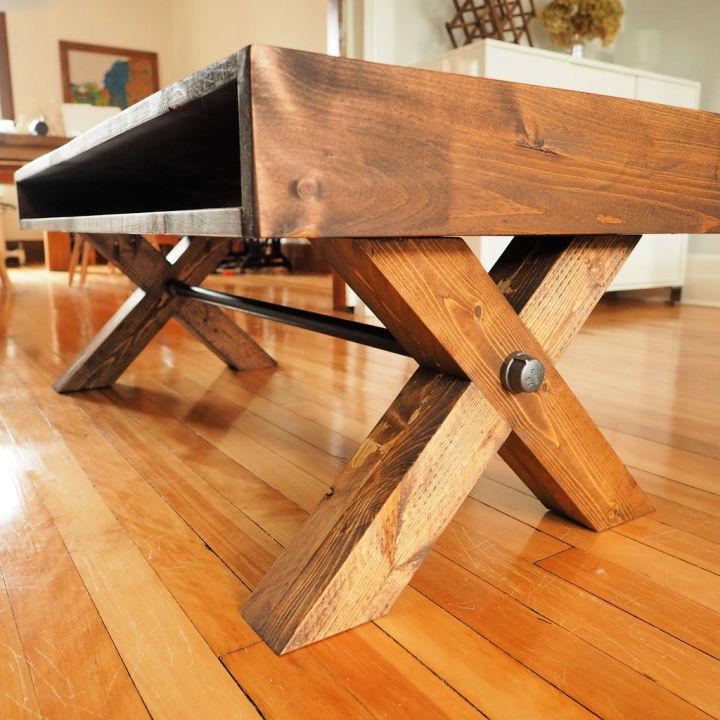
DIY X-legs for coffee tables bring a contemporary vibe to living areas. Easy to craft, they offer an excellent DIY project for weekend warriors looking to add a modern touch to their furniture.
10. Rustic DIY End Table Legs

Rustic DIY end table legs can infuse a cozy, country charm into your decor. By making them yourself, you can adjust the size and finish, ensuring they perfectly fit your space and match your style.
11. DIY Folding Table Legs
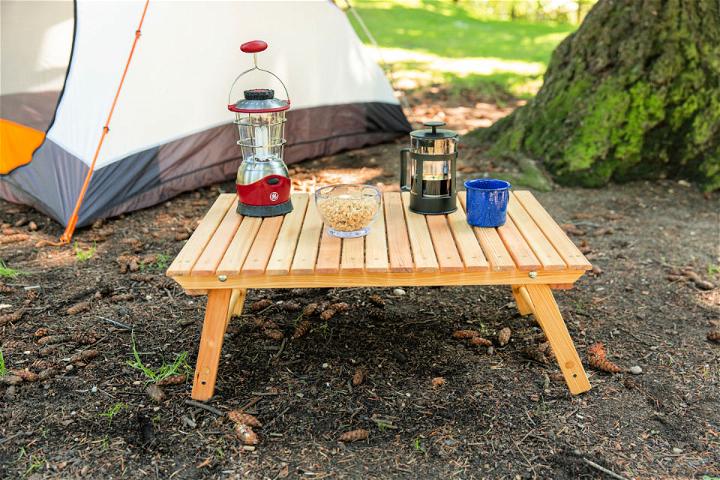
DIY folding table legs are a game-changer for homes needing flexible furniture solutions. They allow for easy storage and adaptability, making them perfect for small spaces, multipurpose rooms, or occasional events.
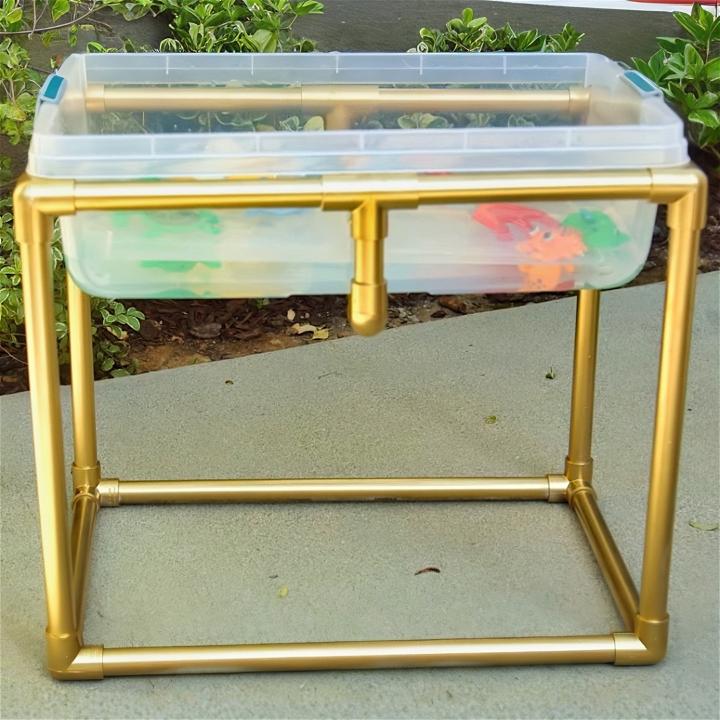
12. DIY PVC Pipe Table Legs
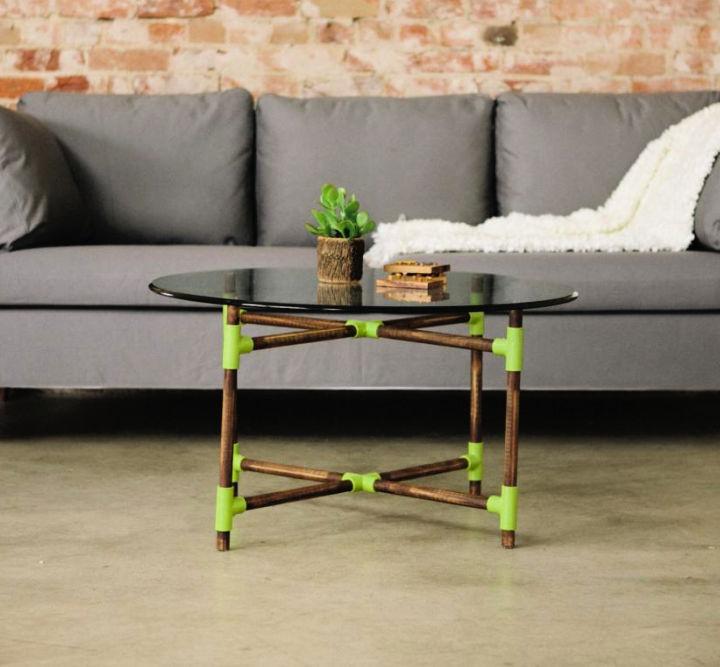
Using PVC pipe for table legs is an innovative approach for lightweight and cost-effective furniture. Suitable for indoor and craft tables, this method adds a modern, minimalist look, along with the versatility to paint and customize.
13. Modern Farmhouse Table Legs

Modern farmhouse table legs blend traditional craftsmanship with a contemporary twist. They're the backbone of a dining room that feels both homey and stylish, ideal for those looking to combine comfort with a touch of elegance.
14. How to Make Round Table Legs

Building round table legs can add a touch of elegance and stability to your furniture. By carefully shaping wood, you can achieve a smooth, rounded look that complements any table top. This design not only enhances the aesthetics but also ensures your table stands firm.
15. Metal Table Legs for Kitchen

Metal table legs for your kitchen bring a sleek, industrial vibe to the heart of your home. They are sturdy, easy to clean, and can support heavy countertops, making them both practical and stylish for modern kitchens.
16. Husky Modern Table Legs Plan
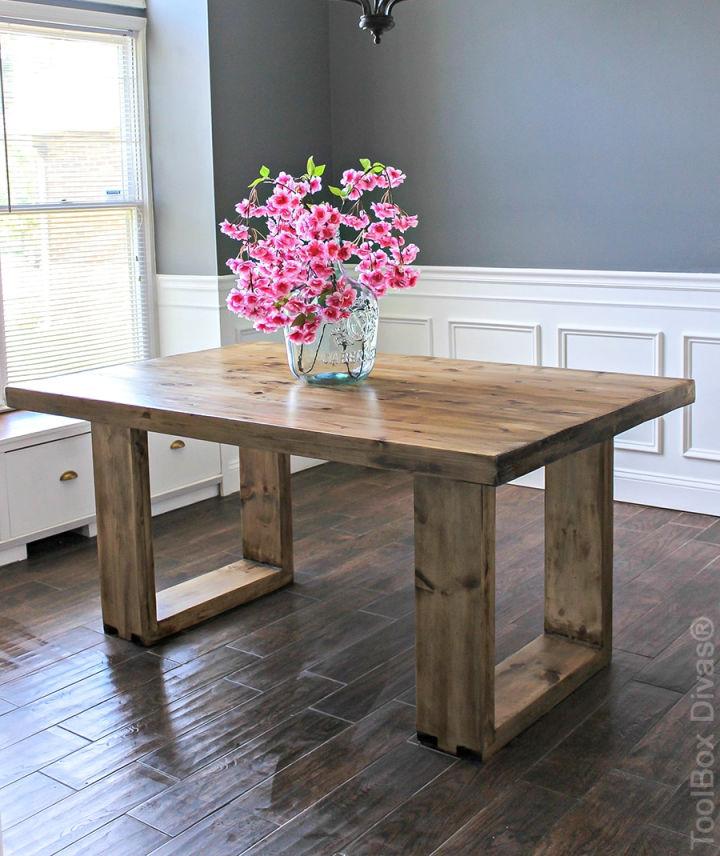
The husky modern table legs plan offers a robust and stylish foundation for any table. With a bold, chunky design, these legs are perfect for making a statement in contemporary spaces. Their strong build supports even the heaviest tops.
17. DIY Hairpin Table Legs

DIY hairpin table legs give a minimalist yet vintage touch to any table project. Easy to install, they are perfect for adding a retro flair to your furniture without compromising on stability. Hairpin legs are ideal for lightweight, airy designs.
18. Mid-Century Tapered Legs on Table

Mid century tapered legs on a table capture the essence of 1950s and 60s design. This style adds a classic, elegant touch to your tabletop, tapering down to a slimmer bottom for a distinct, distinguished look.
19. Building a Desk Legs

When building desk legs, consider functionality and space. Desk legs should provide ample legroom and support the desktop efficiently. This foundation is crucial for making a comfortable, stable workspace tailored to your activities.
20. Homemade Farmhouse Table Legs

Homemade farmhouse table legs embody rustic charm and durability. They are designed to support a substantial, weighty top, typically made of wood, complementing a country or rustic interior with their stout, sturdy appearance.
21. Creative Table Legs Design
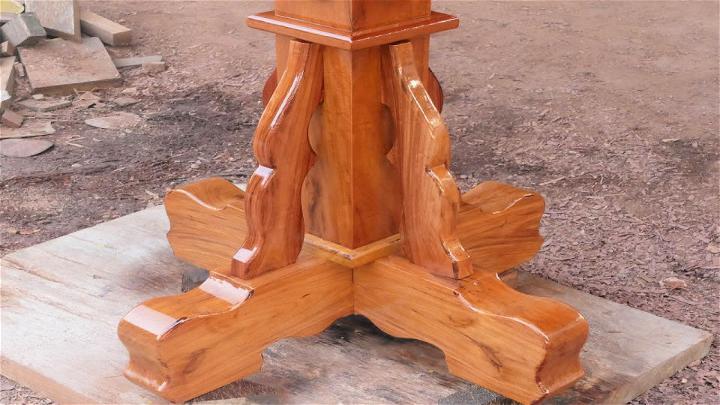
A creative table legs design can transform a simple table into a piece of art. This approach involves experimenting with materials, shapes, and styles to build unique, statement legs that serve as the focal point of a room.
22. Cheap and Easy DIY Table Legs
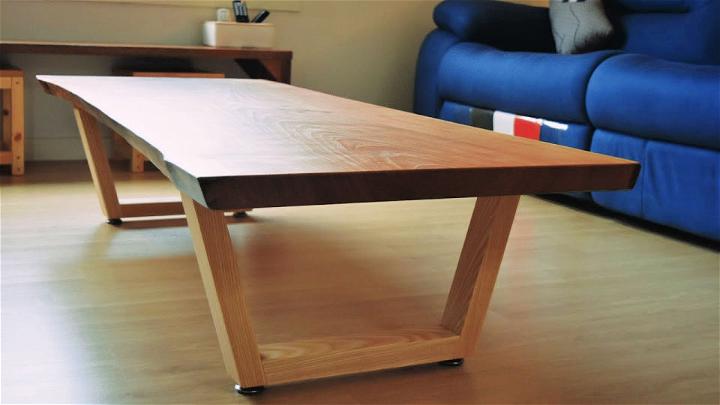
Cheap and easy DIY table legs can be a fun project, allowing you to customize your furniture on a budget. Materials like PVC pipes, reclaimed wood, or even old machinery parts can be repurposed into stylish, functional legs.
23. Build a Bar Height Table Legs
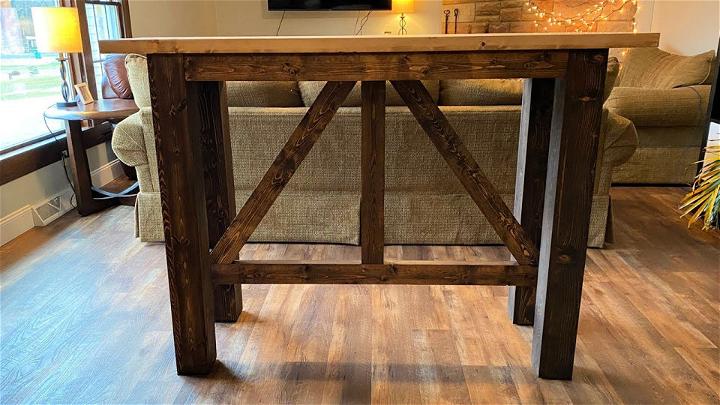
Building bar-height table legs requires attention to stability and height. Building a taller table opens up new possibilities for kitchen islands or standing desks with legs designed to withstand the added leverage and use.
24. Do It Yourself Geometric Table Legs
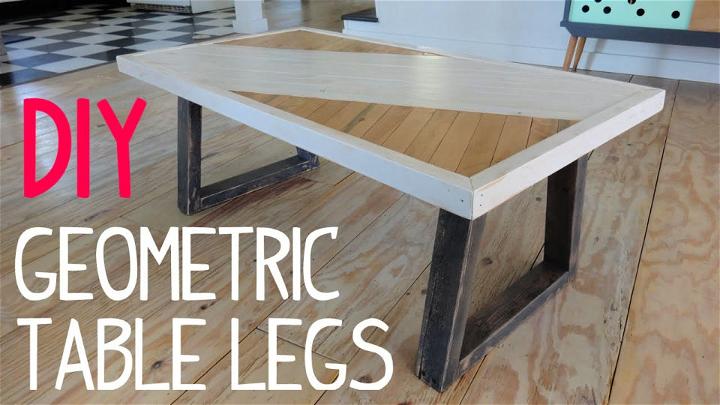
Do It Yourself geometric table legs bring a modern twist to furniture design. Playing with angles and shapes, these legs can be a striking feature that adds a contemporary edge to tables, enhancing the overall look with their bold form.
25. DIY Adjustable Table Legs
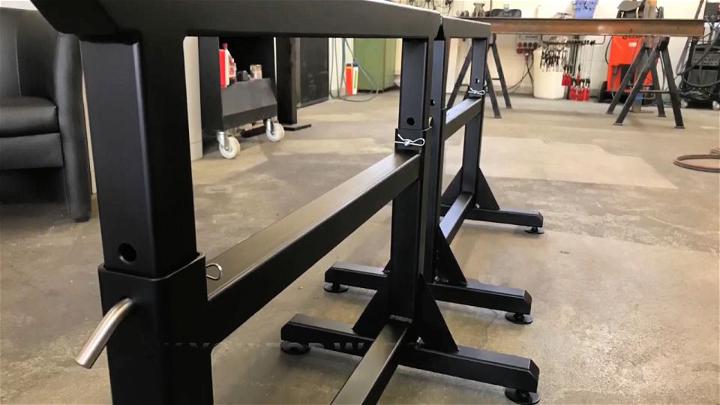
DIY adjustable table legs offer flexibility for various uses. Whether you need to change the height for children, adapt it as a standing desk, or ensure stability on uneven floors, adjustable legs provide a versatile solution to meet changing needs.
Conclusion:
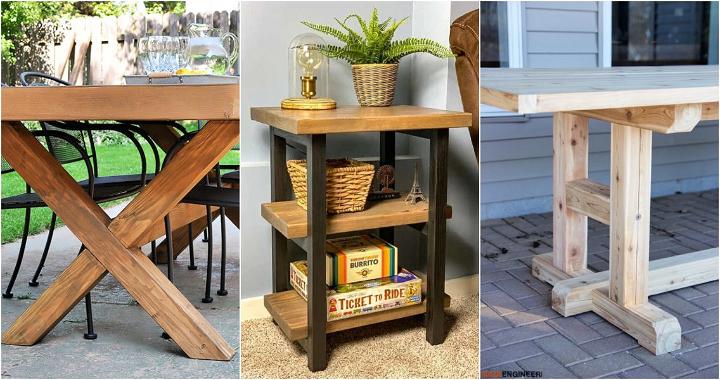
In conclusion, DIY table legs can be a fun and creative way to enhance the look of your furniture. By customizing your own table legs, you can build a unique piece that reflects your style and personality. With endless design possibilities and the satisfaction of a handmade project, DIY table legs are a fantastic option for anyone looking to add a personal touch to their furniture.

