Making a homemade band sawmill from scraps can be a rewarding project for woodworking enthusiasts. Not only does it allow you to mill your own lumber from logs, but it also gives old materials a new purpose. This guide will walk you through the steps to build your own sawmill and use it to mill wood for the first time, taking inspiration from Paul Harbour's experience.
Gathering Materials and Tools
Start by gathering all the necessary scraps and tools. Since the project involves building from scraps, look for materials like old steel frames, wheels, and motors that can be repurposed. You will also need tools such as wrenches, bolts, a bottle jack for tensioning the blade, and basic welding equipment.
Step by Step Instructions
Building the Frame
- Design the Frame: Sketch out a basic design of your sawmill frame, keeping in mind the size of logs you plan to mill.
- Cut and Weld: Cut the steel scraps to size according to your design and weld them together to form the frame. Ensure the frame is sturdy and balanced.
Setting Up the Wheels and Blade
- Mount the Wheels: Attach the wheels to the frame so that they are perfectly aligned. These wheels will guide and support the saw blade.
- Install the Saw Blade: Fit the saw blade onto the wheels. Use the bottle jack to tension the blade, ensuring it is tight and secure.
- Check Alignment: Double-check the alignment of the wheels and the tension of the blade. Adjust as necessary to ensure smooth operation.
Preparing to Mill
- Positioning the Log: Before you start milling, find a stable position for the log. If it tries to roll, wedge it in place with smaller logs or blocks.
- Manual Lifting System: In the absence of a lifting system, you will have to manually lift and position the log onto the sawmill. Make sure to do this safely, possibly with assistance.
Starting Your First Cut
- Initial Check: Before making the first cut, ensure the blade is mounted correctly. Check the blade's direction and make sure it's facing the right way to cut.
- Begin Milling: Start the saw and begin the cut at a slow, steady pace. Keep an eye on the blade to make sure it's cutting smoothly.
- Adjust as Needed: If you notice any issues, stop the saw and make necessary adjustments. This might involve tightening bolts, repositioning the log, or adjusting the tension on the blade.
Maintenance and Precautions
- Rust Prevention: Cover the mill when not in use to prevent rust, especially if you're working in a humid environment.
- Regular Checks: Consistently check the blade tension and alignment before use to ensure optimal performance.
Video Tutorial
For a step-by-step visual guide on how to build a homemade band sawmill and mill wood for the first time, watch Paul Harbour's YouTube video.
It pairs well with this written guide, enriching the learning experience by showing the practical application of these instructions in a clear and easy-to-understand manner.
Building a DIY band sawmill from scraps is eco-friendly and allows you to mill your own wood for projects. Prioritize safety, take your time, and enjoy the process.
Discover 15 DIY Sawmill Plans for Building Your Own Lumber Mill at Home

1. How to Build a Sawmill
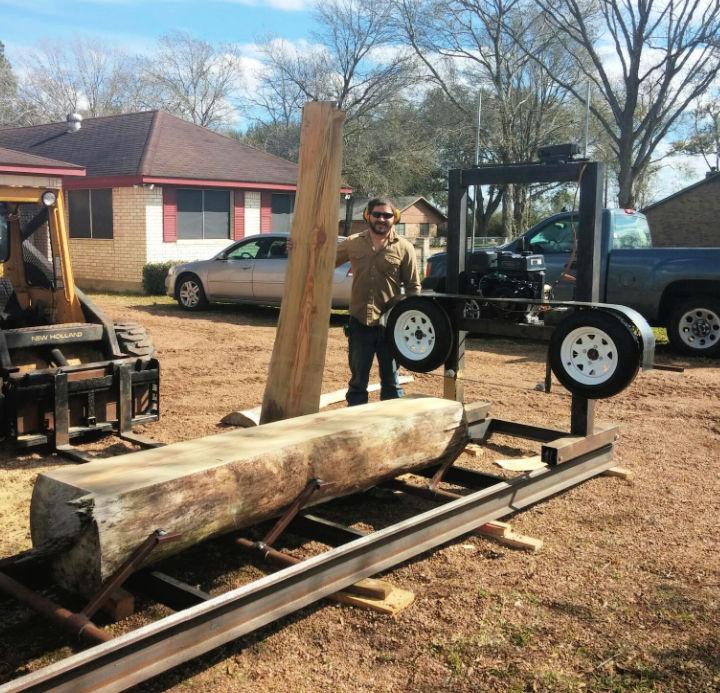
Embarking on building a sawmill can be a game-changer for anyone looking to process their own lumber. With the right tools and some patience, you can tailor your lumber precisely to your project needs, all the while saving money.
2. Build a Giant Bandsaw Mill
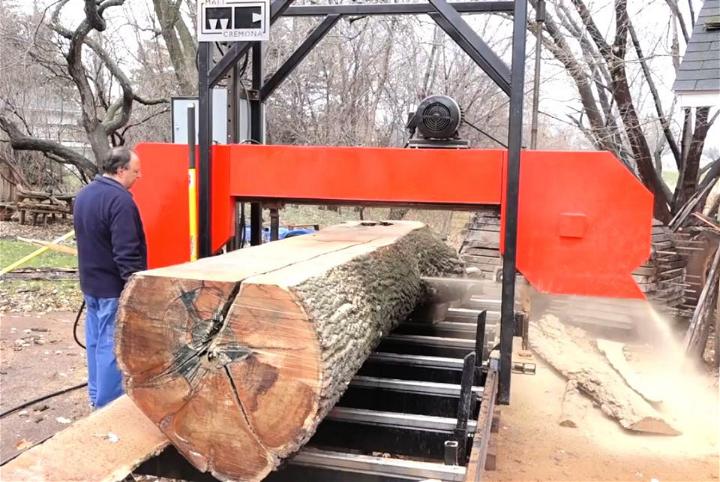
Constructing a giant bandsaw mill might sound daunting, but it's a fantastic way to handle large logs. It offers precision cuts, high efficiency, and the satisfaction of producing sizable lumber, perfect for bigger projects or even a small business venture.
3. DIY Band Sawmill and Railbed
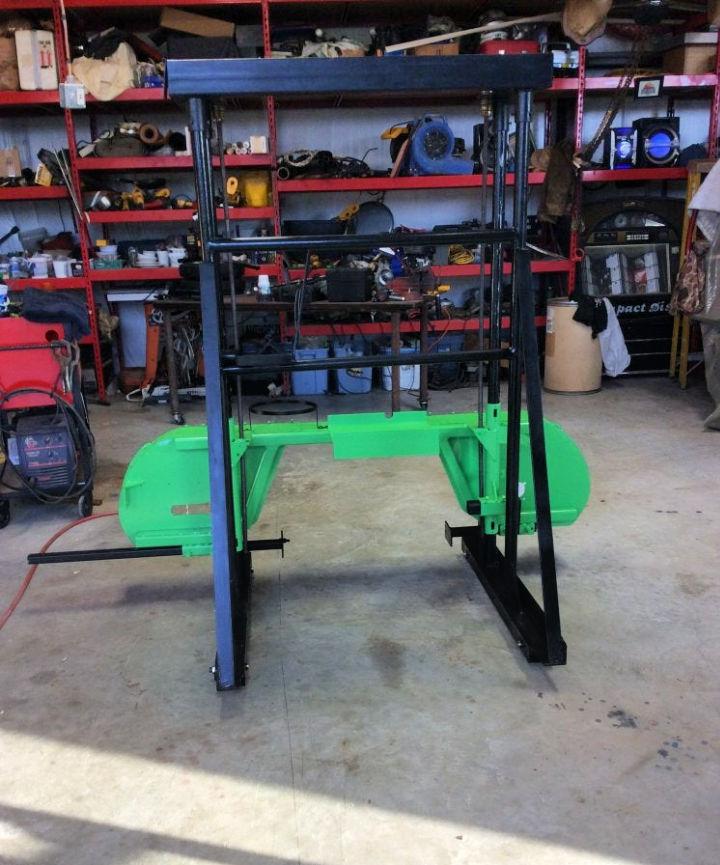
A DIY band sawmill and railbed combination allow for an adjustable and stable platform to cut logs. This setup is great for hobbyists seeking a customizable approach to milling, enabling consistent cuts and a smoother workflow.
4. Homemade Bandsaw Sawmill
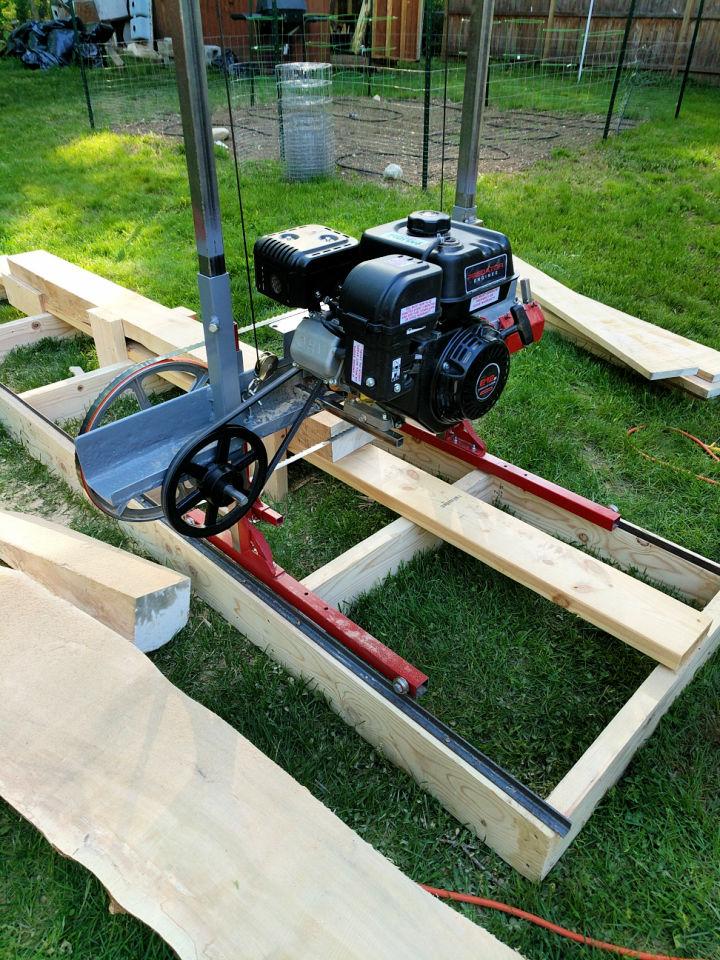
Building a homemade bandsaw sawmill is a rewarding project that puts you in control of your woodworking. Such a mill is versatile, supporting a range of log sizes, and it's a cost-effective solution compared to commercial options.
5. DIY Electric Mini Sawmill

The DIY electric mini sawmill is perfect for those with limited space or smaller timber projects. It's easier to use and maintain than larger mills and offers quick and efficient cuts without needing a lot of power.
6. Car Wheels Bandsaw Mill Plan

Implementing car wheels in a bandsaw mill plan is a brilliant way to repurpose materials and gain a highly mobile cutting platform. This design is perfect for those looking for flexibility in their milling location and a touch of ingenuity.
7. Sawmill from 12" Bandsaw and Mower

Turning a 12" bandsaw and an old mower into a sawmill is a prime example of innovative recycling. This setup is great for small, personal projects, offering the joy of making with tools you might already have.
8. Building a Small Sawmill

Building a small sawmill can be a perfect introduction to woodworking. It's suited for handling smaller logs and can be a more manageable project for beginners, providing a strong foundation in the basics of milling.
9. Portable DIY $50 Sawmill

The portable DIY $50 sawmill is a cost-effective and surprisingly practical solution for occasional milling work. It's an example of how a small budget doesn't have to limit your ability to work with natural lumber.
10. Quick and Dirty Vertical Chainsaw Mill
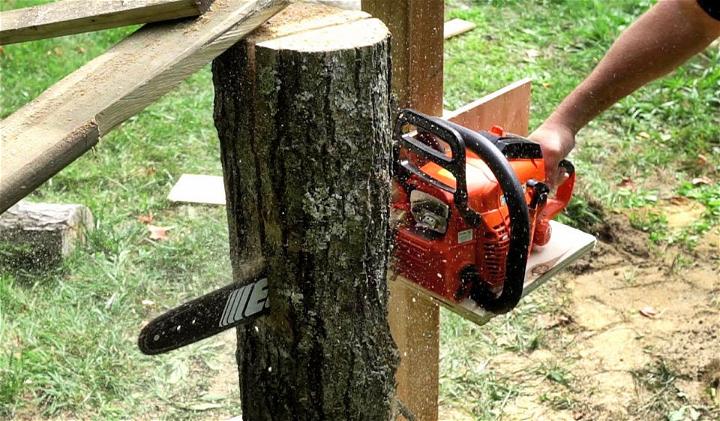
A quick and dirty vertical chainsaw mill setup is ideal for those who need to mill lumber without access to a traditional sawmill. It's a straightforward, no-frills method that requires minimal investment but still gets the job done.
11. DIY Urban Sawmill with Circular Saw
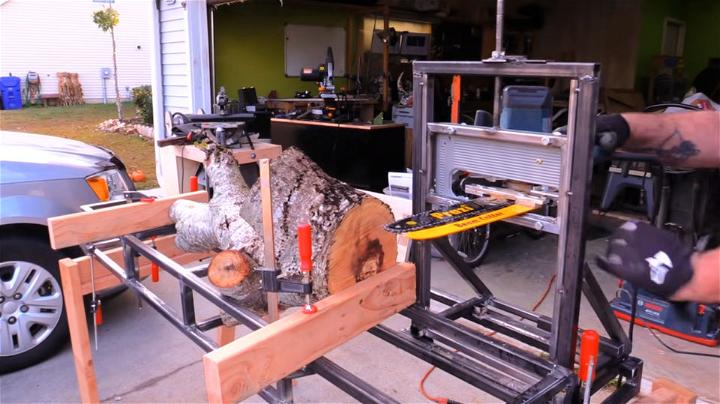
The DIY urban sawmill using a circular saw bridges the gap between convenience and functionality. It's particularly suited for processing urban trees or for those working in tighter spaces, emphasizing the adaptability of milling equipment.
12. Wooden Band Saw Mill from Scratch
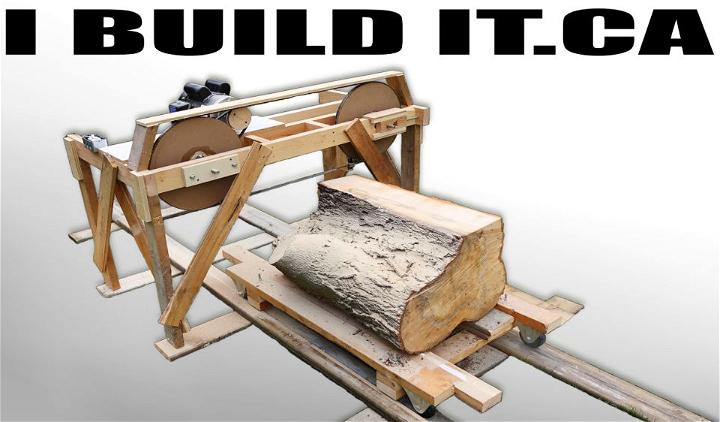
Building a wooden band saw mill from scratch is not just about milling; it's about making something truly yours. This project allows for deep customization and an intimate understanding of the mechanics behind the milling process.
13. How to Make a Bandsaw Mill
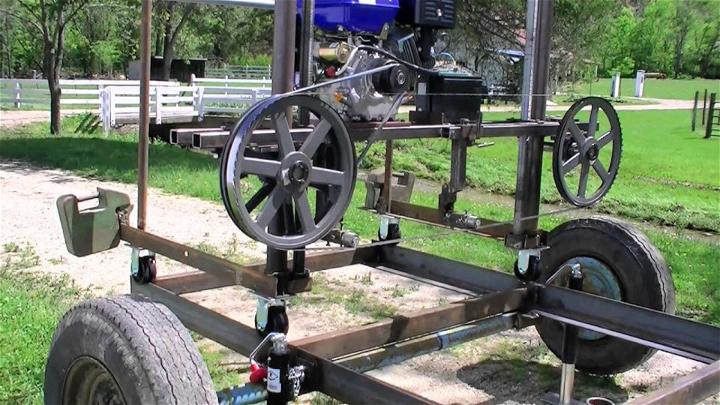
Learning how to make a bandsaw mill introduces you to a world of woodworking that prioritizes precision and self-sufficiency. It's a step towards mastering the craft of milling and understanding the value of raw materials.
14. Build Your Own Sawmill

To build your own sawmill is to embark on a journey of self-reliance and skill enhancement. It opens up endless possibilities in woodworking, allowing for personalized projects and a closer connection to the materials you use.
15. Insanely Cheap Chainsaw Sawmill
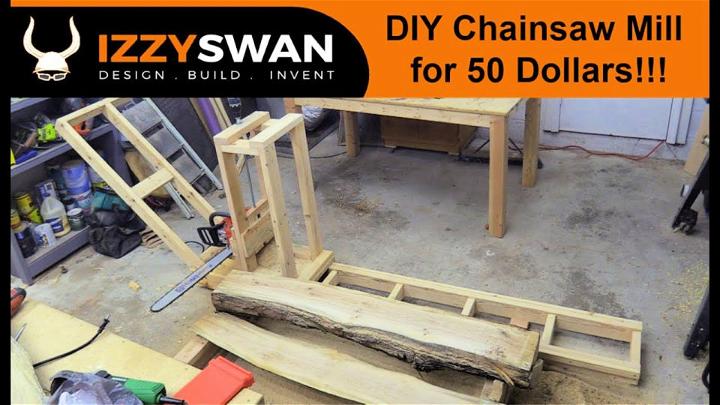
Making an insanely cheap chainsaw sawmill can be incredibly rewarding. It shows that with a bit of ingenuity and effort, you can build a functional tool for milling without breaking the bank, making the craft of woodworking more accessible.
Conclusion:
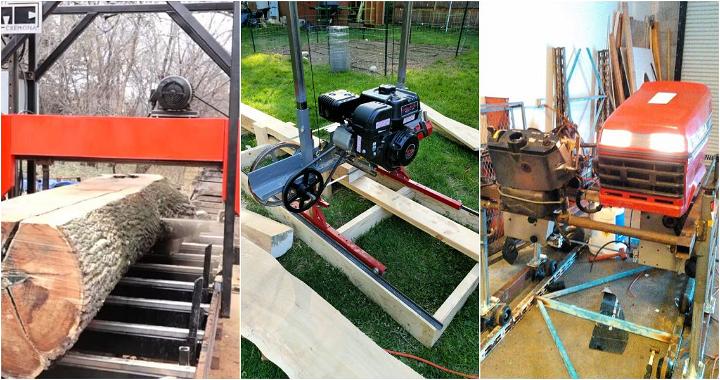
In conclusion, building your own DIY sawmill can be a rewarding and cost-effective project for any woodworking enthusiast. With the right materials and a little bit of elbow grease, you can make custom lumber for all your woodworking needs. Whether you are a beginner or a seasoned woodworker, constructing your own sawmill is a practical and creative endeavor that can enhance your woodworking skills. Start your DIY sawmill project today and unleash your creativity!
