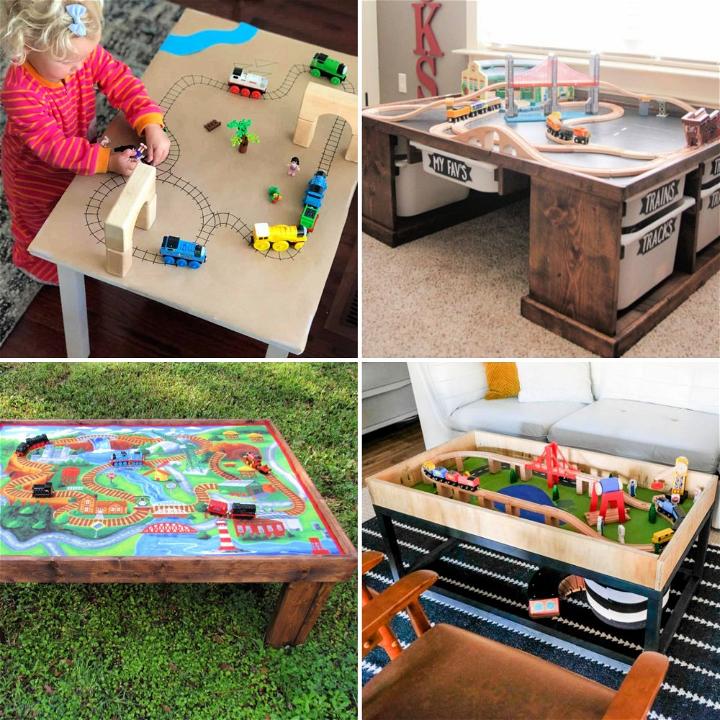
Building a lemonade stand is not only a fun summer activity but also a great way for kids to learn about business and responsibility. In this guide, we'll walk you through the steps to build a durable and attractive lemonade stand. This guide is crafted with simplicity and practicality in mind, making it accessible for builders of all ages.
Materials Needed:
- Four crates (9 & ⅝" by 18" by 12 & ½")
- One-inch wire nails or zip ties
- Hammer (if using nails)
- Plywood board for the top
- Approximately 1 yard of heavy-duty canvas fabric
- Two inexpensive, extendable curtain rods
- Liquid stitch (fabric glue)
- Yellow spray paint suitable for fabric
- Additional curtain rod for the awning
- Wooden dowels to fit curtain rod ends
- Drill with bit matching dowel size
Step by Step Instructions
Step 1: Assemble the Base
Start by arranging your four crates into two pairs, placing them on their sides to form the base of the stand. If you're using nails, hammer them carefully to join each crate securely. For a less permanent option, zip ties can be used to tie the crates together. Ensure the crates are aligned perfectly before securing them.
Step 2: Attach the Top
Take your plywood board and place it on top of the assembled crates. Allow it to slightly overhang on the front and sides for a polished look. Secure the board to the crates with nails, ensuring it is evenly positioned.
Step 3: Prepare the Awning
Cut your heavy-duty canvas fabric to size if needed. Use the curtain rods to measure the necessary width, ensuring the fabric stretches nicely across. Fold the fabric over one of the curtain rods and use liquid stitch to glue the seam down. Allow it to dry for about 30 minutes.
Step 4: Decorate the Awning
While the glue is drying, add some personality to your awning with yellow spray paint. Make stripes or a pattern of your choice on the fabric. Make sure to use spray paint that is safe for fabric and let it dry thoroughly.
Step 5: Install the Awning
Attach the additional curtain rod to the top front edge of your lemonade stand, using the wooden dowels as supports. Drill holes into the side of the crates where the dowels can be inserted for stability. Measure and mark these points carefully to ensure your awning hangs correctly.
Step 6: Final Touches
Once your stand is fully assembled, you may choose to paint or decorate the rest of it. Adding colors, signs, or designs can make your lemonade stand pop and attract more customers.
Video Tutorial
For a step-by-step video tutorial on how to build a lemonade stand, check out this helpful guide on YouTube.
It pairs well with this written guide, offering a visual complement that can enhance your understanding and execution of each step.
Building your lemonade stand is a rewarding project that culminates in the joy of running your own small business. Remember to have fun with it, and don't forget to stay hydrated with some delicious lemonade!
Discover 25 Easy DIY Lemonade Stand Ideas to Help You Stand out and Boost Sales

1. DIY Lemonade Stand for Kids
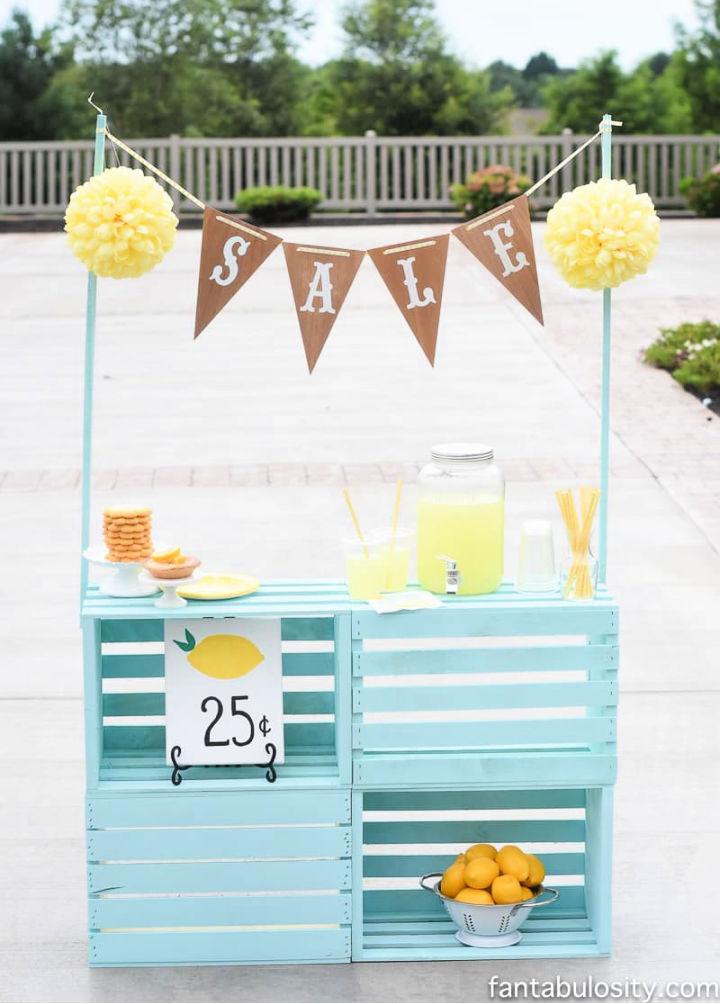
A lemonade stand can spark a child's business acumen. Crafting a DIY lemonade stand fosters creativity and teamwork, offering a fun learning experience while playing entrepreneur during summer breaks.
2. Handmade Folding Lemonade Stand

A handmade folding lemonade stand combines convenience with charm. This stand's foldability makes it perfect for quick setups at various events, promoting entrepreneurship with a personal touch.
3. DIY Lemonade Stand Using Two Crates
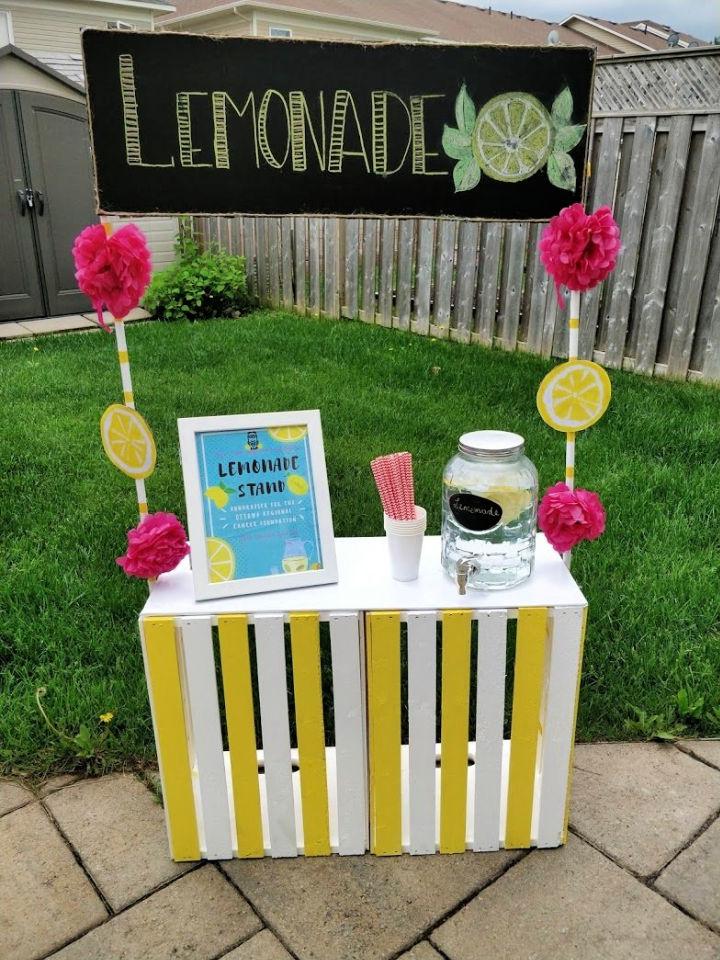
Turning two crates into a lemonade stand is both budget-friendly and eco-conscious. It's an inventive project that teaches resourcefulness, transforming simple items into a functional mini-business.
4. DIY Wooden Crates Lemonade Stand
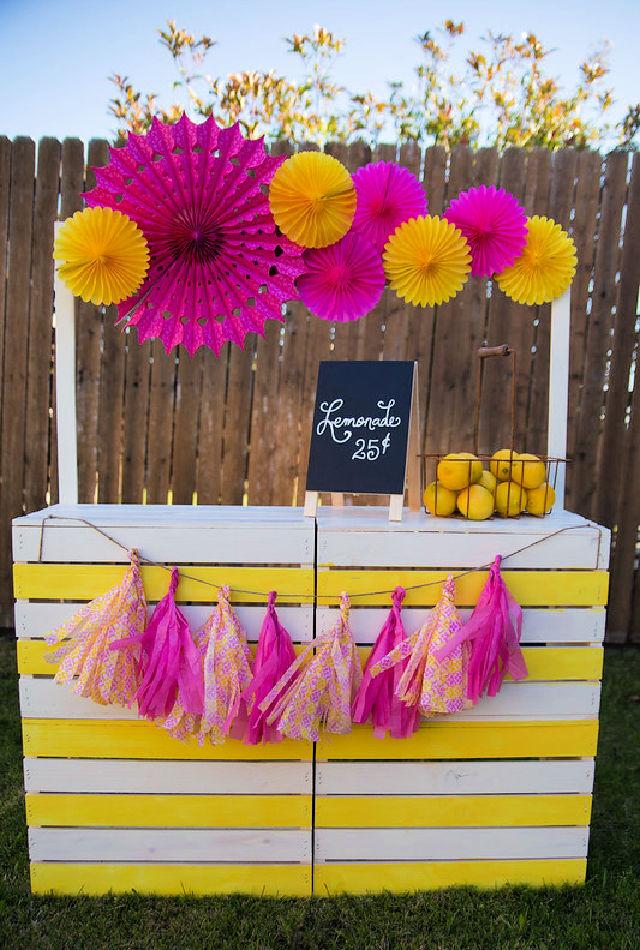
Making a lemonade stand from wooden crates not only recycles but also offers a sturdy and rustic charm. It's a delightful project that blends sustainability with creativity.
5. Night Stand to a Lemonade Stand
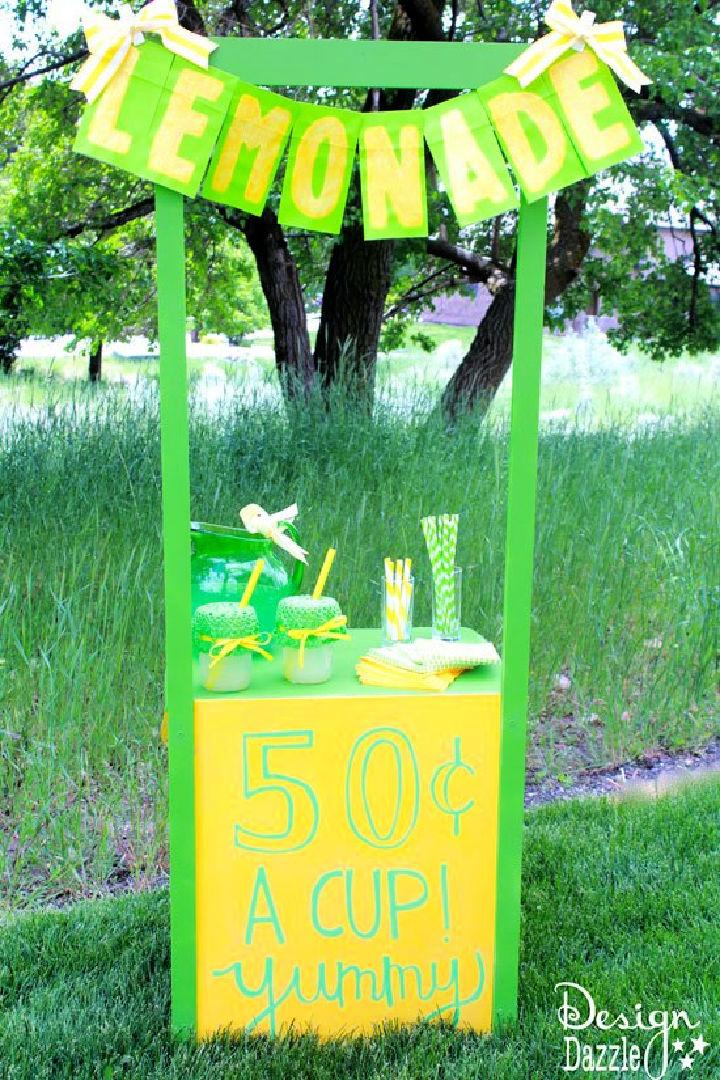
Repurposing a nightstand into a lemonade stand is an innovative way to give old furniture new life. It's an economical and eco-friendly project, perfect for sparking youthful entrepreneurship.
6. Easy Lemonade Stand Birthday Party
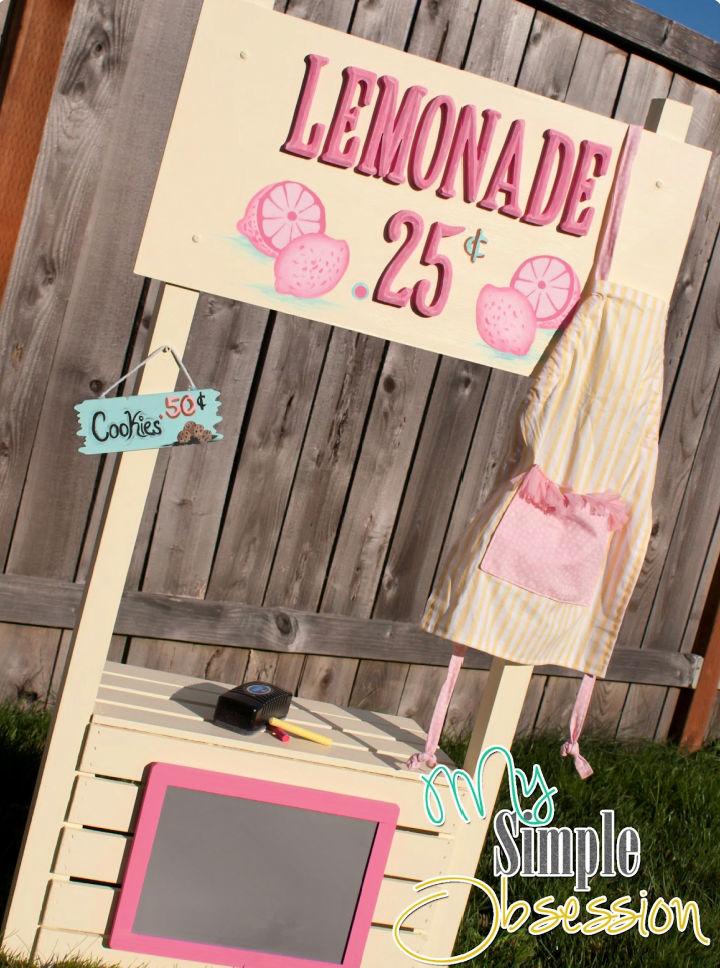
Planning a lemonade stand birthday party is a joyful way to combine celebration with learning. It encourages kids to engage in hands-on activities while understanding simple business principles.
7. Homemade Lemonade Stand Under $38
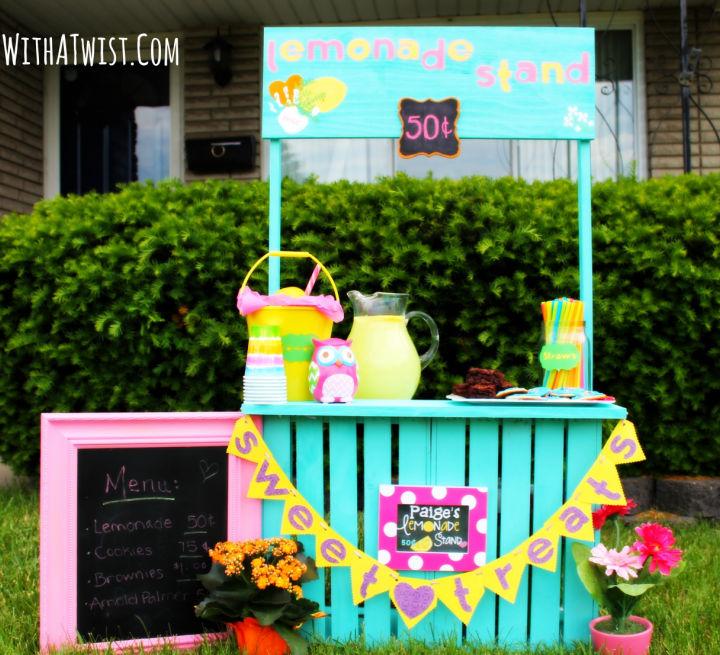
Making a homemade lemonade stand for under $38 is both affordable and rewarding. This budget-friendly project inspires creativity and economic savvy, offering a sense of achievement once completed.
8. Creative Lemonade Stand With Wheels
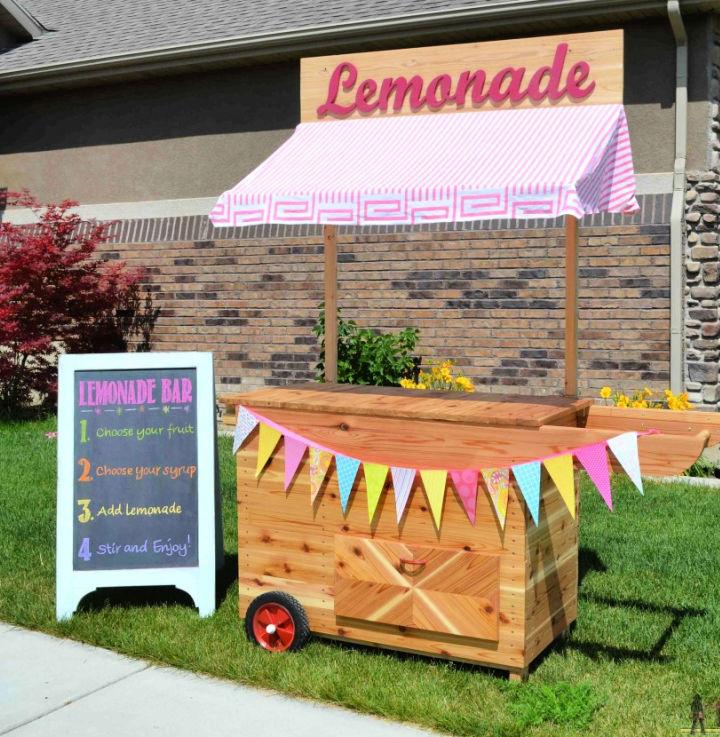
Adding wheels to a lemonade stand introduces a fantastic mobile element. It's a creative approach, allowing young entrepreneurs to explore different locations, enhancing their business experience.
9. How to Build a Portable Lemonade Stand
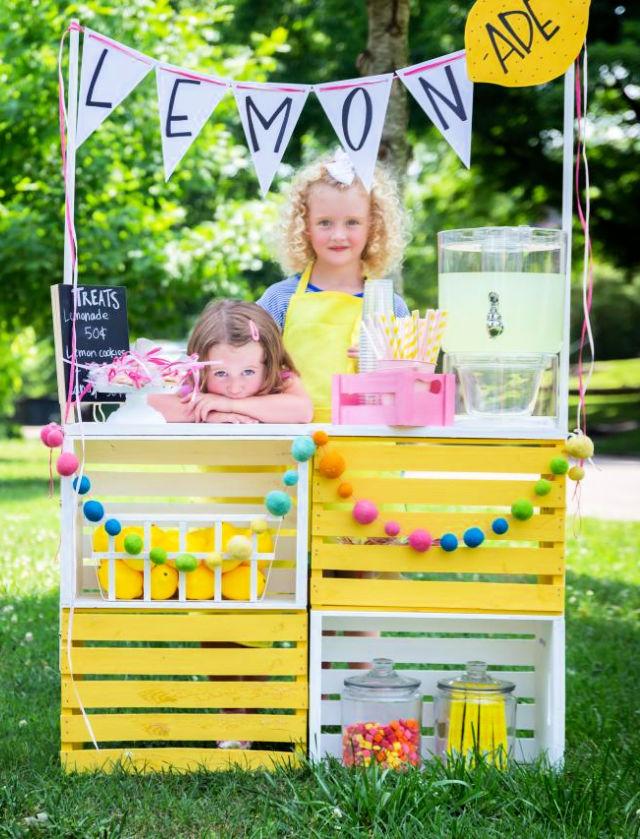
Building a portable lemonade stand offers flexibility and convenience. It's a project that encourages mobility, allowing families to bring the fun and learning anywhere—from backyard gatherings to community events.
10. Make Your Own Lemonade Stand
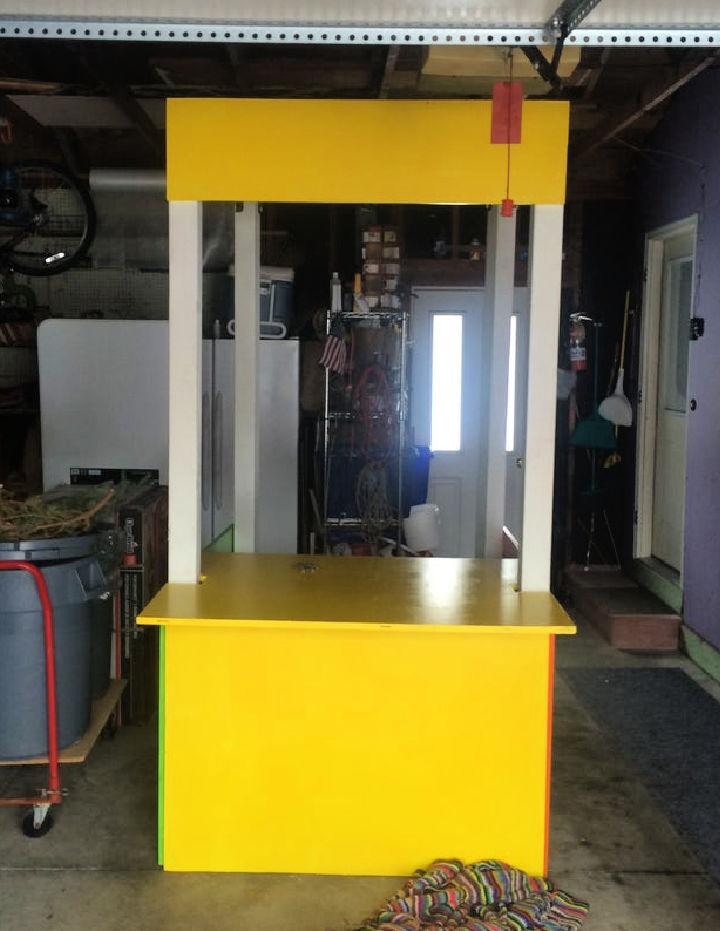
Making your own lemonade stand is a project filled with endless creativity. It's an empowering experience that instills pride and entrepreneurship, encouraging kids to take charge of their mini venture.
11. Build a Lemonade Stand with Fence Pickets
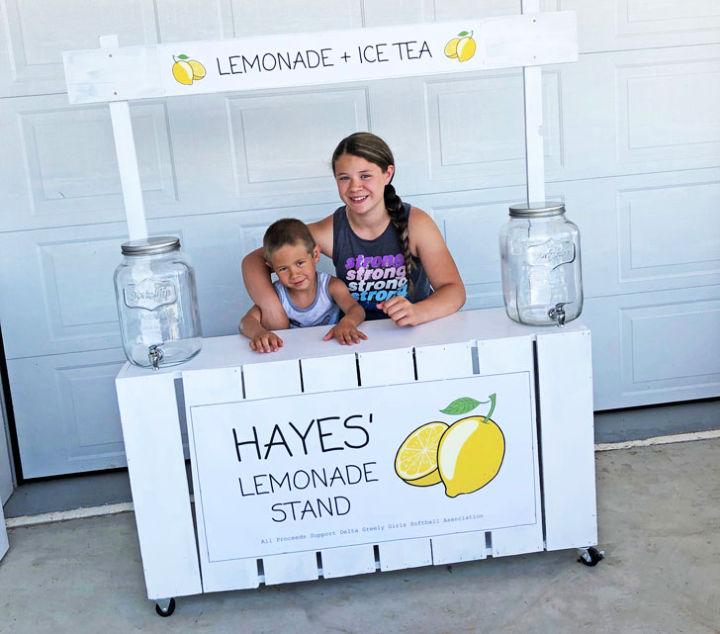
Using fence pickets to build a lemonade stand adds a quaint, cottage-like appeal. It's a durable and cost-effective method, providing a charming backdrop for young entrepreneurs.
12. PVC Pipe Lemonade Stand on a Cart
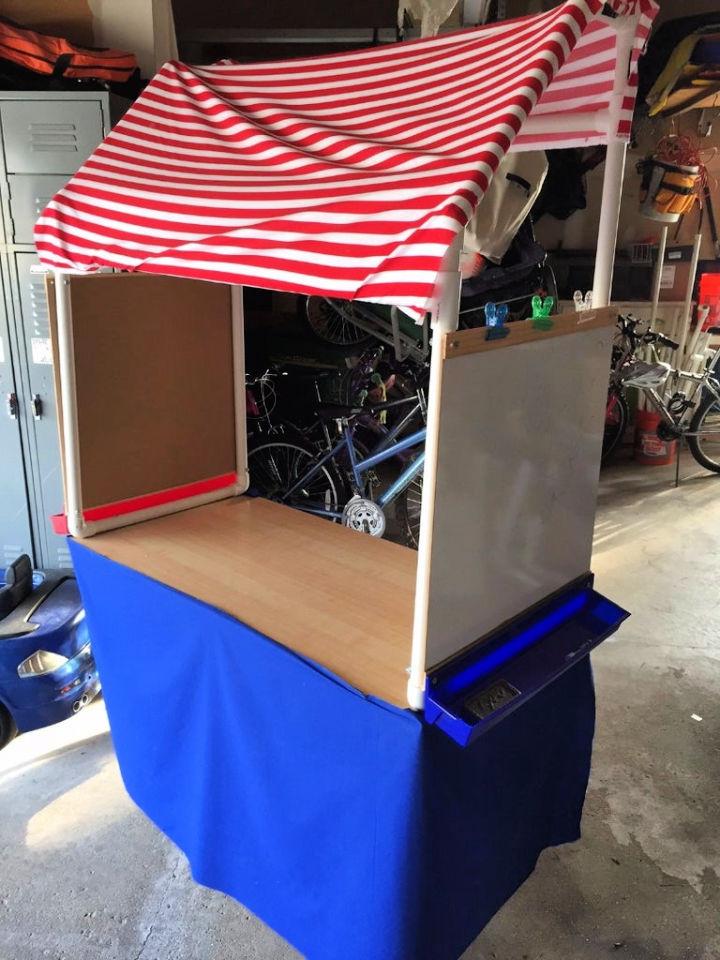
A PVC pipe lemonade stand on a cart combines lightweight durability with mobility. It's an innovative design that's easy to maneuver, perfect for young minds eager to explore different selling spots.
13. DIY Cardboard Lemonade Stand
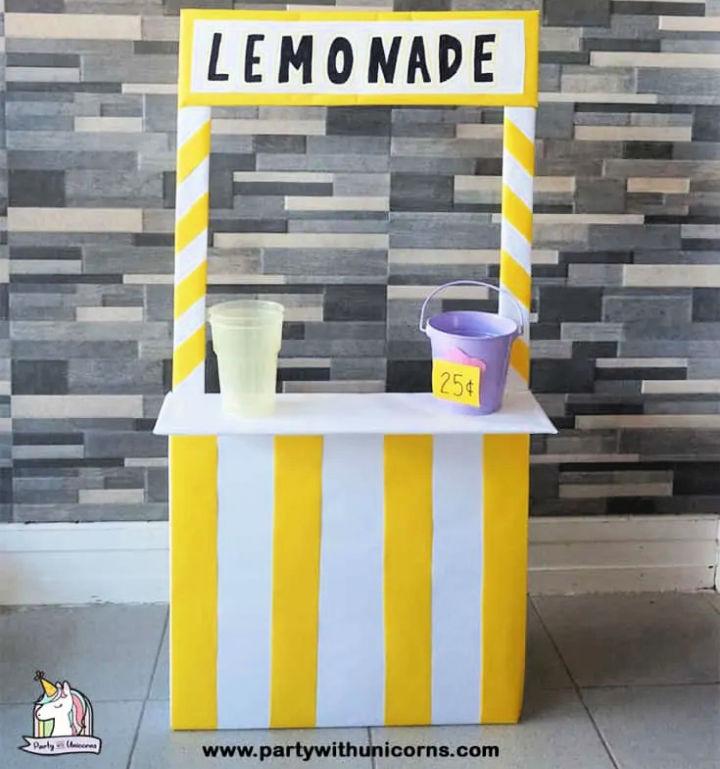
Making a lemonade stand from cardboard boxes is not only economical but also encourages recycling. It's a simple yet effective way to teach kids about sustainability while engaging in creative play.
14. How to Build a Wooden Lemonade Stand
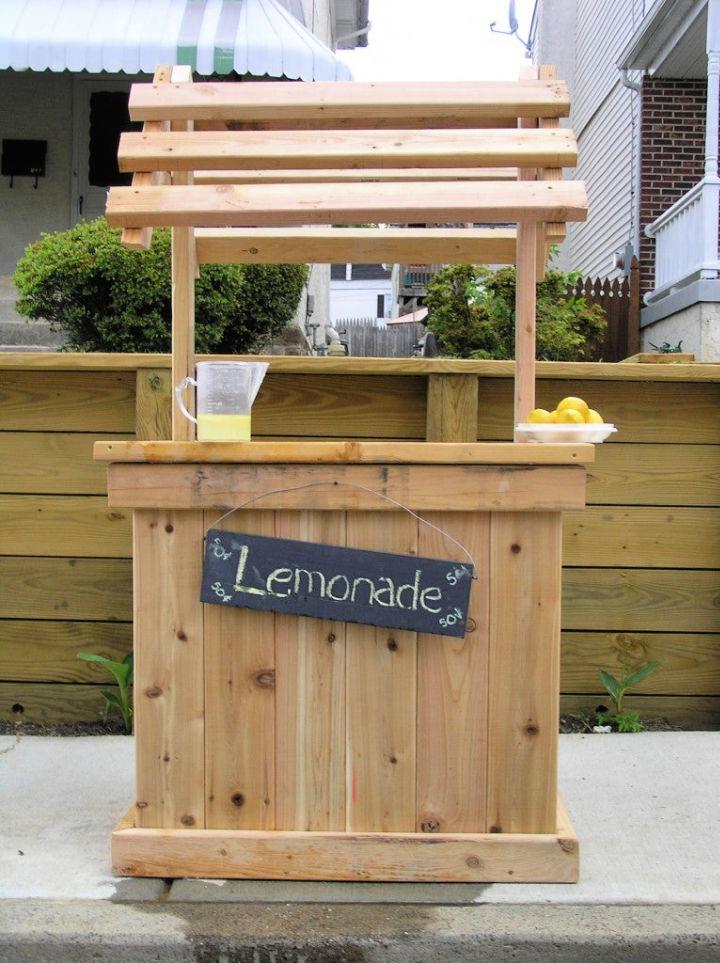
Building a wooden lemonade stand lends a charming, rustic touch to any summer gathering. By using sturdy wood, your stand will not only look appealing but also withstand the hustle and bustle of eager lemonade customers, making it a delightful and durable addition to your outdoor fun.
15. Cute Rolling Lemonade Stand
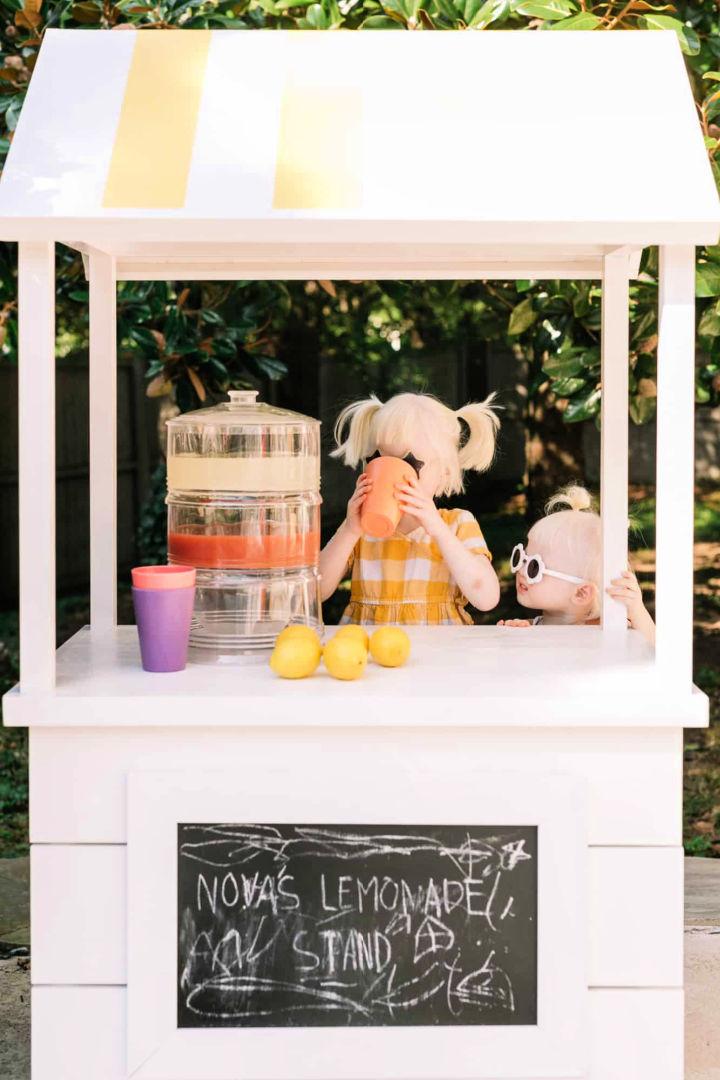
For those who fancy a bit of whimsy, a cute rolling lemonade stand is the way to go. Outfitted with wheels, it's perfect for moving your business to where the crowd is. Its mobility and adorable design will surely attract both kids and adults alike, making your lemonade the hottest talk of the neighborhood.
16. Build a Lemonade Stand Using Crates
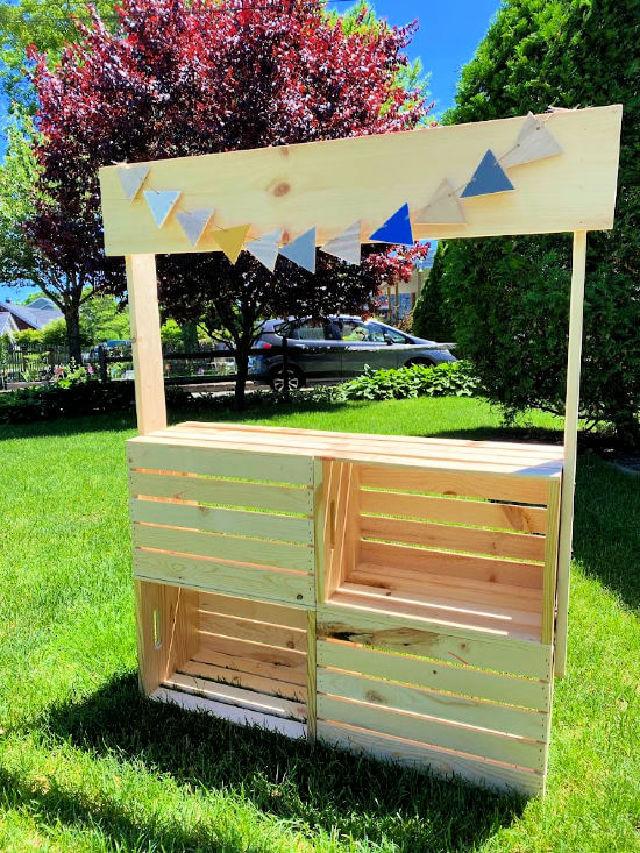
When simplicity meets creativity, building a lemonade stand using crates is a fantastic project. Crates offer a flexible and inexpensive way to construct a stand that's both stylish and functional. This approach not only recycles but also adds a vintage charm to your lemonade selling venture.
17. Easy to Make Lemonade Stand
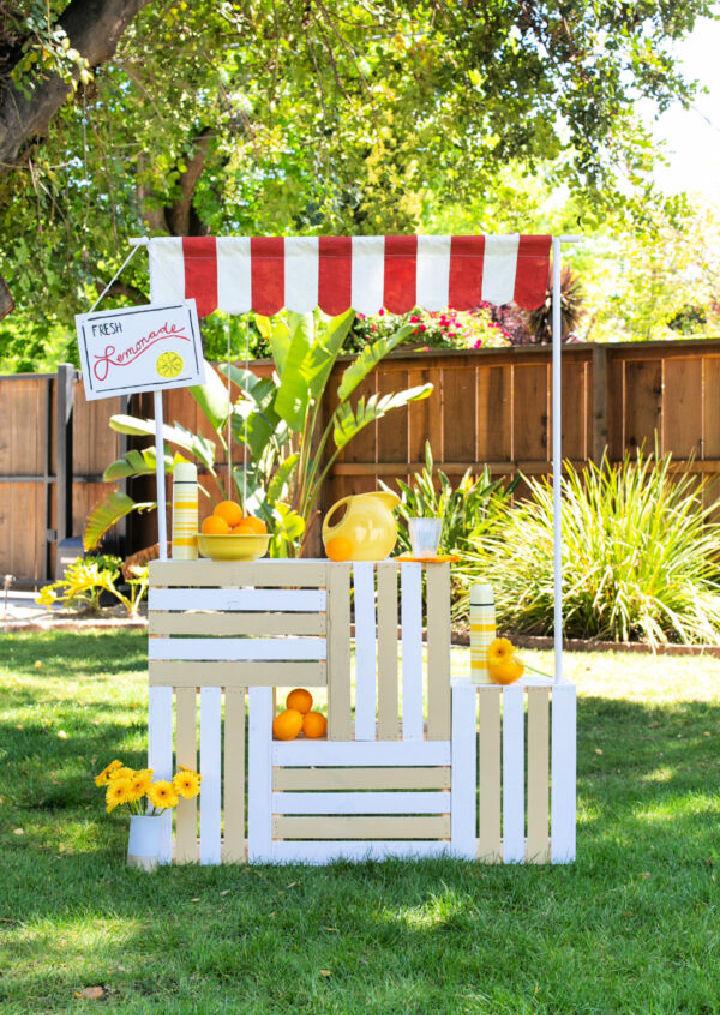
If you're looking for an easy-to-make lemonade stand, focusing on simplicity and efficiency is key. A straightforward design that emphasizes ease of assembly and disassembly will save you time and energy, allowing you to focus more on building delightful lemonade flavors.
18. Classic Lemonade Stand Plan
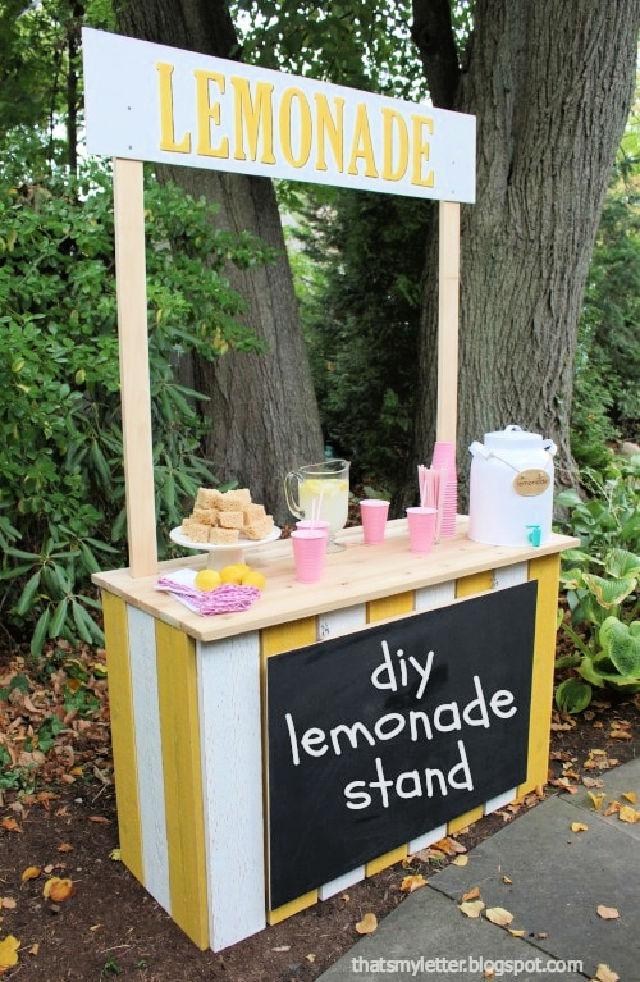
A classic lemonade stand plan brings timeless elegance to your lemonade business. With its iconic look, this stand draws in customers of all ages, reminding everyone of the sweet, simple joys of summer. Using traditional woodworking methods, this plan ensures a sturdy and reliable stand.
19. How to Make a Lemonade Stand
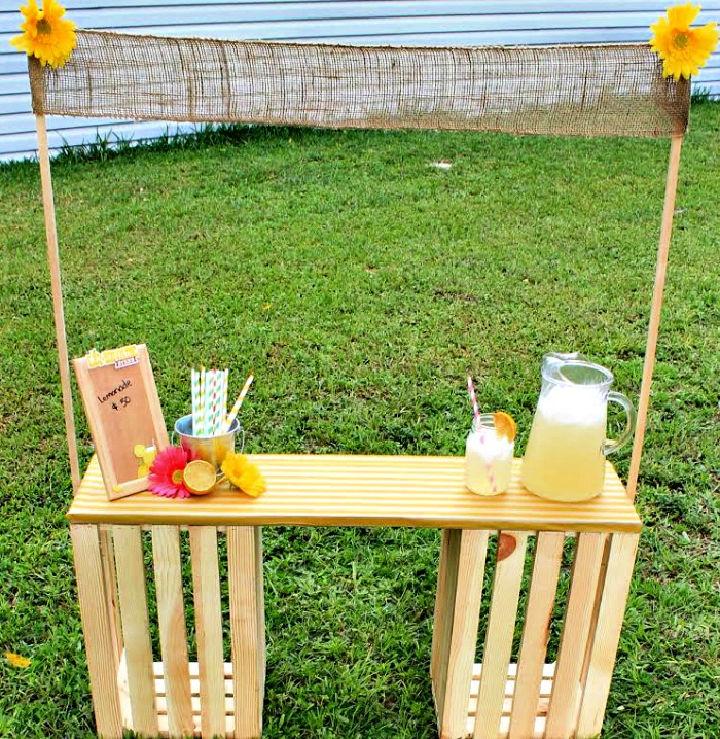
Building your lemonade stand can be a fun and rewarding project. By choosing the right materials and design, you can build a stand that's not only functional but also a reflection of your personality. Whether vibrant and colorful or simple and chic, the choice is yours.
20. DIY Lemonade Stand with Printable Poster
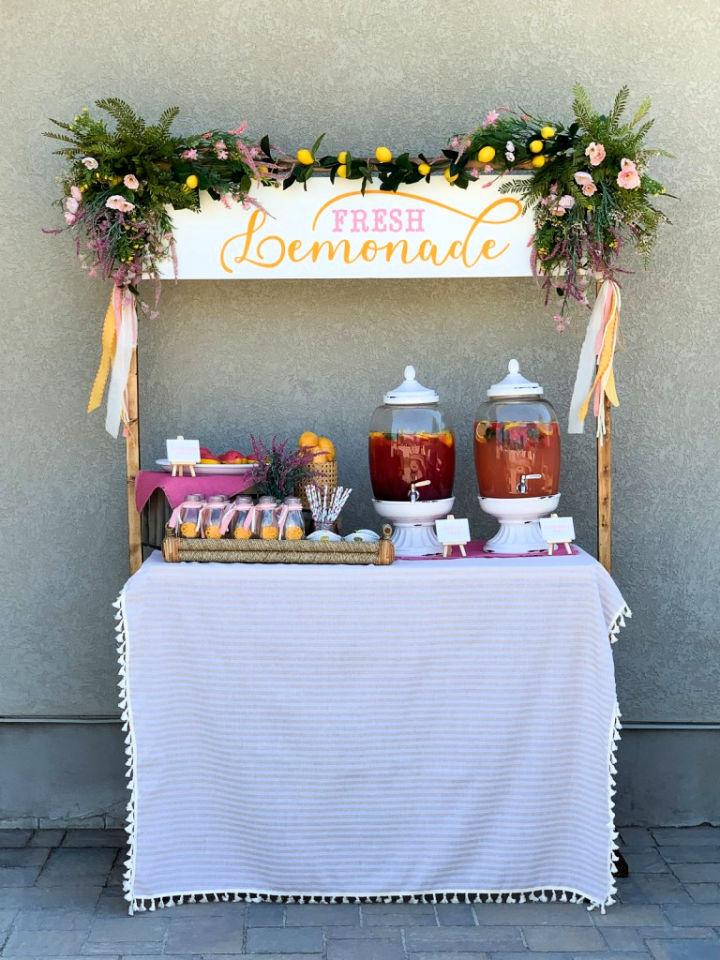
A DIY lemonade stand with a printable poster adds a professional touch to your setup. This nifty addition helps you clearly display your menu and prices, making it easy for customers to make their selections. It's a simple yet effective way to boost your lemonade stand's appeal.
21. Adorable Lemonade Stand Design
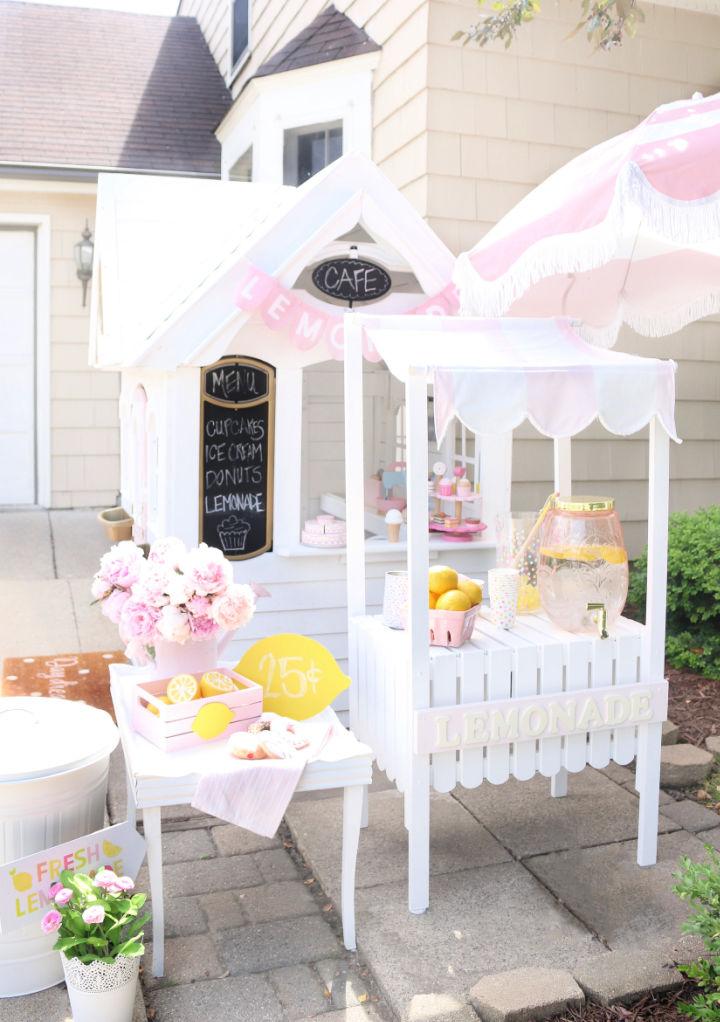
Who says lemonade stands are just for kids? An adorable lemonade stand design captures hearts with its cute details and inviting colors. Perfect for birthday parties or neighborhood gatherings, this stand makes everyone feel young at heart.
22. Cape Cod-Inspired Lemonade Stand for Adults
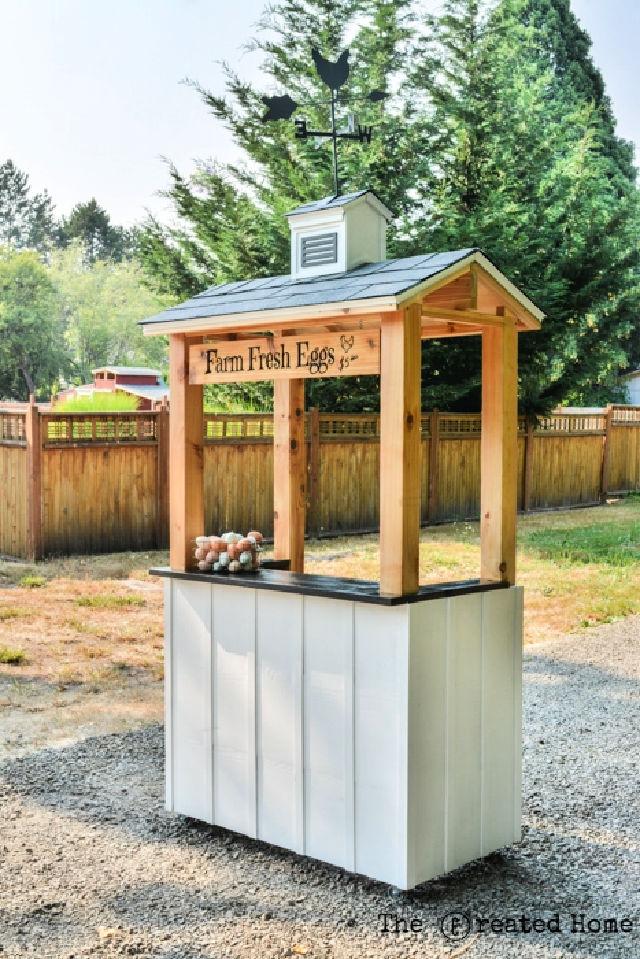
For those with a taste for the sophisticated, a Cape Cod-inspired lemonade stand for adults offers a chic and mature twist to the classic setup. Inspired by the coastal charm of Cape Cod, this stand is perfect for serving gourmet lemonade concoctions at summer soirees.
23. DIY Scrap Wood Lemonade Stand
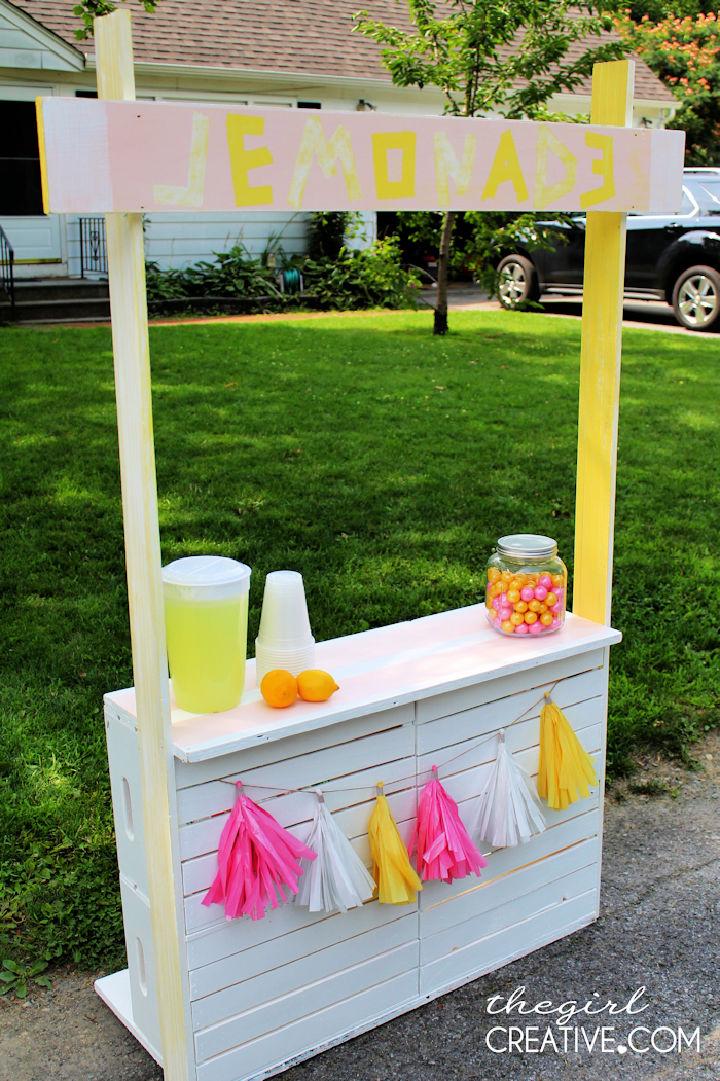
A DIY scrap wood lemonade stand is a masterclass in resourcefulness. By reusing scrap wood, you're not only building an eco-friendly stand but also giving unique character and warmth to your business. Each stand tells its own story, making your lemonade stand truly one-of-a-kind.
24. Lemonade Stand From an Old Kitchen Cabinet

Transforming an old kitchen cabinet into a lemonade stand is a clever twist on upcycling. This innovative approach gives new life to otherwise discarded furniture, building a stand that's both functional and filled with character, appealing to eco-conscious customers.
25. How to Build a Lemonade Stand From Pallets
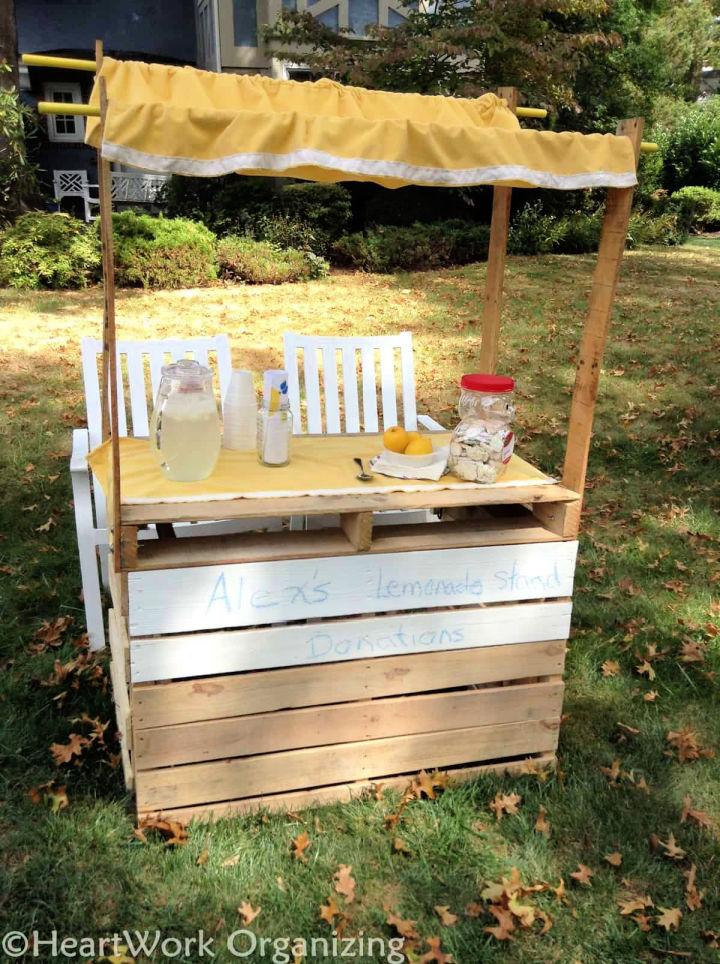
Finally, building a lemonade stand from pallets is a rustic and cost-effective solution. Pallets, often available for free, can be repurposed into a charming stand that's as sturdy as it is environmentally friendly. It's a great way to combine sustainability with creativity in your lemonade venture.
Conclusion:
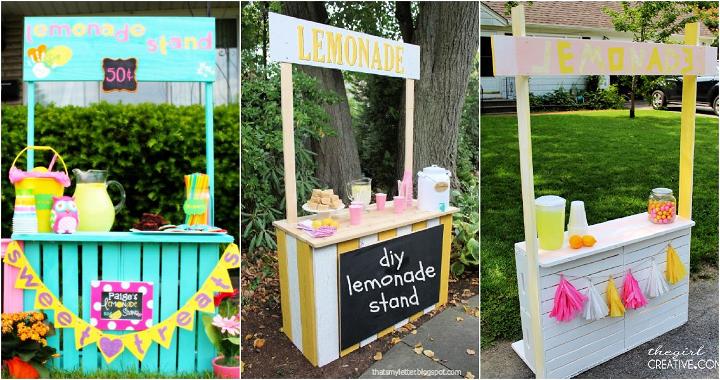
In conclusion, setting up a DIY lemonade stand can be a fun and profitable venture for individuals of all ages. Whether you're planning to raise funds for a cause or simply enjoy a refreshing drink on a hot day, this project offers endless possibilities for creativity. With a few simple materials and some creativity, you can build a charming lemonade stand that will delight both customers and passersby.


