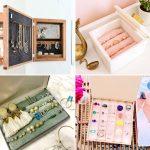
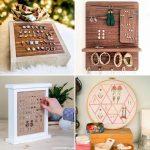
A clever DIY jewelry holder to keep your treasures organized and displayed beautifully. Discover 30 easy DIY jewelry holder ideas to organize your collection efficiently and stylishly. This guide will walk you through the process from start to finish, providing you with all the necessary steps and materials needed. Whether you have a vast collection of jewelry or just a few precious items, making a personalized holder can elevate your storage game and add a touch of creativity to your space.
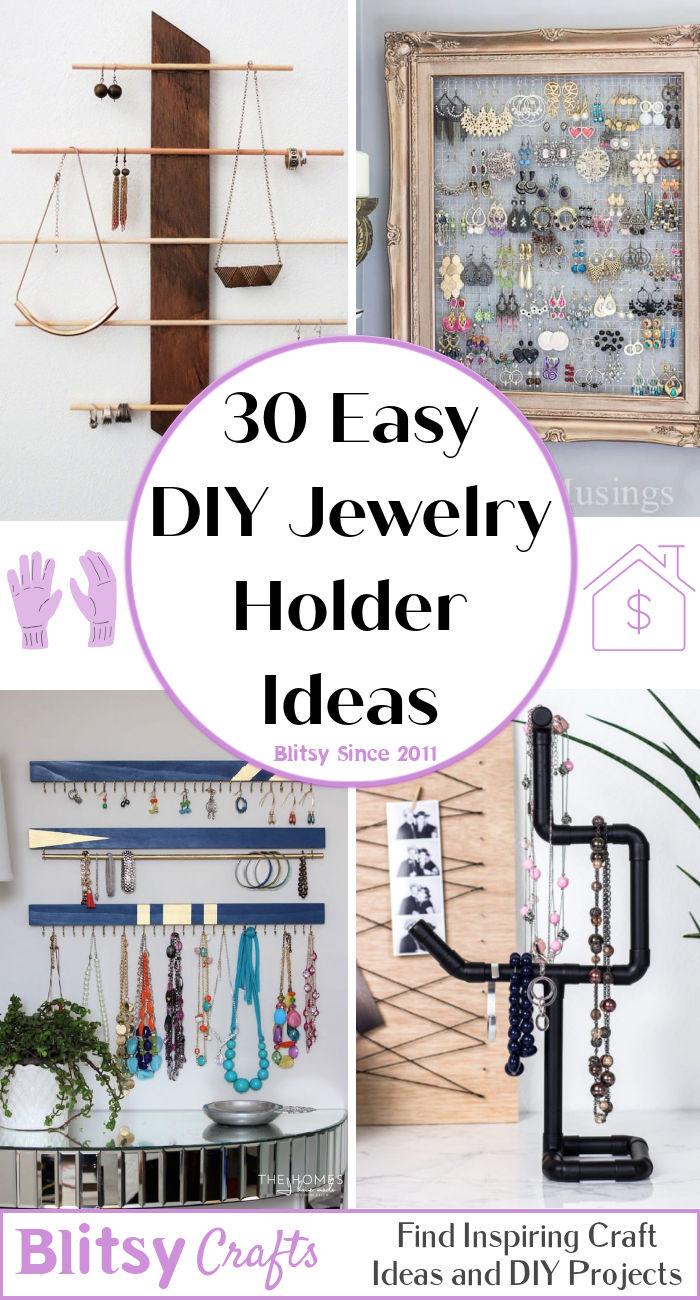
We'll cover everything from selecting the right materials to the final touches that make your jewelry holder uniquely yours. You'll learn how to prepare wood pieces, assemble the frame, and add special features like earring storage and hooks for necklaces and bracelets. Plus, we offer tips on how to avoid common mistakes and customize your holder to fit your specific needs. Get ready to tackle a fun and rewarding project that not only helps organize your jewelry but also showcases your DIY flair. Keep reading for step-by-step instructions and expert advice on making a beautiful and functional jewelry holder.
How to Make a Jewelry Holder - Step by Step Guide
Make a chic jewelry organizer without spending too much money. Use Dollar Tree materials and basic tools to make a personalized storage piece that reflects your style. Get expert tips from a budget-savvy DIY enthusiast for a successful and satisfying project.
What Will I Get Out of This Guide?
By following this guide, you will learn how to:
- Construct a durable and attractive wood jewelry organizer using affordable materials.
- Overcome common DIY challenges with expert tips and tricks.
- Customize your jewelry organizer to match your personal style and storage needs.
- Gain confidence in your DIY skills, with clear, easy-to-follow instructions.
Materials Needed:
- 1 8" x 10" mirror (Dollar Tree)
- Paint mixing sticks (97 cents from home improvement stores; thickness varies)
- Gorilla wood glue or your preferred adhesive
- Sanding sponge (Dollar Tree)
- Tumbling tower games blocks (Dollar Tree, for shelf supports)
- Wall-mount wire rack (Dollar Tree, for earring storage)
- Push pins (Dollar Tree, used as hooks)
- Wooden dowels (Dollar Tree, for hanging rings and bracelets)
- Spray paint (for customization)
- Sawtooth picture hangers or alternative hanging methods
- Tools: Miter saw or hand saw, drill/screwdriver, paintbrush, measuring tape
Step by Step Instructions
Learn to make a DIY jewelry holder with our step-by-step guide. From preparing wood to final assembly, we cover all you need for this project.
Step 1: Prepare the Wood Pieces
Measure and cut the paint mixing sticks to frame the mirror, leaving space for a bottom shelf. Sand the edges to prevent splinters. For a detailed visual, consider watching this video tutorial.
Step 2: Assemble the Frame
Lay out the cut sticks to frame the mirror. With the wood glue, bind the sticks together, ensuring everything is aligned correctly. Allow time for the glue to dry for a strong hold.
Step 3: Add Shelf Supports
Using game blocks from the Tumbling Tower set, make supports for the shelf. Glue these in place securely.
Step 4: Securing the Back
For the mirror and wire rack backing, cut additional sticks or use cardboard for an easier fit. Glue these pieces vertically along the back for added support.
Step 5: Paint and Decorate
Once your frame is sturdy, paint or stain the wood to your desired color. Add a distressed look with chalk paint or leave it simple and classic.
Step 6: Attach Hooks and Hanging Mechanisms
Screw in the push pins to the sides of the frame for hanging necklaces and bracelets. Drill holes to attach the wooden dowels to hang earrings or rings.
Step 7: Install Earring Storage
Attach the wire rack to your frame as a functional area to hang earrings. Secure it with screws for durability.
Step 8: Final Assembly
With all pieces painted and decorated, assemble your jewelry organizer. Attach the mirror last to avoid damage. Use hanging hardware of your choice for easy wall mounting.
Video Tutorial
For a visual demonstration, watch a step-by-step video tutorial on YouTube here.
It provides a clear, easy-to-understand walkthrough of the techniques, making it a great companion to this written guide.
Expanding the Scope and Customizations
Consider adding small LED lights around the mirror for extra functionality or painting the frame in vibrant colors to match your decor. Explore different materials for the back panel or hooks to tailor the organizer to your specific jewelry collection.
Common Pitfalls and Troubleshooting
- Wood Splintering: Use a fine-grit sanding sponge to smooth out any rough edges after cutting.
- Uneven Paint Finish: Apply multiple thin layers of paint, allowing adequate drying time between coats.
- Weak Structure: Ensure all glued joints are fully dried before moving on to the next step. Add additional supports or screws if the frame feels wobbly.
FAQs About DIY Jewelry Holders
Making a DIY jewelry holder is a fun and practical project. Here are some common questions and clear answers to help you get started.
What materials do I need?
The materials vary based on the design, but common items include:
- Wood (for frames or stands)
- Chicken wire (for earring holders)
- Corkboard (for pinning items)
- Fabric or leather (for rolls or pouches)
- Hooks or hangers (for hanging jewelry)
How can I personalize my jewelry holder?
Personalize by:
- Painting or staining the wood
- Choosing fabric that matches your room decor
- Adding decorative knobs or hooks
- Using stencils or decals for patterns
What tools are required for assembly?
You might need:
- Hammer
- Drill
- Screwdriver
- Scissors
- Glue or nails
How do I ensure my jewelry holder is durable?
To ensure durability:
- Use solid base materials like wood
- Securely attach all components
- Apply a protective finish to prevent wear
Can I make a travel-friendly jewelry holder?
Yes, for a travel-friendly version:
- Use soft materials like fabric or leather
- Include zippers or buttons for secure closure
- Make roll-up or foldable designs
How do I organize different types of jewelry?
Organize by:
- Using separate hooks for necklaces and bracelets
- Attaching mesh or chicken wire for earrings
- Adding small boxes or pouches for rings and delicate items
30 DIY Jewelry Holder Ideas and Inspirations
Discover 30 stunning DIY jewelry holder ideas to organize your accessories like a pro. Get inspired and make your own stylish storage solutions now!
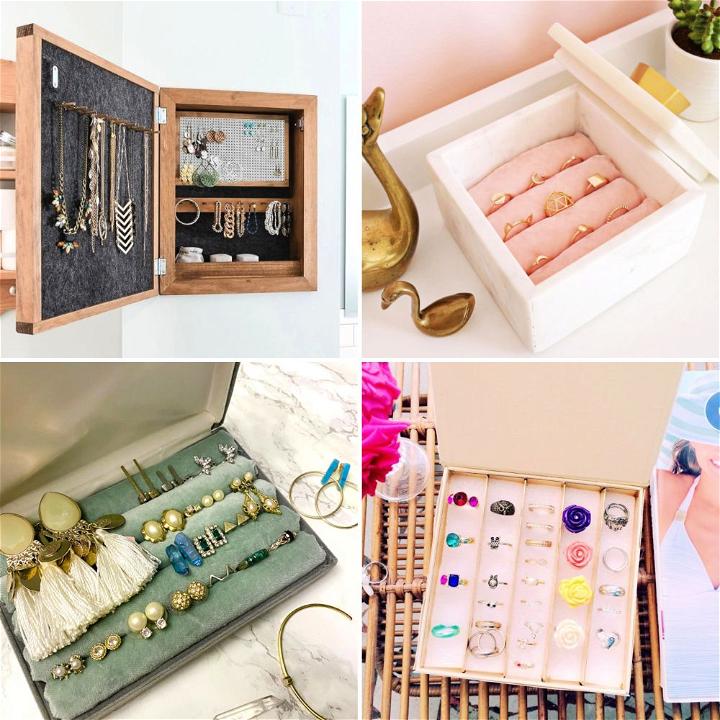
1. DIY Wall Jewelry Organizer
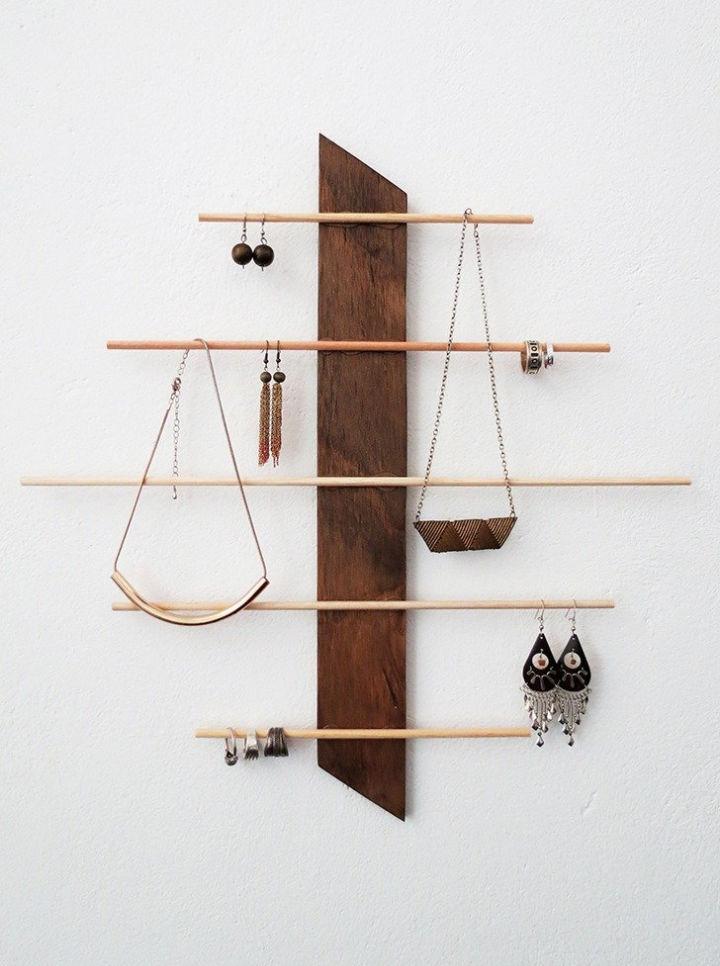
Turning a bland wall into a showcase for your dazzling jewelry collection not only saves space but also adds a decorative touch to your room. This setup encourages easy access and lets you display your pieces aesthetically.
2. Homemade Wooden Jewelry Holder

Imagine a rustic charm on your dresser that organizes your jewels neatly. Crafting this holder from reclaimed wood not only offers a sustainable choice but brings warmth and character to your decor while keeping your treasures untangled.
3. Easy DIY Necklace Holder

Make a simple sanctuary for your necklaces, preventing them from becoming entwined. Utilizing minimal materials, this holder can be a quick project, offering a practical and pretty solution for displaying your favorite strands.
4. Hanging Jewelry Organizer

Elevate your jewelry storage with a hanging organizer that blends functionality with design. Perfect for small spaces, this solution allows you to view your collection at a glance, ensuring pieces remain separated and tangle-free.
5. Jewelry Holder Using Wooden Sticks

Employing wooden sticks for a jewelry holder merges nature with creativity, forming a unique display. This eco-friendly approach not only recycles but also provides a custom feature for hanging bracelets and earrings, infusing a bit of the outdoors into your interior.
6. DIY Resin Jewelry Holder
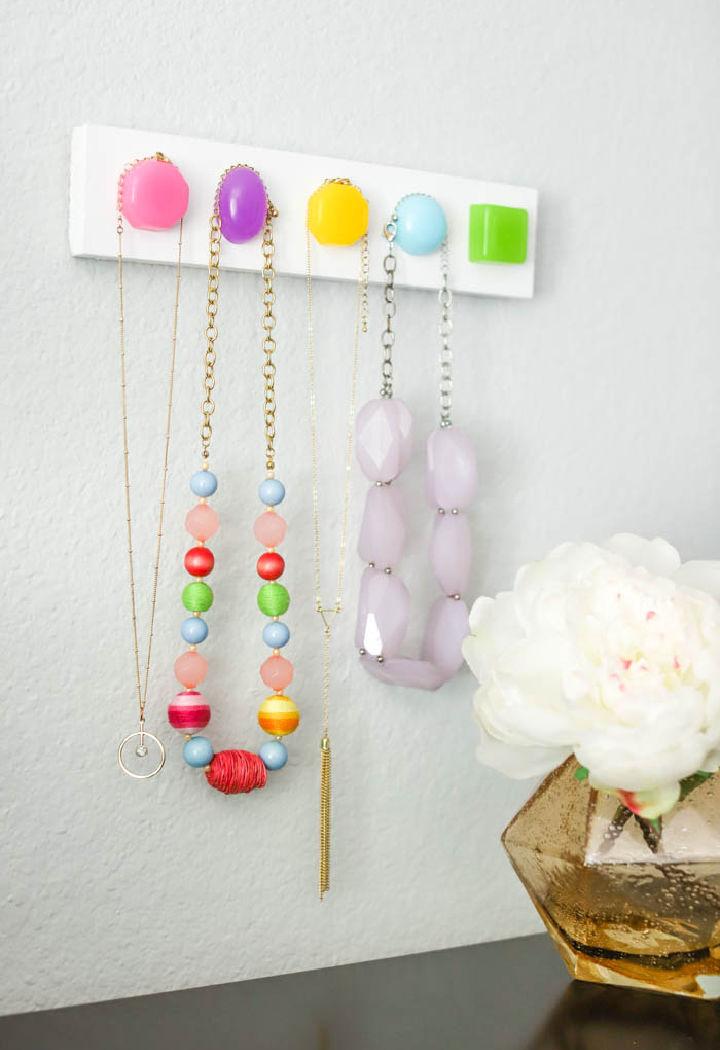
Venture into crafting with resin to produce a dazzling jewelry holder that captures the eye. The translucency and versatility of resin allow for incorporating colors and objects, making a personalized and modern accessory for your jewelry.
7. Painted Driftwood Jewelry Hanger

Bring a piece of the beach indoors with a painted driftwood hanger. This bohemian chic accessory adds a splash of color and a natural vibe to your space, offering an inventive and stylish way to drape your bijoux.
8. Easy Wall Mounted Jewelry Organizer

Opt for a wall-mounted organizer for a sleek, space-saving solution. This easy-to-install option can blend seamlessly with your room's décor, keeping your precious pieces organized and accessible, while adding a touch of elegance to the wall.
9. Modern Wooden Jewelry Holder
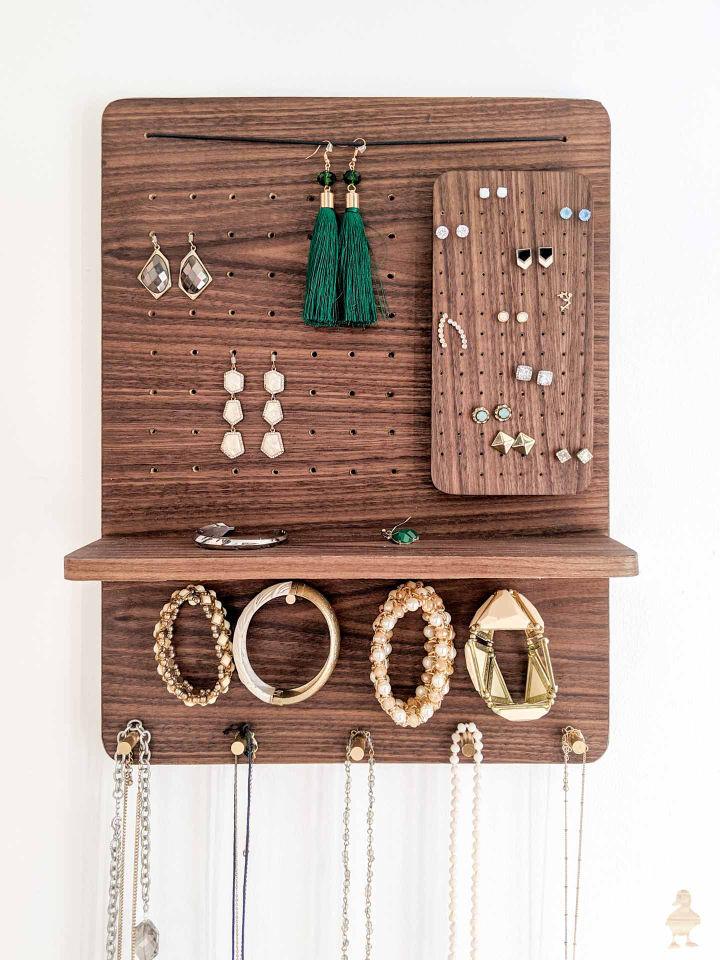
Make a contemporary piece with a modern wooden jewelry holder that stands out as much as the jewelry it holds. Its clean lines and minimalist design make it a perfect complement to a modern dressing area, blending functionality with style.
10. DIY Cabinet Hardware Jewelry Organizer

Repurpose cabinet hardware to make a unique, industrial-chic jewelry organizer. This inventive use of knobs and pulls offers a customizable and quirky way to store and display your jewelry, adding an unexpected yet functional element to your space.
11. Pottery Barn Jewelry Holder

Imagine a chic and elegant storage solution for your precious jewels. The Pottery Barn Jewelry Holder offers a sleek design, expertly blending functionality with style. Its structured compartments ensure easy organization, making it a delightful addition to any dresser.
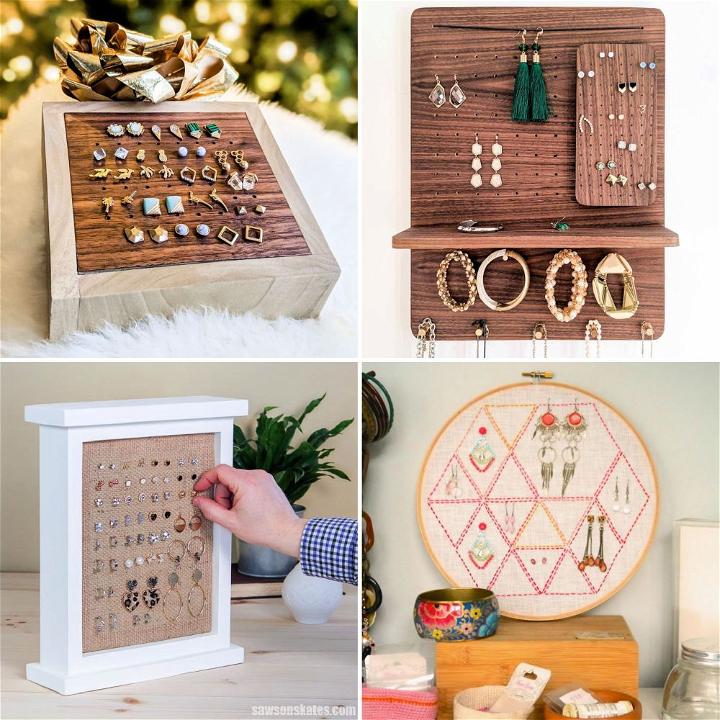
12. Earring Holder Made with Scrap Wood

Embrace sustainability with an earring holder crafted from scrap wood. This eco-friendly option not only reduces waste but also adds a unique, rustic charm to your decor. It's a creative way to display and organize earrings, showcasing your commitment to the environment.
13. Framed Jewelry and Earring Holder

Turn a simple frame into a sophisticated jewelry and earring holder. This design merges art with utility, allowing you to hang your earrings and drape necklaces attractively. It's a decorative piece that serves as both wall art and a practical storage solution.
14. DIY Jewelry Display Idea

Get creative with a DIY project that transforms everyday materials into a stunning jewelry display. This idea encourages personalized decoration and organization, ideal for craft enthusiasts. It's an inventive approach to keep your jewels accessible and beautifully exhibited.
15. Handmade Geometric Wall Jewelry Organizer

A geometric wall jewelry organizer adds a modern twist to traditional storage. Handmade with precision, its shapes and lines offer a visually captivating way to arrange your accessories. This piece not only organizes but also elevates room aesthetics with its contemporary design.
16. Jewelry Storage Pouch Sewing Pattern

For those who love sewing, making a jewelry storage pouch offers a customizable solution. This sewing pattern lets you craft a portable and protective pouch, perfect for travel or daily use. It's a wonderful project for safeguarding your valuables in style.
17. DIY Jewelry Box Organizer

Transform a common box into a bespoke jewelry organizer with a simple DIY project. This approach allows for tailored compartments and decorations, ensuring your trinkets are neatly sorted and easily accessible. It's a personalized way to cherish and display your jewelry collection.
18. Turn an Old Jenga Set Into a Necklace Rack

Repurposing an old Jenga set into a necklace rack is both inventive and eco-friendly. This unique idea breathes new life into forgotten items, providing a sturdy and intriguing way to hang necklaces. It adds a playful touch to your decor while keeping accessories untangled.
19. Cactus Earring Jewelry Holder

Inject some fun into your accessory storage with a cactus-themed earring holder. This quirky design not only stores earrings efficiently but also serves as a delightful decorative piece. It's perfect for adding a bit of whimsy and organization to your space.
20. Shadowbox Earring Jewelry Organizer

A shadowbox transformed into an earring jewelry organizer offers both protection and display. It elegantly showcases your earrings behind glass, keeping them dust-free and neatly arranged. It's an ideal choice for those looking to combine functionality with aesthetic appeal in their storage solutions.
21. Stud Earring Holder Box
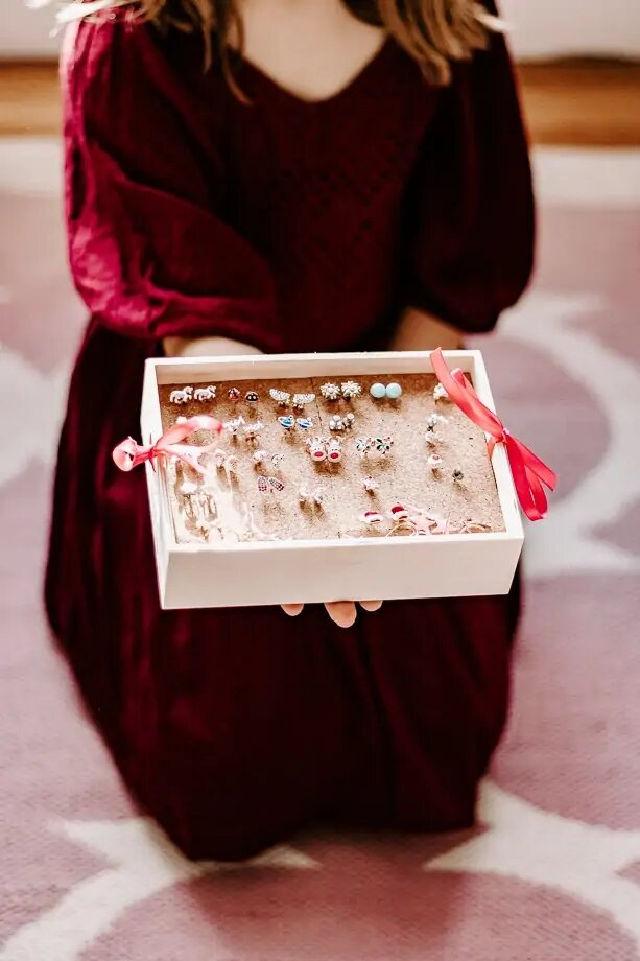
Ever lost a precious stud earring? Consider a stud earring holder box. Compact and sleek, it keeps your earrings paired and visible at a glance. Its protective design ensures your studs stay safe and untangled, making it a perfect home or travel accessory for jewelry enthusiasts.
22. Simple and Affordable Jewelry Holder

For those who love straightforward solutions, a simple and affordable jewelry holder might just be the answer. Often wall-mounted or countertop-friendly, these holders are designed to display and organize your pieces, making them easily accessible. Their minimalistic design blends seamlessly with any decor, offering functionality without breaking the bank.
23. Make Your Own Wire Jewelry Holder Tree
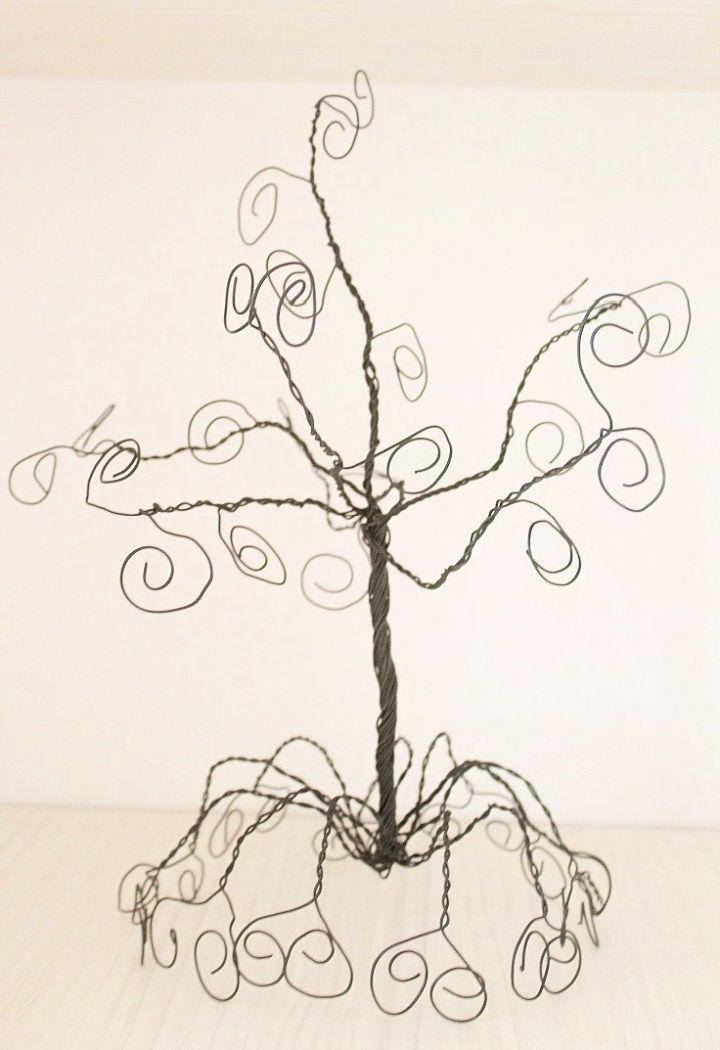
Embrace your creative side by crafting a wire jewelry holder tree. This DIY project allows personalization in shape and size, providing a unique display for hanging items like necklaces and bracelets. Not only functional, but it also adds an artistic touch to your space, showcasing your jewelry as wearable art.
24. Make Rattan Jewelry Organizer
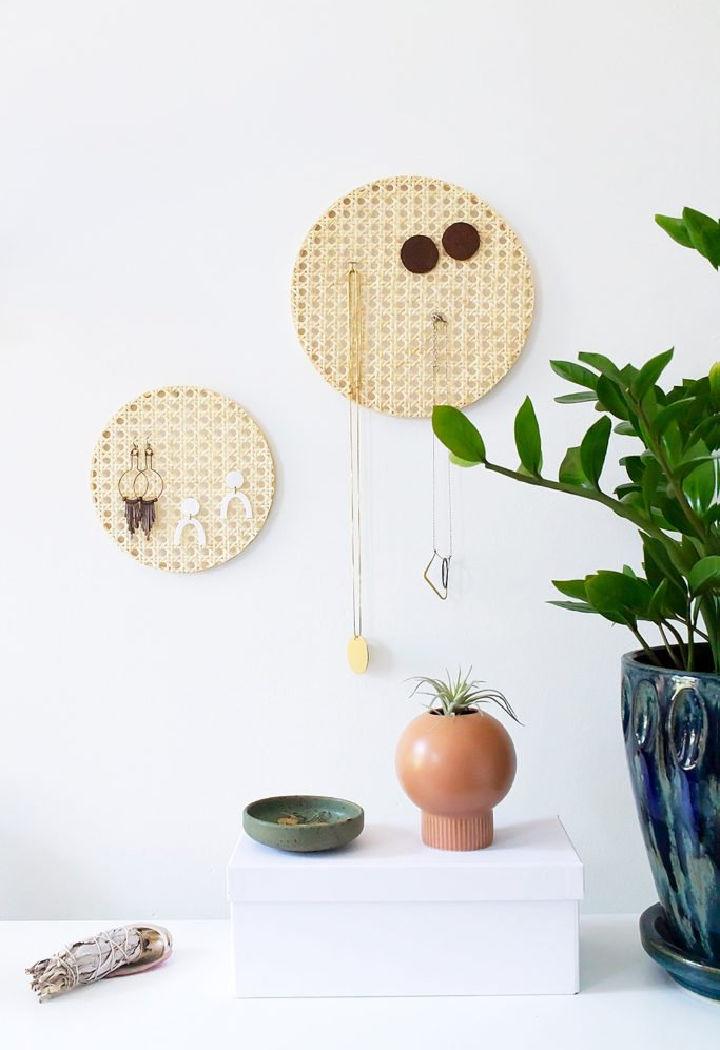
A rattan jewelry organizer brings a touch of organic elegance to your collection. Its natural, lightweight design complements a range of interior styles, offering both beauty and functionality. Perfect for storing a variety of pieces, its open structure makes selecting your daily accessories a breeze.
25. Custom Jewelry Holder From a Wood Plaque

Transform a simple wood plaque into a bespoke jewelry holder that reflects your style. Adding hooks or knobs allows for necklaces and bracelets to be neatly hung, while the wood's warmth adds a rustic charm. This personalized approach means your organizer not only serves a practical role but also doubles as decor.
26. Upcycled Wood Jewelry Organizer

Giving old wood new life as a jewelry organizer is both eco-friendly and stylish. With a bit of creativity, reclaimed wood can be turned into a stunning piece that holds your jewelry in an organized fashion. It's a green solution that adds character and history to your dressing area.
27. Simple Picture Frame Jewelry Holder

Repurpose a picture frame into a chic jewelry holder with just a few adjustments. By replacing the photo with mesh or fabric, earrings and other items can be conveniently hung. The frame offers a customizable backdrop for your jewelry, turning it into an art display that changes daily with your choices.
28. Homemade Clay Jewelry Dish

Making a clay jewelry dish injects a personal touch into your accessory storage. Molding the clay allows for endless possibilities in shape, size, and color, making a one-of-a-kind resting place for your treasures. It's a simple, yet satisfying project that adds a functional piece of art to your space.
29. Industrial Jewelry Holder With Household Items
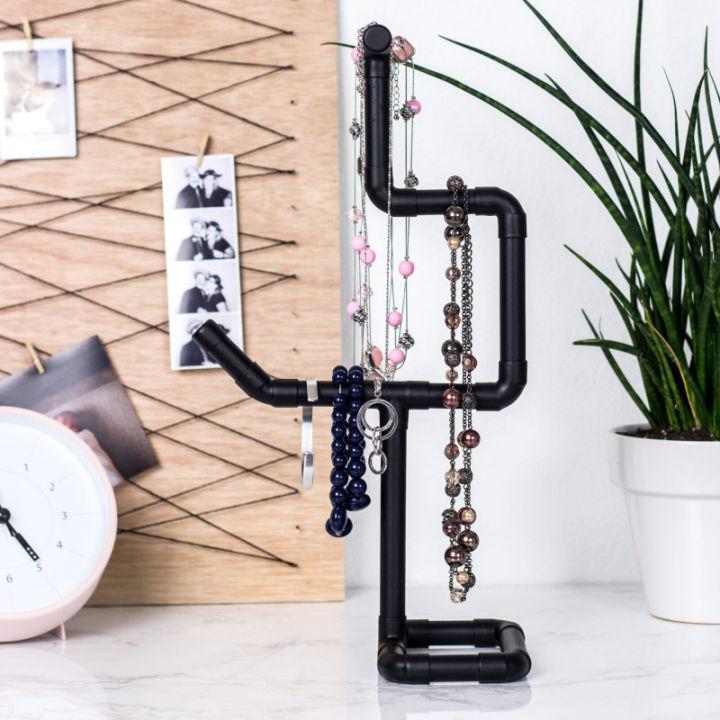
Get inventive and assemble an industrial-style jewelry holder using household items. Materials like pipes and fittings are not only affordable but bring an edgy vibe to your jewelry organization. This approach is all about creativity and repurposing, providing a sturdy and spacious solution for your accessories.
30. Dollar Tree Jewelry Organizer DIY

Budget-friendly and surprisingly chic, crafting a jewelry organizer from Dollar Tree finds is a thrifty way to declutter. With items like candle holders, trays, and decorative pieces, the possibilities are vast. This DIY project allows for personal expression while achieving a functional and stylish way to store your jewelry.
Conclusion:
Wrapping up these 30 easy DIY jewelry holder ideas offers a creative and practical solution for organizing your accessories. From simple designs to more intricate ones, there is a project for everyone to try. By incorporating these ideas into your space, you can keep your jewelry organized and easily accessible. Get crafting and enjoy your beautifully displayed accessories!


