Making a custom-fit pinnable dress form doesn't have to break the bank. With a little bit of patience and some basic sewing skills, you can make your own dress form for just $40. This guide will walk you through the steps of making a durable, custom-fitted dress form that rivals expensive professional forms.
Step by Step Instructions
Finding a Pattern
First, visit a website like Bootstrap Fashion to purchase a customized dress form pattern. You can input your measurements in either centimeters or inches, and decide if you want seam allowances included in your pattern. Choose between a PDF or AutoCAD file for your output, and select the paper size you intend to print the pattern on. After about 20 minutes, you will receive an email with your pattern and detailed instructions.
Preparing the Pattern
- Print the emailed PDF pattern at its actual size.
- Trim the borders of the printed sheets.
- Tape the sheets together along the dashed lines.
- Cut out all the pattern pieces.
Selecting Your Fabric
You will need three types of fabric:
- Outer Fashion Fabric: Choose a medium-weight, woven, non-stretch fabric. Muslin works well for this.
- Interfacing: A layer of fusible interfacing is needed for reinforcement.
- Inner Support Fabric: Opt for rigid and heavyweight fabric, like starched linen.
Assembling Your Dress Form
- Prepare the Fabric: Iron the interfacing onto your outer fabric, then trace and cut out your pattern pieces from both the outer fabric and inner support fabric. Remember to add seam allowance if your pattern didn't include it.
- Sew the Pieces Together: Start by sewing the central and side back pieces together, adjusting your stitch length to about 2mm for durability. Zigzag stitch over significant lines for reinforcement.
- Insert Supports: Cut out extra supports from cardboard for the armholes and base. Assemble your fabric pieces, inserting these supports as necessary.
- Attach the Inner Support: Sew the inner support fabric together to make a sleeve for the tubing and connect this to your dress form to prevent warping during stuffing.
- Final Touches: Add neck and base covers, insert the tube for structure, and prepare for stuffing.
Stuffing Your Dress Form
Depending on your size, you'll need 2.5 to 4.5 kg (5 to 10 lbs) of fiber fill or batting. Start stuffing the dress form, ensuring it remains even and reaches your desired firmness. Check measurements as you go to match your sizing.
Adding the Base
Finally, attach the cardboard base. Use a C clamp on your stand (which can be a converted coat rack or a tripod stand) to make the height adjustable. Glue the pipe sleeve fringes onto the cardboard to keep everything in place.
Making your own custom-fit dress form can be a rewarding and cost-effective project. Not only will it be perfectly sized for you, but it also allows for adjustments that commercial dress forms lack. Plus, at a fraction of the cost.
Video Tutorial
For a step-by-step video tutorial, watch making a custom fit dress form for $40 on You Tube.
It pairs well with this written guide, making the creation process even clearer by providing visual aids alongside these instructions.
Discover 20 Custom DIY Dress Form Patterns to Perfect Your Sewing Projects
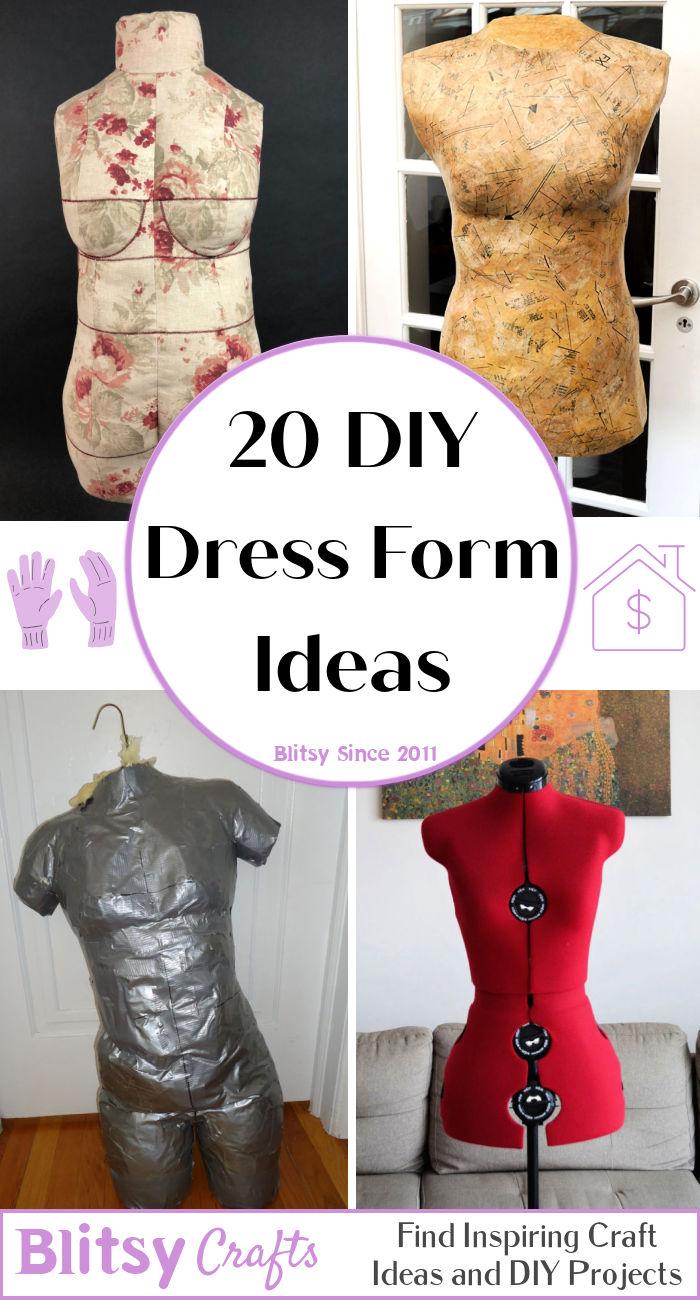
1. Custom DIY Decoupaged Dress Form
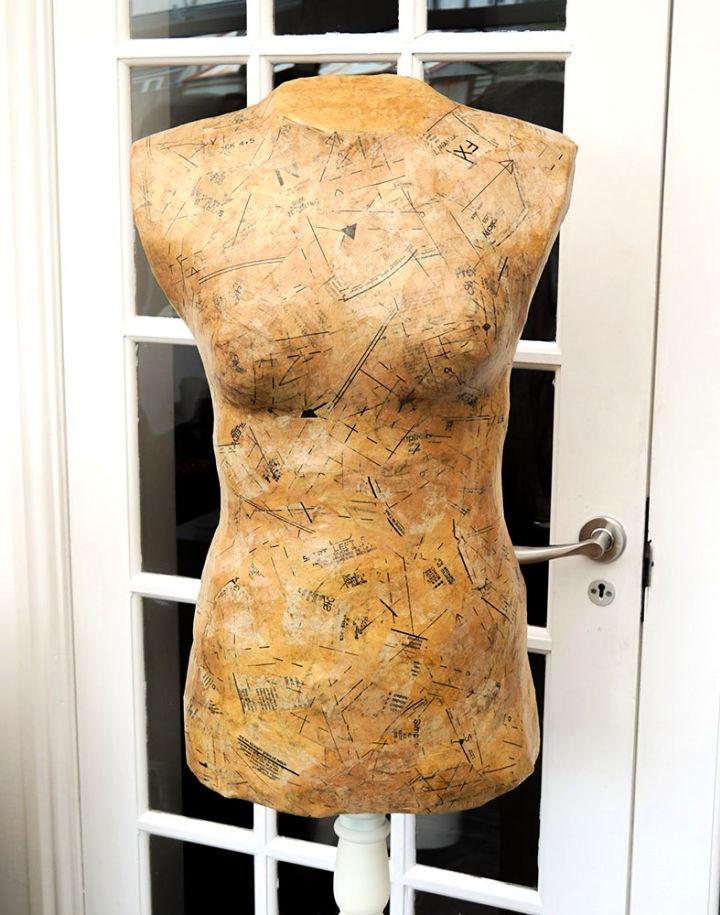
A decoupaged dress form isn't just functional; it's a piece of art. Layering papers or fabrics personalizes your workspace, making sewing projects more inspiring. It's a creative approach to visualizing your designs.
2. How to Make a Dress Form
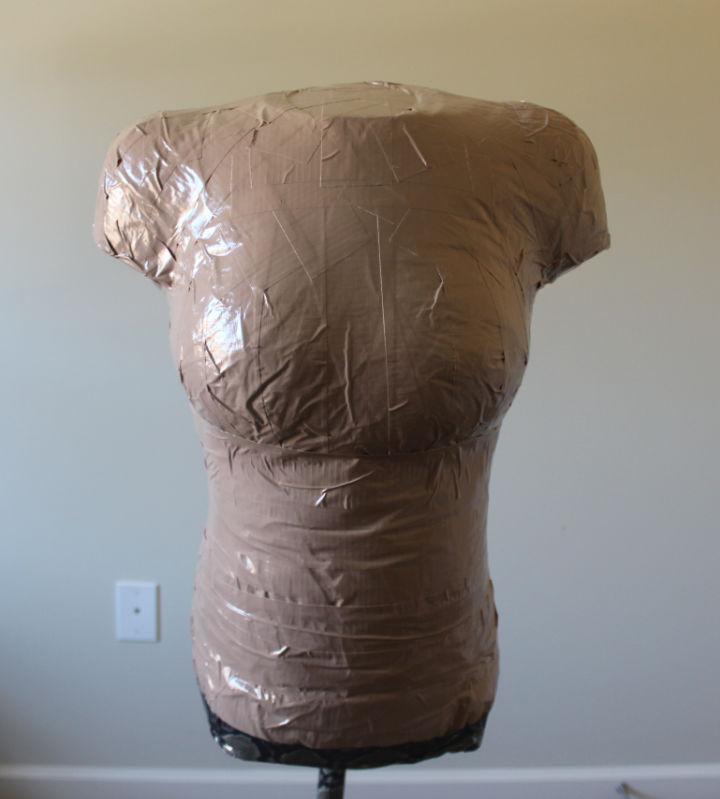
Making your dress form can be a rewarding project. Using basic materials, you can make a form that closely mimics your body shape, making garments more precise and ensuring your creations fit beautifully.
3. Making A Curvy Dress Form
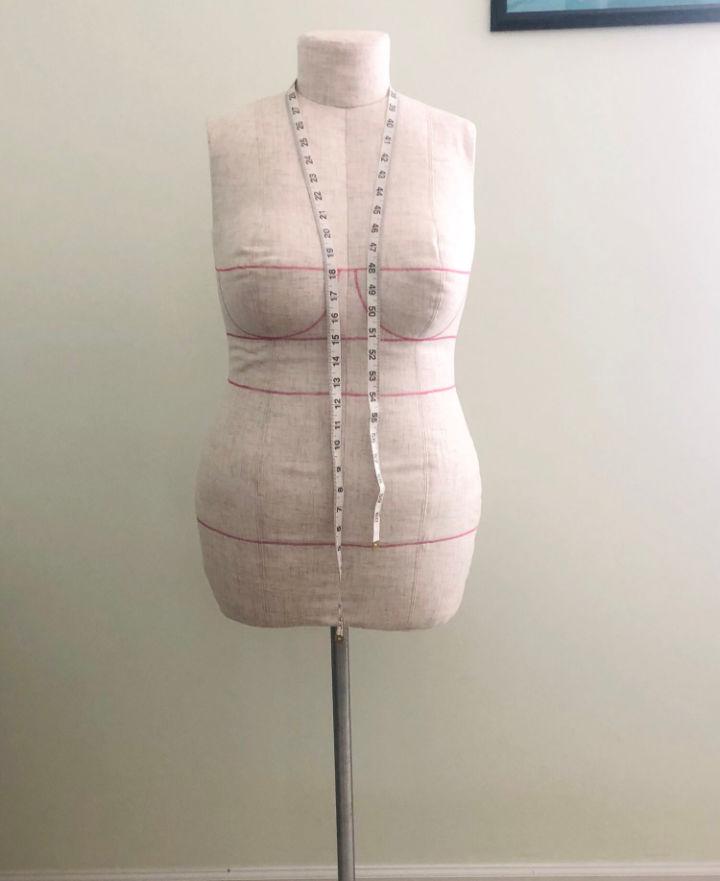
Embracing every curve, a DIY curvy dress form represents diverse body types. With this inclusive approach, designing and altering clothes becomes more accessible and accurate, celebrating body positivity in the sewing community.
4. How to Sew a Dress Form
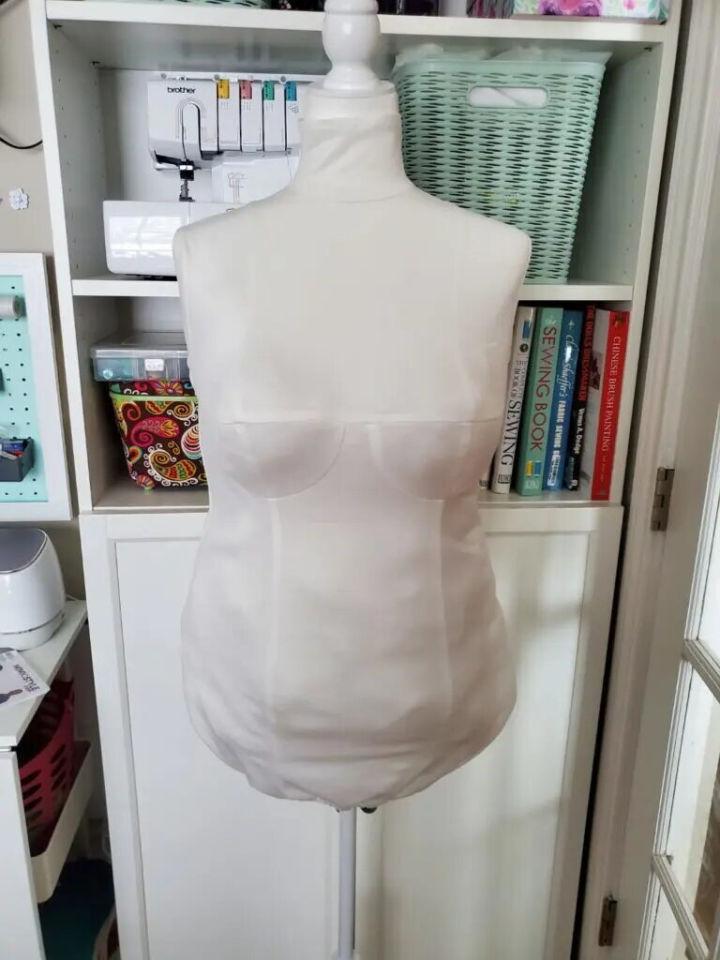
Sewing a dress form from scratch might sound daunting, but it's quite achievable. This process allows for customization in sizes and shapes, providing an invaluable tool for testing patterns and adjustments before the final sewing of fabric.
5. DIY Bootstrap Fashion Dress Form
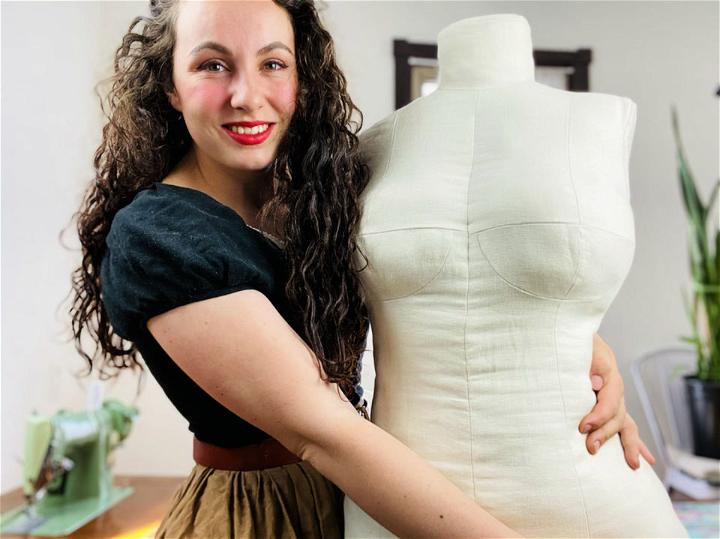
The DIY bootstrap fashion dress form brings precision to home sewing. Following detailed instructions, you can make a form mirroring your measurements, ensuring your garments have a perfect fit from the start.
6. Making Paper Tape Dress Form
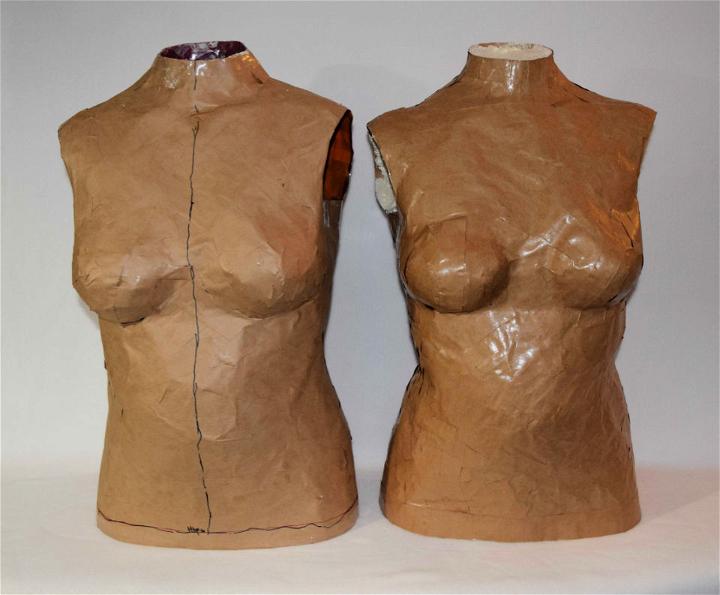
The paper tape dress form method is budget-friendly and surprisingly sturdy. Wrapping yourself in paper tape captures your body's nuances, making a true-to-life model that improves the fitting process for any sewing project.
7. Free Duct Tape Dress Form Pattern
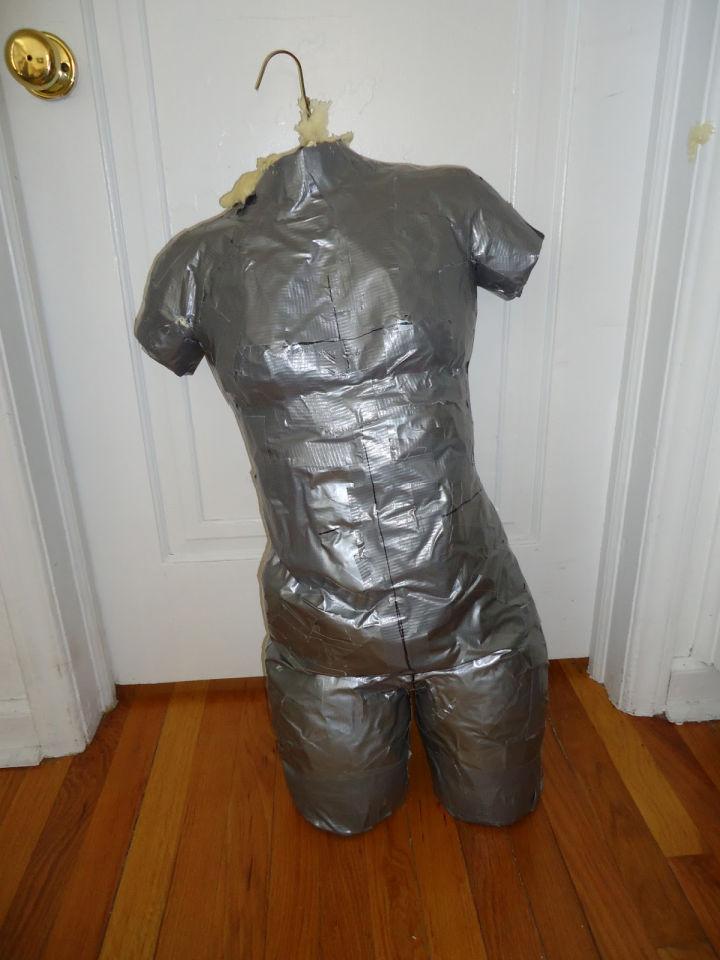
With a free duct tape dress form pattern, you unlock a world of possibility. This cost-effective technique involves wrapping duct tape around the body to capture precise measurements, simplifying custom garment creation significantly.
8. DIY Adjustable Dress Form
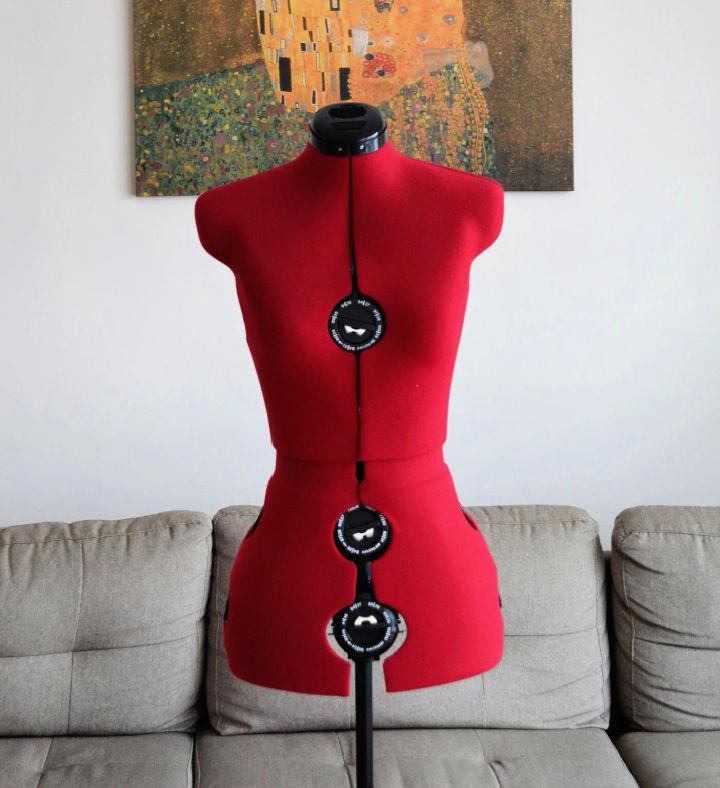
An adjustable dress form DIY project can revolutionize your sewing experience. By incorporating adjustable sections, your form can adapt to various body shapes and sizes, making it perfect for tailoring a wide range of garments.
9. Homemade Dress Form by Bootstrap Fashion
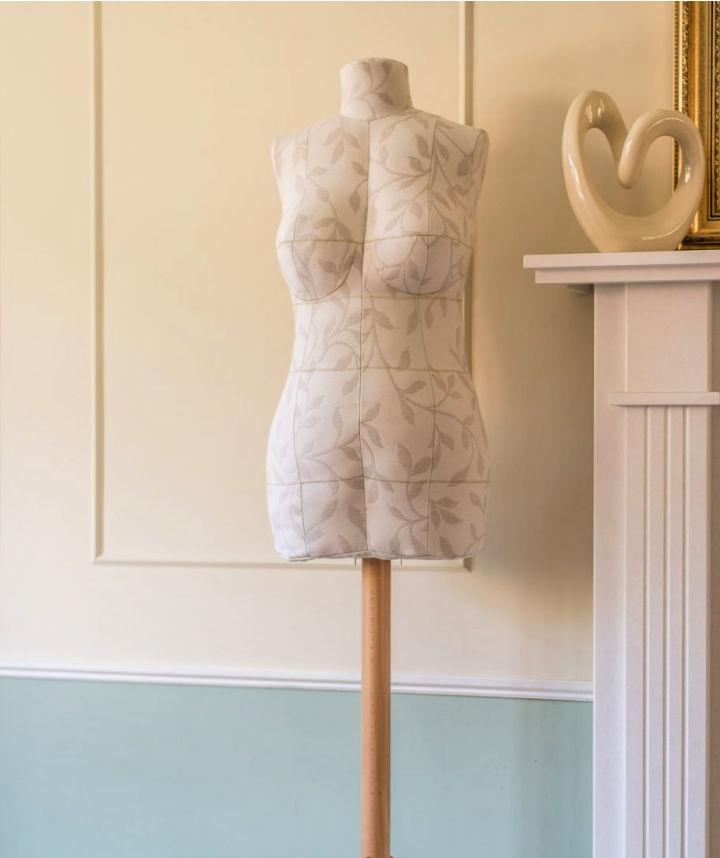
The homemade dress, which is made of bootstrap fashion, allows for precision and customization. Tailored to your specific measurements, it ensures that patterns and adjustments are as accurate as possible, making for a smoother sewing journey.
10. Easy to Make Custom Fit Dress Form
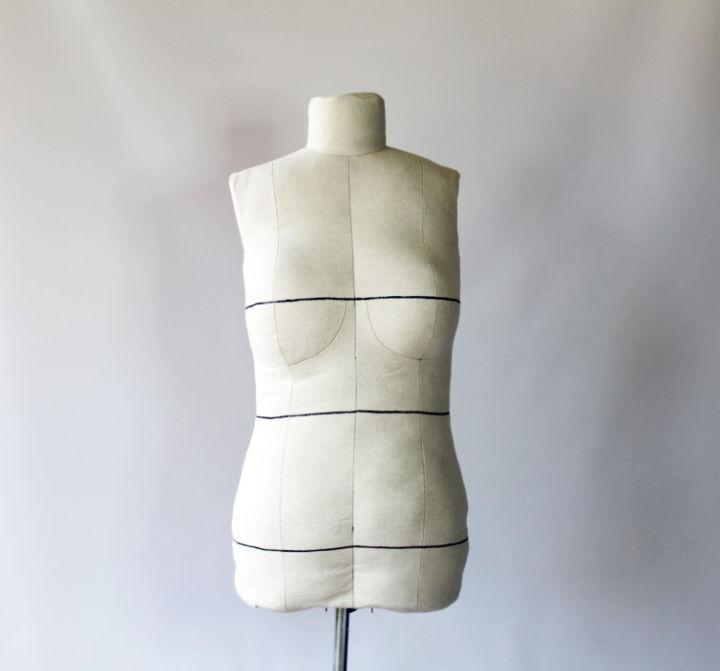
Making a custom-fit dress form might seem complex, but it's quite straightforward. With careful measurements and patience, you can craft a tool that perfectly replicates your body, enhancing your sewing accuracy and confidence.
11. DIY Personal Dress Form
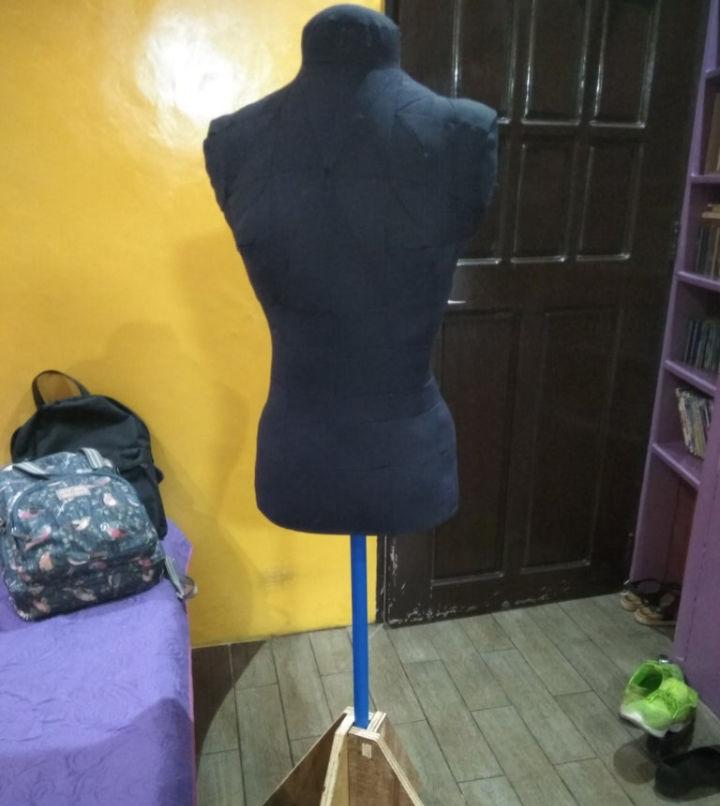
A personal dress form DIY is not just functional; it's a reflection of your uniqueness. Taking the time to make a form tailored to your body makes sewing not just about the clothes but about celebrating your individuality.
12. DIY Dress Form for Under $10
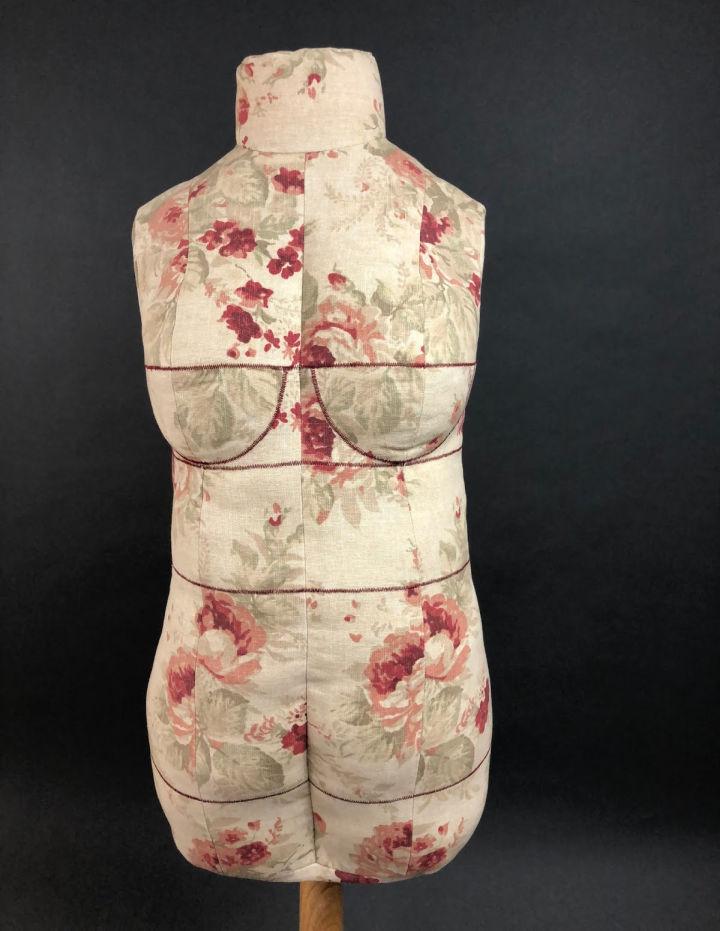
Believe it or not, making a dress form for under $10 is possible. Utilizing inexpensive materials and a bit of ingenuity, you can make a practical tool that makes tailored sewing accessible to everyone.
13. Custom Mannequin From Scratch
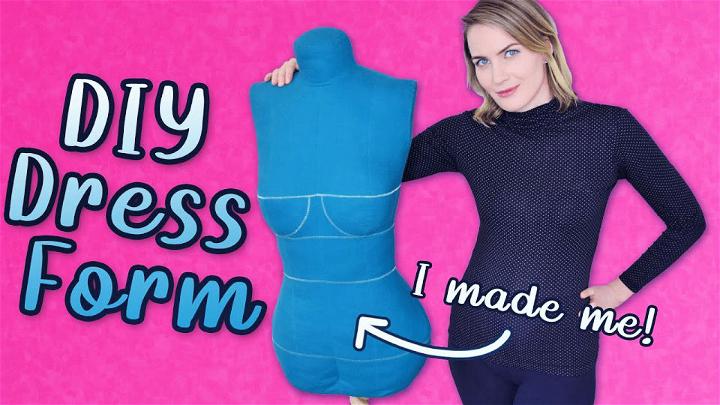
Starting from scratch, a custom mannequin becomes more than just a tool; it's a canvas. This method allows for complete control over dimensions and features, resulting in a perfectly tailored aide for any fashion project.
14. Make Your Own Dress Form
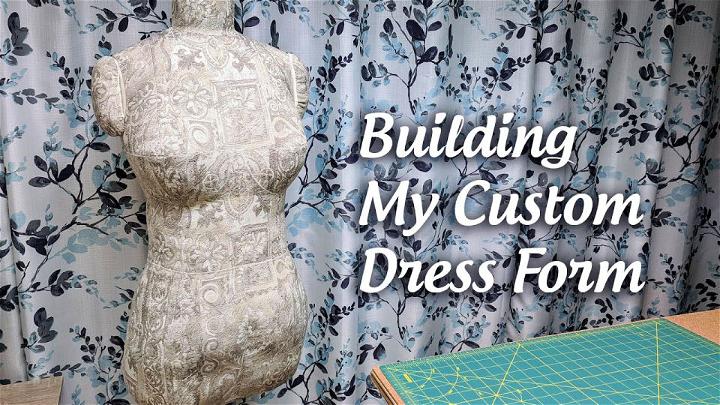
Embarking on making your own dress form is a journey towards perfect-fit garments. With techniques ranging from duct tape wraps to professional methods, there's a DIY solution to suit every seamstress's skill level and needs.
15. Plus Size Dress Form Pattern
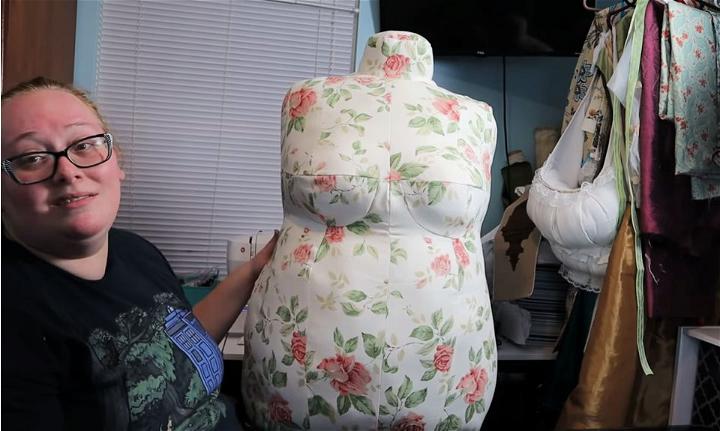
A plus-size dress form pattern recognizes the beauty in every size. Crafting a dress form in plus sizes allows for a more inclusive approach to design, ensuring everyone has the opportunity to make garments that fit well and look great.
16. Dress Form Using Wood Board and Pipes
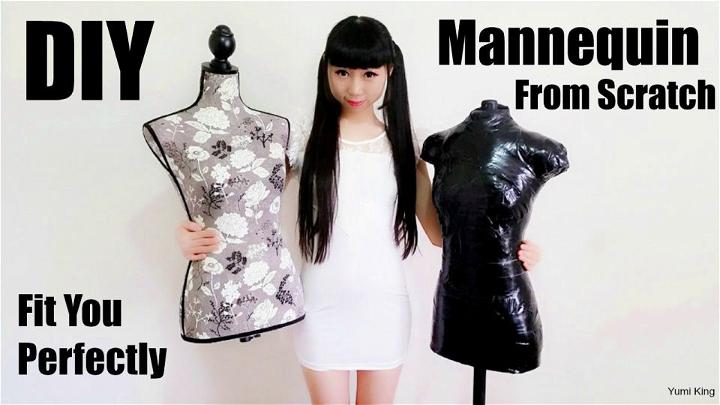
Using wood boards and pipes to make a dress form is a testament to creativity and resourcefulness. This sturdy, durable foundation offers a blank slate for custom padding, ensuring that sewing projects start on the right note.
17. DIY Body Shape Form Using Duct Tape and Fabric
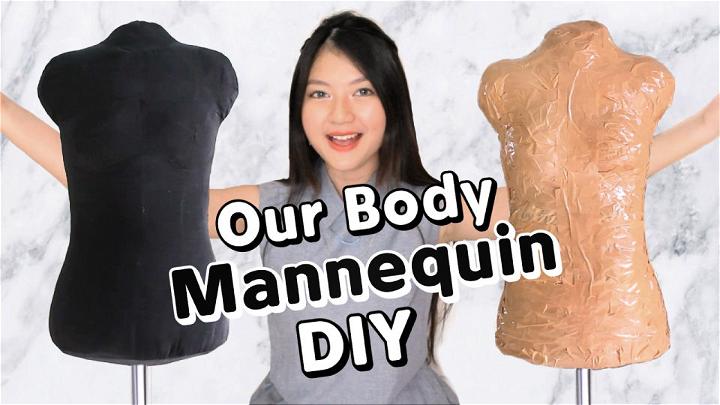
Combining duct tape with fabric makes a surprisingly effective DIY body shape form. This method captures your exact dimensions, offering a budget-friendly solution to personalized garment fittings and design explorations. youtube
18. Dollar Tree Wire Dress Form
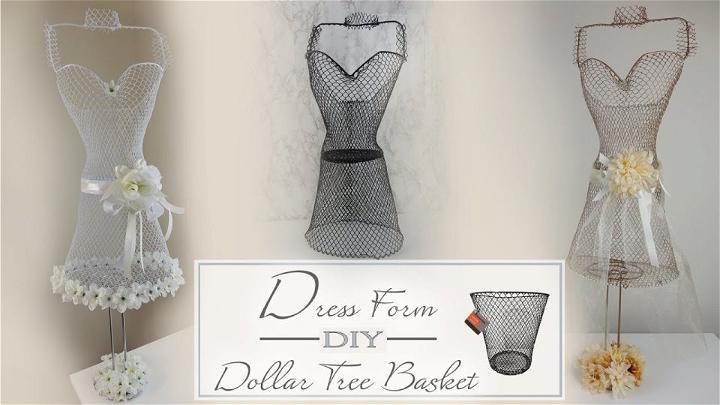
The Dollar Tree wire dress form is a fantastic find for budget-conscious enthusiasts. While more decorative than functional, it serves as a beautiful display for jewelry or lightweight garments, adding a chic touch to any room.
19. DIY Dress Form & Return of the CLONE!
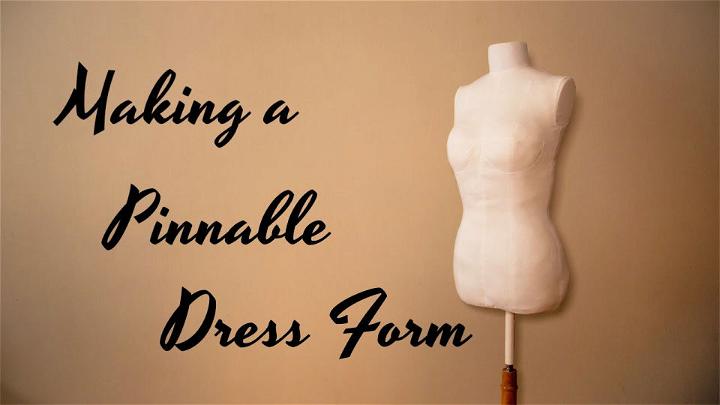
The DIY dress form & return of the clone project emphasize the value of having a twin in your sewing space. Replicating your body allows for unparalleled precision in garment making, turning every creation into a masterpiece. youtube
20. Duct Tape Dress Form for Under $20
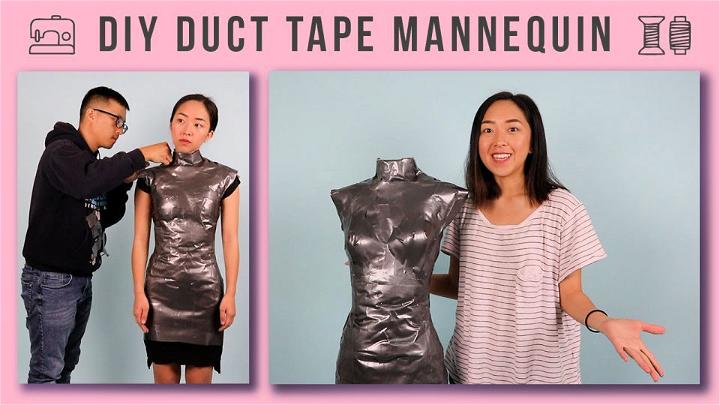
Making a duct tape dress form for under $20 is not only economical; it's surprisingly effective. This approach provides a true-to-life model for fittings, ensuring accuracy in measurements and a better understanding of how garments fit your unique shape.
Conclusion:
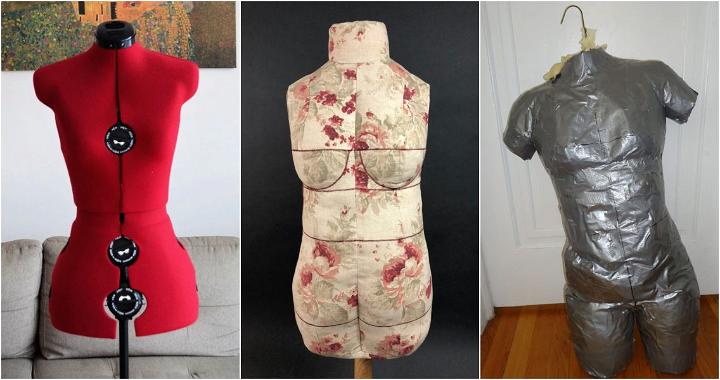
In conclusion, making a DIY custom dress form can revolutionize the way you approach garment making. By tailoring a dress form to your unique measurements, you'll achieve a perfect fit every time. Say goodbye to endless adjustments and hello to effortless sewing. Start this exciting project today and elevate your creations to a whole new level of precision and professionalism.

