Making your own plantation shutters can add a personalized and elegant touch to your home without breaking the bank. Follow this helpful and easy-to-understand guide to DIY your own shutters for less than £50. This project requires patience and precision, but the result is incredibly rewarding. Here's how you can start your DIY journey.
Materials and Tools Needed
- Wood (20 millimeters thick)
- Nails (100 millimeters long)
- Screw Eyes
- Two-inch wooden rods (for pivot pins)
- Tilt Rods
- Deluxe quick drying satin wood paint (750 milliliters, pure brilliant white)
- Sandpaper
- Craft knife
- Paintbrush
- Drill and drill bits
- Flat end screws
- Hinges
- Wall plugs (for extra support)
Step by Step Instructions
Step 1: Measuring and Cutting Wood
Measure the length and width of your window carefully. Remember to account for the wood's width, as it will affect your measurements. Once measured, you can have the wood cut to size. Aim for wood approximately 20 millimeters thick for optimal durability.
Step 2: Frame Assembly
Lay out the wood pieces for the frame, marking where you'll join them with screws. Drill holes and securely attach the pieces together, ensuring they fit your window precisely.
Step 3: Making the Louvers
Use cladding cut to size as a substitute for traditional louvers. Ensure they are the same length as the short sides of your frames. Drill center holes for the pivot pins, ensuring not to drill through the wood.
Step 4: Attaching the Louvers to the Frame
Place your louvers along the frame, marking where the pivot pins will go. Drill holes along the frame to insert the pivot pins, ensuring louvers can rotate without obstruction.
Step 5: The Clearance Slot
Draw and carve out a square on the top frame for the clearance slot, slightly wider than your tilt rods. This helps block out more light when closed.
Step 6: Tilting Mechanism
Mark the center of all louvers for the tilt rod. Attach screw eyes at these points on the louvers, which will later connect to the tilt rods, allowing you to open and close the louvers in unison.
Step 7: Painting
Apply two coats of pure brilliant white satin wood paint, sanding between coats for a smoother finish. Dilute the paint with 5-10% water for easier application.
Step 8: Assembly
After the paint dries, assemble the shutters, paying special attention to the tension louvers, which help the shutters stay open at any position. Drill holes through the frame for these louvers and attach them differently with flat end screws for tension.
Step 9: Fixing the Tilt Rod
Mark and fix screw eyes on the tilt rod corresponding to the louver's screw eyes. Link them by opening and closing the screw eyes with pliers, ensuring they're secure.
Step 10: Attaching Hinges and Installation
Mark and attach the hinges to the shutters and the window bay walls. Use long, multi-purpose screws for drilling into the wall, and don't forget to use wall plugs for extra support.
Video Tutorial
For a step-by-step video tutorial on making plantation shutters from scratch, watch this helpful YouTube video.
It pairs well with this written guide, offering a visual complement to the instructions provided, and assists in making each step clearer and more approachable for DIY enthusiasts.
Discover 30 DIY Shutter Ideas for Your Home

1. Functional Shutters with Window Box

Combining functional shutters with a window box boosts your home's curb appeal. It's not just about looks; it also provides practical light control and a charming space for plants to thrive right at your window.
2. Build Your Own Shutters
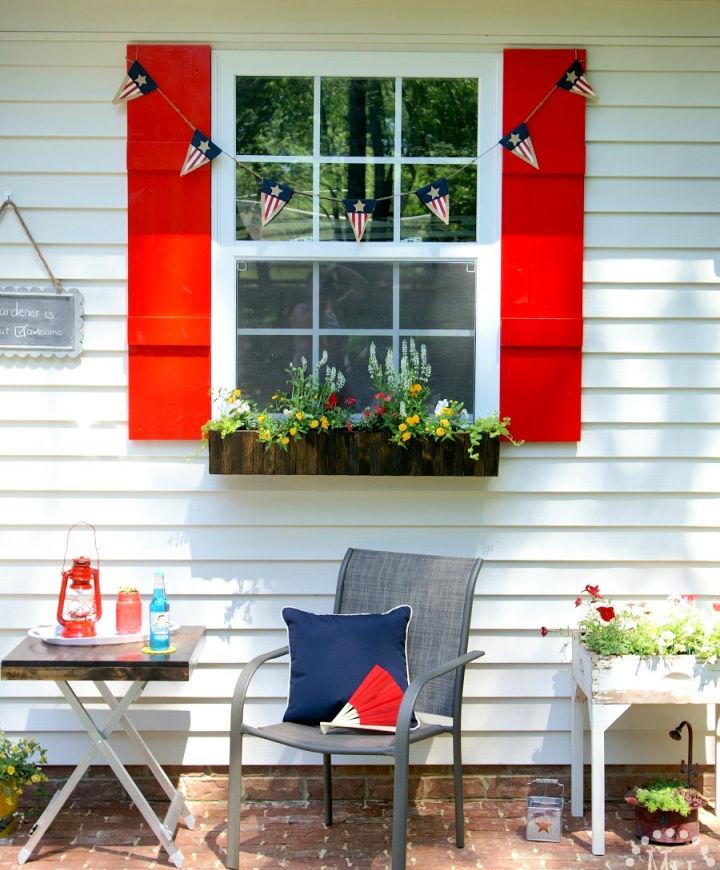
Building your own shutters can be a fulfilling project. It lets you tailor the design to your home's aesthetic, bringing a personal touch to the exterior that reflects your style and craftsmanship.
3. DIY Exterior Shutters

Diving into DIY exterior shutters gives your home an instant facelift. This project is a great way to control sunlight and ensure privacy while introducing a custom design element that stands out in your neighborhood.
4. DIY Window Shutters

Making DIY window shutters introduces both charm and functionality to your home. This project allows for creative freedom, ensuring your windows not only look fantastic but also provide the perfect shade and privacy as needed.
5. How to Build Board and Batten Shutters

Learning how to build board and batten shutters is a straightforward process. This design adds a rustic, yet sophisticated touch to your dwelling, combining timeless style with effective sun protection and privacy.
6. DIY Wood Shutters Under $40

Making DIY wood shutters for under $40 proves that upgrading your home's exterior doesn't have to break the bank. It's an affordable way to add elegance and character, all while keeping costs low and satisfaction high.
7. How to Make Shutters
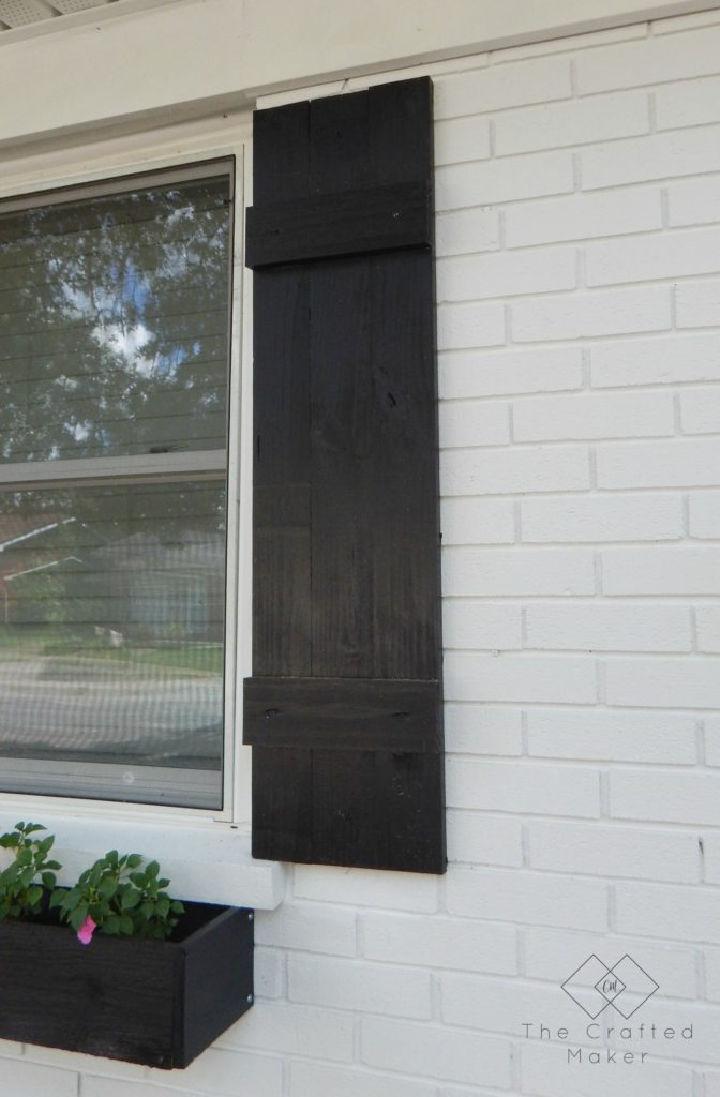
Discovering how to make shutters can be a rewarding DIY task. It's a fantastic way to infuse your home with a bit of personality and charm, ensuring your windows are outfitted with unique, eye-catching details.
8. Easy Window Box and Shutters
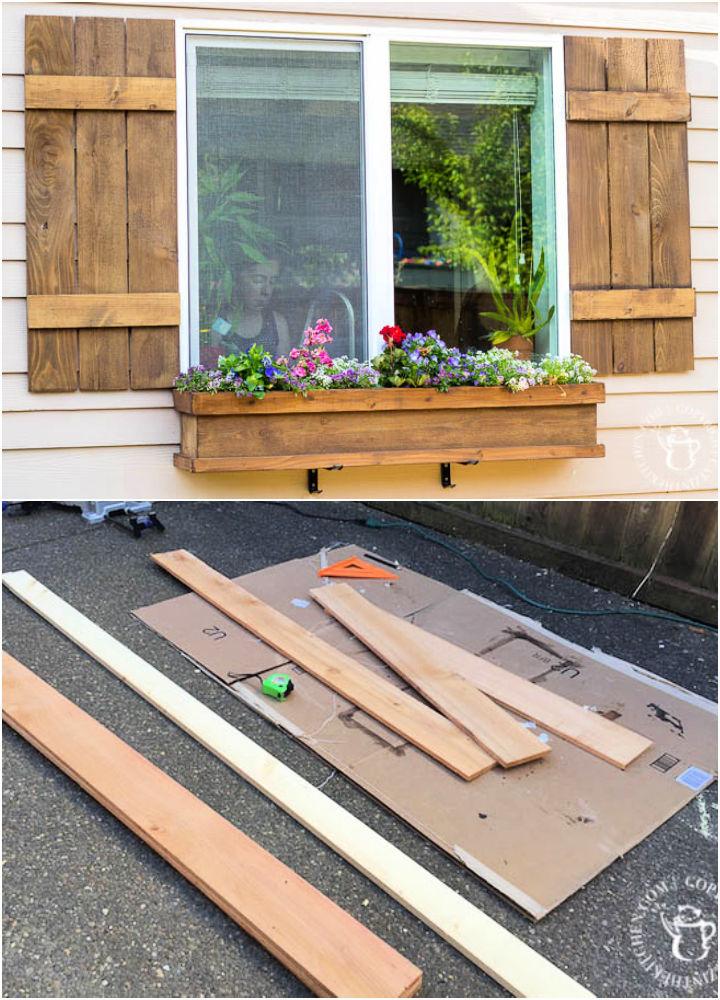
An easy window box and shutters project is a dual delight, enhancing your home's exterior with vibrant flowers and adjustable sunlight. It's a simple yet impactful way to add color and character to your façade.
9. Amazing Wood Shutter
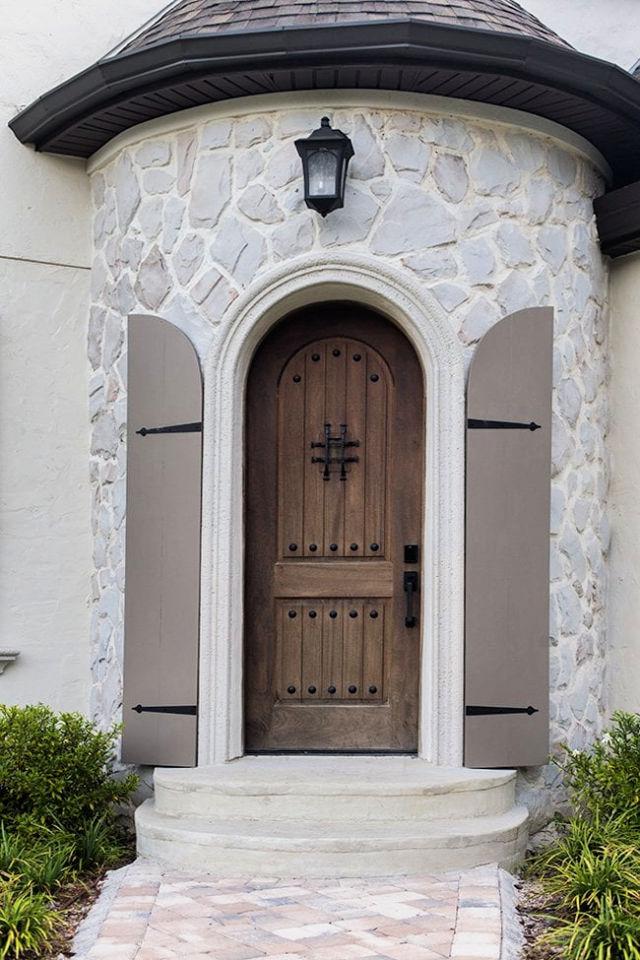
Making an amazing wood shutter can transform any window from ordinary to outstanding. This natural material adds warmth and elegance, making a focal point that's both functional and visually appealing.
10. Make Your Own Shutters
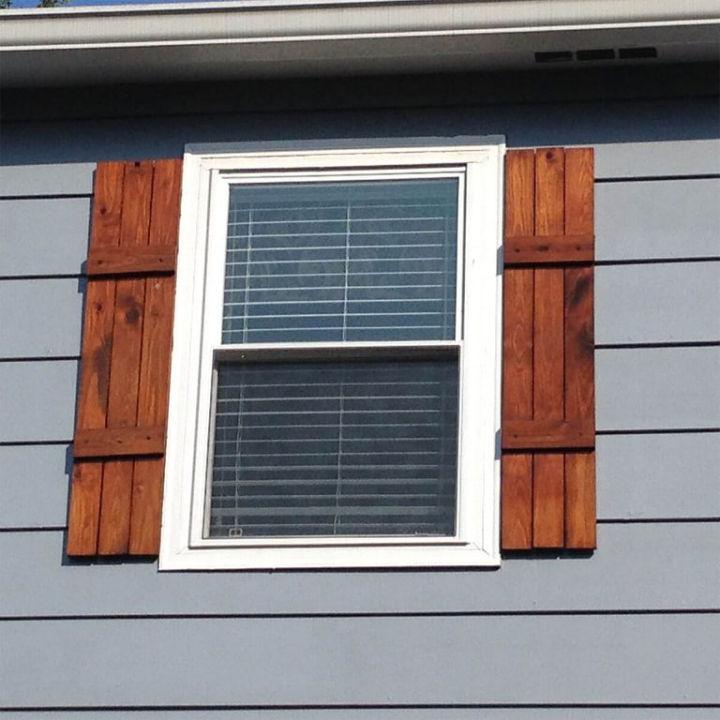
Making your own shutters offers a genuine sense of accomplishment. It's a creative journey that allows you to design something truly unique for your home, blending functionality with personal style.
11. Homemade Window Shutters Out of Wood
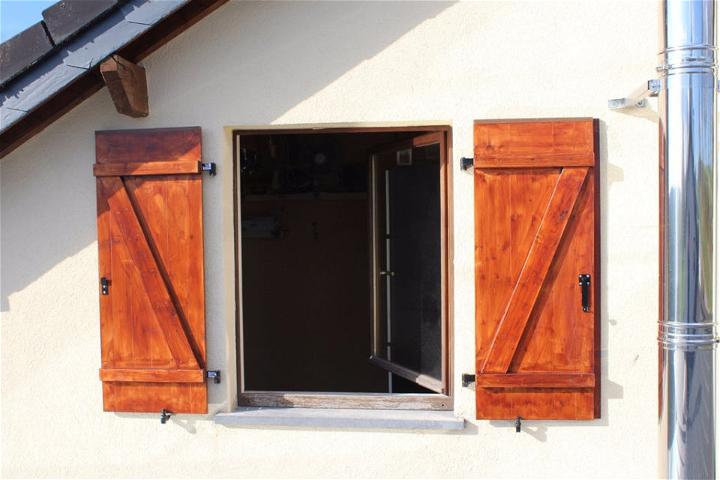
Homemade window shutters out of wood bring a touch of craftsmanship to your domicile. This DIY project can elevate your home's aesthetic while providing a practical solution for light control and privacy.
12. DIY Shutters for Chicken Coop

DIY shutters for a chicken coop can add a whimsical yet functional touch to your backyard setup. It's a creative way to ensure your feathered friends have the right amount of light and air, all while looking stylish.
13. Barn Wood Shutters Plan
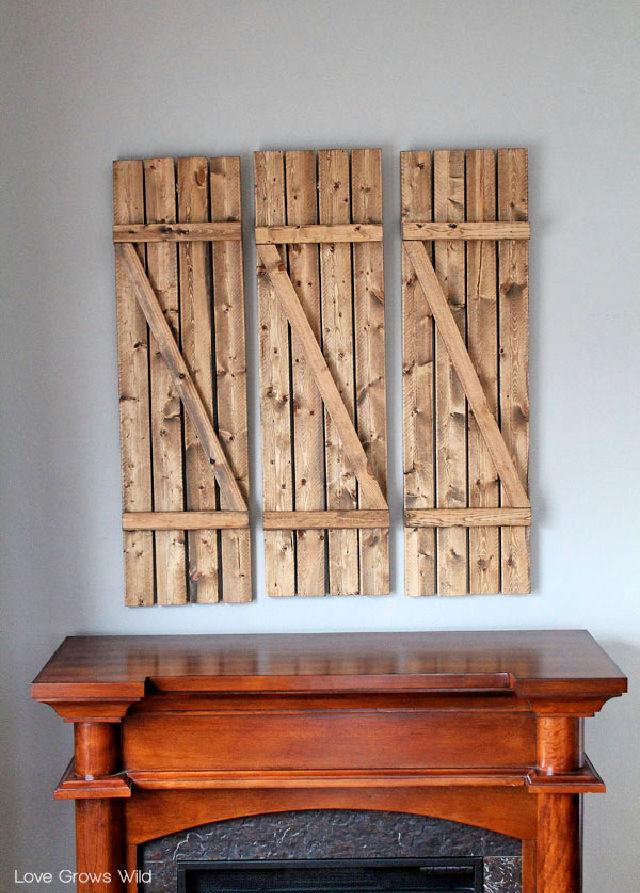
Following a barn wood shutter plan can breathe new life into reclaimed wood, offering a rustic charm that complements any home. It's an eco-friendly project with a nostalgic nod to simpler times.
14. Build an Indoor Window Shutters

Building indoor window shutters is a great way to add elegance and privacy to any room. This project allows you to customize your interior space uniquely, adding a cozy, personalized feel.
15. Customizable Wood Shutters for the Kitchen
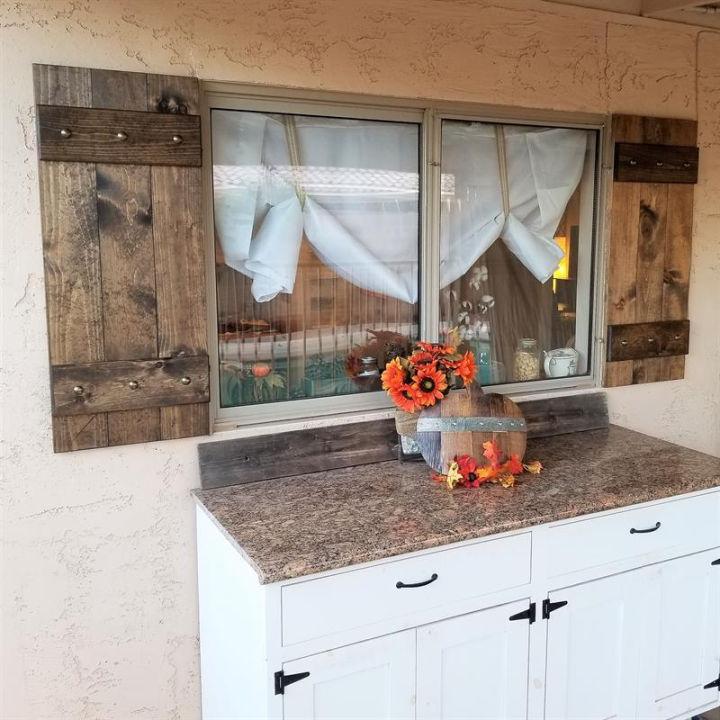
Customizable wood shutters for the kitchen can transform the space entirely. They offer a practical way to control sunlight and add a bespoke touch to your cooking area, making it feel truly your own.
16. DIY Bahama Shutters
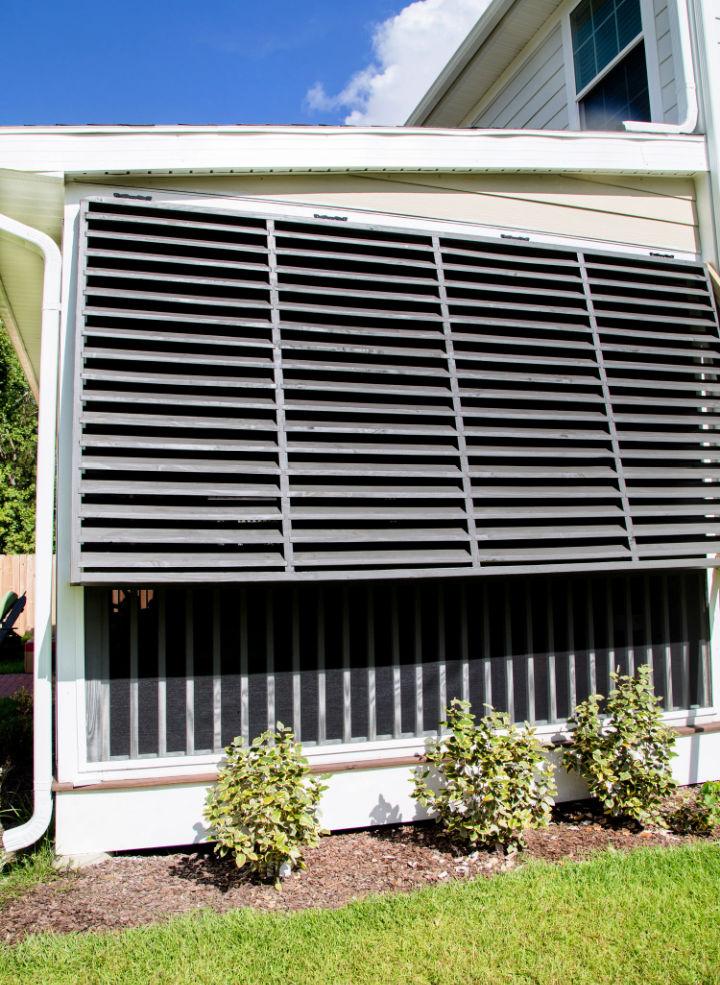
DIY Bahama shutters are a refreshing touch for those seeking both shade and style. Their hinged top design allows for easy adjustment, providing breezy comfort while offering a shield against glaring sunrays. Ideal for adding a tropical flair to your abode.
17. Rustic Wood Farmhouse Shutters
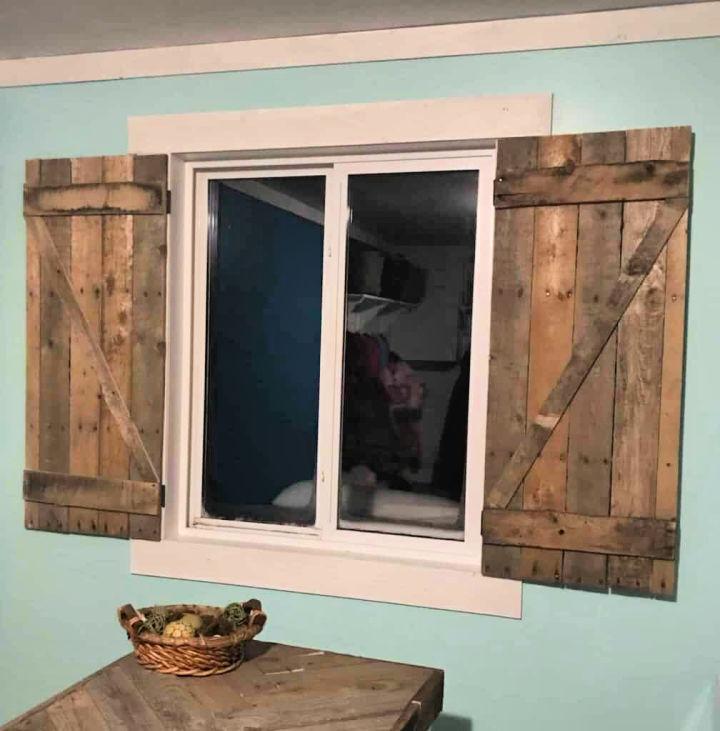
Rustic wood farmhouse shutters bring an element of warmth and charm to any home. Crafted from aged or distressed wood, these shutters evoke a sense of nostalgia while enhancing your windows' aesthetic appeal. They're perfect for adding a cozy farmhouse vibe.
18. Quick and Cheap DIY Interior Shutters

Quick and cheap DIY interior shutters offer a smart and economical way to add privacy and style to your rooms. With simple materials and a bit of creativity, you can fashion shutters that reflect your personal taste without breaking the bank.
19. Farmhouse Style X Shaped Shutters
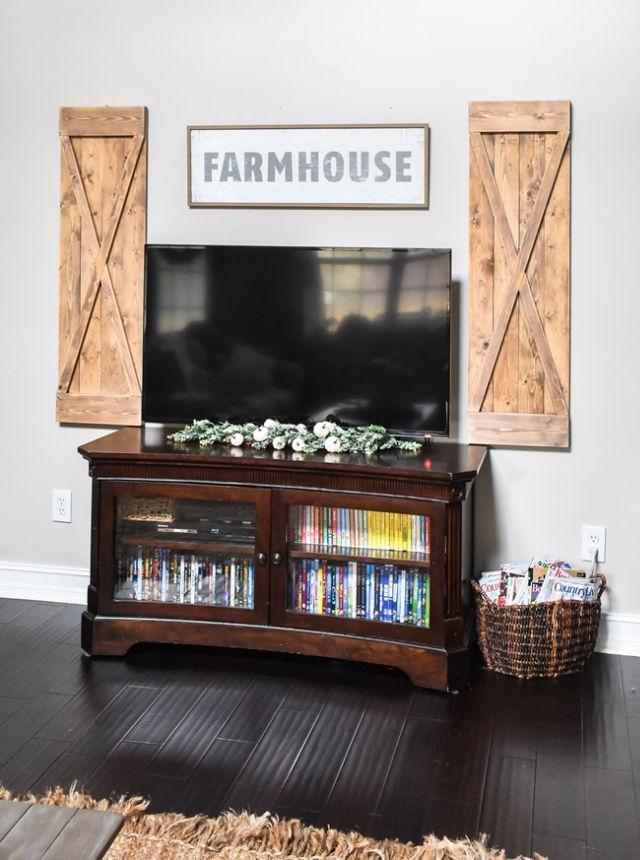
Farmhouse-style x-shaped shutters are distinguished by their x-shaped design, blending functionality with decorative appeal. This style is particularly suited to those wishing to infuse a rustic yet refined look into their home's exterior.
20. Pretty DIY Exterior Shutters

Pretty DIY exterior shutters can transform the look of your home with a splash of color and design. Whether you opt for a vibrant hue or a subtle shade, these shutters add curb appeal and character to any facade.
21. Easy to Build Cedar Shutters

Easy to build cedar shutters are the go-to for a natural, enduring look. Cedar's resistance to rot and pests makes these shutters not just visually pleasing but also a practical choice for enhancing your home's windows.
22. DIY Outdoor House Shutters
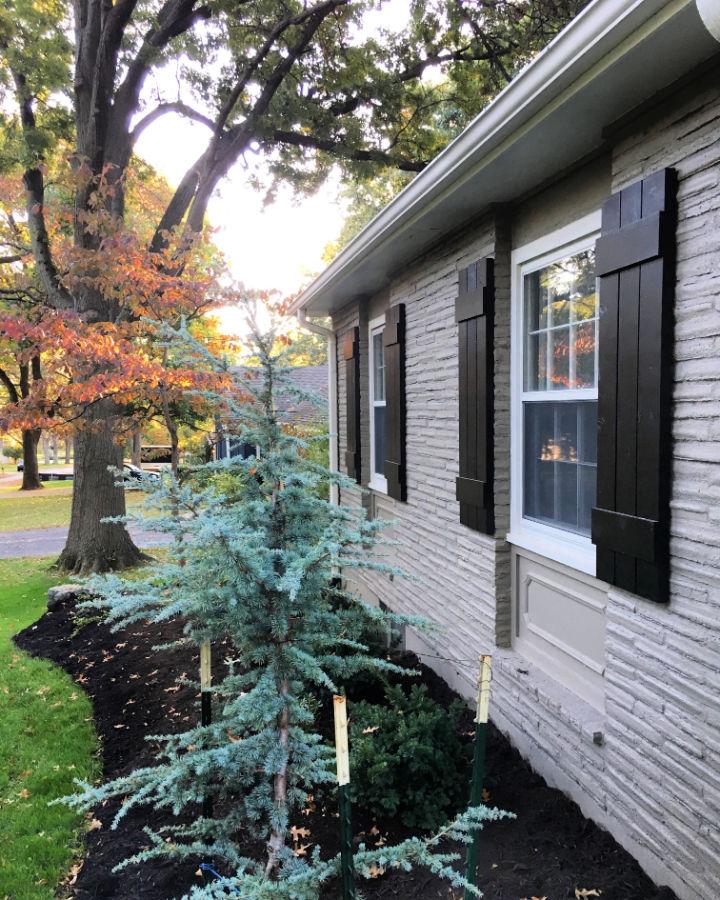
DIY outdoor house shutters bring together the best of craftsmanship and personalization. With a choice of materials and paints, these shutters allow you to match them perfectly with your home's architecture and color scheme.
23. DIY Shutters Using Scrap Wood
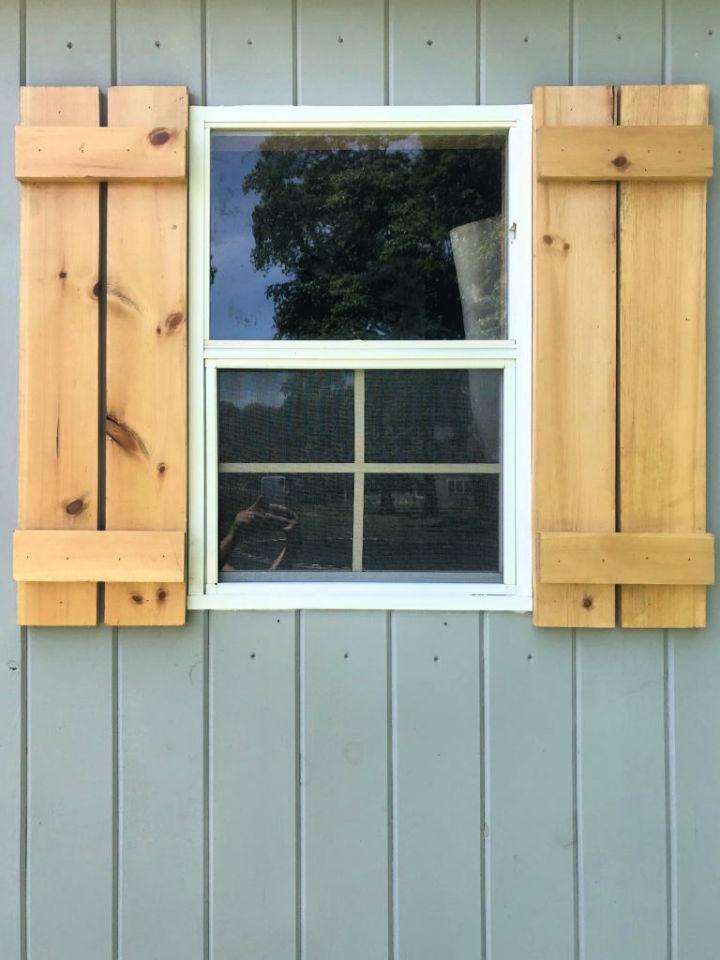
DIY shutters using scrap wood are a fantastic way to repurpose leftover materials. This approach not only gives your windows a unique touch but also contributes to sustainability by reducing waste. Perfect for the eco-conscious homeowner.
24. Cafe Plantation Shutters for Under $45
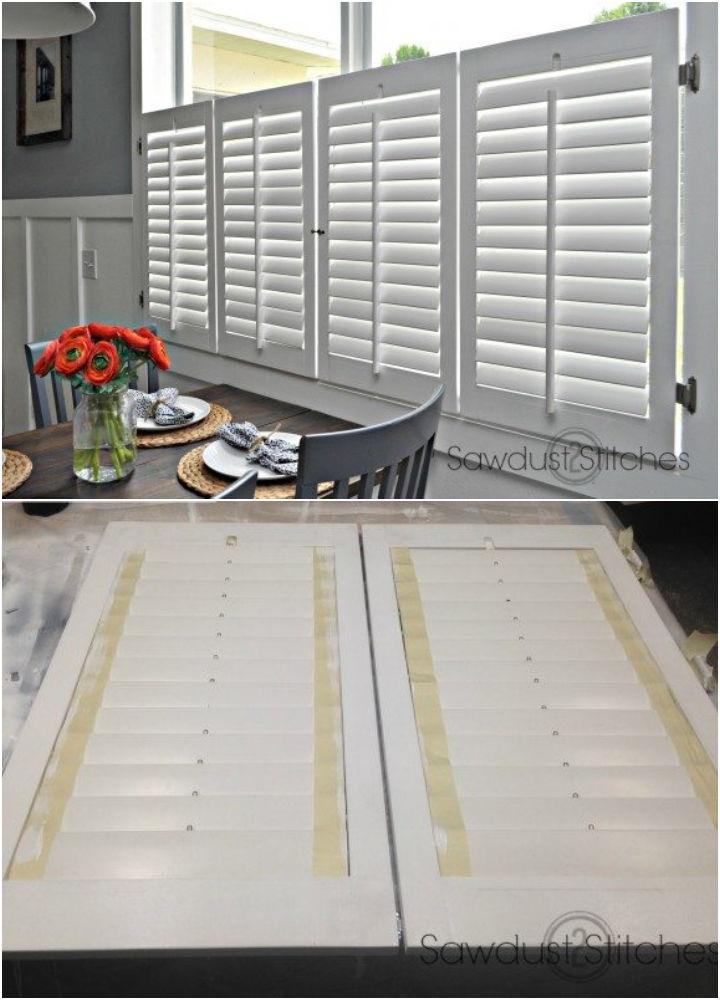
Cafe plantation shutters for under $45 show that style doesn't have to come with a high price tag. These half-window shutters offer privacy without sacrificing natural light, making them a clever choice for kitchens and living areas.
25. Properly Installed Storm Shutters

Properly installed storm shutters are essential for protecting your home against extreme weather. Robust and reliable, they're designed to withstand high winds and flying debris, offering you peace of mind during stormy seasons.
26. Install Hurricane Roll Down Shutters
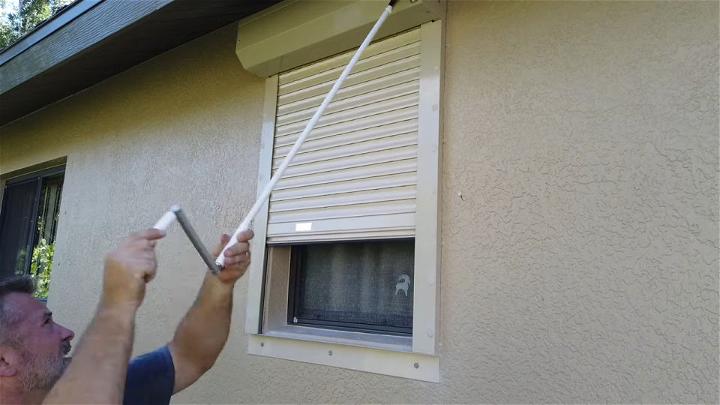
Install hurricane roll-down shutters for a high-tech approach to safeguarding your property. Easy to deploy, these shutters provide sturdy protection against hurricanes, making them an invaluable investment for residents in storm-prone areas.
27. Building Wooden Batten Shutters
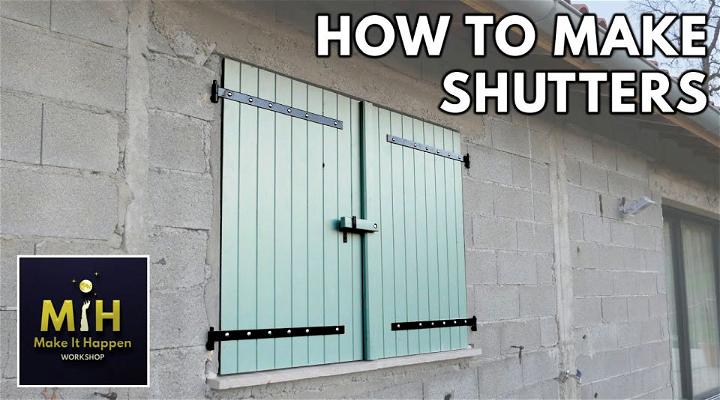
Building wooden batten shutters adds a touch of handcrafted beauty to your windows. This style features horizontal slats held together by vertical battens, making a sturdy structure with a rustic appeal. It is great for those who appreciate traditional craftsmanship.
28. DIY Shutters with Decking Boards
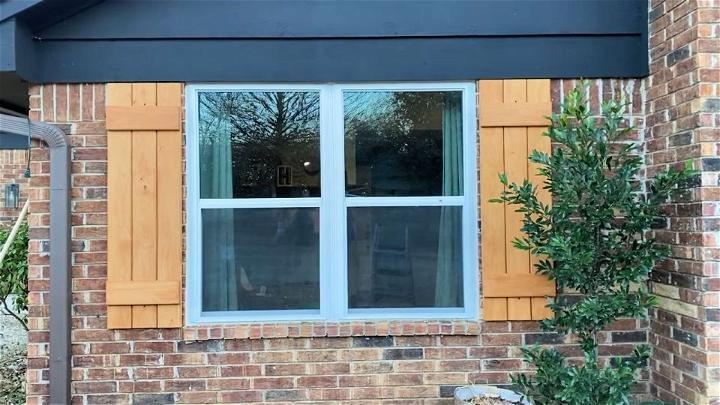
DIY shutters with decking boards are an innovative way to achieve a robust and weather-resistant exterior. Decking boards, typically designed to endure outdoor conditions, make for durable shutters to withstand the elements.
29. Inexpensive DIY Hurricane Shutters

Inexpensive DIY hurricane shutters demonstrate that you can effectively protect your home against storms without spending a fortune. With some basic materials and a DIY spirit, you can build barriers against high winds and flying debris.
30. DIY Natural Wood Shutters

DIY natural wood shutters celebrate the beauty of untreated wood. This approach emphasizes simplicity and the organic texture of wood, offering a minimalist aesthetic that complements both modern and traditional homes alike.
Conclusion:

Wrapping up, this DIY shutters guide offers practical tips and creative ideas to enhance your home decor. With step-by-step instructions and customizable designs, you can easily personalize your space without breaking the bank. Whether you want to add a rustic touch or a modern flair, DIY shutters are a versatile and budget-friendly option for any homeowner.
