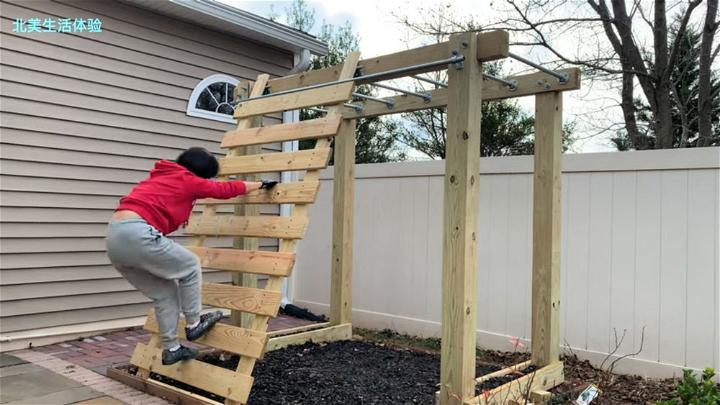
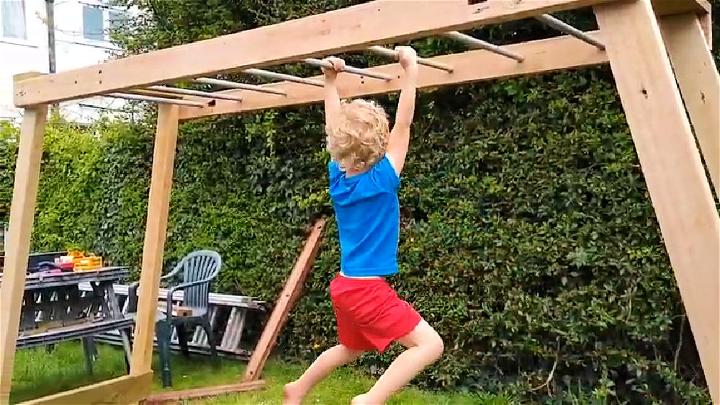
When my children outgrew their sandpit—which had transformed into a vegetable patch—I decided it was time for a new adventure. That's when the idea of constructing monkey bars in our backyard came to life. I'm not a professional builder or engineer, but I do enjoy DIY projects and solving problems creatively. In this article, I'll guide you through the step-by-step process of how I created a set of durable monkey bars, from gathering materials to the finishing touches.
Gathering Materials
Necessary Items:
- 20 mm Stainless Steel Bars: I was lucky to find these as scrap from an old conveyor. However, you can use any 20 mm steel bar. Stainless steel offers longevity and requires less maintenance.
- 25 mm MDPE Piping: This was left over from a previous job. It provides a safe grip for the bars and also eliminates the need for painting.
- Tanalized Gate Posts: These 175 mm square and 2.75 meters in length gate posts serve as the main structure for the monkey bars. Their durability ensures the structure can handle wear and tear.
- Wood Glue & Screws: To assemble the components securely.
Why These Materials?
I chose materials based on availability, durability, and safety. Using stainless steel bars covered with MDPE piping ensures that the monkey bars will last many years and be safe for kids to swing on without worrying about injuring their hands. The tanalized gate posts were selected for their robustness and resistance to rot, making them perfect for outdoor structures.
Step 1: Preparing the Bars
I started by cutting the stainless steel bars to approximately 900 millimeters in length—enough for a good swing but not too wide to make it challenging for kids. Each end was slightly chamfered using a grinder for a smoother edge to slip the MDPE piping over. Pushing the piping onto the steel bars required a little elbow grease and a mallet but was straightforward. To ensure a clean look, I removed any writing on the piping with methylated spirits.
Step 2: Drilling the Structure
Using a piece of scrap timber, I created a template for drilling. It was crucial that the holes for the bars were aligned perfectly to ensure the structure's stability. I marked where each bar would go, making sure the distances were even (300 mm apart), and began drilling. Flipping the template with every new hole ensured the alignment was consistent on both pieces of timber. The holes were drilled about 120 mm deep to allow enough room for the bars without being too tight.
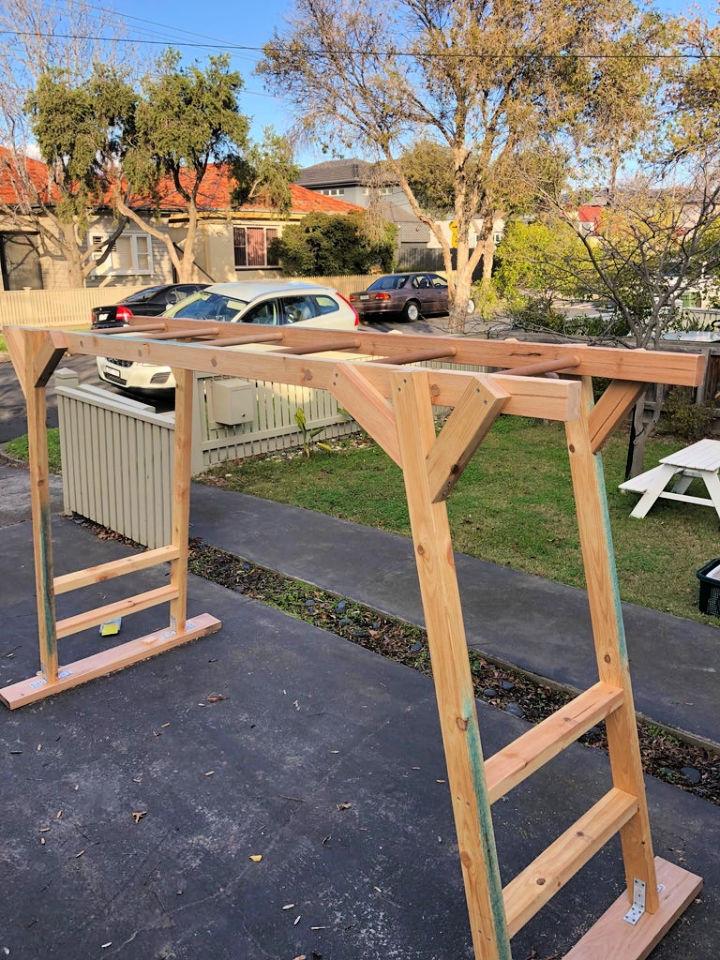
Step 3: Assembly
After the timbers were ready and the holes drilled, it was time for assembly. I glued and screwed the tanalized gate posts together to form the frame, ensuring they were perfectly aligned for the monkey bars to fit in snugly. I then inserted the steel bars covered with the MDPE piping into the drilled holes. This part of the process was a bit challenging and would have been easier with an extra pair of hands.
It took some effort, using wedges and clamps to get everything perfectly aligned due to the natural warping of wood, but eventually, the structure stood firm. I secured everything tightly with screws, making sure the structure was as sturdy as possible.
Final Thoughts
Building the monkey bars from scratch was a rewarding experience. It not only provided my kids with a new play area but also gave me a chance to work on a project that combined problem-solving with creativity. The joy on their faces the first time they swung across the bars made all the effort worthwhile.
For anyone thinking of tackling a similar project, my advice is to plan thoroughly, choose durable materials, and don’t rush the assembly process. Taking your time to ensure everything is aligned and secured will result in a safer and more enjoyable play area for your kids.
Remember, although I’m not an expert, I approached this project with safety and durability in mind. I hope my experience encourages you to create your backyard adventure.
And as always, if you found this guide helpful, please share, comment, and let me know how your project goes!
DIY Monkey Bars: 15 Ways to Build
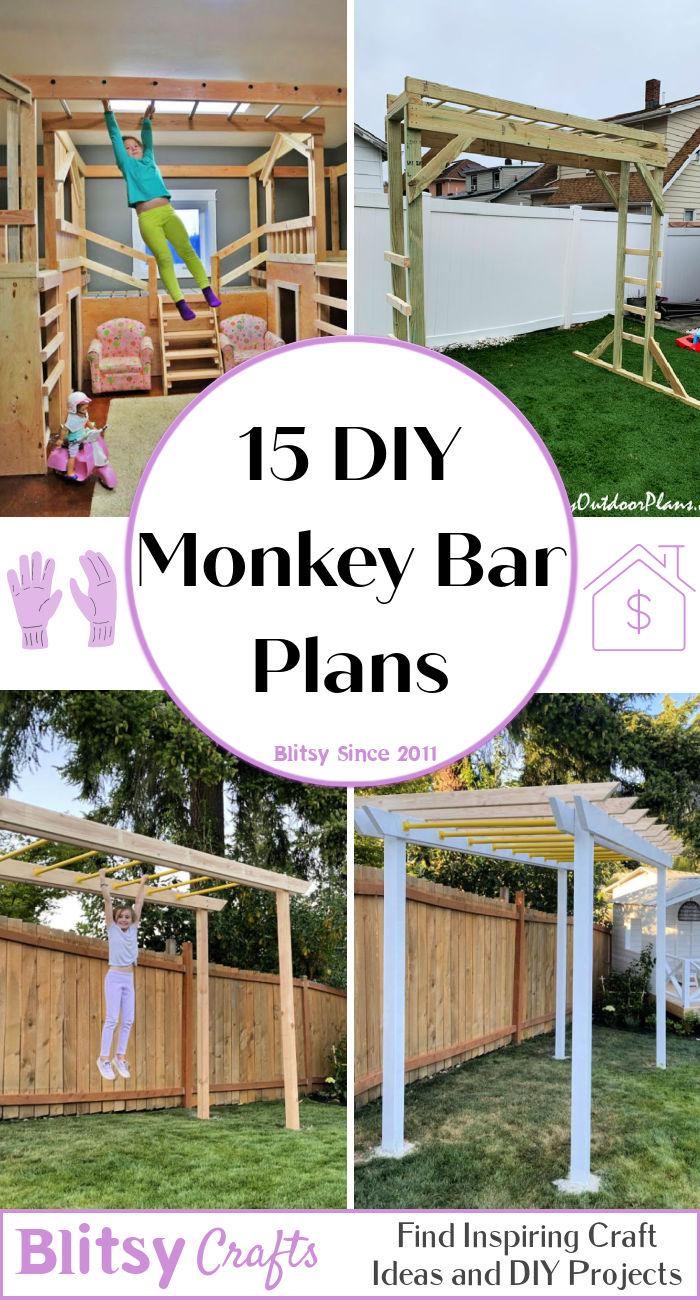
I'm here to guide you through building your very own DIY monkey bars! Let's get started on this fun and exciting project that will keep you active and entertained. I have 15 creative ways to help you make the coolest monkey bars in town. Let's turn your backyard into a playground!
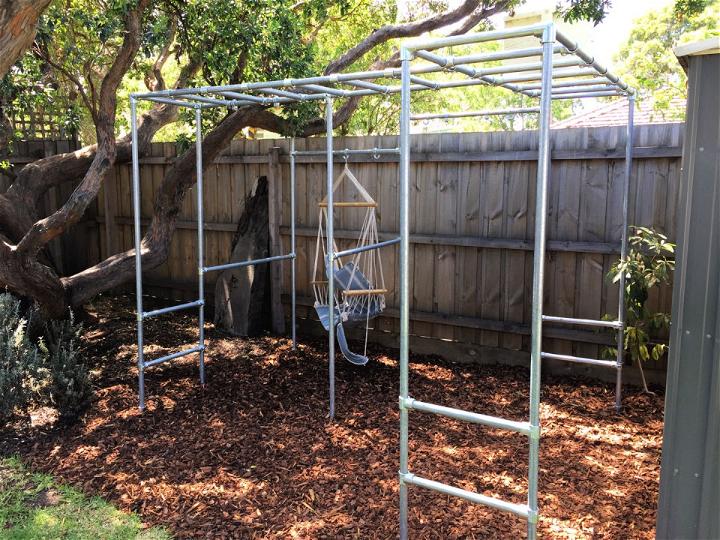
1. Monkey Bars Using Galvanized Pipe Fittings
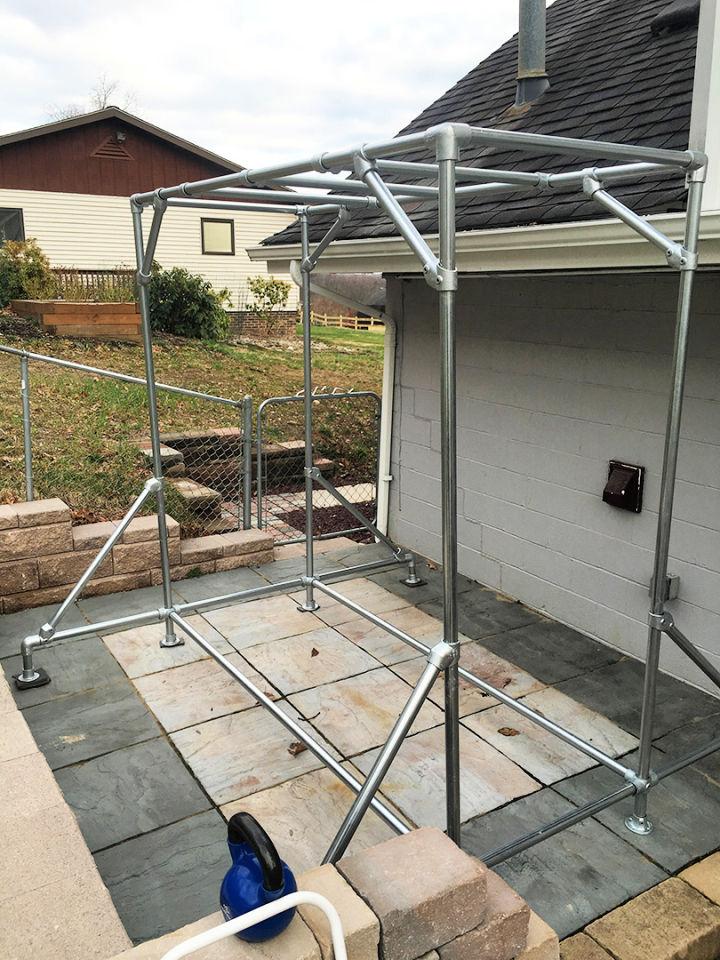
Monkey bars using galvanized pipe fittings create a sturdy and rust-resistant playground classic. Their durability makes them ideal for outdoor fun, ensuring countless hours of active play in all weather conditions.
2. How to Make Monkey Bar
Making monkey bars adds a personalized touch to your outdoor space. By selecting your materials and design, you can create a unique play area that suits your children's interests and abilities, fostering their physical development.
3. Basement Indoor Playground Monkey Bars
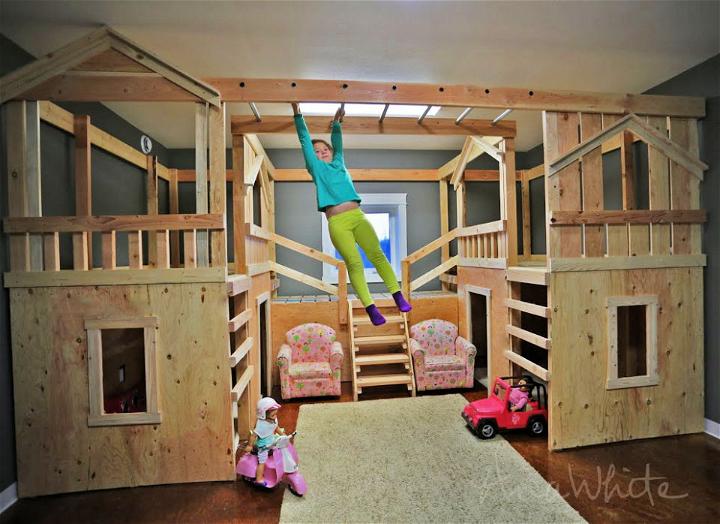
Transform your basement into a haven of fun with indoor playground monkey bars. This setup is perfect for keeping kids active and entertained, no matter the weather outside, promoting their health and well-being.


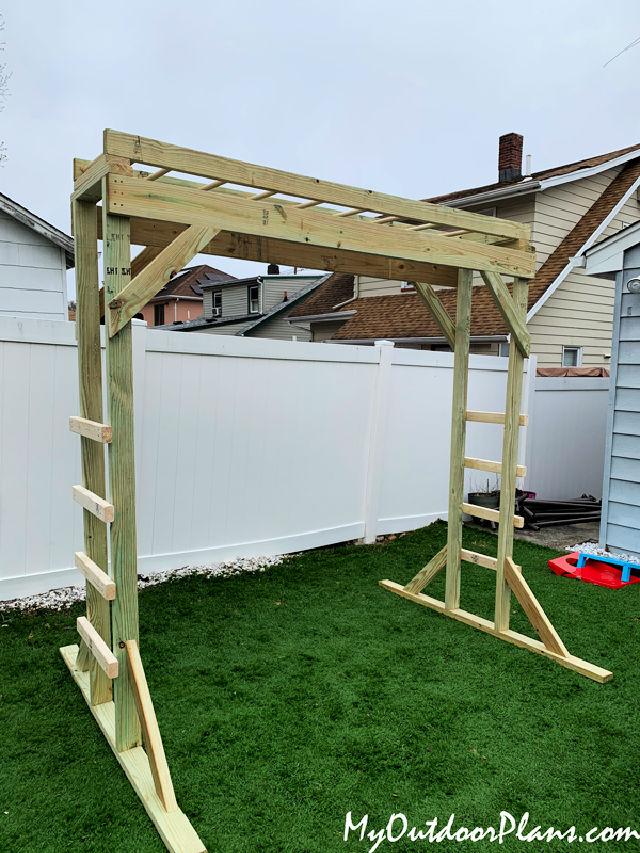
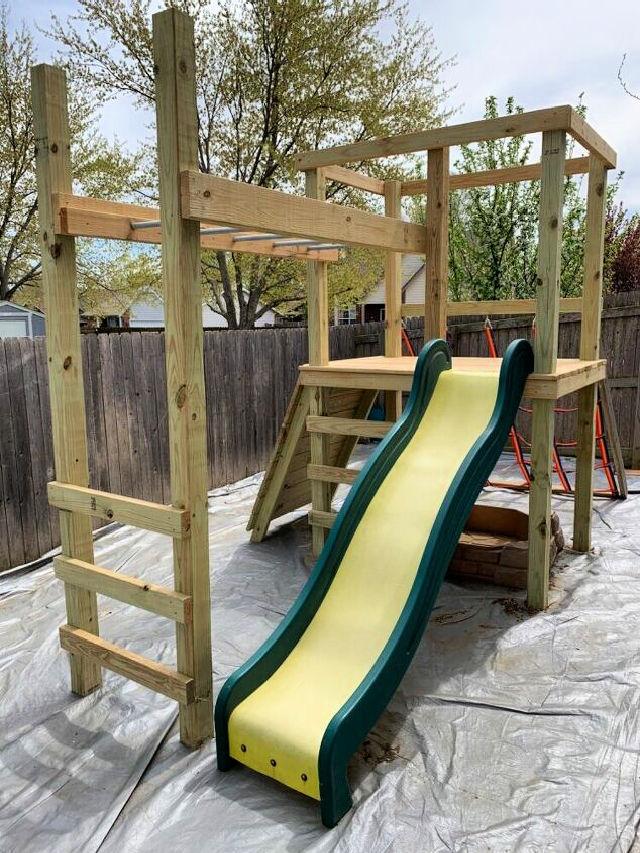
4. Wooden Monkey Bars Plan
A wooden monkey bars plan offers a natural look that blends beautifully with outdoor spaces. This eco-friendly option not only provides endless fun but also enhances your garden or backyard with its timeless appeal.
5. Make Your Own Monkey Bar
Embarking on making your own monkey bar project can be a rewarding experience. It allows for customization to fit your specific space and needs, giving a sense of achievement while offering a great play option for kids.
6. DIY Adjustable Monkey Bars
DIY adjustable monkey bars are fantastic for growing children. Their versatility allows you to modify the height and difficulty as your child develops, ensuring the monkey bars remain challenging and engaging over time.
7. How to Build Monkey Bars
Building monkey bars from scratch might seem daunting, but it's a project that yields immense satisfaction. With the right tools and materials, you create not just a play area but memories of building something special together.
8. Monkey Bars Using Conduit Pipe
Using conduit pipe for monkey bars offers a lightweight yet durable option. This material is easy to work with and can be painted to match any design vision, making it a flexible choice for creative projects.
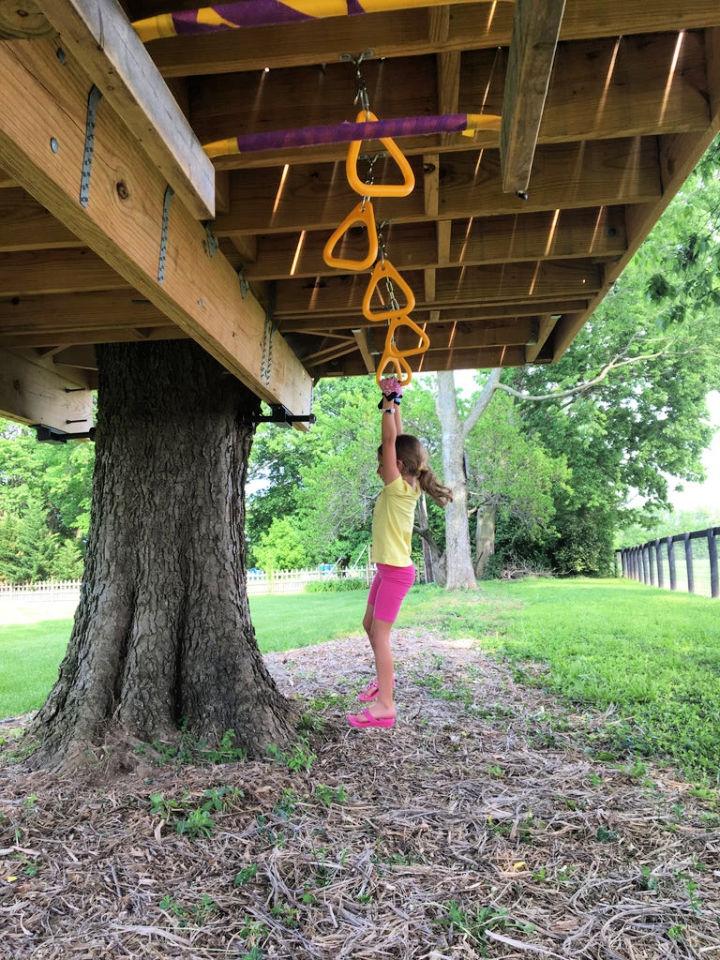
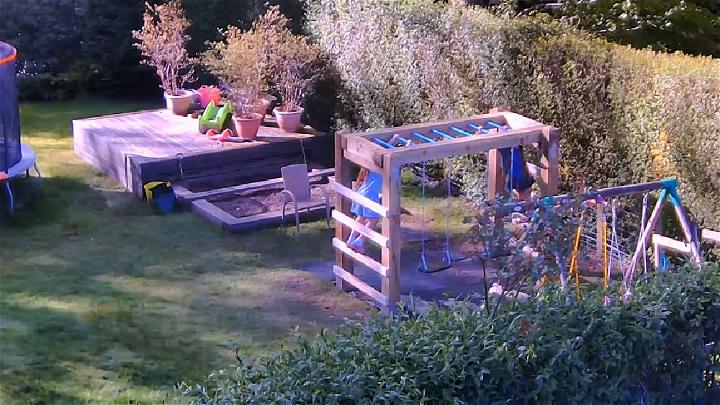
9. DIY Backyard Monkey Bars
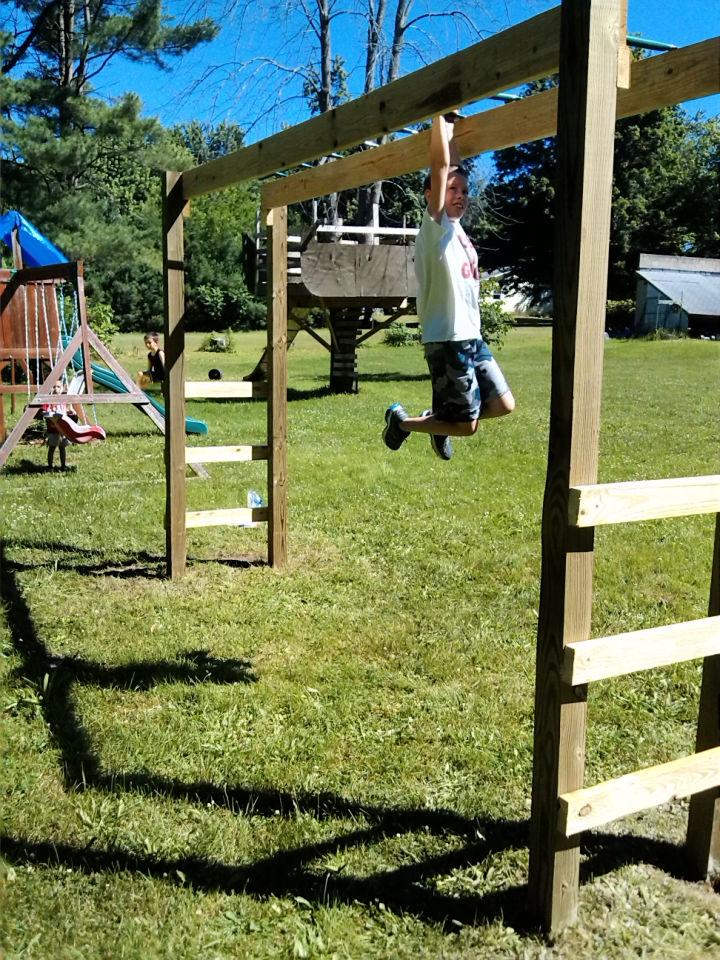
DIY backyard monkey bars bring the adventure park home. They encourage outdoor play, helping kids build strength and coordination while giving them a sense of freedom and adventure right in their backyard.
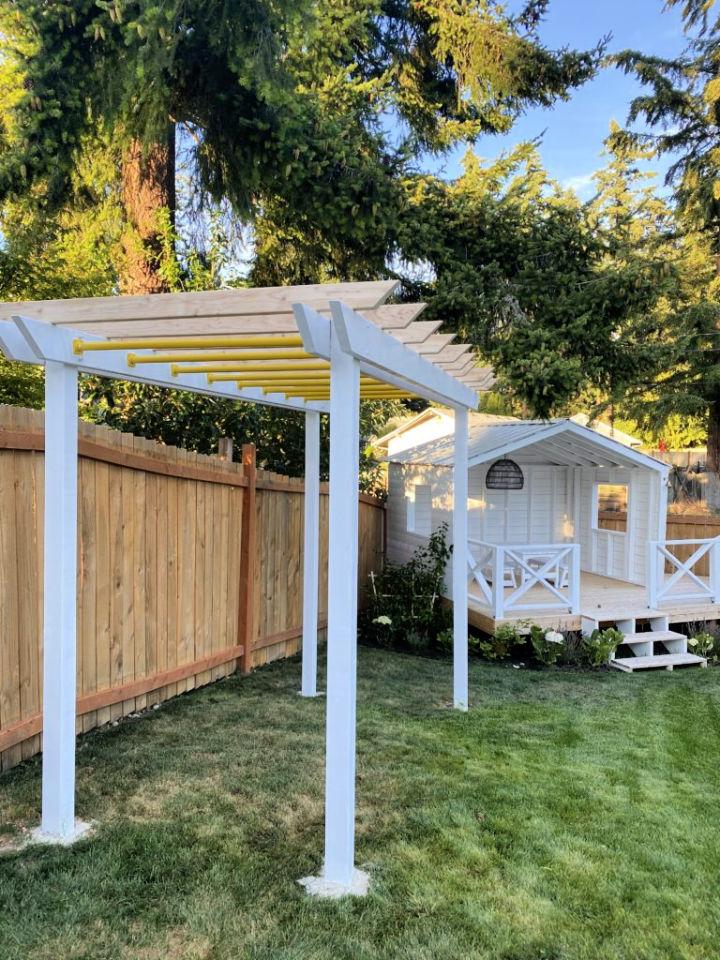
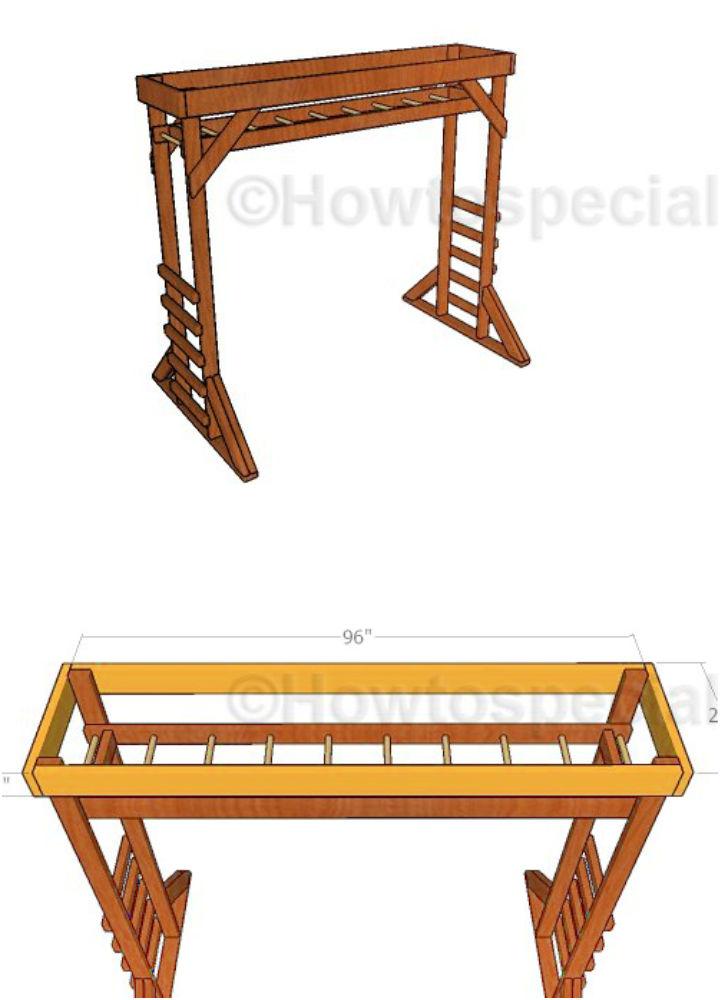
10. Free Standing Monkey Bars
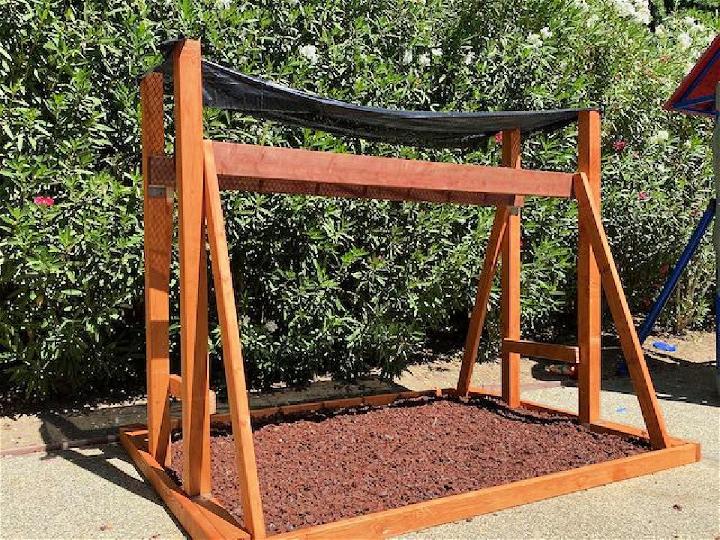
Free-standing monkey bars are a versatile addition to any play area. Without the need for existing structures for support, they can be placed anywhere, making them perfect for both large and small spaces.
11. DIY Monkey Bars
Embarking on a DIY monkey bars project is a fantastic way to engage with your family. It not only results in a fun play area but also teaches valuable building and planning skills.


12. Homemade Monkey Bars
Making homemade monkey bars adds a personal touch to your outdoor space. This project allows for creativity and customization, ensuring a one-of-a-kind playset that perfectly meets your children's needs.
13. DIY Monkey Bars for Backyard
DIY monkey bars for backyard adventures are a surefire way to encourage physical activity and imaginative play. Designing them yourself means they can easily be tailored to fit any outdoor space, large or small.
14. DIY Hallway Monkey Bars
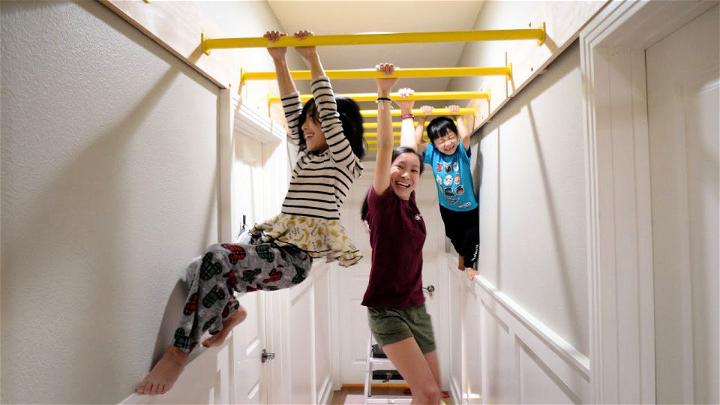
DIY hallway monkey bars offer an innovative solution for indoor play. Perfect for rainy days, they utilize unused space effectively, providing a safe and fun exercise option for kids within the comfort of home.
15. Monkey Bar for the Kids
A monkey bar for the kids serves as a fantastic focal point for playtime. Not only does it help in developing their physical skills, but it also becomes a cherished spot where they can hang out with friends and let their imaginations soar.
Final Thoughts
By sharing my journey, I hope it inspires you to start building your own monkey bars. Following simple and clear steps can lead to great results. DIY monkey bars are not just about building something; it's about making fun memories. So, grab your tools, and let's start this project together. I'm here to show how you can make something amazing for your family.
Related posts:
 40 Free DIY Coffee Table Plans To Build in Low Budget
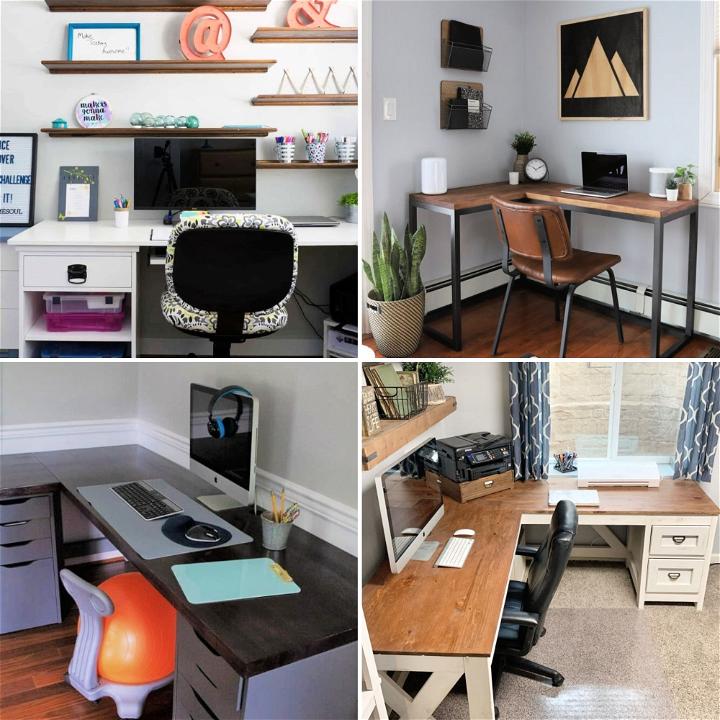 25 Homemade DIY Corner Desk Plans Easy To Build and Cheap
 35 Free DIY TV Stand Plans Anyone Can Build
 40 Free DIY Plant Stand Plans (Cheap and Easy to Build)
 40 Easy DIY Shelves To Build At Home
 18 DIY Cold Frame Plans To Build
 40 DIY Bar Plans To Build
 DIY Storage Bench (25 Ways to Build)
 25 DIY Kids Desk Plans and Ideas To Build Your Own
 25 DIY Sofa Table Plans to Build your own Behind Couch Table
 25 DIY Craft Table Ideas with Storage and Easy To Build
 40 Free DIY Bookshelf Plans to Build