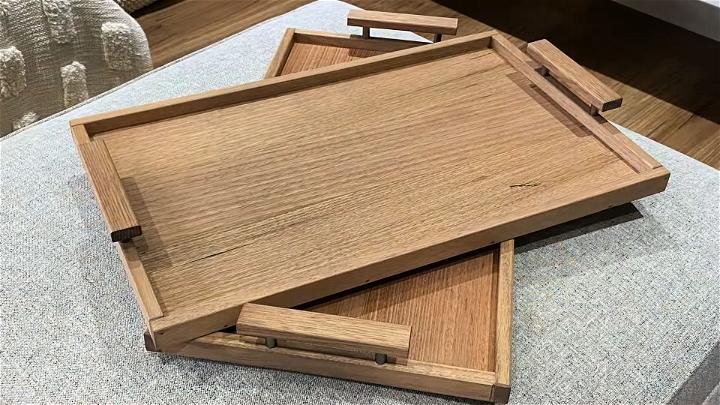
Building a unique and beautiful serving tray can add a touch of elegance and craftsmanship to your dining experience. Whether for personal use or as a thoughtful homemade gift, following these instructions will guide you through making your own serving trays.
This guide is inspired by the firsthand experience of a seasoned woodworker from DownUnder WoodWorks, who faced the challenge of building two serving trays as last-minute gifts. His journey, filled with unique tips and quick-thinking solutions for unexpected problems, ensures this guide is not only practical but infused with expert advice.
What Will You Learn?
By the time you finish reading this, you'll have all the information needed to make your own wooden serving trays, including material selection, preparation, assembly, and finishing touches. You'll learn how to deal with varying wood thickness, achieve a smooth finish, and incorporate elegant handles for a professional look.
Materials Needed
- Wood planks (pre-milled, if available)
- Wood stain (Cashew color was used for this project)
- Wood glue
- 6mm dowels or nails (depending on board thickness)
- CA glue (for filling nail holes)
- Clear polyurethane and beeswax (for finishing)
- Stainless steel tubes (⅜ or 9.5mm diameter) for handles
- Screws
Each material is selected to ensure durability and aesthetic appeal. Pre-milled wood saves time, while the right choice of stain and finish can complement the wood's natural beauty. The addition of stainless steel handles not only adds functionality but also a modern twist.
Step-by-Step Instructions
Preparing the Wood
- Sort and Match Boards: If the boards vary in thickness, sort them by thickness and appearance to ensure consistency across each tray.
- Edge Preparation: For a smooth, flat surface, plane down any boards that are noticeably thicker than others. Then, use a planer or block plane to prepare the edges for gluing.
Assembly
- Gluing Boards: Glue the prepped boards side by side into a single panel. Clamp them securely until the glue sets.
- Trimming and Squaring: Once the glue has set, trim and square the panels to your desired tray size.
- Staining: Before attaching the borders, stain both the panels and the border pieces.
Constructing the Border
- Making the Border: Cut strips from your wood to use as the border around the edge of the tray. Attach these using either nails or dowels, depending on the thickness of your tray.
Adding the Finishing Touches
- Sanding and Filling: Sand the border pieces smooth and fill any nail holes with a mixture of CA glue and sawdust.
- Attaching Handles: Drill clearance holes for the screws that will hold the handles. Use the steel tubes as spacers to raise the handles off the tray surface.
- Finishing: Apply clear polyurethane to the base for additional protection and beeswax to the remaining surfaces for a smooth, food-safe finish.
Video Tutorial
Want a visual demonstration? Watch a step-by-step video tutorial on YouTube for Make these beautiful serving trays.
It provides a clear and easy-to-understand visual walkthrough of the techniques, making it a great companion to this written guide.
Troubleshooting and Tips
- Varying Board Thickness: Planing the boards to a uniform thickness is crucial for a flat, even tray surface.
- Glue Squeeze-Out: To avoid stains from glue squeeze-out, clean up excess glue immediately after clamping.
- Stain Choice: Test your stain on a scrap piece of the same wood to ensure it gives the desired color.
- Finishing: Applying beeswax with a cloth and leaving it to set before buffing can make a smooth, appealing finish.
Making a tray from scratch adds personal touches, making it one-of-a-kind. Follow these steps for a beautiful, satisfying result.
Upcycling Tips for Your DIY Serving Tray
Making a serving tray from upcycled materials is not only an eco-friendly choice but also adds a personal touch to your home decor. Here's how you can transform everyday items into a unique serving tray.
Choosing Your Base
Start with an old tray you no longer use or find one at a thrift store. Wooden, metal, or plastic trays all work well for upcycling.
Preparing the Surface
Clean the tray thoroughly. If it's wooden, you might want to sand it down to make a smooth surface for decorating.
Adding Character with Materials
- Wine Corks: Cut wine corks in half and glue them flat-side down for a textured surface.
- Wallpaper: Use a sample of wallpaper to cover the tray's base. It's an easy way to add a pattern.
- Paint: A coat of chalk paint can refresh the look of your tray. Choose a color that matches your decor.
Decorative Touches
- Decoupage: Apply cut-outs from magazines, wrapping paper, or special decoupage paper with glue for a customized look.
- Stenciling: Use stencils to make consistent patterns. Bold colors can make the design stand out.
Finishing Touches
- Sealing: Once your design is complete, seal it with varnish to protect it from wear and tear.
- Handles: Add new handles or refurbish the old ones to enhance the tray's functionality and style.
FAQs About DIY Serving Trays
Making a DIY serving tray can be a fun and rewarding project. Here are some common questions and answers to help you get started.
What materials can I use to make a DIY serving tray?
You can use a variety of materials such as wood, metal, acrylic, or even repurposed items like old picture frames or mirrors. The choice depends on the look you're going for and the tools you have available.
How do I ensure my serving tray is food-safe?
If you're using paint or sealants, make sure they are non-toxic and food-safe. For wooden trays, using a food-safe mineral oil or beeswax can provide a natural and safe finish.
Can I make a serving tray without power tools?
Yes, you can! There are many ways to make a serving tray using hand tools or even no tools at all, like using strong adhesives to attach handles to a pre-cut piece of wood or repurposing an existing tray.
How can I add handles to my serving tray?
Handles can be added by drilling holes and screwing in the handles, or by attaching them with strong glue if you're not comfortable using tools. You can also use materials like rope or ribbon for a unique look.
What's the best way to personalize my serving tray?
Personalize your tray by adding a stencil design, using decoupage with your favorite paper, or even adding a monogram. You can also experiment with different textures and colors to match your personal style.
25 DIY Serving Tray Plans and Inspirations
Discover 25 DIY serving tray plans and inspirations to elevate your entertaining space. From rustic to modern designs, unleash your creativity now!

1. Making a Stained Wood Tray
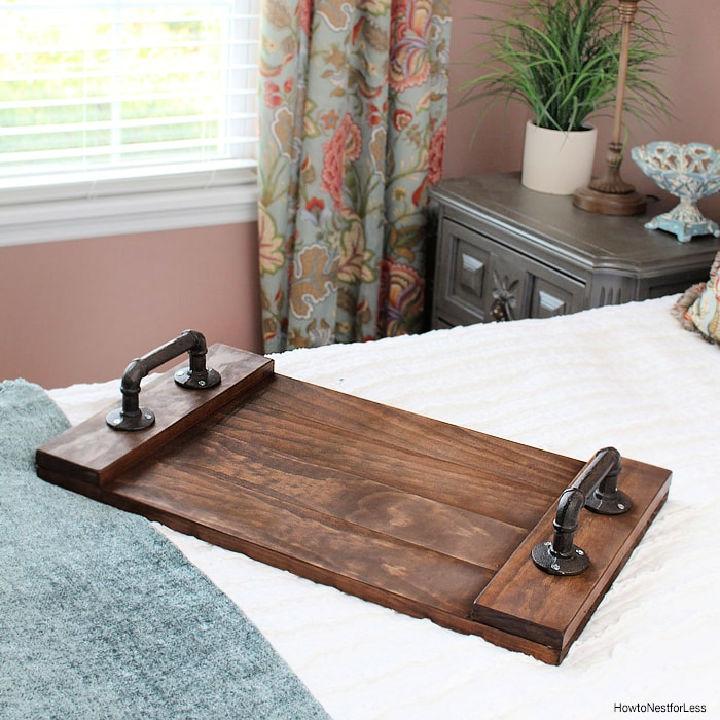
Starting with the right kind of wood, a stained wood tray brings a warm, inviting look to your home decor. The staining process emphasizes the natural grain, offering versatility and a timeless appeal. It's a brilliant way to serve or display items with a touch of elegance.
2. DIY Wooden Tray With Handles
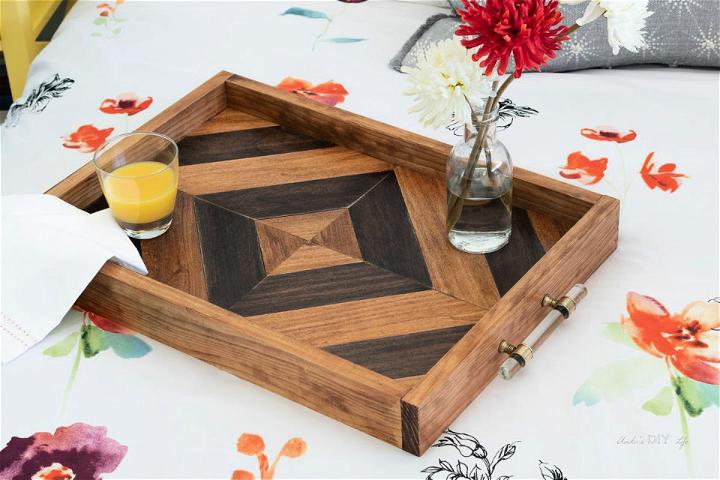
Making a wooden tray with handles adds a functional yet stylish element to your serving game. It's an approachable project that not only results in a practical item for carrying things around but also showcases your woodworking skills through a personalized design.
3. Wood and Epoxy Resin Inlay Coffee Tray
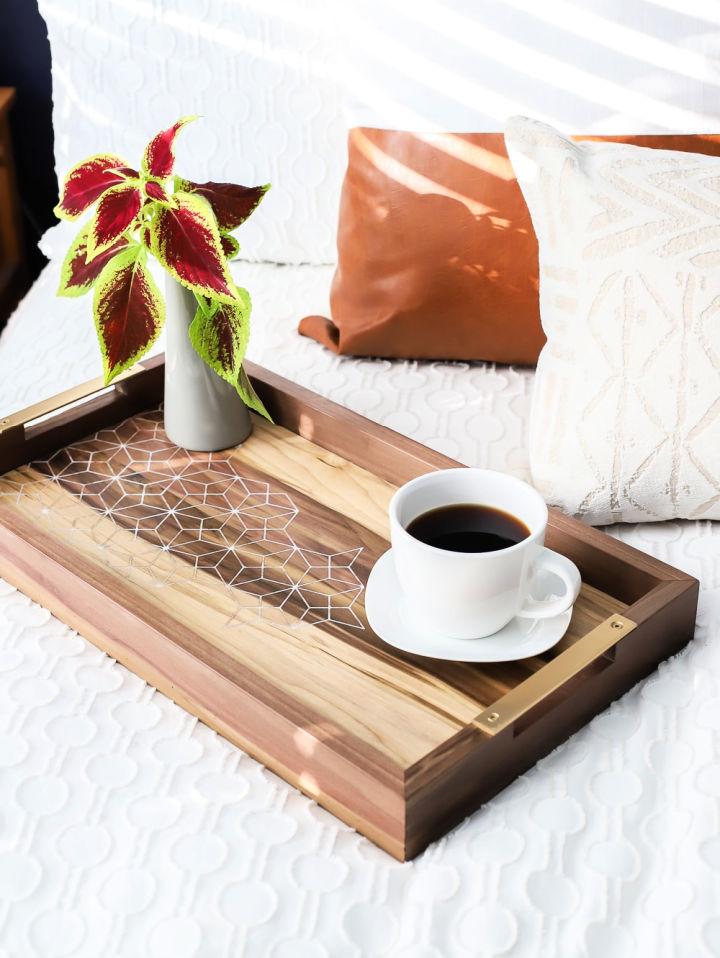
Merging wood and epoxy resin can transform a simple coffee tray into a piece of art. This simple technique allows for vibrant colors and unique patterns, making each tray a one-of-a-kind creation. It's perfect for those looking to infuse a bit of personality into their home aesthetics.
4. How to Make a Wooden Tray
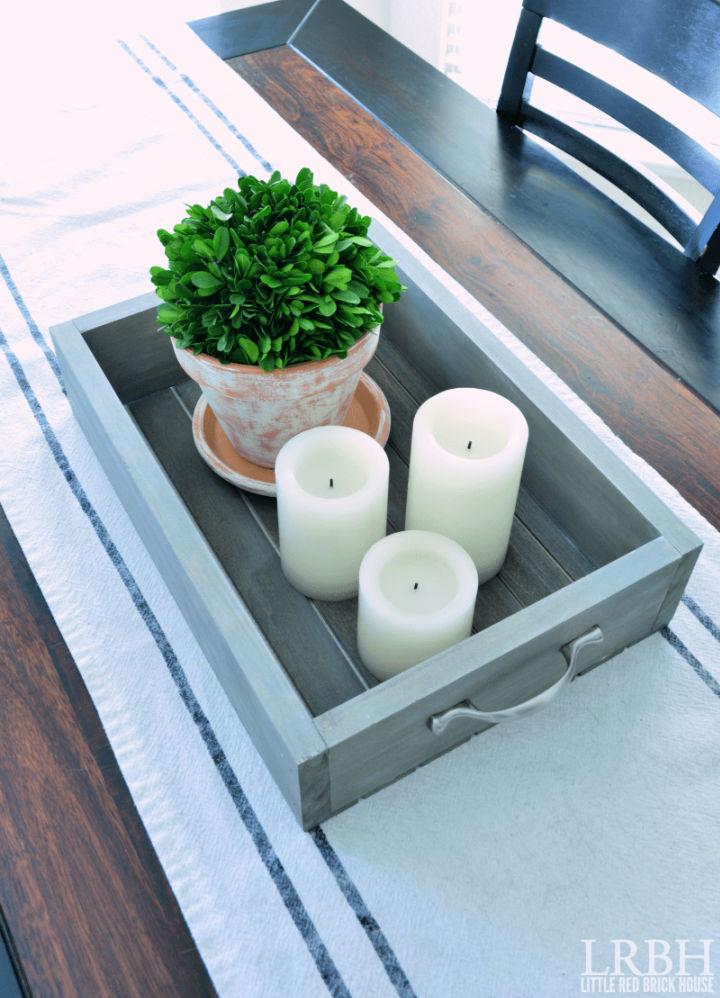
Crafting a wooden tray is a delightful project that caters to both beginners and seasoned woodworkers. It provides a canvas for creativity, whether you're aiming for simplicity or experimenting with intricate designs. A handcrafted wooden tray also adds a warm, natural touch to any setting.
5. Handmade Tray Using Wood Wreath Rings

Utilizing wood wreath rings for a tray is a novel and creative approach. This design not only serves as a conversation starter but also brings a whimsical touch to your decor. It's a fun and easy project that results in a decorative and functional piece.
6. DIY Pallet Wood Serving Tray

Repurposing pallet wood into a serving tray is an eco-friendly and cost-effective idea. This project lets you embrace the rustic charm of recycled materials while crafting a sturdy and attractive tray. It's a fantastic way to add a bit of personality to your home or outdoor gatherings.
7. DIY Hexagon Shaped Wooden Tray
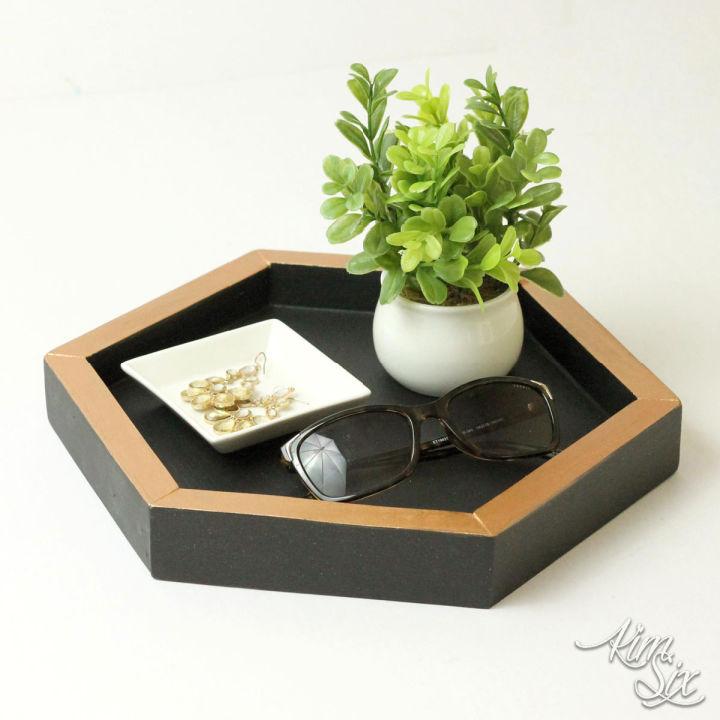
A hexagon-shaped wooden tray stands out for its geometric appeal and modern vibe. This shape not only adds visual interest but is also surprisingly functional, easily fitting into various decor styles. It's a creative twist on the traditional tray design, ideal for those looking to make a statement.
8. Resin and Wood Serving Tray Idea
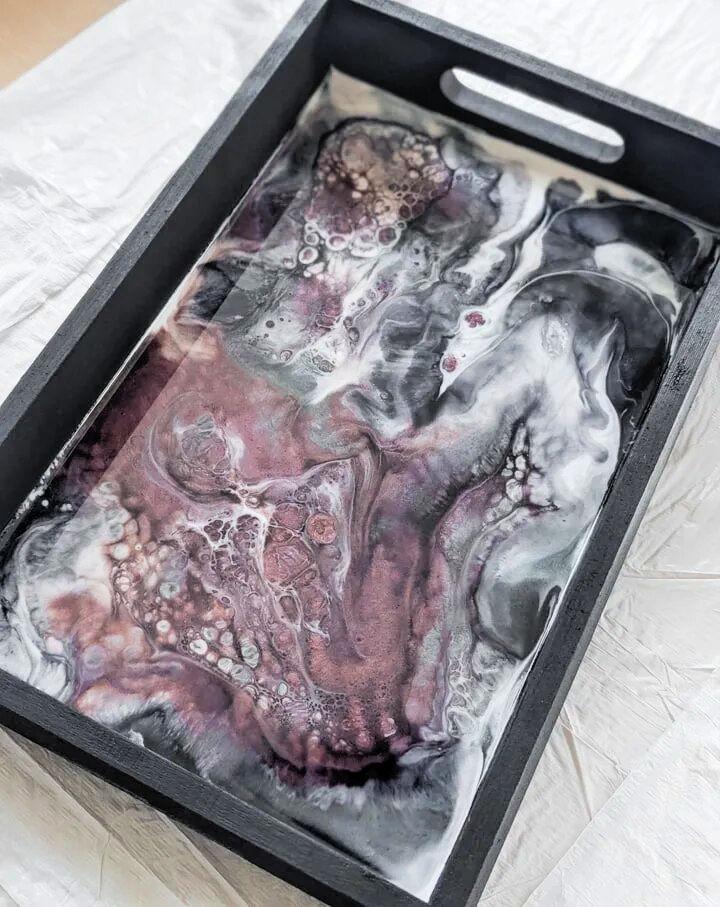
Combining resin and wood in a serving tray allows for endless possibilities in terms of design and color. This idea is perfect for those who enjoy customizing their decor pieces to match their style. The durability of resin added to the natural beauty of wood makes a both practical and appealing design.
9. Modern Wood Tray Using Scrap Plywood

Transforming scrap plywood into a modern wood tray is a brilliant way to upcycle materials. This project gives plywood leftovers new life, resulting in a sleek and minimalist tray that's suitable for any contemporary space. It's an example of how simple materials can produce stylish outcomes.
10. Easy DIY Wood Resin Tray

An easy DIY wood resin tray combines the simplicity of working with wood and the creativity of resin art. This project is perfectly suited for those looking for a straightforward yet rewarding crafting experience. The outcome is a durable and eye-catching tray that's sure to impress guests.
11. Modern Farmhouse Wooden Tray

A staple for any rustic kitchen, the modern farmhouse wooden tray combines utility with charm. Its weathered look and sleek design add a cozy feel to meal presentations. Perfect for serving or as a decorative piece, it's a versatile gem in any home.
12. Making a Wooden Paper Tray at Home
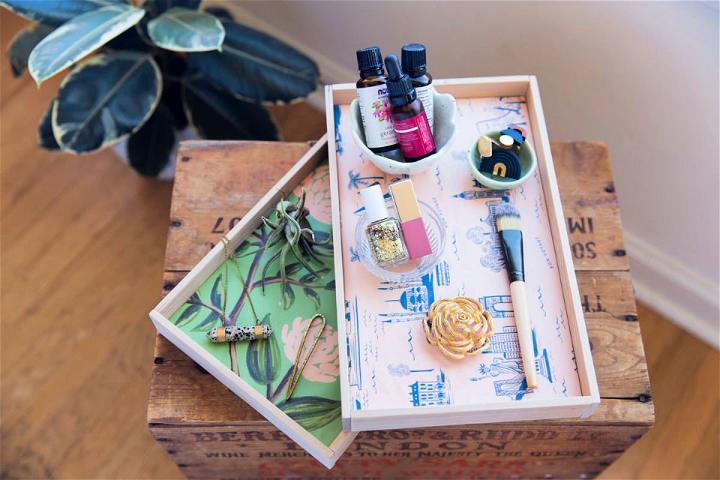
Channel your inner craftsman by making a personalized wooden paper tray. Not only does it keep your desk tidy, but it also adds a warm, natural touch to your workspace. Making this yourself makes it uniquely yours, enhancing its value beyond mere functionality.
13. Cute Red White and Blue Wood Tray

Celebrate with flair using a red, white, and blue wood tray. Ideal for festive gatherings, this colorful addition brings a spirited vibe to any party table. It's not just a serving piece but a conversation starter, playfully embodying patriotism.
14. Beautiful DIY Wood Riser Tray

Elevate your home décor with a DIY wood riser tray. Lifting decorative items, plants, or candles, adds dimension and interest to any surface. This easy project lets you tailor its look to your space, making it a beautifully functional accent.
15. Magnolia Market Wood Serving Tray Makeover

Give a plain tray a Magnolia Market-inspired makeover. With just a few touches, turn a simple wood serving tray into a piece of art that channels that coveted farmhouse chic. It's all about making something functional feel wonderfully aesthetic.
16. Unique DIY 2 Tiered Wooden Tray
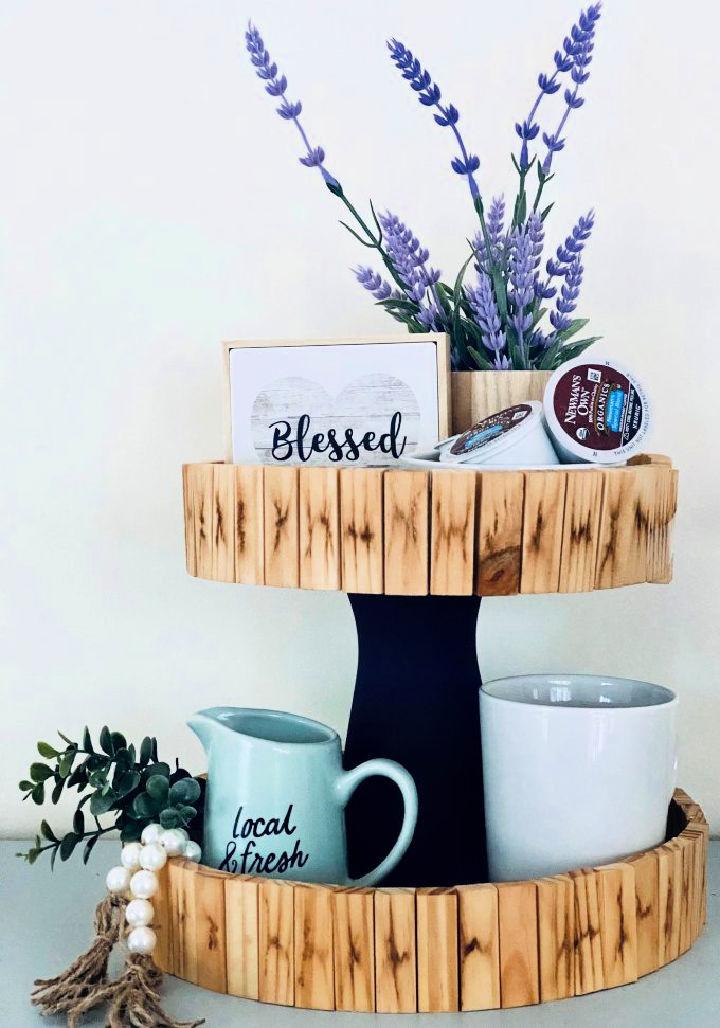
Build a 2-tiered wooden tray to double the delight in organizing or serving. This piece not only saves space but also lends an air of sophistication to your displays. Perfect for gatherings or showcasing your trinkets, it's a project that rewards creativity.
17. Geometric Wood Serving Tray Design
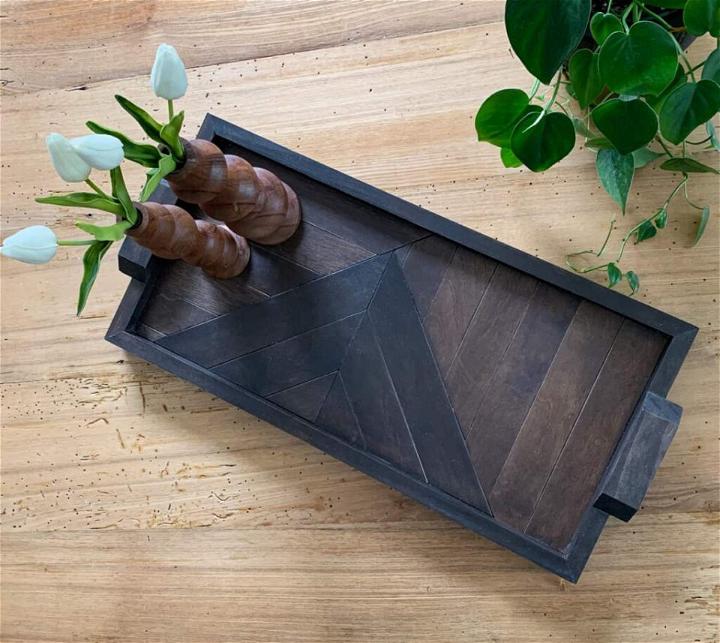
Embrace modernity with a geometric wood serving tray. Its sharp lines and shapes make it a statement piece for any contemporary home. Functional and stylish, it's ideal for serving up snacks or as a striking decorative element on your coffee table.
18. DIY Fabric Covered Wood Tray

Infuse personality into a wooden tray by covering it with fabric. This easy DIY project allows you to match any decor style or mood, making it incredibly versatile. Serve guests or organize items on a tray that's as unique as your home.
19. 3 Tier Wooden Tray for Decoration

A 3-tier wooden tray is a marvel in vertical space efficiency and aesthetics. Perfect for displaying seasonal decorations or organizing small items, it adds layers of interest to any room. Its beautiful towering design makes it a focal point, offering both functionality and beauty.
20. Build a Wooden Star Food Tray
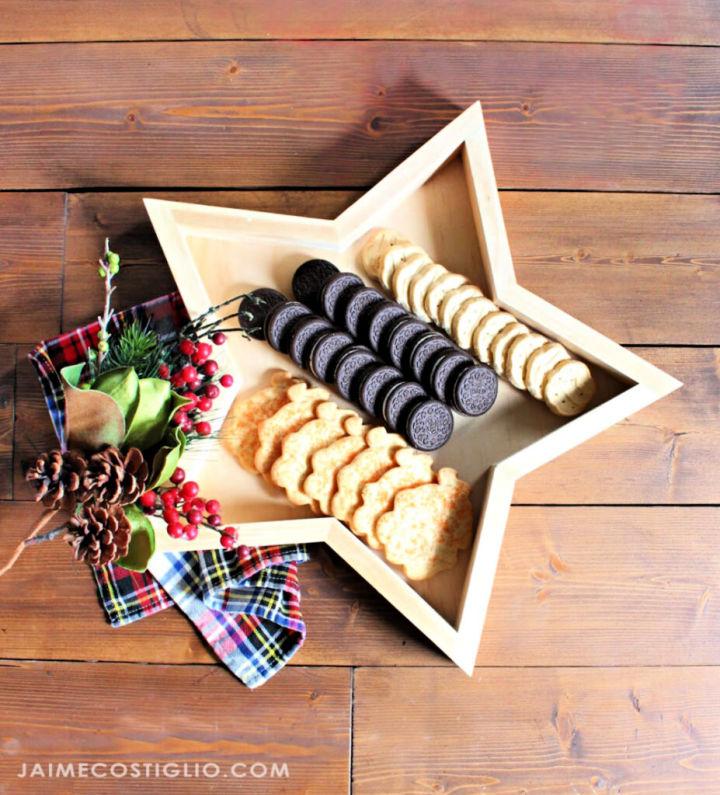
Building a wooden star food tray brings a touch of whimsy to your dining experience. Perfect for themed parties or as a unique gift, this star-shaped tray is a fun project that yields a functional yet playful piece. Serve up snacks and smiles with this creative endeavor.
21. Wood Burned Tray Plan

Crafting a wood-burned tray merges art with utility, providing a unique canvas to showcase your pyrography skills. Its sturdy design ensures longevity, while the personalized touch adds warmth to any home setting. Perfect for serving or display, it becomes a conversation piece.
22. DIY Charred Wood Smores Tray

Imagine a s'mores night elevated by a DIY charred wood tray. This simple method not only enhances the wood's natural grain but also adds a rustic charm, making your gatherings memorable. Its durable surface is ideal for arranging s'mores ingredients, inviting an authentic campfire vibe indoors.
23. Dollar Tree 3-Tier Wooden Tray

Embrace elegance and affordability with a 3-tier wooden tray from Dollar Tree. Transform it into a versatile organizer or a chic display piece. Its compact design fits effortlessly in various spaces, ideal for showcasing decor, crafting supplies, or hosting delightful treats.
24. Farmhouse Style Coffee Table Tray

Incorporating a farmhouse-style coffee table tray into your living space adds a cozy, rustic charm. Its spacious surface is perfect for corralling books, candles, and other decor, enhancing the room's aesthetics while keeping essentials at hand. This piece effortlessly blends functionality with country-inspired beauty.
25. DIY Wooden Hexagonal Tray

A DIY wooden hexagonal tray offers a geometric twist on classic serveware. Its unconventional shape catches the eye, serving as a stylish accessory for your home. Ideal for organizing trinkets or serving snacks, this tray combines modern design with the timeless appeal of natural wood.
Conclusion:
Wrapping up this article on DIY serving tray plans, crafting your own serving trays can add a personal touch to your home decor. From simple designs to more intricate styles, there is a serving tray project for every skill level. Whether you prefer woodwork or repurposing materials, building a serving tray can be a fun and rewarding DIY project to showcase your creativity.


