Building heavy duty folding sawhorses can greatly improve your work efficiency, offering a sturdy yet portable solution for your projects. Here's an easy-to-follow guide for building your sawhorses, whether you're new to DIY projects or a seasoned woodworker.
Materials and Tools Required
- Circular Saw
- Power Drill
- Foam Insulation (for cutting support)
- Speed Square
- Two by Six and Two by Four boards
- Heavy-Duty Door Hinges (non-mortise)
- Drill Bit Kit
- 1 * ¼" and 3" Screws
- Wood Glue
- Quarter inch and ⅜ inch Dowels
Step by Step Instructions
Step 1: Cutting the Boards
Begin by marking your cutting lengths on the two by four and two by six boards. Adjust your circular saw blade slightly past the material's thickness for an effective cut, ensuring about two saw teeth are visible beyond the board's underside. To guarantee straight, square cuts, use a speed square as a guide.
Step 2: Cutting the Legs
Adjust the saw blade to a 15-degree angle for the sawhorse legs. This splay ensures stability. Cut your first leg, then use it as a template for the remaining three to ensure uniformity.
Step 3: Preparing Hinges
To connect the legs and top part, you will need to modify the top of each leg to fit the hinges. Set your saw blade to a 45-degree angle and notch out a small section from each leg top. Before driving screws, predrill to prevent wood splitting. Attach a hinge to each leg top edge.
Step 4: Assembling the Sawhorse
Make the runner piece, which will connect underneath the top plate. Precisely measure and transfer the hinge hole locations from the legs to this runner, then predrill. It's easier with an extra set of hands, but one person can manage with some creativity.
Step 5: Adding Cross Supports
Determine the placement for cross supports by marking the center point on the inside edge of each leg. Glue and secure the first cross support between two legs with 3-inch screws, then repeat for the second cross support, ensuring it's staggered for proper folding.
Step 6: Attaching the Top Plate
Glue the top plate on the runner's top edge, check for an even overhang on both sides, and then predrill and secure with 3-inch screws. Ensure screws are countersunk to avoid material snags.
Step 7: Making the Locking Arm
Cut and prepare a 2 by 2 for each sawhorse as a locking arm. After measuring and marking, drill through these arms and the corresponding legs to make pivot points. Secure these arms with dowels and lag screws provided with washers for smooth operation.
Step 8: Final Touches
An optional but recommended step is to add a gate latch mechanism for secure closure when the sawhorse is folded. Sand any rough edges for a cleaner finish.
Video Tutorial
For a step-by-step video tutorial on building these heavy duty DIY folding sawhorses, watch Pneumatic Addict's instructional video on YouTube.
It pairs well with this written guide, offering a visual representation of the techniques discussed in a clear and accessible way.
These folding sawhorses are not only sturdy and able to pass the kick test with ease, but they are also customizable to your height preference and fold up for easy storage. Whether you're tackling big projects or need a reliable work surface, these DIY sawhorses are the perfect addition to your workspace.
Discover the Ultimate Collection of 25 DIY Sawhorse Plans for Your Next Woodworking Project
1. Three-Legged Knock-Down Sawhorse
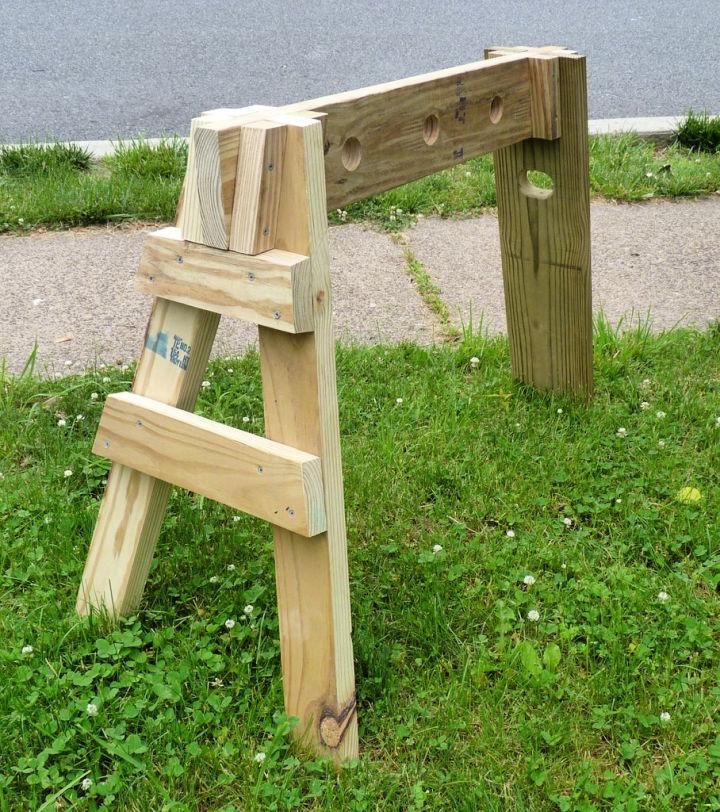
A three-legged knock-down sawhorse brings a unique charm to any workshop, not just for its stability but also for its easy storage feature. This design makes it a perfect companion for those who value both workspace efficiency and floor space optimization.
2. DIY Sawhorses Ever Using Scrap Wood
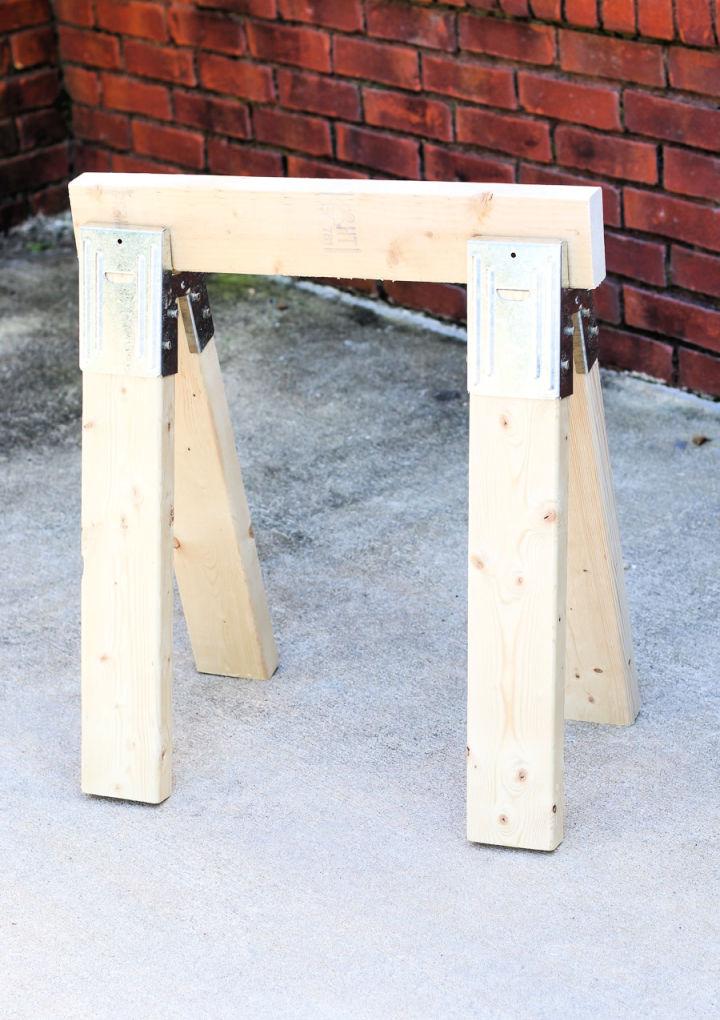
Making DIY sawhorses from scrap wood is not just an eco-friendly choice; it's a testament to creativity and resourcefulness in the workshop. This approach allows you to tailor the sawhorse to your specific needs while repurposing leftover materials.
3. Build Stackable Sawhorses from 2 X 4s
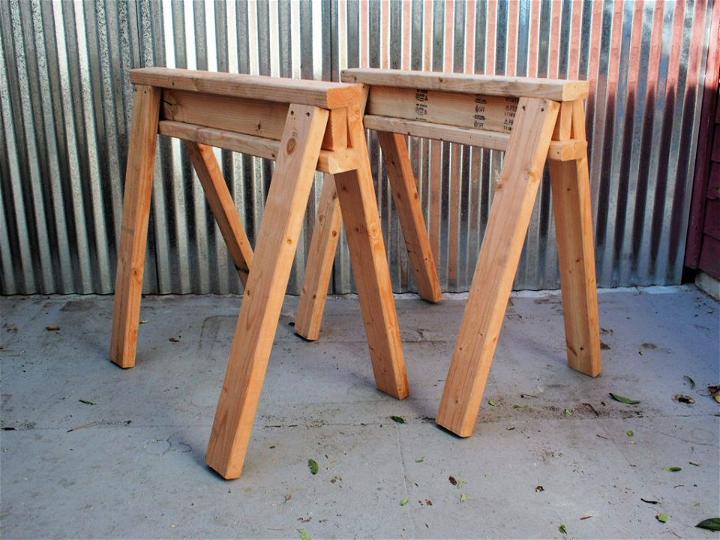
Build stackable sawhorses from 2x4s to achieve a blend of convenience and strength. This design optimizes storage when not in use and provides a sturdy base for any project. It's a smart way to maximize workshop space without compromising on utility.
4. How to Build a Sawhorse - Free PDF Plan
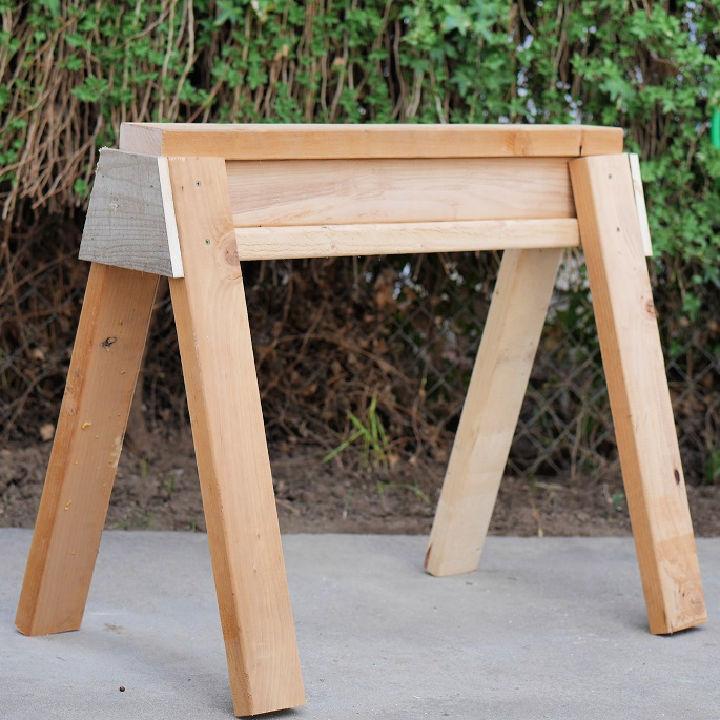
Diving into a sawhorse project? A free PDF plan offers a straightforward guide to building your own. This resource ensures you have all the information you need, making the process approachable and manageable, even for beginners.
5. DIY 3 Levels of Sawhorses
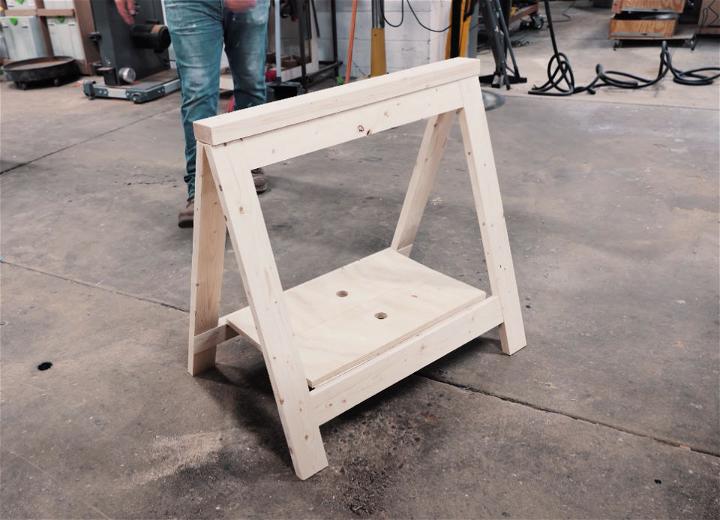
DIY 3 levels of sawhorses bring versatility to your workspace. This design allows for adjustable heights, making it suitable for a variety of projects. It's a clever way to ensure your workshop can adapt to various tasks with ease.
6. The Ultimate DIY Adjustable Sawhorse
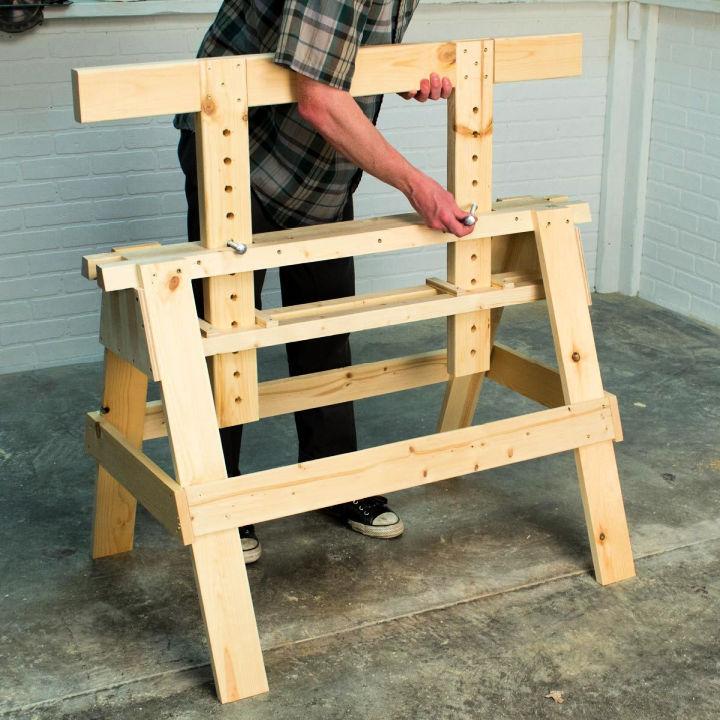
The ultimate DIY adjustable sawhorse is designed to meet the dynamic needs of any workshop. Its adjustability ensures that it can support a wide range of projects, offering both versatility and reliability in your space.
7. Heavy Duty 2x4 Sawhorses Plan
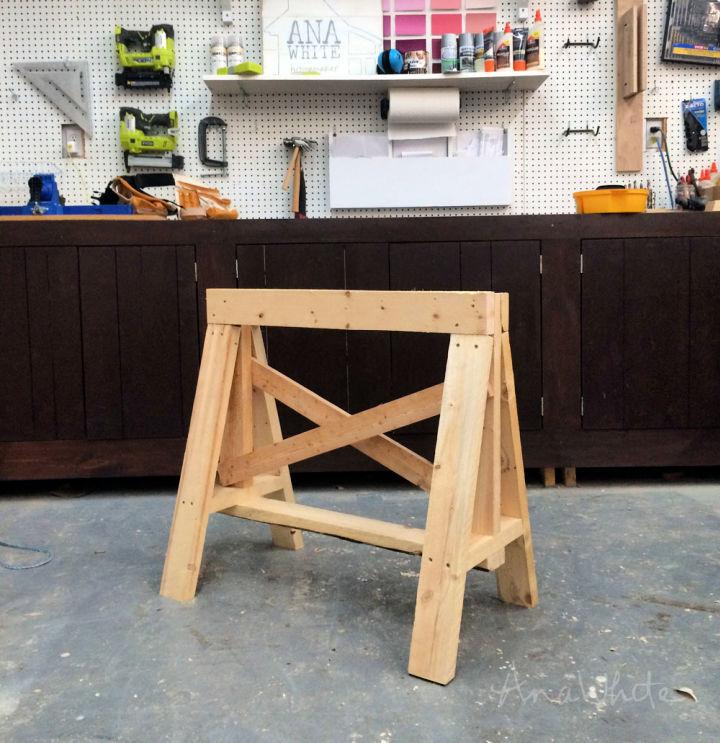
Plan for heavy-duty 2x4 sawhorses emphasizes durability and strength. This option is perfect for heavier projects, ensuring your workspace is equipped to handle substantial weight without faltering.
8. How to Make a Foldable Sawhorse
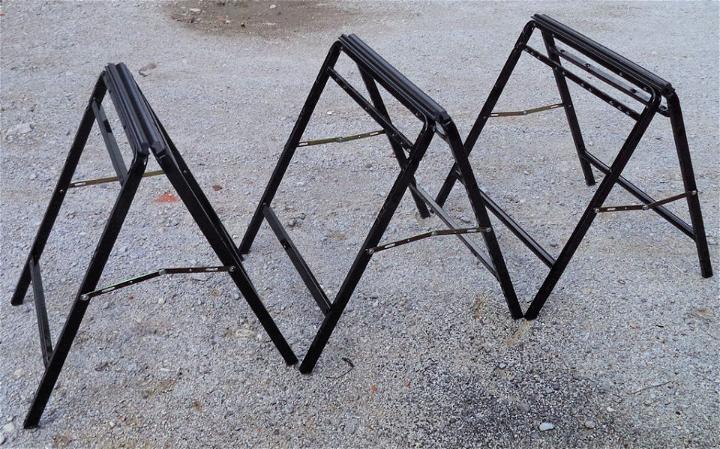
Making a foldable sawhorse introduces a practical solution for space-limited workshops. This design allows easy storage and portability, ensuring your workspace remains adaptable and clutter-free.
9. Build a Pair of Sturdy Folding Sawhorses
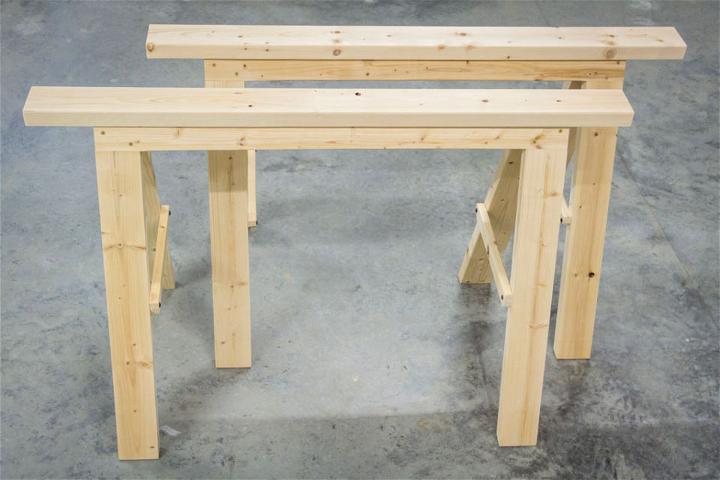
Building a pair of sturdy folding sawhorses combines convenience with reliability. This design ensures that your sawhorses are both easy to store and capable of supporting hefty projects, offering the best of both worlds.
10. Easy and Cheap DIY Sawhorses
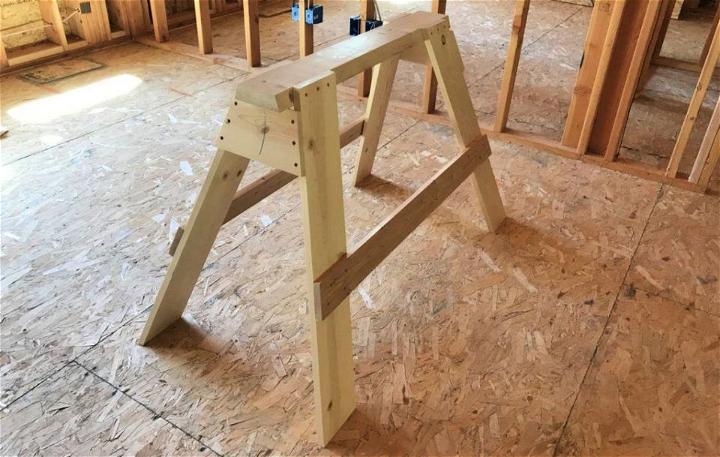
Easy and cheap DIY sawhorses prove that efficiency doesn't have to come at a high price. This approach emphasizes affordability and simplicity, ensuring that anyone can enhance their workspace without breaking the bank.
11. Upholstery Sawhorse Design
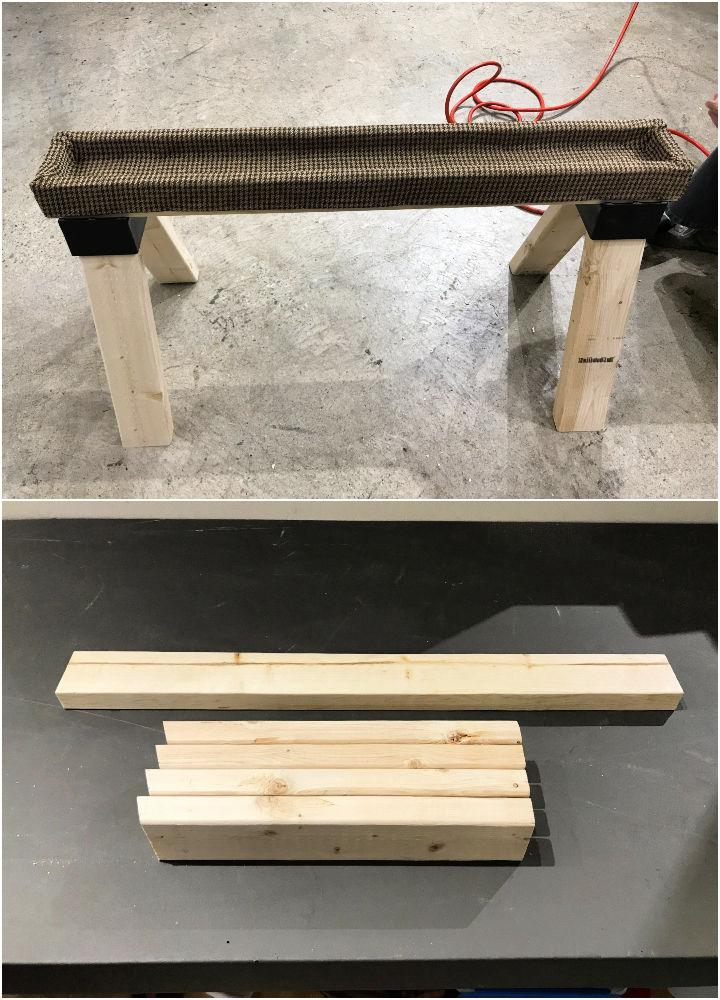
Upholstery sawhorses design caters specifically to the needs of upholstery projects. This tailored approach ensures that your sawhorses offer the right type of support and protection for delicate fabrics and materials.
12. Strong Folding Plywood Sawhorses
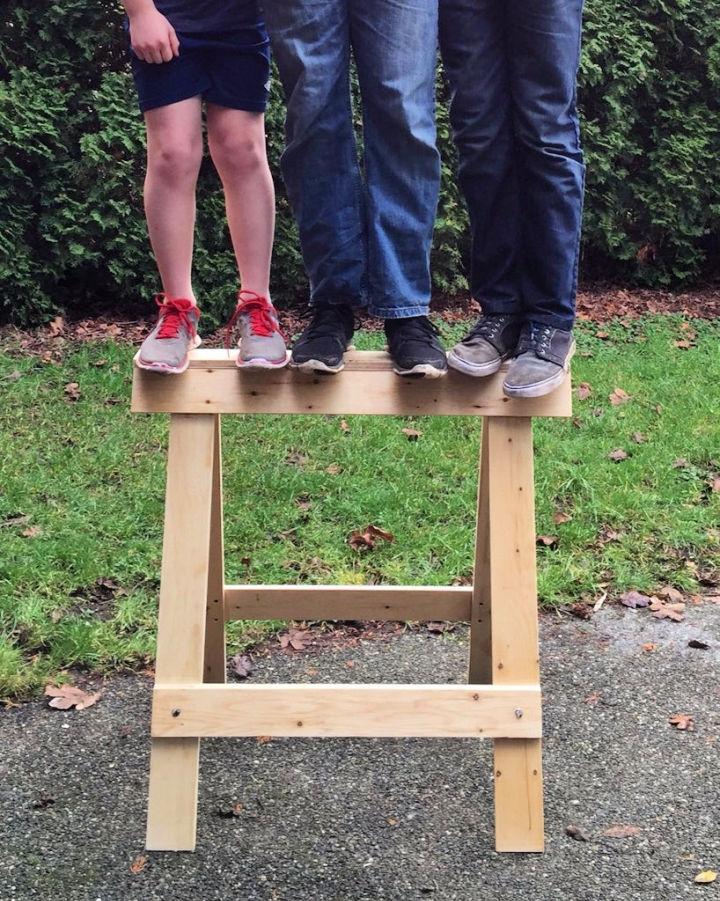
Strong folding plywood sawhorses marry durability with convenience. This design focuses on making a solid base that can easily be stored away, making it a favorite for those who value both strength and efficiency in their workspace.
13. Simple and Cheap Wooden Sawhorses
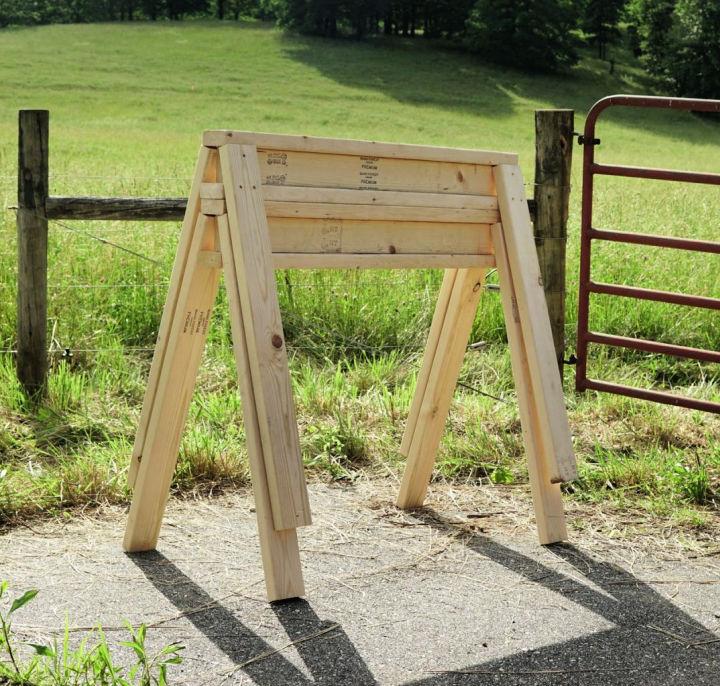
Simple and cheap wooden sawhorses are a testament to the beauty of simplicity. This straightforward design is easy to execute and offers a reliable addition to any workshop, proving that sometimes, less truly is more.
14. Build Your Own Shorty Sawhorse
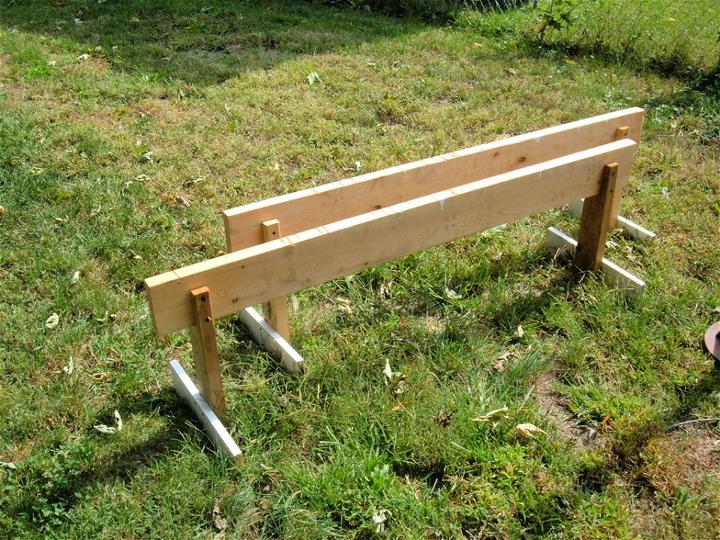
Building your own shorty sawhorse offers a way to have compact, yet sturdy support for your projects. It's perfect for small spaces and easy enough for beginners to tackle, offering an entry point into DIY woodworking.
15. Easy to Construct a Sawhorse
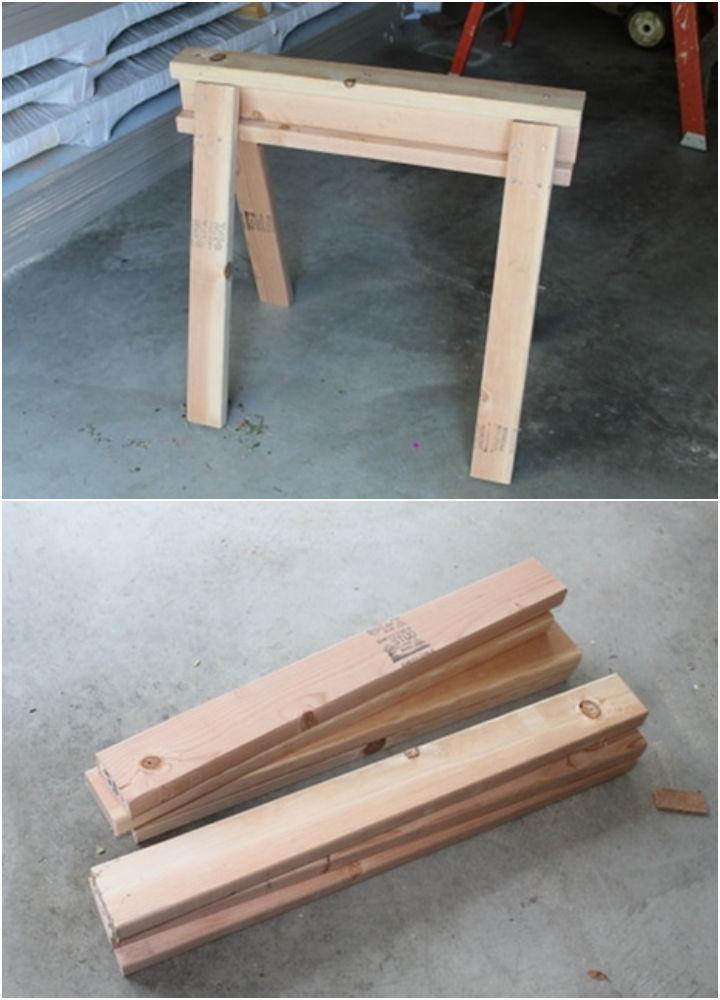
The joy of constructing a sawhorse lies in its simplicity and functionality. It's a practical project that doesn't require advanced skills, making it ideal for someone looking to start their journey into crafting with wood.
16. Collapsible Sawhorse Blueprint Plan
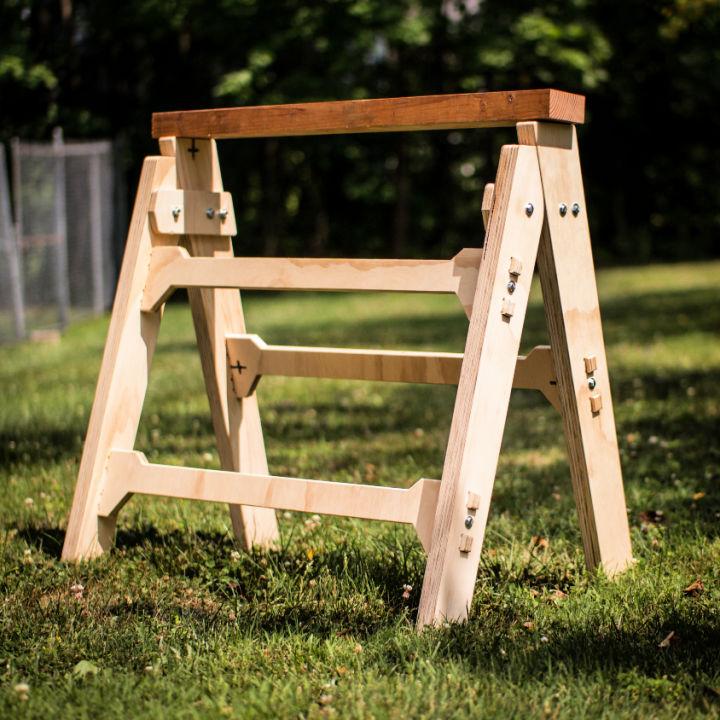
Diving into a collapsible sawhorse blueprint allows for storage convenience without sacrificing durability. This design shines in its ability to be tucked away when not in use, a perfect solution for those with limited workspace.
17. Japanese Inspired Wooden Sawhorses
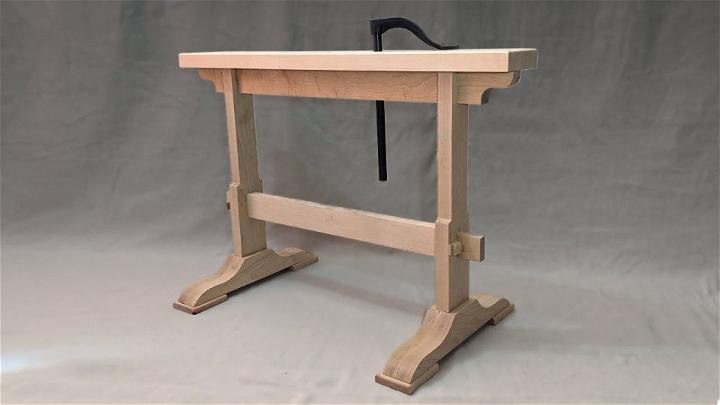
Embracing the elegance of Japanese-inspired wooden sawhorses adds a touch of style to any workshop. These sawhorses blend functionality with design, offering a robust support system that also serves as a conversation piece.
18. DIY Classic Carpenters Sawhorse
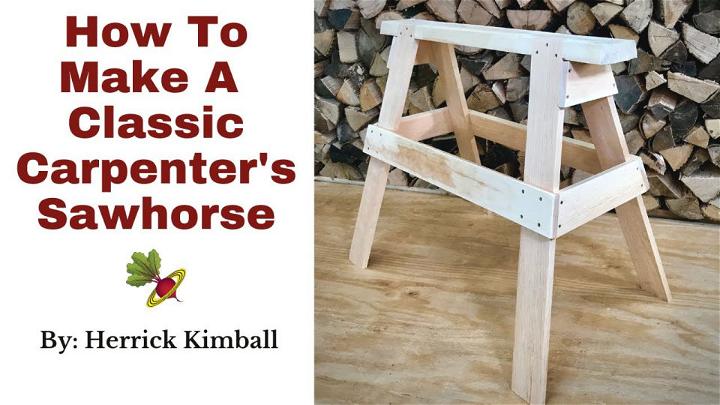
The classic carpenter's sawhorse is a testament to time-tested designs, offering reliability and strength. It's ideal for heavy-duty tasks, reflecting the reliability carpenters have depended on for generations.
19. Simple Sturdy Sawhorses from 2x4 Lumber
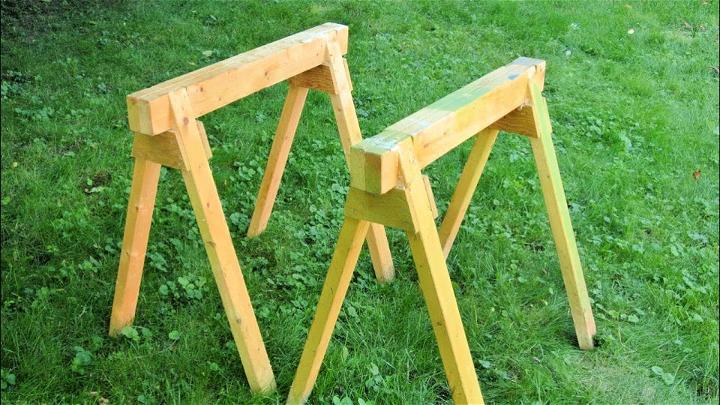
Utilizing 2x4 lumber to build simple, sturdy sawhorses offers an approachable project that results in a reliable and robust work support system, highlighting the versatility and strength of basic materials.
20. DIY Space Saving Sawhorses - Step by Step Instructions
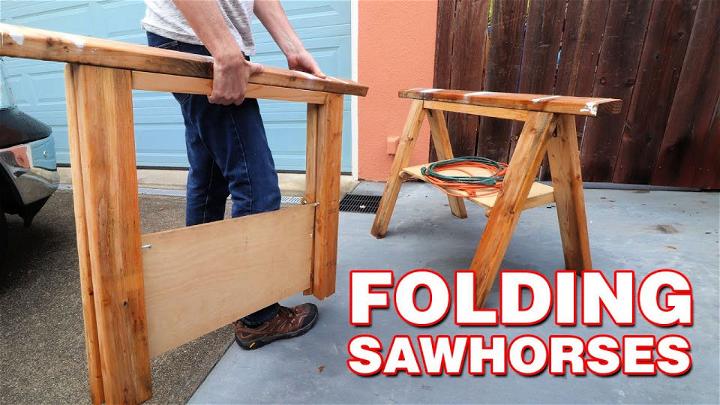
Embarking on a DIY project to make space-saving sawhorses provides a smart solution for those with limited workshop areas. These sawhorses fold or disassemble for easy storage, maximizing the functionality of your workspace.
21. Homemade Saw Horses
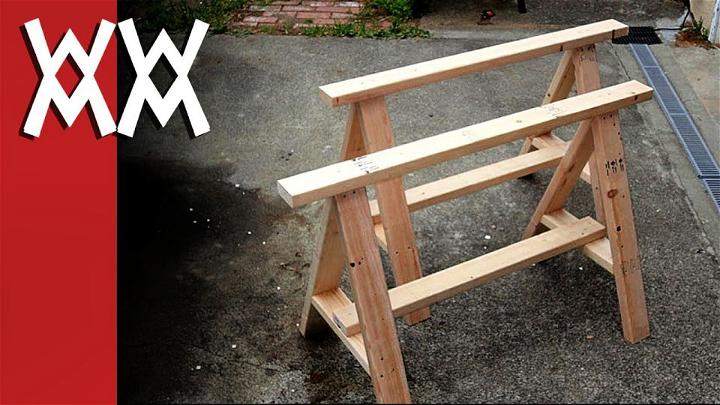
Making homemade sawhorses allows for customization and personalization. This DIY approach affords the satisfaction of using something tailor-made for your specific needs, emphasizing the joy of making something uniquely yours.
22. Best Sawhorses Using Hand Tools
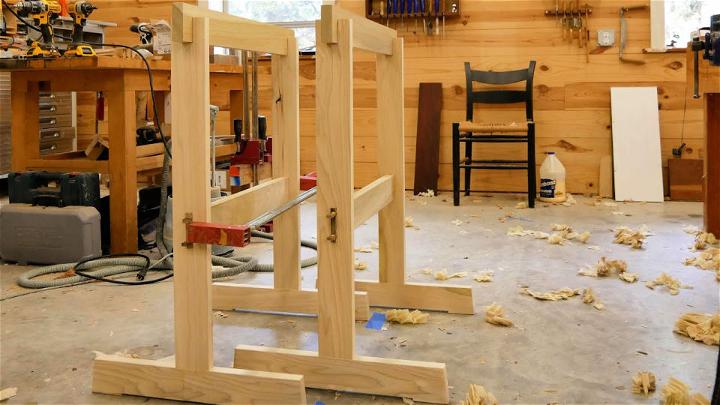
Opting for hand tools to construct the best sawhorses combines traditional woodworking skills with precision. This method emphasizes craftsmanship and the tactile experience of shaping wood directly under your hands.
23. Sturdy Sawhorses for Woodworking
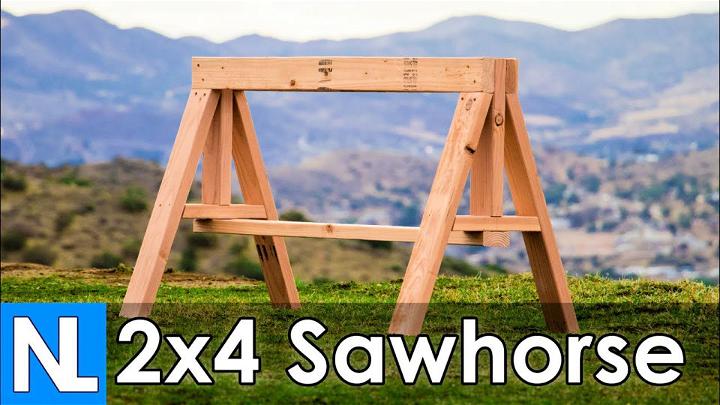
Sturdy sawhorses designed for woodworking offer a solid foundation for various projects. Their robust design caters to the precise needs of woodworkers, ensuring stability and reliability during intricate work.
24. DIY 20 Minute Folding Sawhorses
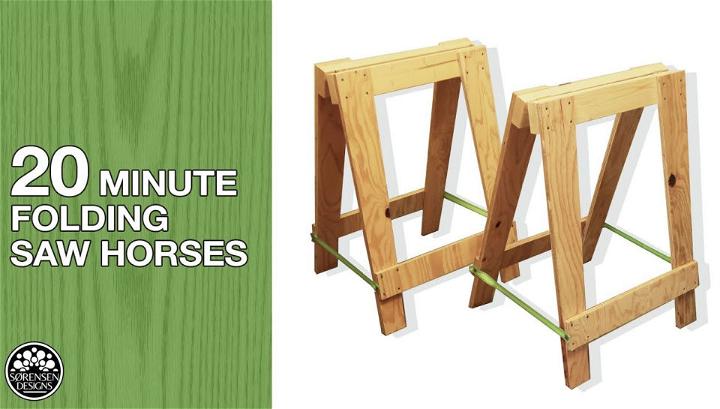
DIY 20-minute folding sawhorses are a marvel of efficiency and practicality. This quick project results in versatile, durable work support that can be easily stored, showcasing the beauty of the functional, time-saving design.
25. Multifunctional Sawhorses and Mini Workbench
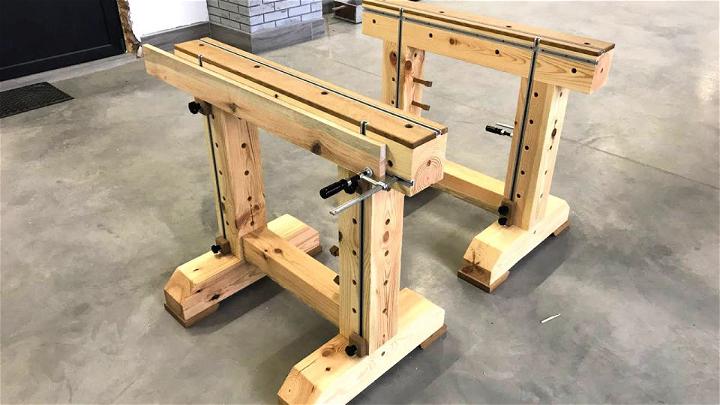
Exploring multifunctional sawhorses and mini workbenches reveals the adaptability of workshop accessories. These designs serve multiple purposes, from sawhorse to workbench, optimizing space and enhancing the utility of your work area.
Conclusion:
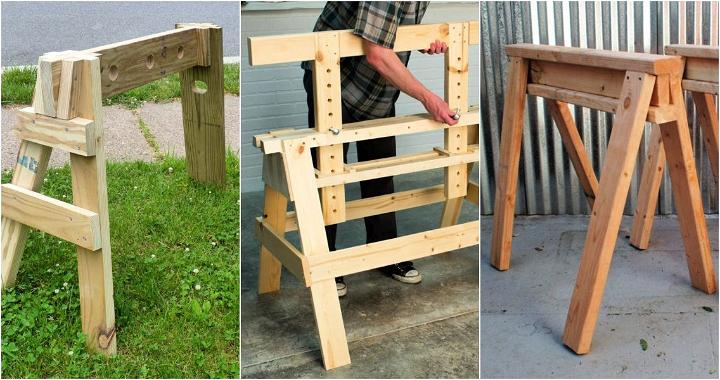
Wrapping up this guide on DIY sawhorse plans, you now have the knowledge and tools to make sturdy and versatile sawhorses for your woodworking projects. With step-by-step instructions and helpful tips, you can easily customize these plans to suit your needs. Start building your sawhorses today and take your woodworking skills to the next level.


