Building your own DIY mini ramp plans (DIY halfpipe) in your backyard can be a rewarding project that gives you endless hours of fun and skateboarding practice. Here's a simple, step-by-step guide to help you through the process. For more visual learners, a video tutorial link is provided at the end of this guide.
Planning Your Mini Ramp
Explore essential tips for planning your mini ramp: design, materials, and foundation steps for the perfect skate setup.
1. Design and Dimensions
Firstly, determine the size and location of your mini ramp. Consider the available space in your backyard and how big you want your ramp to be. You can find various designs online that might inspire your project.
2. Materials Needed
Gather all the necessary materials:
- Plywood (for transition pieces and surfacing)
- 2x4 lumber (for framing)
- Screws and drill bits (for assembly)
- Metal pipe (for coping)
- Concrete and gravel (for footings, if needed)
- Outdoor-grade paint and caulking (for protection)
3. Building the Foundation
If your yard isn't perfectly flat, you'll need to prepare a level foundation. This can be achieved by laying a brick pad or pouring concrete footings in the corners where the ramp will sit. Ensuring a stable and level base is crucial for the stability of your mini ramp.
Constructing the Ramp
Learn to construct the perfect skate ramp: cutting transitions, framing, surfacing, coping installation, and final touches with paint.
1. Cutting the Transitions
Your first task is to build the transition pieces for your quarter pipes. Measure and draw the curvature on plywood, then cut with a jigsaw. You'll need two transition pieces for each side of your mini ramp.
2. Assembling the Frame
With your 2x4s, start framing the shape of your quarter pipes. Ensure that everything is squared and level. Place support beams at regular intervals (roughly every 8 inches) along the curvature for strength and stability.
3. Adding the Surface
Attach your first layer of plywood to the frame, bending it to match the transitions. A second person can be very helpful here, holding the wood in place while the other screws it down. Use two layers of plywood for durability, staggering the seams for additional strength.
4. Installing the Coping
Coping is the metal pipe that sits at the top of the ramp transitions. Drill holes every few feet to securely attach it to your ramp, ensuring it's flush with the surface of your plywood for smooth transitions.
5. Final Layer and Painting
For the final surfacing, choose a weather-resistant material that can withstand the elements. After attaching, seal with outdoor-grade paint and caulking to protect against rain and humidity.
Finishing Touches
Discover how to add finishing touches to your project, including expansion gaps, caulking, and personalized decorations and extras.
Expansion Gaps and Caulking
Remember to leave small expansion gaps between the surface sheets to accommodate humidity changes. Caulk these gaps before painting to prevent water damage.
Decoration and Extras
Personalize your ramp with paint that matches your home or backyard decor. Consider adding fun elements like a climbing wall or slide for younger users.
Video Tutorial
For a step-by-step video tutorial on how to make a DIY halfpipe, watch this informative and engaging video by WickedRandom.
It pairs well with this written guide, offering a practical demonstration of the steps outlined, making complex procedures easier to follow.
FAQs About DIY Mini Ramps
Find all you need for DIY mini ramps: ideal materials, space requirements, build locations, wood types, maintenance tips, safety, and common pitfalls.
What materials do I need to build a mini ramp?
To build a mini ramp, you'll need:
- Structural lumber for the framework (2x4s, 2x6s)
- Plywood sheets for surfacing
- Metal coping for the edges
- Screws and nails for assembly
- Tools like a drill, saw, and measuring tape
How much space is required for a mini ramp?
The space needed depends on the size of the ramp. A typical mini ramp is about 24 feet long and 12 feet wide, including the flat bottom and decks. Ensure you have extra space around the ramp for safety.
Can I build a mini ramp in my backyard?
Yes, you can build a mini ramp in your backyard if you have enough space and comply with local zoning laws. Check with your local authorities to avoid any legal issues.
What is the best wood for the ramp surface?
Skateboard-friendly plywood, like birch or maple, is ideal for the surface. It's smooth, durable, and withstands the wear and tear of skateboarding.
How do I maintain my mini ramp?
Regular maintenance includes:
- Checking for loose screws and nails
- Sanding down rough spots
- Applying a sealant to protect the wood from moisture
Is it necessary to have a concrete foundation?
While not necessary, a concrete foundation can provide stability and longevity to your ramp. If you opt for a concrete base, ensure it's level and smooth.
How do I ensure my ramp is safe to use?
To ensure safety:
- Follow the ramp plans carefully
- Use quality materials
- Regularly inspect the ramp for damage
- Always wear protective gear while skating
What are the common mistakes to avoid?
Common mistakes include:
- Not planning the layout properly
- Using inadequate materials
- Ignoring safety measures
- Failing to maintain the ramp
15 DIY Mini Ramp Plans
Discover 15 DIY mini ramp plans for skateboarding enthusiasts. Build your own ramp easily with these detailed step-by-step instructions.
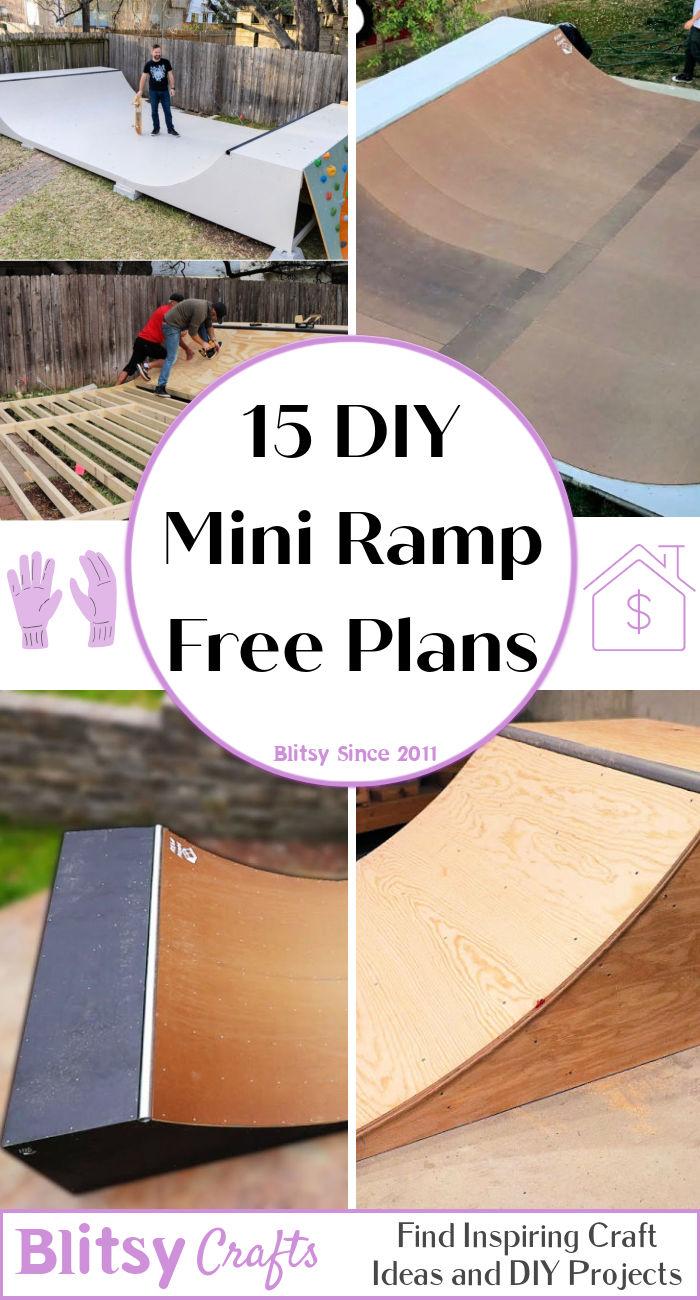
1. DIY Mini Skate Ramp
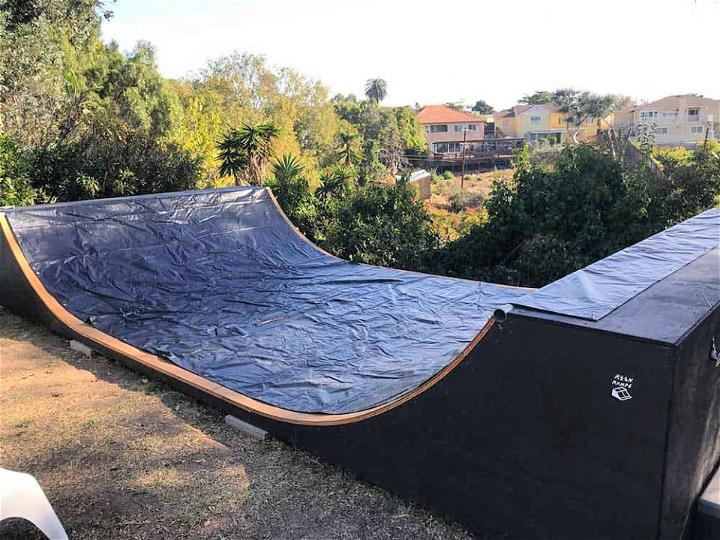
Unleash your creativity and skateboarding skills with a DIY mini skate ramp. Ideal for personal use, this compact ramp offers endless fun, encourages physical activity, and can be customized to fit any space. A delightful project that results in your skateboarding haven.
2. How to Build a Mini Ramp
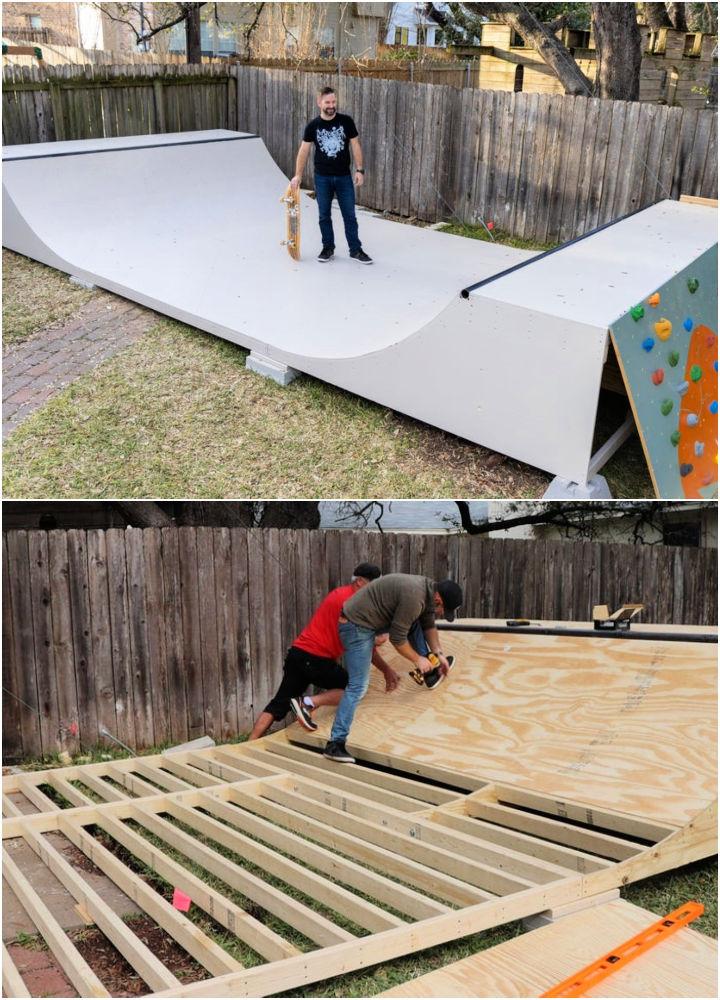
Building a mini ramp yourself may sound daunting, but with the right tools and guidance, it's a rewarding endeavor. Not only does it enhance your building skills, but it also gives you complete control over the design and dimensions, ensuring it perfectly meets your skateboarding needs.
3. DIY Micro Skate Ramp
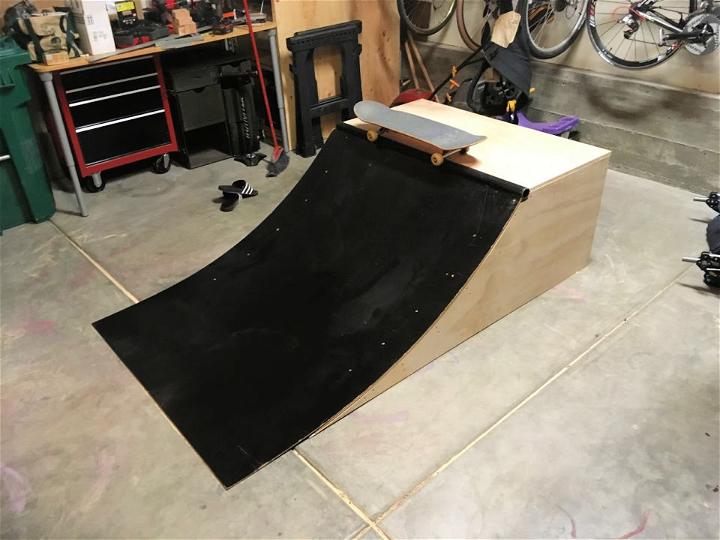
For those with limited space, a DIY micro skate ramp is a perfect solution. Small yet functional, it provides an excellent platform for honing skateboarding tricks. Plus, its compact size makes it easy to fit in various locations, making skateboarding accessible right at home.
4. How to Make a Mini Wooden Ramp
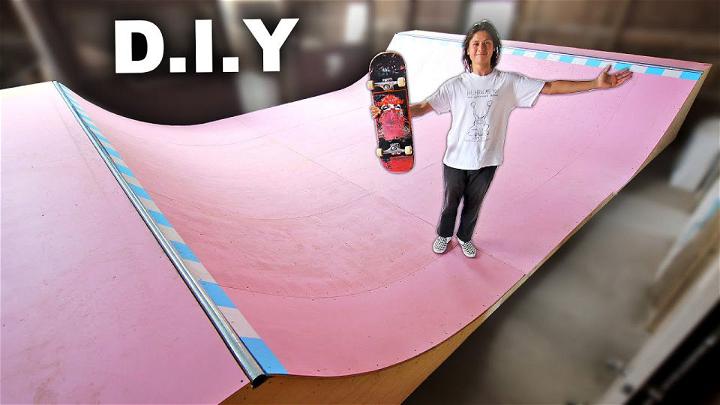
Constructing a mini wooden ramp is a fantastic way to get into woodworking and skateboarding simultaneously. This eco-friendly option can seamlessly blend with any outdoor setting, offering durability and a smooth surface for practicing basic to intermediate skateboarding tricks.
5. 3x8 Ft Mini Ramp Plan
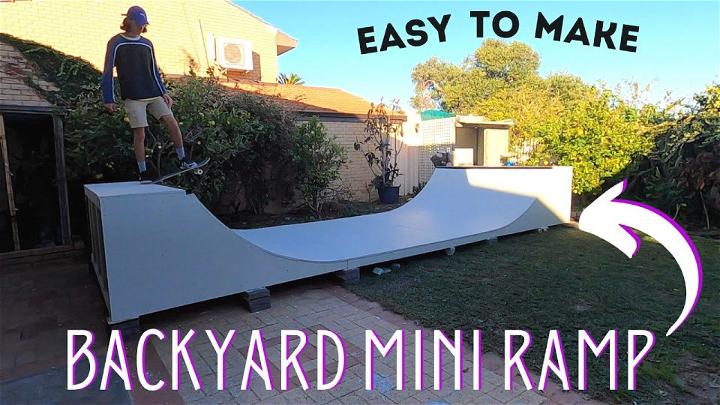
A 3x8 ft mini ramp plan is perfectly sized for beginners and seasoned skateboarders alike. Its manageable dimensions make it an ideal choice for a backyard skate spot, offering enough room for practice while still conservatively using space. An exciting project that transforms your outdoor area.
6. Build a Mini Ramp for the Backyard
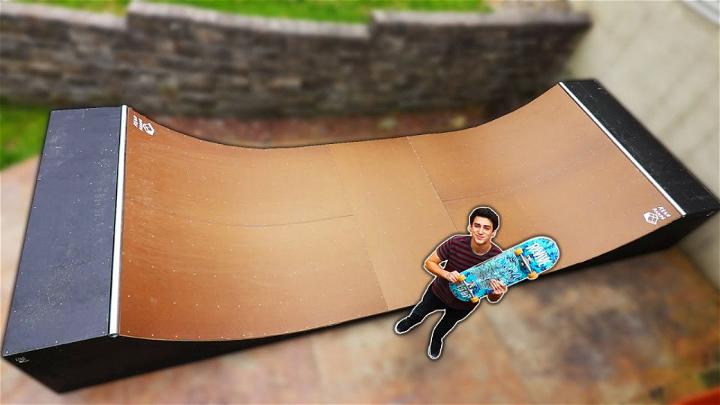
Imagine having a skate park in your own backyard. Building a mini ramp offers you a personal skate space, ideal for practice sessions or hanging out with friends. It's a fun addition that can make your backyard the go-to spot for skateboarding fun.
7. Portable DIY Skateboard Ramp
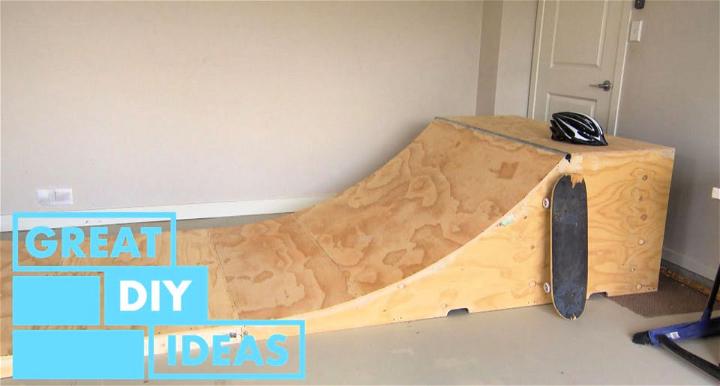
Mobility meets skateboarding with a portable DIY skateboard ramp. This versatile option allows you to enjoy skating in various locations. Easy to assemble and disassemble, it's perfect for skaters on the go or those who prefer a temporary setup without sacrificing the thrill of the ride.
8. Hidden Concrete Mini Ramp in the Woods
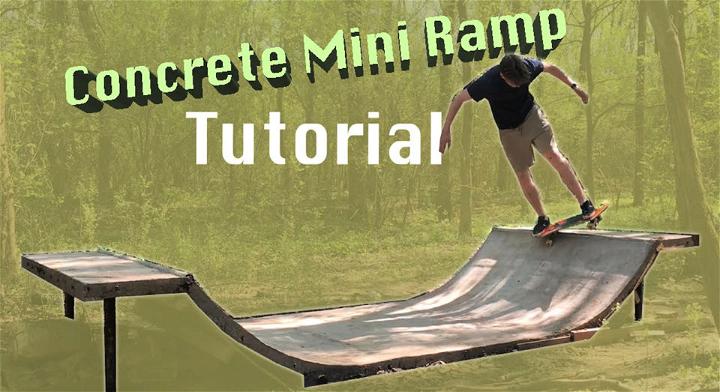
A hidden concrete mini ramp offers a unique skating experience, blending the thrill of skateboarding with the tranquility of nature. This durable, weather-resistant ramp can be a secret spot for peaceful practice or an adventurous getaway, providing a one-of-a-kind skateboarding adventure.
9. DIY Skate Ramp
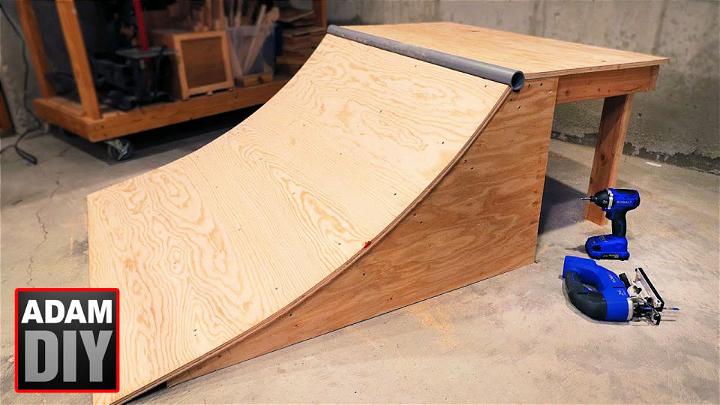
Building your DIY skate ramp is a rewarding project that brings the skatepark right to your doorstep. It's a perfect way to tailor your skating experience, enhancing both skills and fun. With straightforward materials and designs, it's a gem for both newbies and seasoned skaters.
10. Building a Giant Backyard Mini Ramp
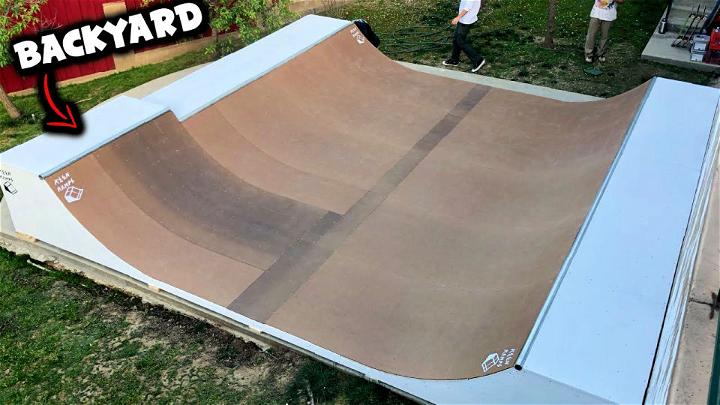
Imagine a giant mini ramp in your backyard—your skateboarding haven. This project is ideal for those with more space, aiming to push their skateboarding to new heights. Its larger size offers a more versatile skateboarding experience, making every session an adventure.
11. Making a Half-Pipe Ramp
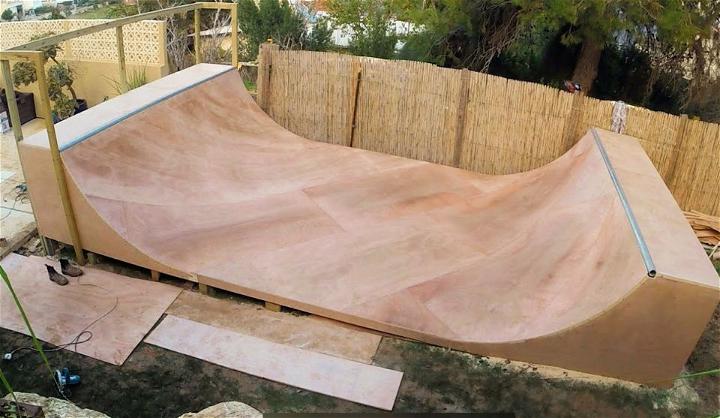
Constructing a half-pipe ramp introduces the thrill of skatepark dynamics into your own space. It's not just a skateboarder's dream but a canvas for creativity and progression in the sport. By choosing this design, you're setting up a stage for endless tricks and hours of enjoyment.
12. Homemade Mini Ramp for Garage
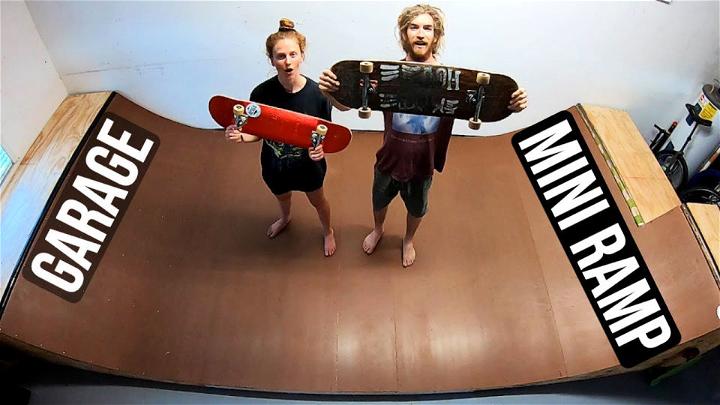
Transforming your garage with a homemade mini ramp is a fantastic way to make use of limited space. It allows for skateboarding no matter the weather, offering a private and convenient spot to practice. Its compact design doesn't skimp on fun, providing a solid foundation for both practice and play.
13. DIY Small Skateboard Ramp
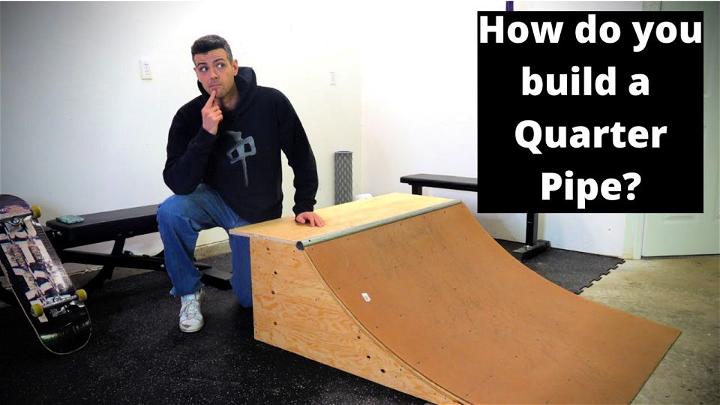
A DIY small skateboard ramp is an excellent starter project for those new to ramp building. It's manageable in size but big on fun, making it a fantastic addition to any driveway or yard. It's a gateway to mastering basics and a stepping stone to more complex structures.
14. Skate Pool Inspired Mini Ramp for Skateboarding
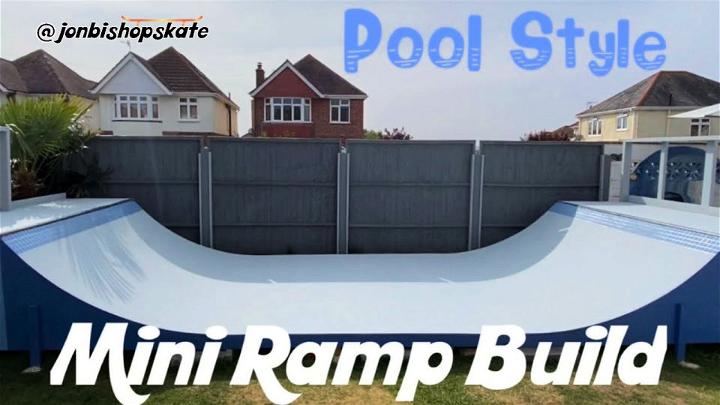
Capturing the essence of skate pool culture, a skate pool-inspired mini ramp brings a slice of skateboarding history to your home. Its unique design is not only visually striking but also offers a distinct skating experience. It's a nod to the past while being a blast in the present.
15. Cheap and Easy DIY Mini Ramp
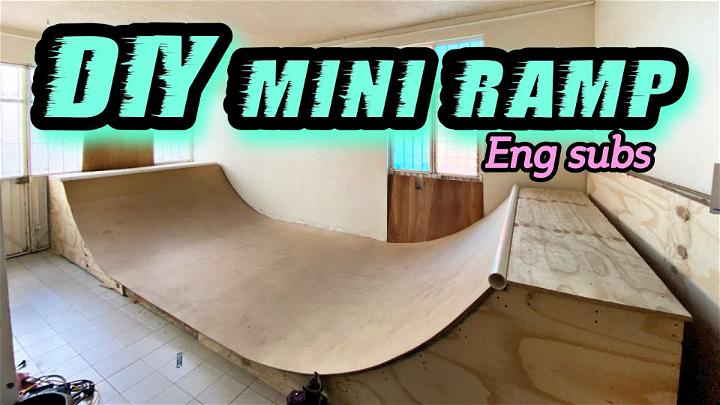
A budget-friendly and straightforward project, this DIY mini ramp proves you don't need to break the bank to enjoy skateboarding at home. It's all about making the sport accessible, focusing on simple construction and materials without compromising on the thrill of the ride.
Conclusion:
In conclusion, these DIY mini ramp plans offer a fantastic opportunity to enhance your skateboarding experience. With clear instructions and detailed diagrams, you can easily build a customized mini ramp in your backyard or garage. By following these plans, you can unleash your creativity and enjoy endless hours of skateboarding fun right at home. Start building your mini ramp today!


