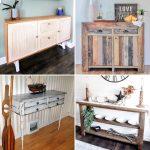
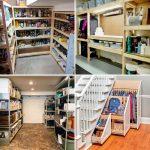
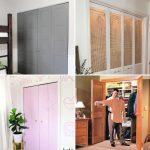
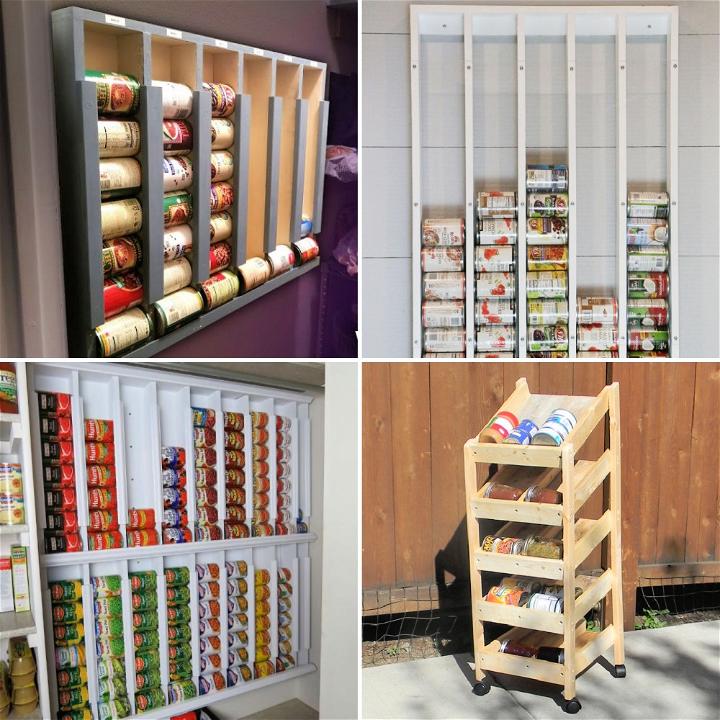
Building additional storage space in your closet does not need to be expensive or complicated. With just a few materials and some simple tools, you can build durable, attractive shelving that maximizes your storage area efficiently. This guide will walk you through the process of building cheap DIY closet shelves using melamine, a material known for its strength, durability, and ease of maintenance.
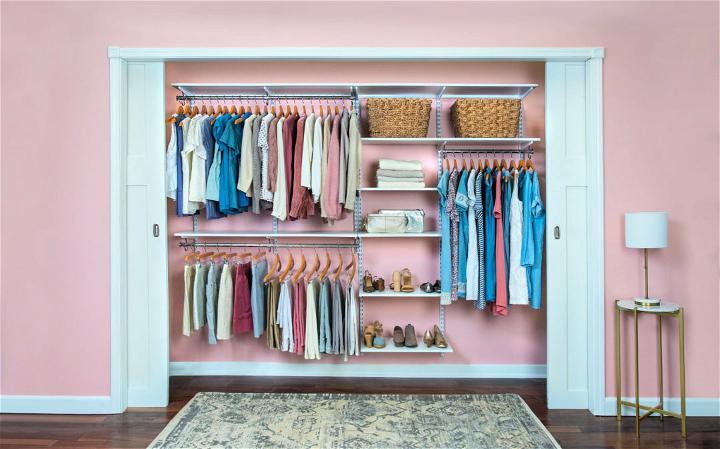
Understanding the Benefits
Before diving into the instructions, it's essential to grasp what you'll gain from this project. Melamine shelves are not only cost-effective but also resistant to scratches, water damage, and wear over time. This guide is designed to help even beginners tackle a shelving project with confidence, resulting in a more organized and functional closet that caters to your storage needs.
Materials Needed
- Melamine Boards: The core material for the shelves, chosen for its durability and finish.
- Tape Measure and Graph Paper: For precise measurements and planning.
- Circular Saw with a High Tooth Count Blade: Ensures clean cuts on melamine.
- Stud Finder: To locate studs for secure cleat attachment.
- Level: For proper installation alignment.
- Brad Nailer & Wood Putty: For attaching and finishing the shelves.
- Paint (optional): To match the cleats with the room's color scheme.
- Construction Adhesive: For additional support where shelves intersect.
Step-by-Step Instructions
Measure and Plan
- Start with Exact Measurements: Measure your closet space to decide on the desired height and spacing of your shelves. Sketch out your plan on graph paper.
Preparing the Space
- Prepare for Installation: Mark the wall for the placement of the center support board. Use an oscillating tool to build a notch in the baseboard for a flush fit.
Cutting and Installing Support
- Cut Center Supports: Cut the melamine boards for the central support, ensuring they fit within the notched area. A higher tooth count blade on your saw will minimize chipping.
- Install Wall Cleats: Use a stud finder to mark stud locations for your cleats. Cut the cleats from lumber, size accordingly, and secure them to the wall studs with a brad nailer.
Installing Shelves
- Measure and Cut Shelves: Measure each shelf individually, accounting for any variances in wall squareness. Cut the melamine boards to size.
- Securing Shelves: Start with the top shelf, securing it to the center support and wall cleats with brad nails. Use a level to ensure everything is perfectly aligned.
- Add Additional Support: Where shelves meet, attach a support board with construction adhesive and brads for extra stability.
Finishing Touches
- Fill and Paint: Fill any nail holes with wood putty, sand smooth, and apply paint to the cleats if desired.
- Caulk for a Professional Finish: For a seamless appearance, caulk the edges where the shelves meet the wall or support boards.
Video Tutorial
For a visual demonstration, watch a step-by-step video tutorial on YouTube. It provides a clear and easy-to-understand visual walkthrough of the techniques, making it a great companion to this written guide.
Expanding Your Project
Now that you have the basics down, consider customizing your closet shelves to better suit your needs. Add rods for hanging clothes, or design smaller cubbies for shoe storage. The possibilities are endless, and with the skills you've gained, you're well-equipped to tackle more complex projects.
Building DIY closet shelves with melamine is a straightforward, rewarding project that can greatly enhance the functionality and appearance of any closet. By following these steps, you're on your way to making durable, stylish storage solutions in your home.
DIY Closet Shelves: Your Questions Answered
Making DIY closet shelves can be a rewarding project that not only adds value to your home but also helps organize your space efficiently. Here are some frequently asked questions (FAQs) to help you get started on your project with confidence.
What materials do I need for DIY closet shelves?
To build sturdy and durable closet shelves, you'll need:
- 1x2 boards for shelf supports.
- Laminated wood shelves or plywood cut to size.
- Wood glue and 1 ¼" wood screws for assembly.
- 3" wood screws for attaching supports to studs.
- A stud finder, level, and drill for installation.
How do I ensure my closet shelves are level?
Using a level is crucial when installing your shelf supports. After marking where your supports will go, place the level on the 1x2 boards before securing them with screws. This ensures your shelves will be perfectly horizontal and stable.
Can I customize the size of my closet shelves?
Absolutely! Measure the interior of your closet and consider what you plan to store. This will help you determine the optimal width and depth of your shelves. Remember to account for any obstructions like door frames or existing rods.
How do I find the studs in my closet walls?
A stud finder is an essential tool for this task. Run it along the wall, and mark the locations of the studs. Securing your shelf supports into these studs will provide the strength needed to hold the weight of your stored items.
What are some common mistakes to avoid when building closet shelves?
- Not measuring the space accurately, leading to ill-fitting shelves.
- Skipping the use of a level, resulting in uneven shelves.
- Failing to secure the shelves into studs, which can cause the shelves to collapse under weight.
- Overloading the shelves beyond their capacity.
25 DIY Closet Shelves to Build
Discover 25 DIY closet shelves to build organized and efficient storage solutions. Maximize space with these creative and customizable shelving options.

1. DIY Wood Closet Shelving

DIY wood closet shelving is a fantastic way to add warmth and character to your space. It's sturdy, easily customizable to fit any closet size, and offers a charming aesthetic that elevates your home organization.
2. Custom Closet Shelves

Custom closet shelves give you the freedom to design your storage exactly how you need it. Perfect for maximizing your space and accommodating all your items in a neat, organized fashion, making your day-to-day life easier and more efficient.
3. How to Build Shelves in Closet
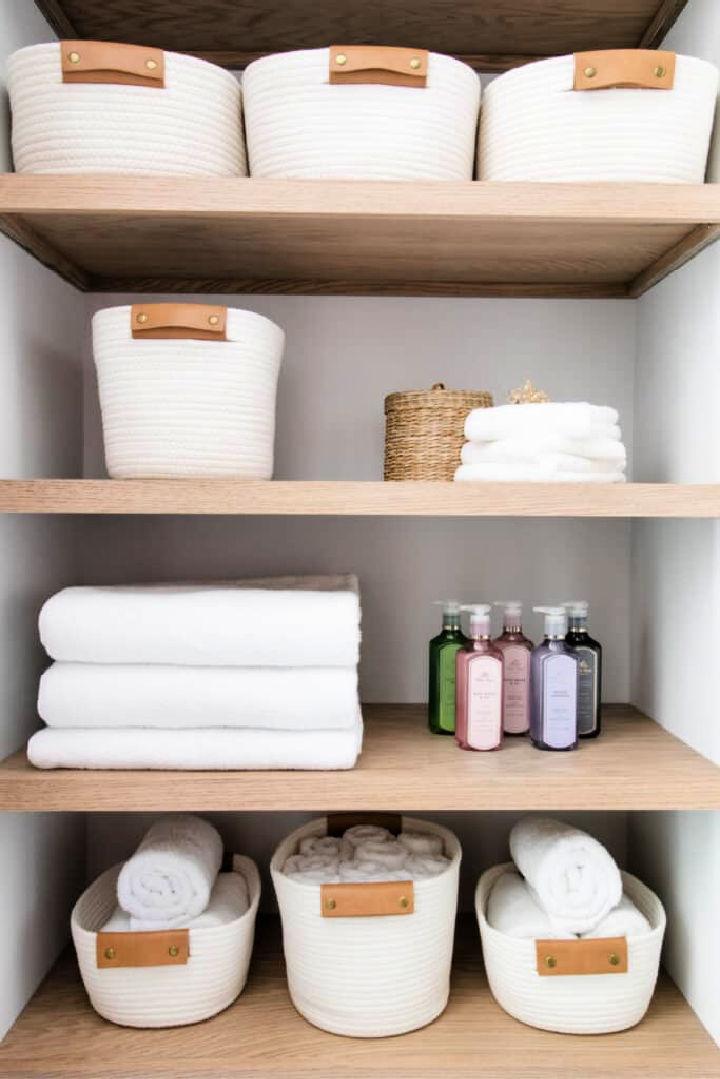
Embrace the DIY spirit! Building shelves in a closet can transform a chaotic space into an organizer's paradise. With simple tools and materials, you can tailor your storage space to your precise needs and preferences.
4. Wooden Closet Shelves

Wooden closet shelves are not just sturdy; they bring a slice of nature into your home. Ideal for those seeking a balance of form and function, they offer durability and a timeless look that never goes out of style.
5. Build Your Own Closet Organizer
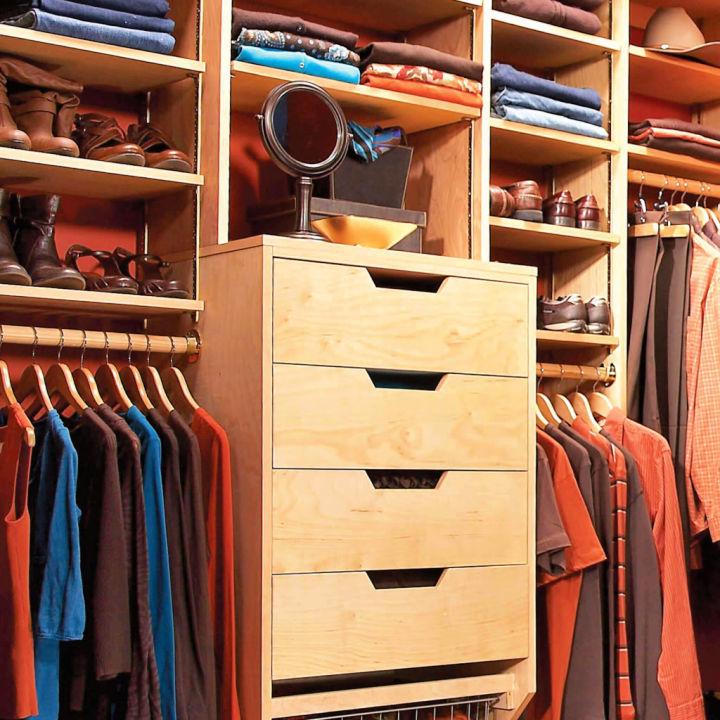
This project lets you unleash your creativity while enhancing your home's efficiency. It's a rewarding endeavor that results in a personalized solution perfectly suited to your storage needs and design preferences.
6. Coat Closet Storage Shelves
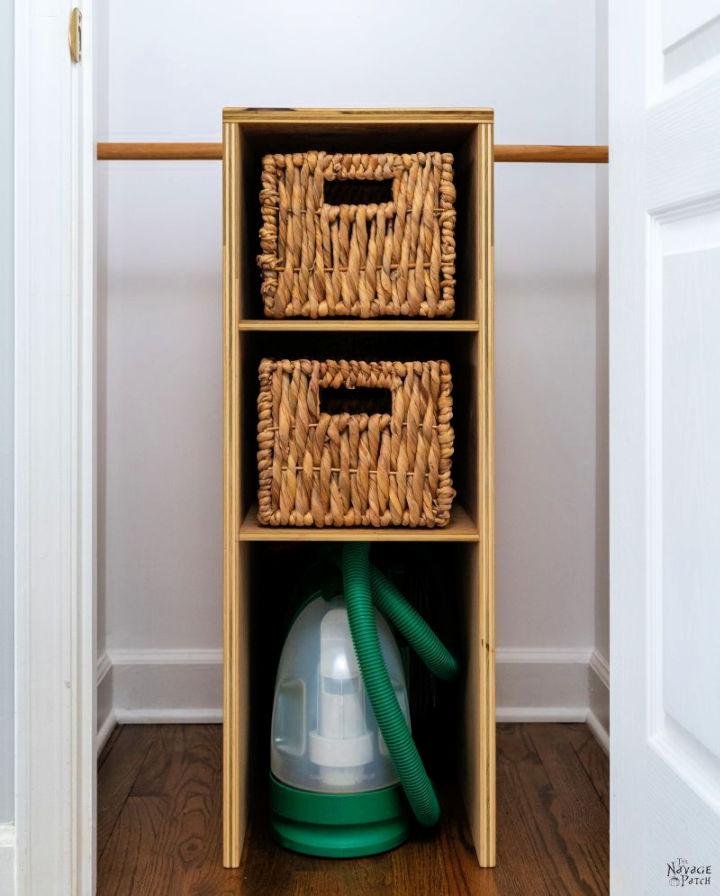
Coat closet storage shelves are the unsung heroes of tidy entryways. They make storing seasonal outerwear a breeze, keeping your space clutter-free and ensuring your coats are always ready and wrinkle-free.
7. Walk in Closet Organizer from Scratch

Walk-in closet organizer from scratch gives you the luxury of a customized storage solution. It's a deep dive into personalization, ensuring every pair of shoes, every garment, and accessory has its designated spot, reflecting your lifestyle and taste.
8. Inexpensive DIY Closet Organizer
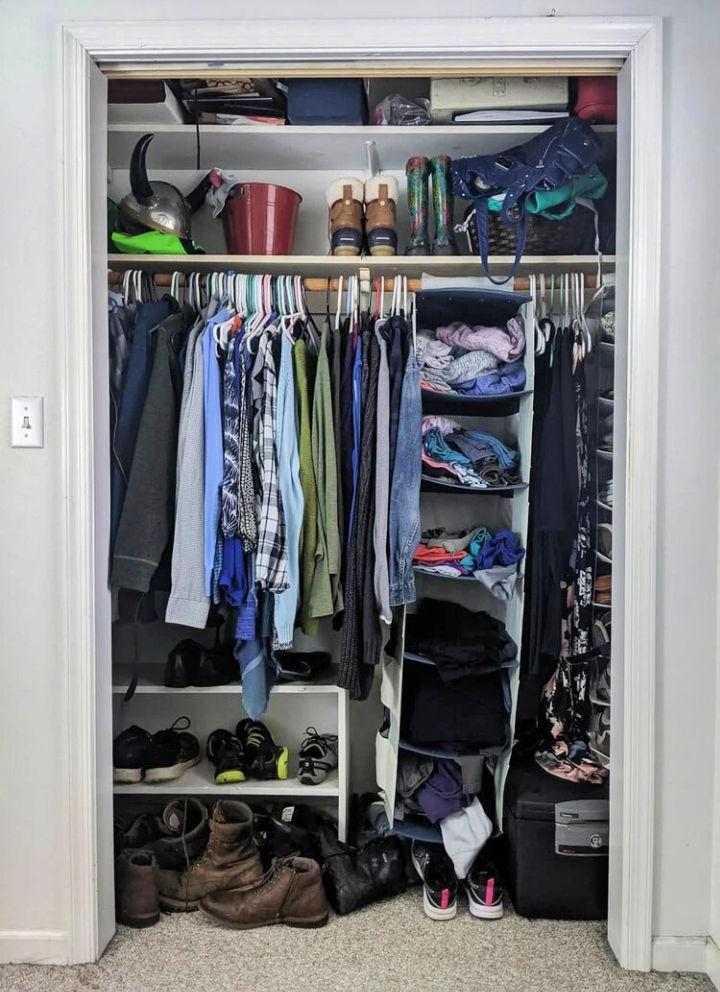
An inexpensive DIY closet organizer proves that a tight budget doesn't mean compromising on an organized closet. With a bit of creativity and basic materials, you can build a functional, neat space without breaking the bank.
9. DIY Melamine Closet Organizer
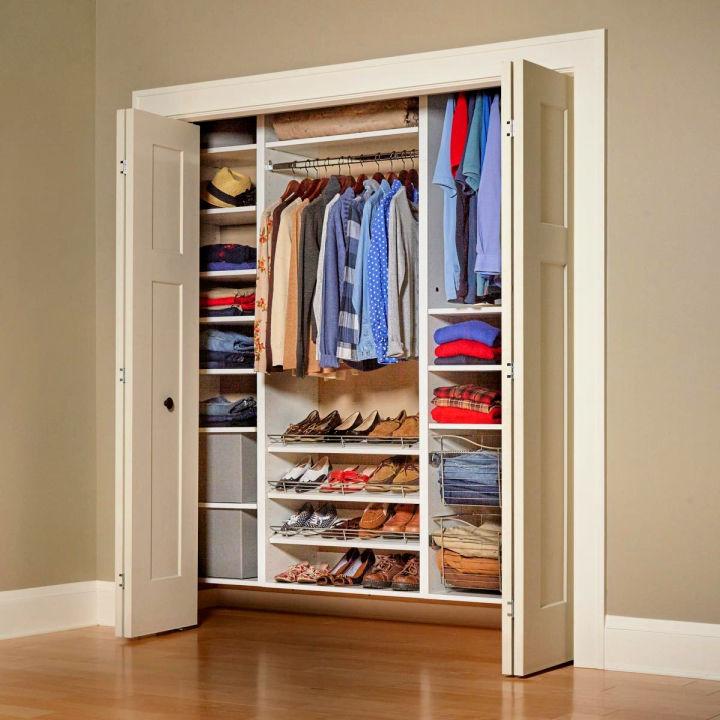
Opt for a sleek, modern look with melamine. It's lightweight, easy to clean, and offers a streamlined appearance to your closet, making it a popular choice for contemporary spaces.
10. Homemade Closet Organizer
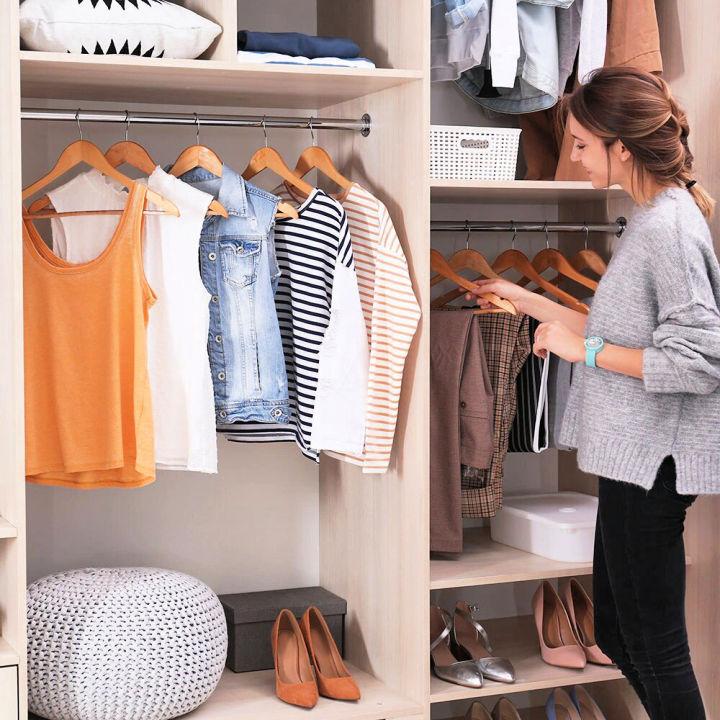
Homemade closet organizer brings a touch of personal craftsmanship to storage solutions. It's about tailoring your space precisely, ensuring every item has its place, and adding a unique stamp to your home.
11. Cheap and Easy DIY Closet Shelves
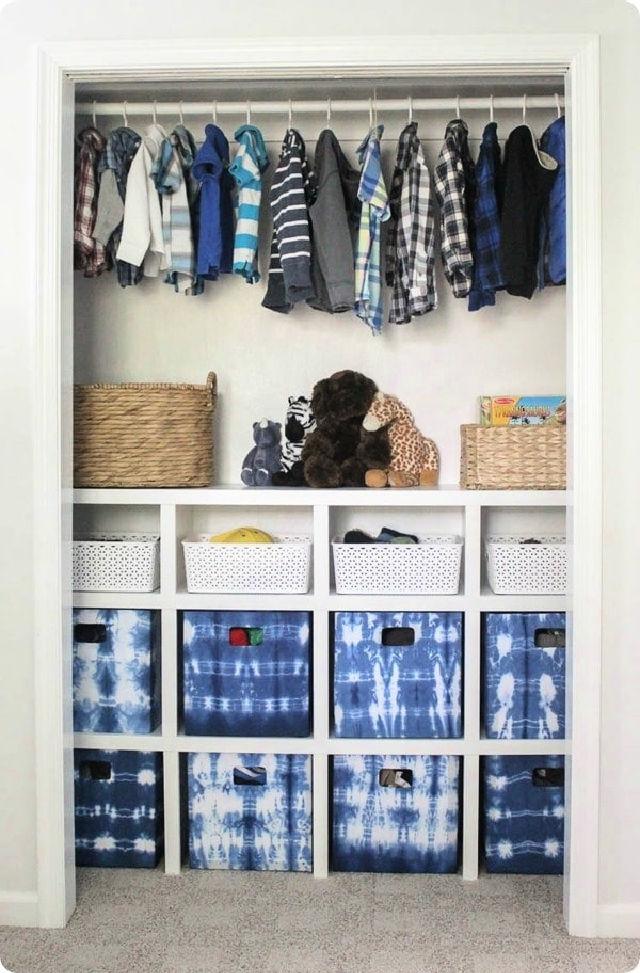
Who says you can't save money and still get organized? These shelves are all about simplicity and efficiency, making it possible to declutter your closet without any hassle or high costs.
12. Plywood Shelves in Closet
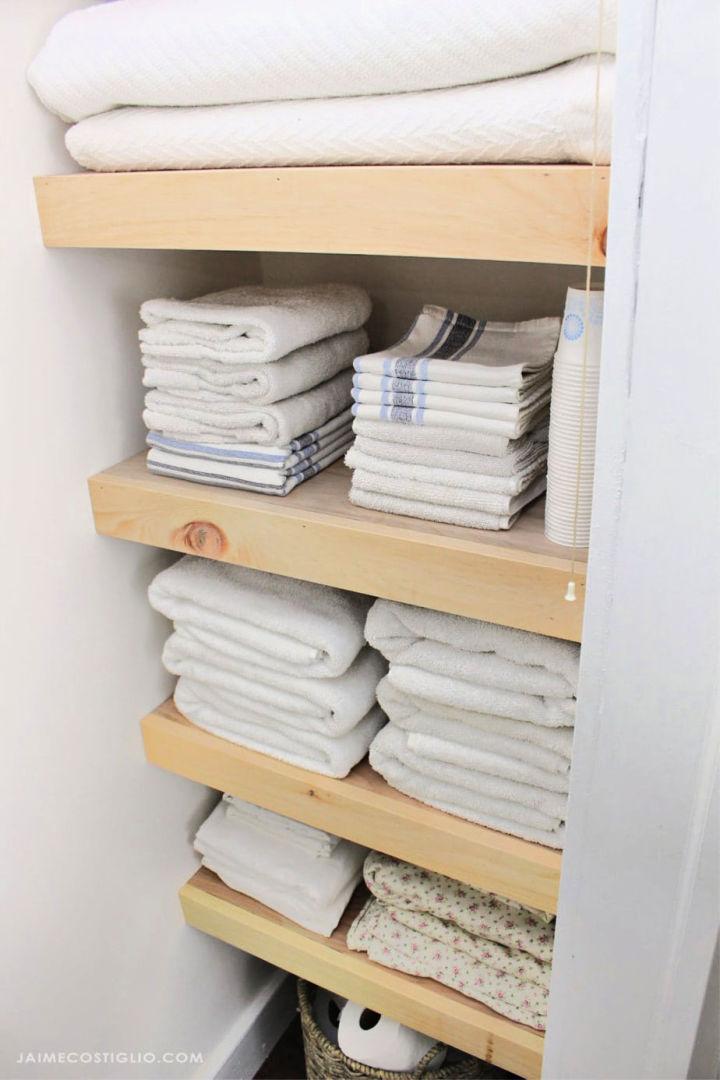
Offering strength and versatility, plywood shelves are a great choice for anyone looking for a durable, cost-effective solution. They can be cut and finished to fit any closet dimensions, supporting various loads with ease.
13. L shaped Closet Shelves
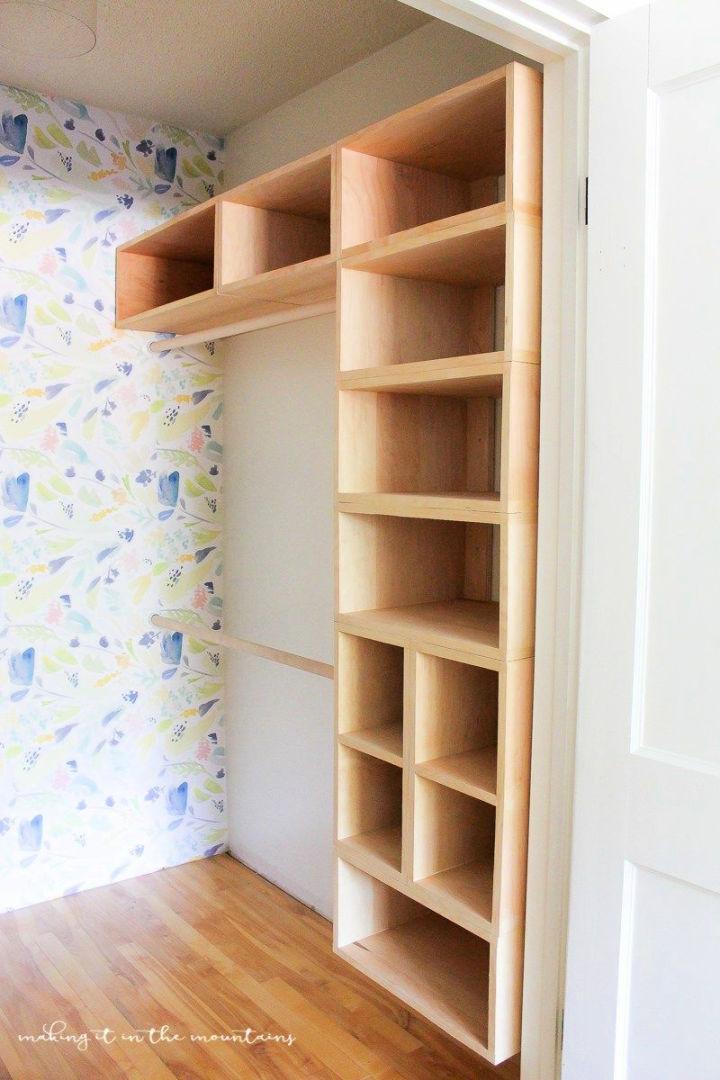
L-shaped closet shelves utilize every corner of your closet, enhancing storage capacity. They are a smart solution for awkward spaces, ensuring no area is wasted, and everything is within easy reach.
14. Hanging Closet Shelves
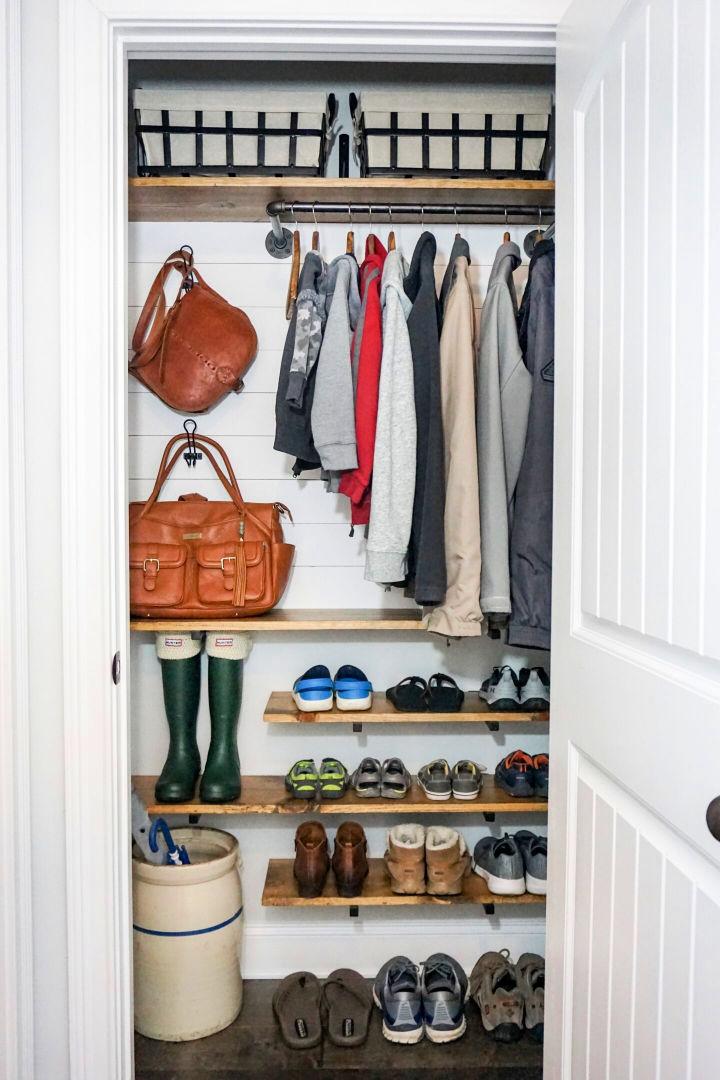
Hanging closet shelves are a flexible, space-saving option for those who need extra storage but lack floor space. Easily attached to rods, they provide additional levels of organization for clothes, accessories, and more.
15. Floating Wood Closet Shelves

Floating wood closet shelves add a modern, minimalist touch to your storage. With their hidden supports, they appear to "float" on the wall, offering a sleek, clutter-free look that maximizes space and style.
16. DIY Closet System

A comprehensive approach to closet transformation, this system allows you to make a storage solution that caters to your entire wardrobe. It's about taking control and making your closet work for you.
17. Closet Wall Shelves
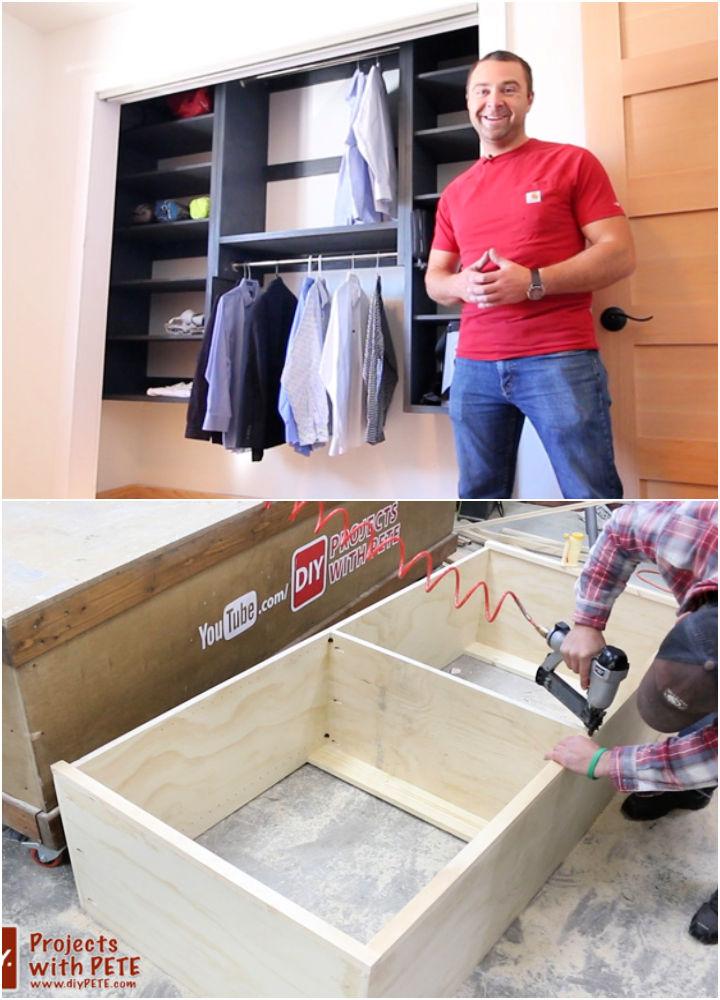
Closet wall shelves take advantage of vertical space, freeing up the floor for other uses. They're perfect for displaying accessories or storing boxes, making your closet not just organized but also aesthetically pleasing.
18. Easy to Make Closet Shelving
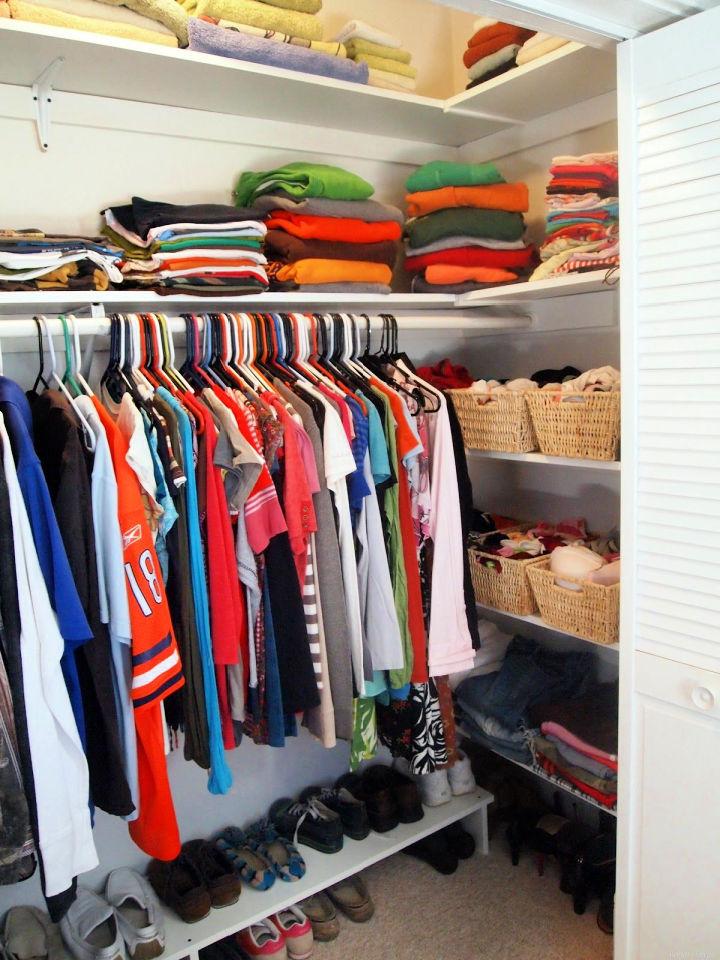
Easy-to-make closet shelving is all about simplicity and functionality. With straightforward designs and minimal tools required, you can quickly put together efficient storage that meets your immediate needs.
19. Build a Closet Shelves
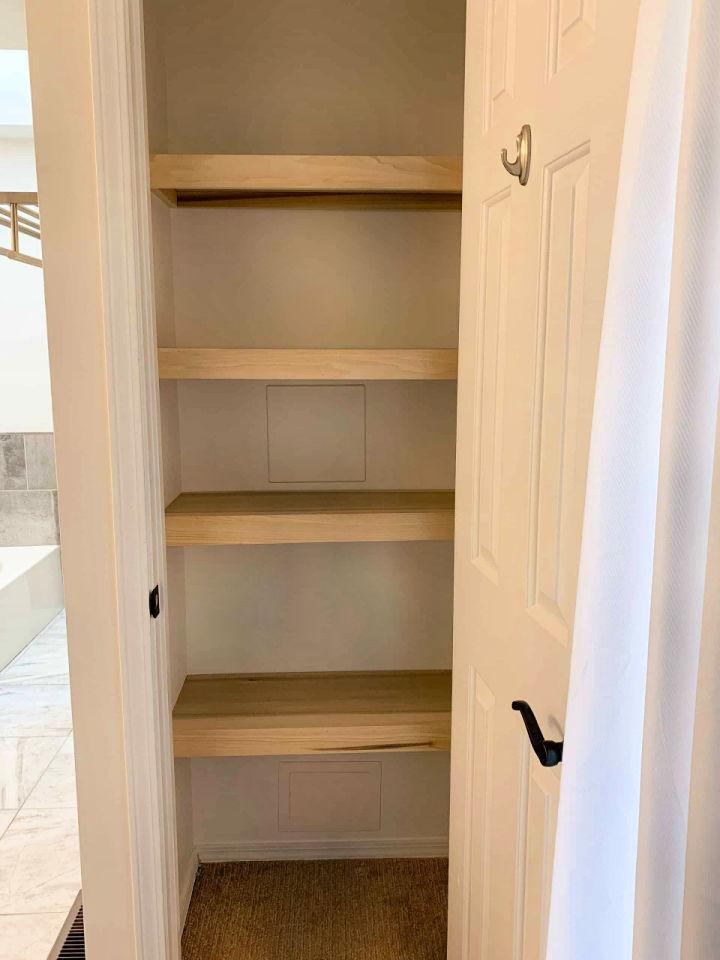
Building closet shelves encourages you to get hands-on with your organization. It's an invitation to craft bespoke storage solutions that fit your belongings perfectly, offering satisfaction and efficiency in equal measure.
20. DIY Shelves for Closet
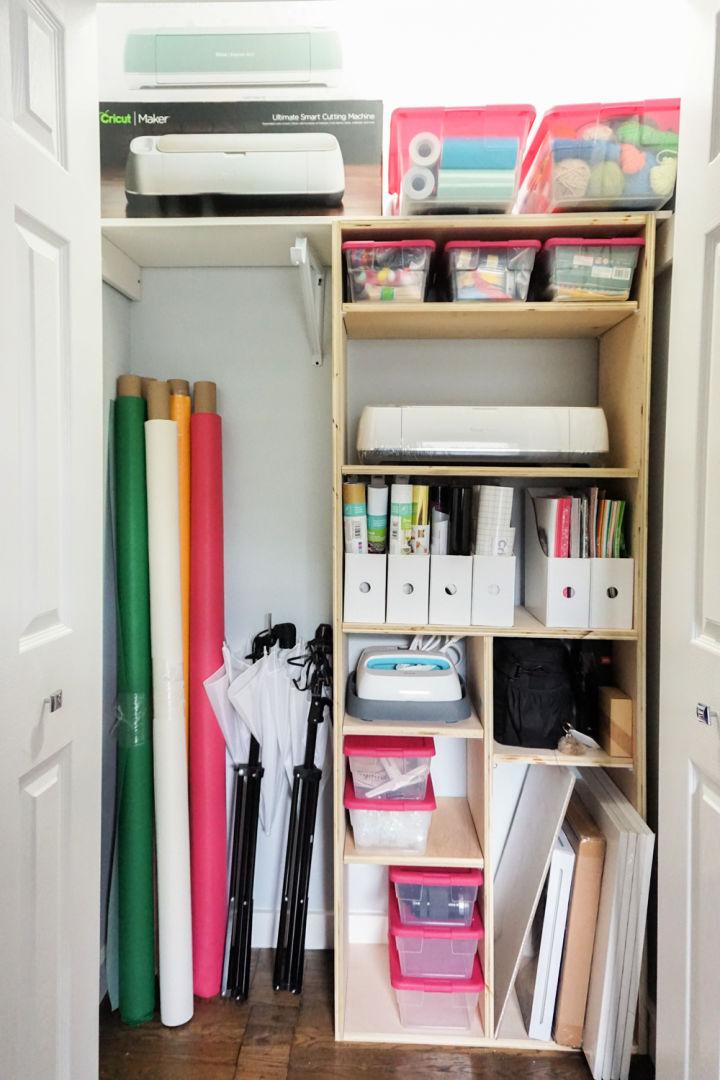
DIY shelves for closets are the go-to for those who enjoy customization and creativity. It's about making your storage space truly yours with shelves that fit your space and style perfectly.
21. DIY Closet Rod and Shelf

DIY closet rod and shelf is a dual-purpose solution that maximizes your closet's efficiency. Perfect for hanging garments and storing folded items, it balances spaciousness and accessibility, making the best use of your closet space.
22. Small Closet Organizer with Shelves
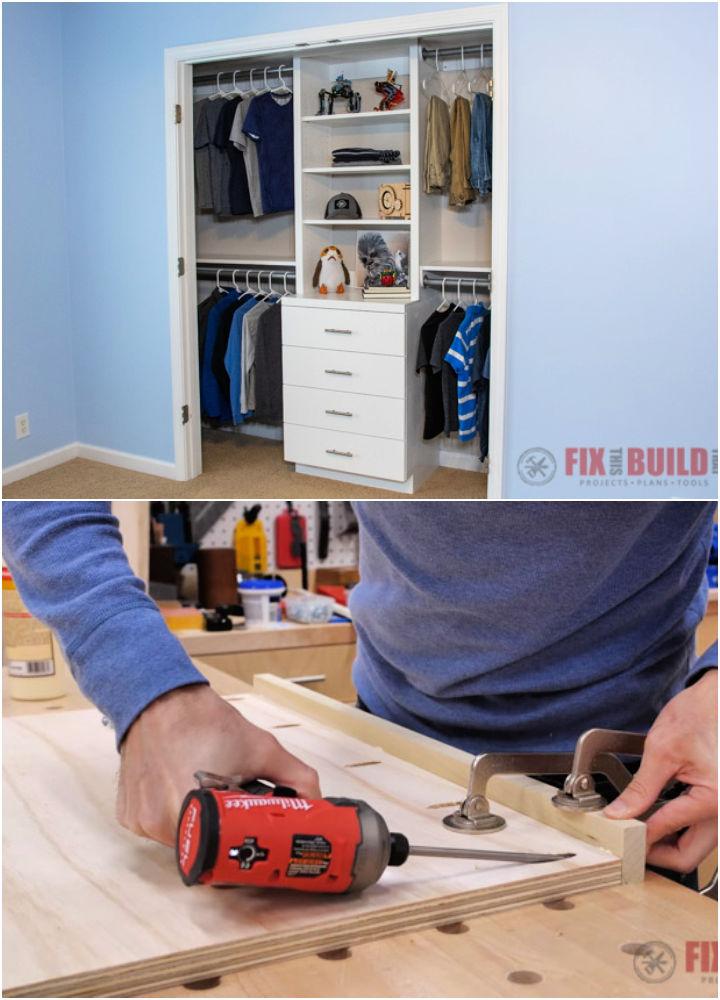
Don't let a compact space limit you. This organizer is about clever use of space, providing ample storage through strategic shelf placement, and ensuring even the smallest closets are fully utilized.
23. DIY Closet Shelves

DIY closet shelves allow you to take control of your clutter with a personal touch. It's a practical, rewarding project that enhances your space's functionality and reflects your personal style and organizational needs.
24. Built in Closet Shelves

Built-in closet shelves are seamlessly integrated into your space, providing a sleek, cohesive look. They offer substantial storage capacity without encroaching on valuable floor space, making them ideal for a streamlined, organized closet.
25. How to Make Closet Shelves
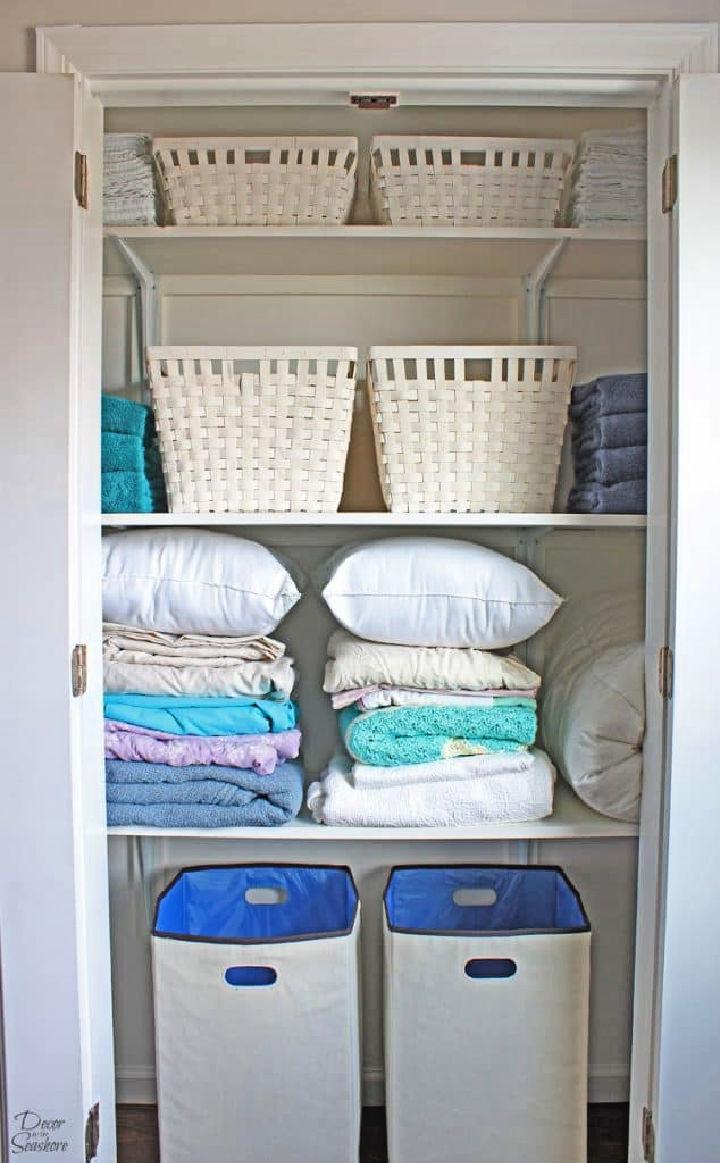
Embark on a DIY project that's both useful and fulfilling. Making your own closet shelves is a customizable process that enhances storage and organization according to your specific wardrobe needs.
Conclusion:
In conclusion, DIY closet shelves are a practical and cost-effective solution for organizing your space and maximizing storage. By following simple steps and using basic materials, you can build customized shelves that fit your needs perfectly. Incorporating these shelves into your closet will not only declutter your space but also add a stylish touch to your home. Get started on your DIY project today!


