Building your very own full-size arcade cabinet may seem like an overwhelming project, especially if you think it requires an entire workshop of specialized tools. However, the reality is much simpler. With basic tools, a bit of patience, and this comprehensive guide, you can bring this rewarding project to life, providing endless entertainment for family and friends. Alongside hands-on insights, this build log leverages the firsthand experience of a project rooted in passion, simplicity, and the joy of DIY.
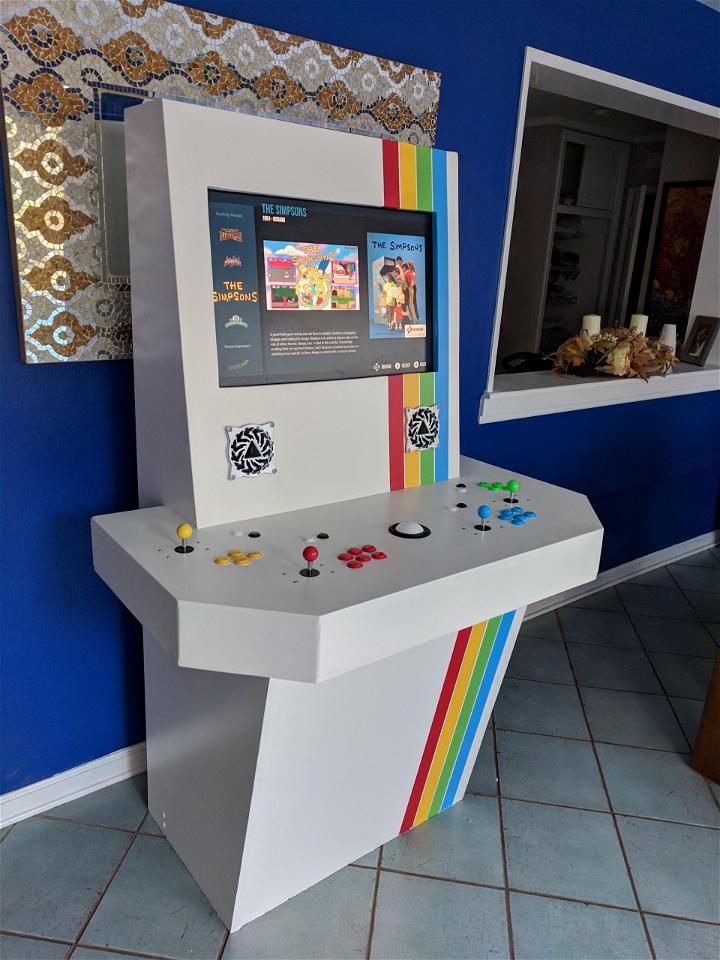
What Will You Achieve?
By embarking on this project, you will learn how to build a sturdy and aesthetically pleasing arcade cabinet capable of housing numerous games. This guide will equip you with the necessary steps, from selecting materials to the final assembly, ensuring your arcade cabinet is both functional and visually striking. Whether you're a seasoned woodworker or a novice, this guide is designed to streamline the process, making it accessible and rewarding.
Materials and Tools Needed
- Medium-Density Fibreboard (MDF): Preferred for its smooth surface, which is ideal for painting and durability. You'll need about 2.5 sheets of * ¾" MDF.
- Circular Saw: Ideal for cutting down the large sheets of MDF.
- Drill: Needed to assemble parts and drill holes for the arcade components.
- Jigsaw: Handy for cutting out the more detailed parts, like the control panel opening.
- Router (Optional): For those wanting a smoother finish or to embed T-molding around the edges.
- Screws, T-nuts, Washers, and Lock Nuts: For assembling the pieces firmly together.
- Arcade Kit: Including buttons, joysticks, and an encoder board.
- Paint and Primer: To give your arcade cabinet a personal touch and a professional finish.
- Screen: Depending on preference, this can range from an old monitor to an LCD TV.
- Speakers: For game audio. These can be basic, as retro games don't require high-fidelity sound.
Instructions
Understanding the Basics
Design Phase:
- Sketch out your design on paper. Consider dimensions based on your space and the screen size.
- Plan the placement of the control panel, screen, and speakers.
Cutting the MDF:
- Use the circular saw to cut the large pieces for the sides, bottom, top, and marquee.
- Detail cuts, like the slot for the screen and the holes for the buttons on the control panel, can be easily managed with a jigsaw.
Assembly:
- Start assembling from the bottom up, screwing the side panels to the base, adding supports where needed.
- Use the drill to assemble the parts, ensuring everything fits snugly.
Installing Arcade Components:
- Drill holes for the buttons and joystick on the control panel.
- Mount the screen and speakers in their designated places.
Wiring:
- Carefully follow the instructions provided with your arcade kit to connect buttons and joysticks to the encoder board.
- Connect the encoder board to your chosen game system or computer.
Finishing Touches:
- Apply primer and paint to your cabinet, personalizing it to your liking.
- Once dry, install the arcade buttons and joystick.
- Add decals or artwork to give it a unique flair.
Video Tutorial
Want a visual demonstration? Watch a step-by-step video tutorial on YouTube for a comprehensive understanding of each stage of the build. It provides a clear and easy-to-understand visual walkthrough of the techniques, making it a great companion to this written guide.
Build your arcade cabinet for nostalgia and joy. With basic tools and a willingness to learn, anyone can build something extraordinary. Patience and precision are key. Enjoy building!
FAQs About DIY Arcade Cabinets
Discover all you need to know about DIY arcade cabinets in this comprehensive FAQ guide. Get answers to your burning questions now!
What materials do I need to build a DIY Arcade Cabinet?
To build a DIY arcade cabinet, you'll need various materials such as plywood or MDF for the cabinet body, plexiglass for the screen protector, buttons and joysticks for controls, a monitor, a computer or Raspberry Pi for the game system, and wires for connections. It's also helpful to have paint or decals for decoration.
How can I customize my arcade cabinet?
Customization can be done in many ways, including choosing unique artwork for the cabinet sides, marquee, and control panel. You can also select different types of buttons and joysticks, add LED lighting, and choose a custom software interface to make your arcade cabinet truly one-of-a-kind.
What tools are required for building an arcade cabinet?
You will need basic woodworking tools like a saw, drill, screwdriver, and sandpaper. For the electronic components, you might need wire strippers, soldering iron, and a multimeter. Always ensure you have the right safety equipment, such as goggles and gloves.
How do I wire the controls for my arcade cabinet?
Wiring the controls involves connecting the buttons and joysticks to a controller board, which then connects to your computer or Raspberry Pi. Each button will have a positive and negative wire that needs to be connected correctly. Detailed wiring diagrams can be found online to guide you through the process.
Can I install any game on my DIY arcade cabinet?
The games you can install depend on the software and hardware you're using. If you're using a Raspberry Pi, you'll likely use an emulator that can play a variety of old arcade games. Make sure to use legally obtained games and check the compatibility with your system.
20 DIY Arcade Cabinet Plans and Inspirations
Discover 20 DIY arcade cabinet plans and inspirations to build your own gaming paradise at home. Get started with these creative ideas today!
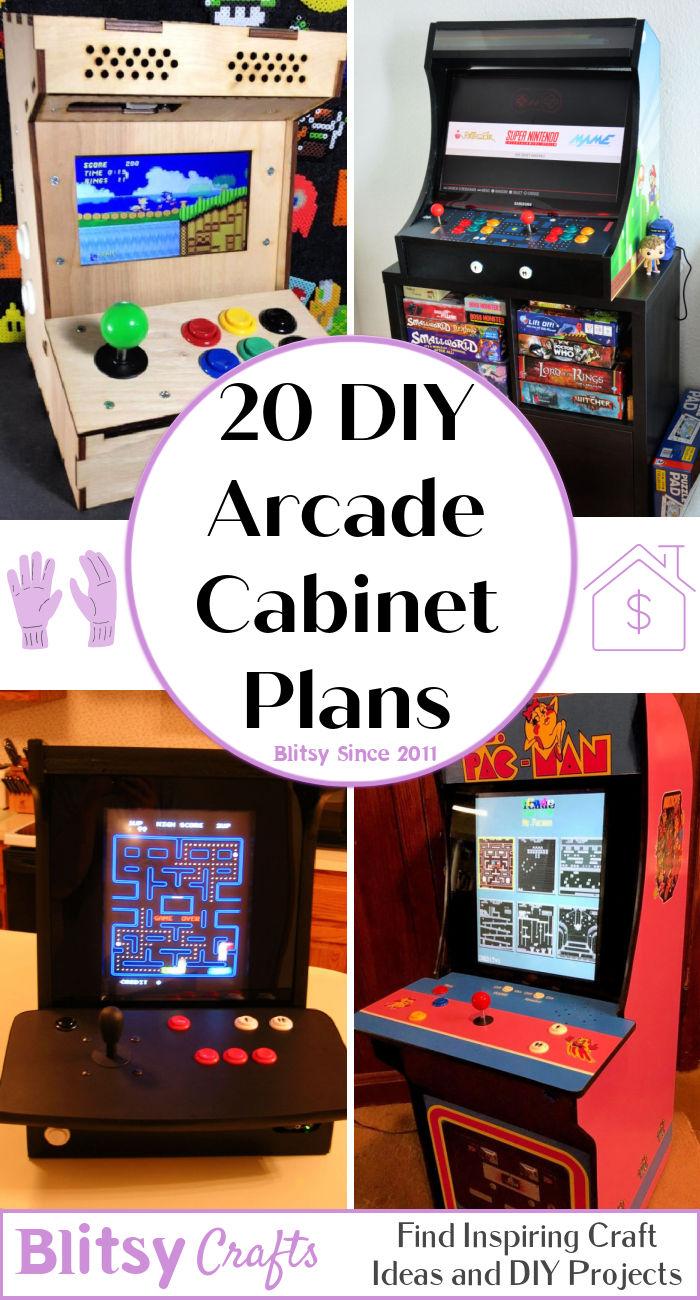
1. How to Build a Arcade Cabinet
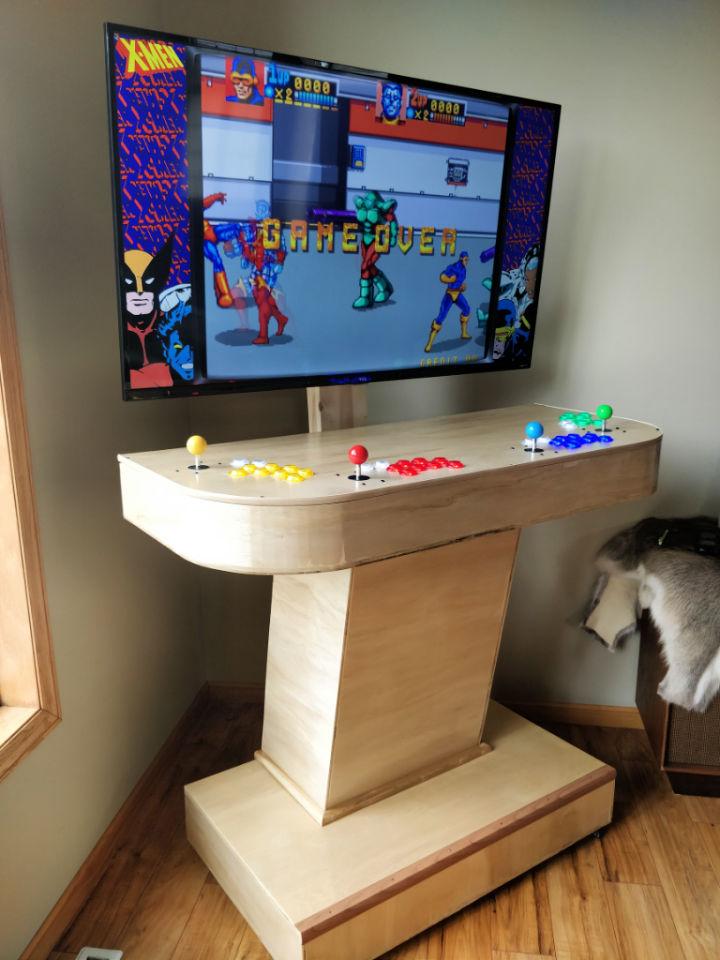
Embarking on building an arcade cabinet brings nostalgia into your home. This project allows for customization in design and game selection, making a personal arcade corner that matches your style while offering endless entertainment.
2. DIY Retro Arcade Cabinet
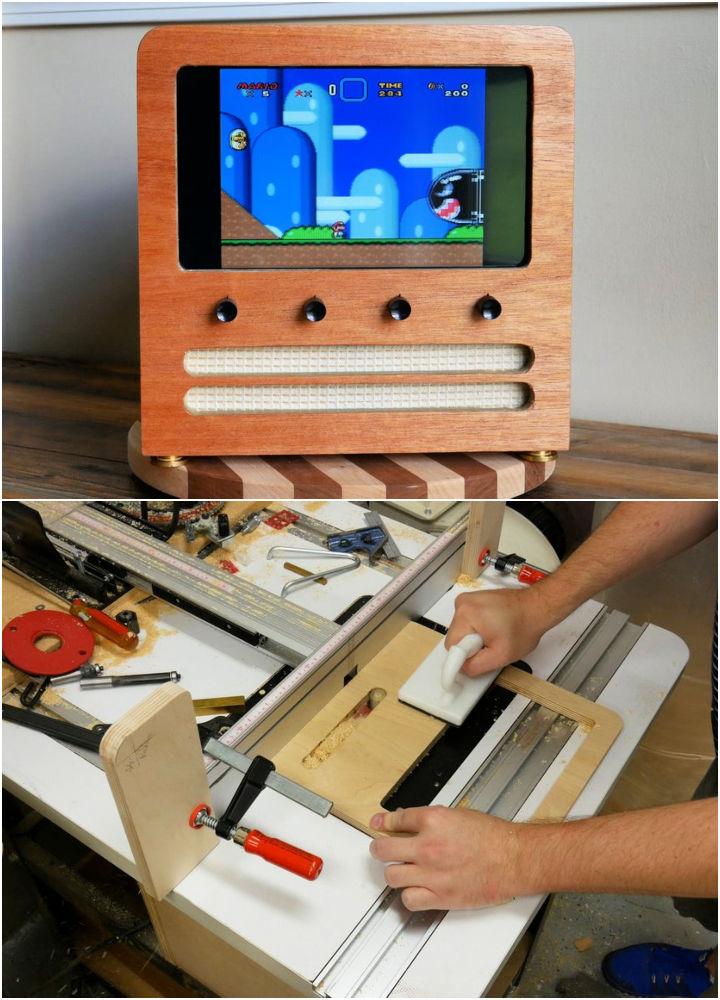
A DIY retro arcade cabinet is a fun, rewarding project that not only channels vintage charm but also provides a modern twist with updated hardware. It's a creative way to enjoy classic games, perfect for game nights.
3. Cocktail Style Arcade Cabinet
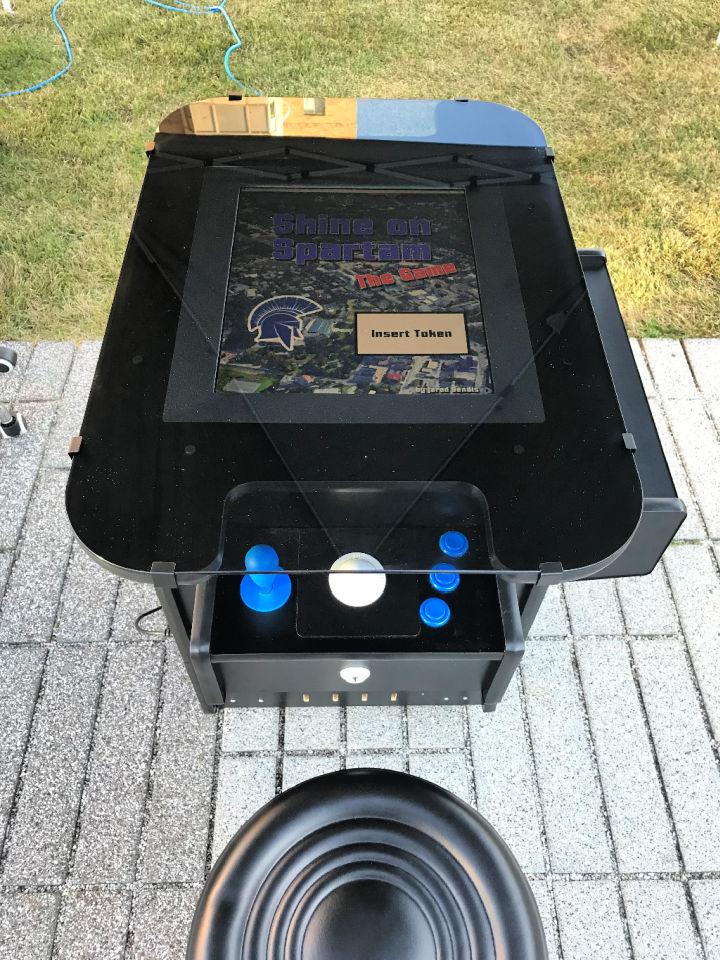
The cocktail-style arcade cabinet offers a throwback to the classic 80s arcade scene. Its tabletop design is great for two-player face-to-face gaming sessions, making it an ideal addition to any entertainment room or man cave.
4. Wall Mounted Arcade Cabinet
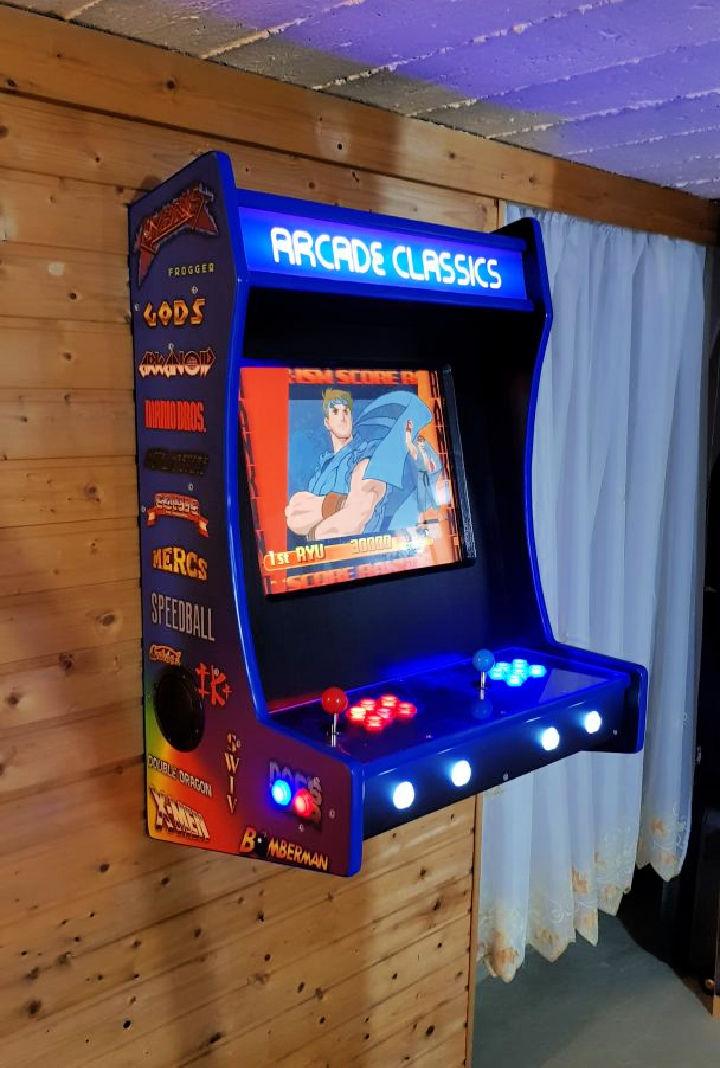
Wall-mounted arcade cabinets save space while adding a cool factor to any room. They are designed to bring the arcade experience without taking up floor space, perfect for small spaces or sleek interiors.
5. Build an Arcade Machine at Home
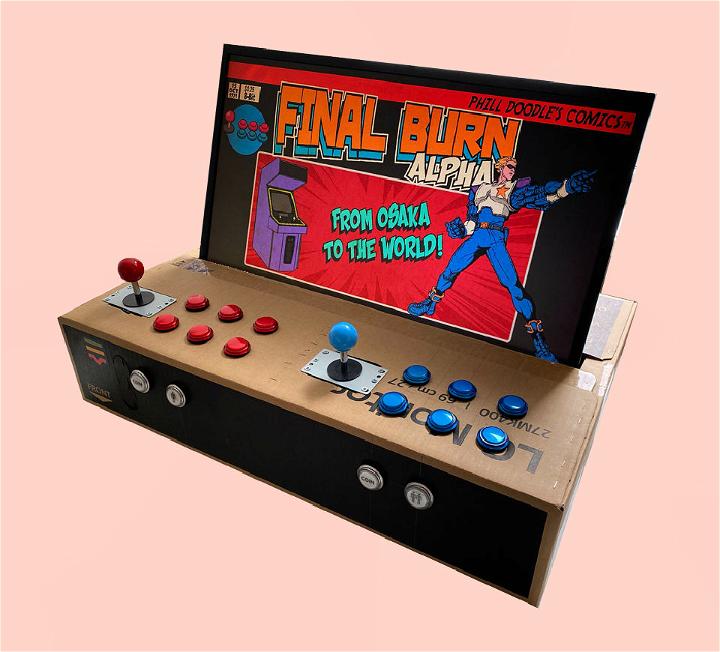
Building an arcade machine at home can be a delightful project for gaming enthusiasts. It's a way to tailor your gaming experience, from the selection of games to the cabinet's artwork, making it uniquely yours.
6. Building an Arcade Cabinet
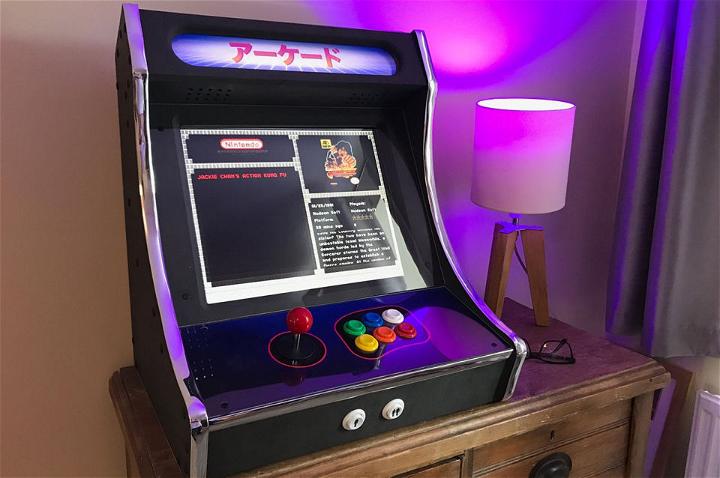
Constructing an arcade cabinet from scratch can be a creatively satisfying venture. It allows for flexibility in choosing your preferred games, controls, and aesthetics, providing a personalized gaming haven.
7. Retropie Bartop Arcade Cabinet
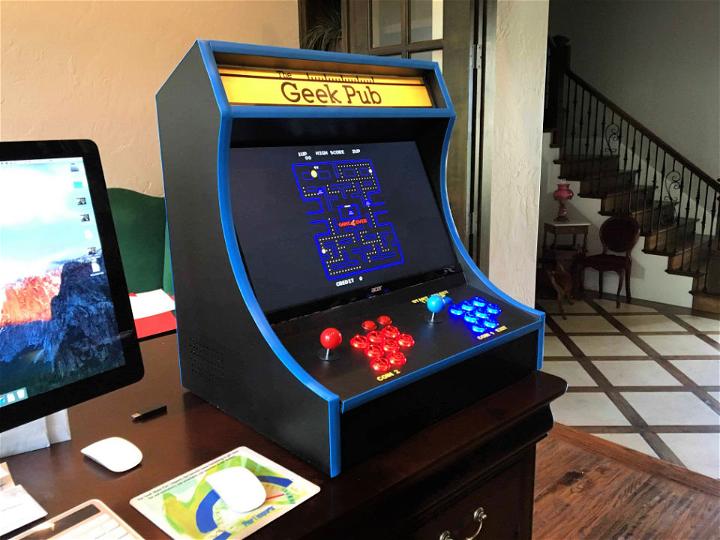
A retro pie bartop arcade cabinet incorporates the compact, efficient design of a bartop with the versatility of the retro pie system. This setup offers an extensive library of games without occupying much space.
8. Cardboard Bartop Arcade Cabinet
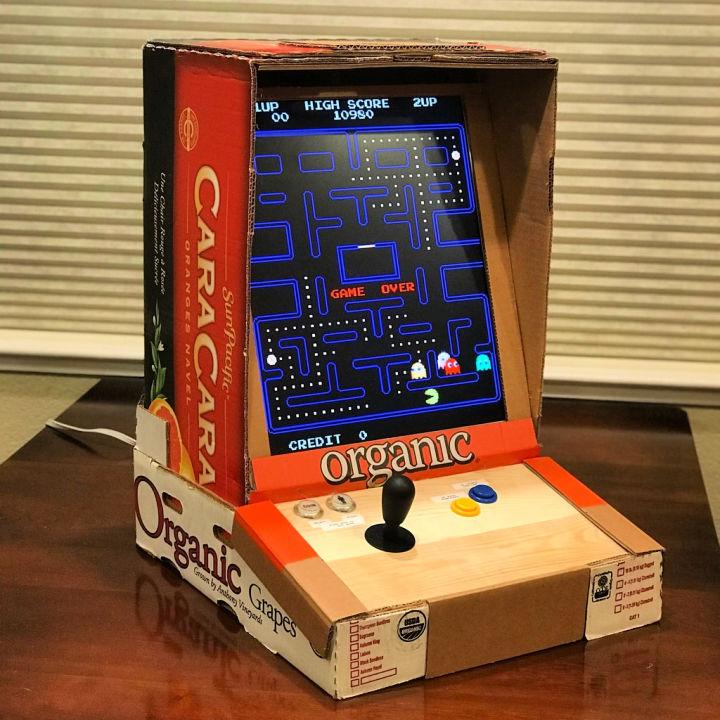
Making a cardboard bartop arcade cabinet is an affordable and eco-friendly approach to game cabinet construction. This project proves that with innovative materials and a bit of creativity, you can build fun gaming experiences.
9. DIY Arcade Cabinet
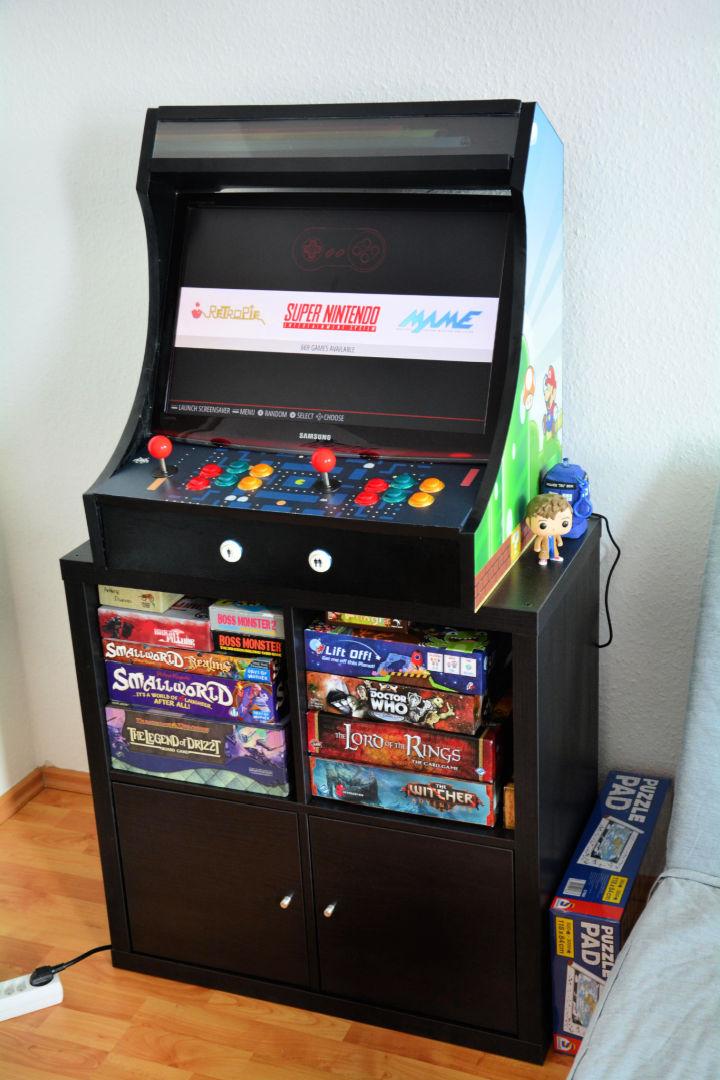
A DIY arcade cabinet project is a journey through childhood nostalgia with a personalized twist. You can decide everything from the game lineup to the cabinet's visuals, ensuring a unique piece that reflects your passion for gaming.
10. Barcade Arcade Mini Cabinet
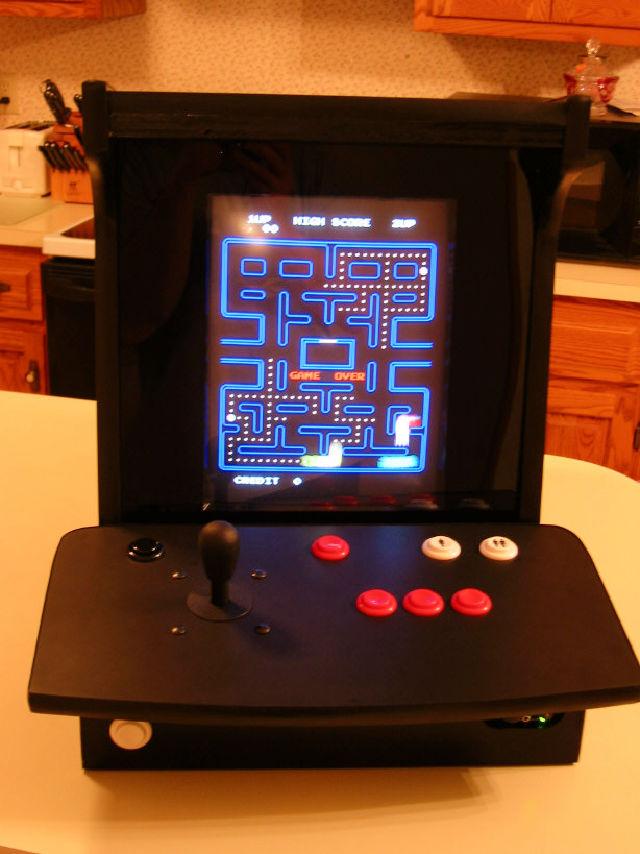
The barcode arcade mini cabinet is perfect for those with limited space but a big love for gaming. Its compact design makes it a versatile addition to any setting, offering fun in a small package.
11. Make an Miniature Arcade Cabinet
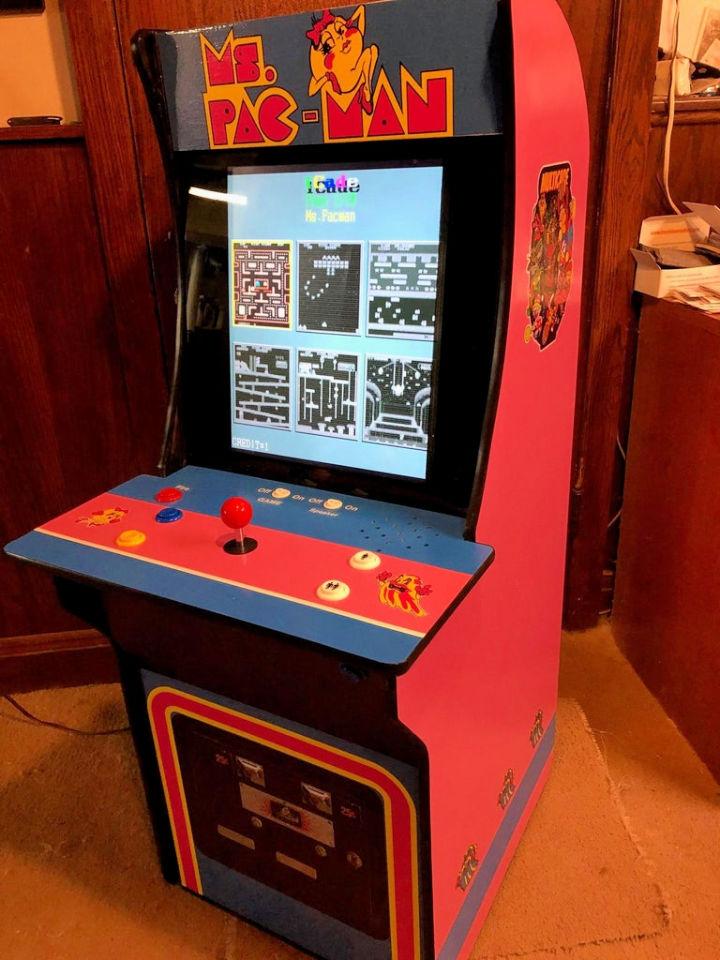
Making a miniature arcade cabinet is a charming and diminutive way to bring arcade fun into your space. It's perfect for desks or small areas, yet it still provides the joy and challenge of arcade games.
12. How to Make an Arcade Cabinet
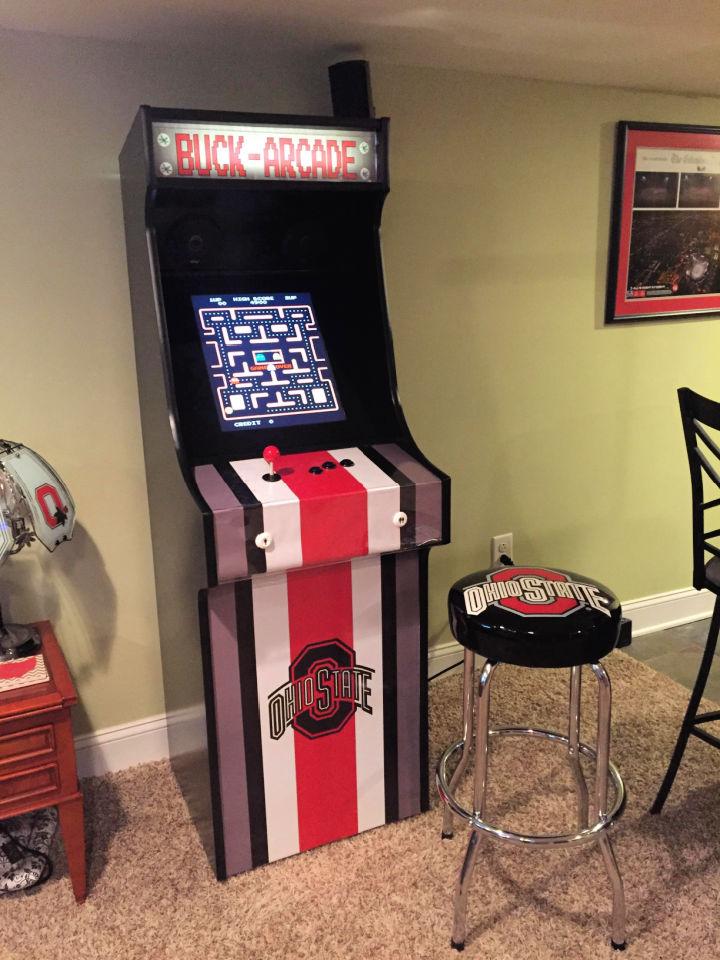
Making an arcade cabinet at home allows you to engineer your very own gaming paradise. With decisions on design, games, and peripherals in your hands, you can craft a beautifully customized arcade experience.
13. Best Vewlix slim Arcade Cabinet
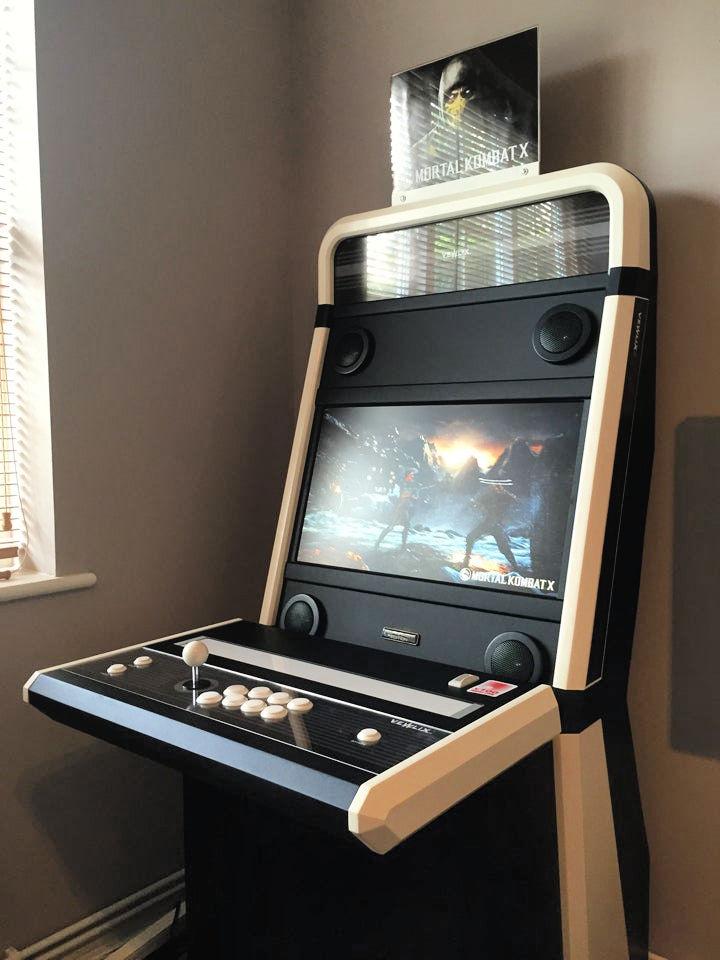
The best Vewlix slim arcade cabinet combines sleek design with traditional gaming in a slim profile. It's perfect for enthusiasts looking to add a stylish yet fully functional arcade piece to their collection.
14. DIY Arcadecabs Mame Cabinet Plan
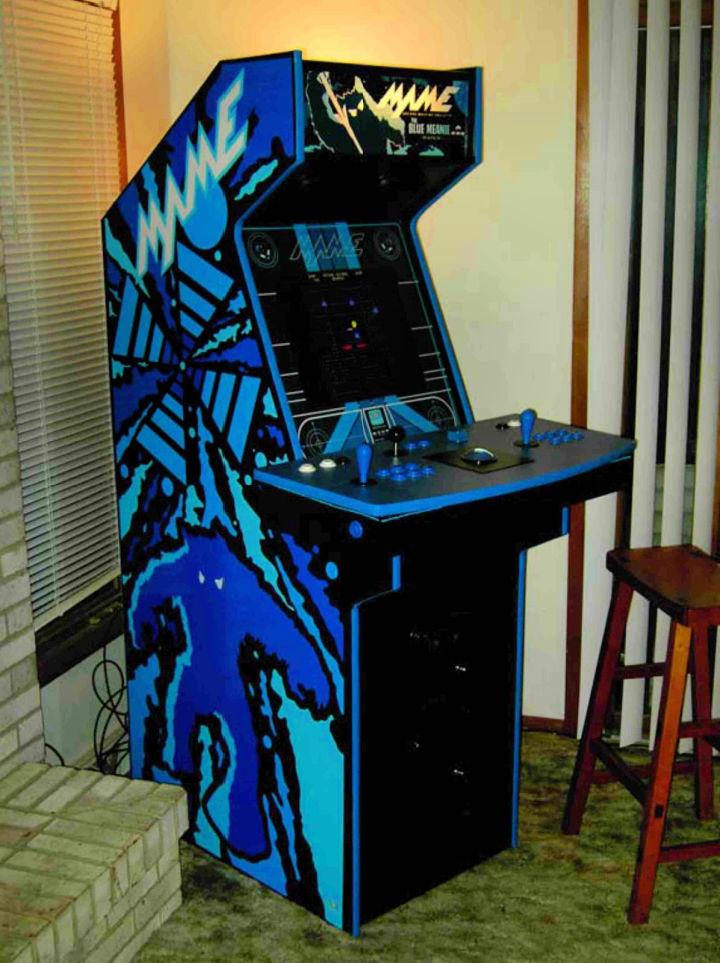
Following DIY arcadecabs mame cabinet plans offers a structured approach to building a mame cabinet. These plans make the building process accessible, allowing for a polished-looking cabinet filled with your favorite emulated games.
15. Build Your Own Mini Arcade Cabinet
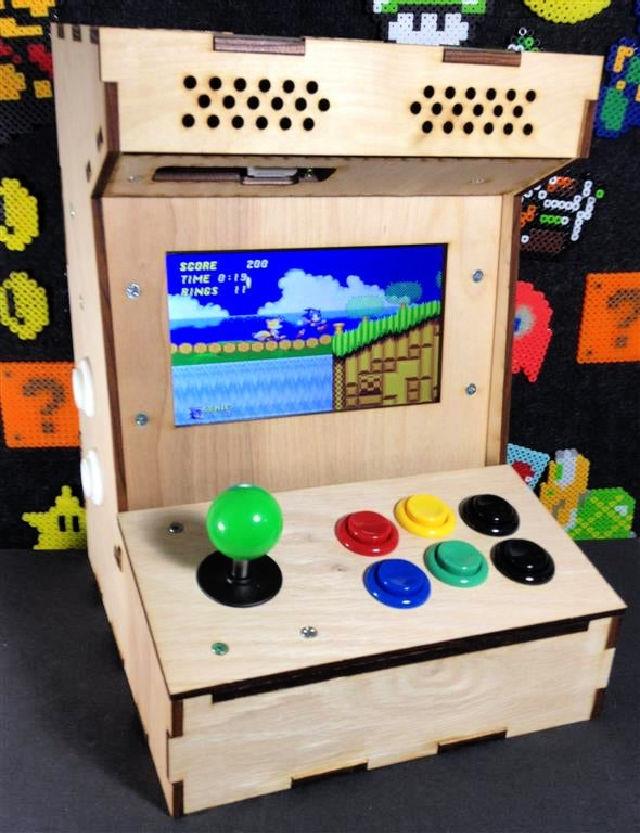
Building your own mini arcade cabinet can be a delightful project, allowing you to miniaturize the classic arcade experience. This compact version can fit almost anywhere and is surprisingly simple to build.
16. Custom Arcade Cabinet Tutorial
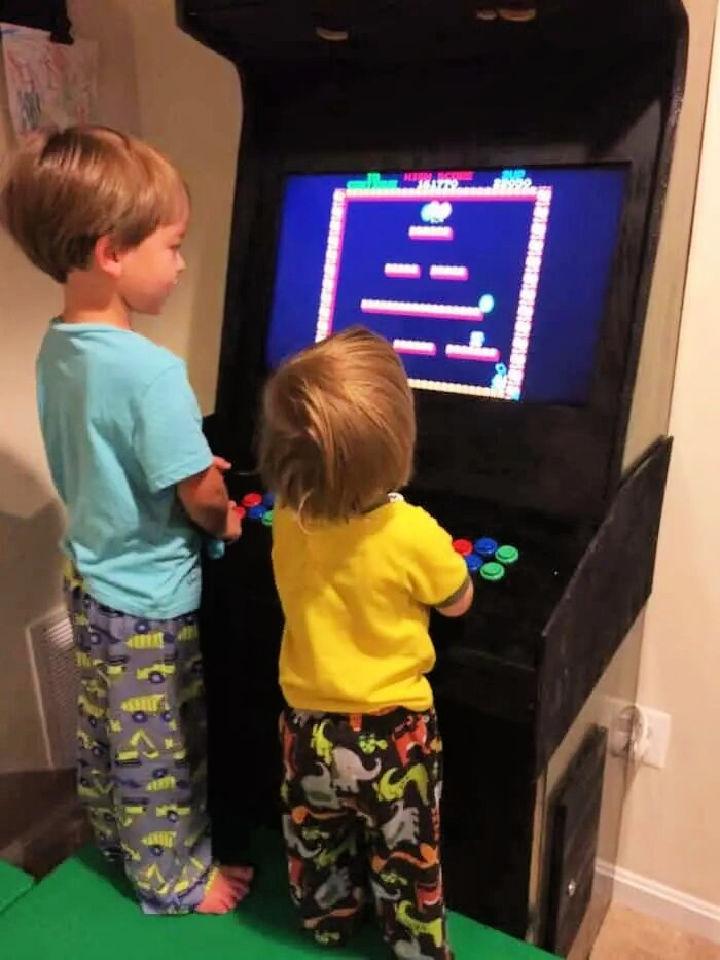
A custom arcade cabinet tutorial provides guidance and inspiration for making a cabinet that truly stands out. This approach lets you blend technology and creativity, resulting in a gaming masterpiece tailored to your taste.
17. Multiplayer Basketball Arcade Game from Cardboard
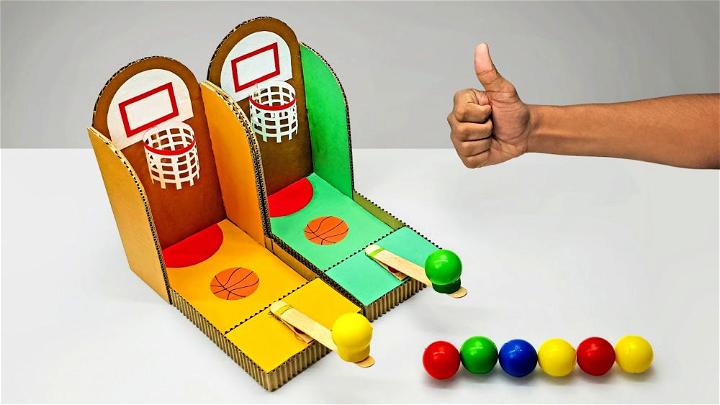
Making a multiplayer basketball arcade game from cardboard is an innovative and fun DIY project. This proves you can build engaging and competitive arcade games with simple materials, offering endless fun and creativity.
18. Ultimate Raspberry Pi Portable Arcade Cabinet
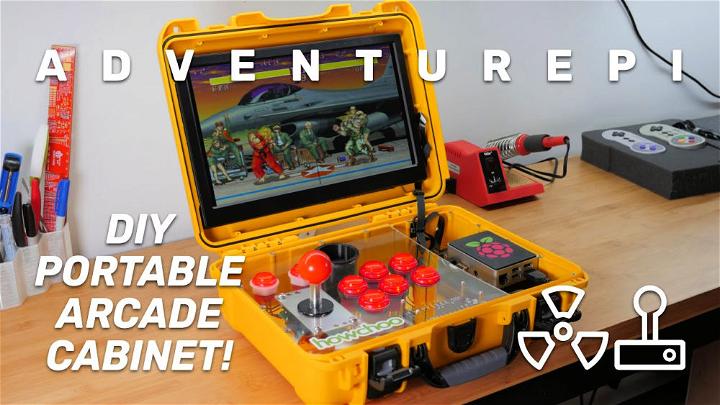
The ultimate raspberry pi portable arcade cabinet merges classic gaming with modern technology. It's a compact, portable solution for retro gaming lovers, offering a vast library of games in a small, convenient form.
19. Arcade Cabinet for Under $3
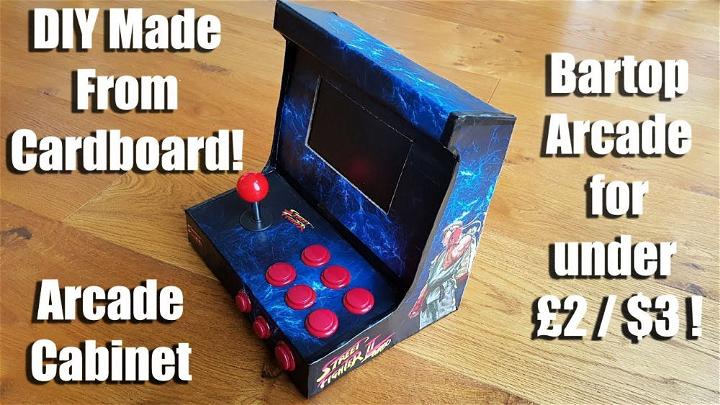
Building an arcade cabinet for under $3 shows that with ingenuity and resourcefulness, making your arcade setup doesn't have to break the bank. This budget-friendly project is perfect for those on a tight budget.
20. DIY Mame Arcade Cabinet
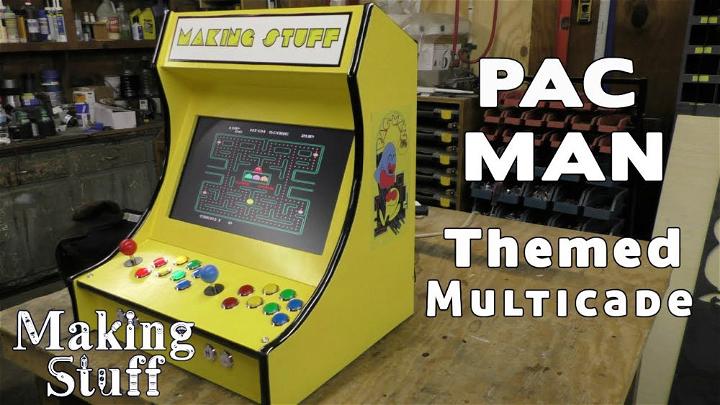
A DIY mame arcade cabinet builds a bridge between nostalgic games and contemporary hardware. This project allows for a custom gaming experience, housing countless classic games in an attractive, personalized cabinet.
Conclusion:
In conclusion, building your DIY arcade cabinet can be a fun and rewarding project. By following the steps outlined in this guide, you can build a customized gaming experience right in your own home. From choosing the best materials to assembling the cabinet, this project is sure to provide hours of entertainment for you and your friends. Start your build today and enjoy the retro gaming vibes!

