Yard signs are a versatile and effective way to communicate messages to the public. Whether it's for a local event, a business advertisement, or a personal announcement, yard signs catch the eye of passersby and convey information quickly and efficiently. Their effectiveness lies in their visibility; well-placed signs in high-traffic areas can attract attention and deliver a message even from a distance.
When making a yard sign, it's essential to consider its purpose. Is it to inform neighbors about a community gathering, to advertise a garage sale, or to show support for a political candidate? Understanding the goal of your sign will guide the design process and ensure that the message is clear and impactful.
Design Principles for Yard Signs
The design of a yard sign is crucial for its success. Here are some key principles to keep in mind:
- Clarity is Key: The primary objective of a yard sign is to be read quickly and understood easily. Use large, bold fonts and keep the message concise. The headline should be the most prominent part of the sign, and it should communicate the main message at a glance.
- Contrast for Visibility: Choose colors that stand out against the background. High contrast between the text and the sign's background makes it more readable, especially from a distance. Avoid using colors that blend into the surroundings or are difficult to distinguish.
- Simplicity Over Complexity: A simple design ensures that your message is not lost in unnecessary details. Stick to one or two simple images or graphics, and avoid cluttering the sign with too much text or too many pictures.
- Quality Matters: If you're including images or logos, make sure they are of high resolution and quality. Blurry or pixelated images can make your sign look unprofessional and can detract from the message.
By following design principles, your yard signs grab attention, convey messages effectively, and achieve the desired response.
How to Make Yard Signs - Step by Step Guide
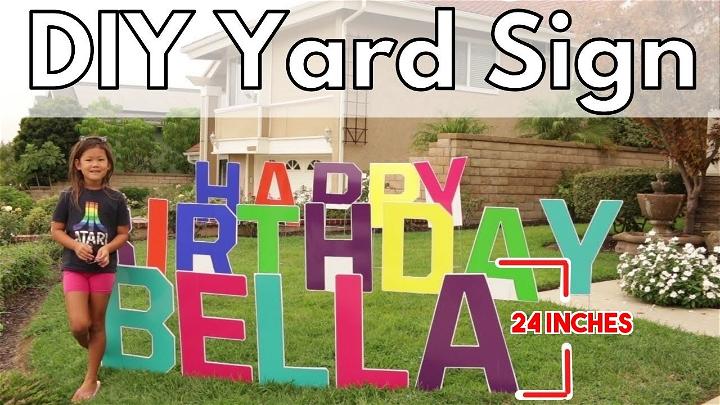
Save money by making your own lawn sign for events like birthdays or graduations. Use this guide to make a 24" weatherproof sign based on Sarah's tutorial. Add a personal touch to special occasions.
Preparing Your Design
1. Decide on Letter Size
Begin by determining the height of your letters. Ideally, for a lawn sign, the letters being around 23.5 inches high is effective for visibility, considering the cricut mat's size limitation.
2. Choose Your Font
Select a font that is bold and readable from a distance. The tutorial uses "All Star Font," but any similar impactful font will work well.
3. Design in Cricut or Similar Software
Using design software like Cricut Design Space, make your message ensuring letters are the desired height. If a letter exceeds your mat's width, use the "slice" feature to divide it into manageable pieces.
Materials Needed
- Cricut machine or similar
- Vinyl (plan for about four feet per letter)
- Corrugated plastic sheets
- Long ruler or straight edge
- Squeegee
- Box cutter or X-Acto knife
- H-stakes for mounting
- Contact paper (for transferring vinyl to the plastic)
Steps for Assembling Your Lawn Sign
1. Cut Out Your Letters
Once you have designed your letters in the software, proceed to cut them out of vinyl with your cutting machine. Remember, each letter will likely come out in multiple parts that you'll assemble later.
2. Prepare Your Contact Paper
Apply the sticky side of the contact paper on a flat surface, place your vinyl letter on top, and then gently peel the contact paper to transfer the vinyl. Ensure there are no bubbles for a smooth application.
3. Attach Vinyl to Corrugated Plastic
Lay your vinyl (now on the contact paper) onto the corrugated plastic sheets. Use a squeegee to smooth out any bubbles and ensure the vinyl adheres well to the plastic. If bubbles appear, you can puncture them carefully with an X-Acto knife and smooth down.
4. Cutting and Fixing the Corrugated Plastic
Using your box cutter, trim the corrugated plastic down to size around your letters. Consider the orientation of your letters and the need for any parts of letters (like the center of an "R" or "B") that must be reattached separately.
5. Mounting on H-stakes
Attach your letters to the H-stakes. Ensure all supporting bars are aligned to have a uniform height across the lawn sign. Depending on the size of your letters and their design, you might need to adjust or customize how they attach to these stakes.
6. Installation
Carefully place your H-stake mounted letters into the ground. Consider the order and alignment to ensure your message is easily readable from a distance.
Tips for Success
- Give yourself plenty of time for this project to allow for any redesigns or adjustments.
- Retain all parts of cut letters (like the centers of "A" or "B") as you might need them for mounting.
- Purchase more materials than you estimate to avoid last-minute shopping trips.
- Experiment with the placement of smaller parts of letters to maximize material use and minimize waste.
Video Tutorial
For a detailed visual guide on crafting your DIY Lawn Yard Sign, watch Sarah's step-by-step video tutorial on YouTube.
It pairs well with this written guide, illuminating the described techniques with a clear visual representation to ensure your project's success.
Advanced Customization Techniques for Yard Signs
When it comes to yard signs, customization is key to making your message stand out. Advanced customization techniques can transform a standard yard sign into a unique and eye-catching piece that captures the attention of passersby. Here are some innovative ideas to elevate your yard sign:
- 3D Elements: Adding three-dimensional components to your sign can make depth and intrigue. Consider using raised letters or attachable figures that pop out from the sign's surface.
- Interactive Features: Incorporate elements that encourage interaction, such as QR codes that link to your website or social media page. This not only engages the viewer but also bridges the gap between physical and digital advertising.
- Lighting: Illuminate your sign with solar-powered lights or LED strips to ensure it's visible at night. This can be particularly effective for signs that need to convey messages after dark, like event directions or security warnings.
- Texture and Material Play: Mix and match different materials like metal, wood, or acrylic to make a tactile experience. Textured surfaces can add a premium feel and look to your sign.
- Motion: Elements that move, like flags or wind spinners, can draw attention to your sign. Movement catches the eye and can make your message more memorable.
- Personalization: Offer an option for personalization, where customers can add their names or customize the message. This is especially popular for celebrations or estate signs.
- Augmented Reality (AR): Push the boundaries by integrating AR technology. Viewers can use their smartphones to see additional virtual content when they scan the sign, providing an immersive experience.
Employ advanced techniques to make a sign that informs, delights, and engages. Balance creativity with readability for an easy-to-understand yet captivating sign. Start conversations with your yard sign.
FAQs About DIY Yard Signs
Making your own yard signs can be a fun and rewarding project. Here are some frequently asked questions that can help guide you through the process.
What materials are best for making yard signs?
The most commonly used materials for DIY yard signs are corrugated plastic and thick cardboards. These materials are durable, weather-resistant, and easy to work with. For the structure, bamboo skewers or metal poles can provide good support.
How do I ensure my yard sign is visible from a distance?
To ensure visibility, use large, bold fonts and high-contrast color schemes. Keep the message short and straightforward so that it can be read quickly by people passing by.
Can I make my yard sign weatherproof?
Yes, you can make your yard sign weatherproof by using materials like corrugated plastic and applying a clear protective coat over the paint. This will help your sign withstand various weather conditions.
What are some creative ways to design my yard sign?
Get creative with your yard sign by using vibrant colors, interesting fonts, and unique shapes. You can also add decorative elements like glitters, stickers, or even 3D features to make your sign stand out.
Are there any legal considerations I should be aware of when displaying my yard sign?
Yes, it's important to check local regulations regarding yard signs. Some areas may have restrictions on the size, duration, and location of signs. Always ensure you're in compliance to avoid any issues.
Discover 25 Easy DIY Yard Sign Ideas and Inspiration to Decorate Your Outdoor Space

1. DIY Birthday Yard Signs

Brighten up any birthday celebration with DIY yard signs. They're a fun way to personalize greetings, easy to make, and add a wonderful touch of festivity. Let your creativity shine and craft memorable signs that'll make the birthday person feel extra special.
2. Halloween Skull Yard Signs
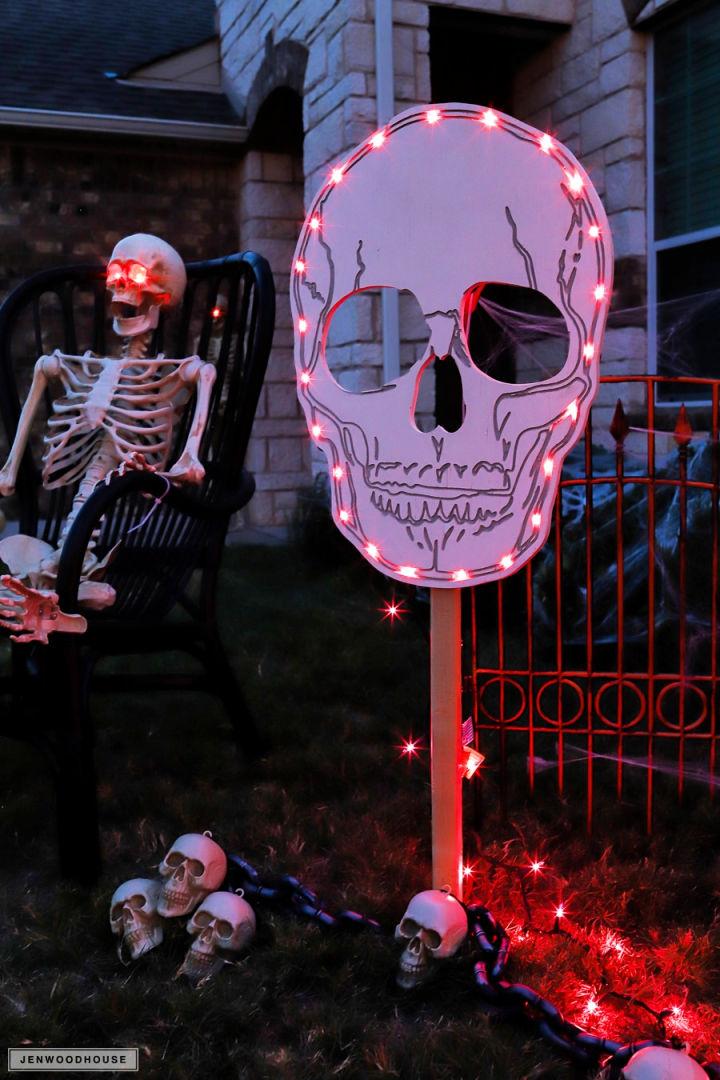
Halloween skull yard signs are perfect for adding a spooky touch to your outdoor decor. They're not just eerie but also easy to make. Use them to guide trick-or-treaters or as part of your haunted yard setup. They're sure to be a bone-chilling hit!
3. Baby Shower Wood Sign
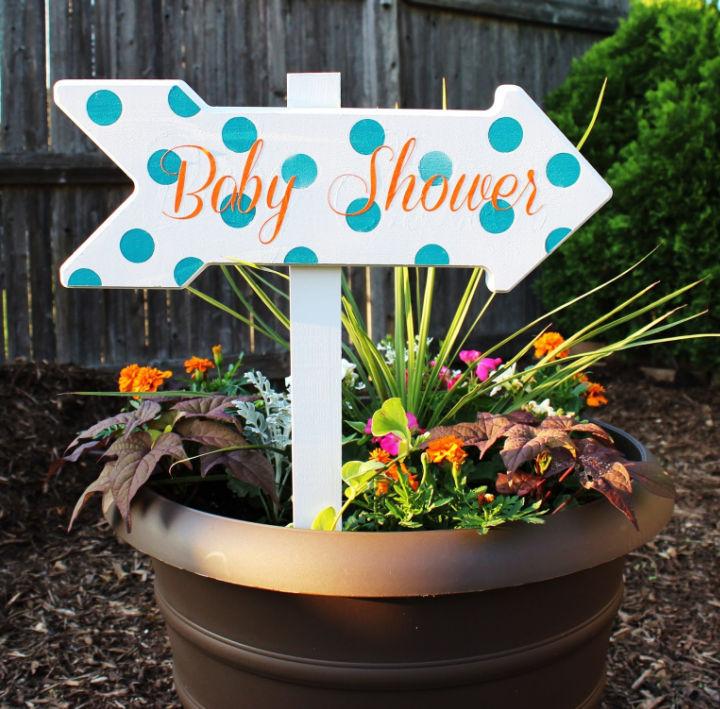
A baby shower wood sign adds a rustic charm to your celebration. It's a beautiful way to welcome guests and celebrate the upcoming arrival. Customize it with colors or themes that match the party. It's not just a decoration; it's a keepsake for years to come.
4. DIY Autumn Yard Sign

Capture the essence of fall with a DIY autumn yard sign. From golden leaves to harvest themes, your sign can reflect the beauty of the season. It's a great way to add warmth to your outdoor space and welcome guests with the cozy vibes of autumn.
5. How to Make Lawn Yard Sign

Making a lawn yard sign is simpler than you think. With basic materials and a dash of creativity, you can make a sign that's both eye-catching and informative. Whether it's for a yard sale or a welcome sign, your lawn will surely stand out.
6. Outdoor Yard Signs With Mod Podge

Make durable and weather-resistant outdoor yard signs using Mod Podge. This simple addition can protect your designs from the elements, ensuring they stay bright and intact longer. It's a great tip for keeping your signs looking fresh through rain or shine.
7. DIY Gold Glitter Yard Letters

Add some sparkle to your outdoor celebrations with DIY gold glitter yard letters. They're glamorous, festive, and surprisingly simple to make. Perfect for anniversaries, birthdays, or graduations, these shiny statements can turn any gathering into a golden hour.
8. Build a Wooden Yard Sign
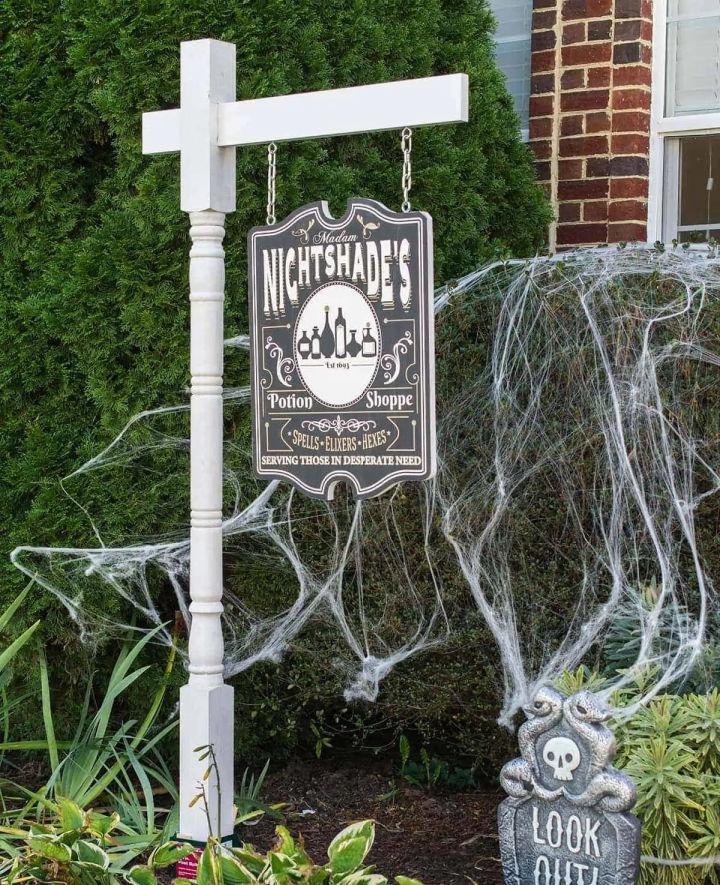
Building a wooden yard sign is a wonderful project that combines craftsmanship and creativity. Choose your wood, design your message, and bring it to life with paint or stains. It's a durable way to make a statement or welcome guests into your home.
9. Make Your Own Yard Sign
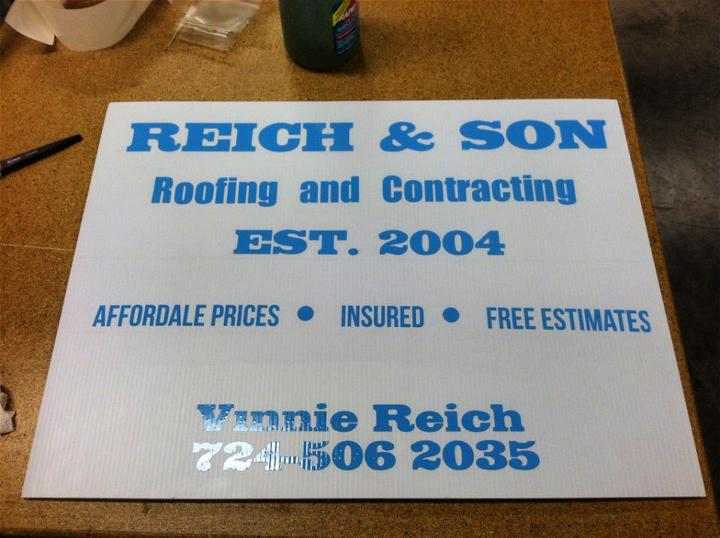
Making your own yard sign is a fun and rewarding project. Whether it's for a celebration, message, or decoration, the personalized touch it brings can't be matched. Pick your materials, design boldly, and watch your idea become a captivating outdoor feature.
10. Homemade Rainbow Birthday Lawn Sign
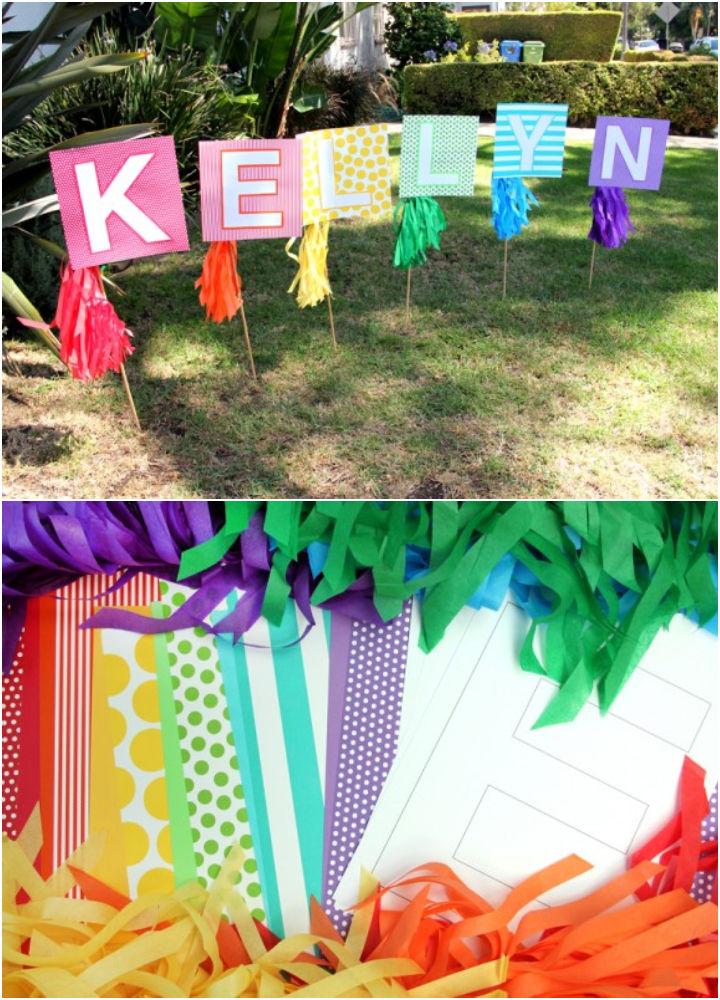
A homemade rainbow birthday lawn sign is a vibrant way to celebrate. With bright colors and joyful vibes, it's the perfect welcome for guests and a wonderful photo backdrop. Plus, crafting it is as much fun as the celebration itself. Let the colors spread happiness!
11. Making Your Birthday Yard Sign Using Paper Plates

Who said simplicity isn't festive? Making your birthday yard signs from paper plates is not just cost-effective but also adds a personalized charm to your celebration. With a plethora of colors and designs available, your creativity can truly shine, making your yard a joyful landmark.
12. DIY Cheap Lego Birthday Lawn Signs

Turn your front yard into a Lego wonderland on a budget! By using cardboard or foam boards cut into Lego shapes and painted with vibrant colors, you can make a playful atmosphere that's sure to catch the eye and ignite the imagination of every guest.
13. Make a Basketball Yard Sign
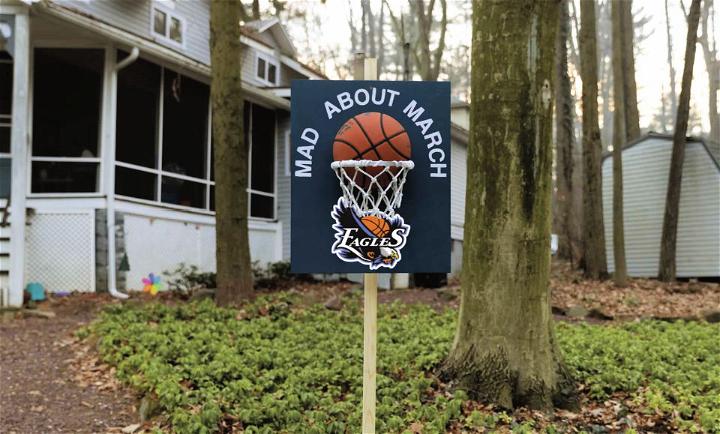
Celebrate your love for basketball by making a themed yard sign. With materials like styrofoam or wood cut in the shape of a basketball, and adding details with paint or markers, you can showcase your passion and perhaps even guide guests to your game-day gathering.
14. Easy Dollar Tree Fall Yard Art
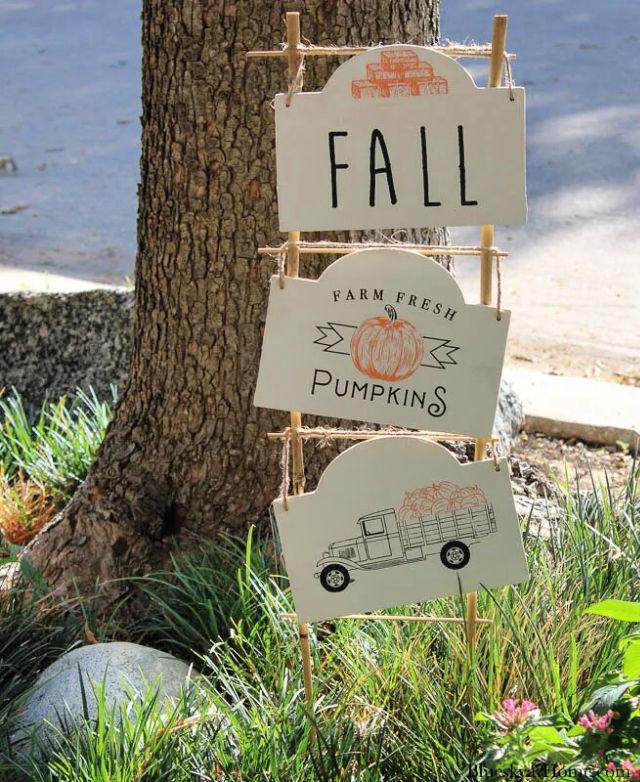
Embrace the autumn vibes without breaking the bank. Using items from Dollar Tree, like faux leaves, pumpkins, and harvest-themed decorations, you can craft eye-catching yard art that celebrates the season's bounty and beauty, all while being kind to your wallet.
15. DIY RIP Harvest Yard Sign

Bring a touch of whimsy to your autumn decor with a DIY RIP harvest yard sign. By fashioning letters from cardboard or wood and adding a distressed finish, you'll make a festive yet spooky element that's perfect for the season, delighting both trick-or-treaters and guests.
16. Making Yard Signs for Husbands's Birthday

Show your husband how much you care with a customized yard sign for his special day. Utilizing favorite colors, personal jokes or quotes, and materials like poster board or wood, you can make a meaningful gesture that's visible right from the street, making his birthday unforgettable.
17. Fun Halloween Sign for School Yard
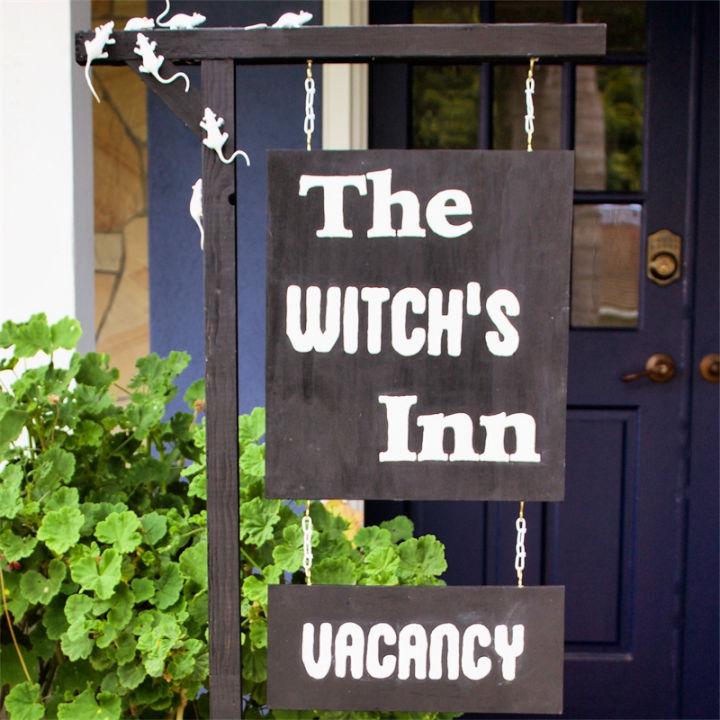
Inject some fun into the Halloween season at school with a DIY yard sign. Whether it's ghosts, pumpkins, or whimsical witches, using bright colors and durable materials will not only ensure it withstands the elements but also spreads joy and excitement among the students.
18. DIY Yard Sign Using Scrap Wood

Recycle and decorate simultaneously by turning scrap wood into a charming yard sign. Whether it's a welcome message, a fun quote, or a family name, painting or staining the wood gives it new life and your yard a bespoke touch that reflects your home's personality.
19. Make a Slow Kids at Play Yard Sign

Prioritize safety and peace of mind with a homemade "slow, kids at play" sign. Bright colors and bold lettering on sturdy materials like wood or metal ensure visibility, reminding drivers to reduce speed, thereby keeping your neighborhood safe and serene for everyone.
20. Make Your Own Lawn and Window Signs
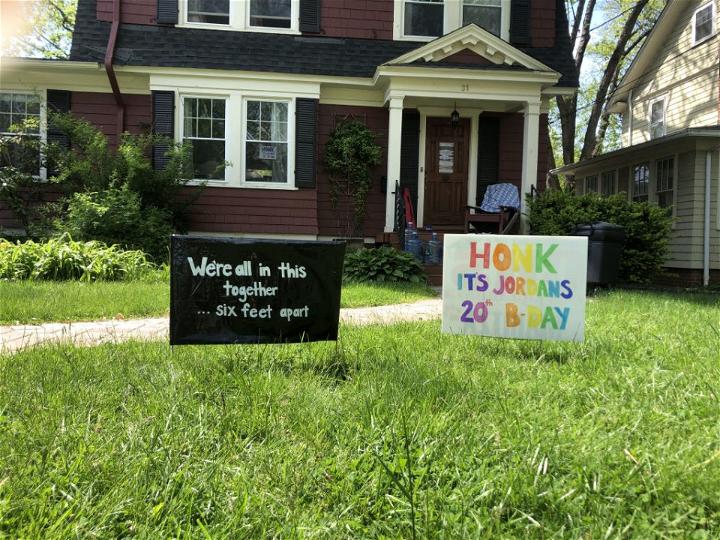
Express yourself and spread messages that matter to you with custom lawn and window signs. Whether it's supporting a cause, welcoming guests, or celebrating milestones, using materials like corrugated plastic or laminated paper allows for durability and versatility, making your message clear and visible to all.
21. Giant Birthday Yard Decorations
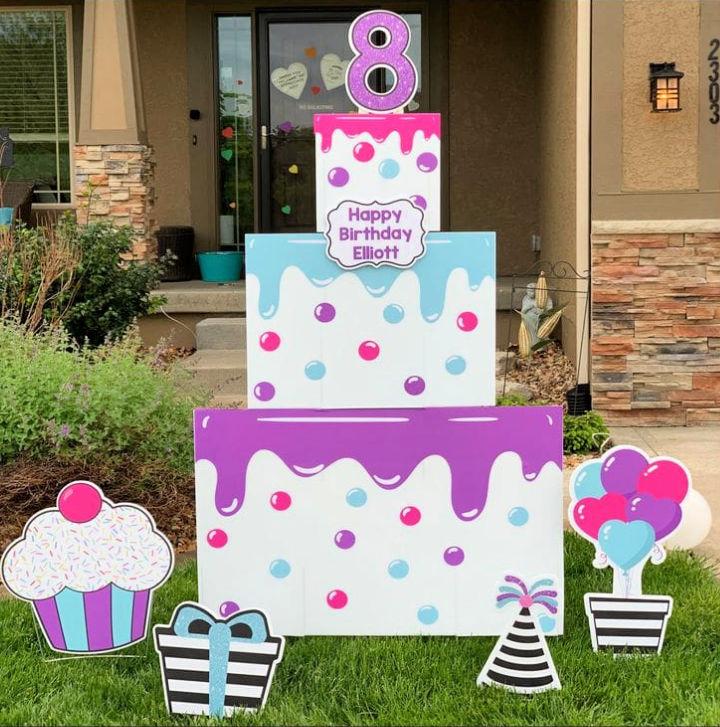
Turn heads with giant birthday yard decorations — a joyful way to surprise someone special. These eye-catching displays come in various themes and colors, effortlessly adding a festive touch to your outdoor space. A perfect backdrop for photos, they make any birthday unforgettable.
22. DIY Paper Plate Birthday Signs for Front Yard

Craft your message of celebration with DIY paper plate birthday signs. This creative project transforms your front yard into a welcoming space for guests. Simple, affordable, and fun, it adds a personal touch to your celebrations, making every passerby smile.
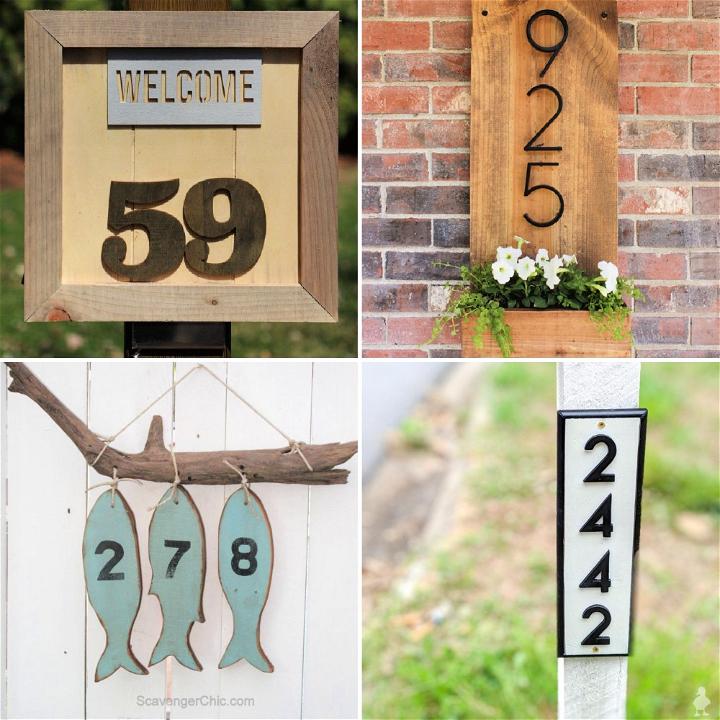
23. Building a Mid-century Nautical Address Sign

Elevate your curb appeal with a mid-century nautical address sign. This stylish addition to your entrance combines vintage charm with a maritime twist. It's not just a functional piece but a statement of your unique taste, guiding guests to your doorstep with flair.
24. Personalized Halloween Yard Signs

Personalized Halloween yard signs add a spooktacular touch to your outdoor decor. Customize them to feature ghosts, witches, or personalized messages that greet trick-or-treaters in a fun way. These signs blend creativity with festivity, making your home stand out during the haunting season.
25. DIY Garden Signs From Grill Forks
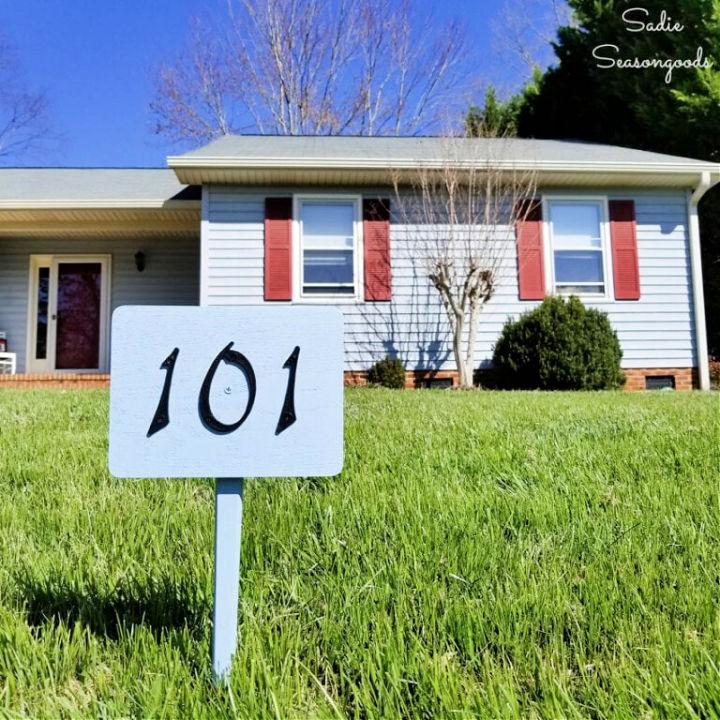
Get crafty in the garden with DIY signs made from grill forks. This innovative idea repurposes old utensils into charming garden markers. Perfect for labeling your plants or adding whimsical quotes, they inject personality into your green space in an eco-friendly way.
Conclusion:
In conclusion, DIY yard signs offer an affordable and creative way to personalize your outdoor space. Whether you're celebrating a special occasion or promoting your business, DIY yard signs can be customized to suit your needs. By following simple steps and using materials easily found at home, you can make unique and eye-catching signs that make a statement in your yard. Start crafting your DIY yard signs today!

