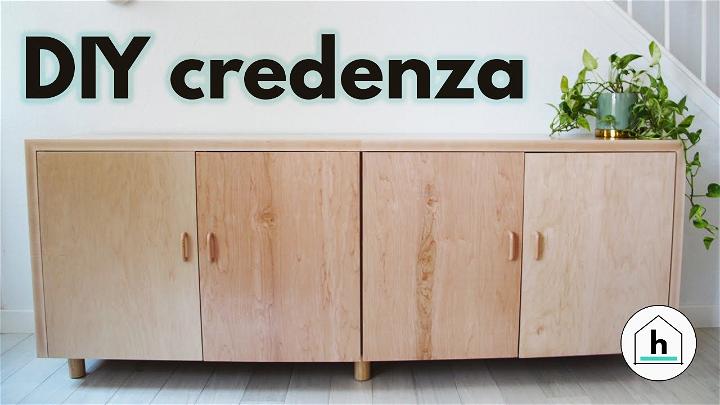
Embarking on a DIY project to construct a maple plywood credenza or media console can not only augment your living space's visual appeal but also lend a personal touch to your home's ambiance. This guide draws upon the first-hand experience of a seasoned woodworker, detailing unique tips, explaining the rationale behind each step, and addressing common challenges encountered along the way.
What Will I Get Out of This Guide?
By following this guide, you will learn how to build a durable and stylish maple plywood credenza. This piece of furniture can serve various functions in your home, acting as a sideboard in your dining area, a buffet for serving food, or a media console in your living room. You'll gain insights into selecting materials, preparing and cutting wood, assembling the frame and doors, and applying a finish, ensuring that you can tackle this project with confidence, regardless of your experience level.
Materials and Tools Needed
- Maple Plywood: Chosen for its durability and attractive grain, perfect for the frame and shelves.
- Hard Maple: For the trim, providing a contrasting texture and reinforcing the structure.
- Painters Tape: To prevent chipping during saw cuts.
- Dowels: For reinforcing plywood joints, enhancing the credenza's strength.
- Edge Banding: To cover plywood edges for a neat, finished look.
- Screws and Hanger Bolts: For assembling and securing legs.
- Polyurethane: For finishing, protecting the wood and bringing out its natural beauty.
- Basic Woodworking Tools: Circular saw, miter saw, dowel jig, clamps, sander, etc.
Step by Step Instructions
Preparing the Wood
- Setup: Layout the plywood on scrap wood supports in your workspace. Apply painter's tape along cut lines to minimize chipping.
- Cutting to Size: Use a circular saw to cut the plywood into manageable pieces. Measure carefully to ensure uniform dimensions.
Assembling the Frame
- Trim Pieces: Rip hard maple to width on a table saw. These pieces will frame the media console, adding strength and visual appeal.
- Applying Edge Banding: Use an iron to apply edge banding, trimming excess with a utility knife for a clean edge.
- Joining with Dowels: Align dowels using a jig for precise drilling. Glue and clamp pieces to form the credenza's frame.
Finishing Touches
- Sanding and Coating: Sand the assembled frame up to 220 grit. Apply three coats of polyurethane, sanding lightly between coats for a smooth finish.
- Doors and Hardware: Drill holes for door hinges using a guide jig. Attach doors, paying attention to uniform spacing and alignment.
Attaching Legs
- Installing Hanger Bolts: Drill pilot holes in the legs. Use glue and screw in the hanger bolts. Attach legs to the console.
Video Tutorial
For a visual demonstration, watch this step-by-step video tutorial on YouTube.
It complements this guide by providing clear, easy-to-understand instructions on each phase of the build.
By following steps and tips, you can craft a plywood credenza that showcases your woodworking skills. Success in DIY projects requires preparation, patience, and attention to detail. Enjoy building something unique for your home.
Functionality and Use Cases of Sideboards in Home Decor
Sideboards are versatile pieces of furniture that can enhance the functionality and aesthetic appeal of various rooms in your home. Here's how you can make the most of a sideboard in your living space.
- In the Living Room: A sideboard serves as a stylish storage solution. It's perfect for organizing electronics, books, or board games, keeping your space clutter-free. You can also use the top surface to display decorative items like photo frames, vases, or candles.
- In the Dining Room: In the dining room, a sideboard is traditionally used to store dinnerware, cutlery, and linens. It's also an ideal spot to set up a drink station during parties or to display appetizers for guests.
- In the Entryway: A sideboard in the entryway is both welcoming and functional. Use it to store keys, mail, and other essentials. Decorate with a mirror above it for a quick check before you head out.
- In the Bedroom: A sideboard can act as a chic dresser. Store your clothing, accessories, or extra bedding here. It's a great way to keep your bedroom organized and serene.
- As a Media Center: Transform your sideboard into a media center by placing your TV on top and storing related electronics inside. This keeps your living area looking neat and tidy.
For Displaying Art and Collectibles
Showcase your style by using a sideboard as a platform to display art pieces, collectibles, or family heirlooms. This personal touch adds character to your room.
Utilizing Awkward Spaces
Take advantage of awkward spaces, like under the stairs, by placing a sideboard there. It's a smart way to use otherwise wasted space effectively.
FAQs About DIY Sideboards
Discover all the answers to your DIY sideboard questions in one place! Get expert tips, tricks, and ideas for building the perfect sideboard for your home.
What is a sideboard?
A sideboard, also known as a buffet, is a piece of furniture traditionally used in dining rooms for storage and to serve food from. It usually consists of cabinets and drawers where you can store items such as dishes, cutlery, and linens.
How do I choose the right size sideboard?
To choose the right size, measure the space where you plan to place the sideboard. Ensure there's enough room for people to move around it comfortably. The height should be level with your dining table or slightly taller.
Can a sideboard be used for other purposes besides dining storage?
Absolutely! Sideboards are versatile. You can use them in living rooms to store books and display decorative items, in entryways for keys and mail, or even as a TV stand with media storage.
What materials are sideboards made from?
Sideboards come in various materials, including wood, metal, and glass. Wooden sideboards are classic and durable, while metal and glass can give a more modern look.
How do I maintain my sideboard?
To maintain your sideboard, dust it regularly and use coasters to prevent water rings. For wooden sideboards, use a wood cleaner annually to keep it polished and prevent drying or cracking.
By considering these FAQs, you can choose and maintain a sideboard that will serve your needs and enhance your home for years to come.
15 DIY Sideboard Plans and Inspirations
Discover 15 DIY sideboard plans and inspirations to add style and functionality to your space. Get creative and build your own unique sideboard today!
1. DIY Emerson Buffet Table

Embracing the Emerson Buffet Table for your DIY project offers both functionality and elegance. Its clean lines and versatile design seamlessly blend with various decor styles, becoming an indispensable addition to any space seeking charm and utility.
2. DIY Sideboard with Fluted Doors
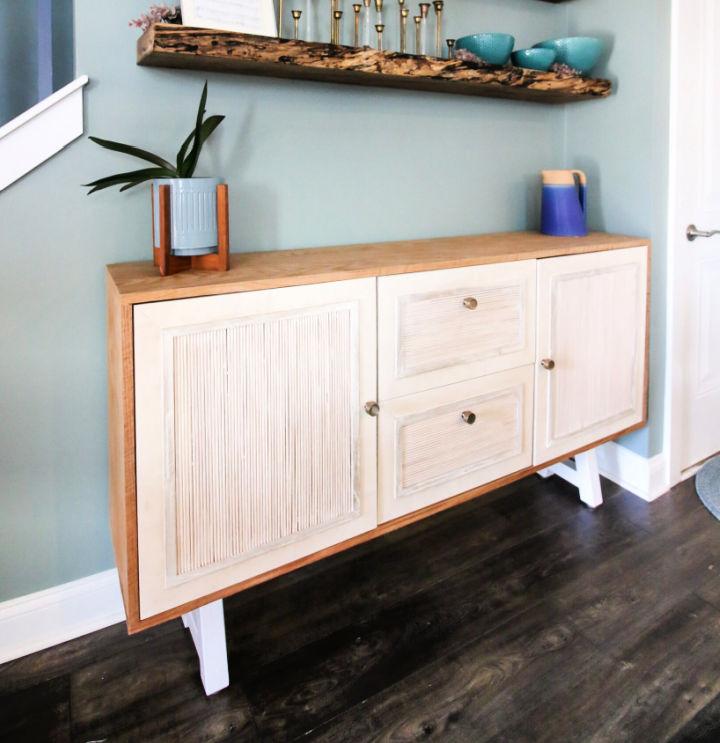
A buffet table sporting fluted doors isn't just storage; it's a style statement. Perfect for organizing essentials while adding texture to your room, this DIY project can elevate your space, combining practicality with an aesthetic appeal that catches the eye.
3. Building Farmhouse Buffet Table

Making a farmhouse buffet table introduces rustic charm and ample space, perfect for those who cherish both form and function. Its sturdy design promises longevity, while its country-inspired look brings warmth and character to any dining room or kitchen.
4. How to Make a Vintage Sideboard
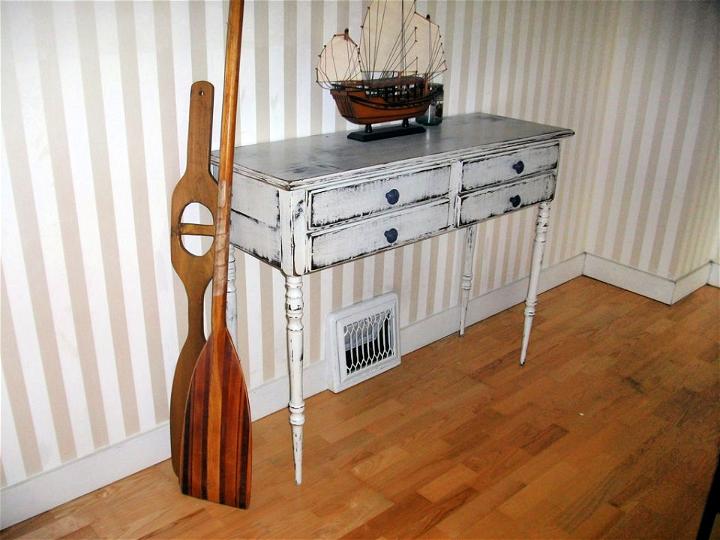
Channeling vintage vibes into your home through a buffet table adds a timeless elegance. This piece, rich in history and character, can serve as a focal point, offering both storage solutions and an opportunity to display your cherished collectibles with grace.
5. Free Buffet Table Plan

Venturing into building your buffet table need not be daunting or expensive. Opting for a free plan can guide you seamlessly through the process, providing a cost-effective solution to achieving a personalized piece that reflects your style and meets your storage needs.
6. Dining Room Sideboard Design
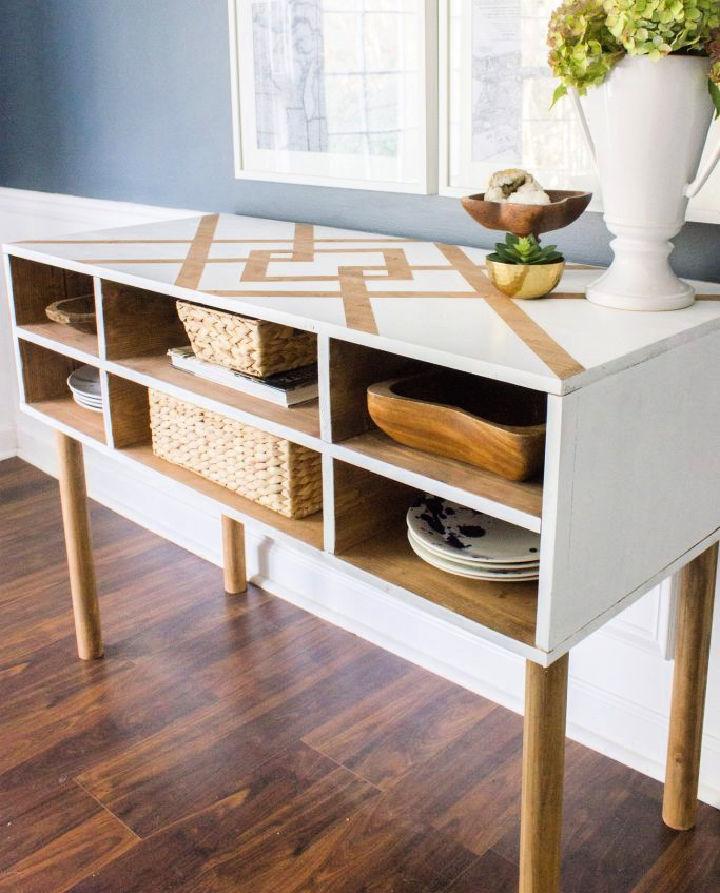
Integrating a buffet table into your dining room not only enhances functionality but also complements your dining set. Its design offers the perfect spot for serving dishes and storing table linens, making mealtime gatherings both stylish and efficient.
7. Budget-Friendly DIY Sideboard Cabinet

This budget-friendly DIY sideboard cabinet merges style with function, offering ample storage without compromising on aesthetics. Perfect for beginners, it's easily customizable to fit any room decor, making it an ideal addition for savvy DIY enthusiasts looking to enhance their living spaces affordably.
8. Make Your Own Tall Sideboard

Opting for a tall buffet table can be a smart choice for those looking to maximize vertical storage space without sacrificing style. Its elevated design is ideal for compact spaces, allowing for an organized and accessible setting.
9. Built In Buffet Cabinet Plan
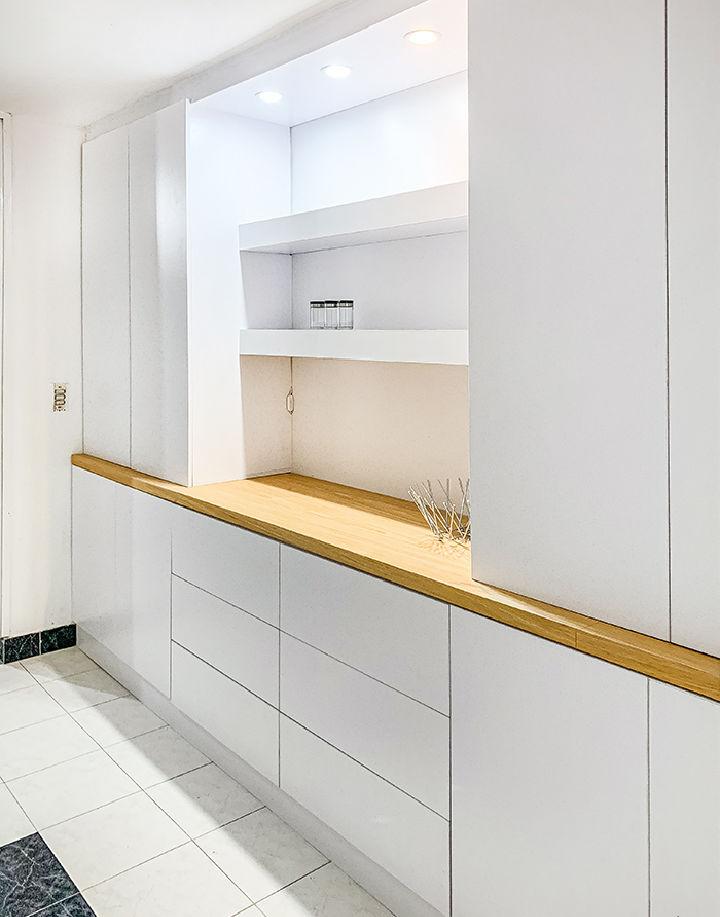
Making a built-in buffet cabinet offers a sleek and cohesive look, blending seamlessly into your room's architecture. This approach maximizes space and enhances the overall aesthetic, providing a custom solution to storage and display needs.
10. Build an extra-long sideboard
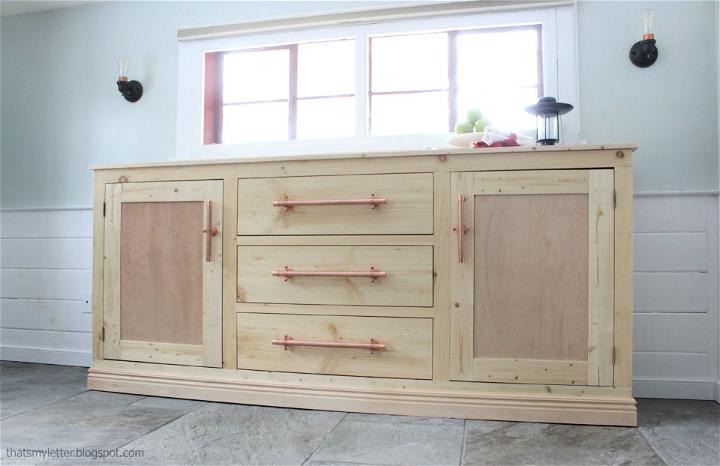
For those who love to entertain, an extra-long buffet cabinet is a game-changer. Offering ample space for dishware and accessories, this project allows you to cater to large gatherings with ease, ensuring everything you need is within reach.
11. Do It Yourself Simple Sideboard
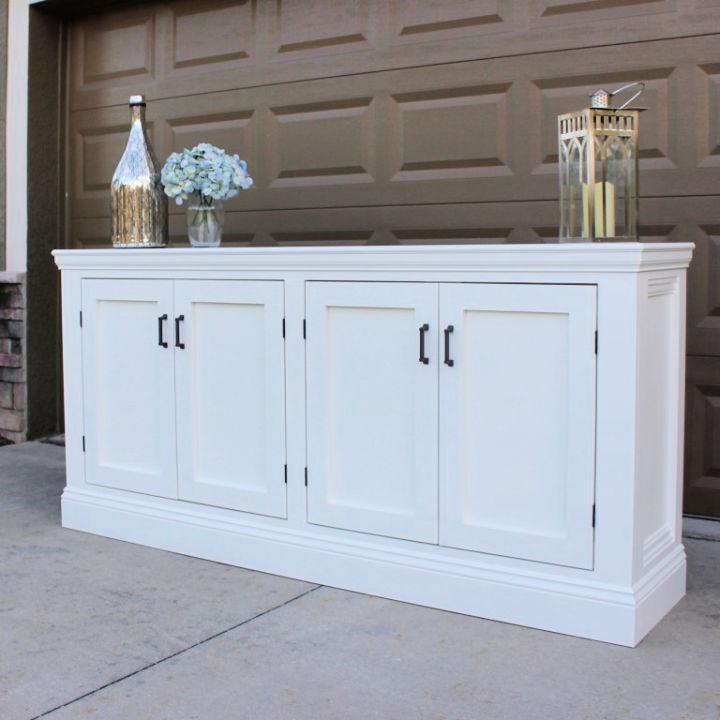
A simple sideboard project can prove that elegance lies in simplicity. This piece can serve multiple purposes across your home, from a media console to a dining room storage unit, bringing functionality and minimalist style to your space.
12. Easy DIY Buffet Hutch
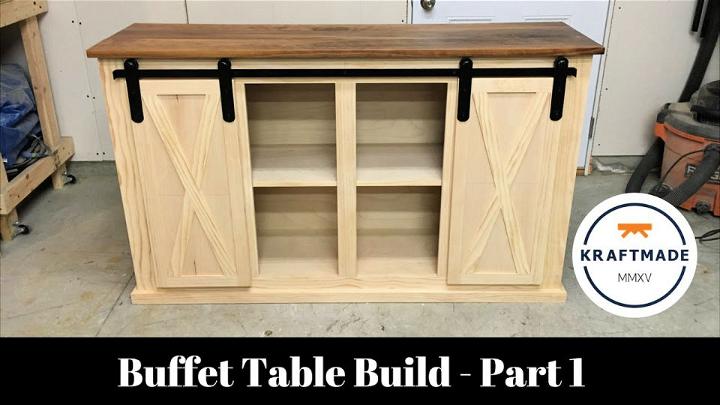
An easy DIY buffet hutch project can be a wonderful way to add storage and display space. Perfect for showcasing your fine china or keepsakes, this piece combines practicality with the charm, enhancing any room it occupies.
13. Free Sideboard Woodworking Plan
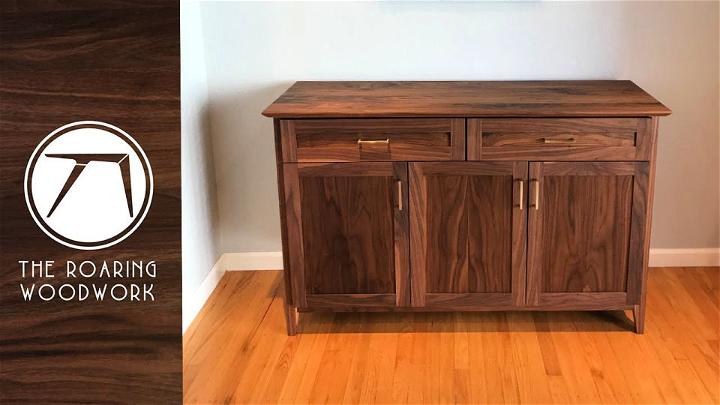
Diving into a woodworking project to build a buffet table can be a fulfilling endeavor. Such a plan provides the blueprint for crafting a sturdy and beautiful piece that showcases your woodworking skills and adds functional art to your home.
14. DIY Buffet Table for Under $50
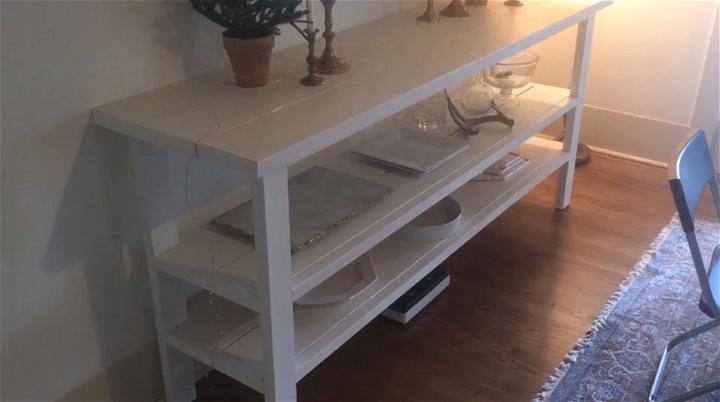
Working on a tight budget? It's possible to build a chic buffet table for under $50. This project challenges creativity and resourcefulness, resulting in a custom piece that's both affordable and stylish, proving that great design doesn't have to break the bank.
15. Outdoor Buffet Table with Storage

Building an outdoor buffet table with storage optimizes your outdoor entertaining area. Designed to withstand the elements while keeping your essentials organized, this piece becomes an indispensable ally for hosting gatherings under the sky, blending functionality with outdoor elegance.
Conclusion:
In conclusion, these DIY sideboard plans offer a perfect solution for anyone looking to enhance their home decor with a touch of creativity and functionality. By following these step-by-step instructions, you can build a beautiful piece of furniture that suits your style and space. Embrace the challenge, unleash your inner designer, and embark on a woodworking project that will truly make a statement in your home.

