Making your own Plinko board can be a fun and rewarding woodworking project. This guide offers step-by-step instructions to help you make a durable and slick-surfaced Plinko game perfect for parties or family game nights. This project is suitable for individuals with an intermediate level of woodworking skills.
Materials and Tools Needed:
- ¾ inch plywood (for structure and strength)
- Whiteboard material (for a smooth surface)
- Wood glue
- Bricks (for clamping)
- 1x6 wood (for outer frame)
- Table saw
- Miter saw
- Digital angle gauge
- Dado blade (for table saw)
- Plexiglass (for the game front)
- Dowels (for pegs)
- Hammer or Mallet
- Brad Nailer
- Sandpaper or belt sander
- 2x4 wood (for the bottom dividers)
- Paint or polyurethane (for finishing)
Step by Step Instructions
Make a fun DIY Plinko board for your event with this easy tutorial below:
Step 1: Prepare the Main Board
Cut the * ¾ inch plywood and the whiteboard material to size. Glue these two pieces together using wood glue and evenly spread out the glue to cover the entire surface. Place bricks on top to apply pressure and leave it to dry.
Step 2: Assemble the Frame
Make a three-piece frame from 1x6 wood, mitering the ends at a 45-degree angle. Before assembling, cut dado slots in the frame pieces to fit the main board and the plexiglass front.
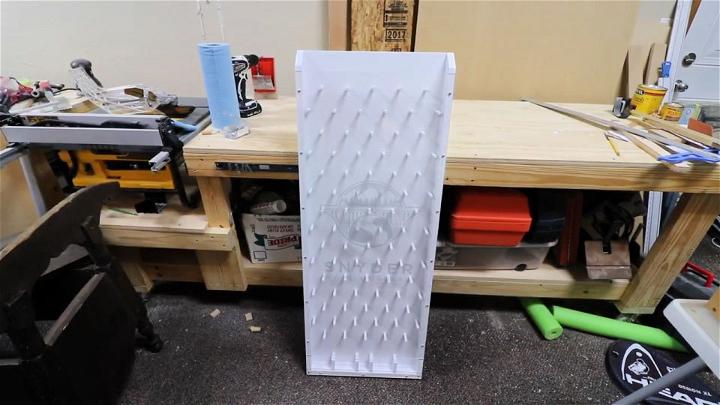
Step 3: Adding Peg Holes
Once the main board is securely glued and the frame is prepared, it's time to make a grid and drill holes for the dowels (pegs). Use a whiteboard marker to draw the grid, ensuring equal spacing for the pegs. Carefully drill the holes using the suitable drill bit size. For clean drilling through whiteboard material, let the weight of the drill press down to make the holes instead of applying extra pressure.
Step 4: Cut and Place the Pegs
Cut the dowels to the desired length for your pegs, ensuring they fit snugly into the holes you've drilled. Use a mallet to gently tap each dowel into place.
Step 5: Assemble the Frame Around the Board
Apply wood glue to the dado slots of the frame, carefully place the main board with pegs into the frame, and secure with brad nails.
Step 6: Preparing the Bottom Dividers
Use a 2x4 to make solid wood dividers for the bottom part of your Plinko board. Cut them into half-inch sections, sand, and shape them to have a beveled top so the Plinko chips can slide off in either direction.
Step 7: Apply Finishing Touches
Sand the entire Plinko board and apply a coat of paint or polyurethane to protect the wood and give it a finished look.
Step 8: Add Legs and Plexiglass
Cut the plexiglass to fit the front of your frame, allowing viewers to see the action unfold while keeping the chips within the board. Attach legs at the desired angle to ensure the board leans back slightly for optimal gameplay.
Step 9: Testing and Adjustments
Test the Plinko board with chips to ensure everything works as expected. Make any necessary adjustments to peg spacing or the angle of the board for better gameplay.
Video Tutorial
For a step-by-step video tutorial on how to make a Plinko Board, watch this helpful guide from I Like To Make Stuff on YouTube here.
It pairs well with this written guide, adding clarity with visual demonstrations to each step discussed.
Embarking on this project combines the joy of woodworking with the fun of game-making. Follow these detailed steps, and you'll make a Plinko board that's sure to entertain for years to come.
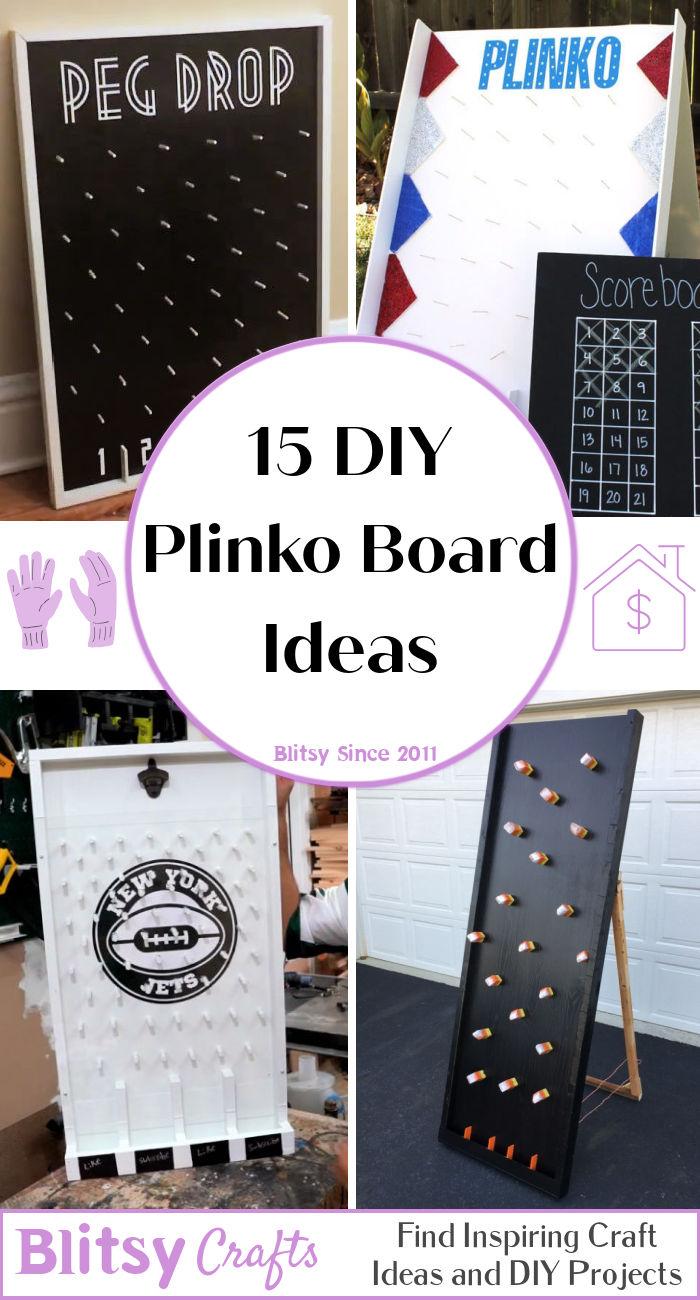
Discover 15 DIY Plinko Board Plans to Make a Fun and Engaging Game for Your Next Event
1. Free Plinko Game Board Plan
Imagine having fun with a game you maked yourself! A free Plinko game board plan offers that satisfaction. It's perfect for anyone looking to dive into a new project without the cost.
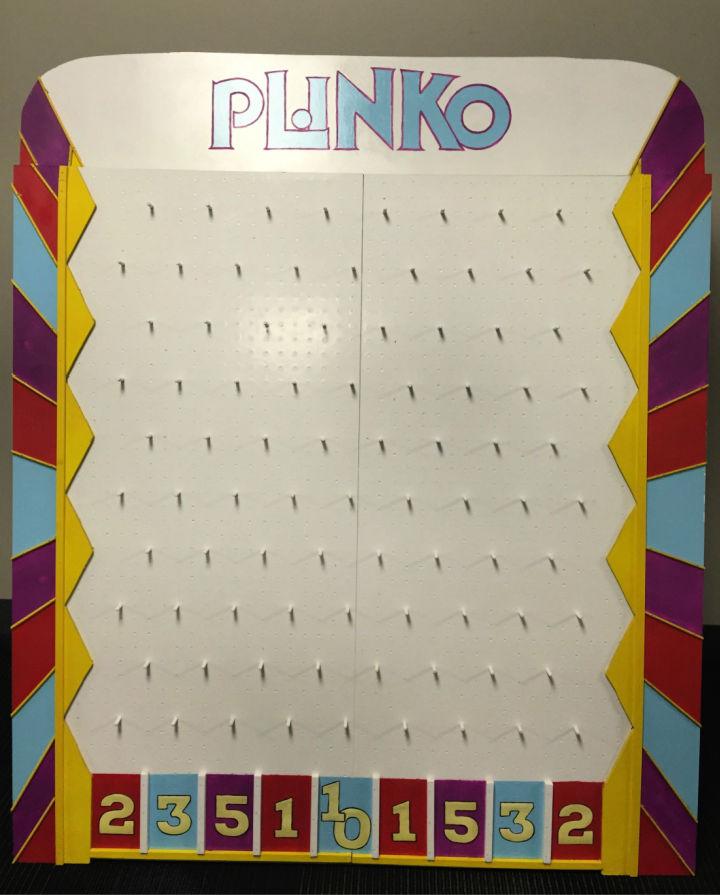
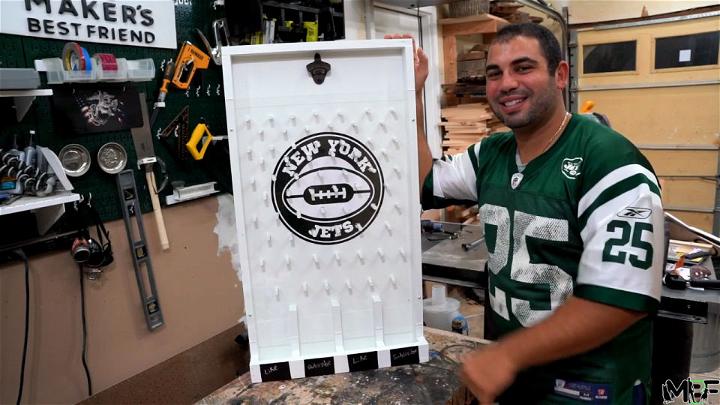
2. Make Your Own Plinko Game Board
Making your own Plinko game board adds a personal touch to any gathering. It's a creative way to engage guests and spark conversations. Plus, it's a project that reflects your craftsmanship and attention to detail.
3. DIY Plinko Board Using a Scrap of Plywood
Utilizing scraps of plywood for a DIY Plinko board is both economical and environmentally friendly. It's a fantastic way to repurpose materials while making a game that brings joy to many.


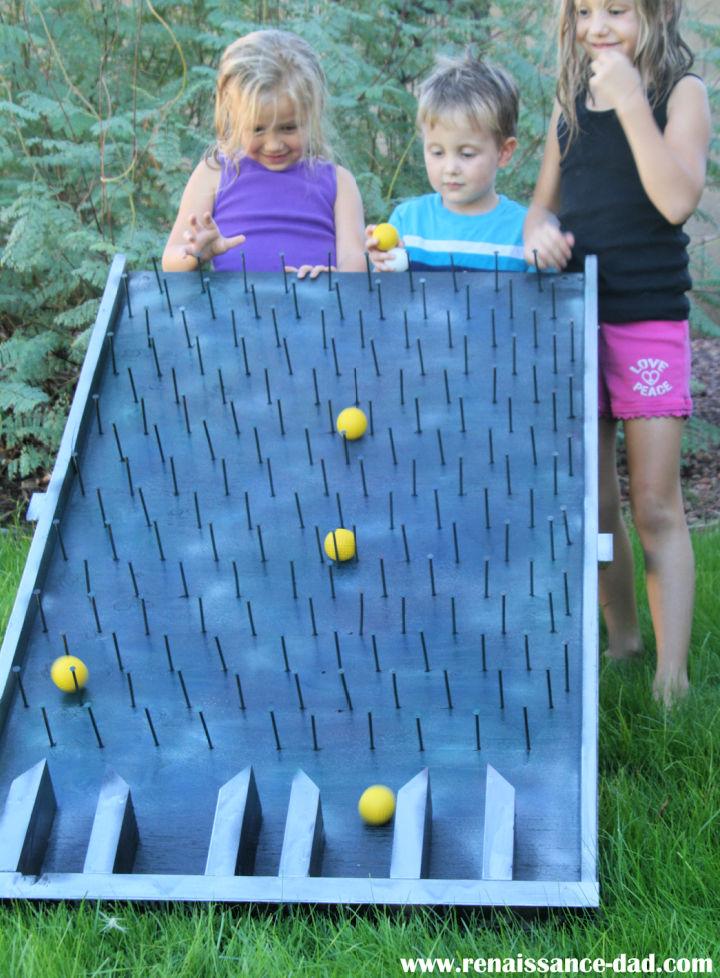
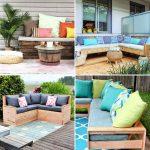
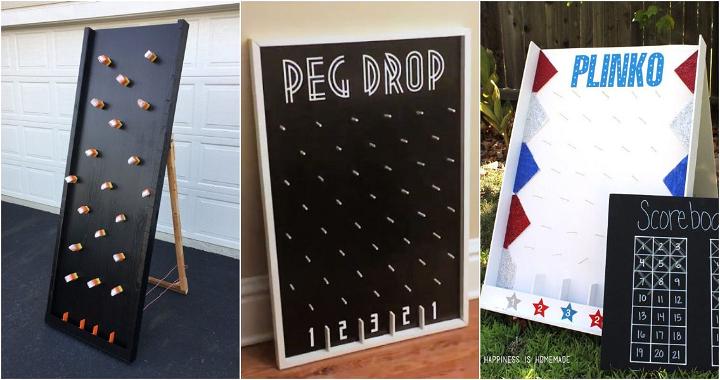
4. Backyard Plinko Party Game
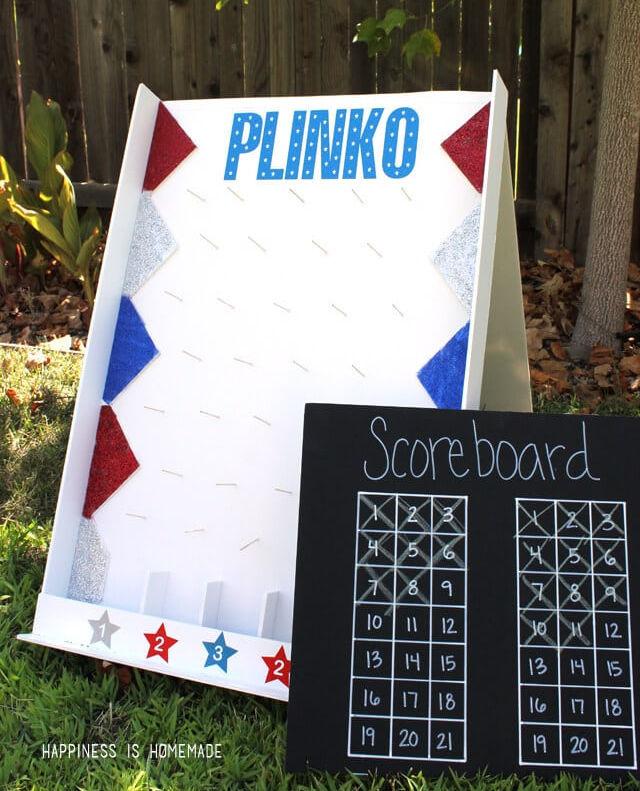
A backyard Plinko party game turns any outdoor event into a memorable experience. It's an engaging addition that can be enjoyed by guests of all ages, fostering a lively atmosphere.
5. DIY Plinko Board Design for Halloween
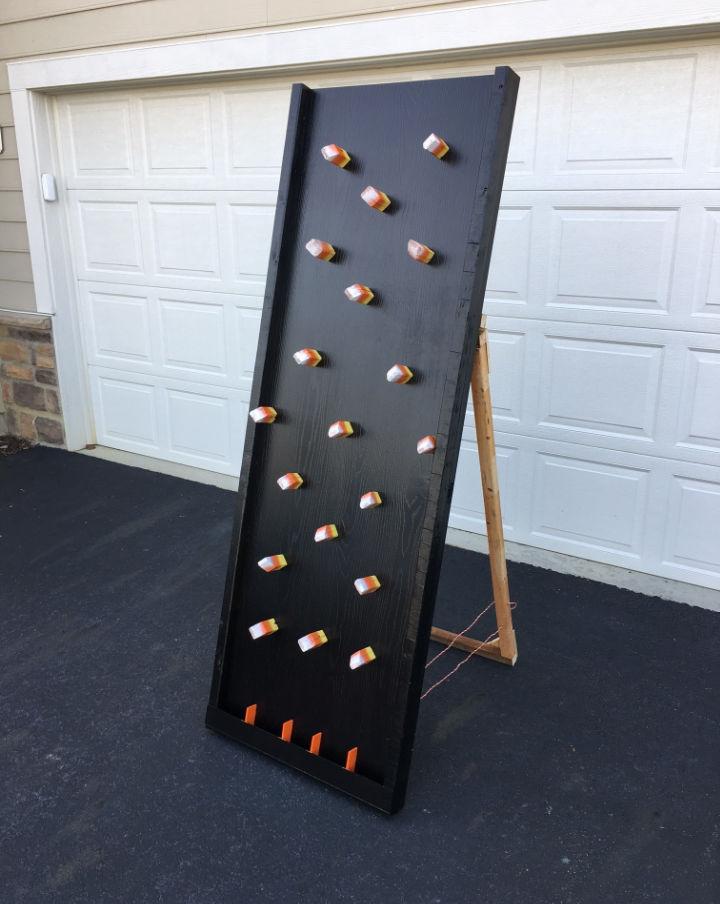
Transform your Halloween party with a DIY Plinko board design specifically themed for the occasion. It's a spooky, fun way to entertain guests and give out treats in an innovative manner.
6. Homemade Plinko Chore Board
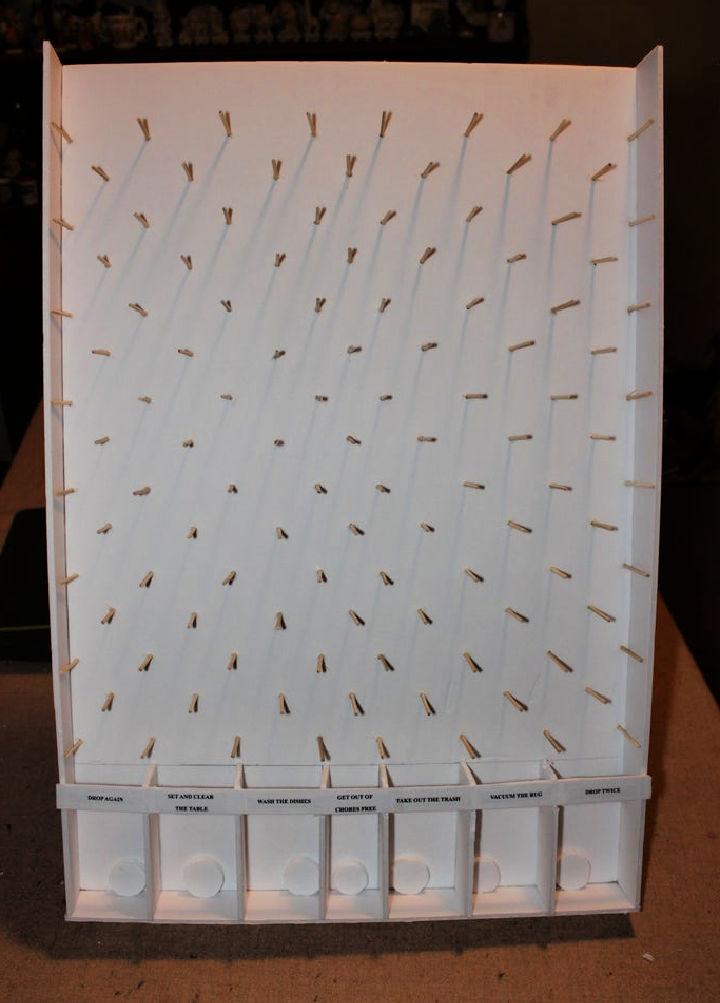
Introducing a homemade Plinko chore board is a clever method to motivate kids to complete their tasks. It makes chores exciting and rewards kids in a playful way, encouraging them to participate more eagerly.
7. How to Make a Plinko Board
Embarking on making a Plinko board is a journey of creativity and precision. It's an opportunity to hone your woodworking skills while crafting a game that's both entertaining and visually appealing.


8. Plinko Money Board Game from Cardboard
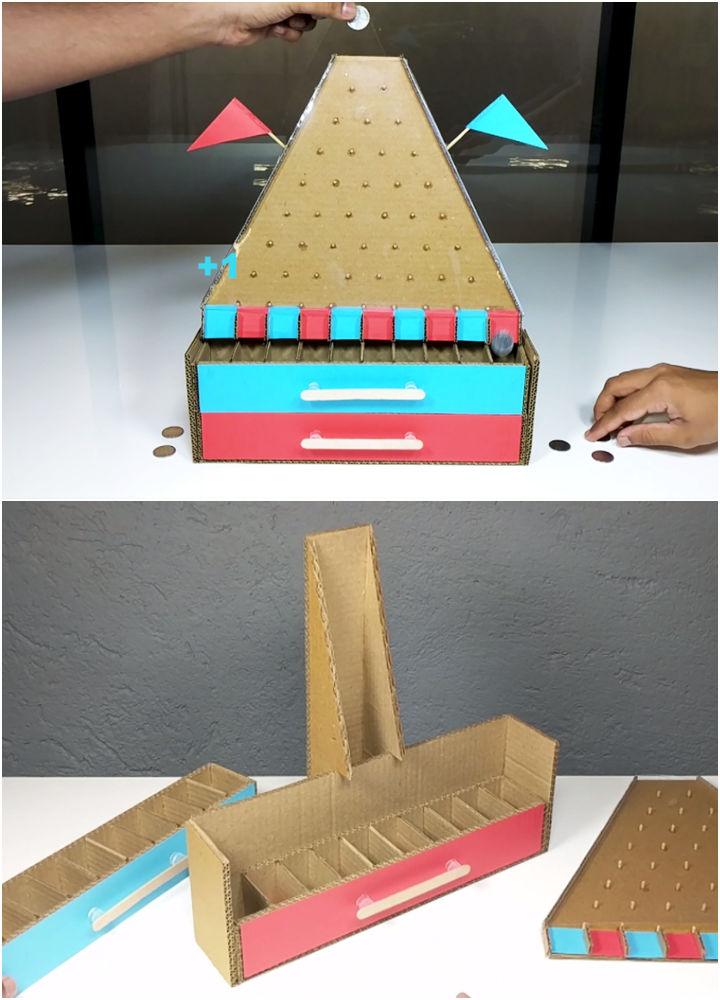
A Plinko money board game made from cardboard is not only cost-effective but also incredibly fun. It's a creative way to engage friends and family, making any gathering a hit.
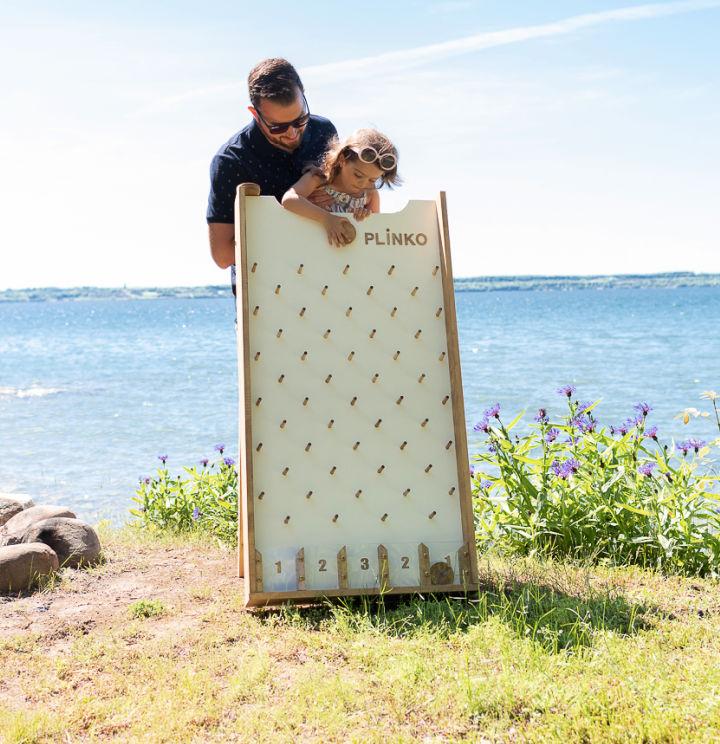
9. DIY Large Plinko Board
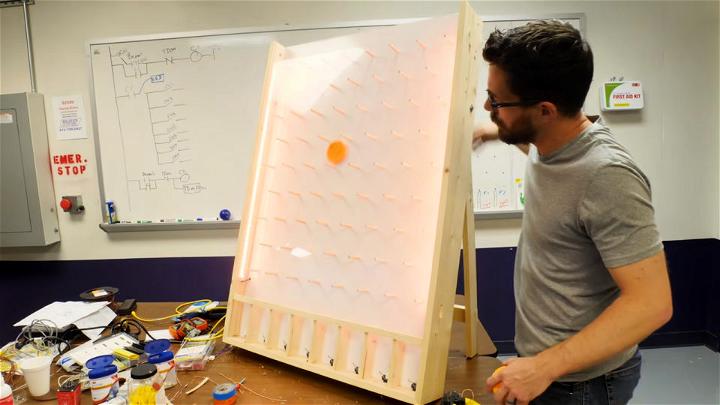
Making a DIY large Plinko board is a bold move that promises big fun. It's perfect for those who love to go the extra mile in making their parties or events stand out.
10. DIY Plinko - Step by Step Instructions
Follow step-by-step instructions for DIY Plinko, and you'll find the process straightforward and rewarding. It's a wonderful project for beginners and seasoned DIY enthusiasts alike.
11. Making a Cardboard Plinko Board
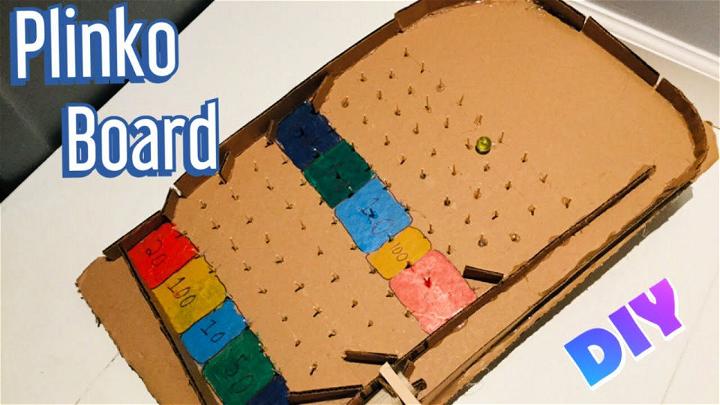
Making a cardboard Plinko board is a simple, yet effective way to bring the classic game to life. It's lightweight, easily customizable, and perfect for parties or family game nights.
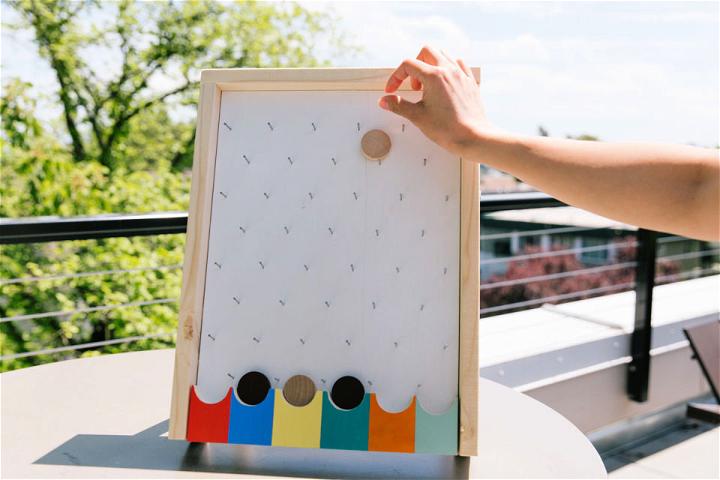
12. Building a Tabletop Plinko Board
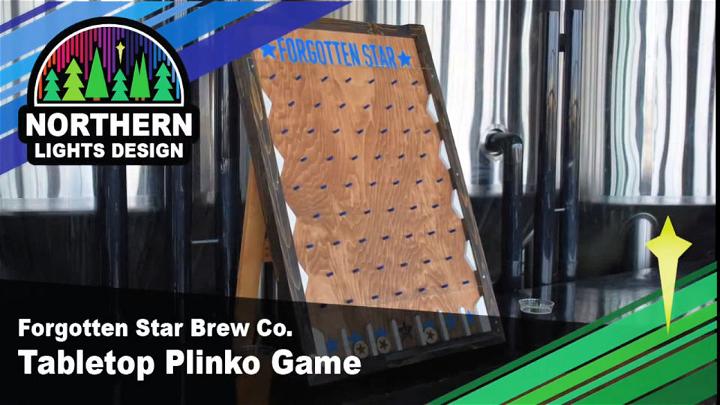
Building a tabletop Plinko board is a fantastic project for those with limited space. It offers the same excitement in a compact form, ideal for small gatherings or as a permanent fixture in your game room.
13. Plinko Board with Limited Tools
Making a Plinko board with limited tools proves that you don't need a fully equipped workshop to make something amazing. It's all about creativity and making use of what you have at hand.
14. DIY Drinko Plinko Game
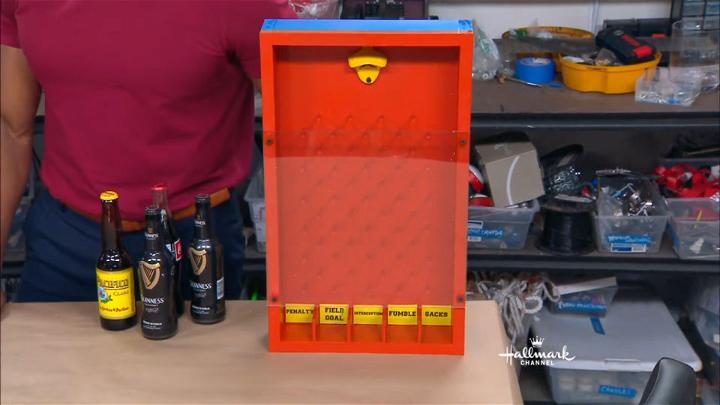
A DIY drinko plinko game is a fun twist on the traditional plinko. It's perfect for adult gatherings, adding an element of surprise to your beverage selection in a playful way.
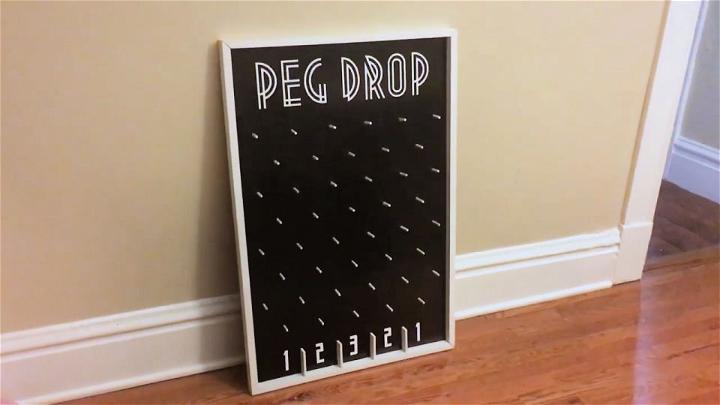
15. Plinko Board with Pegboard
Using a pegboard for a Plinko board simplifies the process, allowing for easy customization and adjustment. It's a smart choice for those looking for a quick and versatile way to make this beloved game.
Conclusion:
Wrapping up this guide on making a DIY plinko board, you now have all the tools and steps needed to embark on this exciting project. Whether you're hosting a party or looking for a fun and interactive way to engage with family and friends, a plinko board is a fantastic addition. Get creative and unleash your inner DIY enthusiast with this entertaining game!
Related posts:
 DIY Board and Batten (25 Ideas)
 DIY Dry Erase Board (25 Ways)
 DIY Busy Board (15 Ideas)
 Easy DIY Chess Board (25 Ways)
 25 Creative Halloween Bulletin Board Decorations Ideas
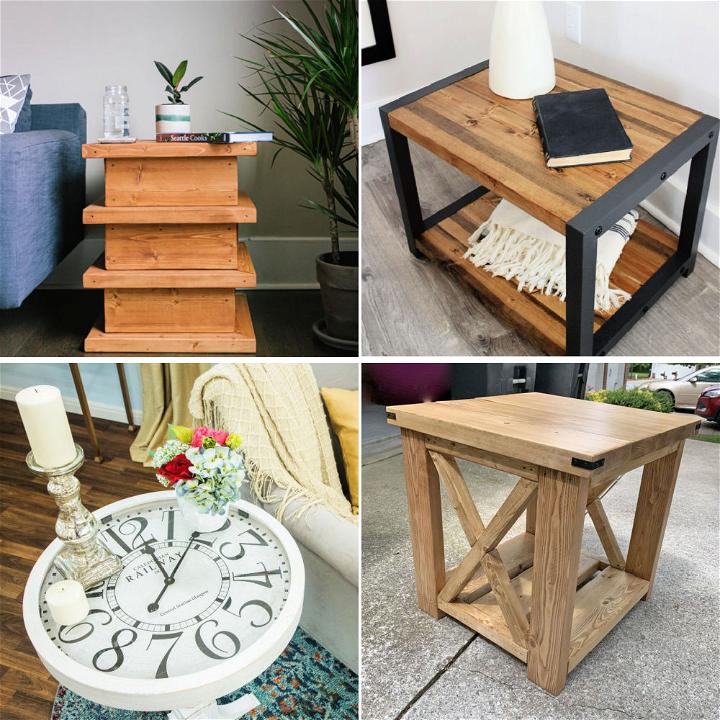 30 Free DIY End Table Plans - DIY End Table Ideas
 25 DIY Outdoor Sectional Plans - Free DIY Patio Sofa
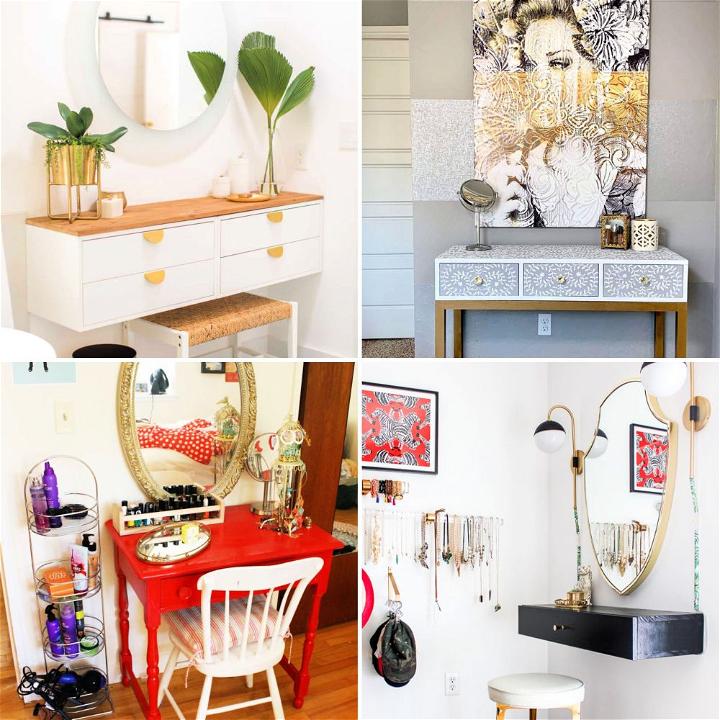 25 Homemade DIY Makeup Vanity Plans - DIY Vanity Table
 25 DIY Dog Gate Ideas and Plans - Install Easy DIY Pet Gate
 DIY Journal (25 Ideas)
 25 Cheap DIY Kiln Ideas to Build your own Kiln for Pottery
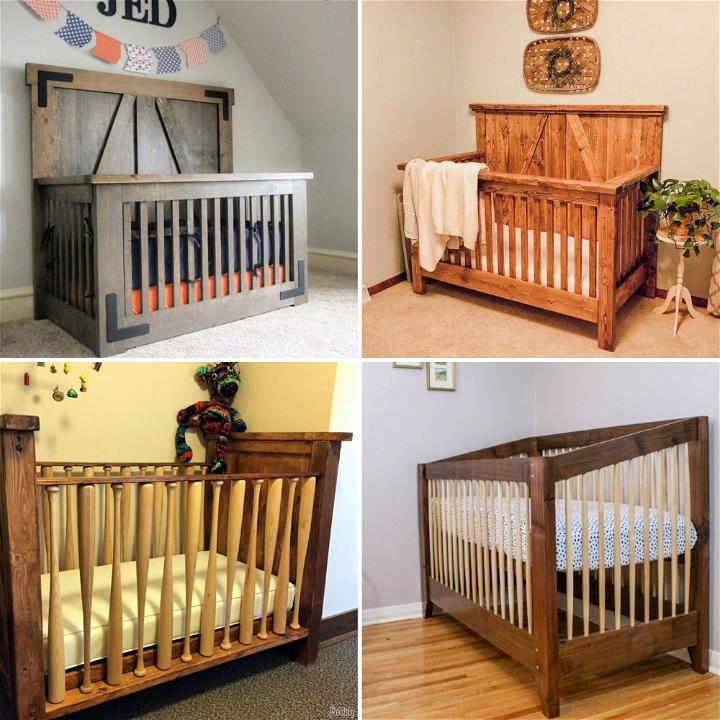 27 Homemade DIY Crib Plans To Build For Your Baby