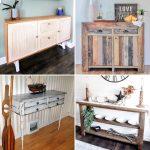
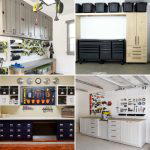
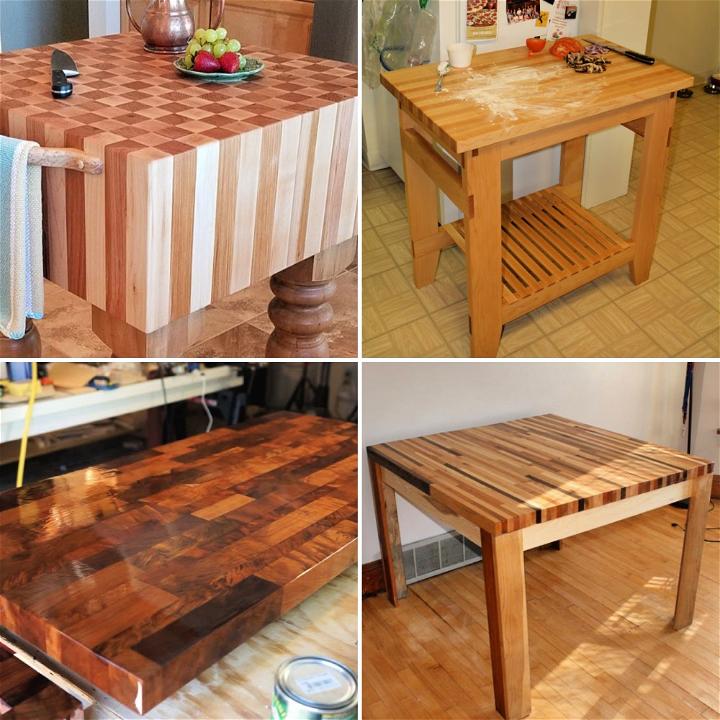
Building your own kitchen cabinets can seem like a daunting task, but with the right tools and a detailed guide, you can create stunning, sturdy cabinets that save you money and enhance your space. This step-by-step guide breaks down the process into manageable steps, ensuring you're equipped to tackle this project with confidence.

Preparing the Materials
Start by collecting your materials. You'll need plywood (both ¾ inch and ¼ inch for different parts of the cabinet), a table saw or a circular saw with a Kreg Accu-Cut jig for precise cuts, fence clamps for accuracy, a speed square, a circular or jigsaw, and various tools for assembly including glue, brad nails, and pocket hole screws.
Cutting the Plywood
- Measure and Cut: Begin by measuring your plywood according to the dimensions of your cabinet design. Use your saw to make the primary cuts. Remember, ¾ inch plywood is slightly thinner than its nominal dimension, so plan accordingly.
- Toe Kick and Grooves: For the toe kick, mark a 4-inch square in the bottom corner of your side panels and cut it out. Also, route a ¼ inch groove along the back edge of the side panels for the back panel to slide into.
Assembling the Cabinet Carcass
- Bottom and Side Panels: Apply glue along the edges where the bottom panel will connect to the side panels. Use brad nails to temporarily hold these in place, followed by securing them with pocket hole screws.
- Back Panel: Insert the back panel into the groove you routed earlier, ensuring it fits snugly. Attach a stretcher piece above this back panel for additional support.
- Adding Strengthening Stretchers: Install the front, top, and bottom stretchers using glue and pocket hole screws. These will provide additional structural support to the cabinet.
- Toe Kick Installation: Attach the toe kick the same way—glue, followed by brad nails in the front and pocket screws in the back.
Building and Attaching Face Frames
- Cutting the Maple: Use ¾ inch maple to cut pieces for your face frame. Maple is sturdy and provides a high-quality finish.
- Assembling the Frames: Connect the face frame pieces using glue and pocket screws. Ensure a tight and flush assembly, paying special attention to achieving perfect angles.
- Attaching to the Carcass: Lay down a layer of glue on the carcass where the face frame will sit. Use brad nails to attach the frame securely in place, filling any nail holes later before painting.
Building Drawers and Doors
- Drawer Pieces: Cut pieces for your drawers, ensuring you route a dado on the bottom edge for the bottom panel to slide into.
- Assemble Drawers: Assemble the drawer boxes using glue and brad nails, ensuring each drawer fits its intended space perfectly.
- Shaker-style Doors: Use a tongue and groove router bit set on your rails and stiles to create the shaker-style doors. Assemble with glue, ensuring the panel fits snugly within the frame without the need for fasteners.
- Finishing Touches: Sand all faces, edges, and corners of doors and drawers to prepare them for painting.
Painting
- Primer and Paint: Apply a coat of high-quality primer, followed by two coats of cabinet paint. Consider using a sprayer for a smooth, professional finish.
- Installation: When the paint is dry, install the doors and drawers, along with hardware like pulls and hinges. Align everything accurately, ensuring a professional look.
Video Tutorial
For a step-by-step video tutorial, watch How to Build Kitchen Cabinets from Start to Finish on YouTube.
This video complements our written guide by providing a visual representation of the techniques we've discussed, showcasing the crafting process in a manner that's accessible and easy to follow.
Maintenance and Upkeep for DIY Kitchen Cabinets
Maintaining your DIY kitchen cabinets is key to ensuring they look good and last long. Here’s how you can keep them in top shape:
Daily and Weekly Maintenance Habits
- Gentle Cleaning: Use a soft cloth dampened with water to wipe away fingerprints and minor spills. For a deeper clean, mix a mild dish soap with water.
- Addressing Spills Immediately: Clean up spills quickly to prevent staining, especially on wood cabinets.
Deep Cleaning Strategies
- Removing Tough Grime: Mix vinegar and warm water to tackle grime or grease. Apply with a soft cloth, rinse, and dry thoroughly.
- Polishing Wood Cabinets: After cleaning, apply a wood polish suitable for your cabinet’s finish to restore shine and protect against dust.
Addressing Wear and Tear
- Touching Up Scratches: Use a touch-up marker or crayon for wooden cabinets, or matching paint for painted ones.
- Adjusting Hinges and Hardware: Tighten loose hinges and replace worn hardware to prevent doors from hanging improperly.
Common Challenges and Solutions in DIY Kitchen Cabinet Projects
DIY kitchen cabinet projects can come with their own set of challenges. Here are some common issues and how to solve them:
Common Cabinet Issues and Fixes
- Loose Cabinet Hardware: Tighten screws and replace damaged hardware to ensure doors function properly.
- Sticky Cabinet Drawers: Clean and lubricate the tracks to ensure smooth operation.
- Worn or Damaged Cabinet Finish: Touch up with matching paint or finish. For more severe damage, consider refinishing the entire surface.
- Cabinet Door Misalignment: Adjust the hinges to realign the doors correctly.
- Sagging Shelves: Reinforce with additional supports or replace with thicker, more durable material.
- Water Damage: Prevent by wiping up spills immediately. For existing damage, assess if the area can be dried out and repaired or if it needs replacement.
By following these tips and addressing issues promptly, you can keep your DIY kitchen cabinets functional and beautiful for years to come. Remember, regular maintenance is the best way to avoid bigger problems down the road.
FAQs About DIY Kitchen Cabinets
Find answers to all your questions regarding DIY kitchen cabinets. Learn how to save money and customize your space with our helpful FAQ guide.
What materials do I need to build DIY kitchen cabinets?
To build DIY kitchen cabinets, you will need plywood or MDF boards for the cabinet boxes, screws, wood glue, hinges, drawer slides, and tools like a saw, drill, and sander. Choose materials that fit your budget and style preferences.
How can I ensure my cabinets are durable?
Use quality materials and follow proper construction techniques. Apply a durable finish and ensure all joints are securely fastened. Regular maintenance will also extend the life of your cabinets.
Can I install kitchen cabinets myself?
Yes, with the right tools and a clear plan, you can install kitchen cabinets yourself. Make sure to measure accurately and follow safety guidelines when using power tools.
What is the standard size for kitchen cabinets?
The standard height for base cabinets is 34.5 inches without the countertop, and 24 inches deep. Wall cabinets typically have a depth of 12 to 24 inches. However, sizes can be adjusted to fit your kitchen layout.
How do I customize my kitchen cabinets?
Customize your kitchen cabinets by choosing unique hardware, adding glass panels, or painting them in your desired color. Consider adding organizers inside for better functionality.
What are the common mistakes to avoid when building kitchen cabinets?
Avoid inaccurate measurements, not leveling cabinets, ignoring the placement of plumbing and appliances, and using inadequate materials. Take your time to plan and execute each step carefully.
How do I maintain my kitchen cabinets?
Clean regularly with a mild detergent and water. Avoid harsh chemicals. Tighten loose hinges and handles as needed, and touch up any scratches or dents to keep your cabinets looking new.
By addressing these FAQs, you’ll be better prepared to tackle your DIY kitchen cabinet project with confidence. Remember, thorough planning and attention to detail are key to success.
Discover 25 DIY Kitchen Cabinet Plans to Revamp Your Space
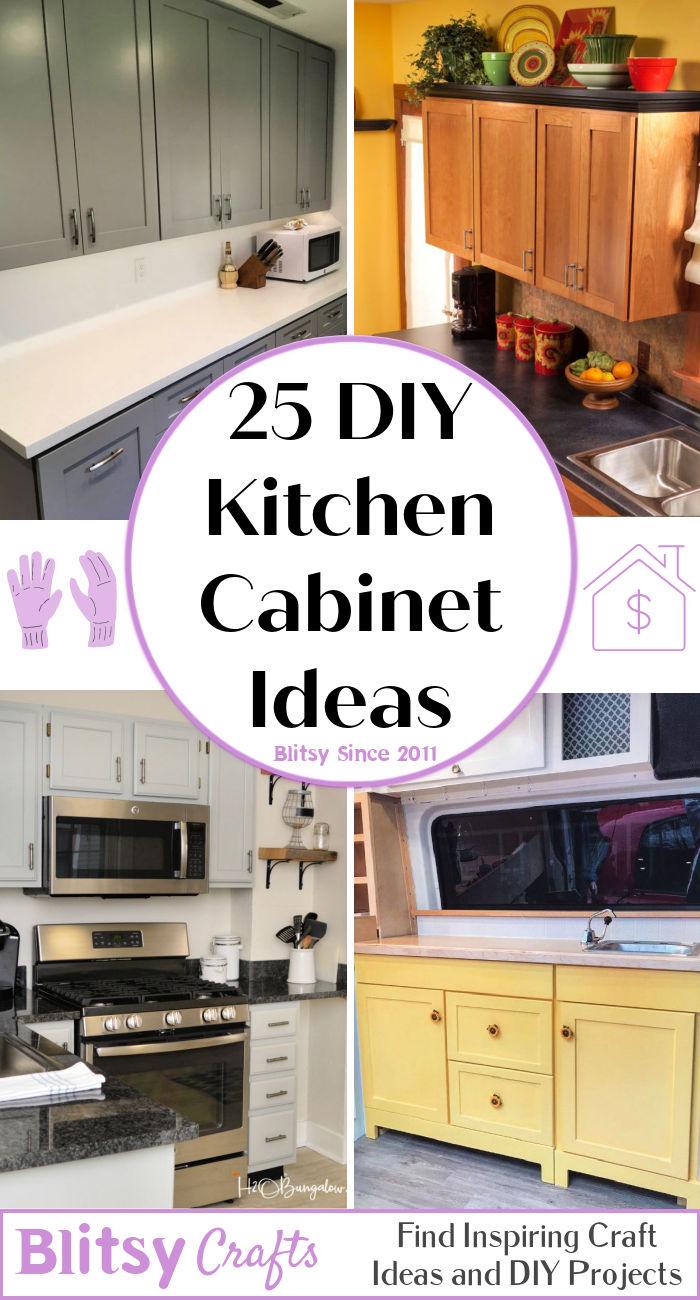
1. How to Build Kitchen Cabinet

Delving into cabinet construction enhances kitchen functionality. With precise measurements and quality materials, your storage solutions can be customized to suit your culinary space perfectly, bringing an air of bespoke elegance and organized charm to your kitchen.
2. 2x4 Kitchen Cabinets Tutorial
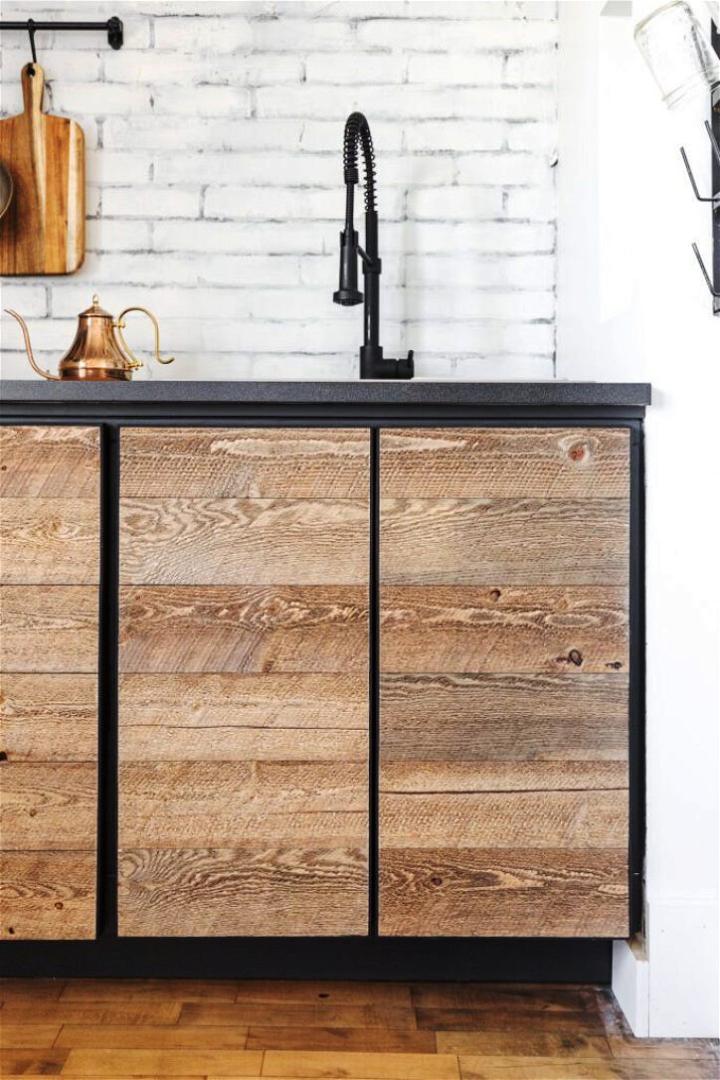
Utilizing 2x4s for kitchen cabinets merges affordability with robustness. This approach simplifies the building process, allowing for a doable yet sturdy cabinetry project. It’s an excellent choice for those wanting a hands-on approach without breaking the bank.
3. Farmhouse Outdoor Kitchen Cabinets
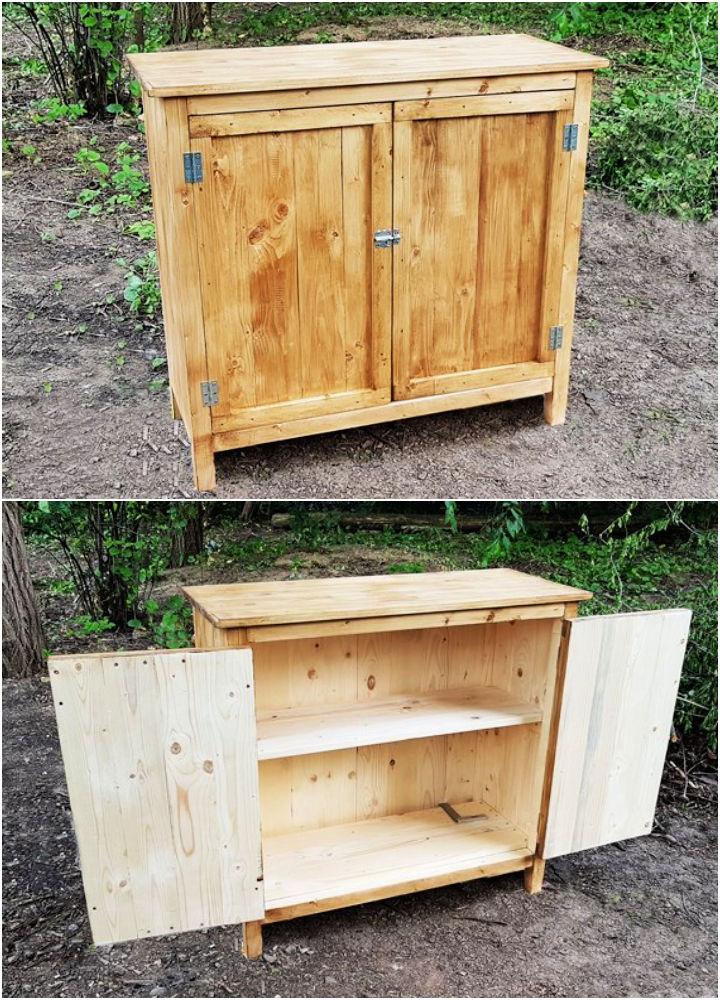
Embrace rustic charm with farmhouse outdoor kitchen cabinets. Durable materials and weather-resistant finishes ensure they withstand the elements, making outdoor entertaining spaces both stylish and functional. It’s a refreshing way to blend comfort with the beauty of nature.
4. Basic Kitchen Cabinets for Under $25
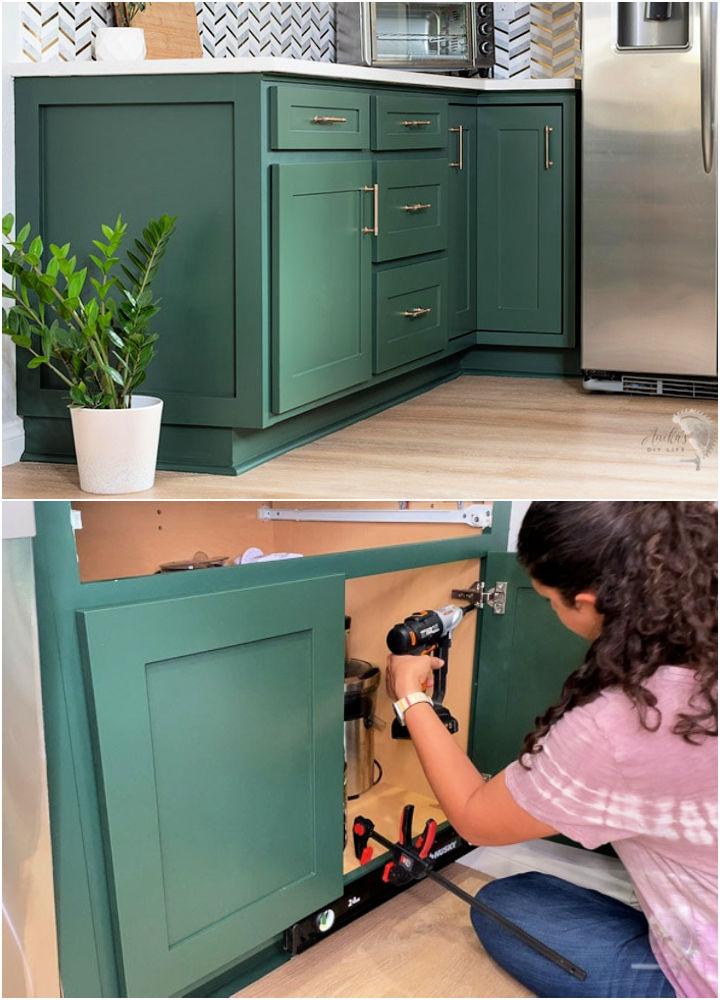
Making basic kitchen cabinets on a tight budget is entirely possible. With a focus on minimalism and efficient use of materials, you can transform your kitchen storage without a hefty investment. It’s proof that functionality doesn’t have to come with a high price tag.
5. Lower Kitchen Cabinets for Van

Tailoring lower kitchen cabinets for a van maximizes limited space, offering organized storage solutions tailored to on-the-go living. It’s about making every inch count, bringing compact efficiency and convenience to your mobile dwelling.
6. Reclaimed Wood Kitchen Cabinets

Opting for reclaimed wood in your kitchen cabinetry champions sustainability and infuses your space with unique history and character. Each piece tells a story, contributing to a warm, inviting kitchen atmosphere.
7. How to Make Kitchen Cabinets
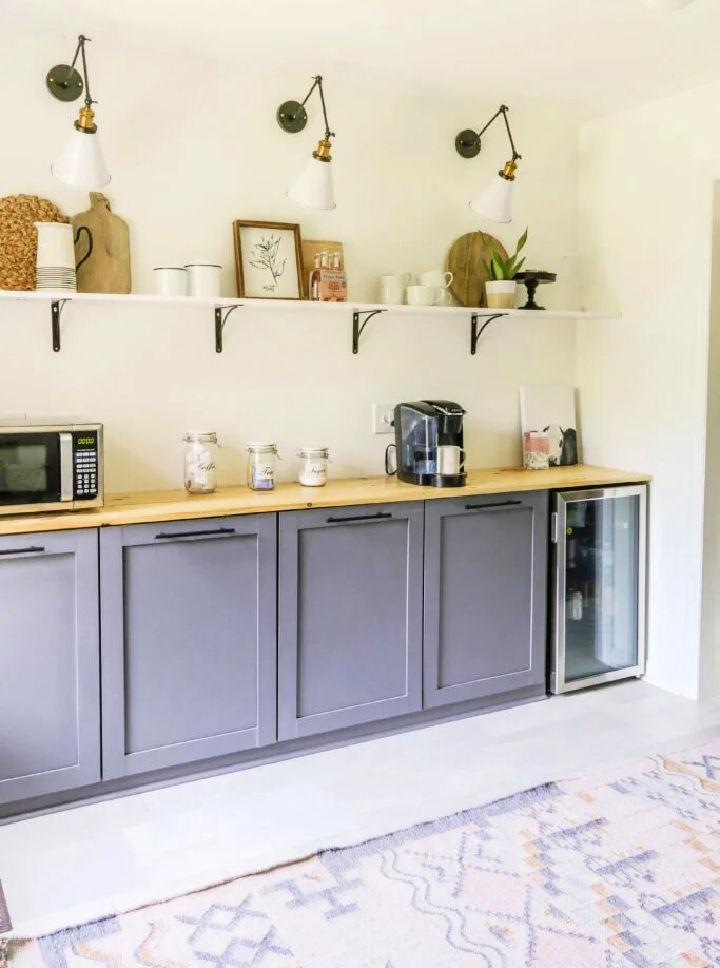
Building kitchen cabinets from scratch is a rewarding DIY project. From design to assembly, it offers full control over aesthetics and functionality, enabling a truly customized kitchen setup. It’s a creative journey that ends in accomplishment and a more personal kitchen space.
8. DIY Kitchen Cabinets
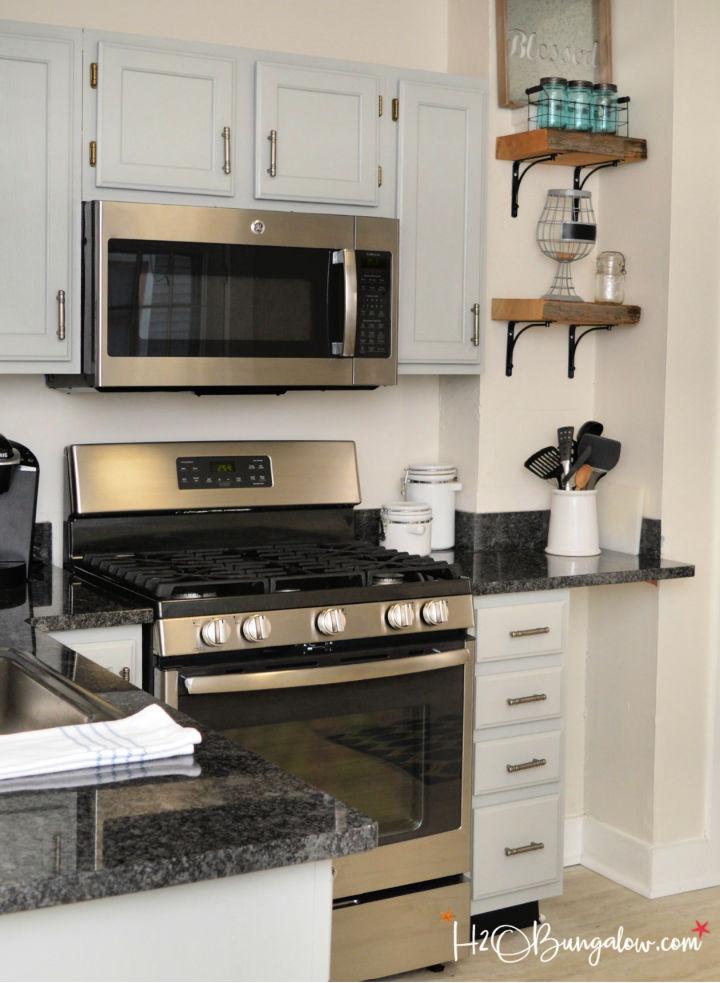
Taking on kitchen cabinet creation as a DIY project allows for imagination and personal style to shine. It’s a hands-on way to achieve a custom look, blending individual flair with practical storage solutions. Dive in and transform your kitchen with a personal touch.
9. Freestanding Kitchen Pantry Cabinet
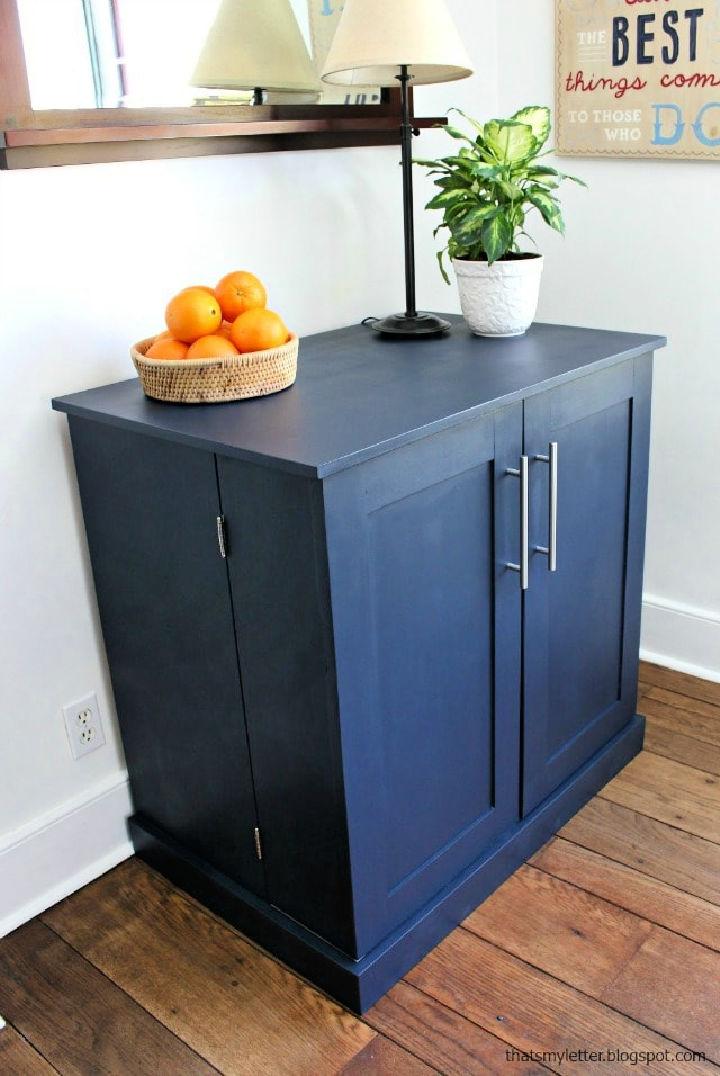
A freestanding pantry cabinet offers versatile storage without the commitment of built-ins. It’s a flexible solution that can evolve with your storage needs and space, perfect for renters or those who love to rearrange.
10. Ready to Assemble Cabinets for Kitchen

Embrace efficiency with ready-to-assemble kitchen cabinets. These pre-designed solutions offer ease of installation and a quick way to refresh your space, perfect for both renovation enthusiasts and beginners.
11. Refinish Kitchen Cabinets
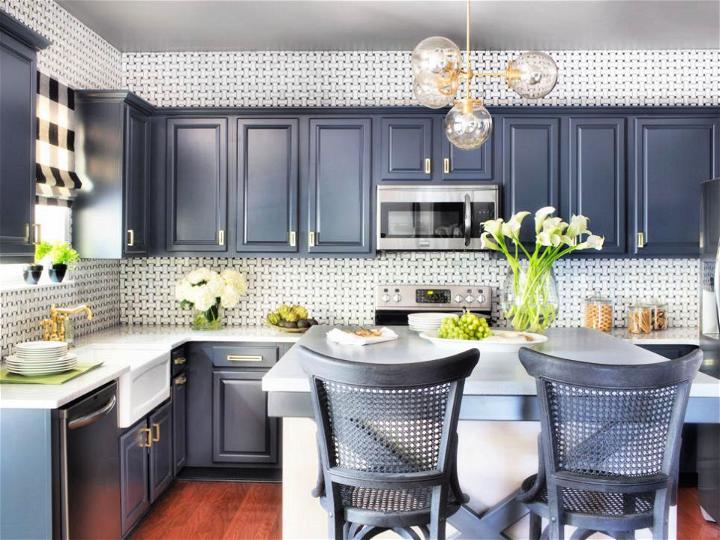
Refinishing kitchen cabinets breathes new life into your space. It’s an eco-friendly way to update without full replacement, allowing you to experiment with colors and finishes, and add a refreshed feel to your kitchen.
12. Spray Paint Kitchen Cabinets

Transforming kitchen cabinets with spray paint is a speedy, uniform method to achieve a fresh look. It’s an ideal approach for those seeking an even coat and a modern finish, offering a spruced-up appeal with minimal fuss.
13. Make a Kitchen Cabinets
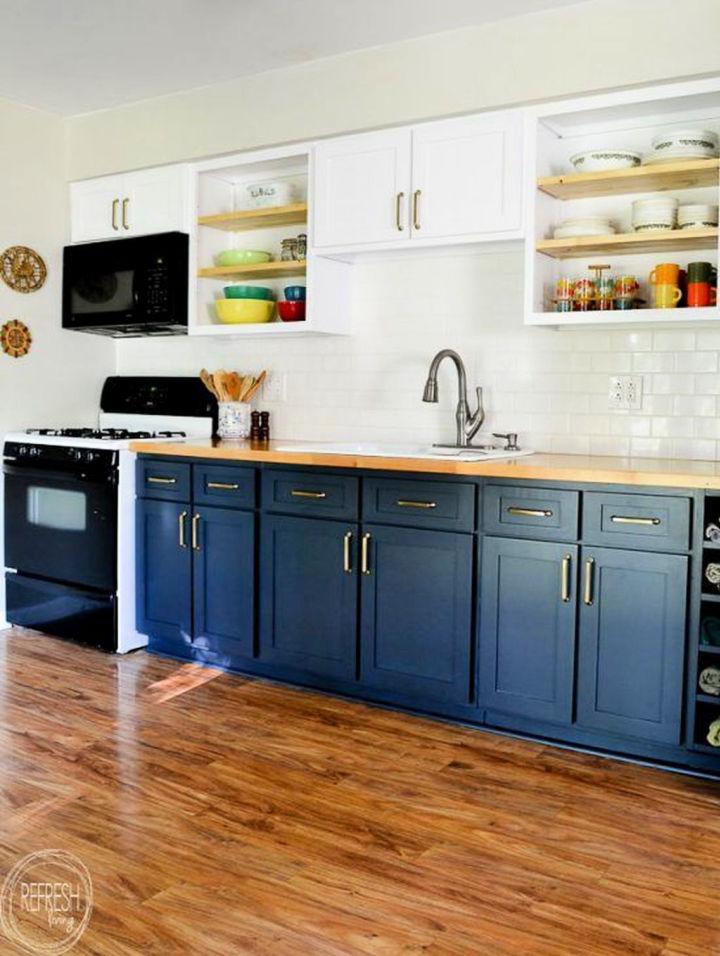
Building your kitchen cabinets is an endeavor of creativity and precision. It leads to a space that perfectly fits your needs and aesthetics, offering daily satisfaction in a kitchen tailored just for you. It’s about making more than cabinets; it’s about making your kitchen your own.
14. Shaker Kitchen Cabinets

Shaker kitchen cabinets bring a classic, timeless look that never goes out of style. Their simple, clean lines and functional design make them a versatile choice for any kitchen decor. Plus, their efficiency in storage adds both beauty and practicality to your cooking space.
15. Frameless Kitchen Base Cabinet

Frameless kitchen base cabinets offer a contemporary and sleek appearance with their full-overlay doors and drawers. This design maximizes storage space and provides easy access to items, making your kitchen not only look modern but also more functional.
16. Simple DIY Kitchen Cabinets

Diving into a DIY kitchen cabinet project can be a rewarding way to customize your space. With basic tools and a bit of creativity, you can create cabinets that perfectly fit your kitchen's dimensions and your design preferences, all while keeping costs low.
17. Update Kitchen Cabinets
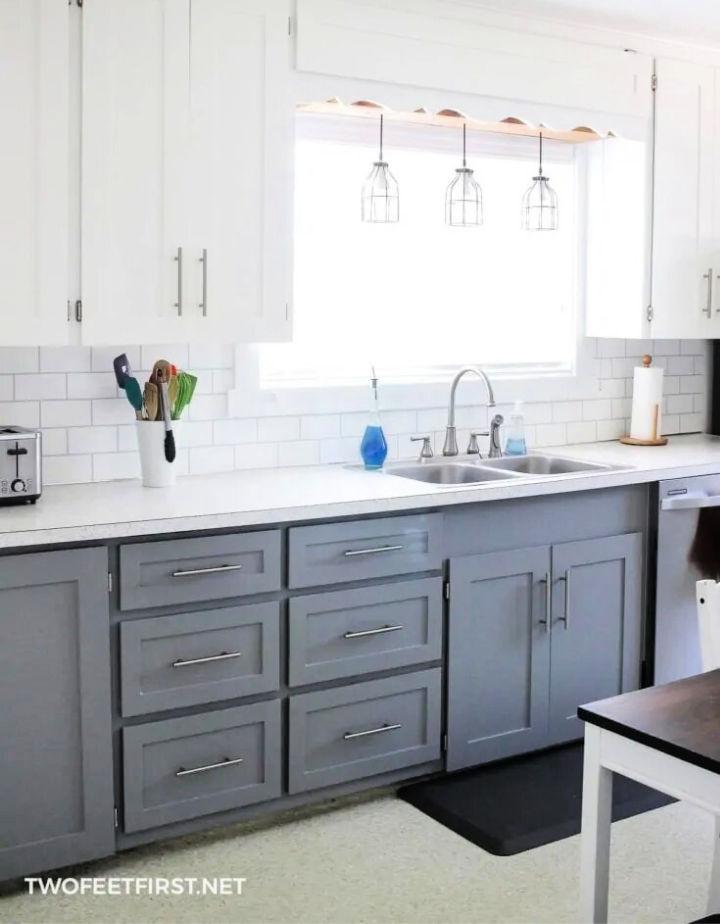
Refreshing your kitchen cabinets can breathe new life into your kitchen. Consider changes like new hardware, adding glass inserts, or introducing open shelving. These updates can significantly alter the appearance of your kitchen without the need for a full renovation.
18. Painting Kitchen Cabinets
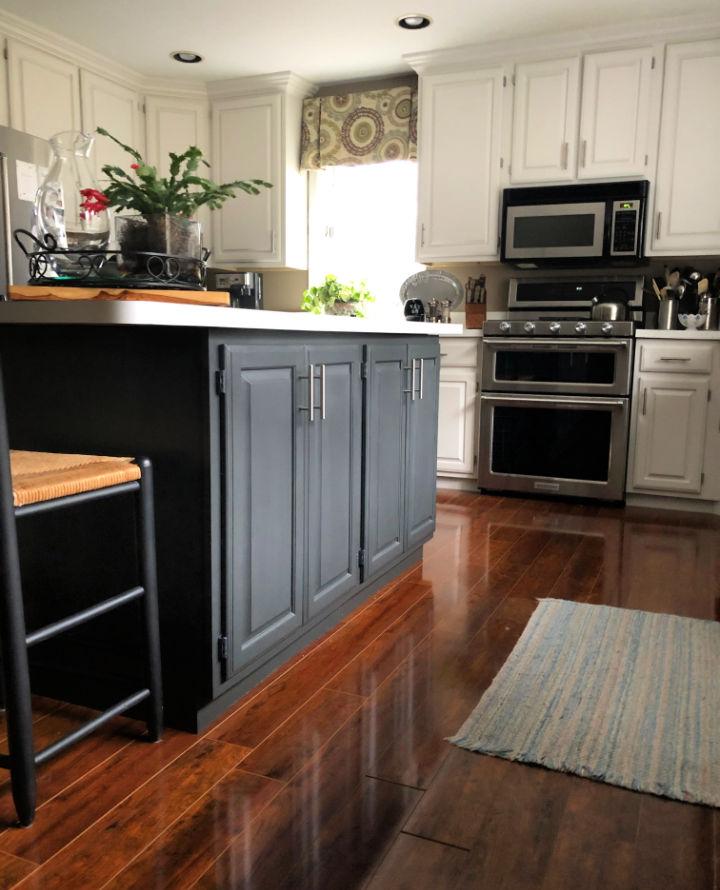
Giving your kitchen cabinets a new coat of paint is a budget-friendly way to transform your kitchen's look. It's an opportunity to introduce color, brighten the space, or even create a focal point. Plus, it's a project you can typically complete over a weekend.
19. Faux Stained Glass Kitchen Cabinet
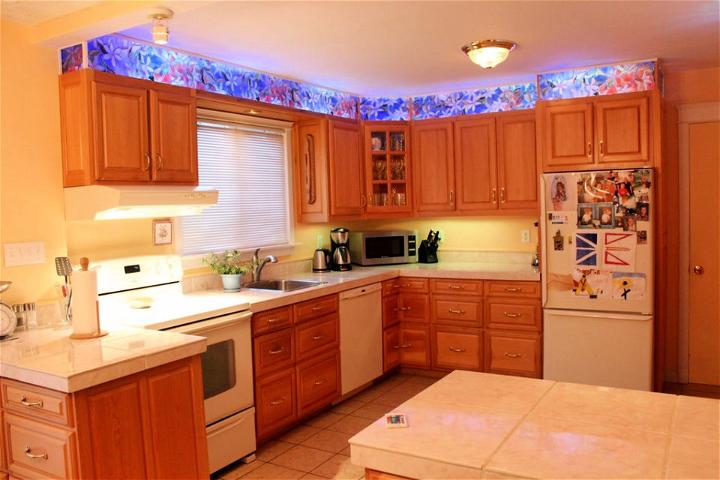
Adding faux stained glass to kitchen cabinets introduces an artistic touch to your space. This accessible project can mimic the beauty of real stained glass at a fraction of the cost, adding both color and visual interest to your kitchen.
20. Build a Kitchen Island from Stock Cabinets
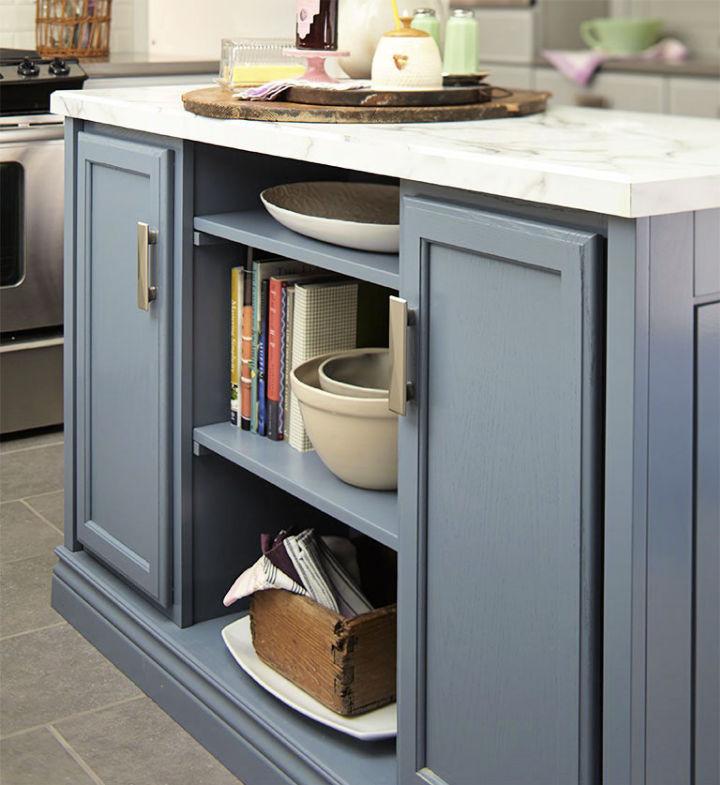
Making a kitchen island from stock cabinets is a clever way to add functionality and additional storage to your kitchen. This approach allows you to tailor the island's size and features to your specific needs, enhancing your kitchen's utility and aesthetics.
21. Building Reface Kitchen Cabinets

Refacing kitchen cabinets is a savvy way to change the look of your kitchen without the expense and effort of a full remodel. This process involves replacing the doors and drawer fronts and covering the cabinet frames with new veneer, instantly updating the space.
22. Cheap DIY Kitchen Cabinet

Making cheap DIY kitchen cabinets can be an exciting challenge that pays off. By using affordable materials and a bit of ingenuity, you can create storage solutions that are both practical and tailored to your kitchen's style, all while staying within budget.
23. Small Rustic Kitchen Cabinets
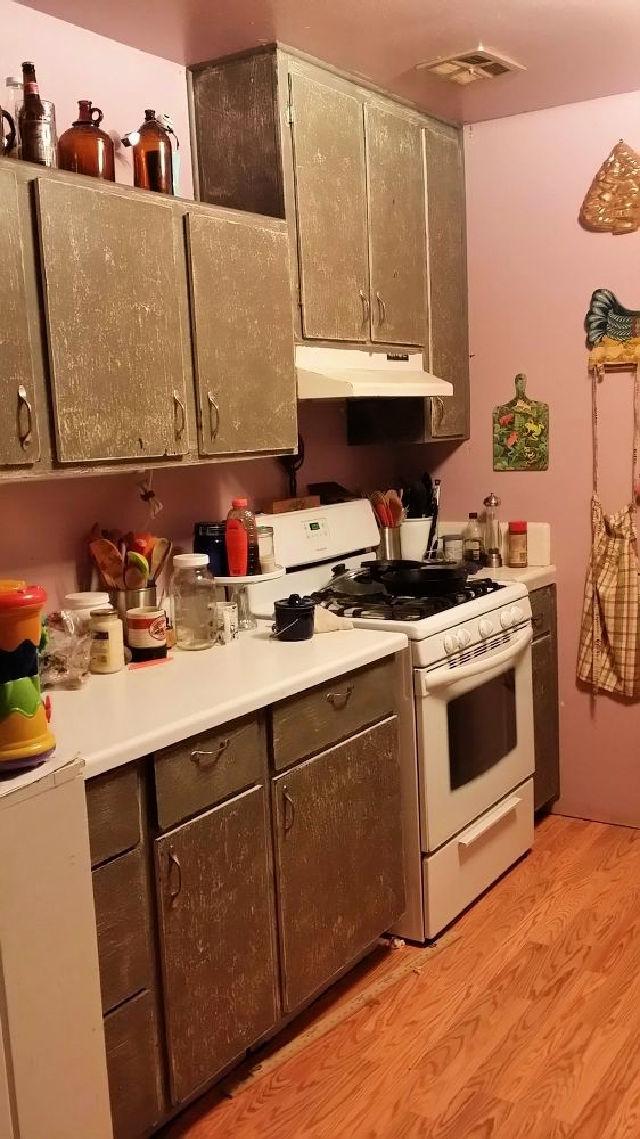
Small rustic kitchen cabinets add charm and warmth to your kitchen, embracing a cozy, countryside feel. Their handcrafted appearance and natural materials bring a unique character to the space, creating a welcoming atmosphere that invites you to cook and gather.
24. Easy to Make Kitchen Cabinet
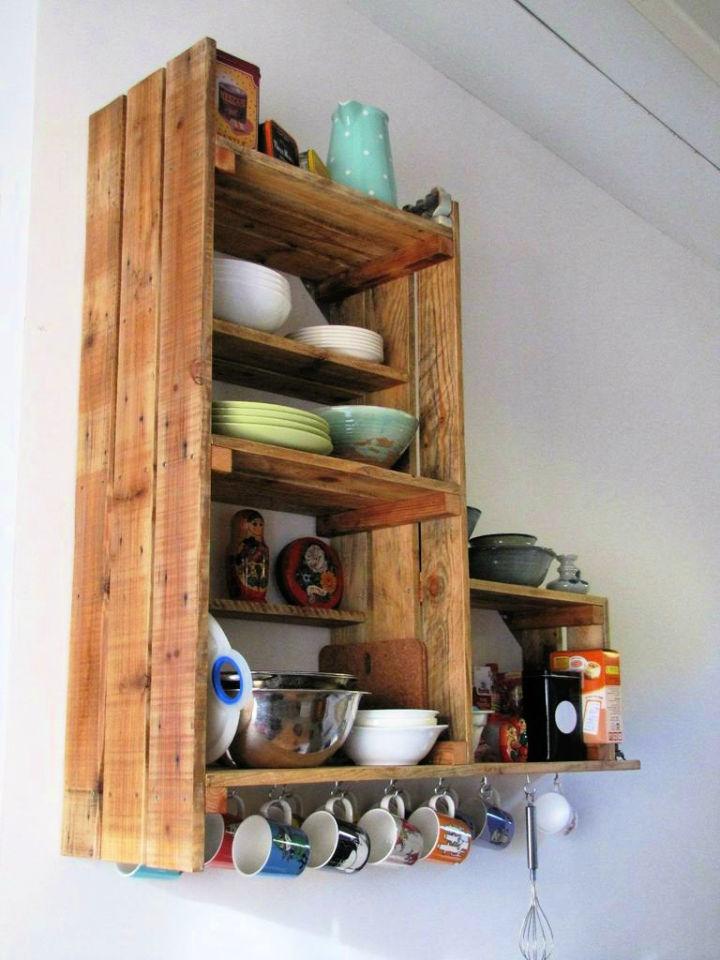
An easy-to-make kitchen cabinet project can be an ideal weekend undertaking. With simple designs and easily accessible materials, you can create functional storage that also serves as a custom element in your kitchen's design, enriching your space with a personal touch.
25. Making Your Own Kitchen Cabinets
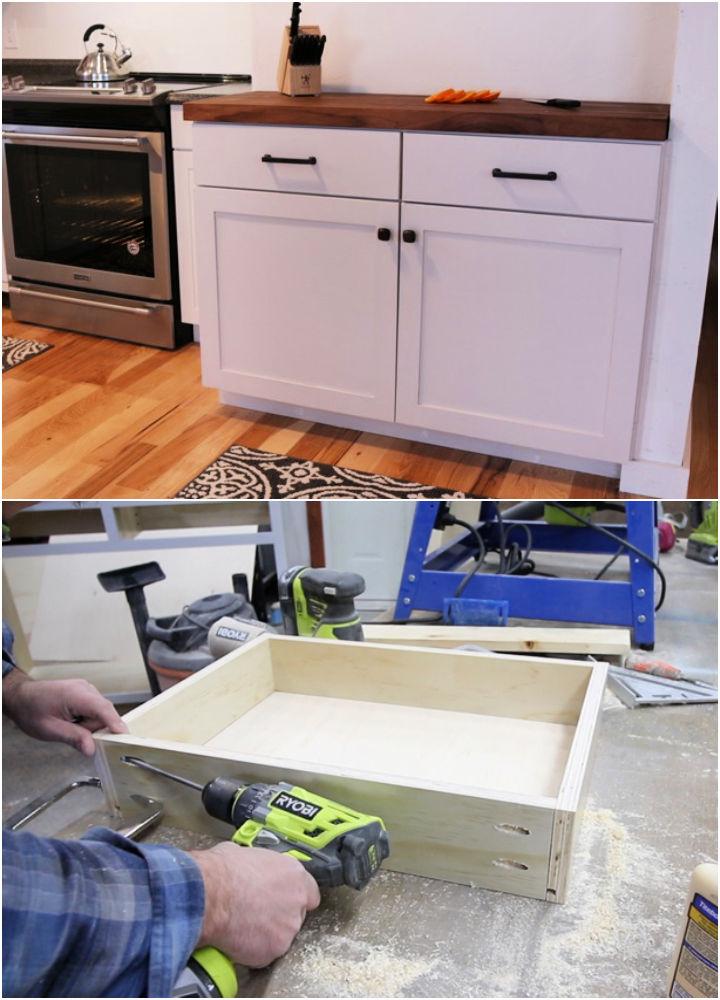
Making your own kitchen cabinets allows for complete customization, matching your exact specifications for size, style, and functionality. This hands-on project not only provides you with a sense of accomplishment but also allows for a kitchen perfectly tailored to your needs and taste.
Conclusion
In conclusion, DIY kitchen cabinets offer a cost-effective way to upgrade your kitchen while showcasing your creativity. By following simple steps and utilizing basic tools, you can transform your space and add a personal touch to your home. With endless design possibilities, DIY kitchen cabinets allow you to customize your storage solutions according to your style and needs. Start your project today and enjoy the satisfaction of a job well done.


