When I first noticed my car's headlights getting foggy, I didn't think much of it. But driving at night started to feel unsafe, so I knew I had to fix them. I wanted to do it myself to save money and learn something new. Looking up options, I found there are many simple ways to restore headlights using items I already had at home.
I chose a method and gave it a try. The process of cleaning headlights took some elbow grease, but when I finished, my headlights looked almost new. It was a satisfying feeling to improve my car's safety and appearance myself. Along the way, I learned that regular maintenance is key. Now, I want to share these tips to help others tackle their foggy headlights confidently.
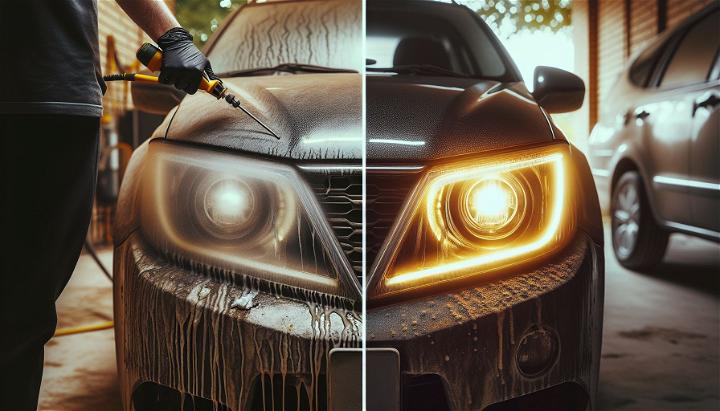
How to Permanently Restore Your Headlights
Have you ever noticed your car's headlights starting to look a bit yellow or foggy? Not only does it dampen your car's aesthetics, but it also reduces visibility on the road. Learn the way that I managed to restore my headlights permanently. Here's a step-by-step guide on how you can do it too.
Materials Needed and Their Importance
- Microfiber Towel: To clean the headlight and ensure a dust-free surface.
- Masking Tape: To protect the surrounding areas of the headlight from accidental scratches.
- Sandpapers (600 grit, 1500 grit, 3000 grit): Different grits to gradually smoothen the headlight's surface.
- Foam Backing Pad: To provide an even pressure during sanding.
- Water Spray Bottle: Keeps the surface lubricated during sanding, minimizing scratches.
- Polishing Compound and Car Polish: To refine the smoothness after sanding and give a glossy finish.
- UV-Protective Coating: Essential for protecting the headlight from yellowing again.
- Isopropyl Alcohol: To ensure the headlight is completely clean before applying the protective coat.
Step-by-Step Process
1. Clean the Headlight
First things first, clean the headlight with a microfiber towel to remove any surface dirt and dust. This preparatory step ensures that we're working with a clean surface, which is crucial for the effectiveness of the subsequent steps.
2. Sanding
Start with the 600-grit sandpaper, wrap it around a foam backing pad, and begin sanding the headlight surface. Make sure to keep spraying water on both the headlight and sandpaper to prevent deep scratches. Move up to 1500-grit sandpaper followed by the 3000-grit for a smoother finish. The goal here is to remove the yellowed outer layer of the headlight lens.
3. Polishing
After sanding, the headlight will have a haze over it; this is where the polishing compound comes into play. Apply the compound with a microfiber towel or using a foam pad if you have a drill. This will gradually bring back the clarity and shine to your headlight, making it look brand new.
4. Cleaning
Use isopropyl alcohol to clean the headlight thoroughly. This step ensures that any residual compound or polish is removed, providing a clean surface for the protective coating.
5. Applying UV-Protective Coating
The final and most important step is applying a UV-protective coating. This coating is crucial because it shields the headlight from harmful UV rays, preventing it from yellowing again. Carefully apply an even layer over the entire surface of the lens.
Maintenance Tips
- Regularly clean your headlights to prevent dirt build-up, which can cause damage over time.
- Whenever cleaning your car, give the headlights a quick wipe with a UV-protective spray to maintain the protective layer.
Troubleshooting Common Issues
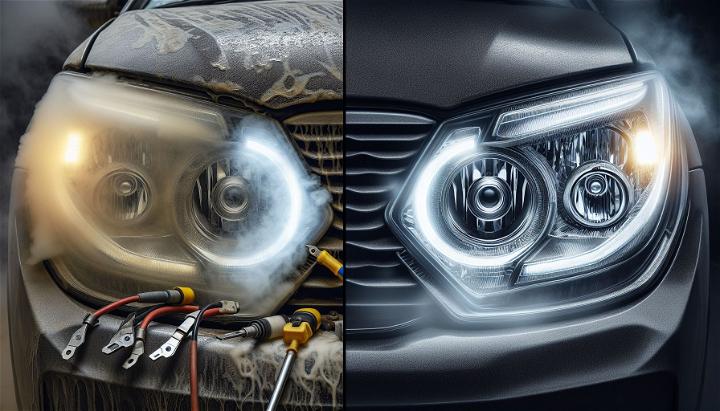
When restoring headlights, you might encounter a few common issues. Here’s how to handle them:
Issue: Headlight Still Looks Foggy After Sanding
- Solution: You may need to spend more time sanding with the finer grit sandpaper. Ensure you’re sanding evenly and thoroughly.
Issue: Scratches After Polishing
- Solution: This could be due to debris on the polishing pad or using too much pressure. Clean the pad and try again with lighter pressure.
Issue: Uneven Finish
- Solution: Make sure to apply the UV-protective coating evenly and in a well-lit area to see any missed spots.
Issue: Coating Not Adhering
- Solution: The headlight surface must be completely clean and dry. If the coating peels, remove it, clean the surface, and reapply.
Safety Precautions
Safety is paramount. Always work in a ventilated area and wear safety gear.
- Gloves: Protect your hands from chemicals used during the process.
- Safety Glasses: Keep your eyes safe from splashes and debris.
- Mask: Prevent inhaling any dust or chemical fumes.
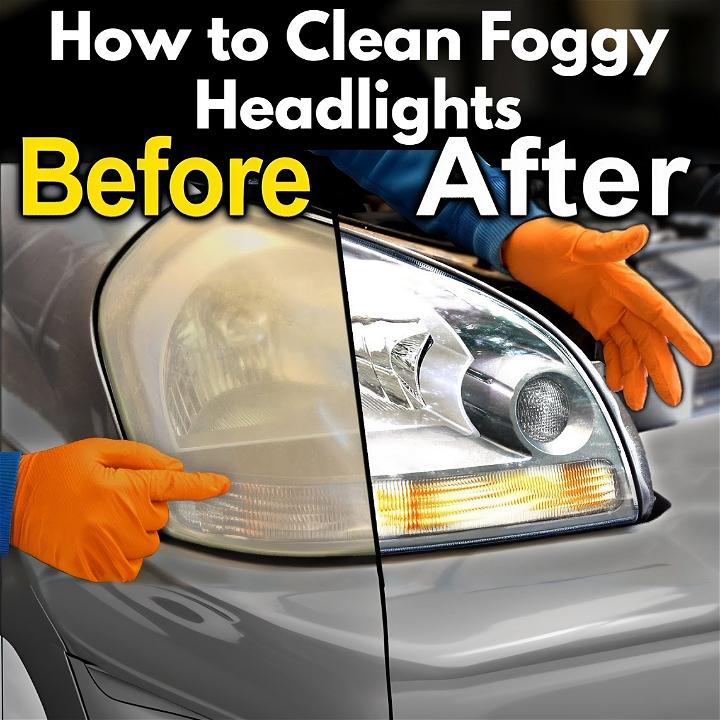
Before and After Comparison
Encourage readers to document their progress with photos. This not only provides satisfaction but also serves as a guide for others.
- Take Clear Photos: Use good lighting to capture the condition before and after.
- Share Your Results: Consider sharing these images to help others see the potential results.
Cost-Benefit Analysis
DIY headlight restoration is cost-effective. Here’s a breakdown:
- DIY Costs: Purchasing materials may cost around $20-$50.
- Professional Service: This could range from $75 to over $150.
- Savings: Doing it yourself can save you a significant amount, plus you gain the skills to do it again in the future.
Top FAQs on Cleaning and Restoring Foggy Headlights
Q: Why do headlights become foggy? A: Headlights can become foggy due to oxidation, UV damage, and dirt accumulation. The plastic cover of headlights oxidizes and becomes cloudy over time, reducing visibility.
Q: Can I restore foggy headlights myself? A: Yes, you can restore foggy headlights with a DIY restoration kit. Follow the instructions carefully for the best results.
Q: What materials do I need for headlight restoration? A: You’ll need sandpaper of varying grits, a polishing compound, UV-protective coating, and clean cloths. Some kits come with all these items included.
Q: How long does the restoration process take? A: The process can take about an hour per headlight, depending on the extent of fogging and your experience level.
Q: How do I prevent my headlights from getting foggy again? A: Regular maintenance, including cleaning and applying a UV-protective wax, can help prevent fogging. Also, park in the shade when possible to reduce UV exposure.
Q: Is headlight restoration a permanent fix? A: No, it’s not permanent. Over time, headlights can become foggy again. However, regular maintenance can extend the clarity of your headlights.
Q: Will headlight restoration improve my nighttime driving visibility? A: Yes, restoring your headlights will improve visibility by allowing more light to pass through the clear lens.
Q: Can I use toothpaste to clean my headlights? A: Toothpaste can be used as a mild abrasive for a temporary fix, but it’s not as effective as a professional headlight restoration kit for long-term results.
Conclusion
Restoring your headlights might seem daunting at first, but with the right tools and a bit of patience, it's quite a rewarding process. Not only will your headlights look better than new, but you'll also improve your nighttime visibility significantly. Remember, the key to keeping them in pristine condition is regular maintenance and protection from UV damage. Safe driving by cleaning headlights!


