Building a DIY dip station can be a rewarding project that adds a versatile piece of equipment to your home gym. This guide is designed to help you through the process of making your own dip station, straight from the insights shared by the home gym community. Let's dive into making your homemade dip station.
Planning Your DIY Dip Station
The first step involves gathering ideas and deciding on the type of dip station that best fits your space, budget, and needs. The internet, particularly YouTube, offers a wealth of creative solutions from the home gym community. For example, a video by Kaizen DIY Gym showcases various DIY dip stations, offering inspiration and practical tips.
Things to Consider:
- Space: Measure the area where you plan to place your dip station. Consider both footprint and height, ensuring you have enough room for safe use.
- Materials: Decide between wood, PVC pipes, steel pipes, or a combination thereof. Each material has its pros and cons regarding cost, durability, and ease of assembly.
- Budget: Determine how much you're willing to spend. DIY projects can vary greatly in cost depending on materials and complexity.
- Skill Level: Be honest about your DIY skills. Some designs require basic tools and assembly, while others might need more advanced woodworking or metalworking skills.
Gathering Materials and Tools
Once you've settled on a design, it's time to gather your materials and tools. Common materials for DIY dip stations include:
- PVC pipes or steel pipes for the frame
- Wood (such as 2x4s) if opting for a wooden structure
- Screws, bolts, and nuts for assembling pieces
- Rubber end caps for safety and stability
- Optional: foam padding or grips for comfort
As for tools, you might need:
- Saw (for wood or pipe, depending on your design)
- Drill with various bits
- Screwdriver
- Tape measure
- Level
- Sandpaper (for smoothing rough edges)
Step-by-Step Assembly
- Cut Your Materials: Based on your design, cut your materials to the required lengths. For wood and PVC, ensure all cuts are straight to avoid unevenness.
- Assemble the Frame: Start by constructing the base of your dip station. If using pipes, you might need tees and elbows to join sections. For wooden designs, screw your pieces together to form a sturdy base.
- Attach the Dip Bars: Once the base is stable, attach your dip bars. Ensure they're parallel and securely fastened. The height and width should accommodate your size and the exercises you plan to perform.
- Secure and Stabilize: Apply rubber end caps to any sharp edges for safety. If your dip station feels wobbly, consider adding cross braces or weighting the base for extra stability.
- Add Comfort Features: To enhance grip and comfort, wrap the dip bars in foam padding or specific grips designed for this purpose.
Testing and Adjustments
Before diving into your workout routine, test your dip station with slow, controlled movements. Pay attention to any instability or discomfort, and make necessary adjustments.
Maintenance Check
Regularly inspect your dip station for loose screws, signs of wear, or any damage. Promptly address these issues to ensure your safety.
Video Tutorial
For a step-by-step video tutorial on building DIY dip stations, watch this comprehensive guide by Kaizen DIY Gym here.
It pairs well with this written guide, offering a visual representation that clarifies the assembly process in an understandable way.
By following this guide, you're now equipped to build your personalized dip station, catering to your fitness regimen right at home. Remember, implementing your own touch and addressing personal fitness needs can make the DIY project not just a piece of equipment, but an achievement of its own.
Discover 15 Brilliant DIY Dip Stations for Your Home Gym

1. DIY Wooden Dip Bar
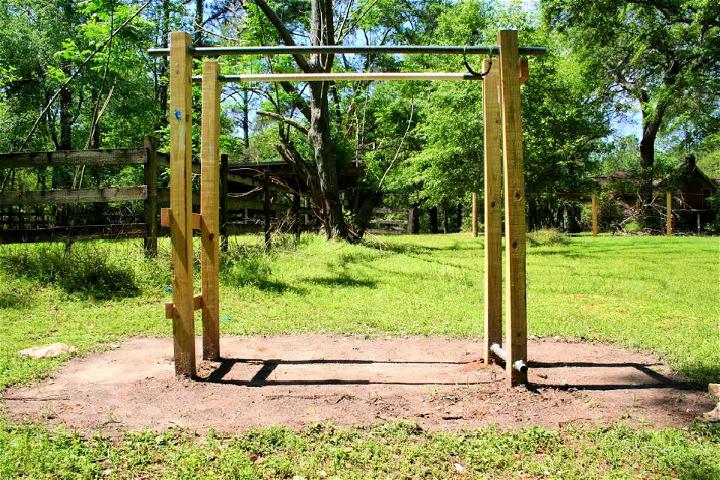
Making a DIY wooden dip bar brings a touch of nature to your workout space. It's a simple project with a big payoff, allowing for strength training right at home.
2. How to Make A Pull-Up Bar at Home
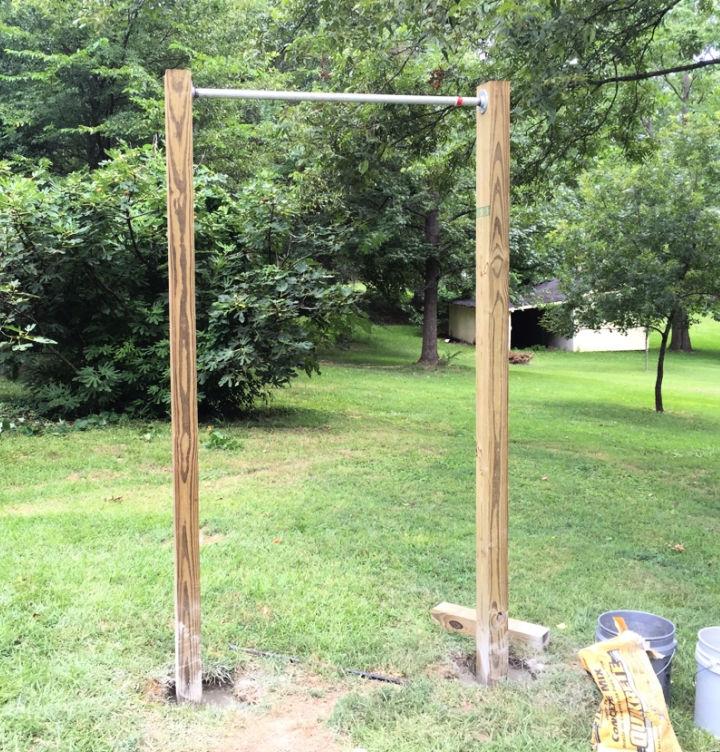
Building a pull-up bar at home is easier than you think. It's a great way to ensure you never miss an upper body workout, even when you can't make it to the gym.
3. Building A Dip Station for Exercise
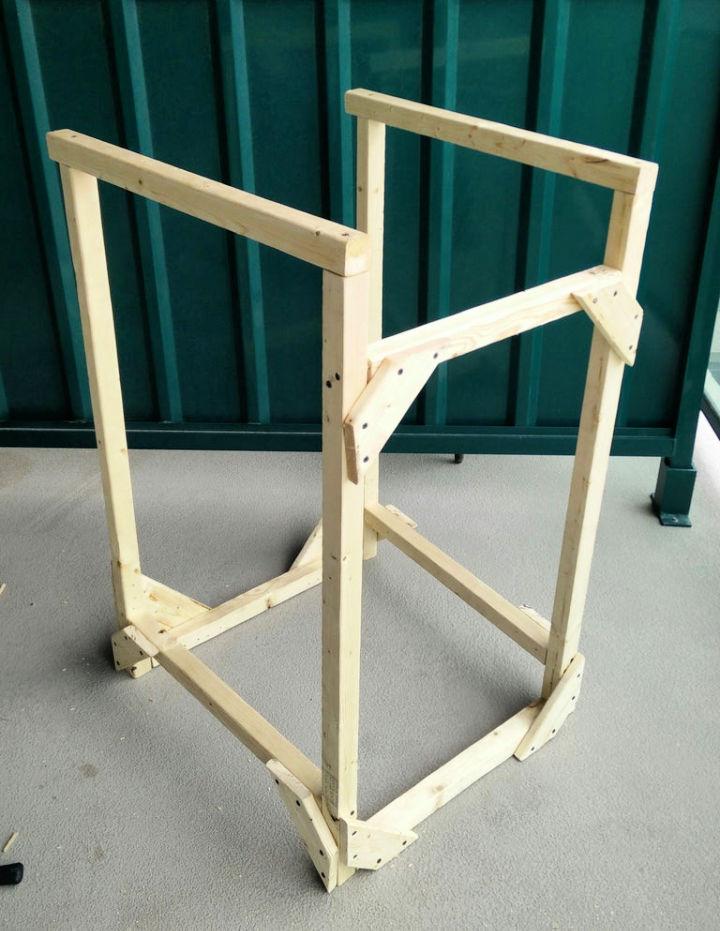
A home-built dip station offers a solid foundation for arm and chest exercises. With some basic materials, you can set up a sturdy station that fits your specific workout needs.
4. DIY Reclaimed Wood Dip Bar
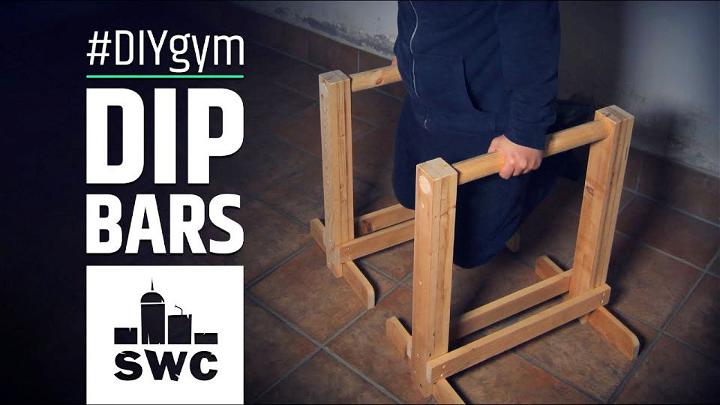
Embrace sustainability by using reclaimed wood for your dip bar. This approach not only recycles materials but also adds character and strength to your fitness equipment.
5. How to Build a Custom Dip Bar
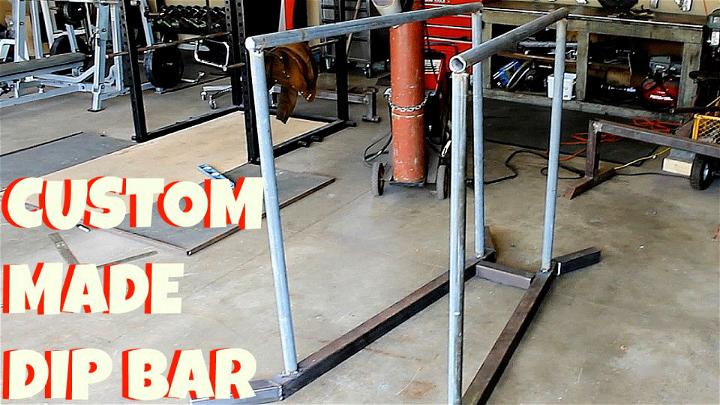
Designing a custom dip bar allows for a personalized touch in your home gym. It's an opportunity to tailor your fitness tools to your body's requirements, enhancing your workout experience.
6. Homemade Dip Bar
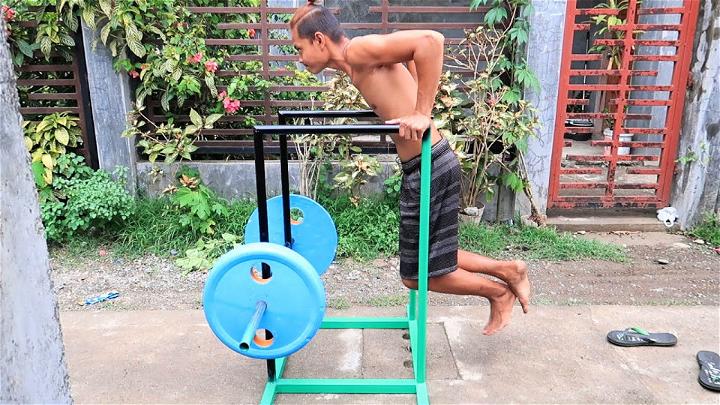
A homemade dip bar is a testament to ingenuity and self-reliance. It shows that with a bit of creativity, you can achieve your fitness goals without breaking the bank.
7. Build a Dip Bar Out of PVC Pipe
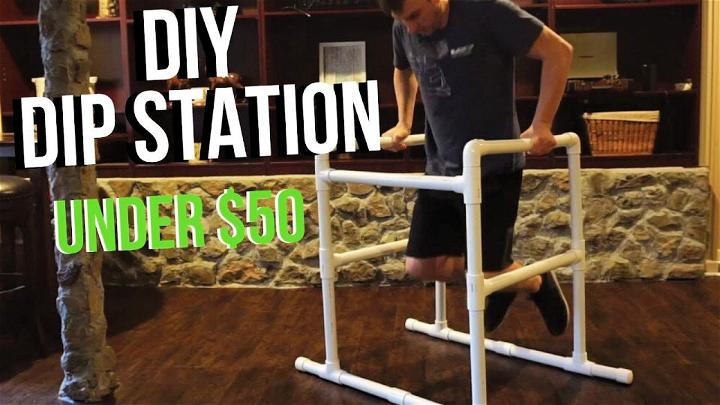
Utilizing PVC pipe to build a dip bar is both cost-effective and lightweight. This approach ensures a portable and durable piece of equipment that can support various exercises.
8. Ultimate DIY Backyard Dip Station
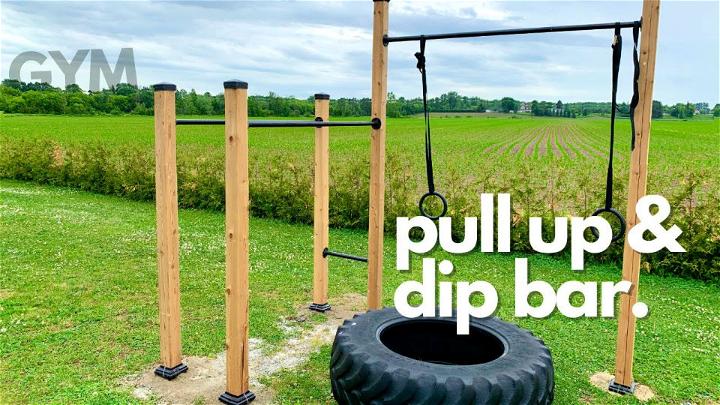
An ultimate DIY backyard dip station transforms your outdoor space into a versatile fitness area. It's a fun project that elevates your home workouts and encourages more time spent outdoors.
9. Make Your Own Dip Bar
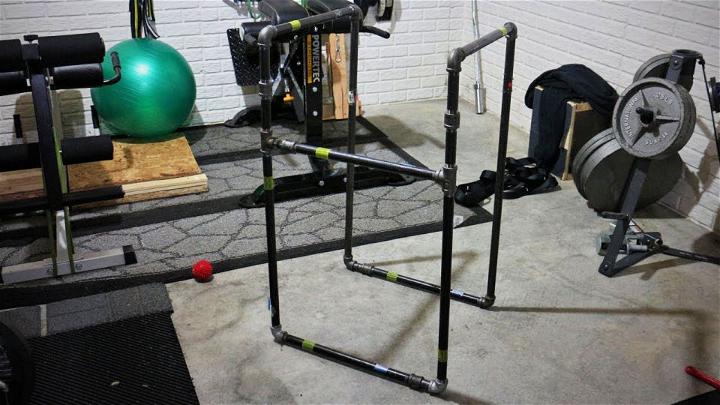
Making your own dip bar can be a fulfilling project. It's a way to customize your workout equipment to fit your space and exercise preferences perfectly.
10. Homemade Dip Bar Using Bamboo
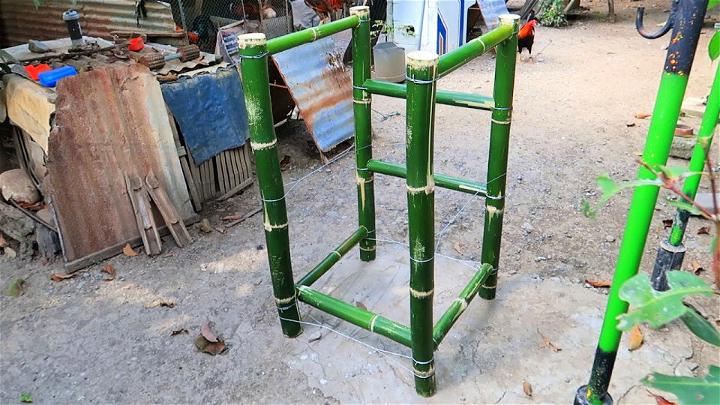
A homemade dip bar using bamboo offers an eco-friendly option. Bamboo's natural strength and flexibility make it an excellent material for sustainable exercise equipment.
11. Free Parallel Dip Bar Plan
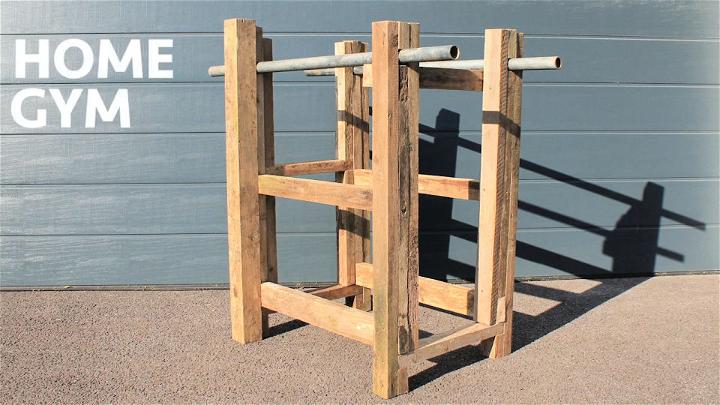
A free parallel dip bar plan provides a straightforward guide for constructing durable workout equipment. It's an excellent resource for beginners looking to enhance their home gym.
12. Body Row and Dip Bars Using Black Pipe
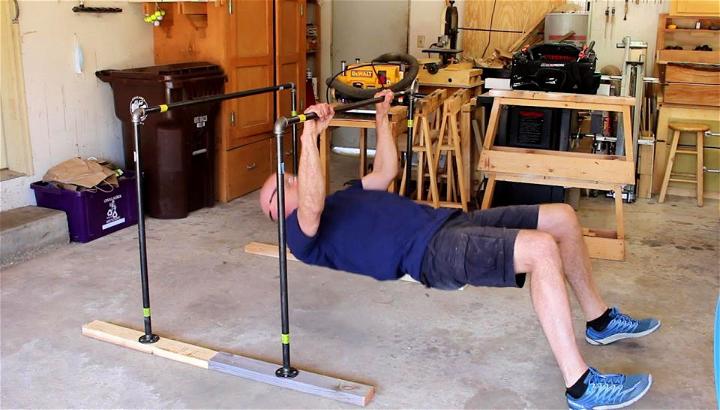
Building body row and dip bars with black pipe builds a sleek, industrial look. This durable material ensures your equipment can withstand intense workouts over time.
13. Do It Yourself Dip Machine
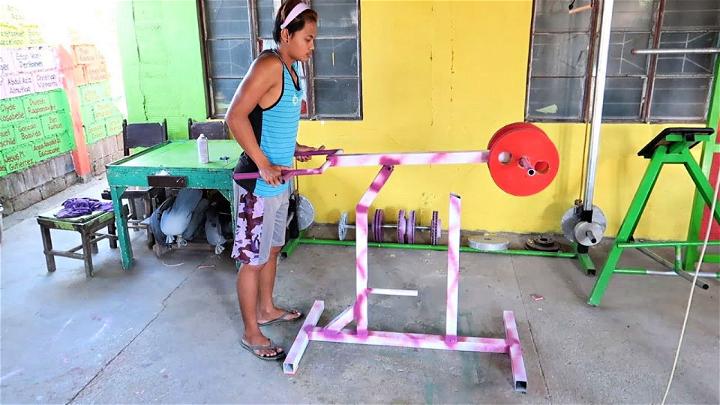
Crafting your own dip machine opens up new possibilities for chest and tricep exercises. It's a project that adds value to your workouts with a personal touch.
14. DIY Wall Mounted Dip Bar
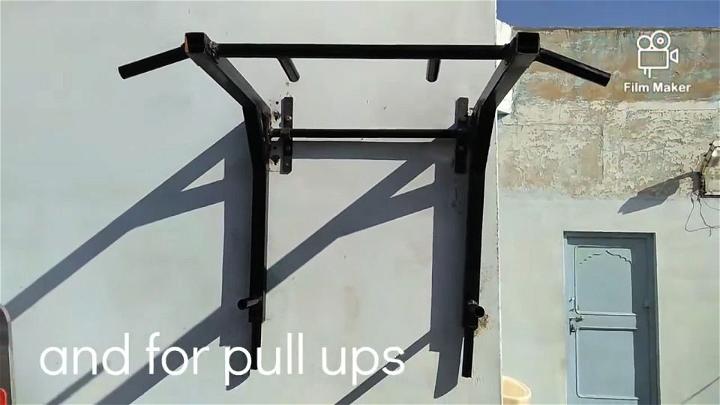
A DIY wall-mounted dip bar is a space-saving solution for small home gyms. It offers stability and strength for your exercises without taking up valuable floor space.
15. Galvanized Pipe Dip Bar
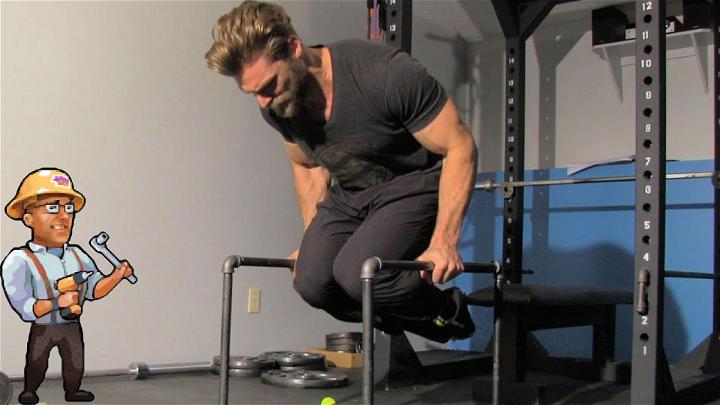
Constructing a dip bar from a galvanized pipe is a robust option. Its resistance to rust and corrosion makes it ideal for both indoor and outdoor exercise setups.
Conclusion:
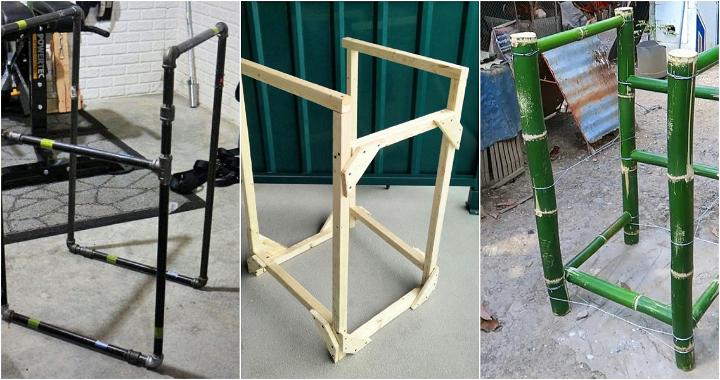
Wrapping up this article, building your DIY dip station is a cost-effective and rewarding project for fitness enthusiasts. With simple materials and easy instructions, you can build a versatile piece of exercise equipment to level up your workout routine. Take the time to customize your dip station to fit your needs and enjoy the benefits of a functional and personalized fitness tool.

