CNC plasma cutting is a process that uses computer-controlled machinery and a high-velocity jet of ionized gas—plasma—to cut through metal. This technology allows for precise cuts on various types of metal, making it a popular choice for DIY enthusiasts and professionals alike.
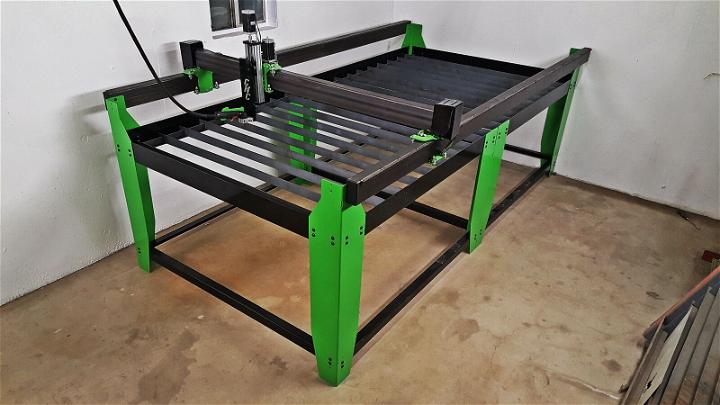
How Does CNC Plasma Cutting Work?
At the heart of the process is the plasma torch. The torch moves over the metal surface, following a path defined by a computer program. As electricity passes through the gas (often air or nitrogen), it becomes ionized, turning into plasma. This plasma is hot enough to melt the metal, and the high-speed gas blows the molten metal away, making a clean cut.
Benefits of Using a CNC Plasma Table
- Precision: CNC plasma tables can make intricate cuts with great accuracy.
- Efficiency: The process is fast, which means more work can be done in less time.
- Versatility: It can cut various types of metals, including steel, aluminum, and brass.
- Cost-Effective: Compared to other cutting methods, CNC plasma cutting is relatively inexpensive.
Software and Controls for CNC Plasma Table
The software and controls of a CNC plasma table are what turn your designs into reality. They are the brain of the operation, interpreting your designs and instructing the machine on how to execute them.
Key Components of the Software System
- CAD Software: This is where you design your part or artwork. It's the first step in taking your idea from concept to physical object.
- CAM Software: Once your design is complete, CAM software takes over to set up the tool paths and manage the cutting process, ensuring the plasma torch goes exactly where it needs to.
- CNC Control Software: This is the interface between your design and the actual cutting. It translates your CAM setup into G-code, which the machine reads to perform the cuts.
Advantages of Advanced Software Controls
- Precision: Advanced software allows for incredibly precise control over the cutting process.
- Ease of Use: User-friendly interfaces make it simple to operate, even for beginners.
- Flexibility: Software can often be updated and customized, allowing for new functionalities and improved performance.
How to Make DIY CNC Plasma Table
Learn how to make your own DIY CNC plasma table with our step-by-step guide below:
Step by Step Instructions
Step 1: Gathering Your Materials
Before starting, make sure you have a detailed plan and a list of all the materials you'll need. The JD's Garage plasma cutter plan package offers over 70 pages of detailed instructions, part drawings, a schematic for wiring, and a bill of materials with links to where you can purchase each item. It's essential to have a clear understanding of every part you need and how they all fit together.
Step 2: Preparing the Metal
Using the full-size scale drawings provided in your plan package, print them out and use spray adhesive to attach them to your metal. These templates are crucial for ensuring precision when drilling holes and cutting the metal to shape. An angle grinder, Dremel tool, or even a hand drill can be used for cutting and shaping as necessary. This step requires patience and attention to detail to ensure accuracy.
Step 3: Drilling and Cutting
With your metal prepared and marked, use a center punch to start each drill hole accurately. Drill out the necessary holes, taking care to maintain the correct alignment and dimensions as specified in your drawings. For larger holes, a hole saw might be necessary. Remember, the precision of these steps is vital for the successful assembly of your CNC plasma cutter.
Step 4: Assembling the Frame
Following your plans, start assembling the frame of your plasma cutter. This includes attaching all the cut and drilled parts together, ensuring stability and structural integrity. Precise alignment during this step is key to ensuring smooth operation of the CNC plasma cutter.
Step 5: 3D Printed Parts
Some components of the CNC plasma cutter may need to be 3D printed. If you don't have access to a 3D printer, these parts can be supplied by JD's Garage or another service provider. These parts play crucial roles in the functionality of your machine, so make sure they are correctly printed and installed.
Step 6: Wiring and Electronics
Carefully follow the schematic included in your plan package to wire your CNC plasma cutter. This step can be intricate, involving the connection of motors, control units, and power supplies. If you're not confident in your electrical skills, seek assistance or carefully study tutorials related to CNC machine wiring.
Step 7: Software and Calibration
To operate your CNC plasma cutter, you will need to use CNC control software, such as the free version of Fusion 360. This software allows you to design parts, build tool paths, and send commands to your machine. Take your time to familiarize yourself with the software, calibrate your machine, and conduct test cuts to ensure everything is set up correctly.
Step 8: Testing and Adjustment
Before embarking on any serious projects with your new CNC plasma cutter, perform several test cuts. This phase is essential for identifying any issues in the machine's performance. Make adjustments as necessary, fine-tuning the software settings, blade alignment, and cutting speed until you are satisfied with the output.
Video Tutorial
For a step-by-step video tutorial on building the best DIY CNC plasma cutter, watch the comprehensive guide on JD's Garage YouTube channel.
It pairs well with this written guide, offering a visual complement to the techniques discussed, making complex concepts easier to understand.
By carefully following these steps, you can build a top-notch CNC plasma cutter at home. Patience and precision are key.
Discover 10 DIY CNC Plasma Table Plans to Build Your Own Cutting Machine at Home
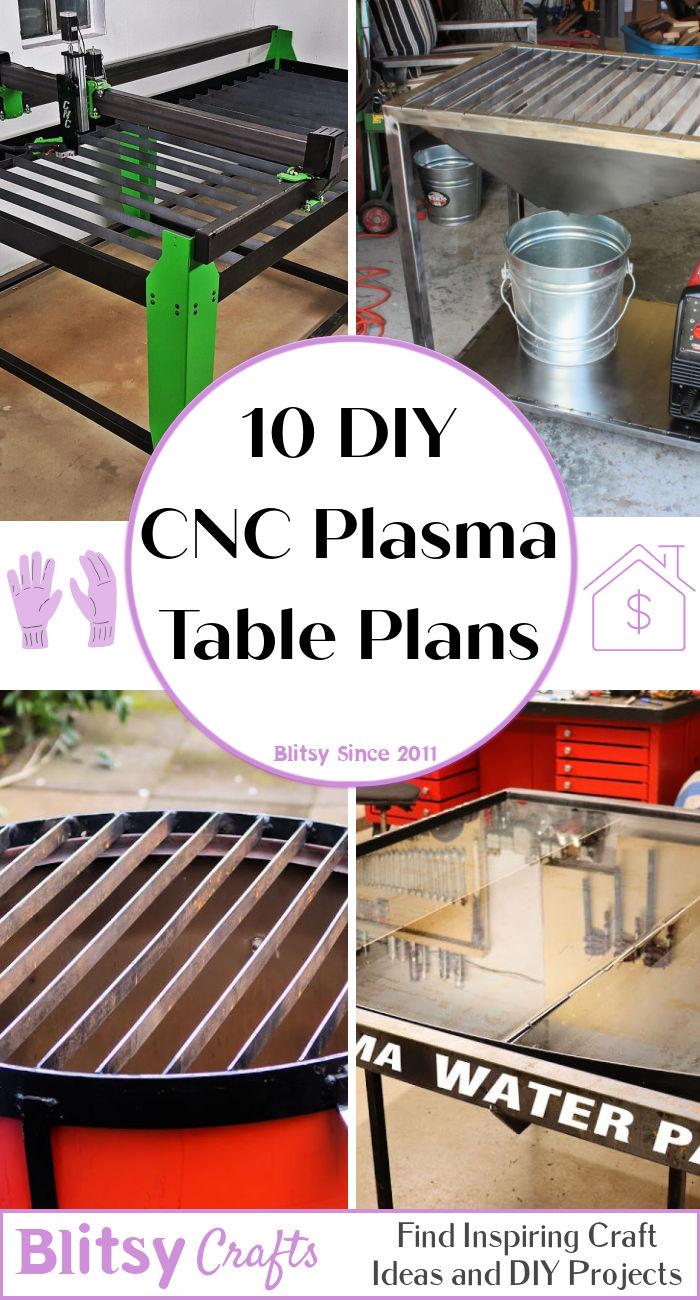
1. How to Build a Plasma Table
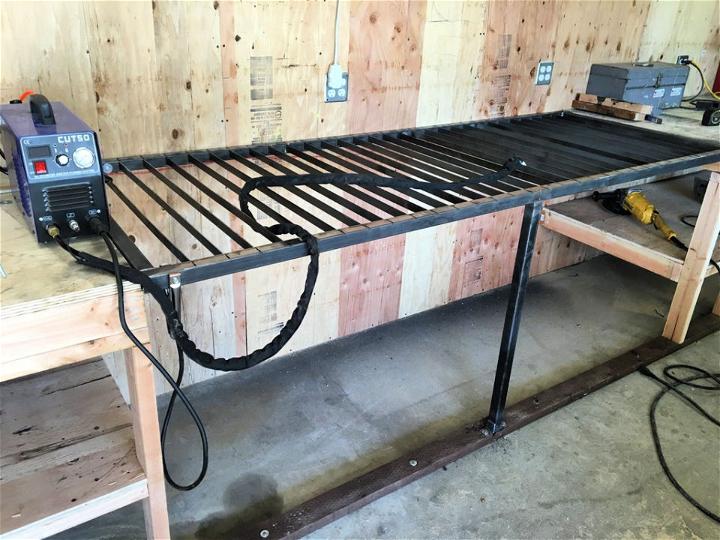
Making a plasma table can be an exhilarating project for DIY enthusiasts. By selecting durable materials and precise design plans, you'll build a functional tool for precise metal cutting, fostering creativity and technical skill in your workshop.
2. Homemade Plasma Table
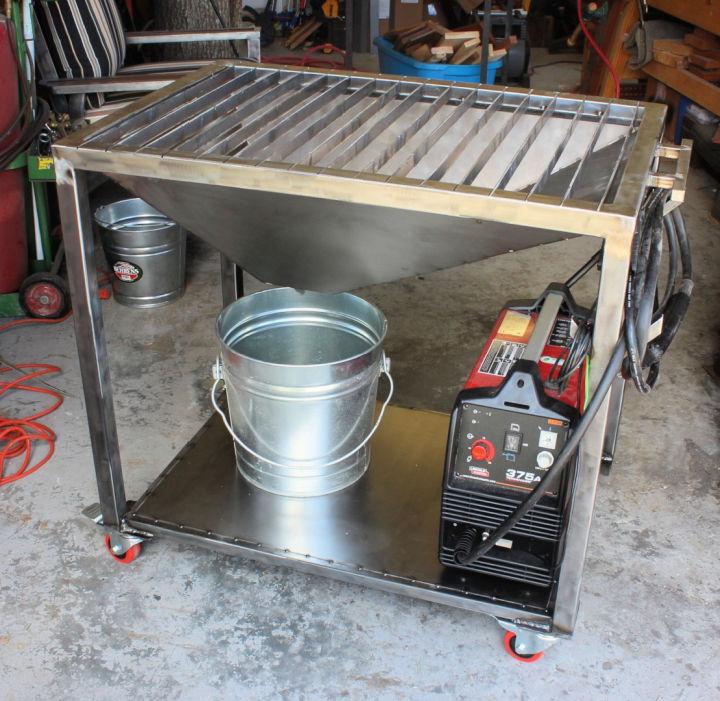
A homemade plasma table offers a personalized touch to metalworking. It's a chance to tailor functionalities to your needs, ensuring a blend of efficiency and satisfaction in your metal cutting projects. Plus, the pride of building it yourself is unbeatable!
3. 4x8ft CNC Plasma Metal Cutting Table
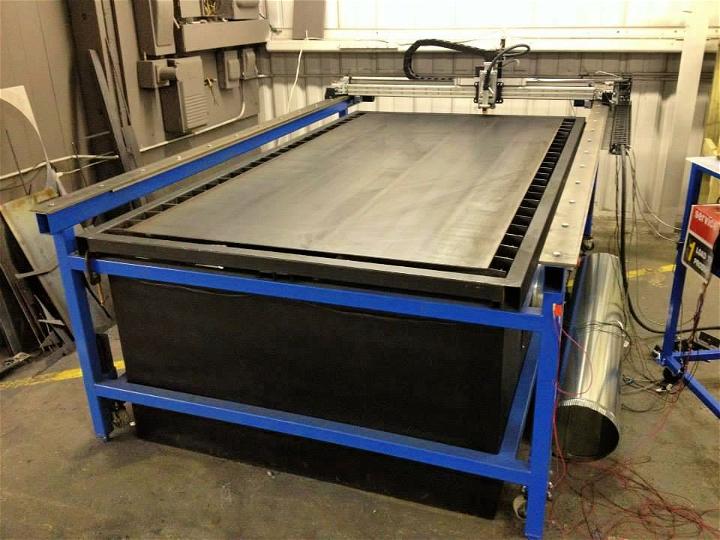
This spacious 4x8ft CNC plasma cutting table is perfect for handling large metal sheets. Its extensive workspace and automated precision significantly boost productivity and accuracy in metal fabrication tasks, making it a valuable asset for professionals and hobbyists alike.
4. DIY CNC Plasma Table
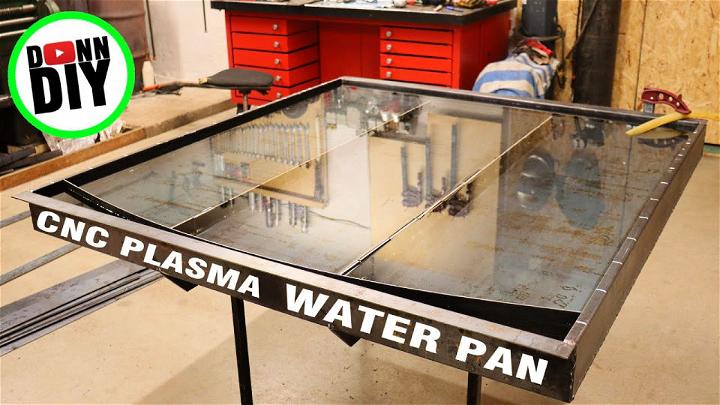
Embarking on a DIY CNC plasma table project combines the thrill of creation with the advancement of technology. This customizable tool allows for intricate metal cutting with computer-controlled accuracy, offering endless possibilities for creative and practical metalworking projects.
5. Building a CNC Plasma Cutter at Home
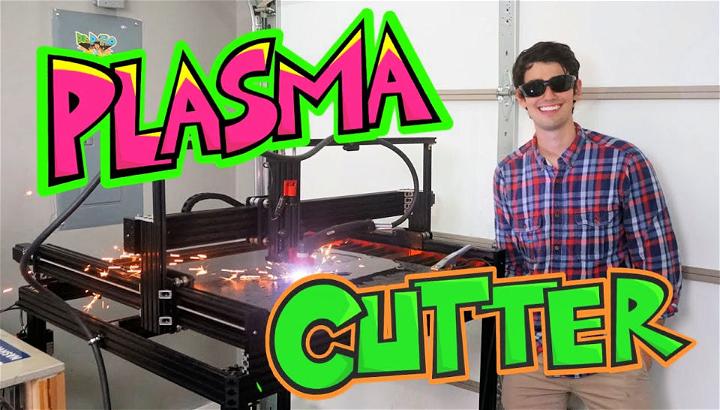
Transforming your garage into a metal fabrication studio by building a CNC plasma cutter at home opens up a new realm of possibilities. This project not only enhances your technical skills but also enables you to tackle intricate designs with ease and precision.
6. Cheap DIY Plasma Table
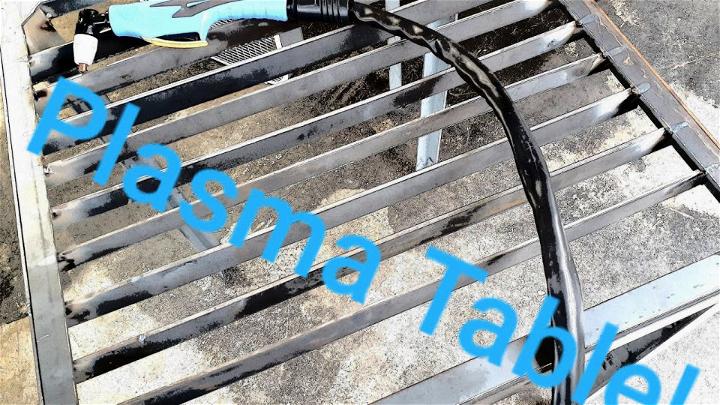
A budget-friendly DIY plasma table is entirely achievable. With careful planning and resourceful material sourcing, you can assemble a cost-effective tool that performs admirably for your metal cutting needs, proving that quality doesn't always have to break the bank.
7. How to Make a Plasma Table
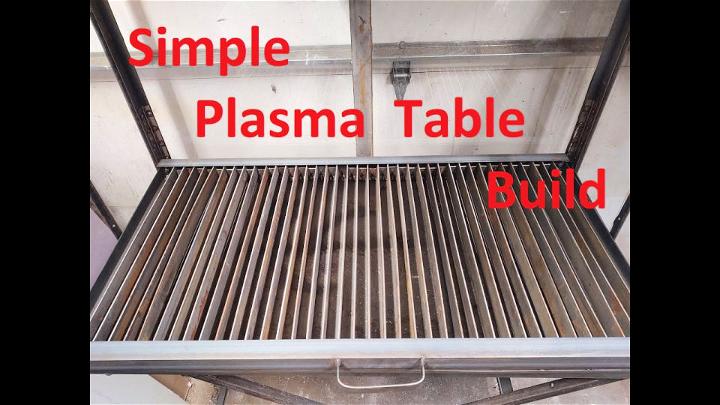
Making a plasma table is a rewarding project that sharpens both your crafting and technical skills. By focusing on a robust design and accurate controls, you lay the groundwork for a versatile metal cutting tool that will serve you well in numerous projects.
8. DIY Manual Plasma Cutting Table
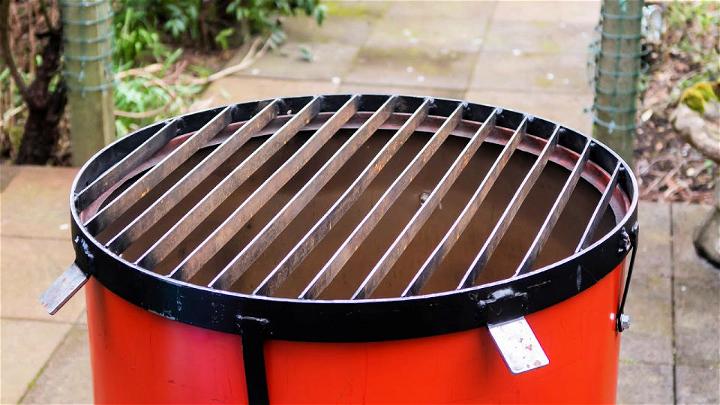
A DIY manual plasma cutting table offers a hands-on approach to metalworking. It provides a straightforward, controlled method for cutting through metal, ideal for those who appreciate the simplicity and directness of manual operation without compromising on precision.
9. Budget DIY CNC Plasma Cutter
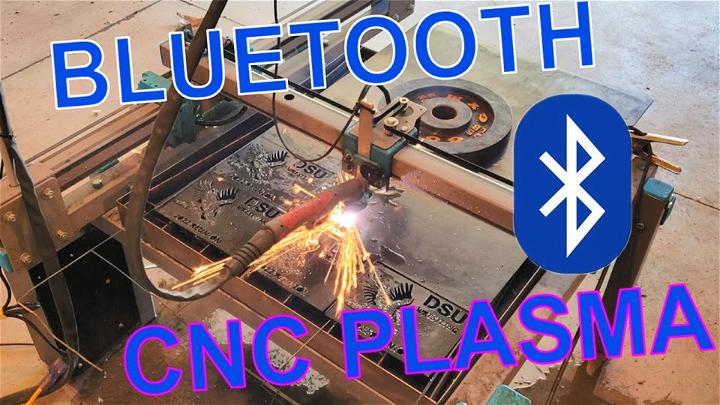
Making a CNC plasma cutter on a budget is a smart way to incorporate advanced technology into your workshop without a hefty investment. This project proves that with innovative problem-solving and a bit of elbow grease, you can achieve high functionality at a low cost.
10. Building a CNC Plasma Table
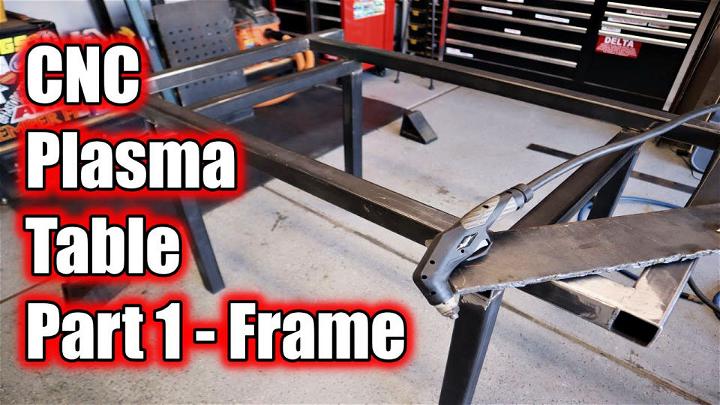
Building your own CNC plasma table is a challenging yet highly rewarding project that enhances your workshop's capabilities. It involves a blend of mechanical engineering and digital control, culminating in a sophisticated tool for precise metal cutting, customized to your specific needs and preferences.
Conclusion:
In conclusion, building your own DIY CNC plasma table is a rewarding and cost-effective way to build intricate metal designs. By following the steps outlined in this guide, you can unleash your creativity and embark on a fulfilling journey of metal fabrication. Whether you're a hobbyist or a small business owner, a DIY CNC plasma table can enhance your metalworking projects. Start building yours today!


