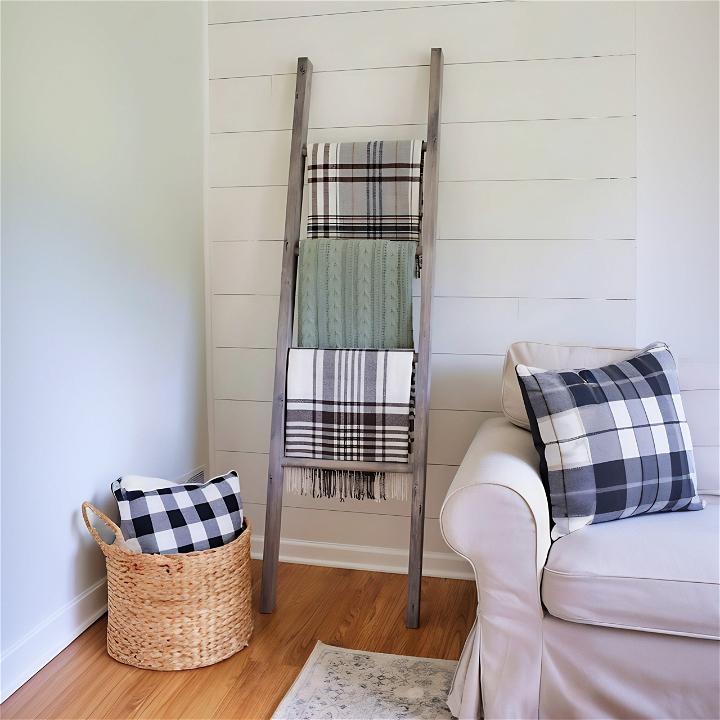
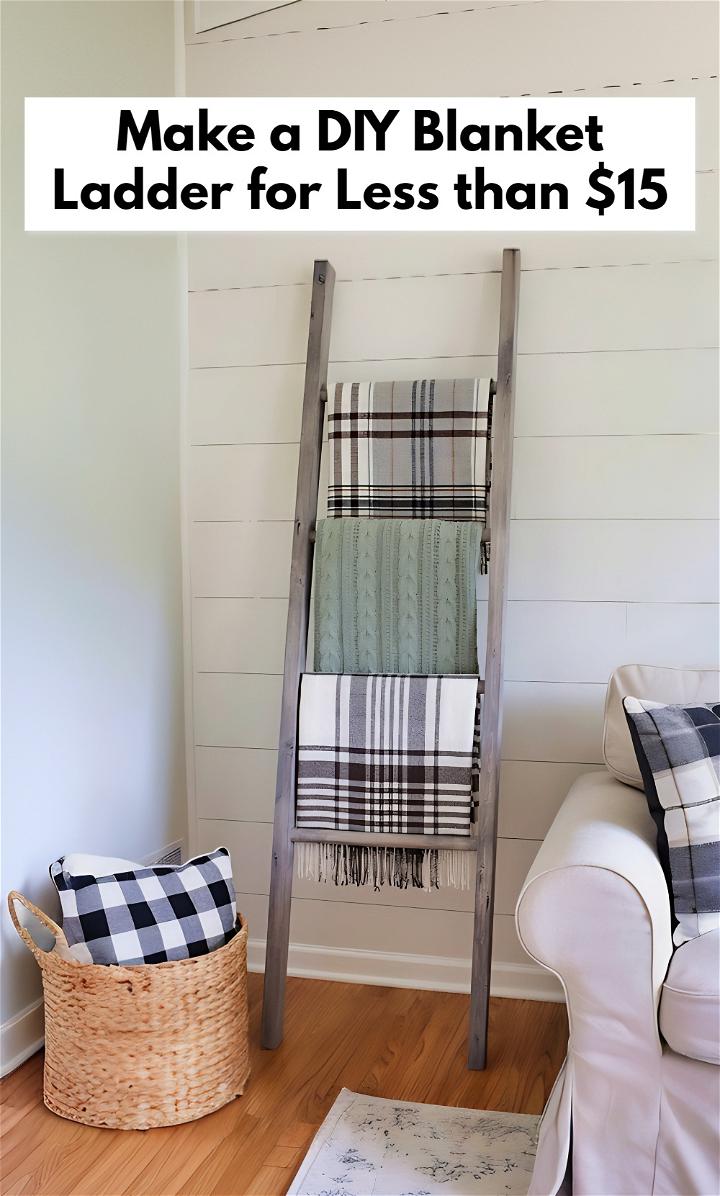
Hello friends! Today, I'm thrilled to share my journey of creating a fabulous DIY blanket ladder that not only looks charming in any room but is also incredibly budget-friendly. As someone passionate about home decor and DIY projects, this simple woodworking project is close to my heart. It's perfect for beginners, and guess what? The complete project costs less than $15 in materials. Let's dive into how you can create your own.
Gathering Your Materials
First things first, let's talk about what you'll need for this project. It's essential to gather all your materials beforehand to ensure a smooth building process.
Required Materials:
- Two 2x3s at 8 feet: These will form the sides of your ladder. I recommend using 2x3s for their sturdiness and ample width.
- 1¼ inch round wood dowels at 6 and ½ feet: These will serve as the rungs of your ladder, perfect for hanging blankets or textiles.
- Wood glue: Necessary to secure the dowels to the sides, providing stability to the structure.
- Masking tape or painters' tape: Handy for marking measurements accurately.
- 1¼ inch spade drill bit: This will be used for drilling holes for your dowels to fit into.
These materials are inexpensive and easily found at your local hardware store. Now, let's move on to crafting your blanket ladder.
Step 1: Making Your Cuts
Start by cutting your 2x3s to two pieces at 76 inches each. I opted to cut the bottom of these pieces at a 10-degree angle. This slight tilt ensures that the ladder leans against the wall more securely.
Next, slice your round wood dowel rods into four pieces, each 18½ inches long. These will be the rungs of your ladder where you'll hang your blankets.
Step 2: Marking and Drilling Holes
Measure and mark the positions for the holes on your 2x3s—these will house the dowels. Here’s a simple way to do it:
- Measure 13 ⅝ inches down from the top of one 2x3 and mark a line across.
- From this line, measure 1¼ inches in from the side to mark your drill center.
- Repeat the process every 14¼ inches down the length of the 2x3 to mark all four holes.
Ensure your marks are consistent on both 2x3s. For drilling, attach masking tape ¾ inch up from the tip of your 1¼ inch spade drill bit as a depth guide. This helps make sure you don't drill through the entire width of the 2x3. A handy tip is to practice on a scrap piece of wood if you're not familiar with using a spade drill bit.
Step 3: Assembling Your Ladder
With your pieces cut and holes drilled, you're ready to assemble your blanket ladder. Here's how:
- Apply wood glue within one of the drilled holes and on the end of a dowel.
- Insert the dowel into the hole and use a hammer to gently tap it into place. The wood glue creates a strong bond, securing the dowel.
- Repeat this process for all the rungs, attaching one side first.
- Once all dowels are attached to one side, apply glue to the other ends and carefully align them with the holes on the second 2x3. Gently tap these into place as well.
The beauty of this step is seeing your blanket ladder take shape. Allow the glue to dry according to the manufacturer's instructions to ensure a strong and durable ladder.
Final Touches
Once your ladder is assembled and the glue is dry, it's up to you to add personal touches. I went for a weathered gray finish for a rustic look, but feel free to paint or stain your ladder to match your decor.
There you go! Your very own DIY Blanket Ladder for less than $15. Not only is it a functional piece for storing blankets, but it also adds a touch of warmth and charm to any room. I'm over the moon with how mine turned out and can't wait for you to experience the same joy in creating and customizing your own.
Remember, the key to successful DIY projects is to enjoy the process. Happy building, and I can't wait to see your creations!
FAQs
What is the simplest way to make a DIY blanket ladder?
The simplest DIY blanket ladder can be made using just 2x4s or 1x3s, screws, and basic tools like a saw and drill. You can create a rustic-looking ladder by staining the wood and it can cost less than $10.
Can I use recycled materials to build a blanket ladder?
Yes, you can upcycle timber or use reclaimed wood to build your blanket ladder. This not only saves costs but also adds a unique character to your ladder.
How can I customize my blanket ladder to match my decor?
Blanket ladders can be customized with paint, stains, or decorative elements like corner guards. You can choose a finish that complements your interior design style, whether it’s modern, industrial, or farmhouse.
What are some creative uses for a blanket ladder besides holding blankets?
Besides holding blankets, a blanket ladder can be used to hang towels in the bathroom, display quilts, or even as a plant stand to add greenery to your space.
Are there any special considerations for placing a blanket ladder in my home?
When placing your blanket ladder, ensure it leans against the wall at a slight angle for stability. Consider using felt pads on the back to protect your wall from scratches.
Remember to measure your space and determine the number of rungs you need before starting your project. Safety is paramount, so always follow proper guidelines when using tools. Enjoy your crafting!
Share on Pinterest
Get ready to be inspired and share the love - Pin it on Pinterest now!
Related posts:
 DIY Ladder Shelf (25 Ways)
 40 Free DIY Coffee Table Plans To Build in Low Budget
 35 Free DIY TV Stand Plans Anyone Can Build
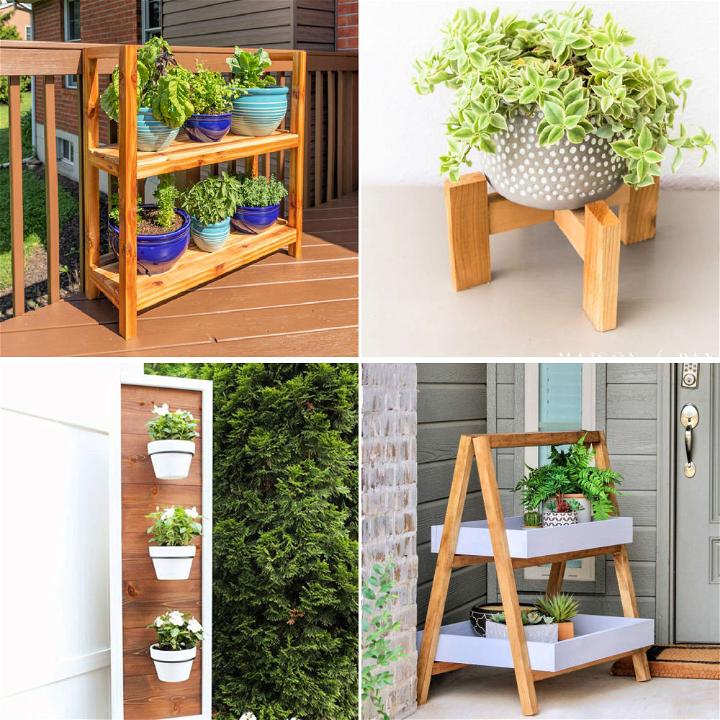 40 Free DIY Plant Stand Plans (Cheap and Easy to Build)
 40 Easy DIY Shelves To Build At Home
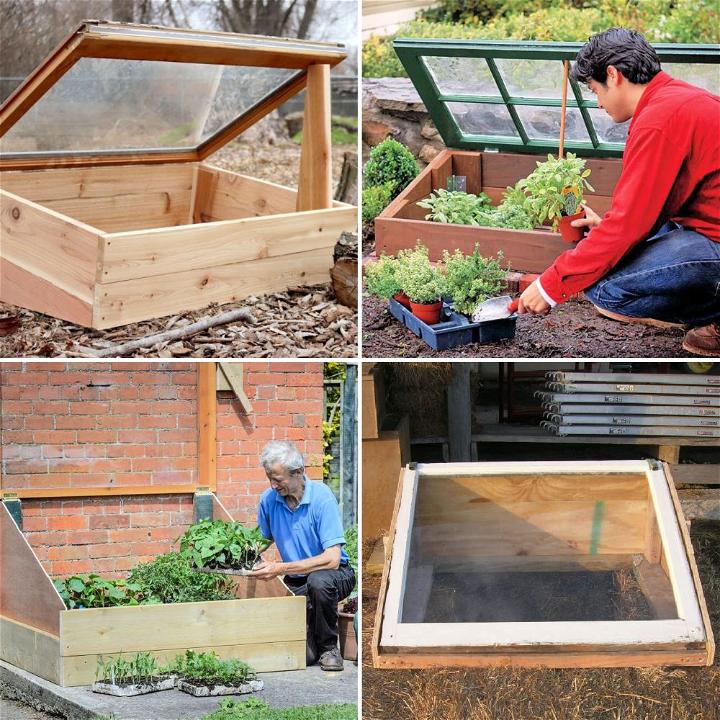 18 DIY Cold Frame Plans To Build
 40 DIY Bar Plans To Build
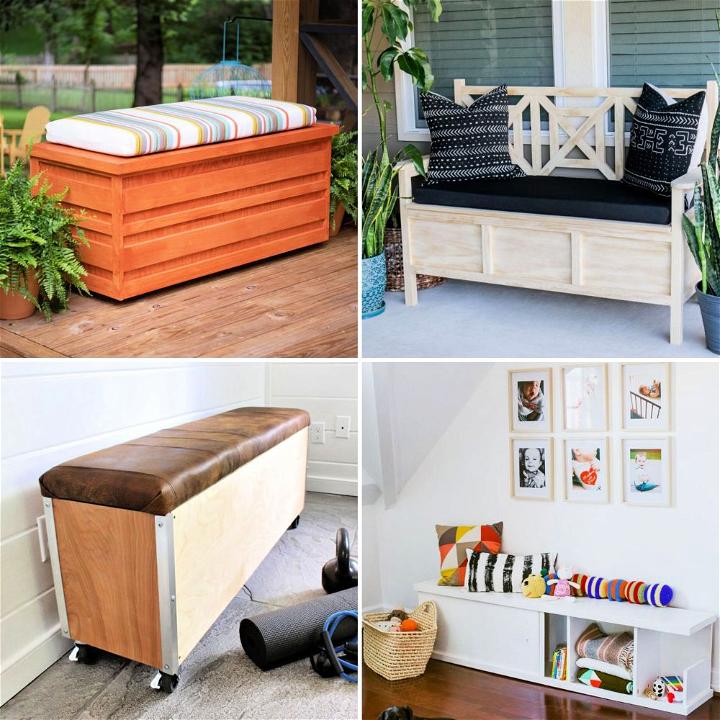 DIY Storage Bench (25 Ways to Build)
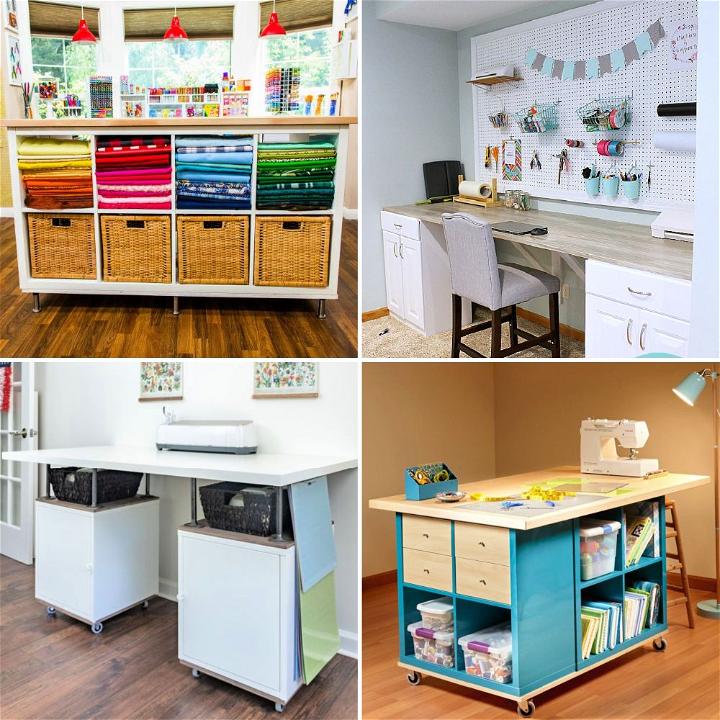 25 DIY Craft Table Ideas with Storage and Easy To Build
 25 Cheap DIY Kiln Ideas to Build your own Kiln for Pottery
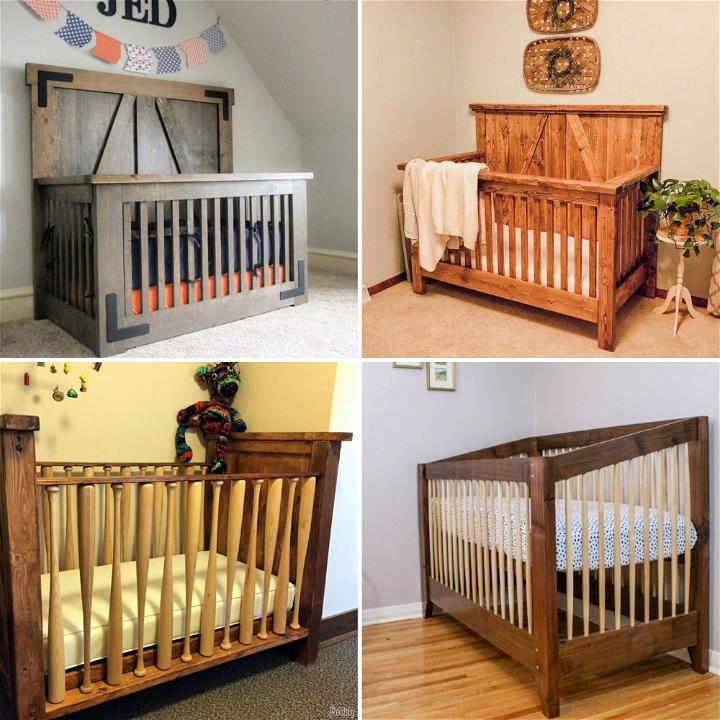 27 Homemade DIY Crib Plans To Build For Your Baby
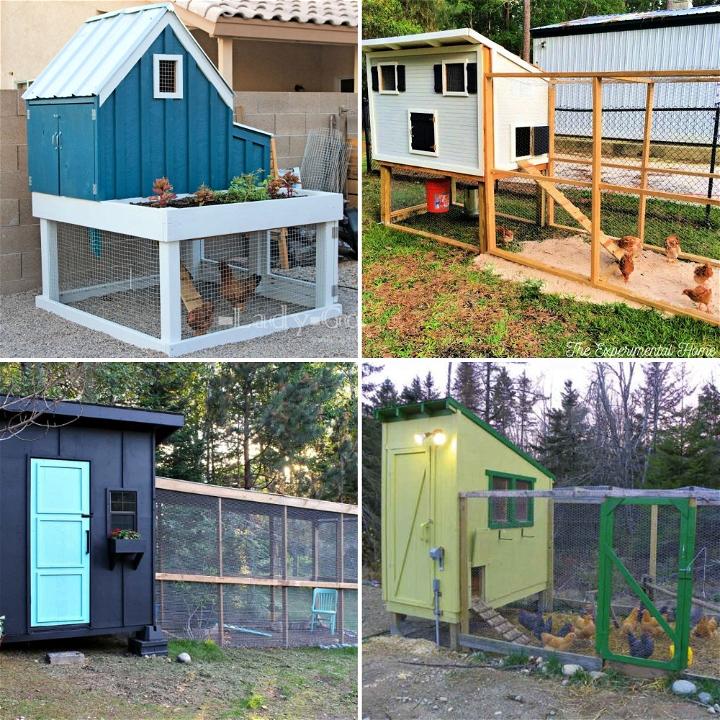 DIY Chicken Run Plans to Build