Acoustic treatment is the process of improving the sound quality within a space by managing sound reflections and reducing noise. It's essential for making an environment where sound is clear and free from unwanted echoes or reverberations. This is particularly important in spaces like recording studios, home theaters, or any room where audio clarity is crucial.

Why Acoustic Treatment Matters
- Improves Audio Quality: By controlling sound reflections, acoustic treatment ensures that sound is heard as intended, without distortion.
- Enhances Speech Intelligibility: In spaces like offices or classrooms, it helps in understanding spoken words clearly.
- Reduces Noise: It minimizes background noise, making it easier to focus and enjoy the intended audio.
Basic Components of Acoustic Treatment
- Absorbers: These materials soak up sound waves, reducing echoes and reverberation.
- Diffusers: They scatter sound waves, spreading them out evenly across a room.
- Bass Traps: Installed in room corners, they control low-frequency sounds that are harder to manage.
Implementing acoustic treatment involves a balance between absorption, diffusion, and bass control to achieve the best sound quality for your specific needs.
Latest Trends in Acoustic Design
The world of acoustic design is constantly evolving, with new trends emerging that blend aesthetics with functionality. Here are some of the latest trends:
Soft Materials and Textures
- Acoustic Lighting: Light fixtures with sound-absorbing properties.
- Textured Panels: Wall or ceiling panels that add visual interest and aid in sound absorption.
Biophilic Acoustics
- Natural Elements: Incorporating materials with natural textures to enhance both visual and acoustic comfort.
Modular Solutions
- Customizable Panels: Wall panels that can be arranged in various patterns for a unique look and targeted sound control.
Innovative Wall Coverings
- Decorative Panels: Wall coverings that offer both style and sound-absorbing benefits.
Ceiling Treatments
- Suspended Baffles: Hanging elements that manage sound reflections from above.
Privacy Pods
- Enclosed Spaces: For open-plan areas, these provide a quiet zone with integrated acoustic features.
Integrating acoustic solutions into interior design ensures style and functionality go hand in hand. Stay informed to make a modern space.
How to Make Acoustic Panels at Home
Learn how to make acoustic panels with our step-by-step guide below:
Materials and Tools Needed
- Wooden frame materials (size and thickness based on preference)
- Side panels (thin ply board, particle board, etc.)
- Safe acoustic insulation (recycled denim slabs, hemp, or wood fiber insulation slab)
- Fabric for backing and outer covering
- Picture hanging hooks or wire
- Staple gun, screws, hammer, saw, tape measure
- Gardening fabric or other strong, affordable fabric for backing
- Wood glue or nails (for fixing side boards)
- Scissors or knife (for cutting fabric and insulation)
Step-by-Step Guide
Building The Frame
- Design Your Frame: Determine the size of your panels based on room size and aesthetic preference. Use thinner pieces of wood for a sturdy yet lightweight frame.
- Cutting the Wood: Measure and cut your wood according to your desired panel size. Remember, accuracy is key.
- Assemble the Frame: Connect the wood pieces using screws, ensuring each corner is at a right angle. Pre-drill holes to prevent the wood from splitting.
Adding Side Panels
- Choose Your Material: Select a suitable material for the side panels. This should be lightweight and easy to staple or nail.
- Cut and Fix Side Panels: Measure and cut the side panels to size, then fix them to the frame using wood glue, nails, or a stapler.
Sealing the Back
- Cut Backing Fabric: Cut your gardening or backing fabric slightly larger than your frame.
- Attach Fabric to Frame: Staple the fabric across the back of the frame, ensuring it's taut and secure.
Adding Insulation
- Choose Your Insulation: Opt for safe, health-conscious materials such as recycled denim or hemp insulation.
- Insert Insulation: Fit the insulation snugly within the frame, trimming any excess material if necessary.
Wrapping the Panel
- Select Your Fabric: Choose a heavy-duty fabric in your preferred color.
- Cover the Panel: Lay out the fabric, place your panel face down, and staple the fabric to the back of the frame. Ensure it's tight and wrinkle-free.
Final Touches
- Mounting Hooks: Attach picture hooks to the back of the frame for easy hanging.
- Optional Wooden Frame: Add an external frame for aesthetic purposes, although this will increase both cost and weight.
Installation
- Positioning: Hang the panels on the walls where sound reverberation is most pronounced, using the picture wire and hooks.
- Adjustments: Experiment with different placements to achieve the best sound quality in your studio.
Video Tutorial
For a step-by-step video tutorial, check out this comprehensive guide.
It pairs with this written manual perfectly, offering a visual companion to the techniques discussed here, enhancing your understanding in a digestible format.
By following these steps, you'll improve sound quality in your home studio while adding a personal touch. Feel free to ask questions or for advice on materials or the process. Get creative and enjoy building!
Installation Techniques for Acoustic Panels
Installing acoustic panels effectively can greatly enhance the sound quality of any space. Here's a guide to help you through the process:
Tools and Materials
Before you begin, ensure you have the necessary tools and materials. You will need:
- A drill
- A staple gun
- Measuring tape
- Level
- Appropriate mounting hardware, such as screws and wall anchors
Steps for Wall Installation
- Measure and Mark: Determine where you want to place your panels. Use a level to mark the wall to ensure your panels will be straight.
- Prepare the Panel: If your panel has a frame, attach any mounting brackets to the back.
- Drill and Mount: Drill holes into the wall at your marked spots, insert wall anchors if necessary, and secure the panel to the wall with screws.
Ceiling Installation
For ceiling installation, you may need additional hardware like:
- Screw eye hooks
- Carabiners
- Extension chains
Follow these steps:
- Locate Ceiling Joists: Use a stud finder to locate the joists where you will anchor the panels.
- Attach Hardware: Screw eye hooks into the ceiling joists. Attach carabiners and extension chains if needed for adjustable height.
- Hang the Panels: Hook the panels onto the installed hardware, ensuring they are secure and level.
Tips for Effective Installation
- Spacing: Leave gaps between panels to evenly distribute absorption and diffusion.
- Placement: Focus on areas where sound reflections are most prominent, like opposite your sound source.
FAQs About DIY Acoustic Panels
Get answers to your DIY acoustic panel questions in this comprehensive guide. Find tips, tricks, and step-by-step instructions for making your own panels.
Do DIY Acoustic Panels Really Work?
Yes, they do. When built and installed correctly, they can significantly improve the acoustics by absorbing unwanted sound reflections.
What Materials Can I Use for DIY Panels?
Common materials include rockwool or fiberglass insulation, wrapped in breathable fabric. The frame can be made from wood or lightweight metal.
How Many Panels Do I Need?
This depends on the size of your room and the extent of acoustic treatment required. A larger room or one with more hard surfaces may require more panels.
Can I Decorate My Acoustic Panels?
Absolutely! Many people cover their panels with decorative fabric or even integrate artwork to make them blend with the room's decor.
Are There Alternatives to Wall-Mounting?
Yes, you can also make free-standing panels or baffles that can be moved around as needed.
Discover 25 DIY Acoustic Panel Ideas to Improve Sound Quality in Your Space

1. DIY Sound Absorption Wall Panels
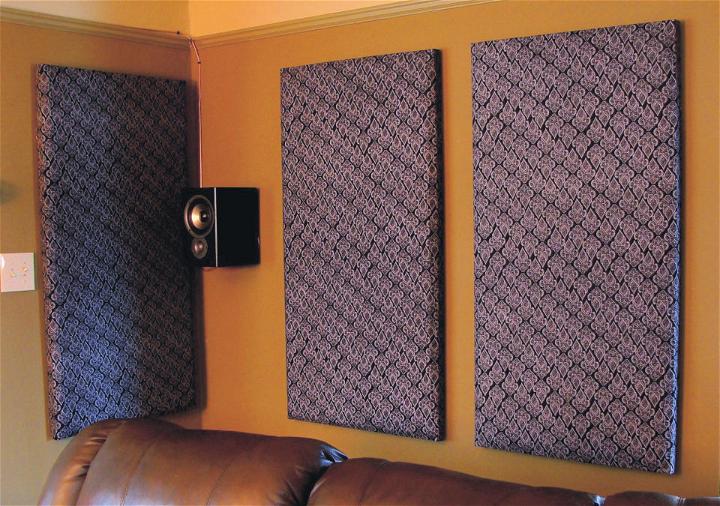
Transform your room into a serene space with DIY sound absorption wall panels. Made from soft materials, they catch and dampen sound, enhancing audio clarity while adding a personal touch to your décor. Perfect for lively living spaces or home offices seeking tranquility.
2. DIY Acoustic Panels for Home Studio
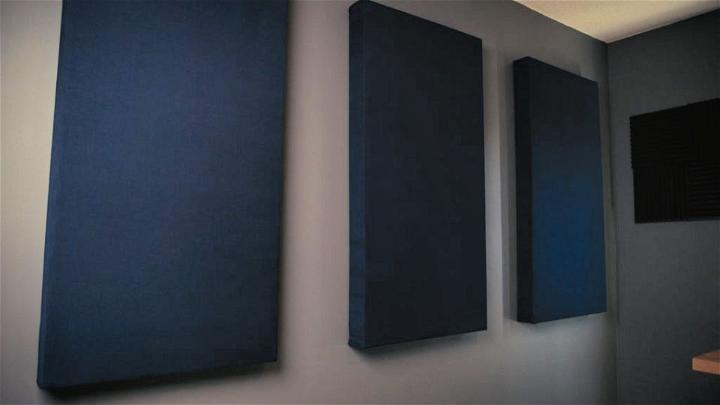
Elevate your home studio's audio quality with DIY acoustic panels. Customizable in size and fabric, they tailor not only to your room's acoustics but also to its aesthetic. Great for podcasters, musicians, and anyone in between, they're a cost-effective way to achieve professional sound.
3. Homemade Rockwool Acoustic Panels
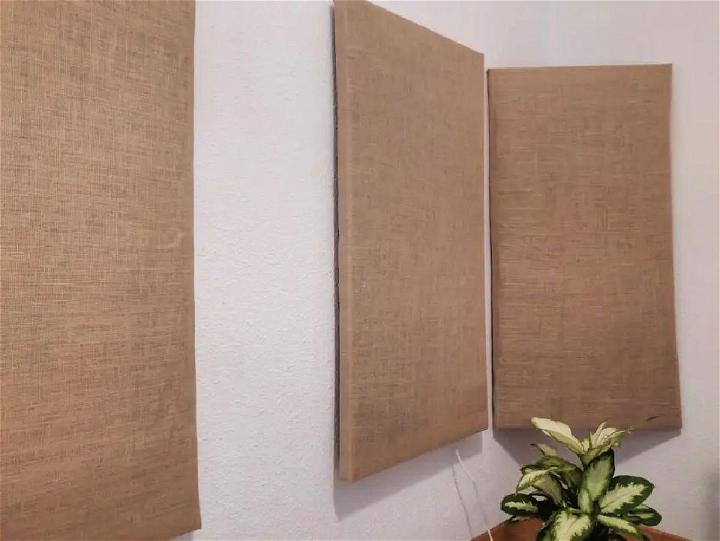
Rockwool acoustic panels are a favorite for DIY enthusiasts. Their dense composition efficiently traps sound frequencies, making them ideal for home theaters or music rooms. Craft them at home with a frame, Rockwool, and fabric for a personalized, effective sound management solution.
4. DIY Sound Absorbing Panel in Easy Steps
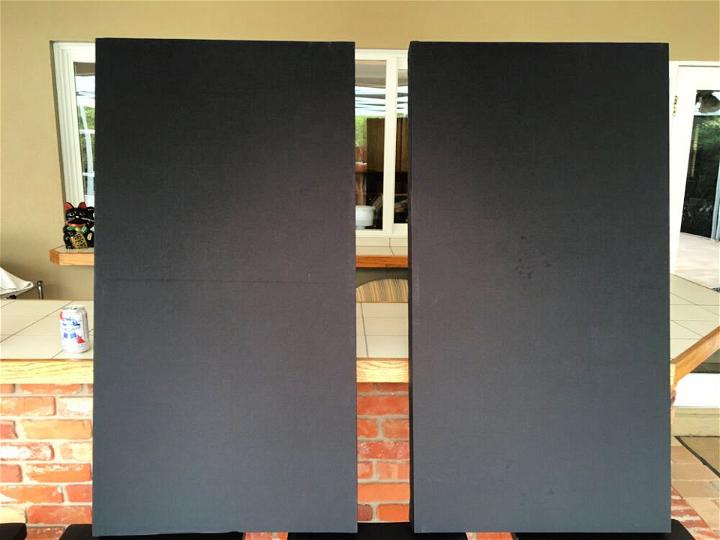
Make a quieter space with DIY sound-absorbing panels. By assembling a few simple materials, you can design panels that blend seamlessly with your interior while significantly reducing echo. They're straightforward to make, requiring no advanced tools, offering a satisfying project with immediate benefits.
5. Easiest Acoustic Panels Under $20
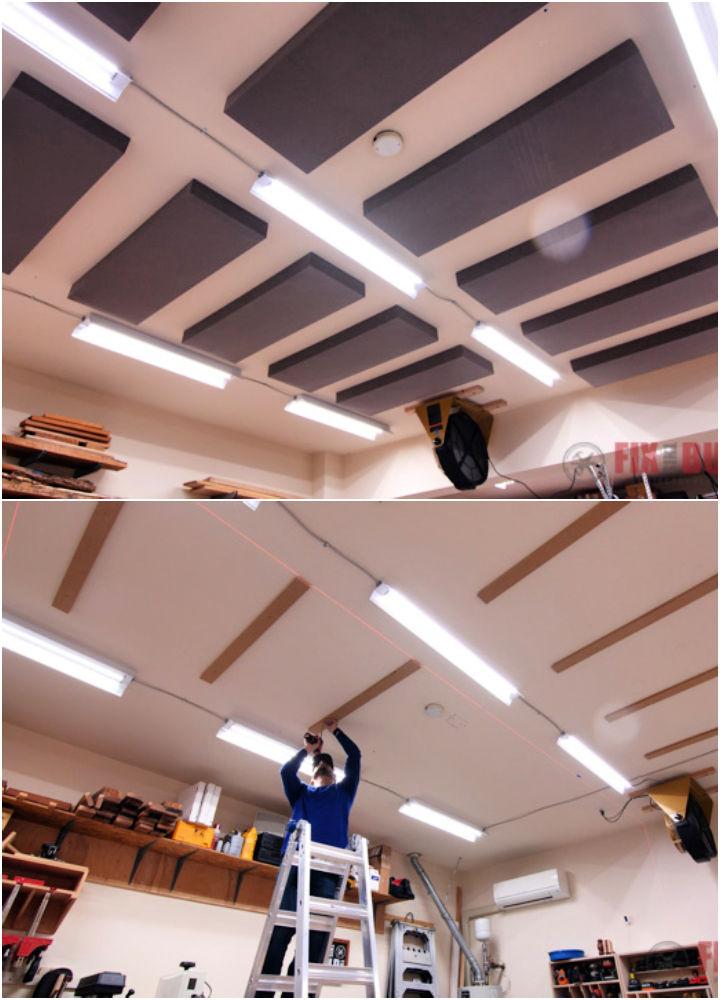
You don't need to break the bank for effective sound control. With materials like thick felt cloth and a basic frame, you can Make acoustic panels for under $20. It's an affordable way to improve your listening experience in any room, blending economy with efficiency.
6. How to Make Acoustic Panels
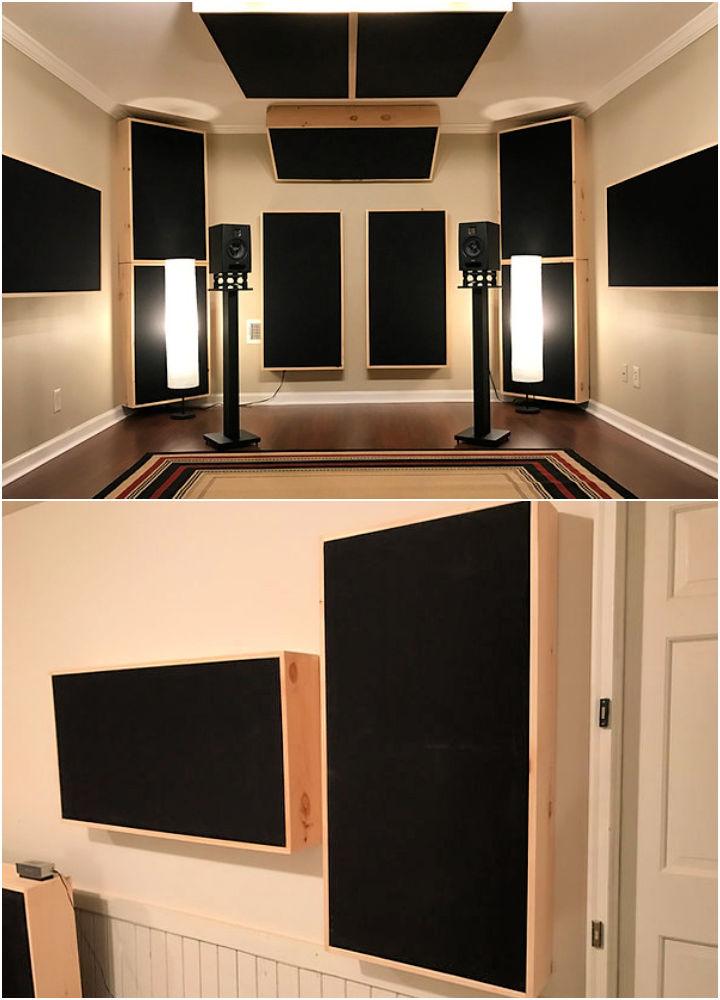
Making acoustic panels is simpler than it seems. Start with a solid frame, add sound-absorbing material like fiberglass, and cover with breathable fabric. Whether for home cinemas or recording studios, the right materials can vastly improve sound quality, making for an enjoyable DIY project with tangible results.
7. Homemade Soundproofing Panels
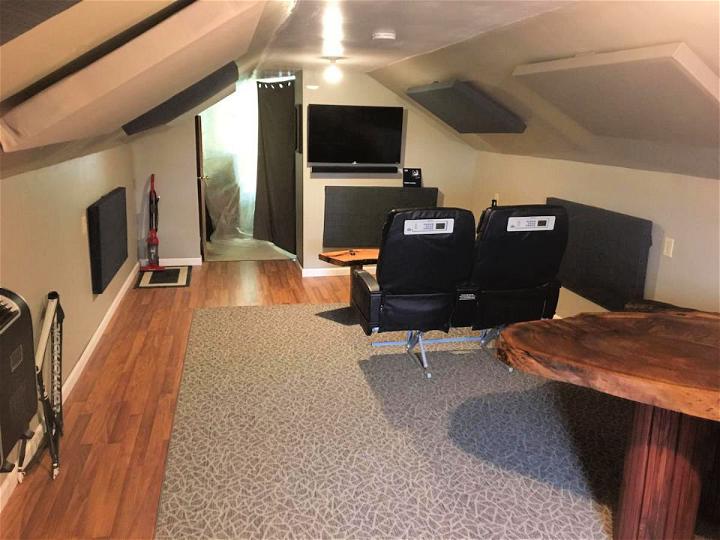
Soundproof your space effectively with homemade panels. By layering materials that block and absorb sound, you make a barrier against external noise. This DIY solution is perfect for making peaceful environments in busy areas, allowing you to enjoy your home without the interruption of unwanted sounds.
8. High-performance Acoustic Panels
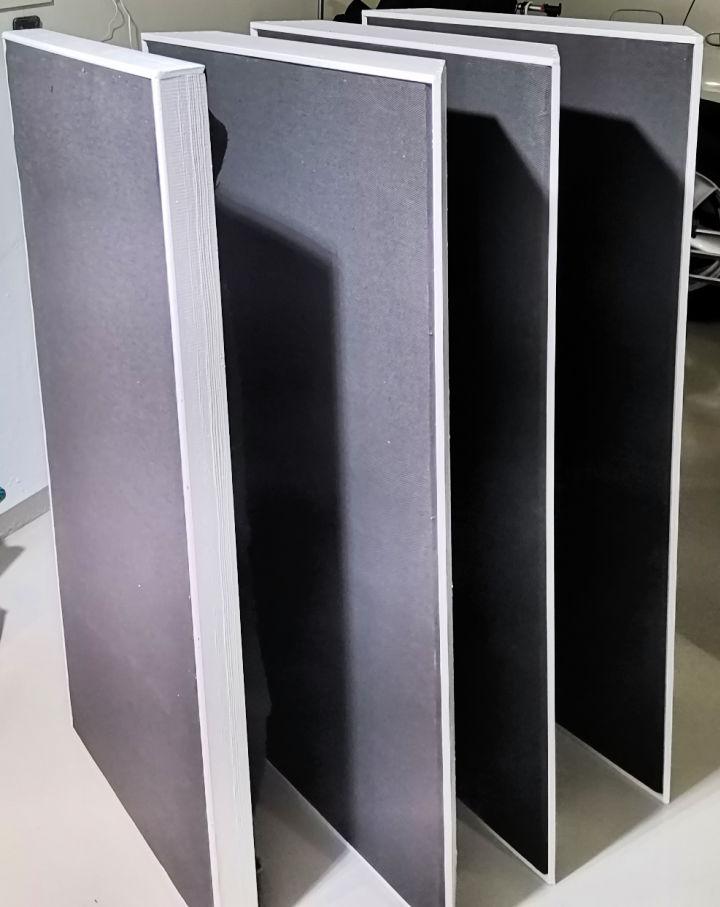
Aiming for the best sound experience? High-performance DIY acoustic panels are within reach. By carefully selecting top-grade insulation materials and combining them with proper spacing and placement, you can achieve outstanding sound quality that rivals commercial products, perfect for audiophiles and professionals alike.
9. DIY Home Studio Acoustic Panels
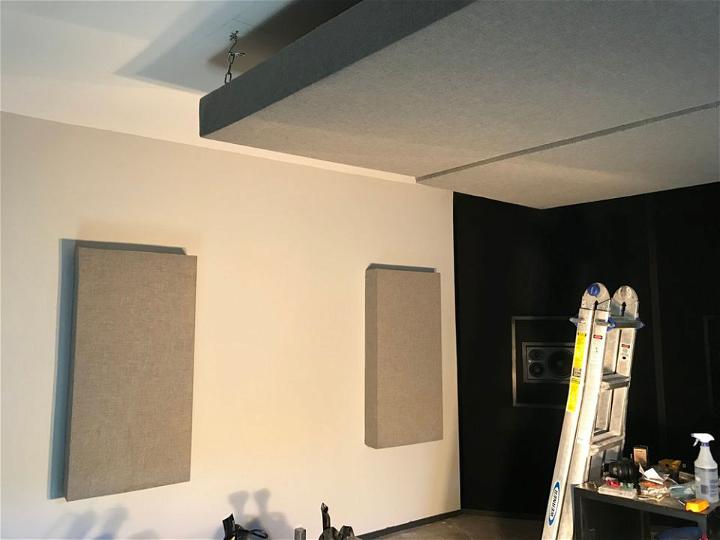
For the home studio enthusiast, DIY acoustic panels are a game-changer. Constructed with acoustic foam or fibrous materials, these panels can dramatically reduce echo and reverb, providing clearer sound recordings. They're an essential, budget-friendly upgrade for any home recording setup.
10. DIY Acoustic Absorption Panels
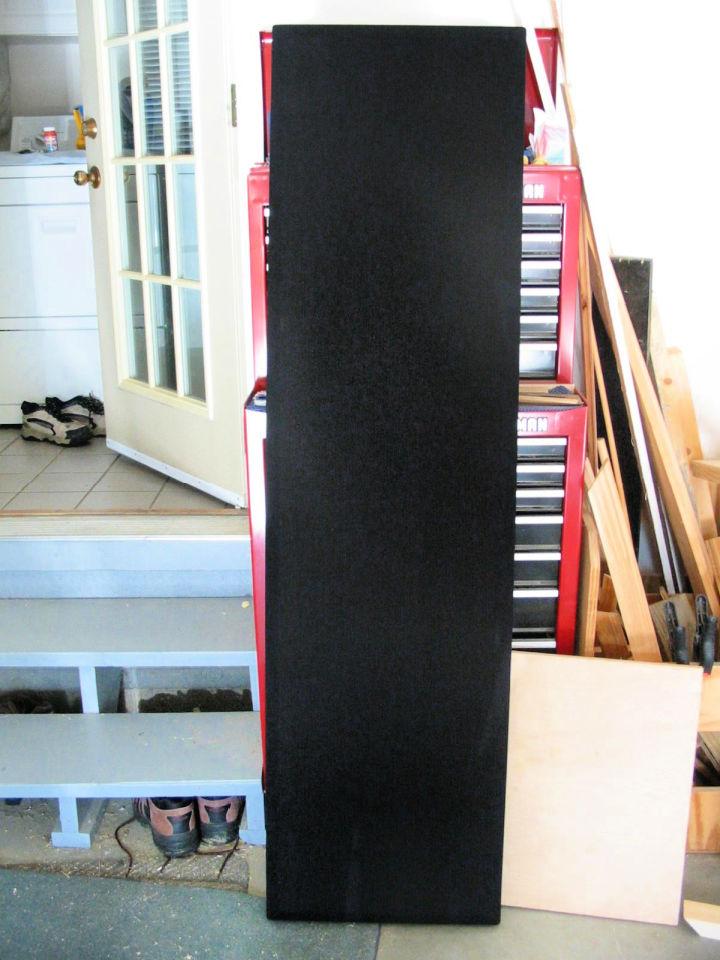
Enhance your acoustic environment with DIY absorption panels. By strategically placing these panels around your room, you can minimize unwanted echoes and refine the overall sound quality. With a bit of creativity, these panels can also double as unique pieces of art, adding function and flair to your space.
11. Handmade Acoustic Ceiling Panels
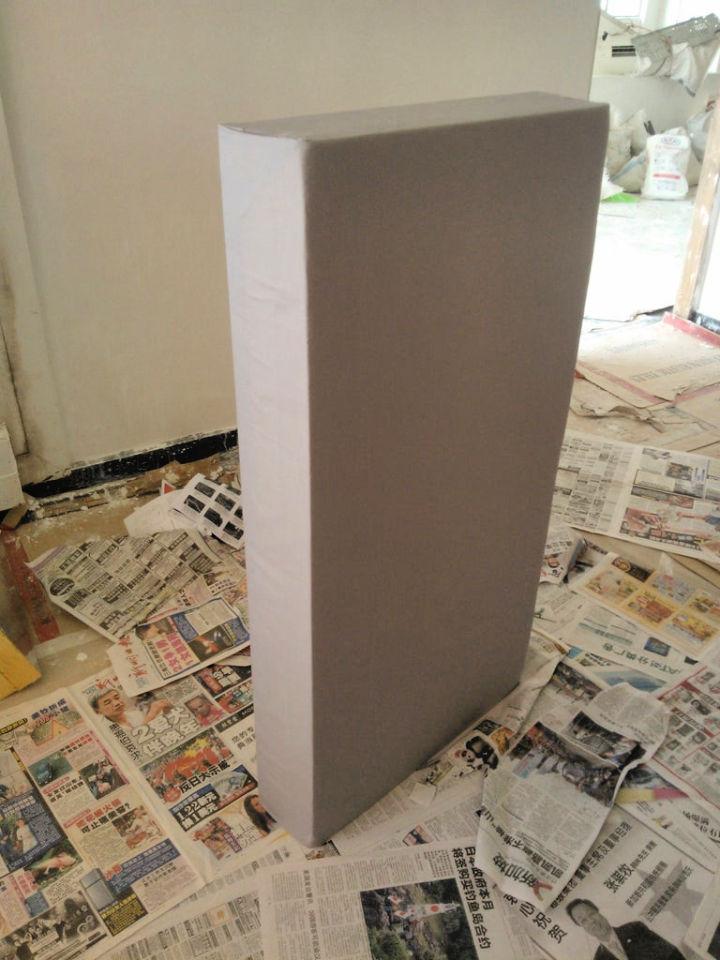
Imagine a room where every conversation feels intimate, thanks to the magic of handmade acoustic ceiling panels. These beauties aren't just about style; they absorb unwanted echoes, making your space serene and speech crystal clear. Crafted with love, they blend art with acoustic science.
12. Making Acoustic Panels Using Foam
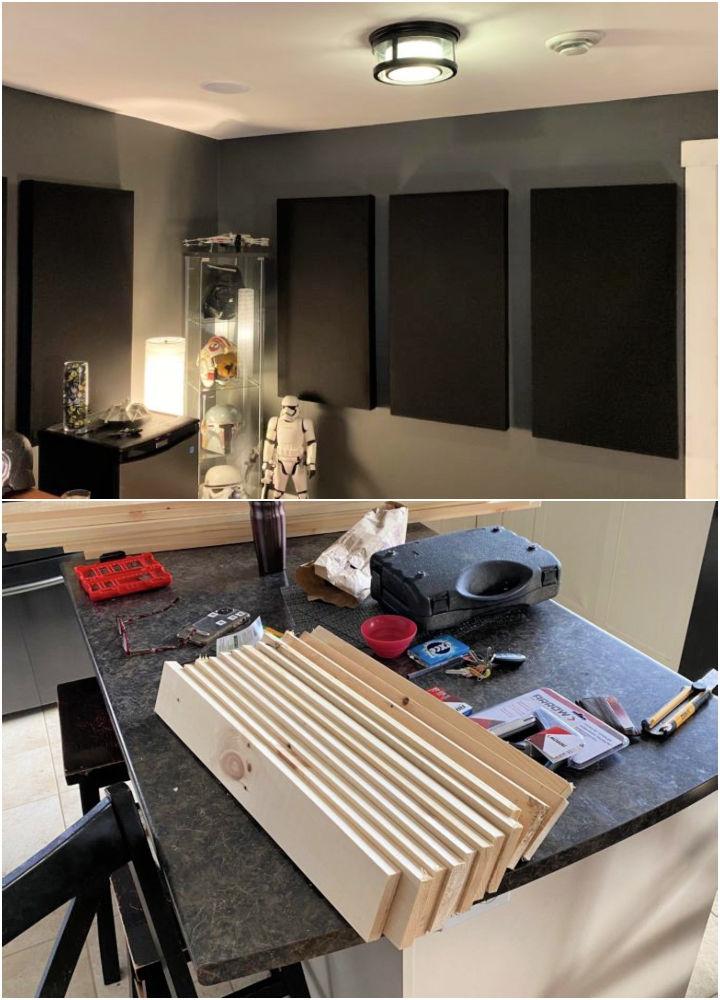
Using foam to make acoustic panels is like giving your room a soft hug that quiets the noise. It's affordable and surprisingly effective in capturing sound waves. Plus, working with foam means shapes and sizes are at your creative disposal, turning sound control into a personalized art project.
13. How to Build Acoustic Panels
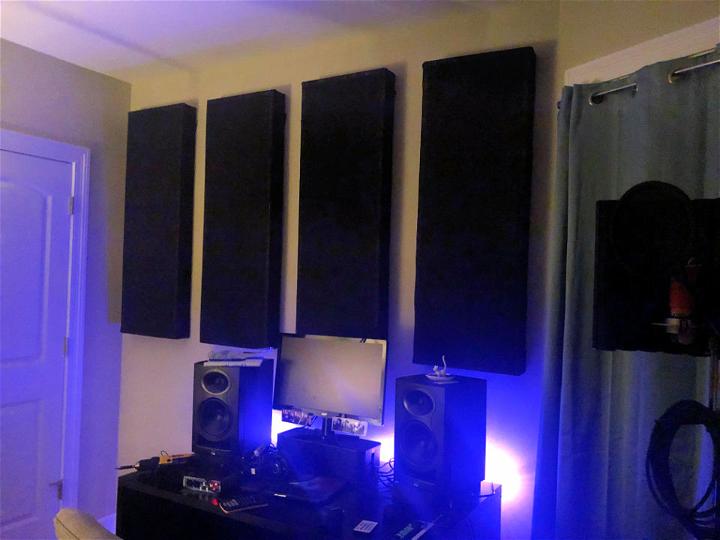
Building your acoustic panels can be a satisfying project, enhancing your space's sound quality. It involves simple materials like insulation boards and fabrics, offering room for creativity. This DIY task transforms a noisy environment into a peaceful haven, customized to your aesthetic preferences.
14. DIY Sound-Proof Panels Using Plywood
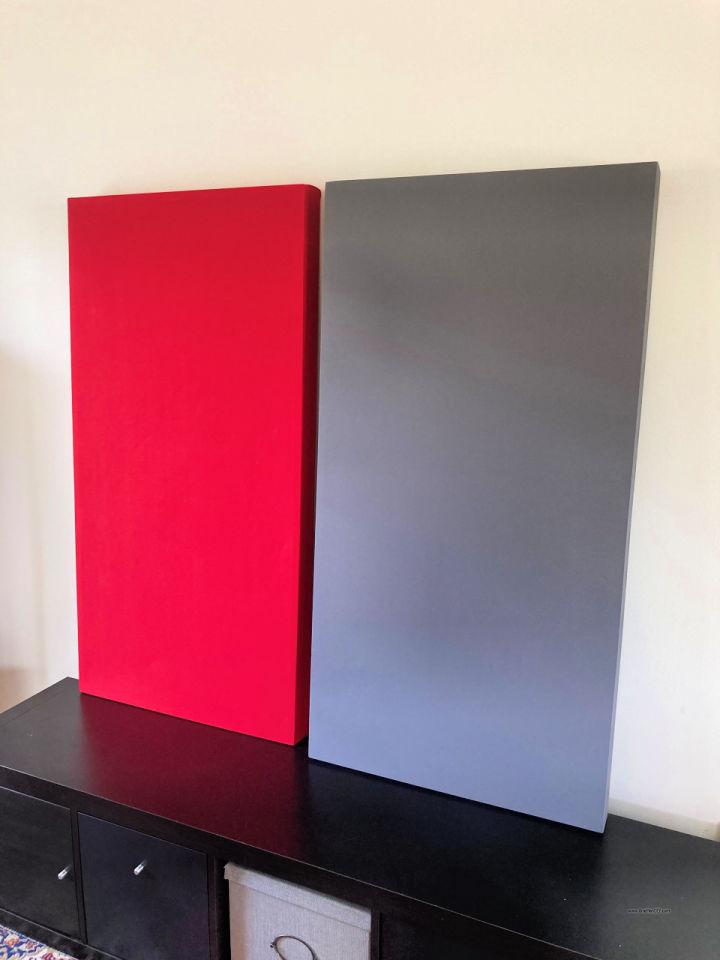
Plywood offers a sturdy base for DIY sound-proof panels, promising durability and efficiency. When layered with sound-absorbing materials, these panels become your allies against unwanted noise, perfect for making a focus-friendly zone in any room. Plus, you wield the power to design with freedom.
15. How to Make Acoustic Soundproof Panels
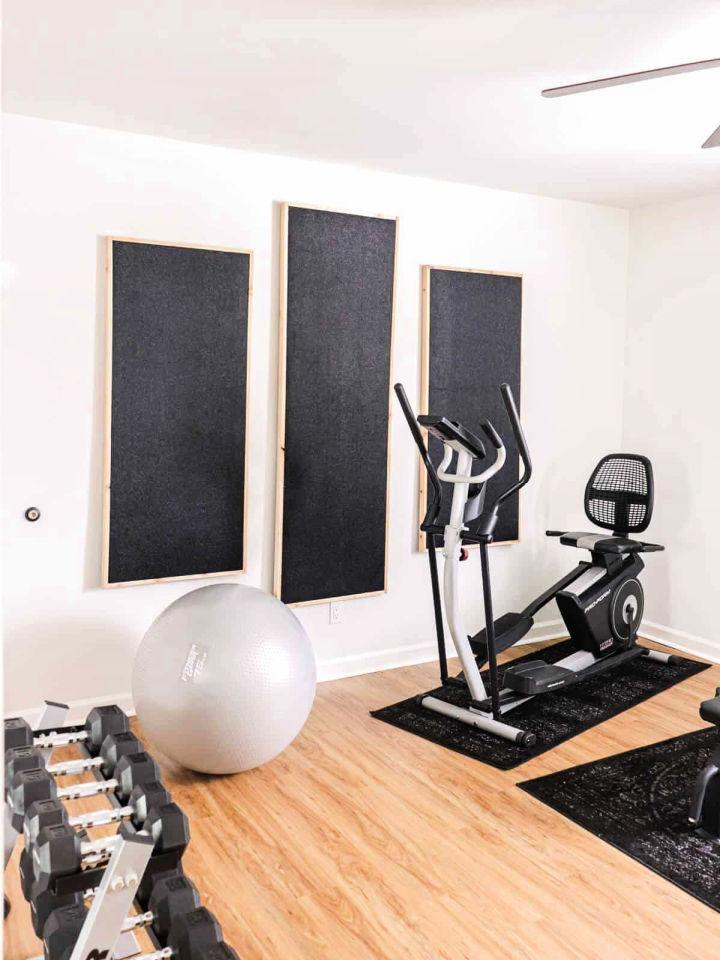
Making acoustic soundproof panels combines functionality with creativity. Using materials that absorb and block sound, you can make a peaceful space conducive to work or relaxation. It's a hands-on way to enhance your environment, tailored perfectly to your needs and aesthetic desires.
16. Building Acoustic Treatment for the Music Room
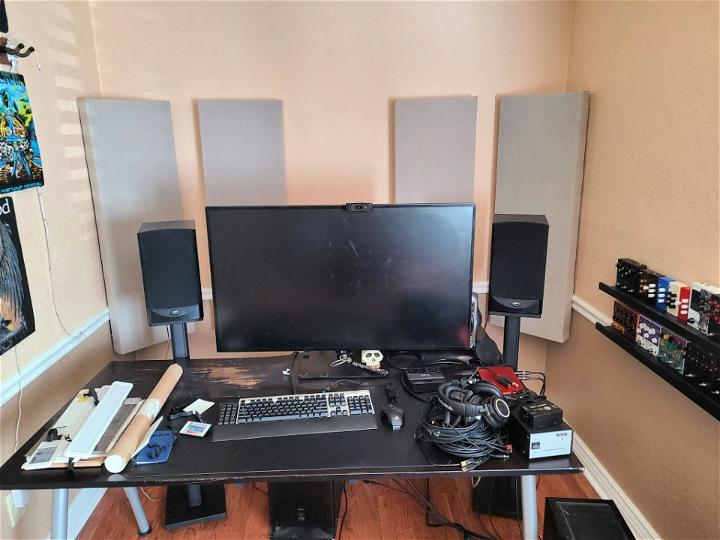
For music enthusiasts, building acoustic treatment for your room is like tuning your favorite instrument – essential for the perfect sound. It enriches sound quality, removing echoes and reverberations. This project makes every note clearer, letting you enjoy the purity of music, undisturbed.
17. DIY Sound Dampening Panels Under $20

Budget-friendly and effective, making DIY sound dampening panels for under $20 proves you don't need to break the bank for peace and quiet. Using easily accessible materials, you can tackle echo and noise, a testament to the idea that great solutions don't have to be expensive.
18. Making Professional Acoustic Treatment

Making professional acoustic treatment at home brings studio-quality sound to your doorstep. It involves carefully selected materials that target specific frequencies, making spaces acoustically balanced. It's about precision, ensuring every sound is heard as intended, whether for recording, listening, or simply enjoying clearer conversations.
19. How to Make Good looking Acoustic Panels
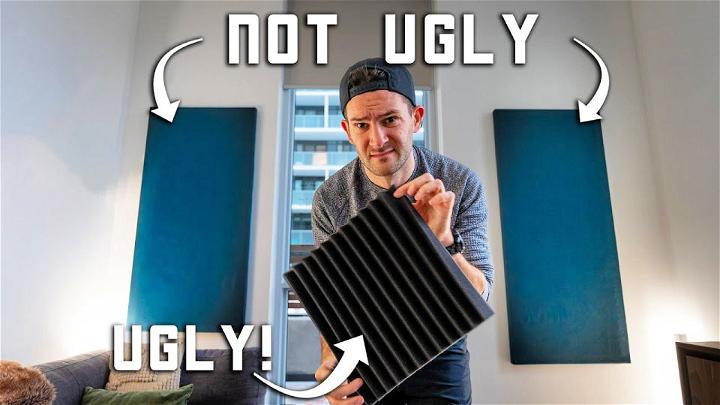
Who says acoustic panels can't be a part of your décor? Designing good-looking panels allows you to blend sound engineering with interior design. Select fabrics and patterns that complement your room, showing that effective sound control also can add a splash of personality to your space.
20. Cheap and Awesome Acoustic Panels
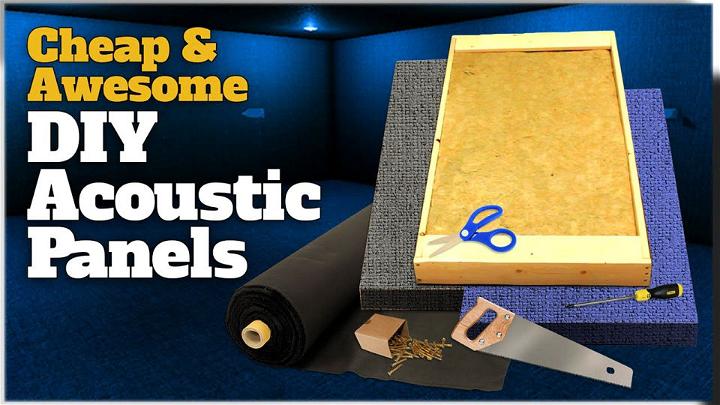
Making cheap and awesome acoustic panels is about being smart with resources. It's amazing how everyday materials can transform into effective sound absorbers. This approach promises a sound-friendly environment without draining your wallet, proving that creativity is the best asset in DIY acoustic solutions.
21. DIY Rockwool and Fiberglass Sound Panels

Making your own sound panels with Rockwool and fiberglass is both a savvy and eco-friendly decision. These materials excel in absorbing unwanted noise, ensuring your recordings are crystal clear. Plus, they add a professional touch to any studio, all while being significantly budget-friendly.
22. Pro quality Acoustic Treatment Less Than $50
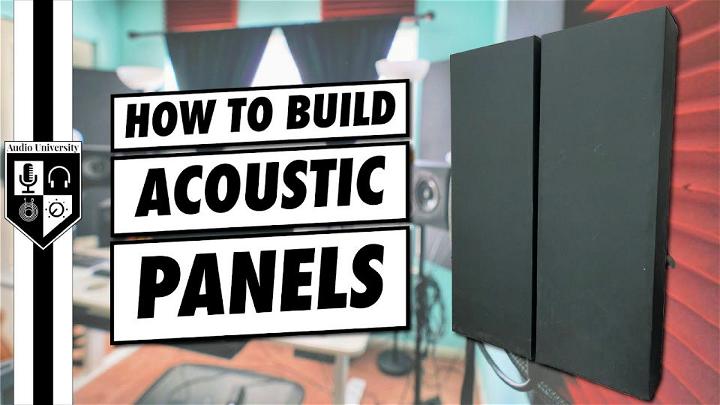
Believe it or not, achieving studio-quality sound doesn't have to break the bank. With the right materials and a bit of DIY spirit, you can make acoustic treatments that rival professional setups. This approach not only enhances sound clarity but also elevates your listening experience, all under $50.
23. Building Affordable Acoustic Panels
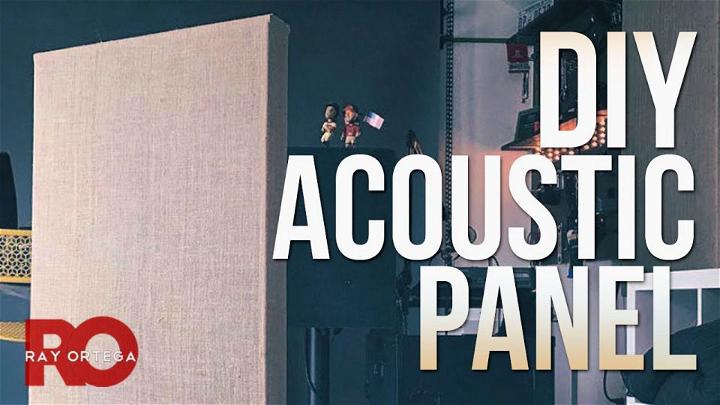
Embarking on building your own acoustic panels can transform your audio projects remarkably. These affordable panels are effective in minimizing echoes and improving sound quality. By choosing inexpensive materials, you craft a solution that's both cost-effective and significantly boosts the acoustic fidelity of your space.
24. DIY Performance Acoustic Sound Absorption Panels
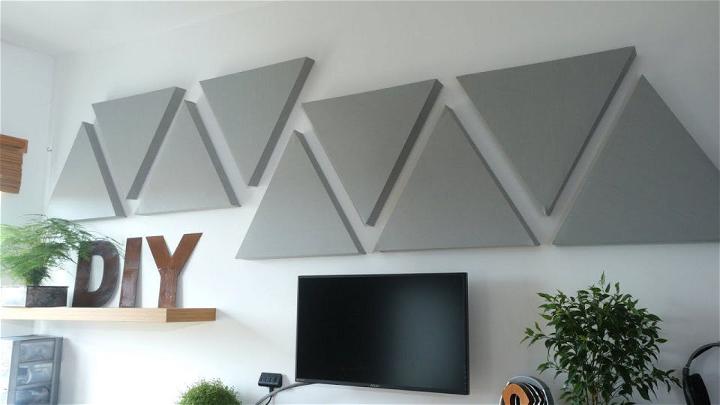
Dive into making high-performing acoustic panels that are surprisingly easy to assemble. These DIY wonders are crafted to absorb sound efficiently, making them perfect for podcasters, musicians, and home theatre enthusiasts alike. Their design flexibility means they can seamlessly blend into any room's aesthetic.
25. Cheap Acoustic Home Studio Panels

Outfitting your home studio with cheap acoustic panels is a game-changer for any budding artist. These economically smart solutions greatly reduce noise interference, ensuring your recordings are of the highest quality. They're proof that you don't need to spend a fortune for professional-sounding audio right from the comfort of your home.
Conclusion:
In conclusion, DIY acoustic panels offer a budget-friendly solution to improve sound quality in any room. By following simple steps and utilizing affordable materials, you can make personalized sound treatments that enhance your audio experience. With the versatility of designs and customization options available, DIY acoustic panels are a practical and creative way to optimize your acoustic environment.


