The scrunchie, a fabric-covered elastic hair tie, has its roots in the 1960s. However, it wasn't until 1987 that Rommy Revson patented the design, inspired by the waistband of her pajama pants, seeking a gentler alternative to metal hair ties. This innovation quickly became a fashion statement, adorning the hair of celebrities and the public alike.
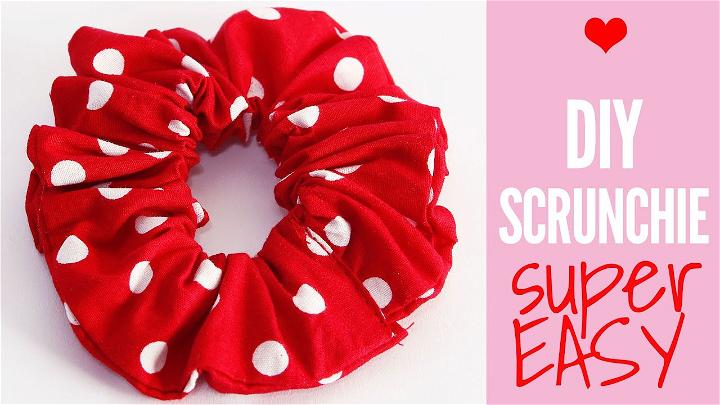
The Rise, Fall, and Resurgence
Throughout the '80s and '90s, scrunchies symbolized the vibrant and colorful fashion of the times. They were not just hair accessories but cultural icons featured in movies and TV shows. Despite a decline in popularity in the early 2000s, the scrunchie made a comeback, embraced by a new generation for its practicality and retro charm.
How to Make a Scrunchie - Step by Step Guide
Make scrunchies easily using this guide. Inspired by a YouTube tutorial from Treasurie, it offers simple steps for a personalized accessory.
Materials Needed
- Fabric (rectangle piece measuring 22 inches x 3.5 inches or 56 cm x 9 cm)
- Elastic (9 inches or 23 cm long, and about ½ inch or 12mm wide)
- Safety pin
- Needle and thread (or sewing machine)
- Scissors
- Ruler or measuring tape
Step-by-Step Guide
Learn how to make a scrunchie with our simple step-by-step guide. From cutting fabric to sewing and fluffing, make your own stylish scrunchies easily!
Step 1: Cut Your Fabric
Start by cutting your fabric into a rectangle with the dimensions of 22 inches by 3.5 inches (56 cm by 9 cm). This size is ideal for a standard scrunchie, but feel free to adjust based on your preference.
Step 2: Fold and Iron
Fold your fabric in half lengthwise with the right sides (the side of the fabric you want to show) facing each other. Iron the fold to make a sharp crease, which will make sewing easier.
Step 3: Sew Along the Long Edge
Sew along the long edge of your fabric, about a quarter inch (6mm) from the edge. If you're doing this by hand, you can use a backstitch for durability. Leave both ends of the tube you've maked open.
Step 4: Turn the Fabric Tube Right Side Out
Attach a safety pin to one end of the tube. Use the safety pin to help you guide the fabric back through itself, turning the tube right-side out. This can be a bit fiddly, but patience will reward you with a nicely turned fabric tube.
Step 5: Insert the Elastic
Attach a safety pin to one end of your elastic and thread it through the fabric tube. Make sure to hold onto the other end of the elastic so it doesn't get pulled into the tube. Once the elastic is all the way through, tie the ends of the elastic in a secure knot.
Step 6: Closing the Scrunchie
You're almost done! Now, tuck one end of the fabric tube into the other to hide the raw edges. Hand stitch the ends together securely. For a cleaner finish, you can also sew this part with a sewing machine, being careful to catch both layers of fabric.
Step 7: Fluff and Adjust
Give your scrunchie a good fluff and adjust the fabric evenly around the elastic. And there you have it, your very own DIY scrunchie!
Video Tutorial
For a visual step-by-step guide, watch the "How to make a scrunchie | DIY scrunchie tutorial" on YouTube by Treasurie. This video complements our written instructions perfectly, showing each technique in a straightforward, easy-to-follow manner. Check it out here.
Advanced Techniques in Scrunchie Design
Explore cutting-edge scrunchie design techniques for all hair types, from basic to advanced crafting tips, in our comprehensive guide.
Beyond the Basics
For those looking to elevate their scrunchie game, advanced designs offer a creative twist on the classic accessory. Incorporating materials like silk, leather, or embellishments such as pearls and bows can transform a simple scrunchie into a fashion statement.
Crafting for Different Hair Types
When designing scrunchies, consider the hair type they will adorn. Thicker fabrics and wider elastics are ideal for heavy or long hair, providing better grip and support. For fine hair, lighter materials, and smaller bands prevent slipping and minimize damage.
FAQs About Making Scrunchies
Discover the answers to all your scrunchie-making questions in our FAQs guide. Learn how to make your own stylish hair accessories at home.
What Materials Do I Need to Make a Scrunchie?
To make a scrunchie, you'll need fabric, elastic, safety pins, thread, and a sewing needle. Optionally, if you have a sewing machine or a hot glue gun, these can also be used.
How Much Fabric is Required for a Scrunchie?
For a small scrunchie, cut a piece of fabric to 2.5 x 20 inches. For a larger one, cut to 3.5 x 22 inches. The amount of fabric depends on the desired fullness and size of the scrunchie.
Can I Make a Scrunchie Without Sewing?
Yes, you can make a scrunchie without sewing by using a hot glue gun to secure the fabric around the elastic. However, sewing, either by hand or with a machine, will provide a more durable finish.
What are the Best Fabrics to Use for Scrunchies?
Cotton, Lycra, and crushed velvet are popular choices. Lightweight fabrics like quilting cotton will give a ruffled look, while heavier fabrics like velvet offer a sophisticated appearance.
How Do I Make My Scrunchie Look Professional?
To achieve a professional look, ensure the fabric edges are neatly folded to prevent fraying and the stitches or glue are applied evenly. Adding a bow or tail can also enhance the scrunchie's appearance.
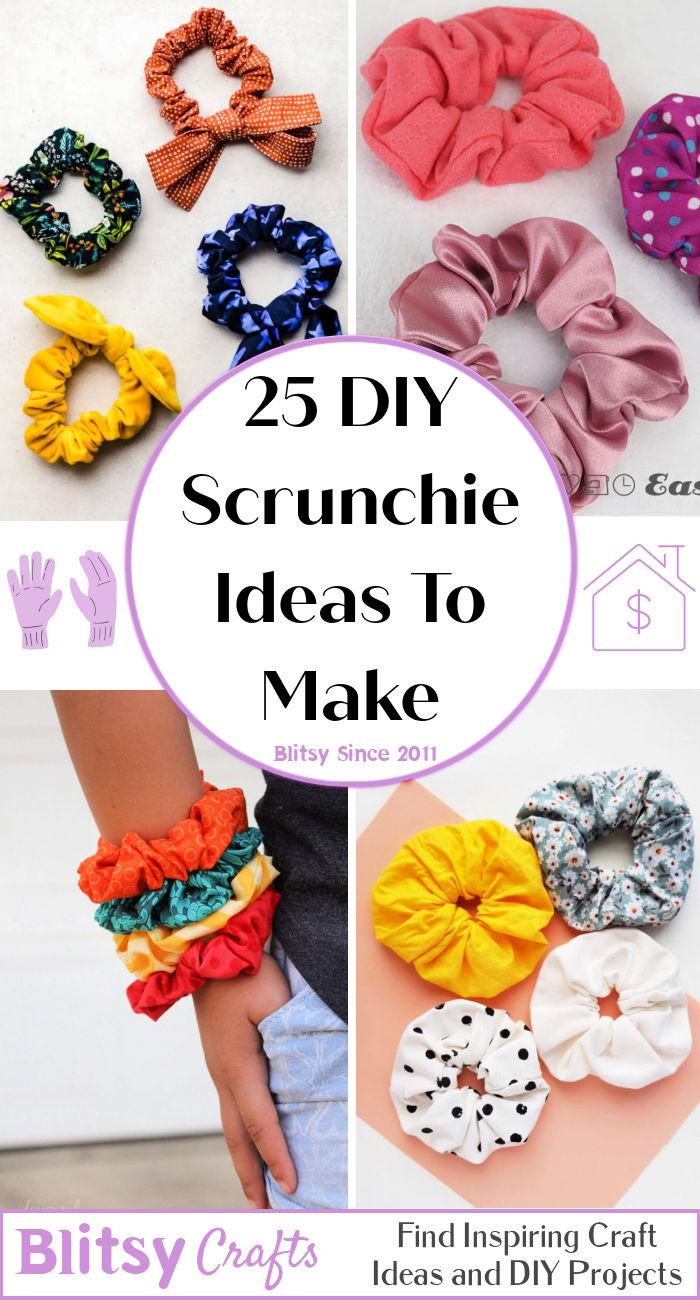
25 DIY Scrunchie Ideas to Make
Get inspired with 25 DIY scrunchie ideas for the perfect accessory. Easy tutorials for making your own trendy hair ties at home.
1. Sew a Hair Scrunchie for Beginners
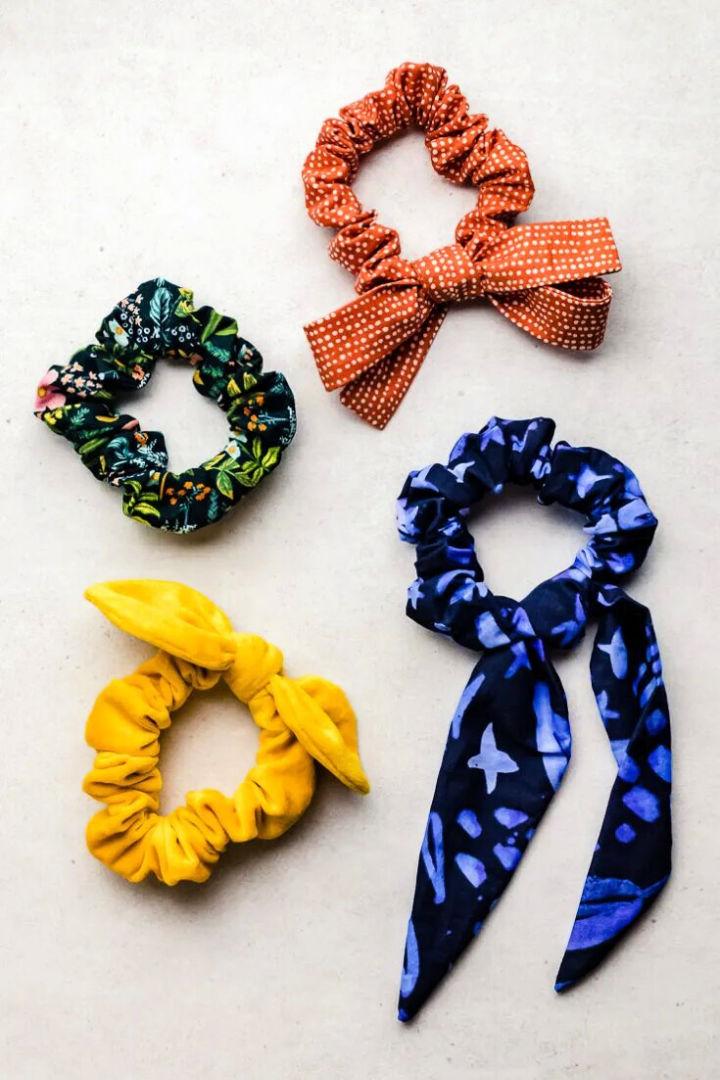
Starting your sewing journey? Crafting a hair scrunchie is a perfect project! It's simple, requires minimal materials, and you end up with a stylish and practical accessory. Plus, it's a wonderful way to personalize your outfits with your choice of fabric.
2. Cool Scrunchies Using Denim Scraps
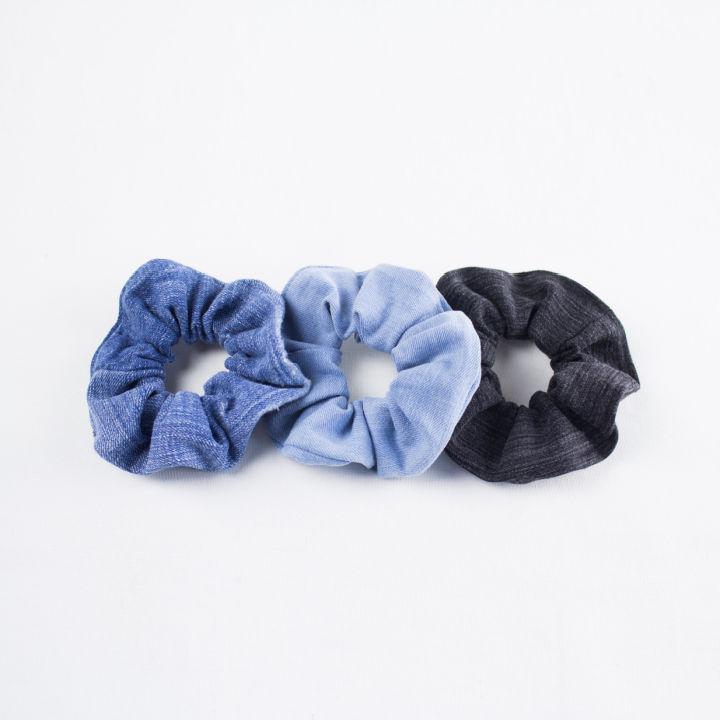
Transform those leftover denim pieces into cool, durable scrunchies. Denim fabric adds a unique texture and style, making your hair accessories stand out. It's a fantastic way to recycle and experiment with different denim shades for an edgy look.
3. DIY Hair Scrunchie with Variations
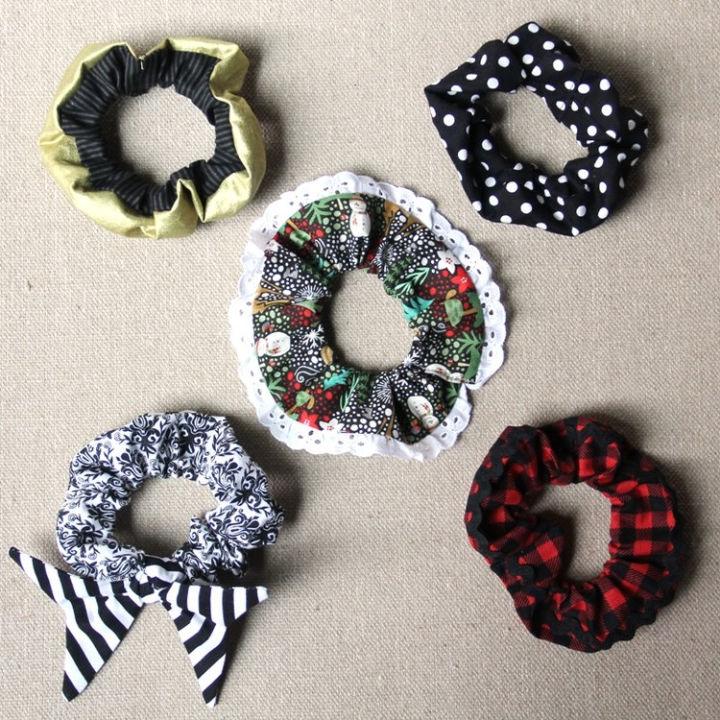
Dive into DIYing scrunchies and explore various design twists— from sizes to fabrics. Adding lace, beads, or different patterns allows you to customize them for any occasion or outfit. It's a creative way to express yourself and have fun mixing and matching.
4. Free Scrunchie Sewing Pattern
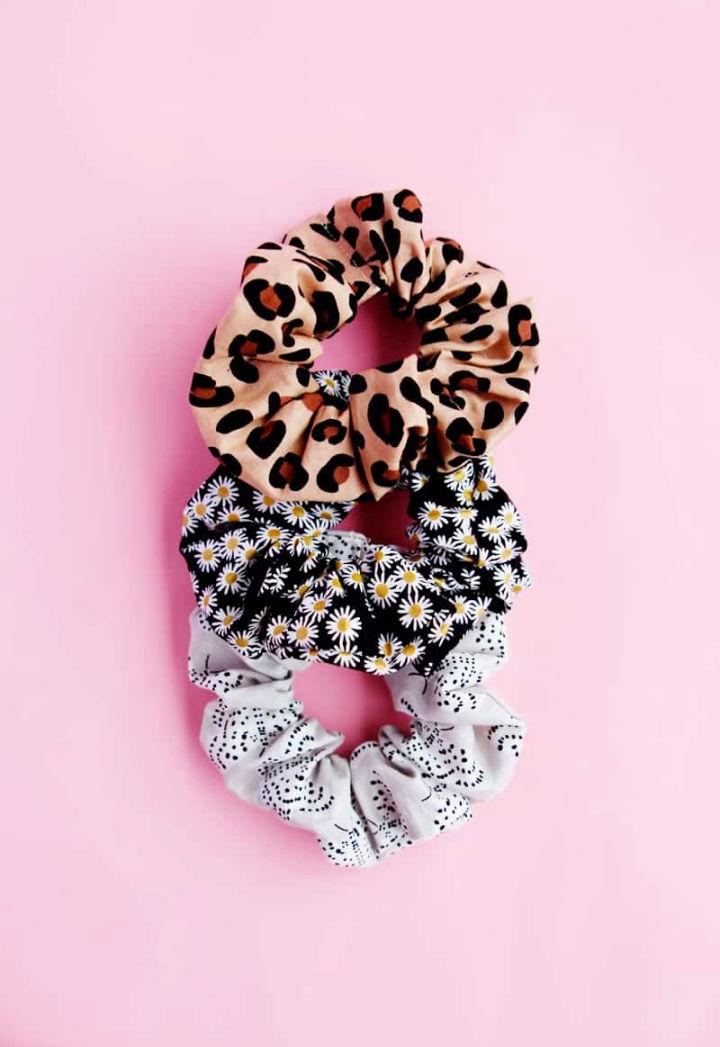
Looking for a budget-friendly craft project? Utilize free sewing patterns available online to make your own scrunchies. Not only does it save you money, but it also offers you the freedom to choose patterns that suit your style best. A win-win situation!
5. Make Your Own Scrunchie
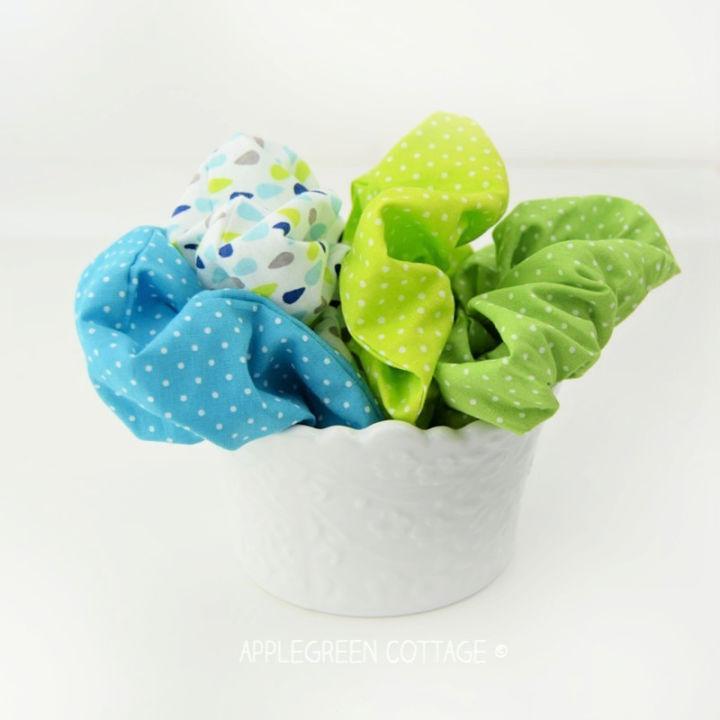
Making your scrunchie is not just about fashion; it's about making something unique that reflects your personality. With endless fabric choices and decorations, DIY scrunchies can be as simple or detailed as you like. Plus, they make heartfelt gifts for friends and family.
6. DIY Scrunchie - Step-by-Step Instructions
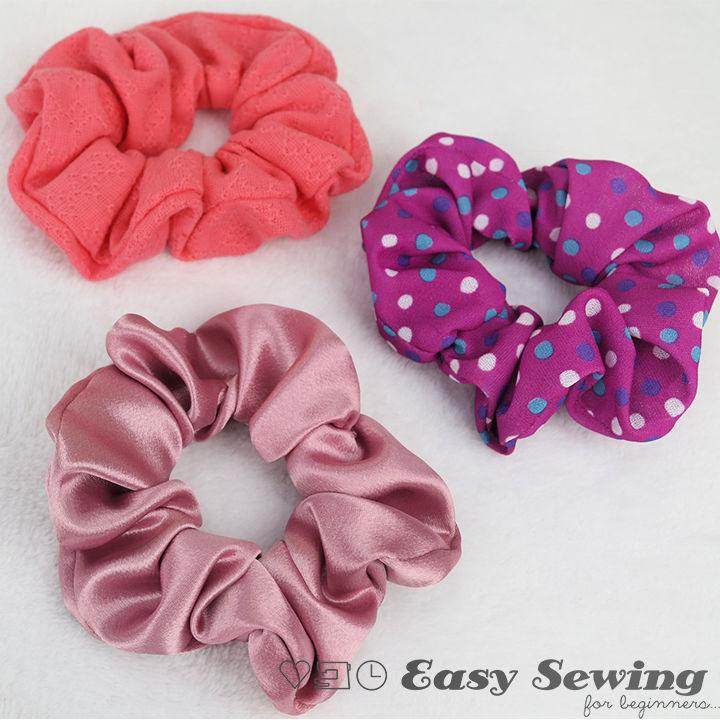
Follow detailed, step-by-step guides to ensure your DIY scrunchie turns out perfectly. These instructions make the process foolproof, providing you with tips and tricks along the way. It's a satisfying project for both beginners and seasoned crafters alike.
7. How to Make Scrunchies
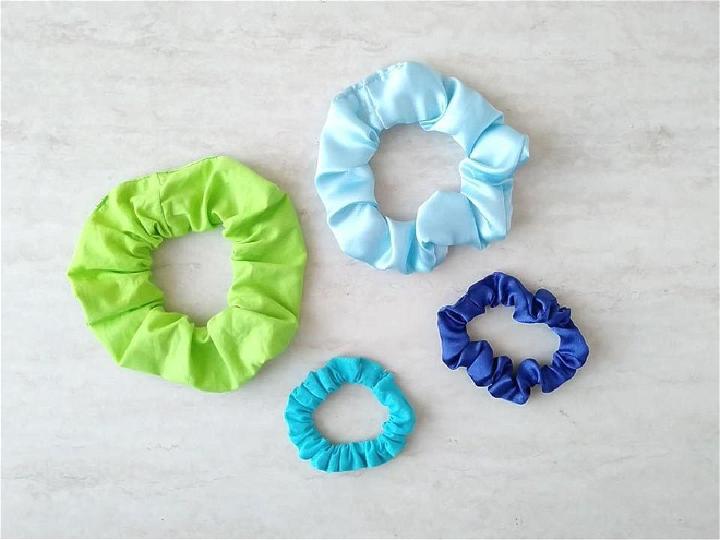
Making your own scrunchies is both productive and enjoyable. With basic sewing skills and the right materials, you can make beautiful hair accessories that last. This is an excellent way to add a personal touch to your style or make thoughtful, handmade gifts.
8. Homemade Hair Scrunchie
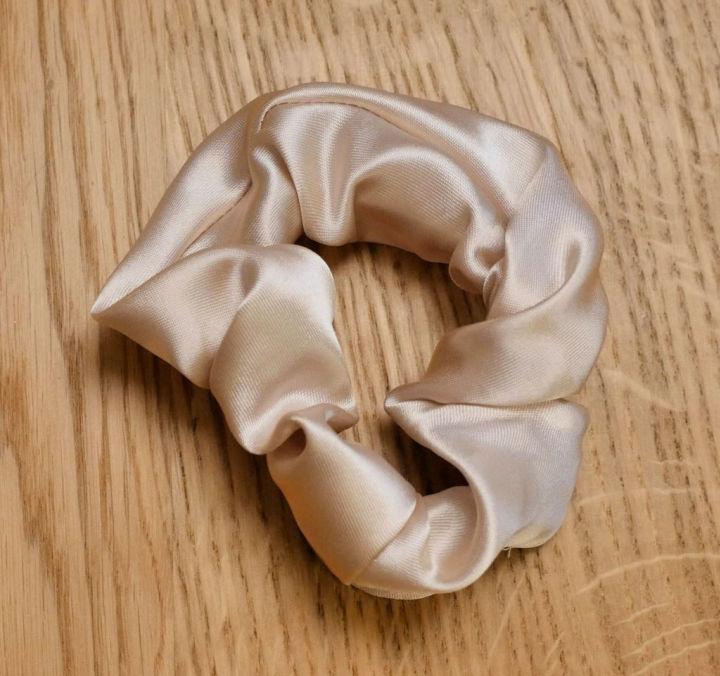
Making homemade scrunchies allows you to personalize your hair accessories with fabrics that match your wardrobe or mood. It's a delightful project that sparks creativity and delivers functional, trendy results. Plus, it's a gratifying way to spend your spare time.
9. Make Ruffled Scrunchies
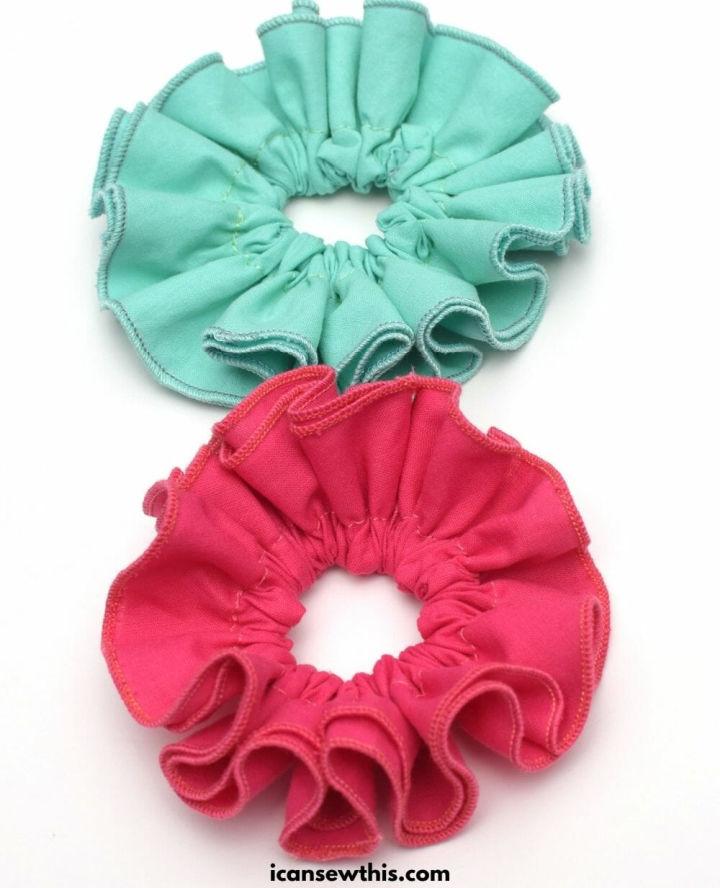
Elevate your DIY game by making ruffled scrunchies. Adding ruffles introduces a touch of elegance and uniqueness, perfect for dressing up any hairstyle. Pick soft, flowy fabrics to achieve the best effect and enjoy turning heads with your one-of-a-kind creation.
10. DIY Hair Scrunchie with Tie
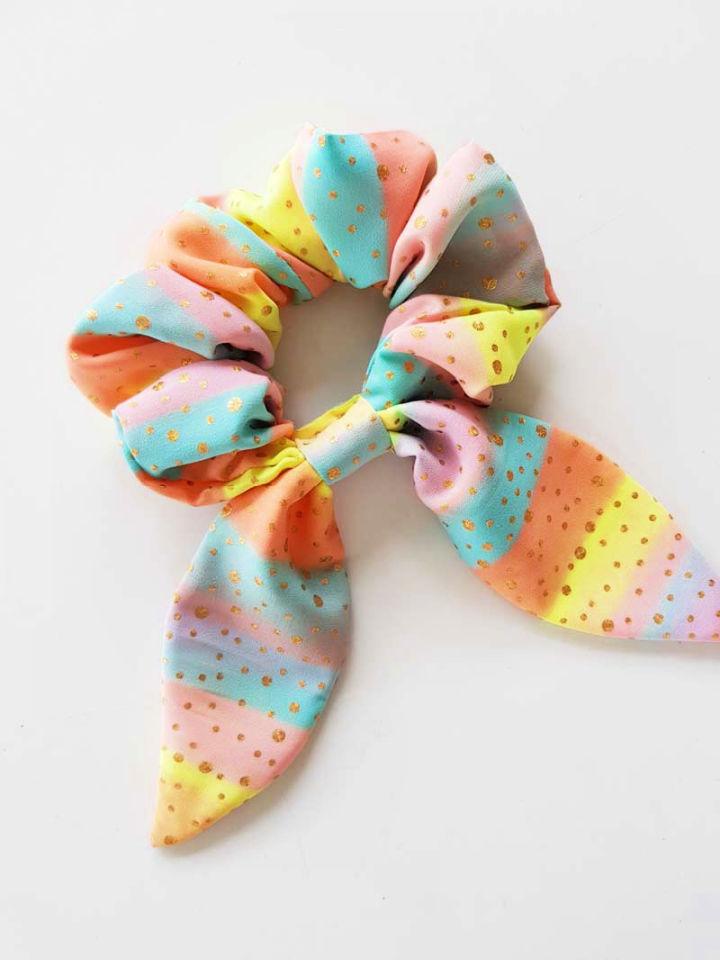
By adding a tie to your scrunchie, you introduce an extra flair that can be styled in multiple ways. Whether you let the ties hang loose or wrap them into a bow, this variation adds a playful or sophisticated touch, depending on the fabric choice.
11. How to Sew a Scrunchie
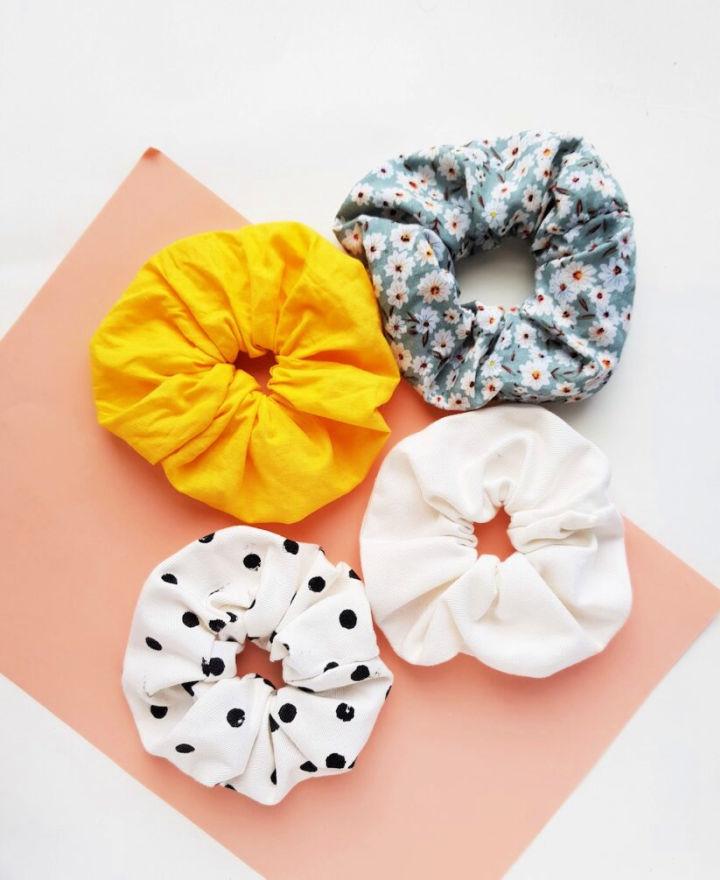
Embarking on sewing a scrunchie can add a personal touch to your hairstyle. By selecting your fabric and mastering a few simple stitches, you make not just a hair accessory but a statement piece. It's about blending creativity with utility, serving both as a hair-tightener and a wrist adornment.
12. Scrunchie with Fat Quarter of Fabric
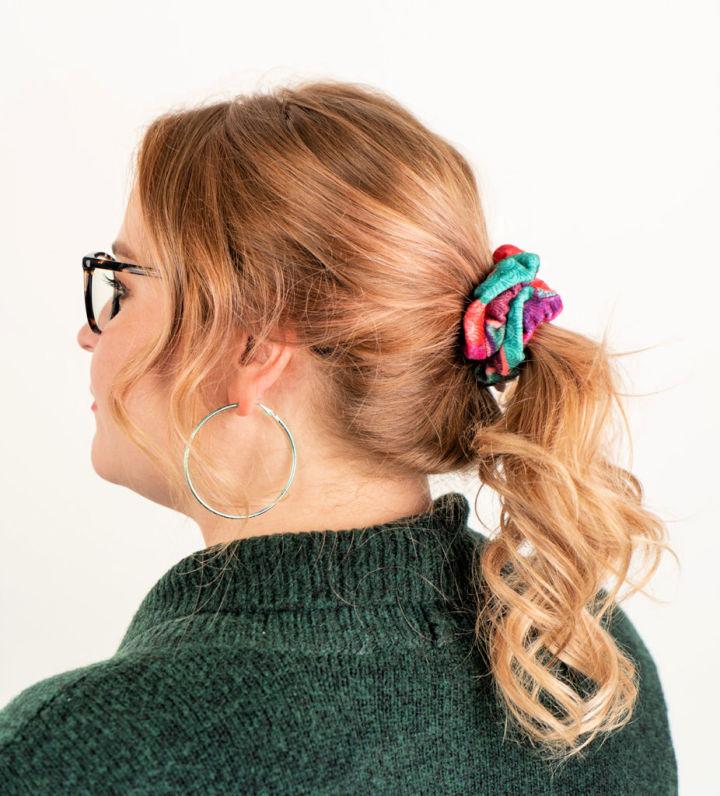
Utilizing a fat quarter of fabric for your scrunchie introduces a palette of patterns and colors to choose from. This size is perfect for crafting a robust, eye-catching accessory that stands out in a crowd. It's an economic yet fashionable way to delve into DIY fashion.
13. DIY Draped Bow Scrunchies
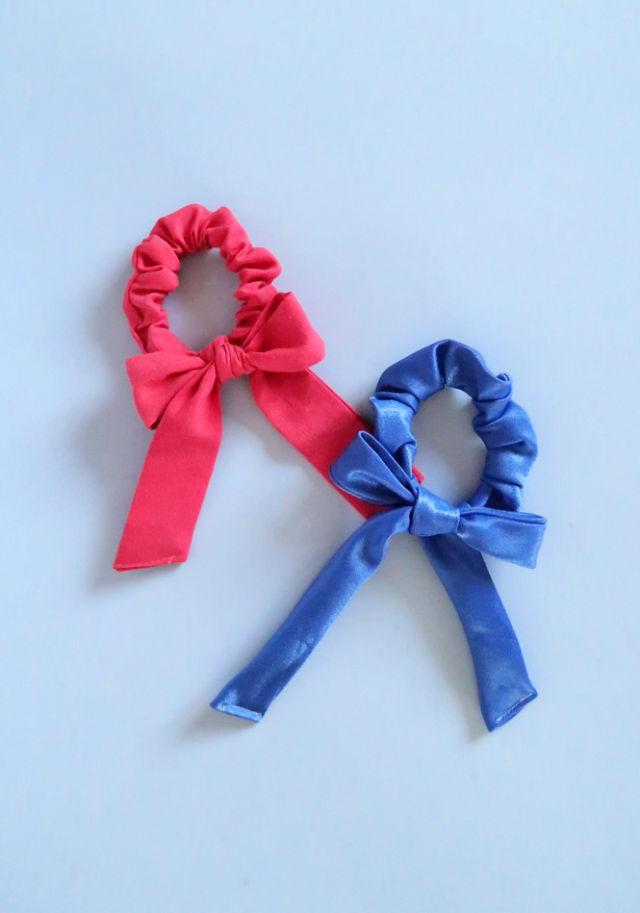
Draped bow scrunchies bring an extra element of elegance to the classic design. By adding a simple bow, you transform a basic scrunchie into a chic accessory. It's a creative way to add flair and sophistication to your hair accessories collection.
14. Scrunchies from Vintage Scarves
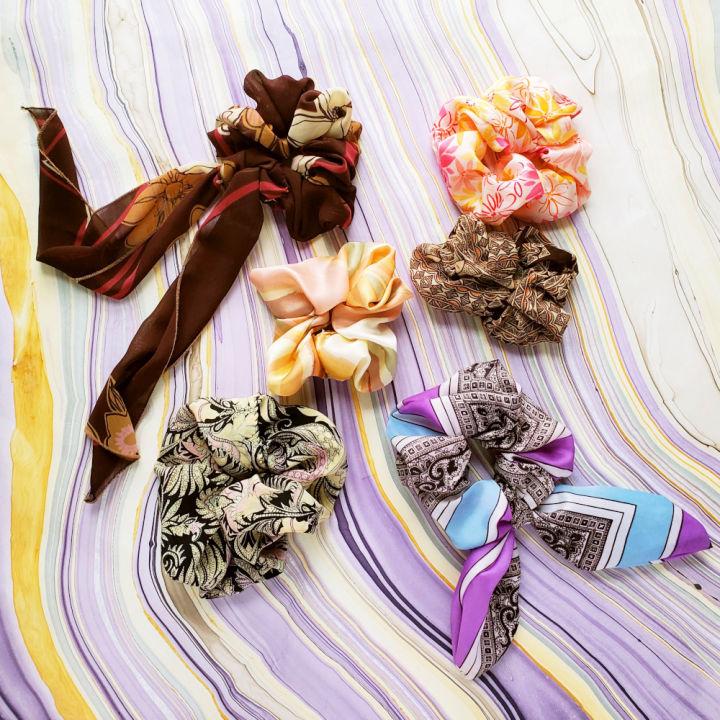
Turning vintage scarves into scrunchies breathes new life into cherished fabrics. This approach not only recycles material but also preserves memories in a contemporary fashion. It's a stylish nod to the past that carries sentiment and style hand in hand.
15. Colorful Scrunchie for Under $10
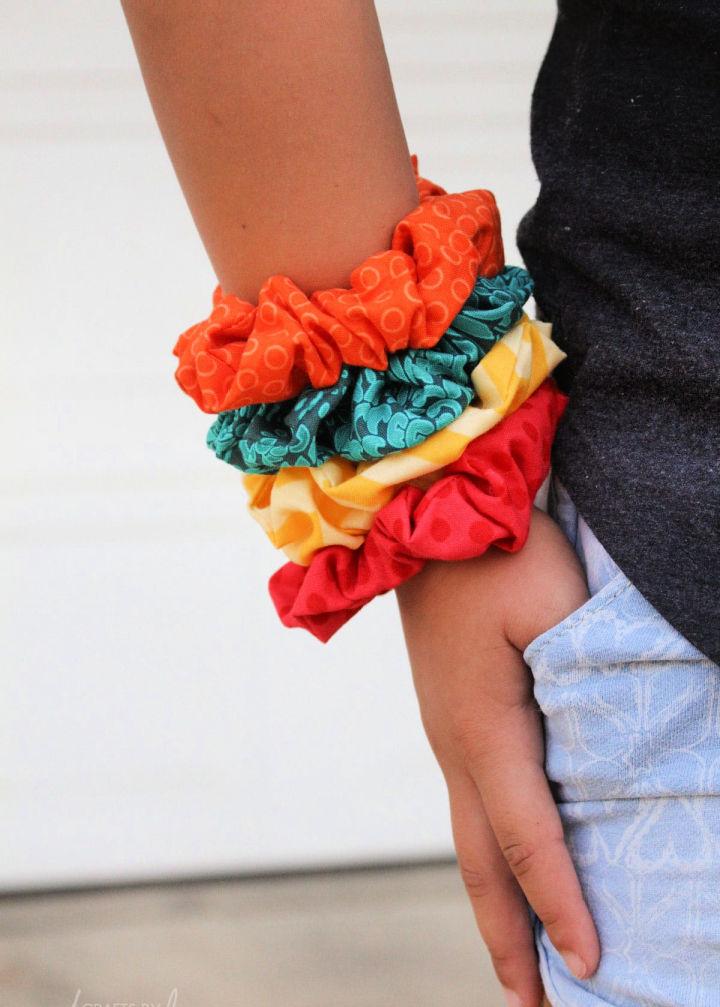
Making a vibrant, colorful scrunchie on a budget? Absolutely possible. With a handful of affordable materials, you can produce a dazzling array of scrunchies that don't break the bank. It's about maximizing creativity while minimizing costs, proving fashion can be both beautiful and budget-friendly.
16. Easy to Make Scrunchie
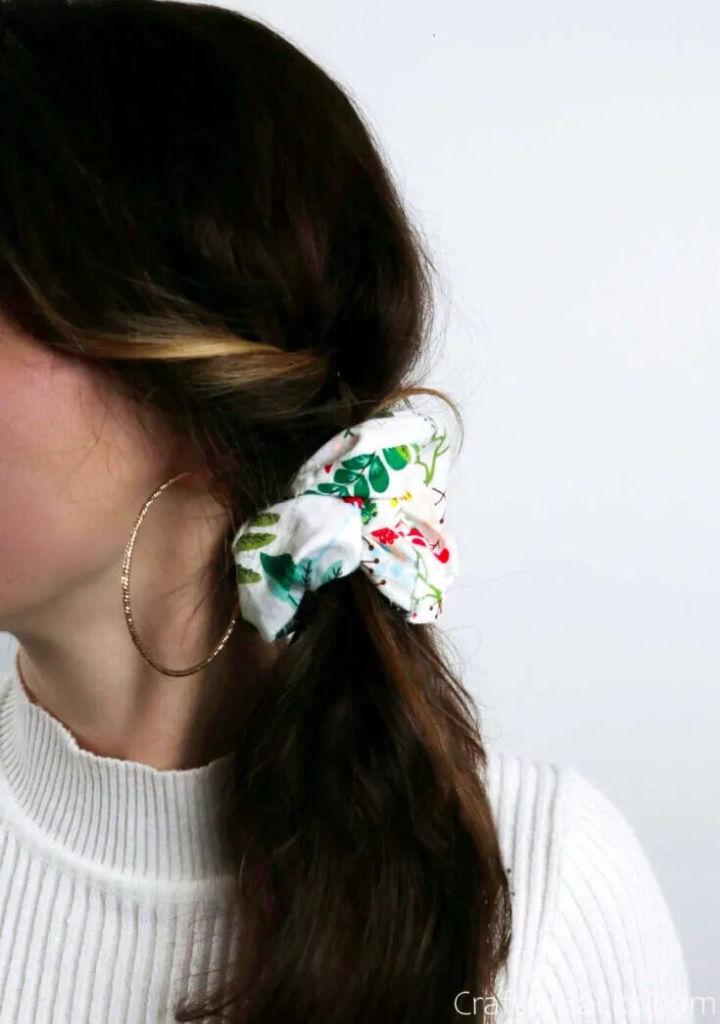
For those looking for a quick, straightforward DIY project, an easy-to-make scrunchie is the perfect start. A few simple cuts, folds, and stitches can lead to a functional and fashionable hair accessory. It's a delightful entry into sewing, offering immediate gratification with practical results.
17. Silk Scrunchie Sewing Pattern
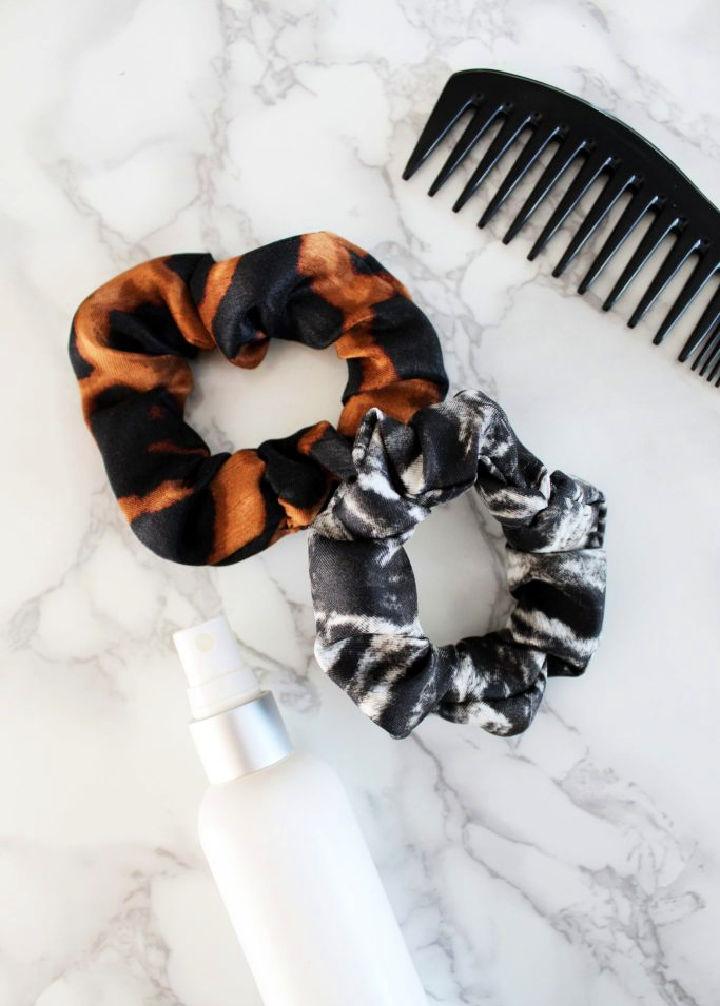
Silk scrunchies epitomize luxury in the world of hair accessories. Following a silk scrunchie sewing pattern allows you to make a delicate, gentle accessory for your hair. Silk's natural properties contribute to hair health, making it a beneficial and stylish choice.
18. DIY Fabric Scraps Into Scrunchies
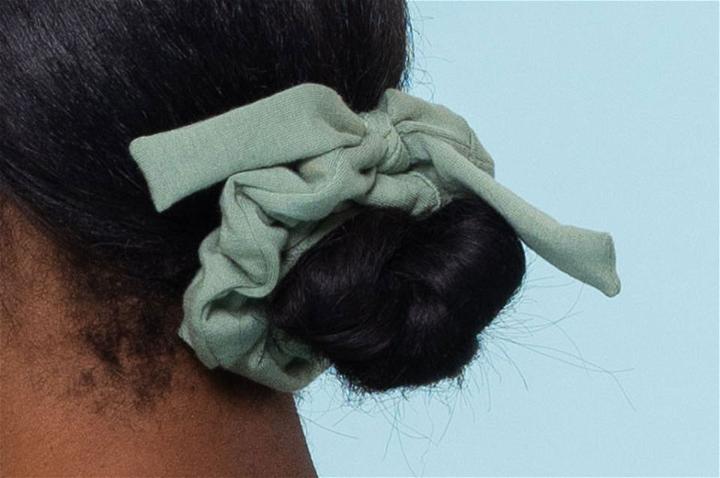
Don't let those fabric scraps go to waste. Transforming them into scrunchies is an ingenious way to repurpose leftover materials. It's a sustainable craft that not only reduces waste but also adds unique, eclectic pieces to your accessory collection.
19. DIY Hair Scrunchies
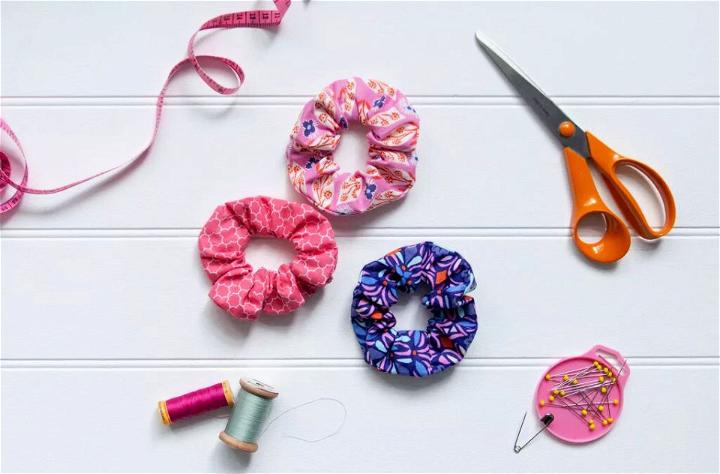
Taking the DIY route to make hair scrunchies offers a canvas for personal expression. Whether you favor minimalistic designs or bold patterns, the process allows you to tailor your accessories to your liking. It's a fun, fulfilling project that enhances your hair accessory game.
20. DIY Velvet Scrunchie
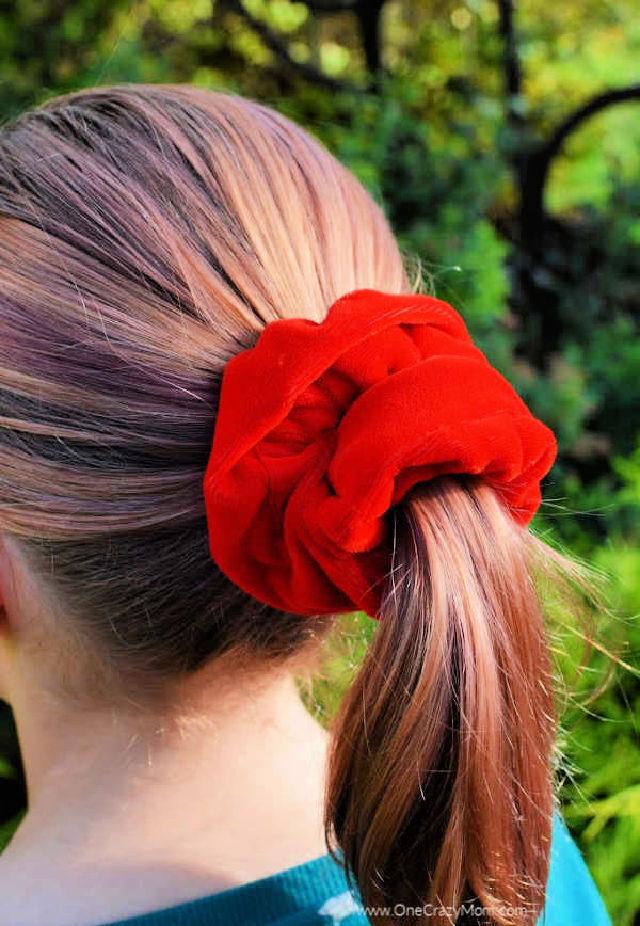
A DIY velvet scrunchie exudes opulence and texture. Working with velvet adds a layer of sophistication to an ordinary accessory, making your hairdo stand out. It's an inviting challenge for DIY enthusiasts looking to explore different materials and achieve a luxurious look.
21. Simple to Make Scrunchies
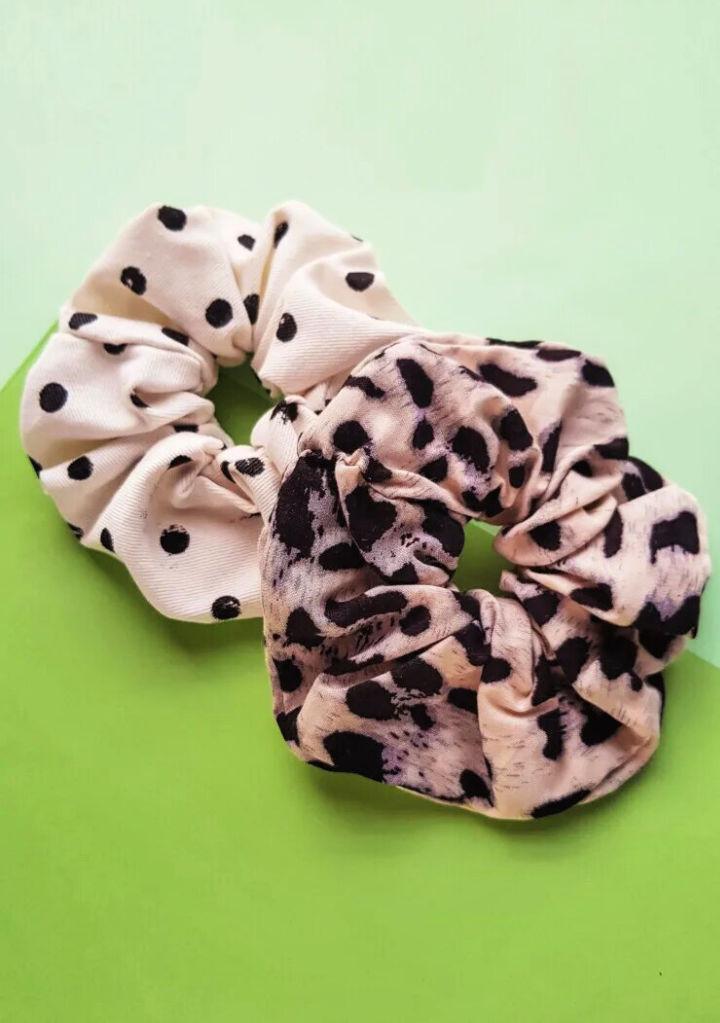
Ever thought of upgrading your hairstyle game? Making scrunchies at home is an easy peck. With minimal supplies like elastic, fabric, and a safety pin, you can craft a unique accessory. It's a satisfying project that adds a personal touch to your collection.
22. Customize Your Own Scrunchies
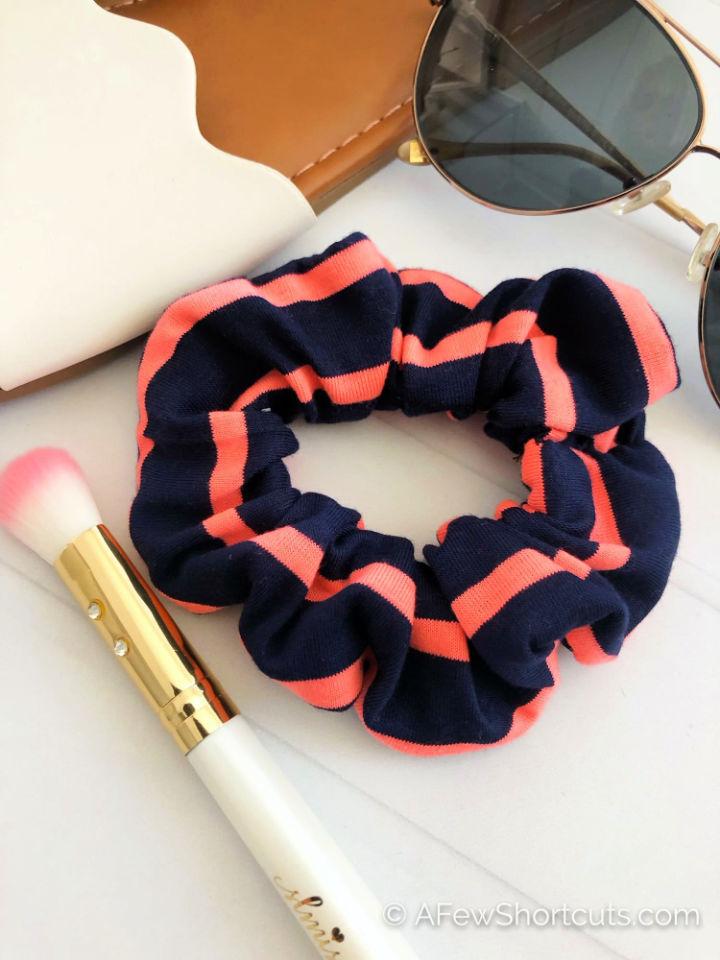
Imagine having the perfect match for every outfit. Customizing scrunchies allows you to select fabrics that complement your wardrobe. From silk to velvet, the choices are endless. It's a creative way to express your style and ensure your hair ties are as unique as you are.
23. DIY Scrunchie without Sewing
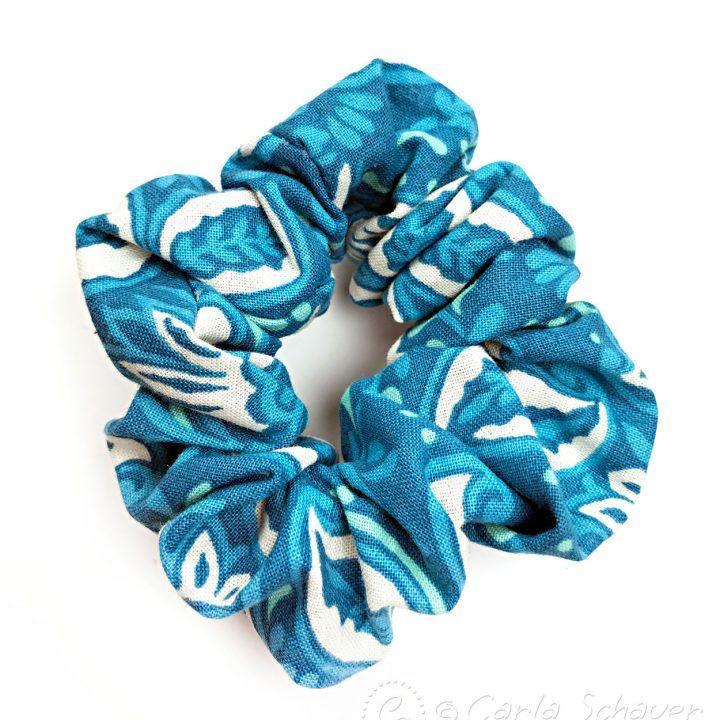
No-sew scrunchies are a game-changer for crafting enthusiasts lacking sewing skills. Using fabric glue or a simple knotting technique, you can construct a chic hair accessory. It's a fun, low-effort activity that delivers fashionable results without the need for traditional sewing tools.
24. Make a Professional Scrunchie
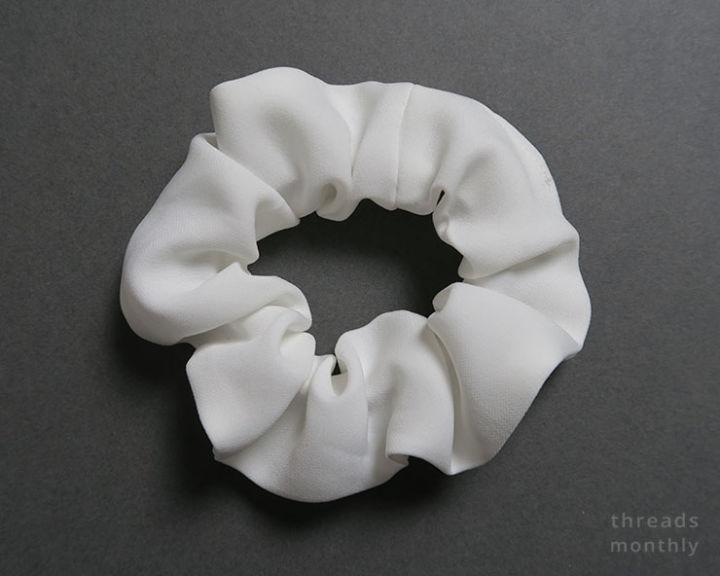
Ever wanted scrunchies that look store-bought but have a personal twist? By focusing on high-quality fabrics and precise measurements, you can elevate your DIY scrunchies to professional level. Incorporating durable elastic and secure stitching ensures your creation doesn't just look great but lasts long too.
25. Hair Scrunchies Using Leftover Scraps
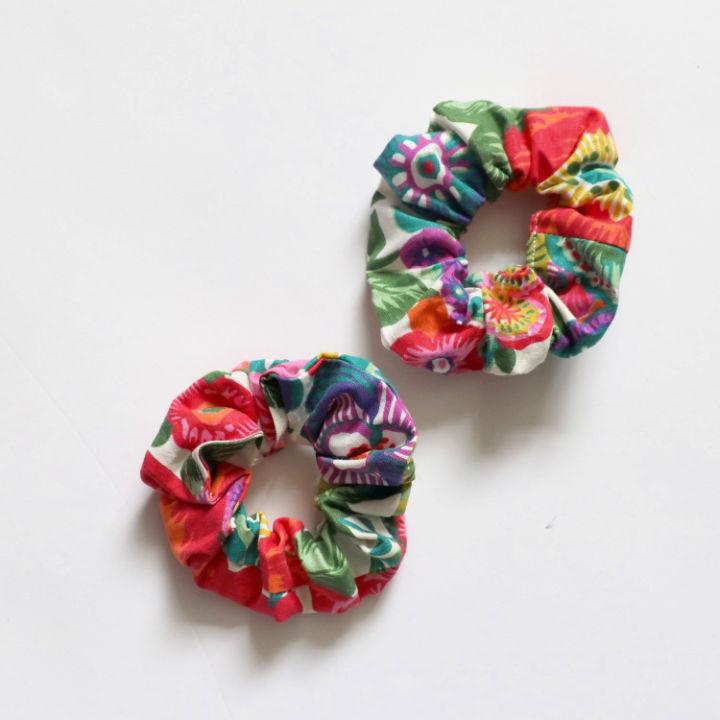
Don't toss those fabric scraps just yet! Transforming leftover materials into scrunchies is an eco-friendly practice that reduces waste. It's a fantastic way to repurpose bits of your favorite fabrics, ensuring nothing goes to waste while expanding your scrunchie collection.
Conclusion:
In conclusion, learning how to make a scrunchie is a fun and rewarding DIY project that allows you to make stylish accessories to match any outfit. By following our step-by-step guide, you can master the art of crafting these trendy hair accessories with ease. Make your own scrunchies and showcase your creativity while adding a personal touch to your look. Start crafting today!


