Cold smoking is an amazing technique to infuse smoky flavors into foods without cooking them. It's perfect for items like cheese, where you introduce smoke at a low temperature to add flavor. If you've ever wanted to try your hand at cold smoking or are curious to see how it's done, this guide takes you step by step through building your own cold smoker in just a day. Let's dive in!
What You'll Need:
- Scrap wood (untreated and unfinished)
- Cedar boards
- Tongue and groove pine paneling
- Wood glue
- Brad nailer and nails
- Screws
- Hinges
- Handle and latch for the door
- Foam gasket
- Ventilation drill bits
- Wood finish suitable for food contact
- Smoking pellets and a tube for smoke generation
- Cooking racks
- Thermometer
Preparation:
- Gather all the materials and tools listed above.
- Ensure the wood you use is untreated and unfinished since it will be around food.
Building Steps:
1. Build the Framework
- Start by ripping down material to make up the legs and cross pieces, ensuring you pre-drill holes to prevent the wood from splitting when screwing pieces together.
- Attach legs and cross pieces, forming a sturdy frame for your cold smoker.
2. Adding Shelves
- Mark the positions for your shelves inside the legs.
- Cut suitable pieces from your scrap wood for these shelves.
- Attach shelves using wood glue and a brad nailer for quick assembly.
3. Skin the Sides
- Use tongue and groove pine paneling to cover the sides of your smoker. This type of paneling connects seamlessly, preventing gaps where smoke could escape.
- Secure the paneling to your frame with wood glue and brad nails.
4. Construct the Top and Bottom
- For the top, make sure to include adjustable vent holes for airflow control. Attach boards using screws and interlay them with paneling for the vent mechanism.
- The bottom can be fitted with cedar scrap. Consider making it removable for easy cleaning.
5. Build and Attach the Door
- Assemble the door with a cedar board frame attached to paneling. Use hinges to attach the door to the body of the smoker.
- Add a handle and a latch, using the foam gasket to ensure a snug fit when closed.
6. Finalize Ventilation
- Drill vent holes on the sides of the smoker for additional airflow control. Utilize sliding panels of tongue and groove paneling to open and close these vents.
7. Apply Finish
- Choose a food-safe finish for the inside and a durable, UV stable finish for the exterior.
- Apply according to the manufacturer's instructions, ensuring all surfaces are covered for protection and appearance.
Testing Your Cold Smoker
- Place a tube with smoking pellets at the bottom.
- Light the pellets to start generating smoke.
- Adjust the vents as necessary to maintain the ideal temperature.
- Experiment with smoking various foods!
Video Tutorial
For a step-by-step video tutorial on how to build a DIY cold smoker, watch this YouTube video by April Wilkerson.
It pairs well with this written guide, offering a dynamic perspective on each step and technique for an enriching learning experience.
Whether you're a novice or a seasoned DIY enthusiast, building a cold smoker can add a new dimension to your culinary adventures. Happy smoking!
Discover 15 Homemade DIY Cold Smokers for Delicious Smoked Meats and Veggies

1. DIY Mini Cold Smoker with Coffee Maker
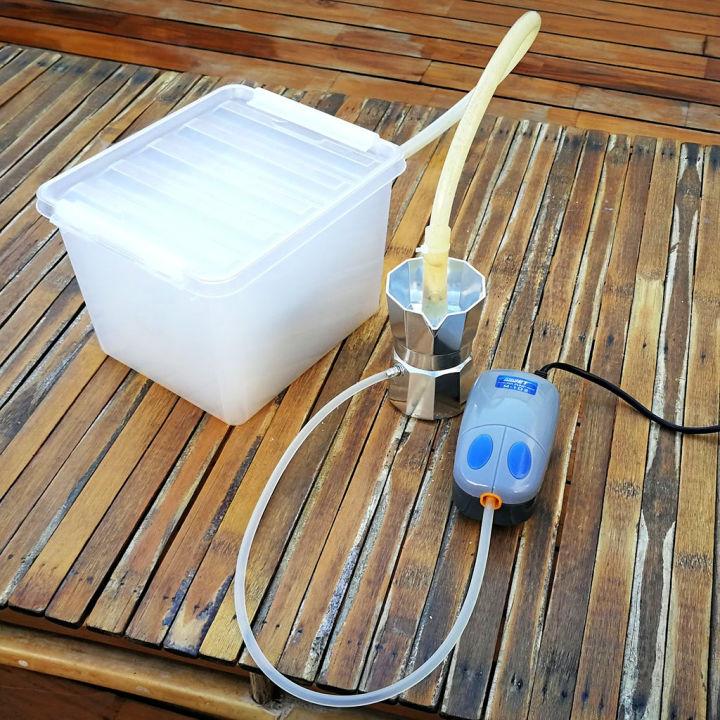
Transforming a coffee maker into a DIY mini cold smoker is an innovative way to repurpose everyday items. It's a great starter project for those interested in smoking foods at a lower temperature, enhancing flavor without cooking the food.
2. Turn an Old Fridge Into a Cold Smoker
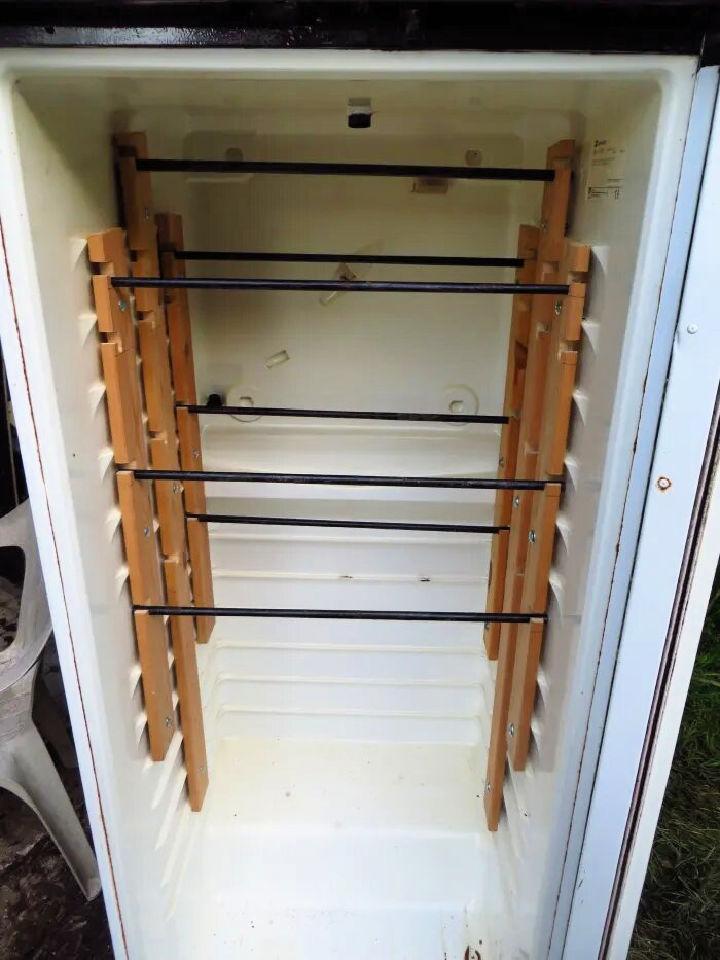
Converting an old fridge into a cold smoker combines recycling with culinary creativity. This method provides ample space for smoking large quantities of food, making it perfect for gatherings or meal prep.
3. Homemade Cold Smoker on Budget
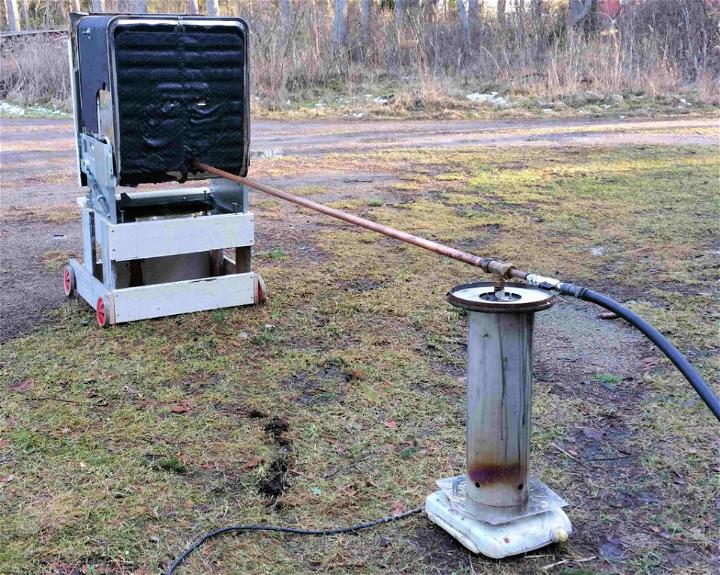
Making a homemade cold smoker on a budget is all about using available resources wisely. With a few basic materials, you can make a functional smoker that adds that sought-after smoky flavor to cheeses, fish, and meats.
4. Building a Cold Smoker Using Steel and Wood Drum
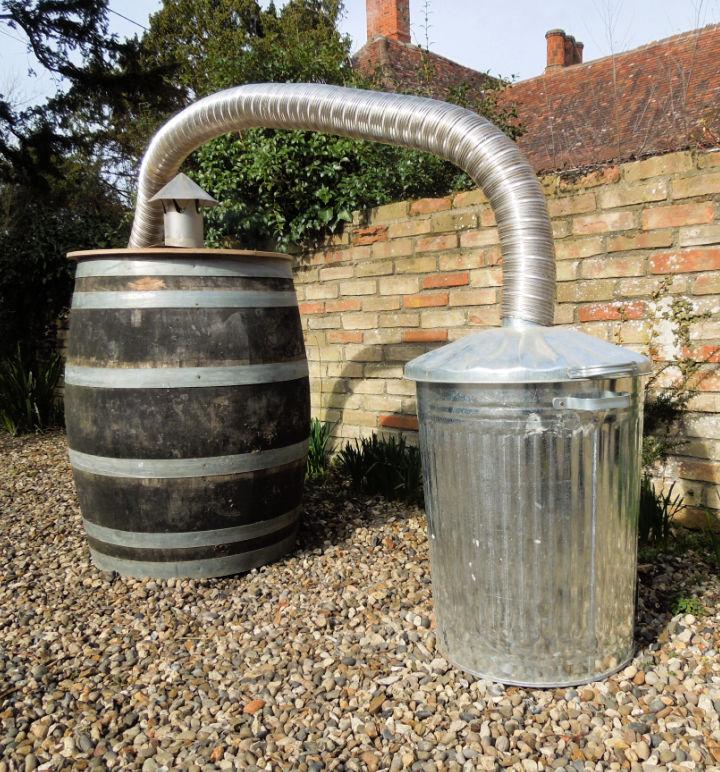
Utilizing steel and wood drums to build a cold smoker is a robust solution for those who love DIY projects. This design offers durability and a unique aesthetic that stands out in any backyard.
5. Miss Betsys Cold Smoke Generator
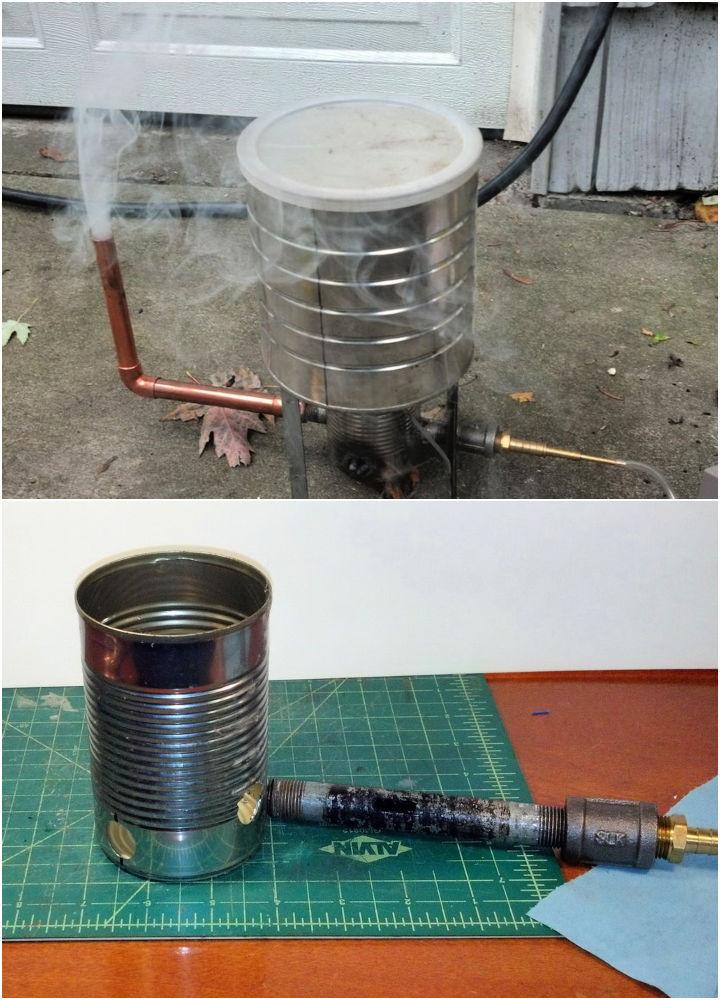
Miss betsy's cold smoke generator introduces an efficient way to cold smoke your favorite foods. Its user-friendly design makes it an excellent addition for both beginners and seasoned smokers alike.
6. DIY Wooden Cold Smoker At Home
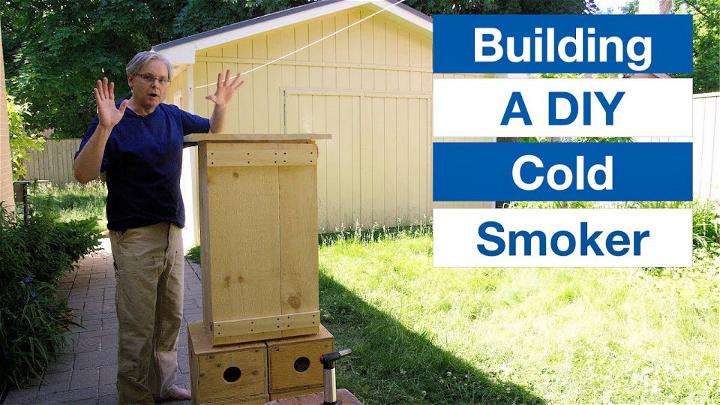
Making a DIY wooden cold smoker at home brings a touch of tradition to your smoking projects. Wood provides natural insulation and contributes to the overall flavor profile of the smoked goods.
7. How to Make a Cold Smoker

Learning how to make a cold smoker opens up a world of culinary possibilities. This guide helps you understand the basics, allowing you to experiment with different foods and smoking materials.
8. BBQ Food Cold Smoke Generator
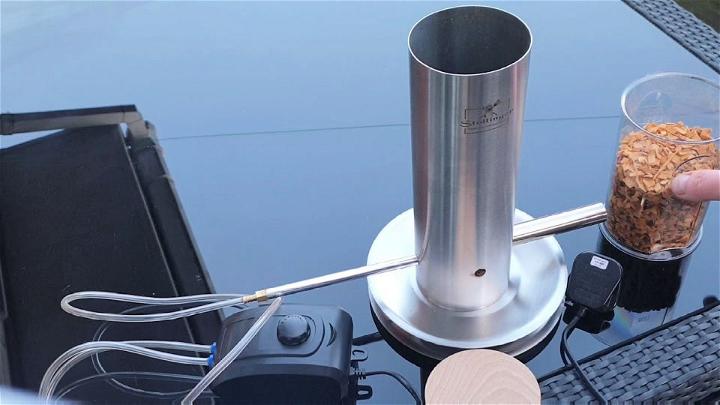
A BBQ food cold smoke generator is a fantastic tool for adding smoky flavors to foods without cooking them. It's designed for BBQ enthusiasts looking to explore cold smoking techniques.
9. DIY Cold Smoker Using Cardbox
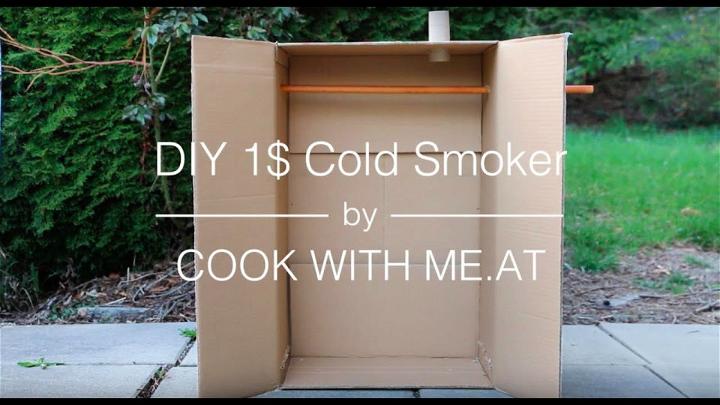
Building a DIY cold smoker using a cardboard box is a testament to creativity and resourcefulness. This method is surprisingly effective for small-scale smoking projects and ideal for experimenting with cold smoking.
10. Making a Cardboard Cold Smoker
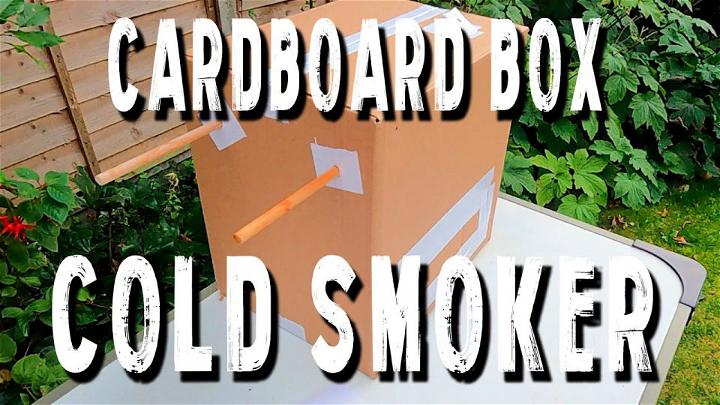
Making a cardboard cold smoker showcases how simple materials can be transformed into something incredibly useful. This approach is perfect for those curious about cold smoking but not ready to invest in expensive equipment.
11. DIY Cold Smoker with Old Refrigerator
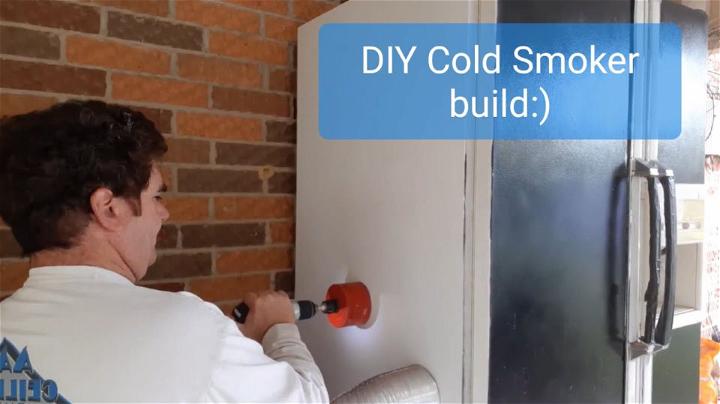
Repurposing an old refrigerator into a DIY cold smoker combines sustainability with functionality. This project provides plenty of space for smoking various foods, making it a versatile option for enthusiasts.
12. How to Build a Cold Smoker Box
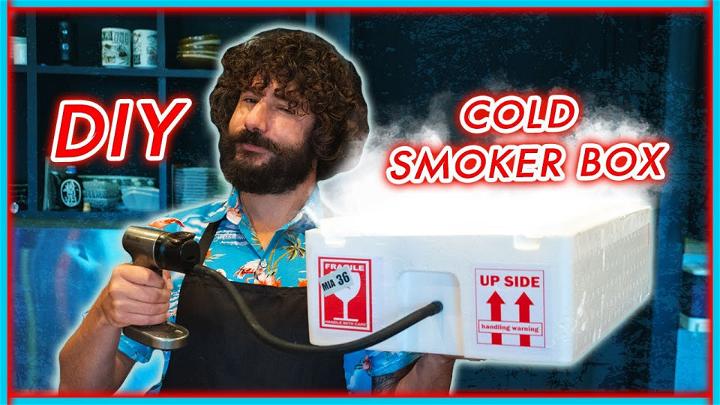
Constructing a cold smoker box from scratch allows for customization to fit your specific smoking needs. This DIY project is a rewarding way to delve deeper into the art of cold smoking.
13. Make Your Own Cold Smoke System

Making your own cold smoke system is a journey into the heart of smoking cuisine. This method lets you tailor your smoking environment to achieve the perfect balance of smoke and temperature.
14. DIY $1Cold Smoke Generator Design

The DIY $1 cold smoke generator design proves that you don't need to spend much to start cold smoking. It's an affordable entry point for anyone curious about adding a smoky flavor to their cooking repertoire.
15. Free Cold Smoker Plan
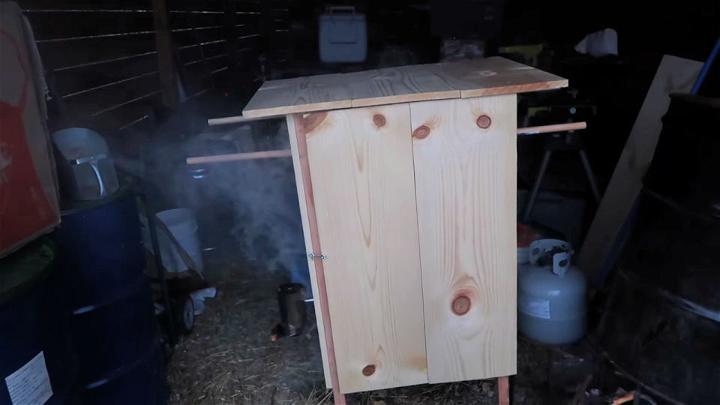
Accessing a free cold smoker plan is a fantastic resource for beginners. It provides step-by-step instructions, making the process of building a cold smoker accessible to everyone, regardless of their DIY experience.
Conclusion:
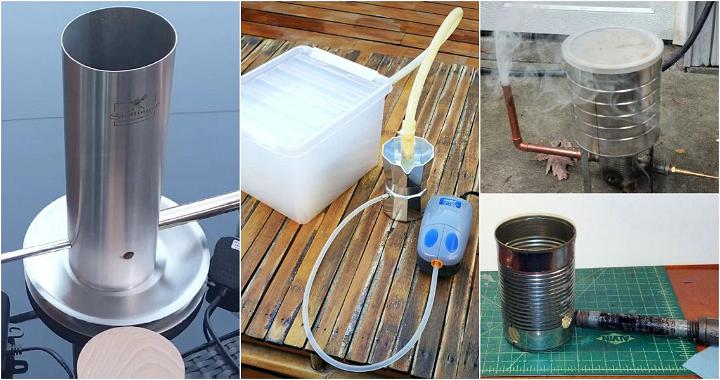
Wrapping up this guide on building a homemade DIY cold smoker, you now have the knowledge and tools to embark on this exciting project. By following the step-by-step instructions and tips provided, you can unleash your creativity and enjoy delicious smoked meats and cheeses right in your backyard. Start your cold smoking journey today and elevate your culinary skills with this unique and cost-effective method.


