The witch's broom is a symbol that has captivated the human imagination for centuries. It's a hallmark of Halloween and a staple of fairy tales and folklore. But where did this association originate, and what does it signify?
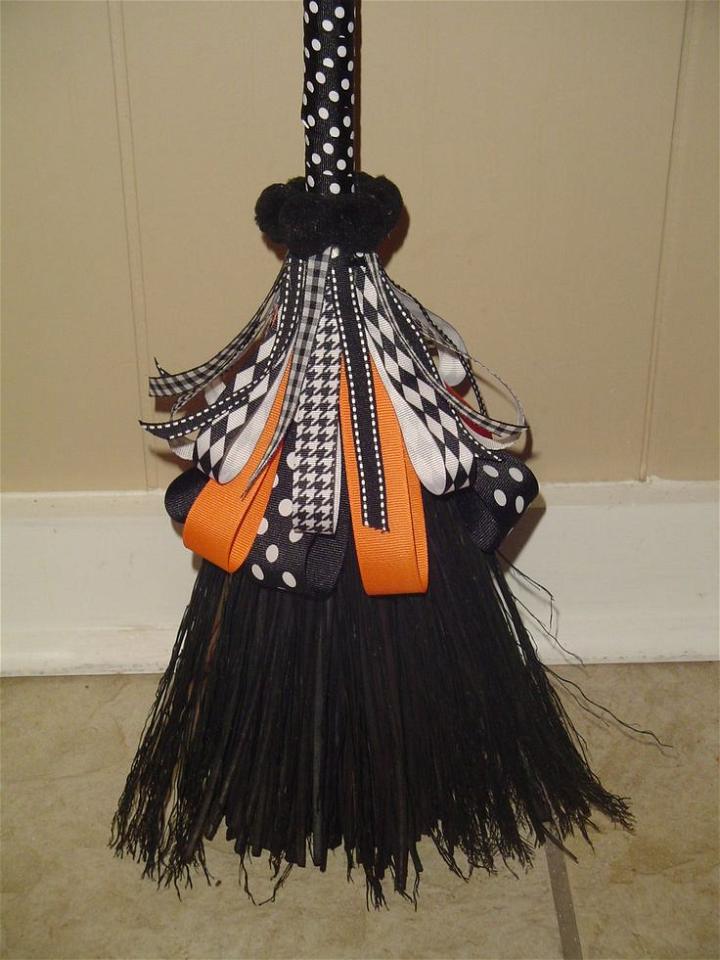
Origins of the Witch's Broom
The broom, or ‘besom' as it was known in old English, is a humble household object. Its history is rooted in the daily lives of people, primarily women, who used it for cleaning. The broom's journey from a cleaning tool to a witch's preferred mode of transport is a fascinating one.
The earliest known image of witches on brooms dates back to 1451. This depiction was not just for artistic expression but was steeped in the societal and cultural beliefs of the time. During the Inquisition, when fear of witchcraft was at its peak, the broom became a symbol of a witch's ability to elude capture and fly beyond reach.
Symbolism and Significance
The broom's symbolism extends beyond transportation. It represents transformation and purification. In rituals, it's used to sweep away negative energy, preparing a sacred space for magical work. This act of cleansing is symbolic of the witch's role as a mediator between the physical and spiritual realms.
Brooms in Folklore and Culture
In folklore, the broom is often seen as a tool that enables witches to travel to otherworldly places. This idea likely stems from pagan fertility rituals, where individuals would leap high with poles or brooms during full moons to encourage crop growth. Over time, these practices merged with stories of witches flying to sabbaths and other secret gatherings.
The Broom Today
Today, the witch's broom has lost much of its sinister connotations. It's a playful symbol of mystery and magic, often featured in children's stories and festive decorations. Yet, it still holds a place of respect in many modern pagan practices as a tool for spiritual cleansing and protection.
How to Make a Witches Broom - Step by Step Guide
Learn how to make a witch broom with our step-by-step guide. Make a spooky DIY decoration for Halloween in just a few easy steps!
What Will I Get Out of This?
By following this guide, you'll learn how to make a decorative witch broom using straightforward materials and techniques. This project tackles the problem of finding the perfect witch broom for costumes or decor by guiding you through making your own, tailored to your preferences. You'll gain practical crafting skills, understand the importance of each material, and maybe even feel a touch more magical by the end.
Why This Guide?
Authored by an experienced crafter who has navigated the twists and turns of numerous projects, this tutorial is designed to offer clear, accessible advice that has been refined through personal experimentation and success. This guide aims to be your go-to resource, enhancing the reputation of making reliable, creative content that empowers readers to explore their crafting abilities.
Materials Needed
- A large stick: This serves as the broom's handle. A sturdy, straight stick about 3-5 feet long is ideal, depending on your height and preference.
- Lots of smaller sticks or twigs: These will form the broom's bristles. They should be flexible and of varying lengths to make a realistic effect.
- Hot glue: Essential for securing the twigs around the handle to form a durable structure.
- Twine: Used to tightly bind the twigs around the handle, adding both support and a rustic aesthetic.
- Clippers: To trim the twigs to your desired length, ensuring uniformity or shaping as needed.
Making Your Witch Broom
Step 1: Gathering Your Twigs
Collect a sizable bundle of small sticks or twigs. Variation in length adds to the authenticity, but they should generally be about 12-18 inches long. Remember, longer twigs can always be trimmed down to fit your vision.
Step 2: Preparing the Handle
Choose a substantial stick that feels comfortable in your hands. This will be the broom's handle. Clean it of any offshoots or rough bark that might interfere with the crafting process.
Step 3: Starting the Bristles
- Decide which end of the handle will have the twigs attached. Starting at this end, begin to hot glue your twigs around the perimeter. Aim for an even distribution, with the twig ends pointing downward.
- Secure each twig with a generous dot of hot glue, holding in place until it sets.
Step 4: Binding with Twine
- Once the first layer of twigs is attached, tightly wrap twine around their bases several times, then tie it off securely.
- This not only adds aesthetic appeal but also strengthens the structure of the broom.
Step 5: Adding Layers
- Continue attaching layers of twigs, layering them over the ones below to achieve a fuller look. Each layer should be secured with both hot glue and additional twine wrapping.
- Feel free to trim any overly long twigs for a neater appearance.
Step 6: Finishing Touches
- After all your twigs are attached and secured, give your broom one final wrap with the twine for extra stability.
- Trim any loose ends, and use a small dab of hot glue to prevent the twine from unraveling.
Common Pitfalls
- Uneven Twigs: If your broom looks uneven, trim the twigs with clippers for a more uniform appearance.
- Loose Twigs: Should any twigs feel loose, reinforce them with more hot glue and ensure the twine is tightly wound.
The "Why" Behind the Steps
- Hot Glue: Provides immediate hold, essential for positioning the twigs before they're permanently secured with twine.
- Twine Wrapping: Beyond aesthetic, the twine compresses the twigs against the handle, ensuring they stay in place.
- Layering Twigs: Makes density and volume for a more realistic and functional broom.
Video Tutorial
For those who prefer a visual demonstration, there's a step-by-step video tutorial available on YouTube. It provides a clear, easy-to-understand walkthrough of these techniques, complementing this written guide.
FAQs About DIY Witch Brooms
Discover everything you need to know about DIY witch brooms in this comprehensive FAQ guide. Learn how to make and use your own magical broomstick today!
What materials do I need to make a DIY witch broom?
To make a witch broom, you'll need a sturdy stick or branch for the handle, smaller twigs or dried grasses for the bristles, and twine or string to tie everything together. You can also add decorative elements like ribbons or artificial flowers to personalize your broom.
How long should the handle and bristles be?
The handle of your witch broom should be comfortable to hold and proportionate to your height if you plan to carry it. A good length is around 3 to 5 feet. The bristles should be long enough to give a full appearance, typically around 1 to 2 feet.
Can I use materials other than twigs for the bristles?
Yes, you can use various materials for the bristles depending on the look you're going for. Dried grasses, raffia, or even broomcorn can provide a softer, more traditional broom look, while twigs will give a more rustic, woodland feel.
How do I attach the bristles to the handle?
Start by gathering your bristles and trimming them to a uniform length. Attach them to the handle using hot glue for a secure hold, then wrap the twine tightly around the base of the bristles several times and tie it off. For extra security, you can add a second layer of twine or a decorative ribbon.
How can I make my witch broom more durable?
To ensure your witch broom lasts, choose a strong, durable wood for the handle and high-quality twine for binding. You can also apply a sealant to the wood to protect it from the elements if you plan to use it outdoors.
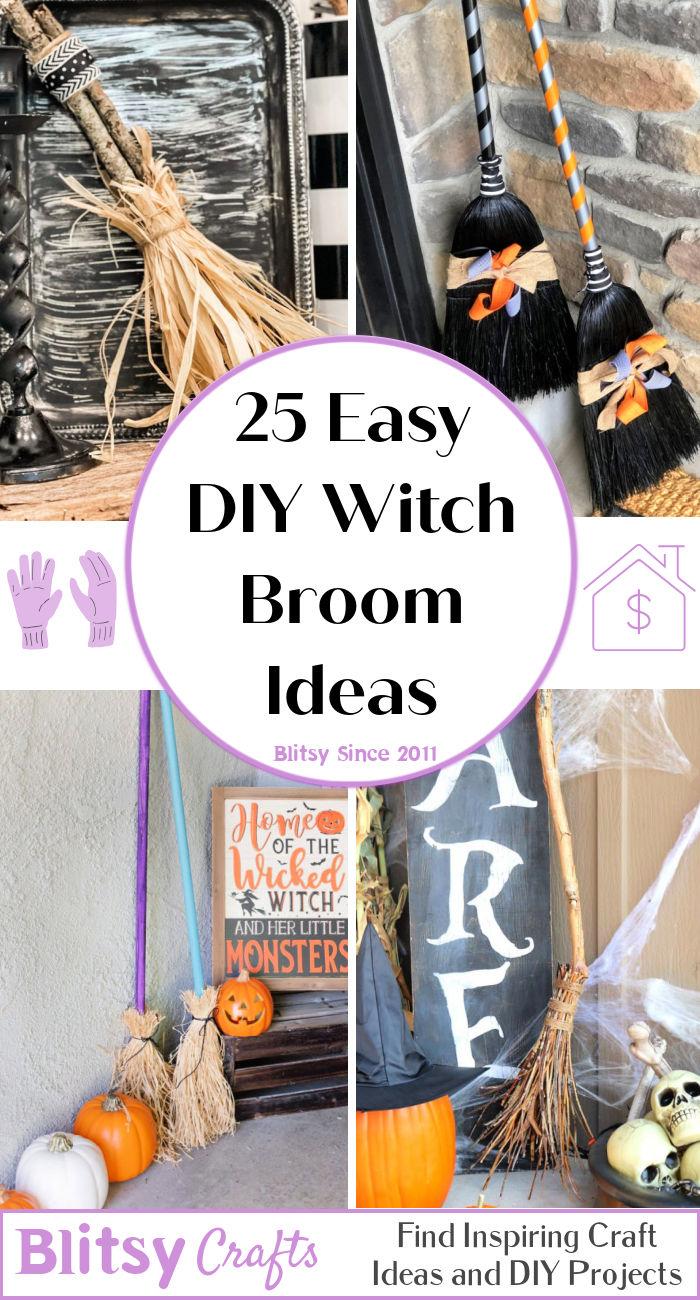
25 Easy DIY Witch Broom Ideas and Inspirations
Discover 25 easy DIY witch broom ideas and inspirations for your Halloween décor. From traditional to modern styles, get creative and craft your own!
1. DIY Dollar Tree Witch Broom
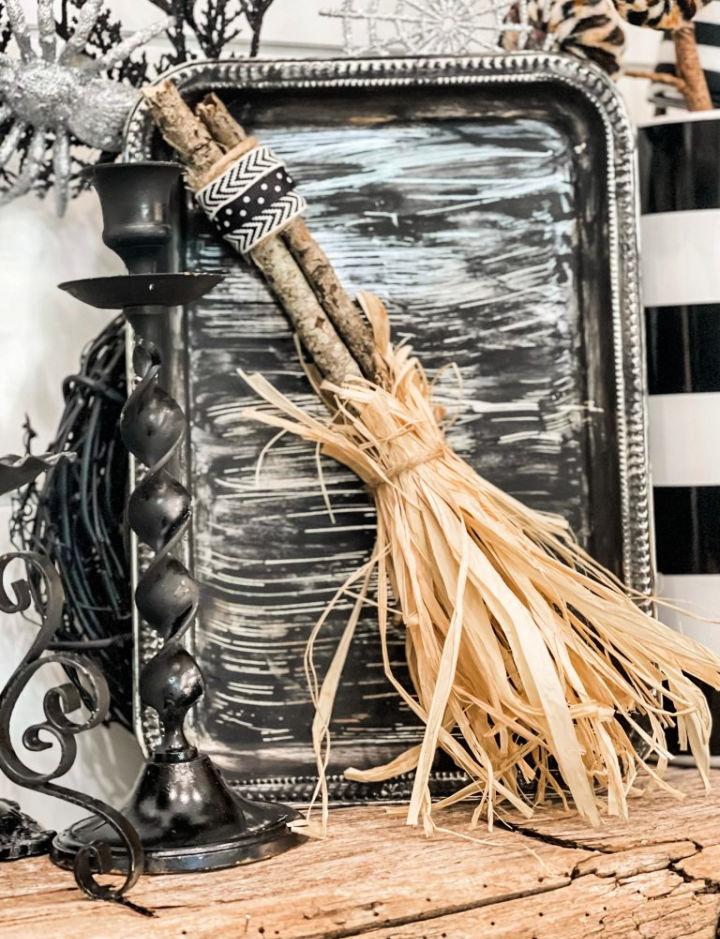
Transform your festive decor with a low-cost DIY Dollar Tree witch broom. An eco-friendly option, it brings a spooky charm to your space, perfect for Halloween enthusiasts looking for an affordable craft.
2. Handmade Paper Bag Witch Broom
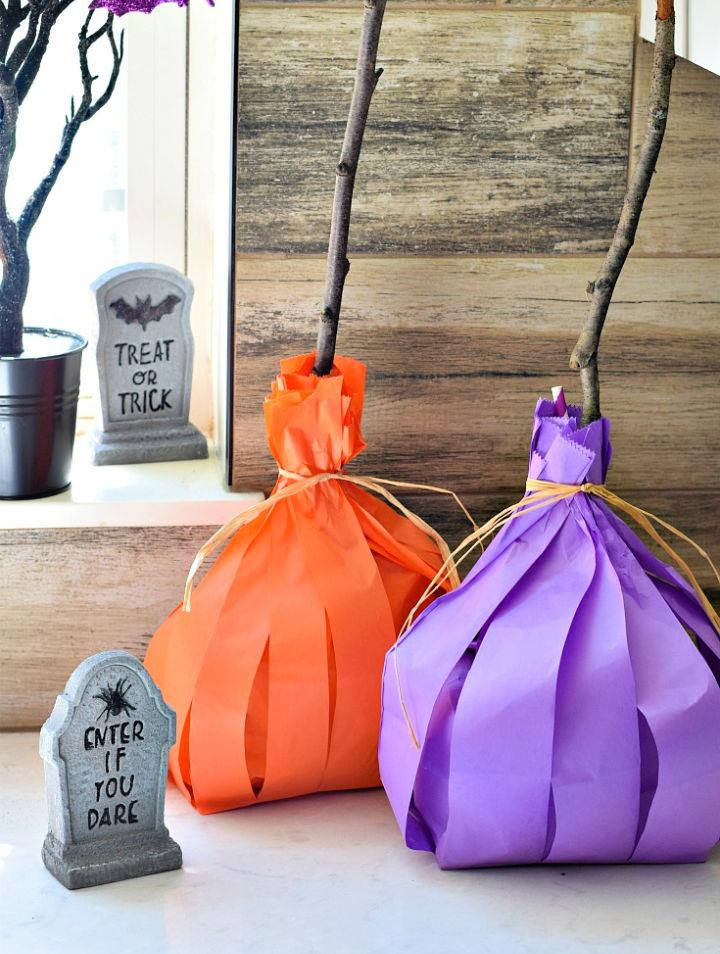
Make an enchanting atmosphere with a handmade paper bag with a broom. It's a fun project that uses simple materials, showcasing your creativity and adding a personalized touch to your Halloween decor.
3. Miniature Witch Broom Craft
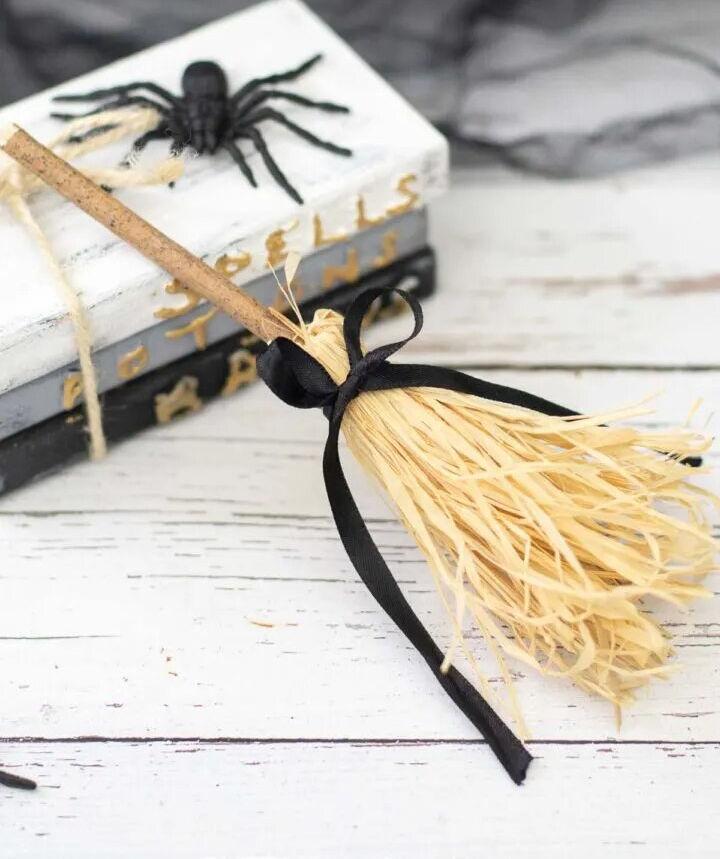
This miniature witch broom craft is perfect for dollhouses or as a unique pendant. Its compact design and attention to detail make it a delightful addition to any craft collection, adding a magical touch wherever displayed.
4. How to Make a Witch Broom
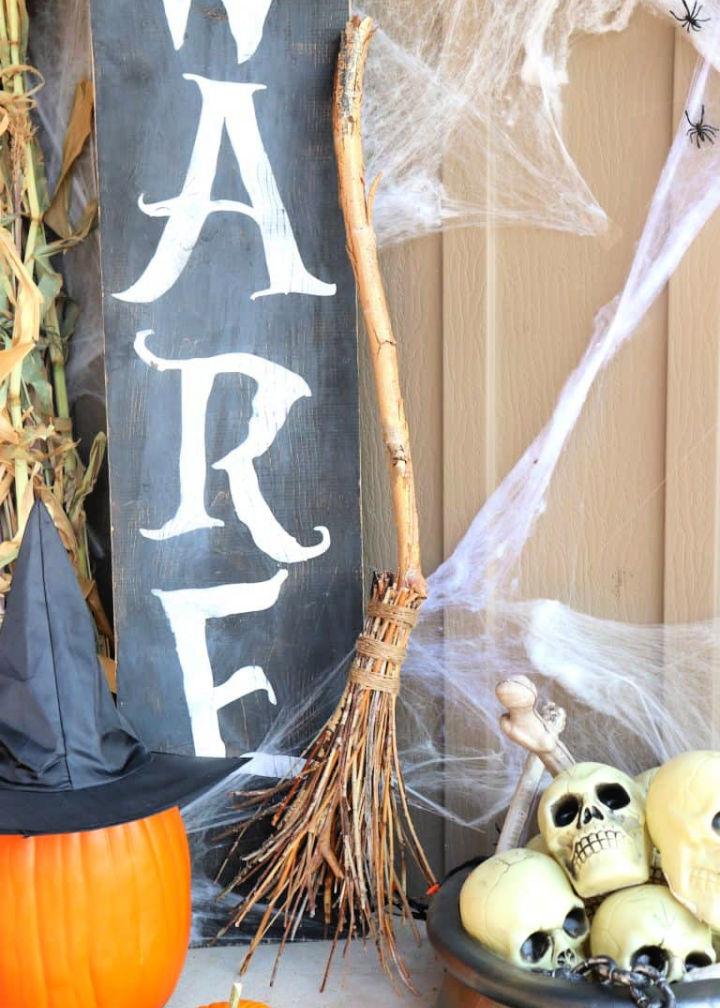
Embarking on making a witch broom can be a rewarding project. With natural materials and a bit of time, you can craft a bespoke piece that adds authenticity to your witchy costume or rustic decor
5. Homemade Witch Broom for Kids
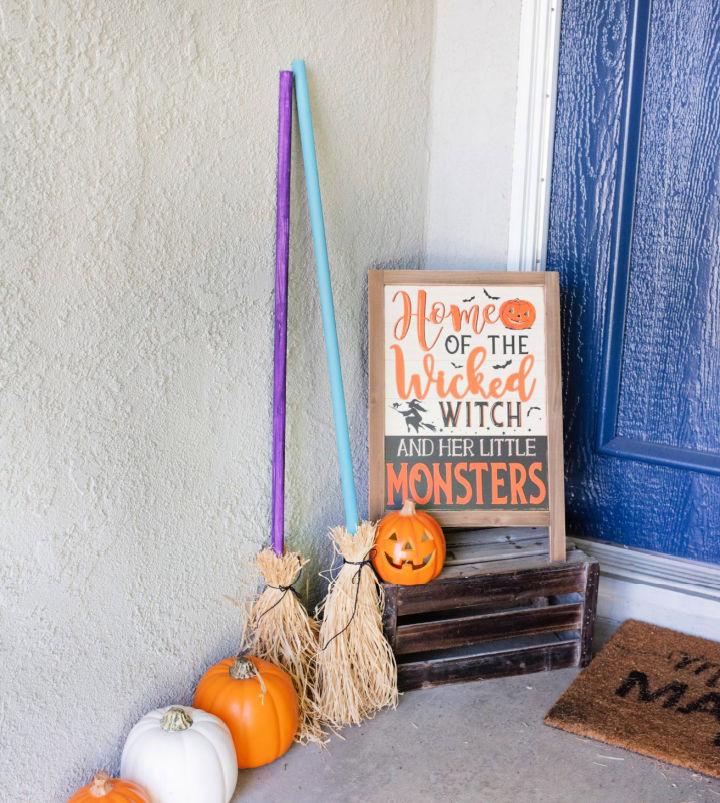
Engage your kids in making a homemade witch broom for a creative and fun-filled activity. It's not only a great way to inspire creativity but also a fantastic addition to their imaginative play, bringing their magical adventures to life.
6. DIY Halloween Witch Broomstick
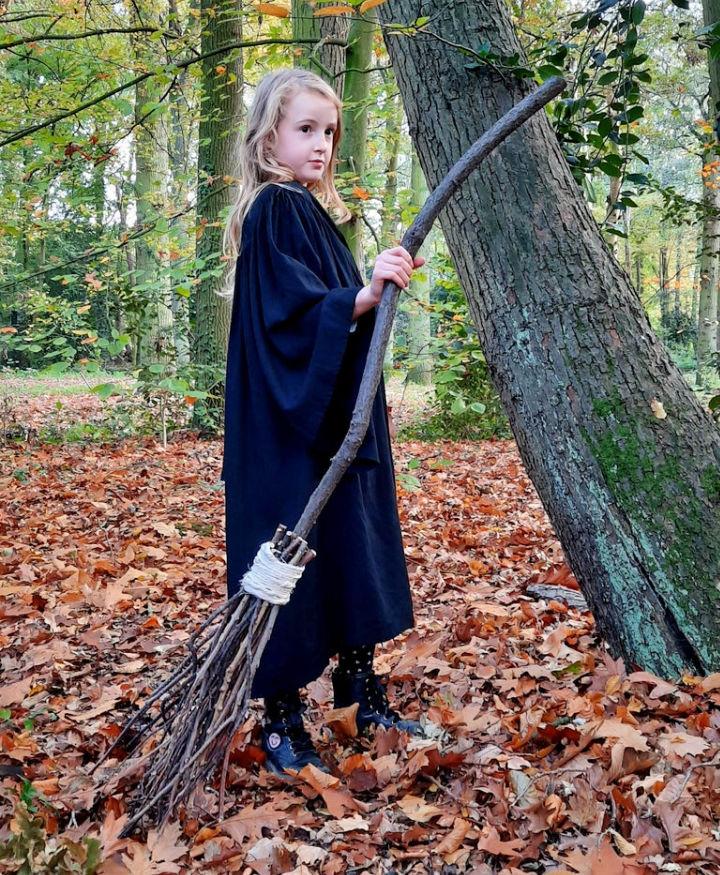
Elevate your Halloween decorations with a DIY Halloween witch broomstick. Simple to make yet effective, it adds a touch of whimsy and nostalgia, perfect for greeting trick-or-treaters or complementing your costume.
7. Make Your Own Glittery Witch Broom
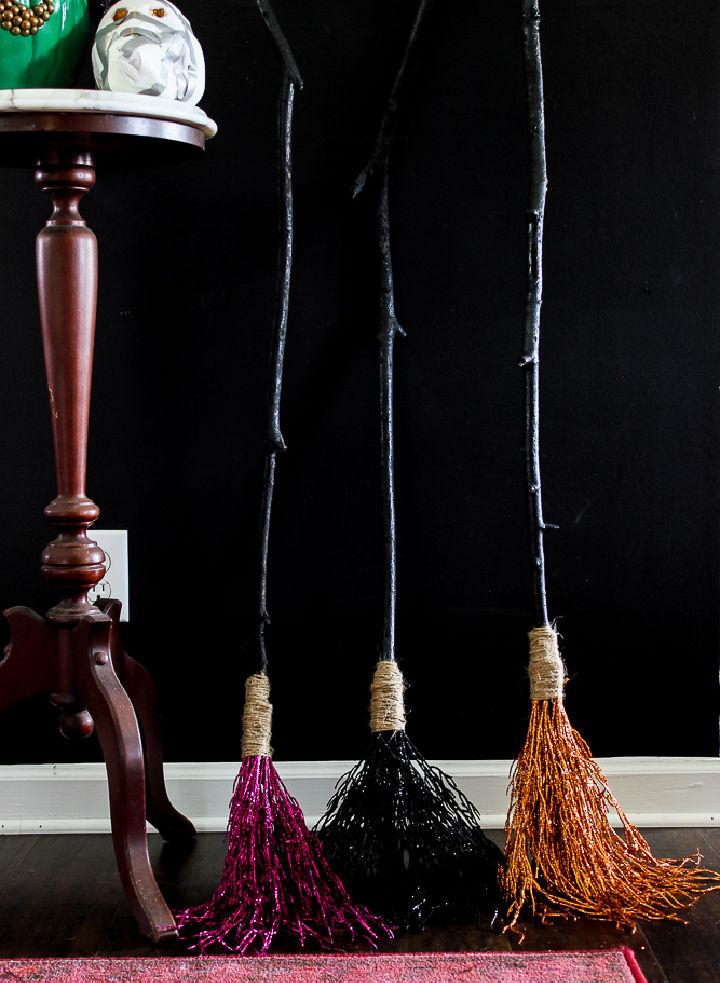
Sparkle this Halloween with your very own glittery witch broom. This creative twist on a classic decoration allows for a personalized, shimmering effect that stands out on the moonlit night, perfect for those who love a bit of glitter.
8. Handmade Witch Broom
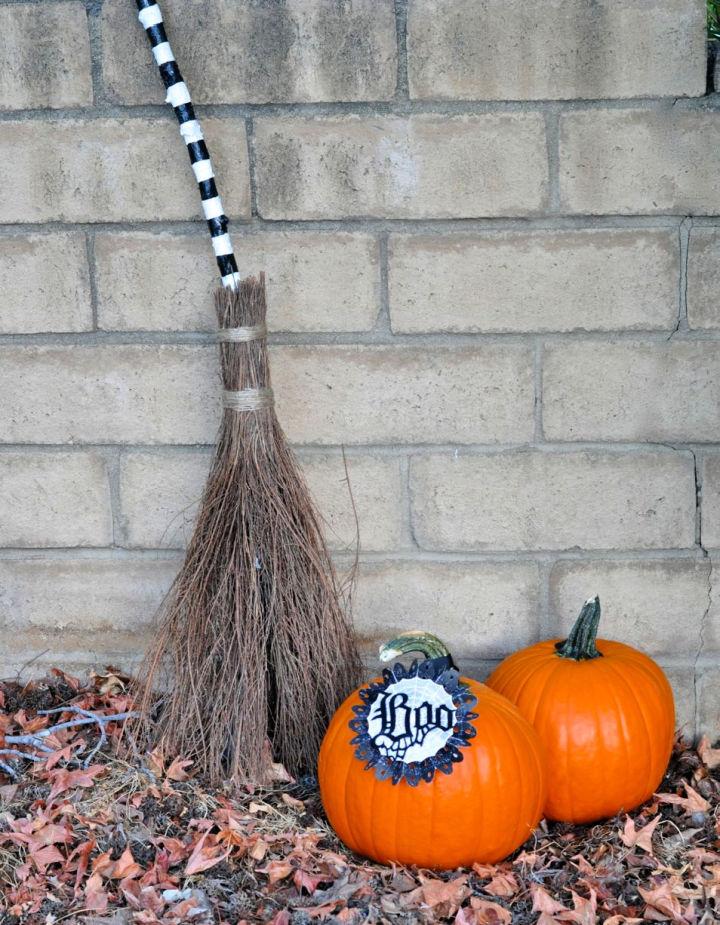
Opt for a handmade witch broom for an authentic, rustic feel. Crafted with care, it's a sustainable decoration that adds charm to any Halloween setup or themed event, showcasing your commitment to unique, handcrafted items.
9. DIY Witch Broom for Halloween Decoration
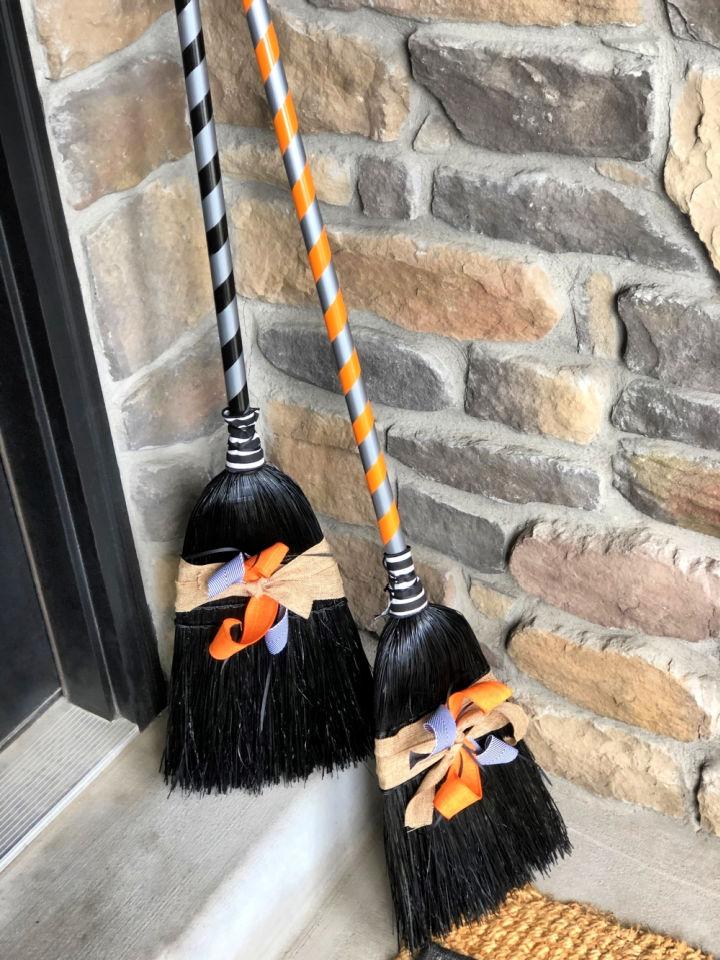
Adding a DIY witch broom to your Halloween decoration brings a sense of accomplishment and flair. It's a project that allows for versatility in design, ensuring your spooky setup is as unique as it is inviting.
10. Homemade Witch Broom Using Wood Stick
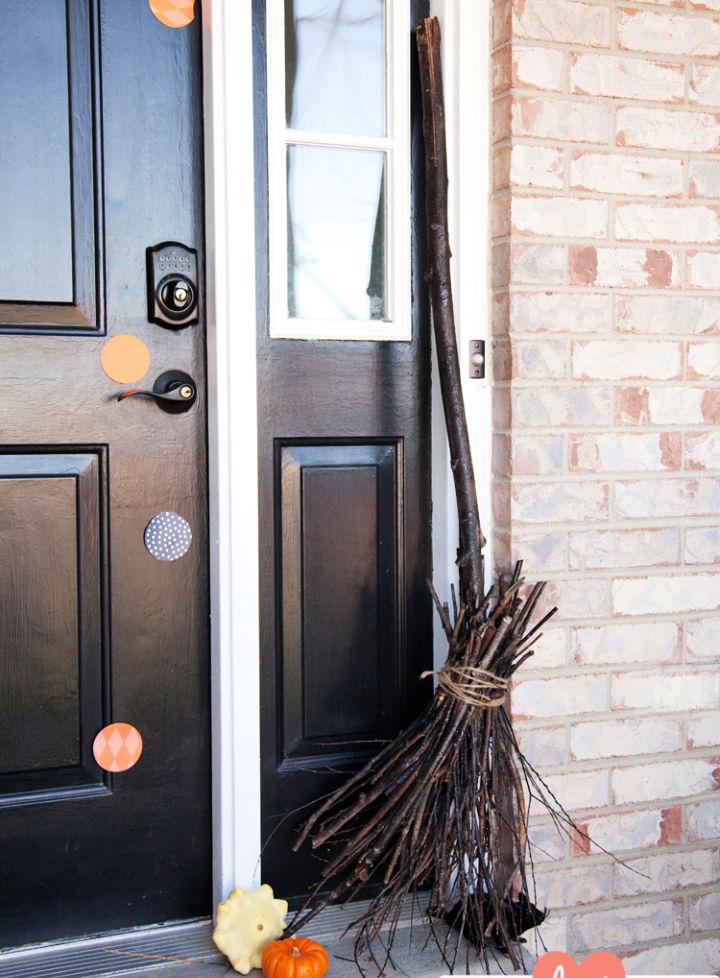
Making a homemade witch broom from a wooden stick captures the essence of traditional witchcraft. Suitable for Halloween decor or cosplay, its natural materials bring an authentic touch. The straightforward design ensures anyone can craft it, adding a personal flair to your mystical ensemble.
11. DIY Witch Broom Glow Stick
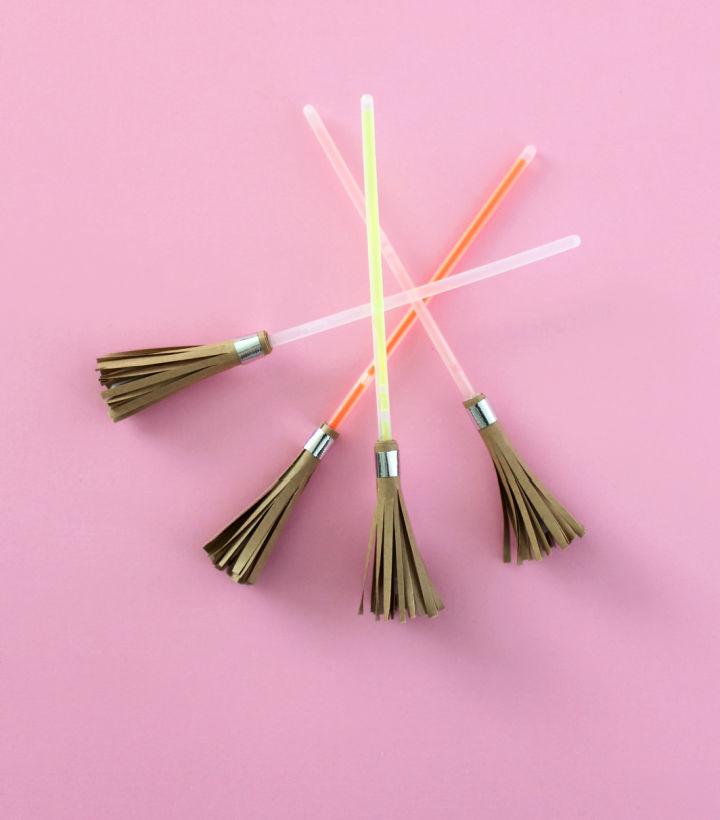
Light up the night with a DIY witch's broom glow stick. This innovative creation is perfect for safe trick-or-treating or adding a magical glow to your Halloween party. Its easy construction and luminous effect make it a hit, blending functionality with enchantment seamlessly.
12. Witch Broom Using Dried Twigs
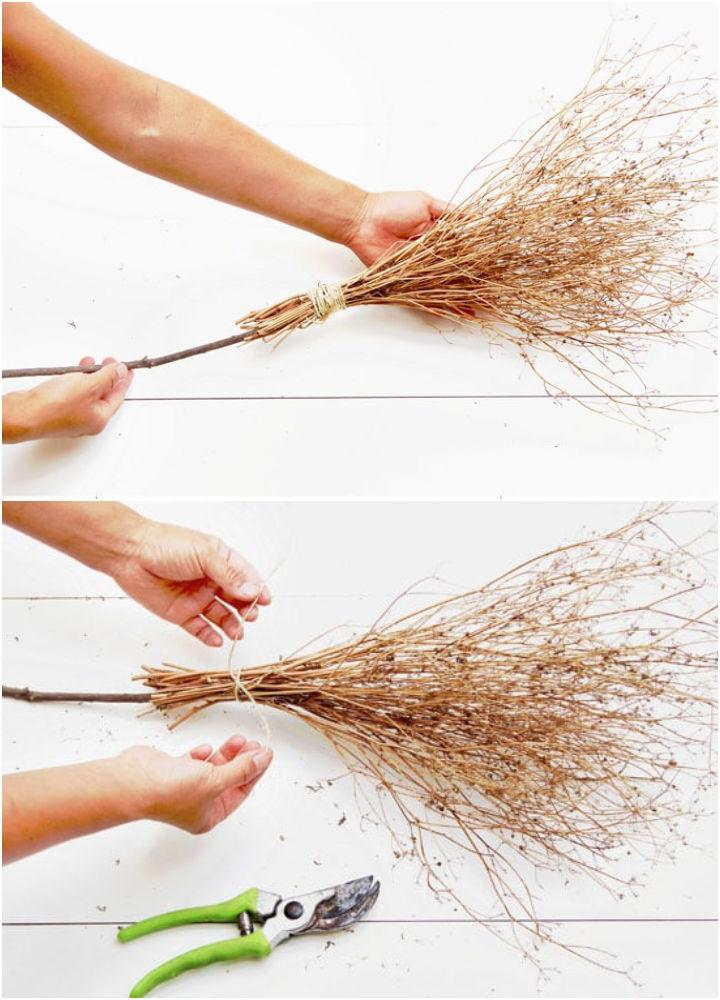
Embrace nature's bounty with a witch broom made from dried twigs. This eco-friendly choice not only looks authentic but also connects you with the earth's natural elements. Ideal for rustic-themed events or eco-conscious witchcraft enthusiasts, it's a representation of nature's simple beauty woven into a functional piece.
13. DIY Witch Broom Using Curved Branch
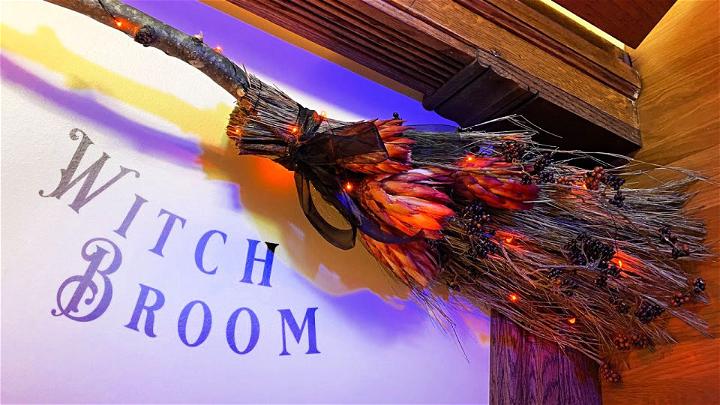
Making a witch broom using a curved branch adds a whimsical twist to your Halloween decorations or costumes. The natural curve offers a unique shape, ensuring no two brooms are alike. It's a simple project that delivers big on personality, making your witch ensemble stand out.
14. 6 Foot Long Witch Broom
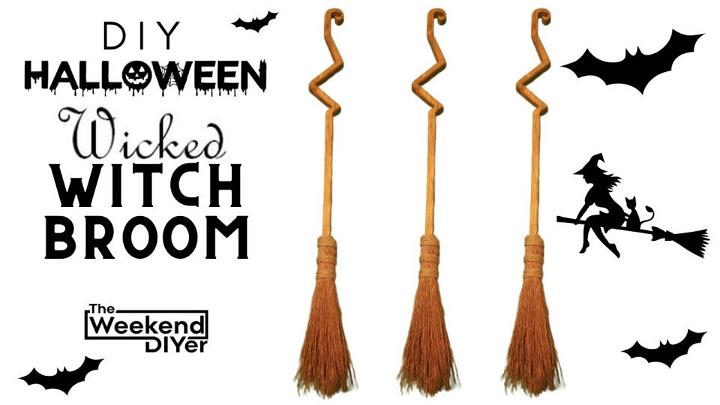
A 6-foot-long witch broom packs a dramatic punch, perfect for making a grand entrance. Whether mounted on a wall as decor or part of a striking costume, its impressive size is bound to captivate. This broom combines fun and fantasy, adding an unmissable element to your Halloween festivities.
15. DIY Primitive Style Witch Broom
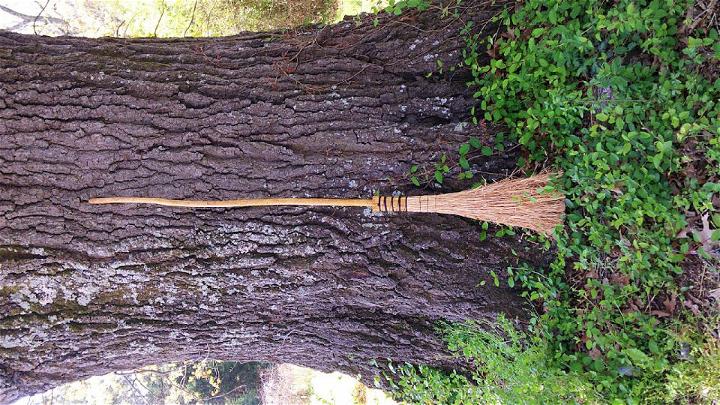
For those who adore rustic charm, a DIY primitive style witch broom is a perfect match. Made with simple materials and a no-fuss approach, it embodies a bygone era of witchcraft. This broom offers a touch of nostalgia, ideal for thematic displays or as a nostalgic nod to traditional folklore.
16. DIY Witch's Broom in 5 Minutes
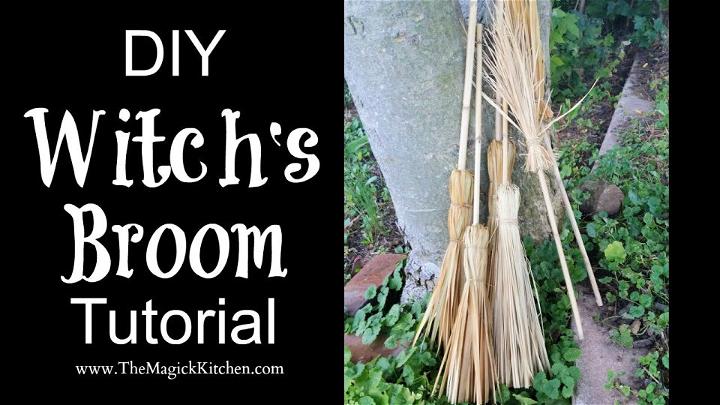
If you're short on time but big on ambition, making a DIY witch's broom in 5 minutes is surprisingly doable. This quick and easy project is perfect for last-minute party preparations or costume additions, proving that sometimes, simplicity truly is magical.
17. Witch Broom Using Yarn and Wood Stick
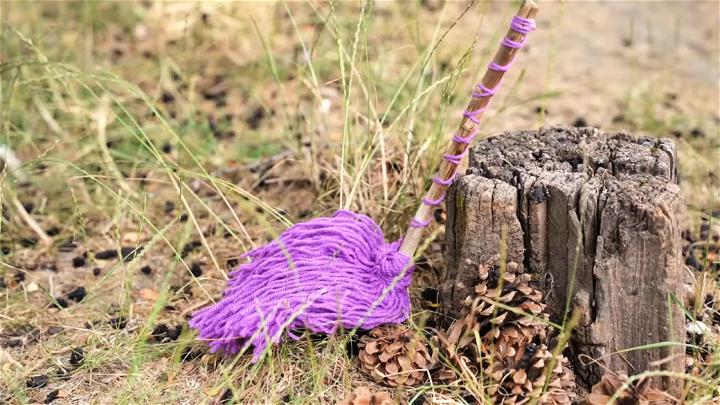
Combining the softness of yarn with the sturdiness of a wood stick, this witch broom offers a tactile delight. Its unique texture and comfortable grip make it a favorite among DIYers looking to add a soft touch to their mystical creations. It's an enjoyable project with visually pleasing results.
18. DIY Origami Witch Broom
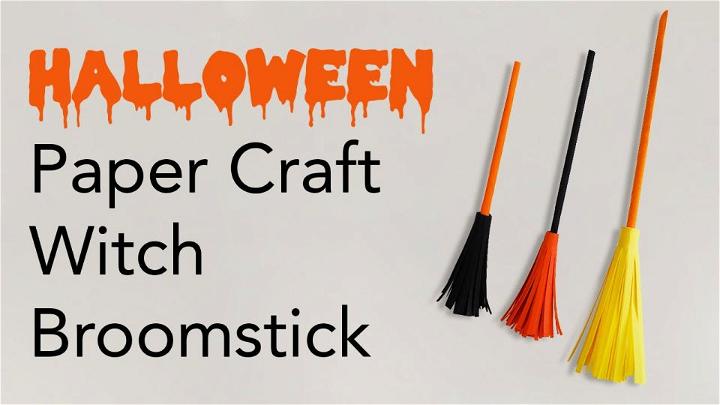
Step into the fascinating world of paper folding with a DIY origami witch broom. This compact and creative endeavor lets you conjure up a bit of magic from simple paper sheets. Ideal for decorations or as a craft project, it showcases the enchanting possibilities of origami.
19. Easy to Make Witch Broom
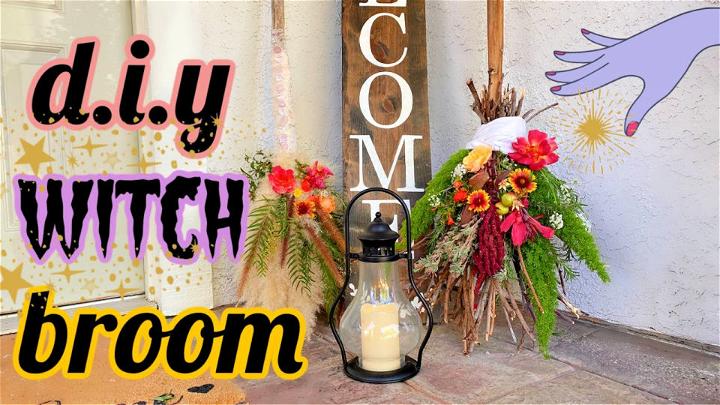
Making a witch broom can be a breeze. With basic materials like a stick and twine, you'll fashion an enchanting accessory. It's a charming addition to any Halloween ensemble or themed decor, blending simplicity with a touch of magic.
20. DIY Mini Witch Broom
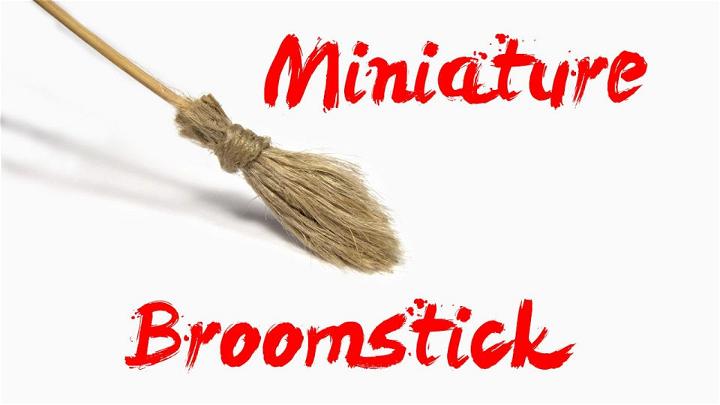
Perfect for petite spaces or as a delightful gift, mini witch brooms bring a whimsical touch wherever they go. Using small branches and natural fibers, they embody the spirit of the season in a compact, adorable form. Place them around for a magical miniature scene.
21. Halloween Decorative Witches Broom Using Scrape
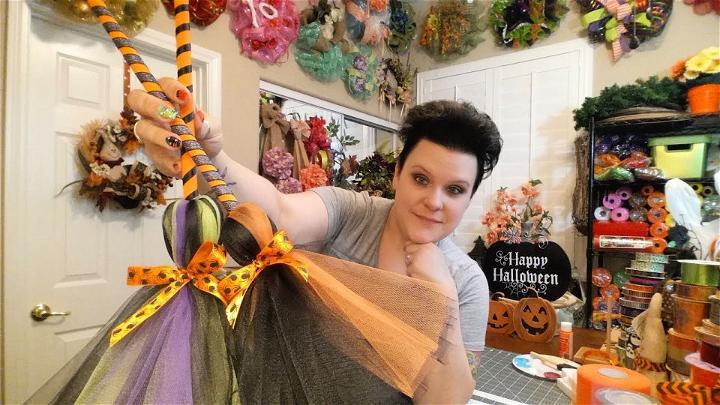
Transform leftover materials into a unique Halloween decoration. By repurposing scraps, you not only craft a decorative witch's broom but also embrace sustainability. It's a creative way to add a spooky vibe to your space while being kind to the planet.
22. Witch Corn Broom for Under $6
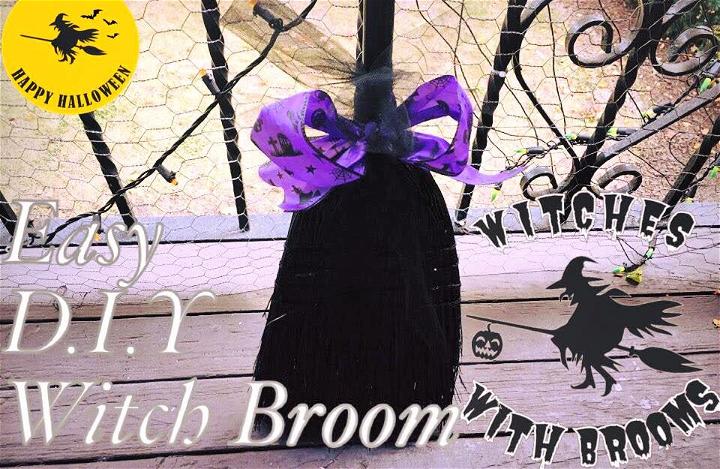
Budget-friendly and authentic, making a witch's corn broom for under $6 is entirely feasible. Search for natural materials and bargain finds to assemble a broom that looks like it flew out of a fairy tale. It's a cost-effective way to add authenticity to your witch-themed costumes or decorations.
23. DIY Witch Broom for Altar
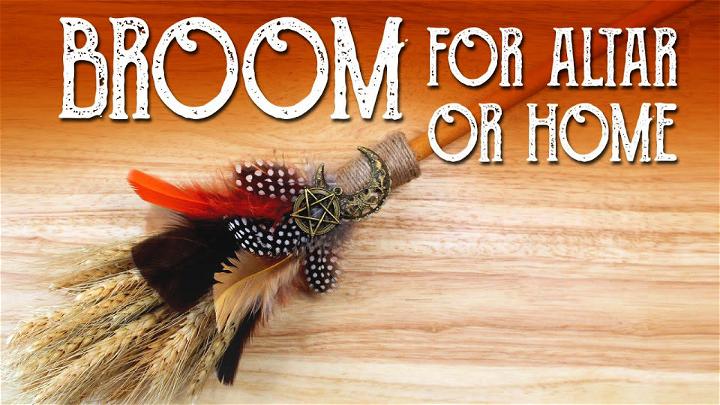
Making a witch broom specifically for your altar involves imbuing it with personal energy and intention. Select materials that resonate with you spiritually. This project not only enhances your altar's aesthetic but also deepens your connection to your practice, making it a deeply personal artifact.
24. Make a Witch Broom
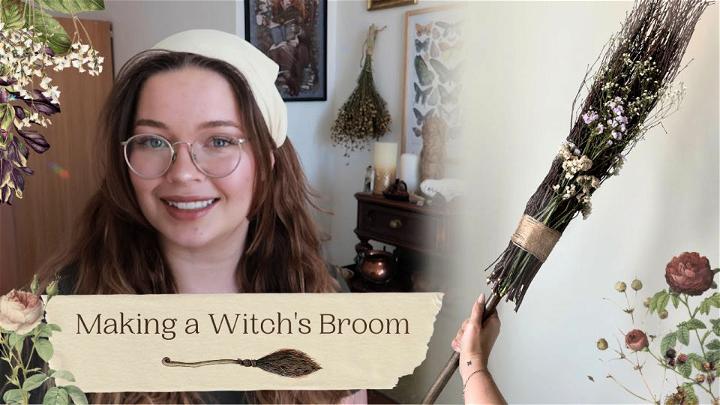
Immersing yourself in the creative process, crafting a witch broom can be as elaborate or as simple as you wish. From selecting the perfect branch to choosing the fibers, every step allows for personalization. Use this opportunity to make a piece that perfectly complements your witchy decor or costume.
25. DIY Childs Witch Broom
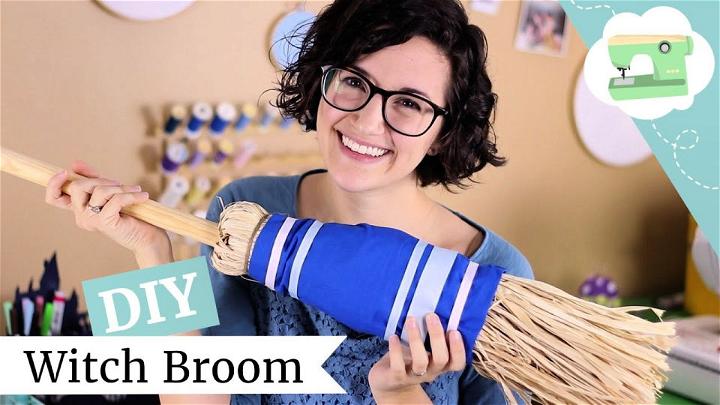
Making a witch broom for a child is all about fun and safety. Opt for lightweight materials and shorter handles for ease of handling. It's a fantastic way to engage in crafty fun with your little ones, encouraging their imagination while preparing for trick-or-treating or school plays.
Conclusion:
In conclusion, crafting a DIY witch broom is a fun and creative project that can add a magical touch to your Halloween decor. By following these simple steps, you can easily make a witch's broom that is both stylish and spooky. Get ready to impress your guests with this handmade masterpiece and embrace the spirit of the season!


