Making a welding cart can simplify your welding tasks by organizing all your tools and equipment in one accessible location. Whether you're a professional welder or enjoy welding as a hobby, this guide will help you build a versatile welding cart tailored to your needs. Tim Welds has provided an excellent starting point with his YouTube video, and we'll expand on those basics here. Let's start this journey together.
Planning and Design
Gather Your Materials
Before diving into construction, sketch out your welding cart's design. Consider the dimensions, the type of welder you have, and any additional equipment you wish to store on the cart, like a water cooler or TIG pedal. After detailing your plan, note the materials you'll need and procure them. Common materials include metal tubing for the frame, wheels, casters, and sheets for shelves.
Tools You'll Need
- Welder
- Angle grinder or plasma cutter
- Drill with bits
- Speed square
- Welding mask and gloves
- Measuring tape
- Respirator for welding galvanized materials
Building the Frame
Cutting and Assembling the Tiers
Start by cutting the metal tubes according to your design for the upper and lower tiers. Arrange the pieces on a flat surface, using a speed square to ensure everything is square before welding. Tack weld first to hold the structure in place, then proceed to complete the welds.
Tip: If you lack a fixturing table, you can still achieve excellent results by carefully measuring and tacking before fully welding.
Attaching the Tiers
Determine the height between the tiers based on your storage needs. Use additional pieces as spacers for square alignment and tack weld the structures together. If the weld blows through due to high heat, adjust accordingly. Remember, the goal is a stable frame to support your equipment.
Adding Functionality
Base and Shelves
With the frame ready, focus on the base that will hold gas cylinders. Use a thicker gauge metal for durability. Fence intermittent welds to attach it firmly to the frame, ensuring a stable platform for the cylinders.
For the shelves, cut metal sheets to fit the tiers, trimming the corners for a better fit. Intermittent welds will secure the shelves without causing warping. For smooth front edges, weld carefully, possibly using a backstepping technique for a neat finish.
Wheels and Casters
Attach large-diameter wheels and sturdy casters to the cart. This will allow easy movement over various surfaces. If welding directly, ensure proper ventilation due to harmful zinc fumes.
Final Touches
Cylinder Plate and Hooks
Make a custom plate for the cylinders to rest on, adding notches or holes as necessary for a snug fit. For cable hooks, opt for a design that won't snag clothing, perhaps using rounded edges or covering exposed ends.
Handle and Paint
Weld a handle on the upper shelf for easy maneuvering. Once assembled, apply a coat of paint to protect the cart from rust and give it a professional finish.
Video Tutorial
For a detailed visual guide on building a welding cart, watch Tim Weld's YouTube video here.
This video complements our written guide beautifully by illustrating each step in a clear and easy-to-grasp manner. Watching this video will enhance your understanding and ensure your welding cart turns out just as planned.
FAQs About DIY Welding Carts
Discover everything you need to know about DIY welding carts in our comprehensive FAQs guide. Learn tips, tricks, and answers to common questions.
What materials do I need to build a welding cart?
To build a sturdy welding cart, you'll need materials like steel or aluminum for the frame, caster wheels for mobility, and plywood or metal for the shelves. Ensure you have a welding machine, safety gear, and basic tools like a drill, saw, and grinder.
How can I ensure my welding cart is stable?
A stable welding cart requires a well-balanced design. Use heavy-duty wheels and ensure the weight is evenly distributed. You can also add a wider base or use locking wheels to increase stability when stationary.
What safety features should I include in my welding cart?
Safety features are crucial. Include a secure place for a fire extinguisher, hooks for hanging safety gear, and proper holders for gas cylinders. Ensure all sharp edges are smoothed out to prevent injury.
Can I customize my welding cart for more storage?
Absolutely! Consider adding additional shelves, magnetic tool holders, or hooks for cables and accessories. Customization allows you to tailor the cart to your specific needs and workflow.
How do I maintain my welding cart?
Regular maintenance includes checking for rust, ensuring wheels and bearings are in good condition, and keeping the cart clean from debris and dust. Periodically inspect welds and joints for any signs of wear or damage.
What is the ideal size for a welding cart?
The ideal size depends on your workspace and the equipment you need to carry. A typical welding cart is about 30 inches tall, which is a comfortable working height for most people. The width and length should be enough to securely hold your welder and supplies without being too bulky.
How can I make my welding cart more mobile?
To enhance mobility, use high-quality swivel casters and consider the flooring of your workspace. Larger wheels can handle rough surfaces better. Additionally, a well-placed handle can make maneuvering the cart easier.
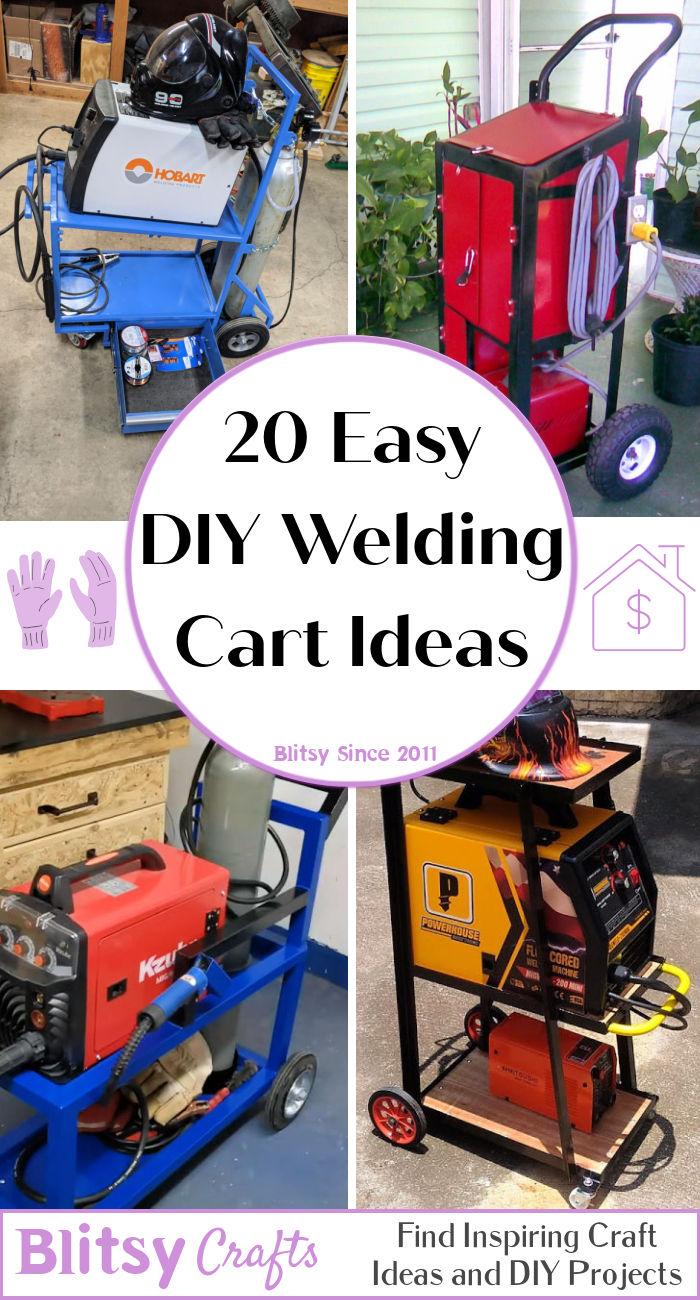
20 DIY Welding Cart Ideas
Discover 20 creative DIY welding cart ideas for your next project. From compact designs to storage solutions, find inspiration for your workshop.
1. How to Build a Welding Cart
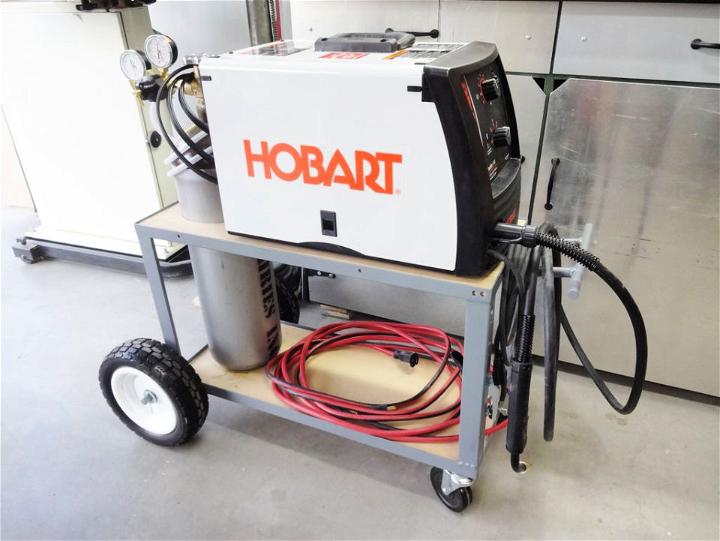
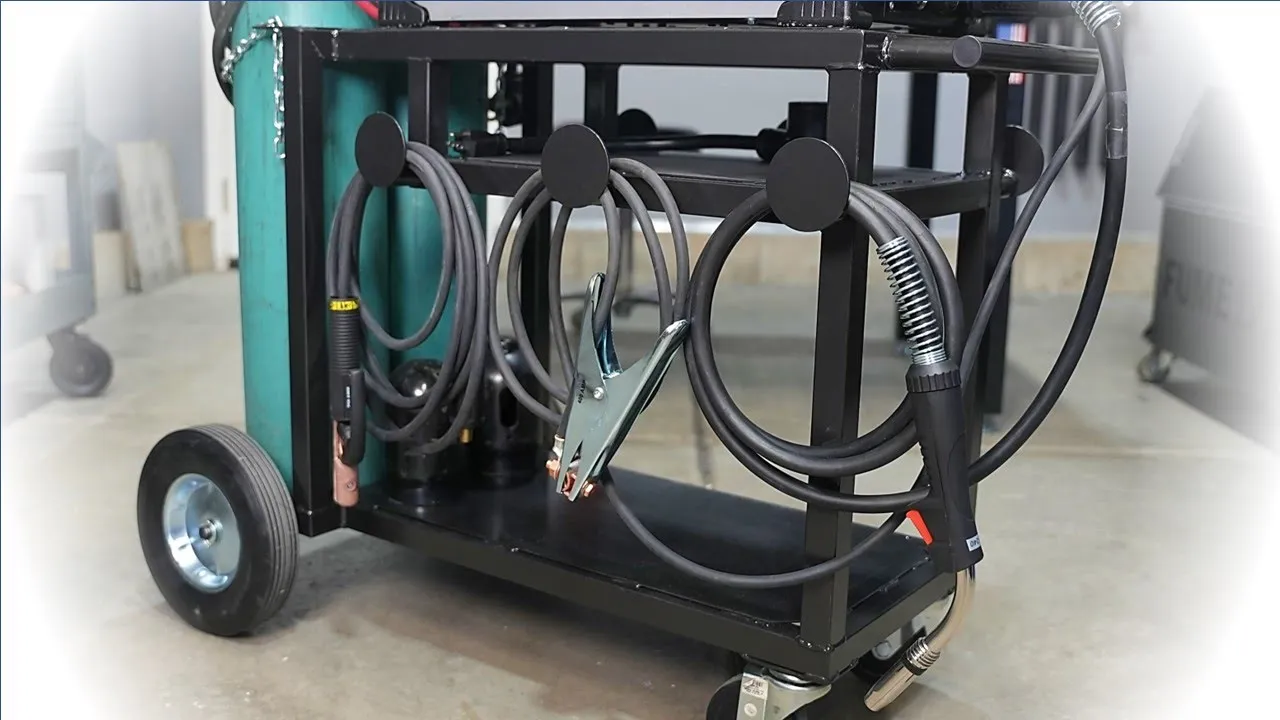
Starting with a clear plan makes building a welding cart an organized process. This cart includes shelves for storage and hooks for cables, ensuring a tidy workspace. Its robust design promises durability and smooth mobility around the shop.
2. DIY Welding Cart Using Steel Pipes
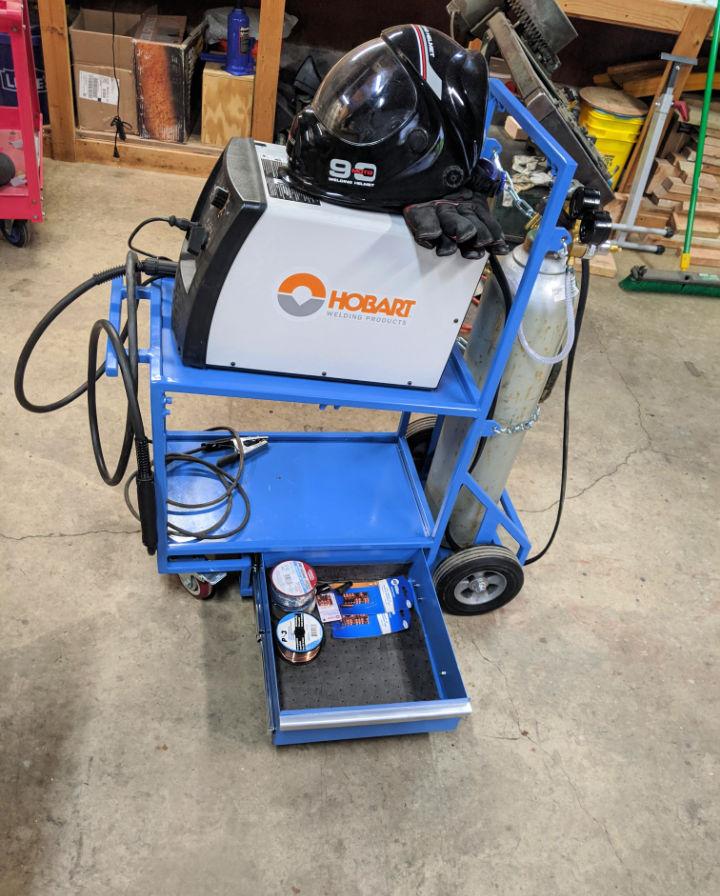
Making a welding cart from steel pipes can be both cost-effective and rewarding. This method provides a lightweight yet sturdy cart, equipped with wheels for easy movement. It excels in simplicity and functionality, making it an excellent project for beginners.
3. Custom Welding Cart - Free Plan
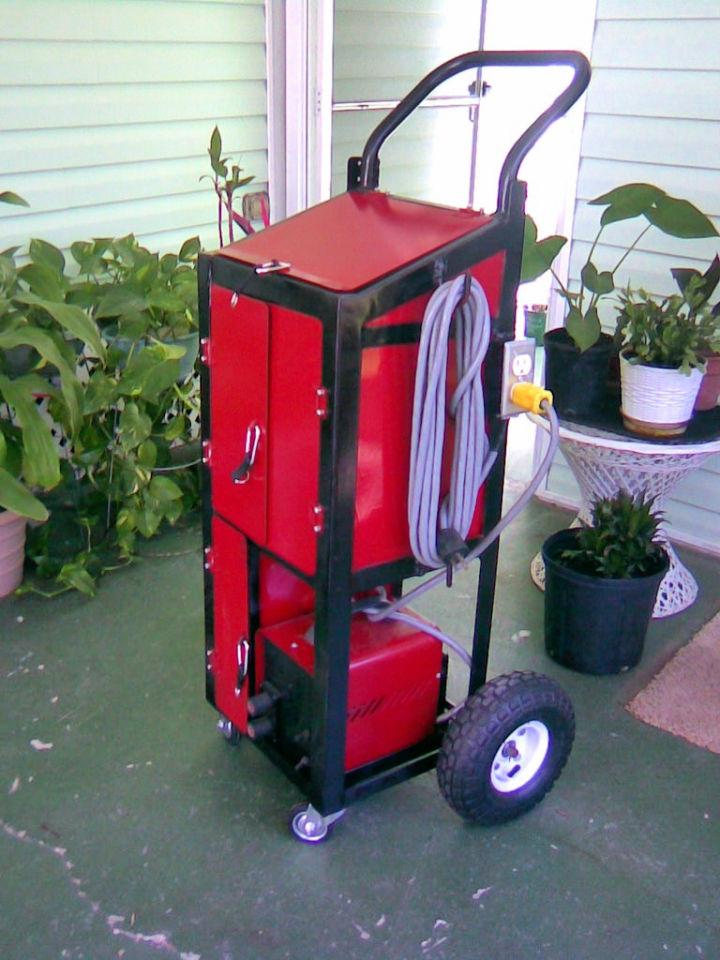
Tailor your workspace with a custom welding cart designed to meet your specific needs. This free plan allows for adjustments in size and storage options, ensuring your welding tools and accessories are always within reach. It's a fun way to enhance your welding experience.
4. How to Make a Welding Cart
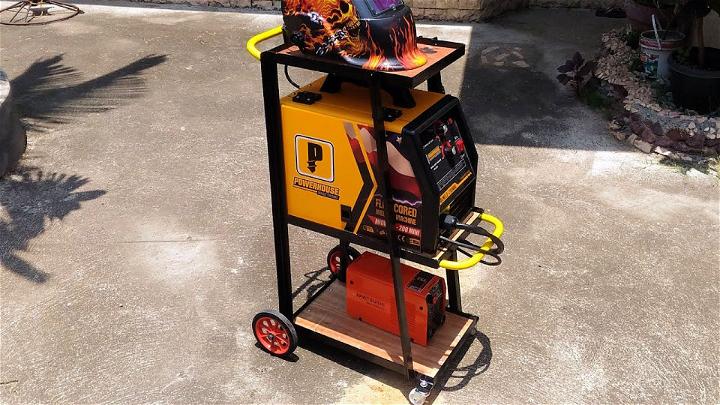
Embarking on making your own welding cart offers a blend of practicality and creativity. This approach ensures you have a compact cart with essential storage for equipment, enhancing efficiency. The satisfaction of using something you've crafted yourself is unmatched.
5. DIY Welding Cart from Scrap Material
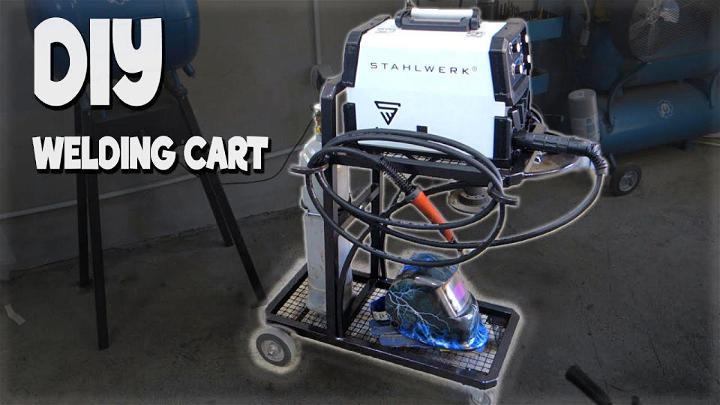
Repurposing scrap material into a DIY welding cart not only saves money but also promotes sustainability. This project is perfect for those who enjoy upcycling, resulting in a unique and environmentally-friendly cart. It's a great way to reduce waste while securing your welding gear.
6. Making a Portable Welding Cart
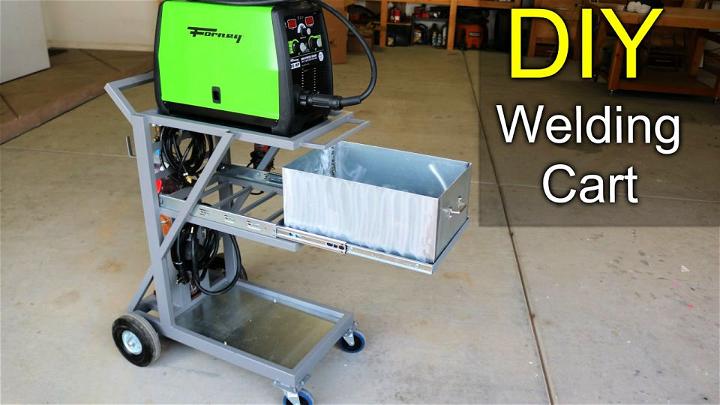
A portable welding cart is a game-changer, offering the flexibility to move your work to different locations hassle-free. This design focuses on lightweight materials and durable wheels, ensuring ease of transport without compromising on stability. It's ideal for those who value versatility in their workspace.
7. DIY Mig Welding Cart
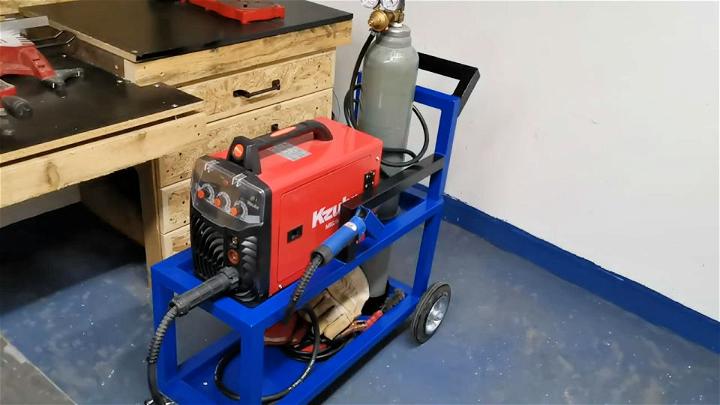
A MIG welding cart, designed with specific compartments for a MIG welder and gas bottles, maximizes organization. This DIY project caters to efficient workflow management, ensuring tools and supplies are neatly arranged. It's a practical solution for MIG welding enthusiasts looking for a custom setup.
8. Free Welding Cart Plan
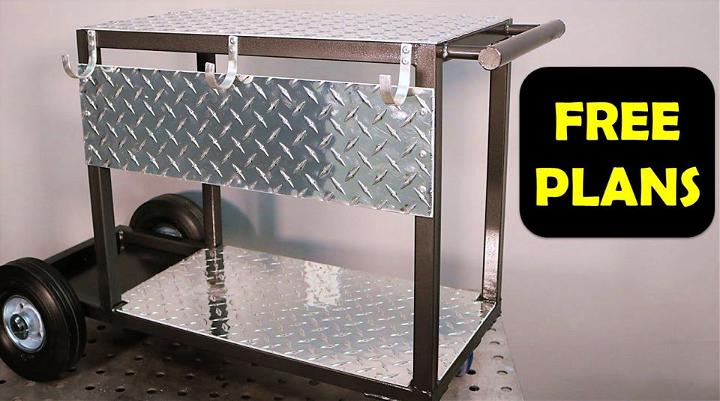
With a free welding cart plan, diving into a DIY project becomes more accessible. This blueprint outlines step-by-step instructions, detailing materials and measurements needed. It's a straightforward guide for anyone eager to construct a durable cart without navigating the design process.
9. Ultimate Welding Cart with Folding Table
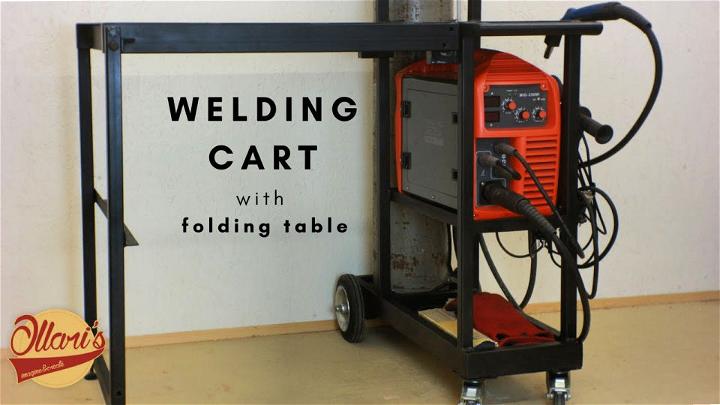
Imagine a welding cart that not only stores your equipment but also features a folding table for additional workspace. This ultimate design offers the best of both worlds, combining storage solutions with a practical work surface. It's perfect for maximizing efficiency in limited spaces.
10. Welding Cart Out of Scrap Steel and Casters
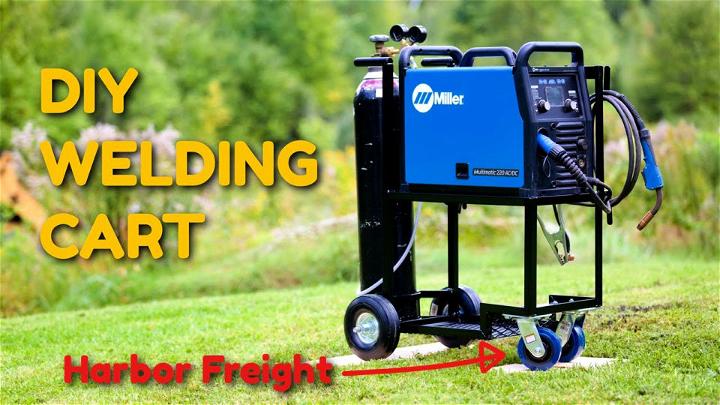
Turning scrap steel and casters into a fully functional welding cart showcases creativity and resourcefulness. This rugged design emphasizes durability and the smooth rolling of wheels for mobility. It's an excellent project for those who appreciate the value of repurposing materials.
11. DIY Metal Welding Cart
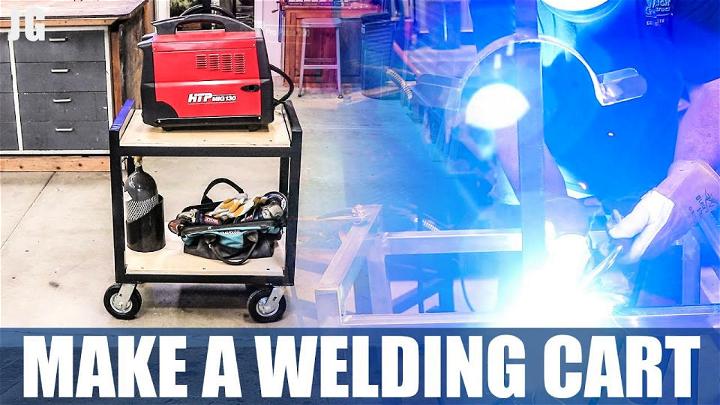
Crafting a metal welding cart at home gives you a sturdy companion for your welding projects. Its robust design ensures your tools and supplies are securely organized and easily accessible, enhancing your workshop's efficiency and safety.
12. Simple Welding Cart for Beginners
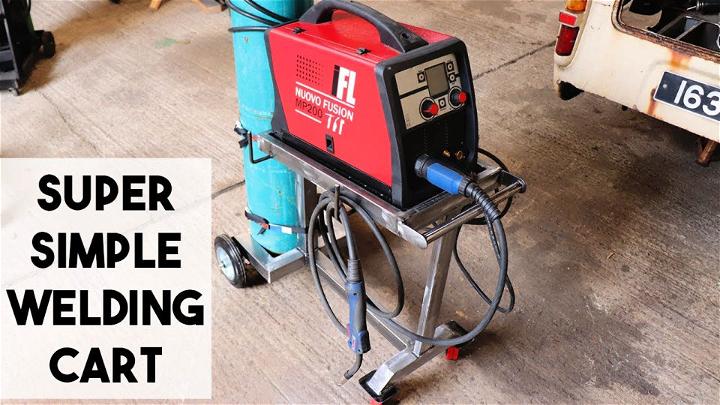
A beginner-friendly welding cart emphasizes ease of assembly and practicality, providing a supportive base for your welding equipment. Its straightforward design encourages new welders to keep their workspace tidy and their tools within arm's reach.
13. Build Your Own Welding Cart
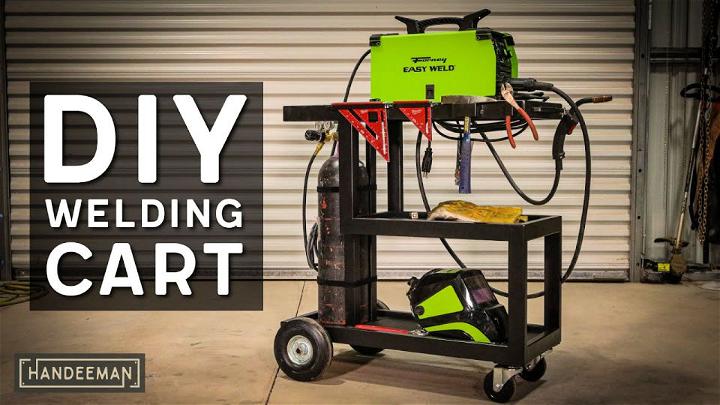
Making a welding cart from scratch allows for customization to fit your specific needs. Whether it's adding extra shelves or hooks for cables, the beauty of DIY is making it your perfect welding ally.
14. Best Welding Cart Design
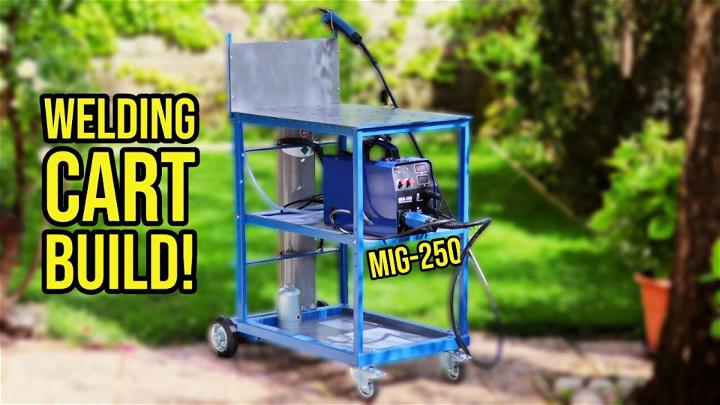
The top-tier welding cart design combines durability, mobility, and storage optimization. Look for designs that offer easy maneuverability around your space while keeping all welding necessities organized and protected.
15. Homemade Welder Cart
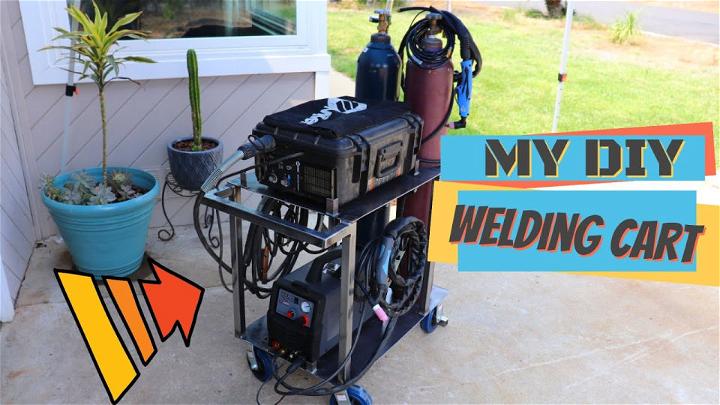
There's a unique satisfaction in using a welder cart you've built yourself. Tailoring it to hold all your welding gears and accessories precisely, it becomes not just a utility but a badge of your craftsmanship.
16. Make Your Own Wooden Welding Cart
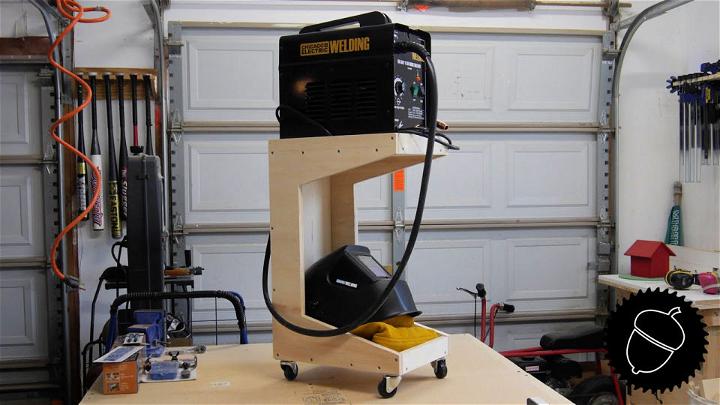
Venturing into a wooden welding cart project brings a touch of craftsmanship to your workspace. Wood offers a lightweight and surprisingly sturdy option, and with the right design, it can efficiently serve your welding needs.
17. DIY TIG Welder Cart
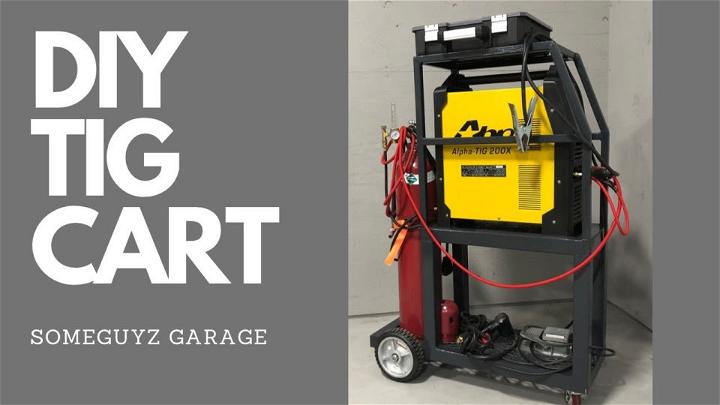
Specializing in a cart for your TIG welder means focusing on compact, efficient design. It's about making a mobile solution that keeps the delicate parts of your TIG system organized and ready for precise welding tasks.
18. Build an Off Road Welding Cart
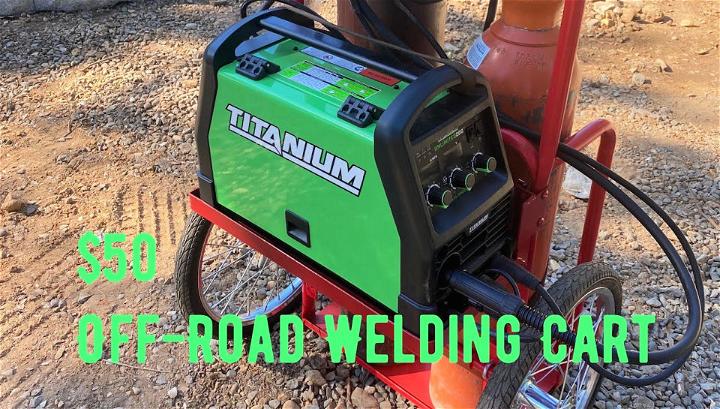
An off-road welding cart is designed to tackle rough surfaces while carrying your welding equipment. With its rugged wheels and frame, it's perfect for those who need to weld in various outdoor locations.
19. Building a Welding Cart
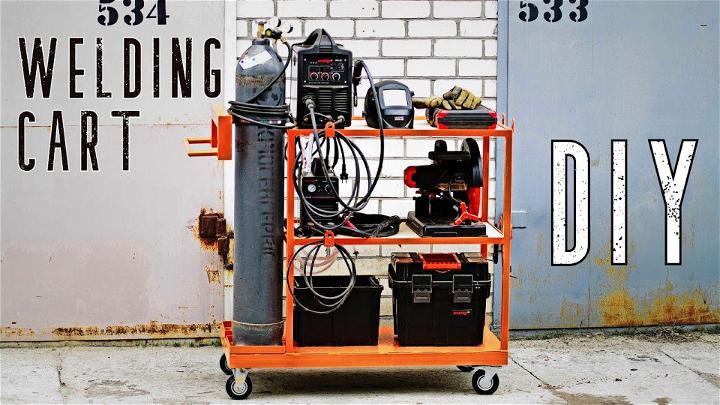
Constructing your own welding cart is a practical project that pays off by keeping your welding tools neatly organized. By choosing to build, you get a custom solution that fits your workspace and workflow perfectly.
20. DIY Welding Cart Trolley
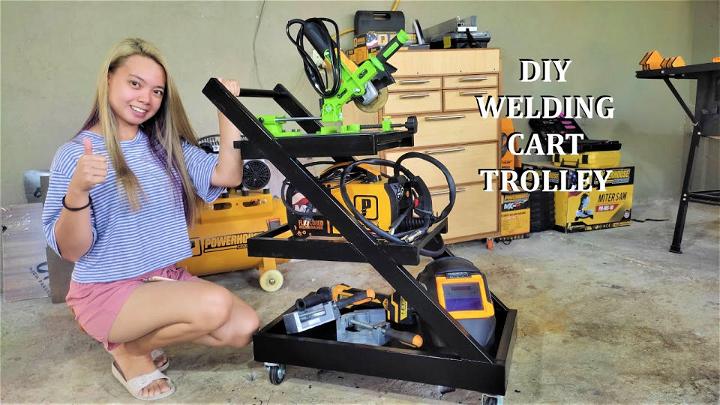
A welding cart trolley is all about mobility. Designing your own allows for custom features like adjustable shelves and lockable wheels, ensuring your welding gear is secure but always within reach, no matter where the job is.
Conclusion:
In conclusion, making a DIY welding cart is a practical and beneficial project for any welding enthusiast. Not only does it provide a convenient way to store and transport welding equipment, but it also allows for customization to meet individual needs. With a few tools and some creativity, anyone can build a welding cart that is both functional and personalized. So, get started on your welding cart project today!


