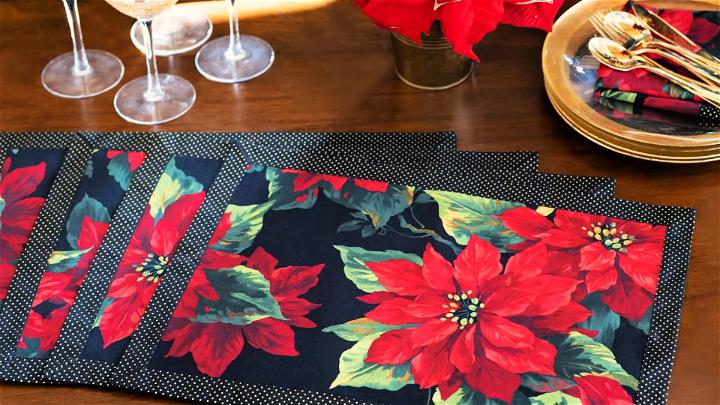
Making your own self-binding placemats is not only a practical way to protect your dining table but also adds a personal touch to your home decor. This guide is inspired by a tutorial from Shabby Fabrics, a reputable source known for its high-quality craft tutorials. Here, you will learn step-by-step how to make these beautiful placemats, incorporating unique tips and insights from the author's firsthand experience.
What Will I Get Out of This?
By the end of this guide, you will have learned how to make elegant self-binding placemats that can transform your table setting. This project is particularly great for using fat quarter bundles, allowing every placemat to be coordinated yet distinct. Whether you're aiming for a holiday theme or a personalized style, this guide provides all the instructions you need for a successful crafting experience.
Materials Needed
- Fabric A (Top): This will be the main visual element of your placemat. Pick a fabric that matches your theme or decor.
- Fabric B (Back and Binding): Choose a complementary or contrasting fabric. This needs to be larger than Fabric A as it will also form the binding.
- Sewing Machine: For stitching the fabrics together.
- Marking Pen: Temporary or permanent, for marking key points on your fabric.
- Ruler: Essential for precise measurements and markings.
- Scissors or Rotary Cutter: For cutting the fabric.
- Pins: To secure the fabric before sewing.
- Iron and Ironing Board: For pressing the fabric, ensuring a flat and polished finish.
Step by Step Instructions
Step 1: Prepare Your Fabrics
- Begin by cutting your fabrics to size. Refer to the downloadable instructions for exact measurements.
- With your marking pen and ruler, mark a quarter inch from each corner on the top fabric only. These marks are crucial as they indicate where to start and stop sewing.
Step 2: Mark and Pin
- Fold each fabric in half twice and mark the folds. These marks help align the fabrics correctly.
- Place Fabric B (back) right side up. Center Fabric A (top) on it, right side up, ensuring the marks align. Pin around the edges to secure.
Step 3: Sew the Fabrics
- Sew the fabrics together starting and ending at the marks you made, leaving an opening on one side for turning.
Step 4: Sew the Open Edges
- Bring the open edges together, pin, and sew as instructed in the previous steps, making a tube.
Step 5: Form the Mitered Corners
- Flatten each corner into a triangle, aligning the sewn seams. Mark a straight line from the tip of the triangle to the edge of the fabric. Sew along this line, then trim the excess fabric.
Step 6: Turn and Press
- Carefully turn the placemat right side out through the opening. Use a point turner to push out the corners and give it a good press with an iron.
Step 7: Top Stitch
- Topstitch around the entire edge of the placemat, closing the turning opening and giving the placemat a finished look.
Common Pitfalls and Troubleshooting
- Fabric Misalignment: Double-check your marks before sewing to ensure the fabrics align correctly.
- Turning Difficulties: If corners are hard to turn, gently use a point turner or a similar blunt tool to push them out.
Expanding Your Skills
Experiment with different fabric patterns and colors for various occasions. Seasonal fabrics can make a festive atmosphere, while elegant prints can enhance a formal dinner setting.
Video Tutorial
For a visual demonstration, watch the step-by-step tutorial on YouTube. Watch it here
By following these instructions, not only will you have crafted an elegant addition to your dining decor, but you will have also gained valuable sewing skills that can be applied to numerous other projects.
FAQs About DIY Placemats
Making DIY placemats can be a fun and rewarding idea. To help you along the way, here's a section dedicated to answering some common questions you might have.
What materials are best for making placemats?
The best materials for DIY placemats depend on the look and function you desire. Cotton and linen are popular for their ease of washing and casual appearance. For a more luxurious feel, consider silk or satin. If you're looking for durability, especially for outdoor use, vinyl or oilcloth are excellent choices as they are water-resistant and easy to clean.
How can I make my placemats waterproof?
To waterproof fabric placemats, you can use a waterproofing spray suitable for textiles. Make sure to follow the instructions on the spray can for the best results. For a more permanent solution, consider using oilcloth or vinyl materials, which are inherently waterproof.
Can I make placemats without sewing?
Yes, you can make no-sew placemats by using fabric glue or fusible bonding web. These materials allow you to bond fabric edges together without the need for stitches. You can also use materials like cork or bamboo, which can be cut to size and don't require hemming.
How do I choose the right size for my placemats?
Standard placemats are about 12 inches by 18 inches, but you can adjust the size based on your table dimensions and personal preference. A good rule of thumb is to allow at least 2 inches of space from the edge of the table and between each placemat setting.
What are some creative ways to personalize my placemats?
Personalizing your placemats can be done in various ways:
- Embroidery: Add a monogram or a special design.
- Paint: Use fabric paint to make patterns or artwork.
- Pockets: Sew on pockets to hold utensils or a napkin.
- Photo Transfer: Transfer your favorite photos onto the fabric for a unique touch.
How do I clean my DIY placemats?
Cleaning methods vary depending on the material:
- Fabric: Most fabric placemats can be machine washed and laid flat to dry.
- Vinyl/Oilcloth: Wipe clean with a damp cloth and mild detergent.
- Bamboo/Cork: Use a damp cloth and avoid submerging in water.
25 Easy DIY Placemat Patterns and Designs
Discover 25 simple and creative DIY placemat patterns and designs to enhance your table decor. Make personalized placemats with ease!
1. DIY Placemats from Oilcloth Fabric
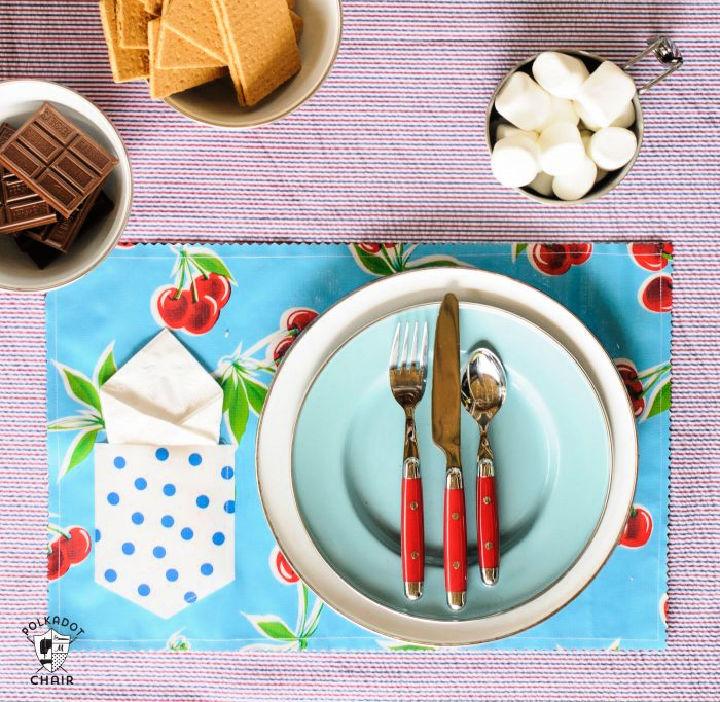
Transform your dining table with DIY placemats from oilcloth fabric. This material is not only stylish but also waterproof, making it ideal for messy eaters. The glossy finish and plethora of designs allow you to customize your space, while the sturdiness offers long-lasting use. A perfect blend of functionality and fashion.
2. How to Sew Reversible Placemat
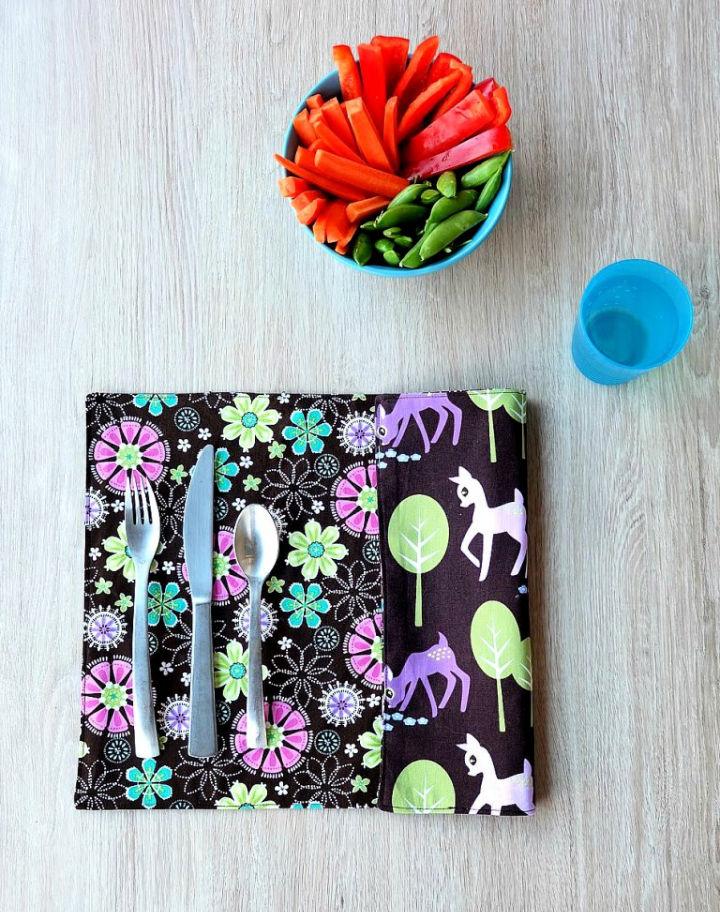
When it comes to versatility, sewing reversible placemats is a fantastic choice. This method allows you to refresh your table's look with a quick flip. Choose contrasting fabrics for a delightful surprise or complementary patterns for a subtler change. It's a simple way to double your decor options without doubling your work.
3. DIY Basket Weave Placemats
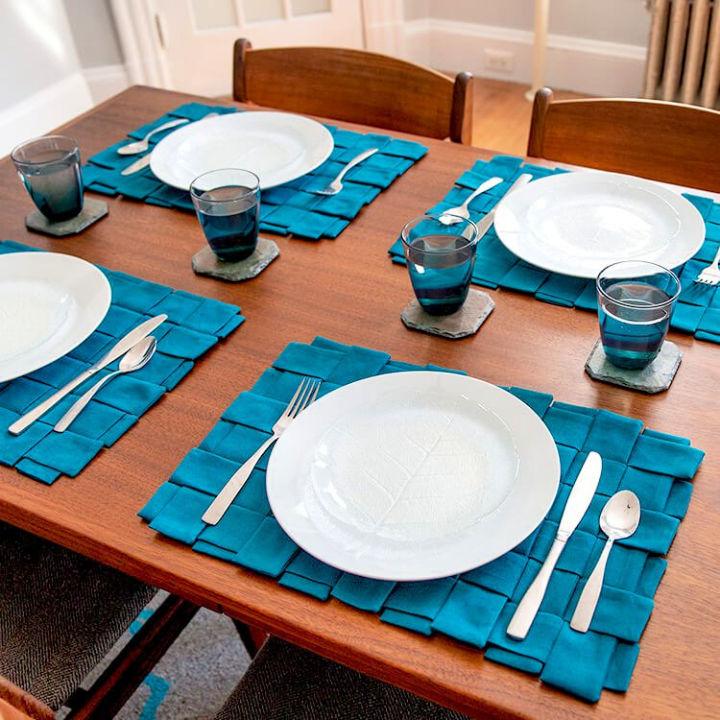
Embrace the charm of handwoven textures with DIY basket weave placemats. Though they appear intricate, the process is surprisingly straightforward, requiring nothing more than patience and strips of fabric. These placemats add a unique, artisan touch to any meal, combining both rustic appeal and practicality.
4. Upcycled Denim Fabric Placemat
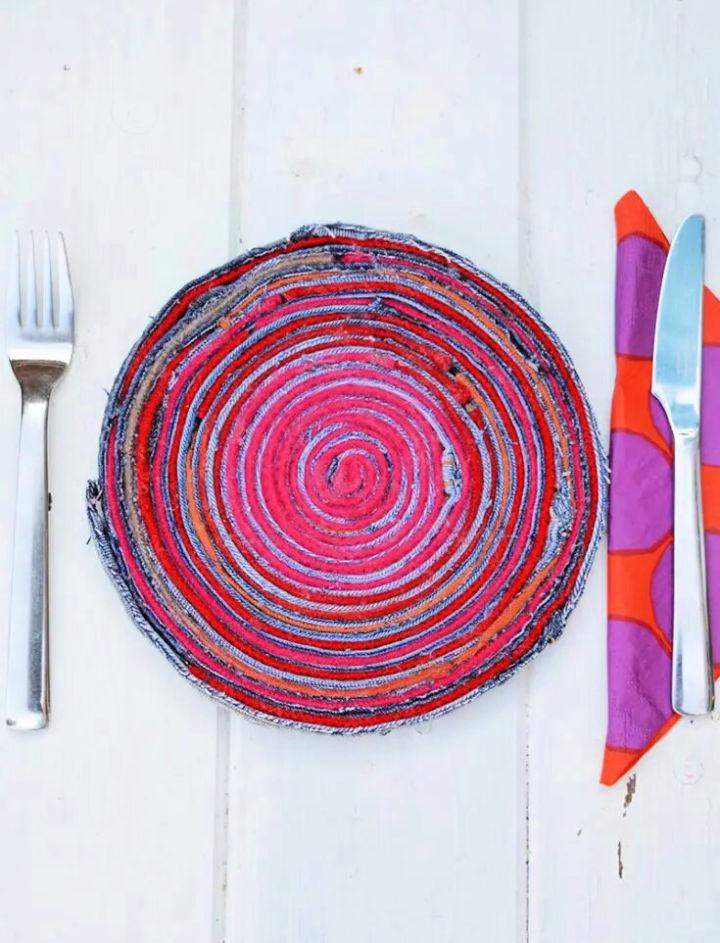
Upcycled denim fabric placemats bring a touch of cool, casual style to your dining area. By repurposing old jeans, not only are you making a durable dining accessory, but you're also making an eco-friendly choice. Their rugged texture and distinctive look make them a conversation starter at any table.
5. Making a Placemat without Sewing
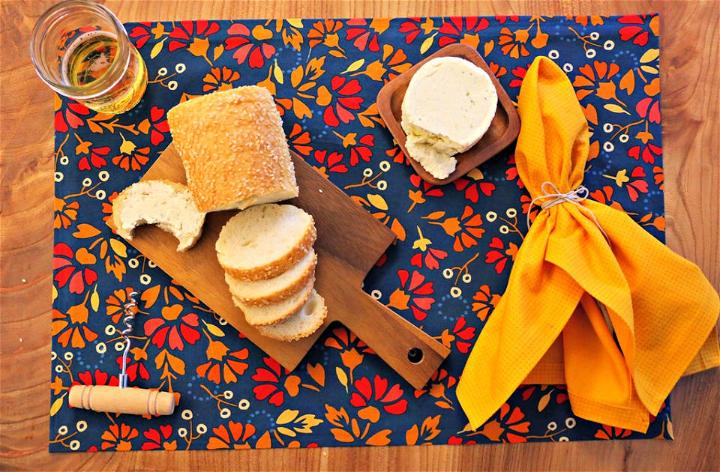
For those who prefer a no-sew approach, making a placemat without sewing offers an accessible DIY project. Utilizing adhesive interfaces or fabric glue, you can craft creative and customized placemats. This method is perfect for quick updates or crafting with kids, boasting both ease and endless possibilities.
6. Homemade Placemats from Fabric
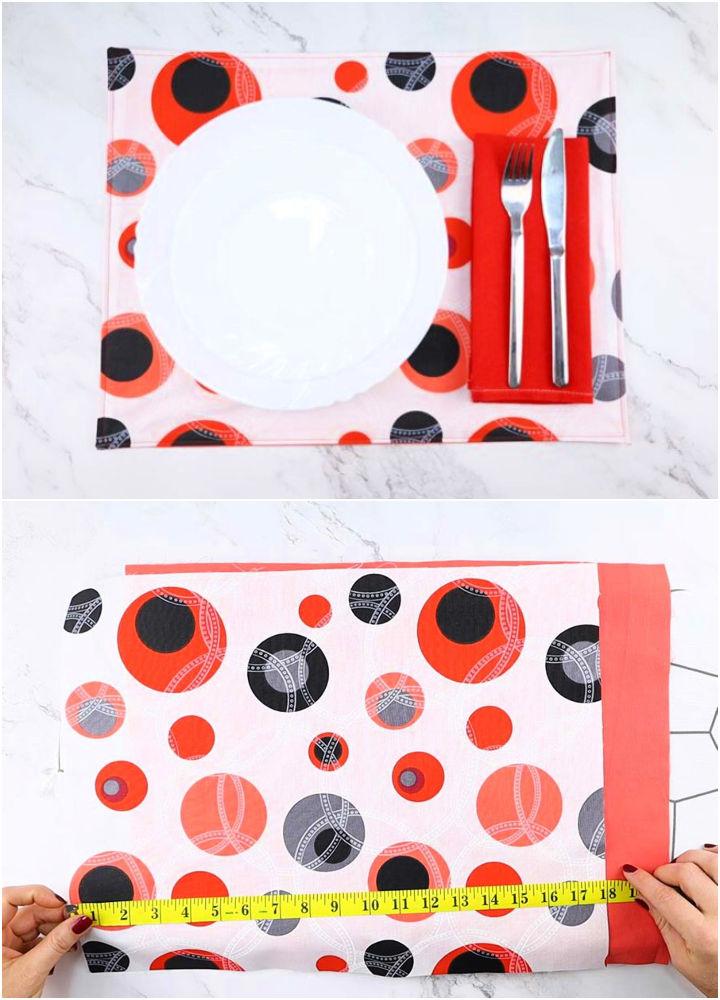
Homemade placemats from fabric allow for unlimited creativity and personalization. Whether you choose cotton, linen, or a blend, fabric placemats can complement any occasion or decor style. This DIY project is a delightful way to infuse your meals with a touch of homemade charm, making every dish served feel special.
7. DIY Reversible Placemats in 30 Minutes
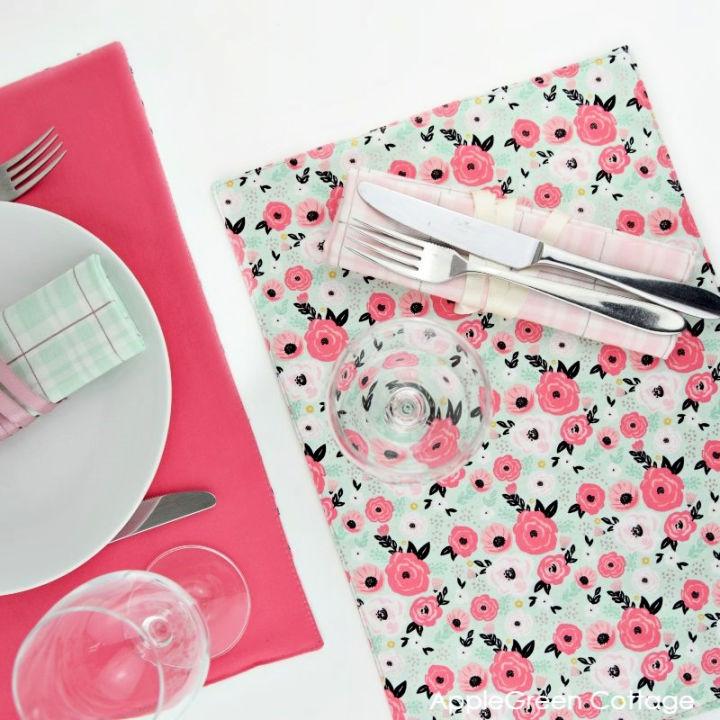
Achieve a refreshed table setting in no time with DIY reversible placemats in 30 minutes. This quick project is ideal for last-minute dinner parties or seasonal changes. Selecting two fabrics that suit your mood or decor can instantly update your table, making a significant impact in a short time.
8. How to Sew a Reusable Placemats
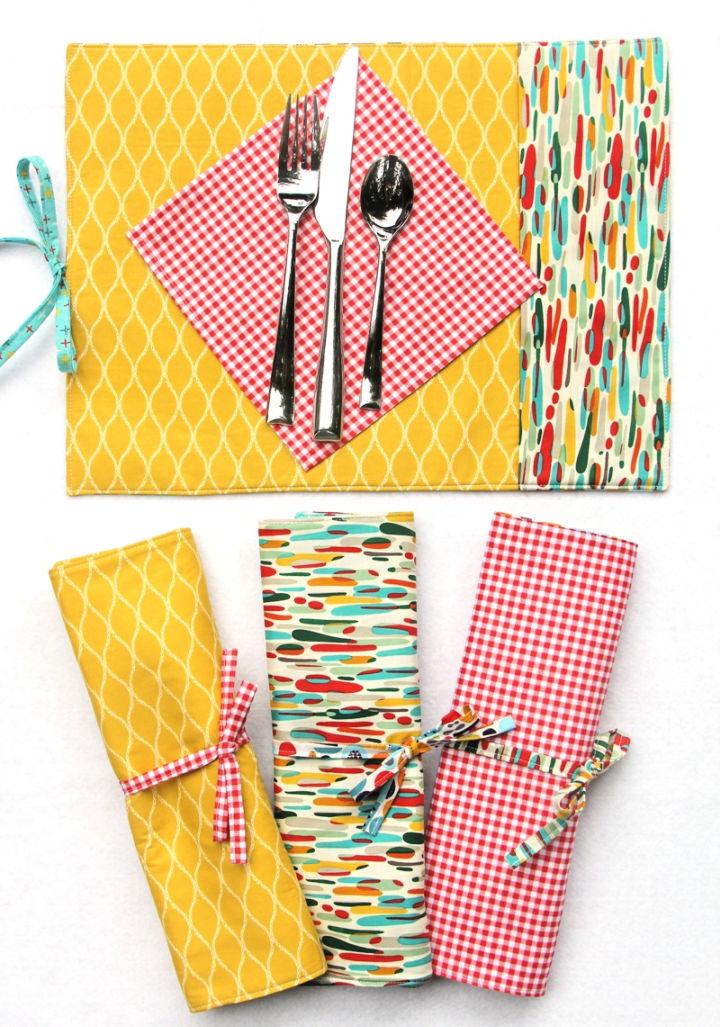
Embrace sustainability with sewing reusable placemats. By choosing durable and washable materials, you contribute to reducing waste, all while adding a personal touch to your table. This project encourages you to experiment with different fabrics, patterns, and colors, catering to every occasion and taste.
9. How to Make Quilted Placemats
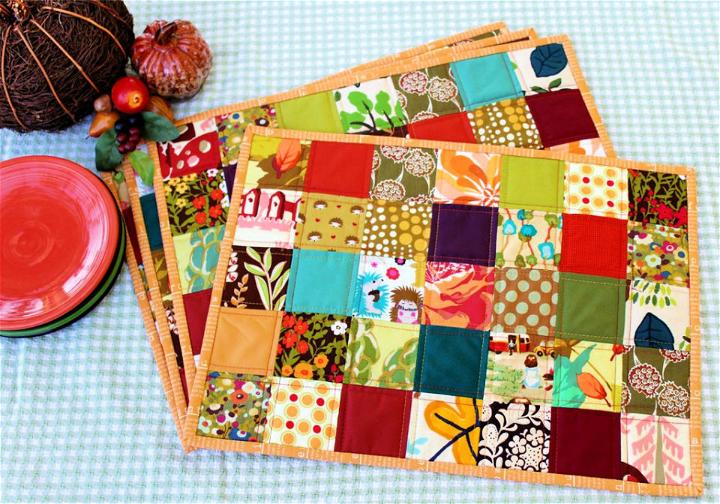
Lastly, quilted placemats offer a cozy, inviting look to your table. The quilting process not only adds visual interest through patterns and textures but also durability. Perfect for both everyday use and special gatherings, these placemats celebrate the love of crafting and the joy of sharing meals.
10. Sewing Your Own Placemats
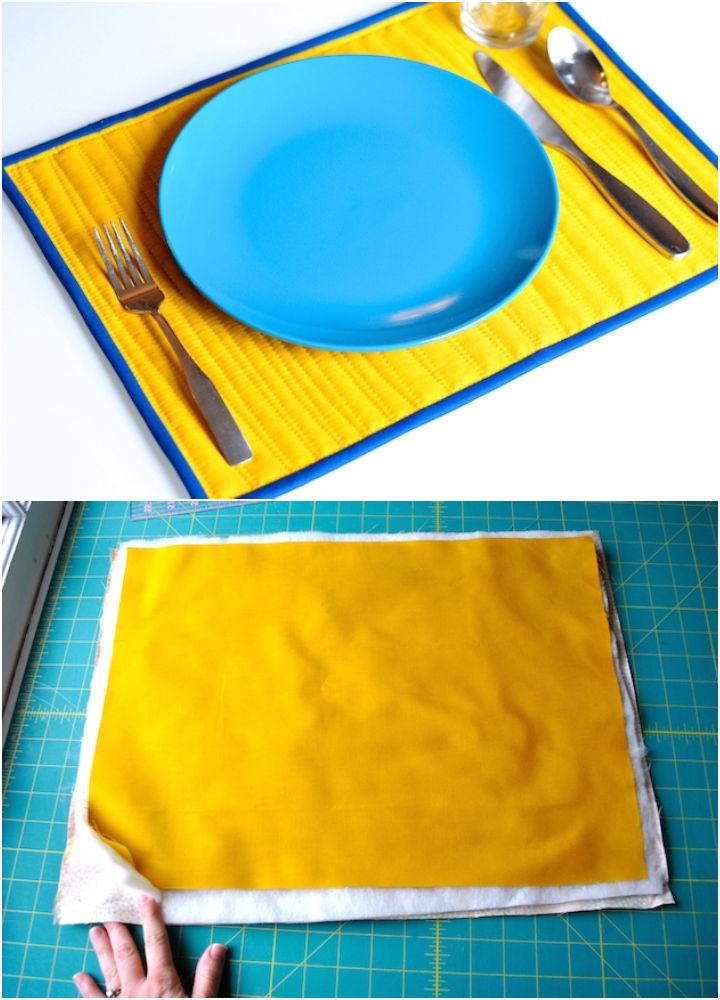
Sewing your own placemats can transform your dining area, adding a personal touch to meals. It's a fantastic way to tailor décor to your taste, utilizing fabric choices to match themes or seasons. Homemade placemats also make thoughtful gifts, showing off your crafting skills while offering a practical, customizable piece for someone's home.
11. DIY Kate Spade Placemats
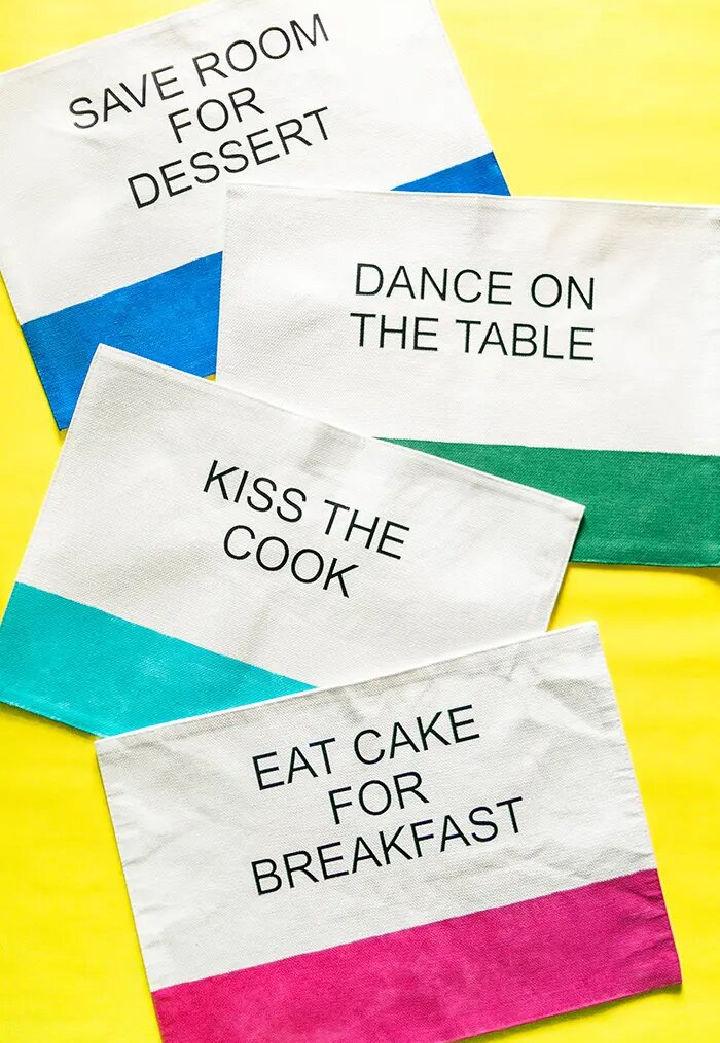
Making your own DIY Kate Spade-inspired placemats, you introduce a chic, designer look without the hefty price tag. It's all about mimicking that minimalist yet bold aesthetic, often featuring striking patterns or pops of color. This project allows you to bring a touch of luxury and fashion-forward design into your dining space, making each meal feel more special.
12. Make Your Own Speckled Placemat
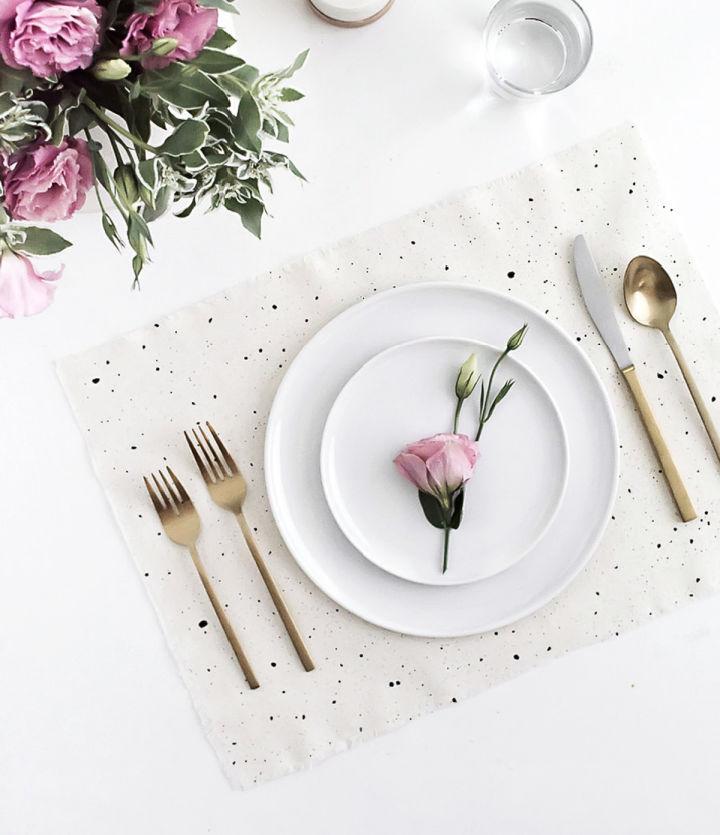
Making your own speckled placemat is a delightful project that adds a modern and artistic vibe to your table setting. Using paint to make a speckled effect, you can customize color schemes to match your décor, offering a unique, handcrafted feel. This approach is perfect for those who love a bit of a creative challenge with rewarding, stylish results.
13. DIY Placemat for Dining Table
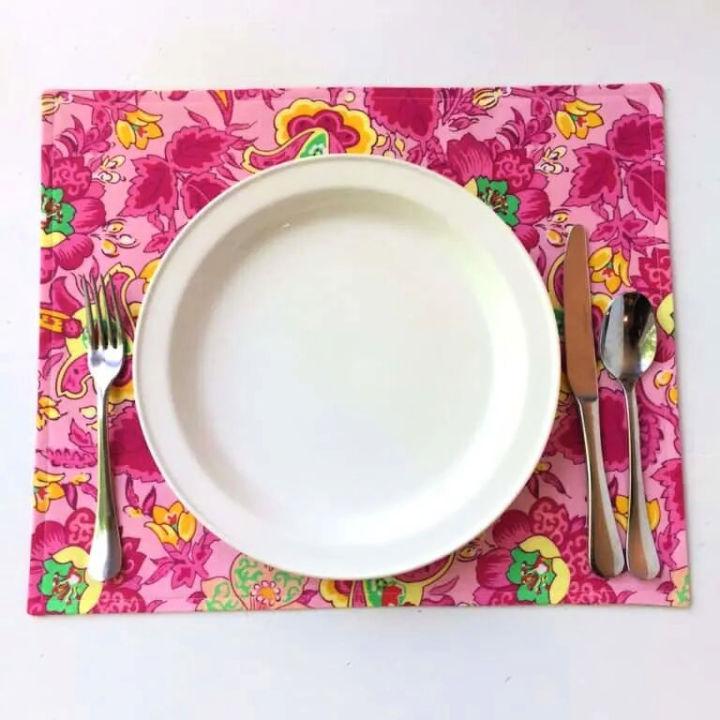
The DIY placemat for the dining table project helps you make a warm and inviting table setting. With materials and designs of your choosing, you can craft placemats that reflect your dining room's theme or occasion. This personalized approach ensures your dining area always feels welcoming and vibrant.
14. No Sew Fleece Placemat
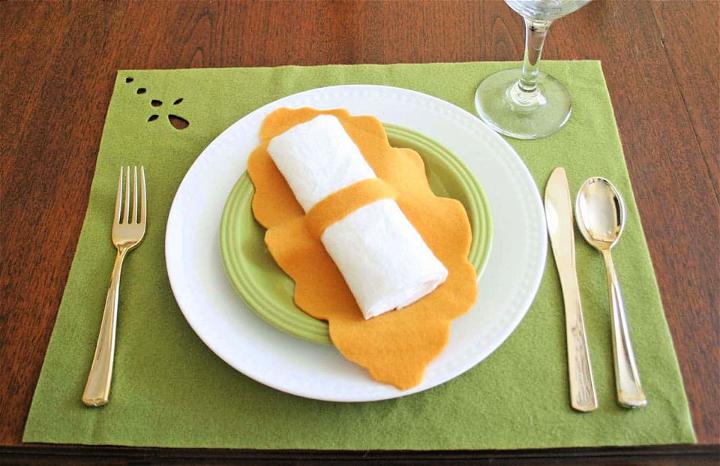
The no-sew fleece placemat is a quick and easy project perfect for beginners or those needing a fast update. Fleece as a material offers a soft, durable option, with various patterns and colors available. This method requires minimal tools, making it perfect for a last-minute sprucing up of your dining space.
15. Functional Placemats with Pockets
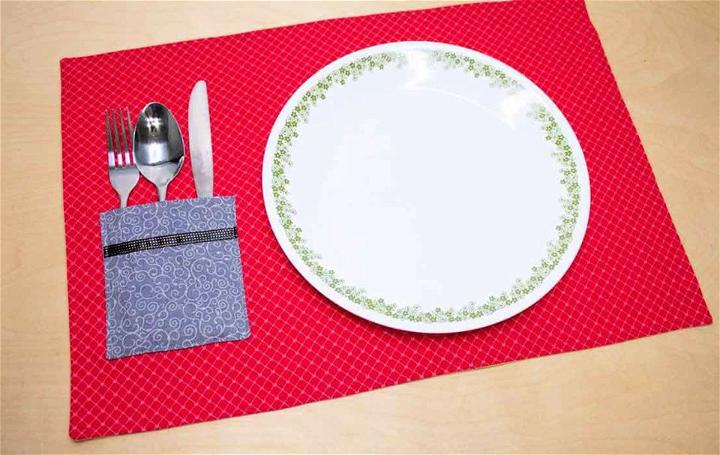
Functional placemats with pockets up the game by providing a neat solution for holding utensils or napkins, blending convenience with style. They're especially great for kids, outdoor dining, or themed dinners. Such placemats not only adorn your table but also reduce clutter and enhance dining efficiency.
16. Easy DIY Pinwheel Placemat
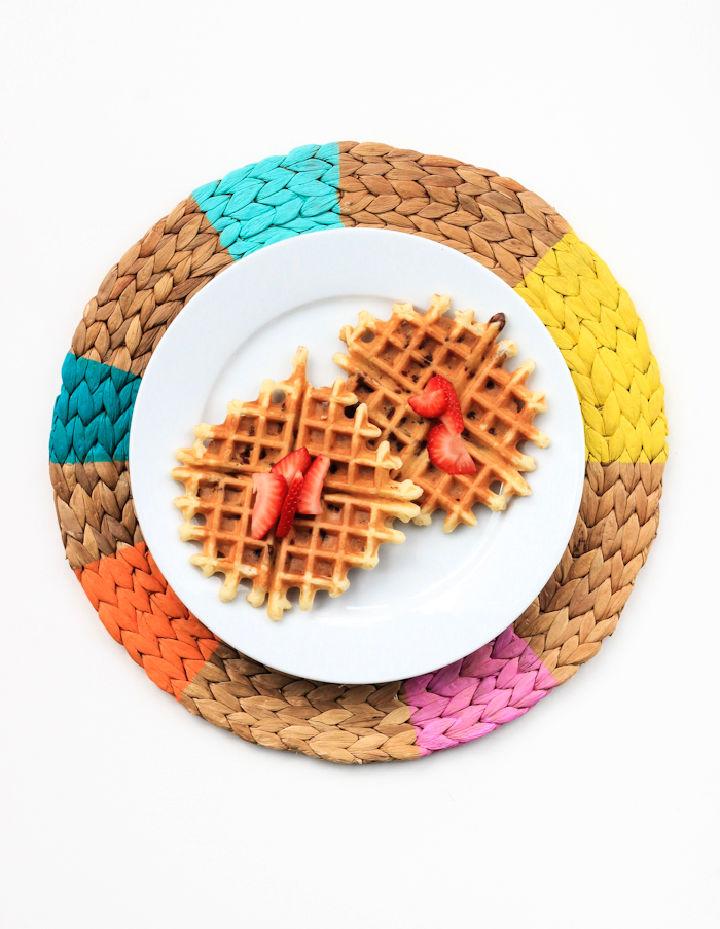
Easy DIY pinwheel placemats offer a playful and vibrant way to decorate your table. Inspired by the whimsical theme of pinwheels, these placemats can bring a fun pop of color and pattern, perfect for parties, spring, or summer gatherings. This project invites a joyful atmosphere to your dining experience.
17. Reversible Placemats Sewing Pattern
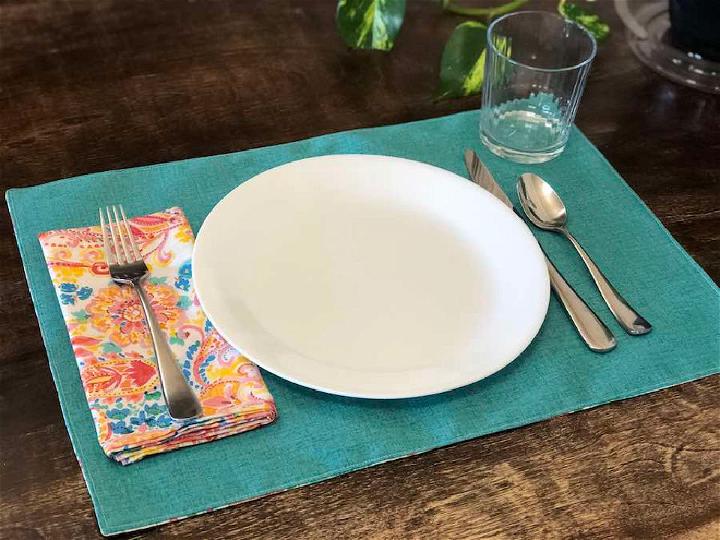
Adding reversible placemats to your table setting brings versatility and creativity to your dining experience. With a sewing pattern for reversible placemats, you can match them to seasonal decor or your mood, flipping them for a fresh look without needing a second set. It's a clever way to save space and spruce up your table with minimal effort.
18. Star of the Table Placemats with Batting
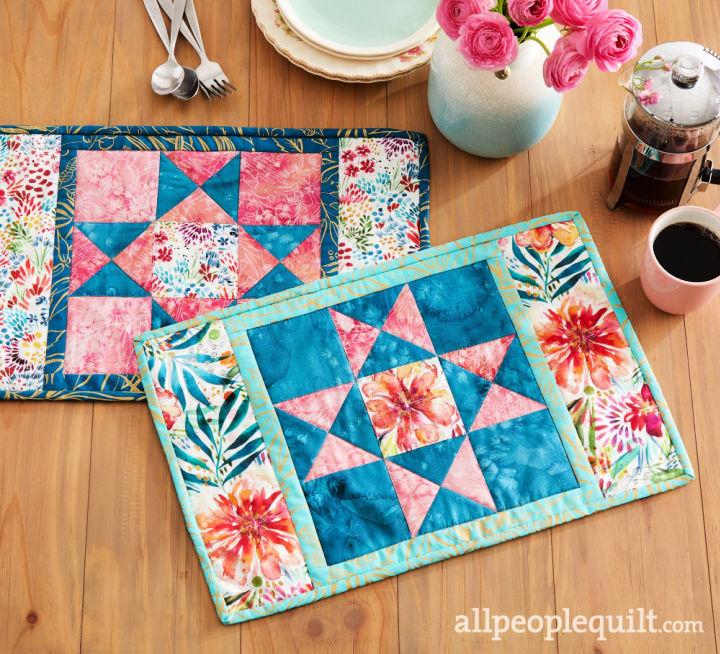
Star of the Table placemats with batting not only protect your table but also add a touch of elegance and warmth. The batting provides a cozy, quilted feeling, making your meals more inviting. These placemats are perfect for celebrations or everyday dining, bringing a unique charm to your table set-up.
19. Woven Thanksgiving Placemats for Preschool
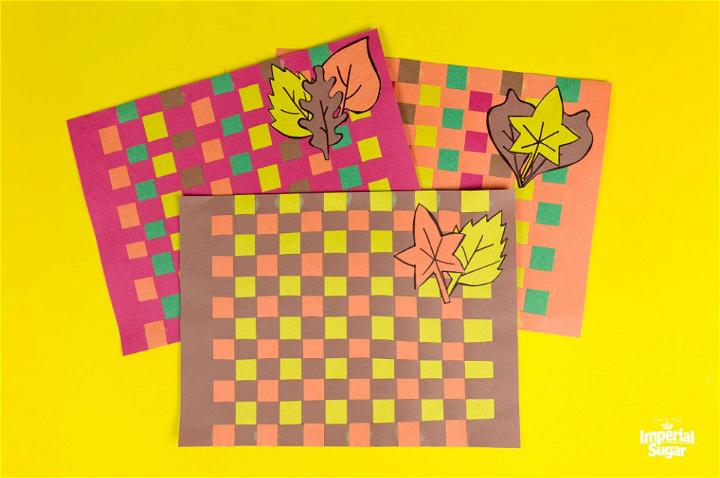
Woven Thanksgiving placemats add a creative and educational activity for preschool children, integrating art and celebration. Crafting these placemats can teach children about textures, patterns, and the Thanksgiving spirit, culminating in a festive and child-friendly table decoration that holds sentimental value and pride for their creation.
20. Painted Placemats with Fork Motif
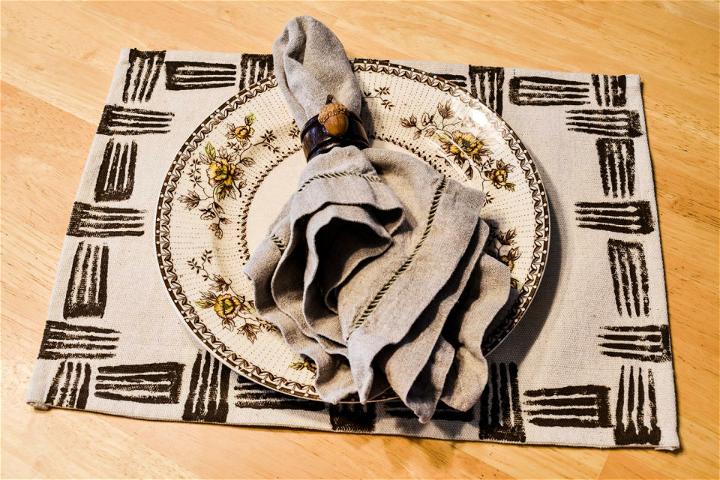
Painted placemats with a fork motif introduce a whimsical and personal touch to your dining area. This design not only sparks conversations but also highlights your culinary theme. They're an excellent choice for those looking to add a playful yet sophisticated edge to their dining table, perfect for dinner parties or casual dining.
21. Simple Placemats Sewing Pattern
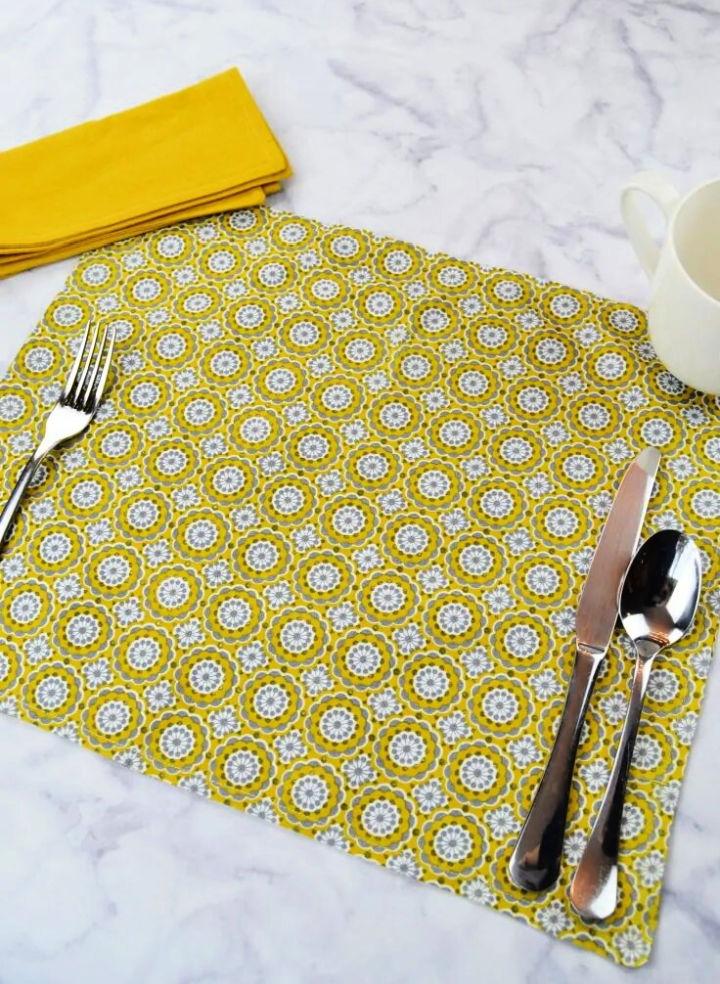
Sewing simple placemats can be a delightful beginner project for those dabbling in sewing. This pattern offers a straightforward, no-fuss approach to making elegant and functional tableware. It's a great way to personalize your dining space, making homemade meals even more special.
22. DIY Improv Placemat with 2 ½″Strips
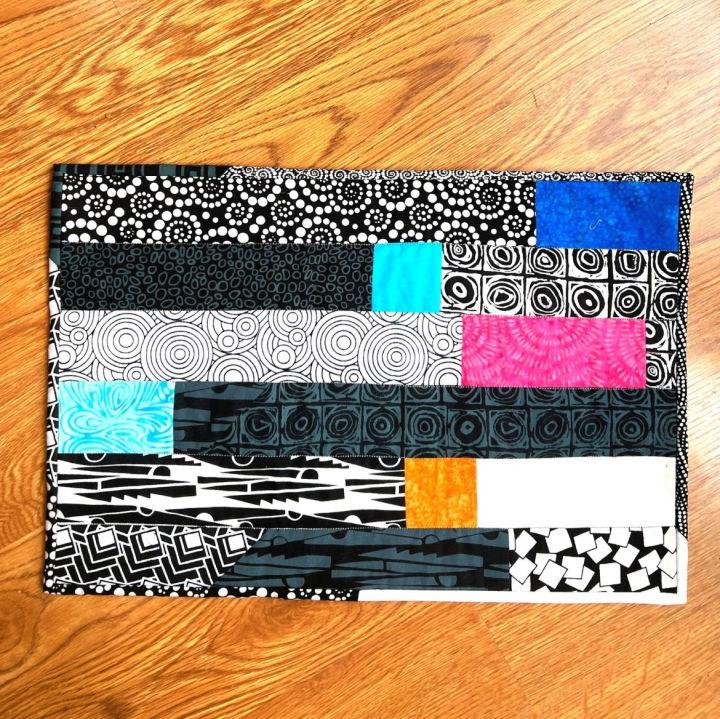
The DIY Improv placemat with 2 ½" strips project is all about embracing creativity and making something uniquely yours. This project allows for flexibility in design, encouraging you to mix and match fabrics for a vibrant table setting. It's a fun way to utilize fabric scraps, turning them into something beautiful and practical.
23. Sewing a Rectangular Placemats
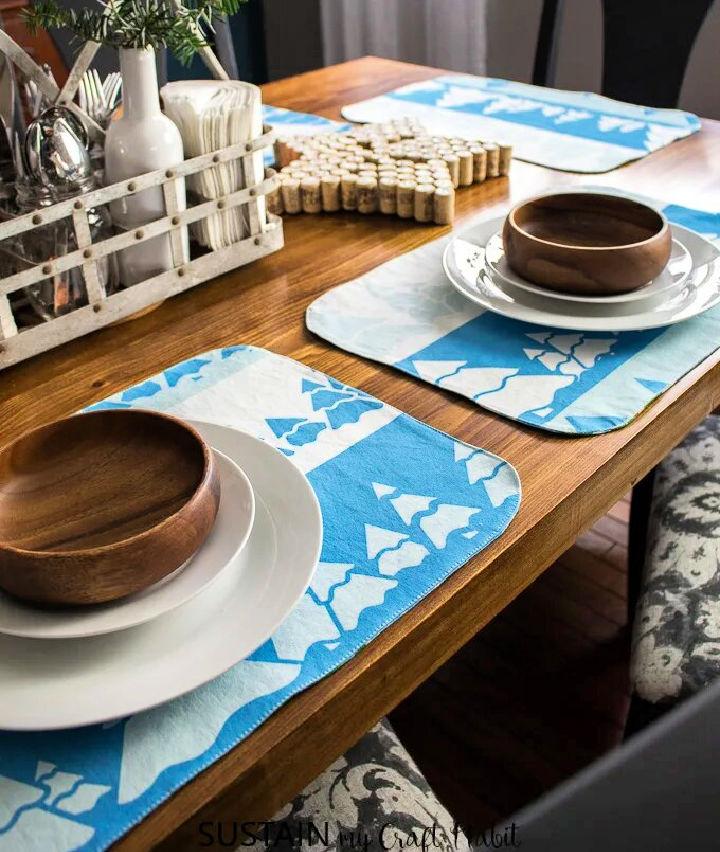
Sewing a rectangular placemat is a classic choice that never goes out of style. The shape is versatile, fitting well with most dishware, and offers a clean, polished look to your table setting. This project is suitable for sewers of all levels, allowing for customization in fabric and finishing.
24. DIY Placemat and Coasters for Kids
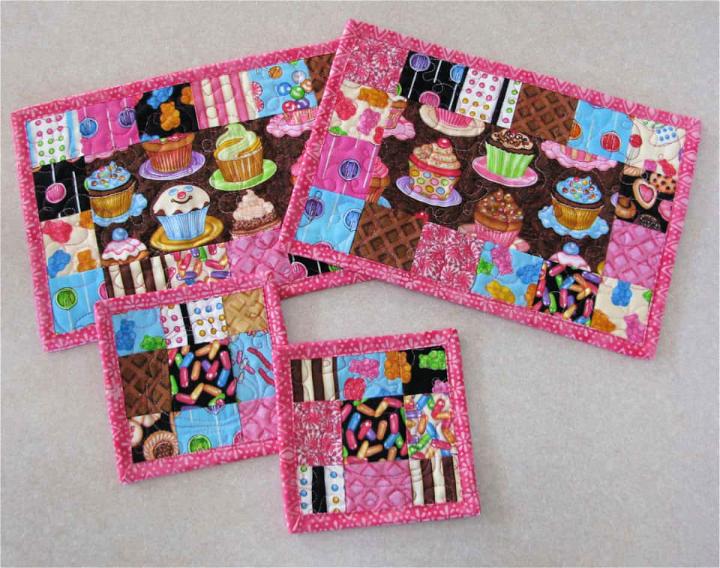
DIY placemats and coasters for kids transform mealtime into a fun, engaging activity. Using washable materials, children can personalize their dining space, making it more appealing for them to sit and enjoy meals. It's a fantastic approach to encourage good dining habits in a creative and enjoyable manner.
25. DIY Dollar Tree Placemat
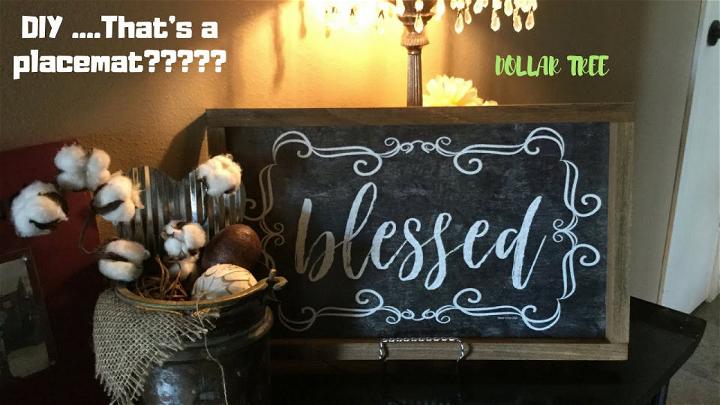
DIY Dollar Tree placemat projects involve leveraging affordable materials to make stylish and functional table decor. This endeavor is perfect for crafters on a budget, showcasing that elegance and practicality don't have to break the bank. It's a resourceful way to elevate your dining experience without compromising on style.
Conclusion:
In conclusion, DIY placemats are a fun and creative way to add a personal touch to your dining table. With endless design possibilities and simple instructions, crafting your own placemats can be a rewarding experience. Whether you're a beginner or a seasoned crafter, making DIY placemats allows you to unleash your creativity and showcase your individual style in a practical and delightful way.


