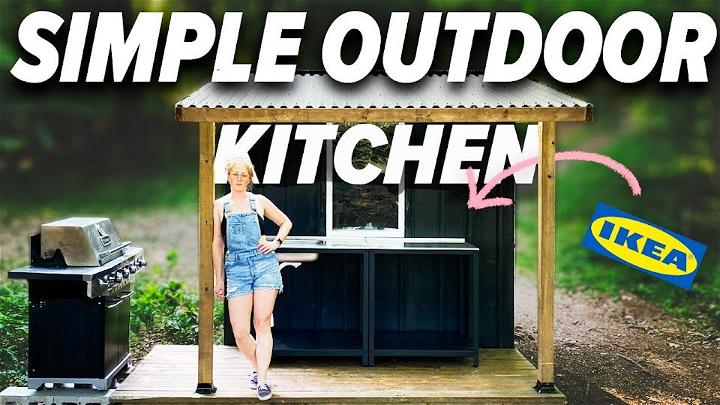
Building a DIY backyard grill station is a rewarding project that enhances your outdoor living space. This guide breaks down the process into manageable steps so you can build a grill station that not only looks great but can also close when not in use, keeping your space tidy and your grill protected from the elements.
Materials and Tools
Before you dive into the building process, gather the necessary materials and tools. You'll need treated lumber (2x4s and plywood), screws, nails, construction adhesive, staples, pneumatic stapler, circular saw, chalk line, palm router, engineered smart siding, roofing materials, hinges, gas struts, metal L brackets, outdoor rated finish, and paint.
Step by Step Instructions
Learn how to build your own DIY grill shelter with this step-by-step guide below:
Building the Base
- Assemble the Base Frame: Start with treated 2x4 lumber to build a skid foundation, ensuring your grill station is elevated off the ground. This prevents moisture buildup underneath.
- Plywood Top: Add a three-quarter-inch plywood sheet on top of the frame. Secure it with nails and trim the excess with a circular saw.
Constructing the Walls
- Cut Lumber: Save material by ripping 2x4s in half when feasible. It reduces costs and materials without sacrificing structural integrity.
- Side Walls: Use construction adhesive and screws (or staples for thinner plywood) to assemble the side walls. Arrange and secure the plywood panels with a pneumatic stapler for efficiency.
Adding the Roof
- Roof Rafters: Simplify your roof with a 5-degree angle for rafters, matching the width of a 2x4 for uniformity.
- Siding: For a chic look, opt for engineered smart siding for the exterior. Apply with adhesive and staples.
- Roofing: Install the roofing material, ensuring pre-drilled holes for the screws. Add a drip edge and trim to protect against water ingress.
Doors and Hatch
- Construct Doors: Use a similar method as the walls' construction. Install using hinges for smooth operation.
- Install the Hatch: Slightly more challenging, utilize removable pins in hinges for installation. Ensure alignment for seamless operation.
Interior and Exterior Finishing
- Cabinet: The interior features a simple 2x4 and pocket hole construction cabinet for utility and storage.
- Painting: Use urethane alkyd enamel paint for durability and an appealing finish. Comprehensive coverage ensures long-lasting protection.
- Countertop: Opt for a wooden countertop for affordability and ease. Glue and clamp pieces for a solid surface.
- Ventilation: Incorporate inexpensive grates on the top to allow hot air to escape, preventing moisture issues.
- Heat Protection: Install a heat shield around the grill area to protect the structure from high temperatures.
Accessories and Decor
Add shelving using practical brackets and wooden planks for additional storage. Decorative handles and accessories enhance the aesthetic and functionality of your grill station.
Final Adjustments and Enhancements
- Testing: Once completed, test your grill within the station to ensure ample ventilation and heat management. Address any issues with adaptive solutions like smoke stacks or air gaps.
- Relocation: Consider building your grill station in its final location or ensure it is easily movable for placement adjustment.
Video Tutorial
For a more in-depth look, watch this step-by-step video tutorial: This DIY backyard grill station is so cool - it closes when you're done!
It pairs well with this written guide, offering a visual representation of the mentioned techniques for an enriched learning experience.
Make a chic grill station to enhance outdoor cooking with tools, materials, and patience.
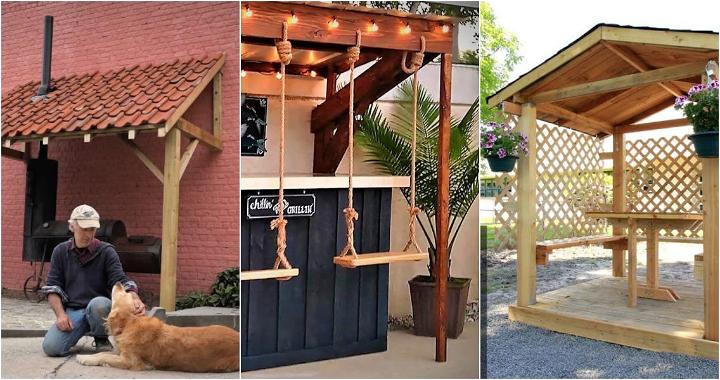
Discover 15 Easy DIY Grill Shelter Ideas to Protect Your Outdoor Cooking Space
1. Free Grill Gazebo Plan
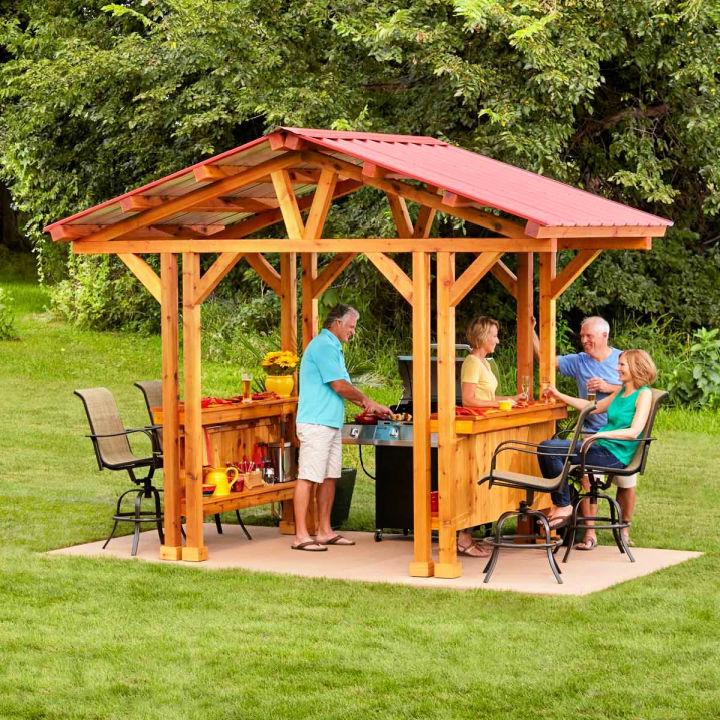
Do you love to BBQ in your backyard with your friends, especially in the summer evenings? If yes, you will surely need to add a grill gazebo to your yard for a better experience. It doesn't mean that you have to hire a professional or buy an expensive grill from a store. You can learn how to install a grill gazebo in your home garden yourself without any difficulty with this DIY plan. The difficulty level of this plan is intermediate. The required materials for this project are barn screws, joist hangers, cedar, pine sticks, galvanized brad nails, pine bracing, roofing panels, and woodworking tools. familyhandyman
2. DIY 4x8 Grill Shelter
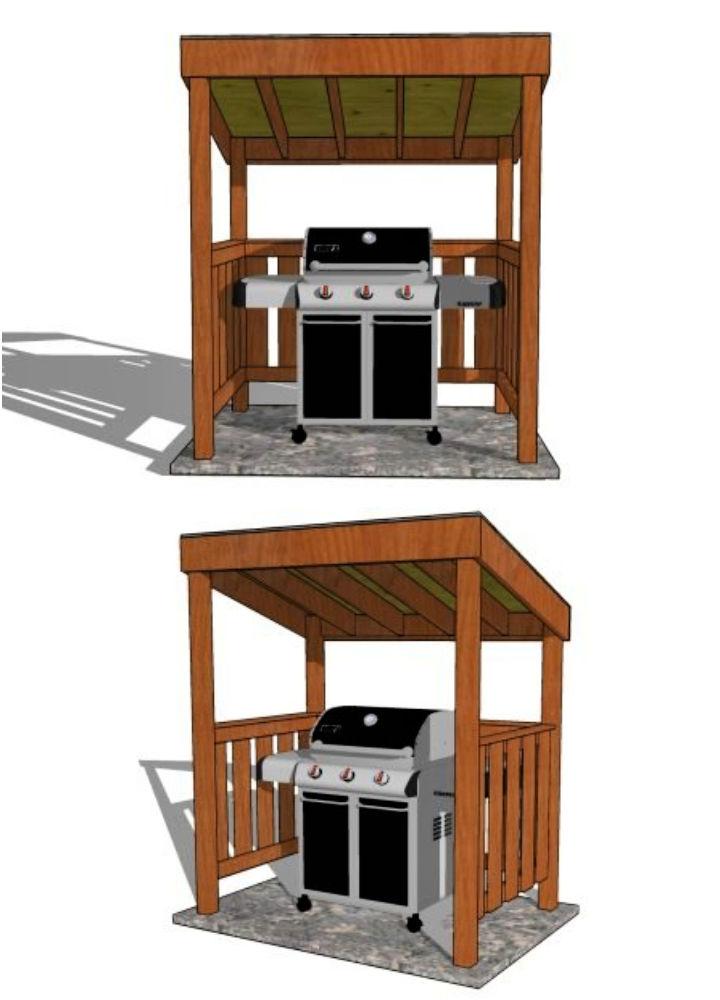
Consider this 4*8 grill shelter plan for your outdoor kitchen or simply a yard. You will love to know that you can install this shelter yourself within a few hours and steps with this super-easy DIY plan. you don't need to be a professional woodworker if you really want to make this shelter for your grill. The best thing is that you can also modify the size of the shelter according to your grill. So, start making it using wood boards, wood screws, a power drill, tape measure, brad nails, a nail gun, wood stain, a miter saw, and a screwdriver. myoutdoorplans
3. How to Build a BBQ Grill Shelter
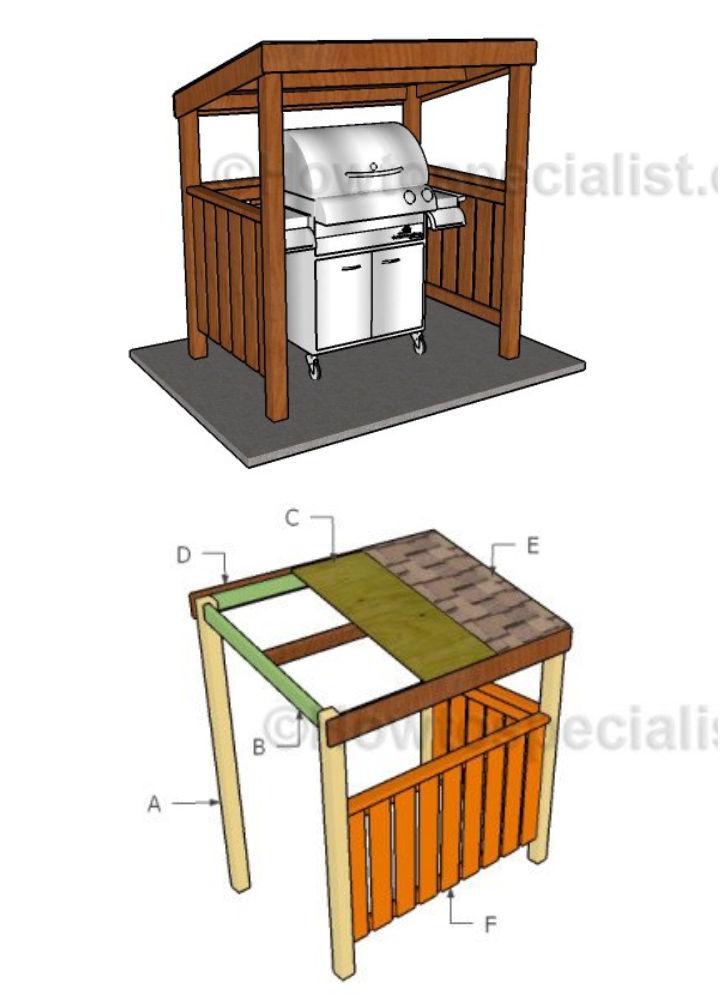
With this super-easy DIY plan, learn how to make a shelter for your BBQ grill without stepping out of your budget. If you are thinking about getting this shelter from a professional woodworker, it will surely cost you more than your budget. That's why it is a good idea to build a shelter to grill yourself. The needed supplies and tools to make this shelter are lumber boards, plywood, tar paper, screws, asphalt shingles, miter saw, jig saw, spirit level, drill machinery, chalk line, and tape measure. howtospecialist


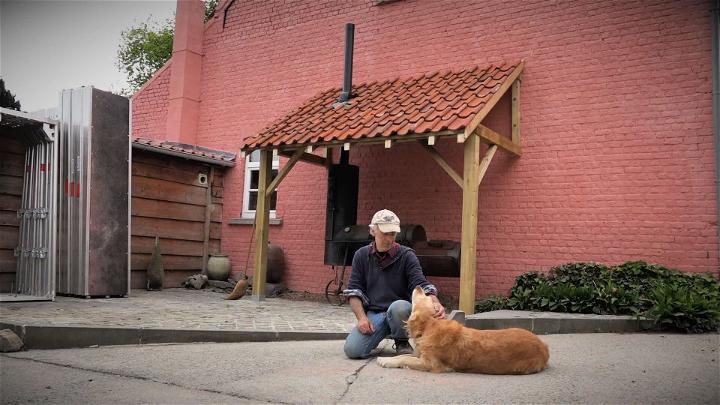
4. Free Wooden BBQ Grill Shelter Plan
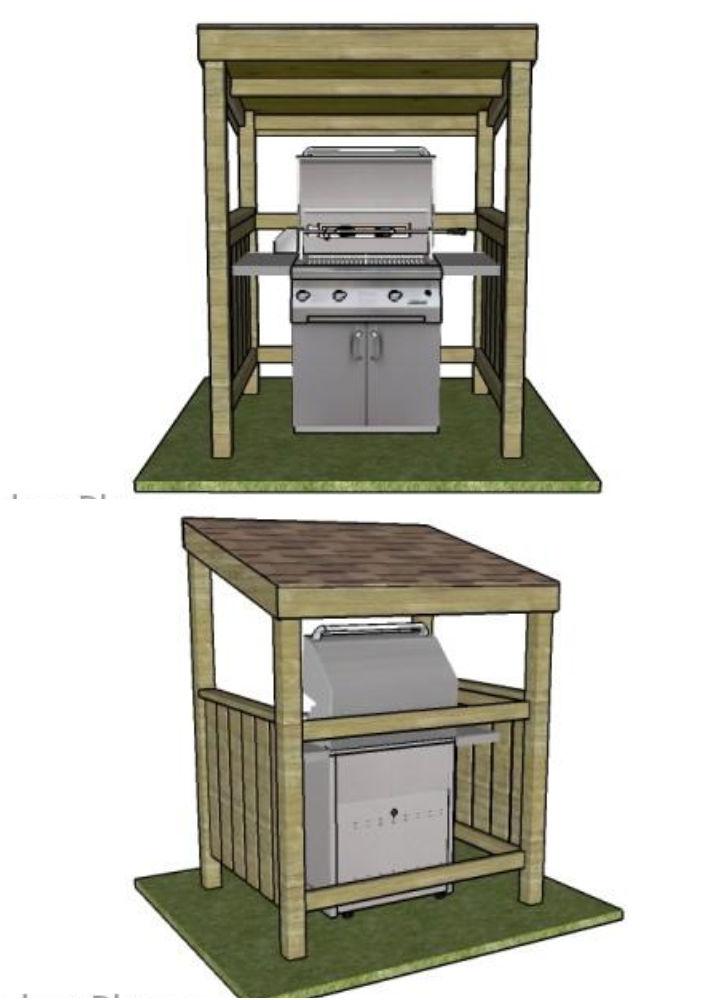
Are you looking for an interesting and productive DIY woodworking project? If yes, nothing would be a better option than working on this free wooden grill shelter plan. Indeed, this shelter would be the best way to protect your stainless-steel grill in any season. The items and tools you will need to build this shelter include lumber, plywood, wood screws, wood glue, a miter saw, a table saw, a power drill, nails, a nail gun, a sander, screwdriver, drill bits, and framing square. Modify the dimensions of this shelter according to the size of your grill. myoutdoorplans
5. Building a Covered BBQ Grilling Area
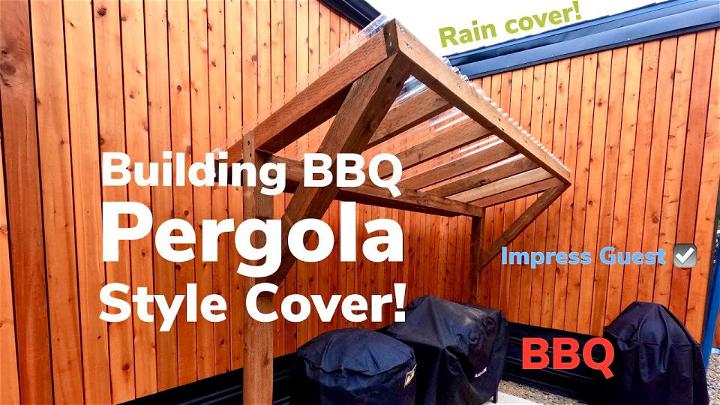
This covered BBQ grilling area is an ideal consideration for a rainy or cold season. You can keep your grill safe from different seasons without any difficulty with this covered shelter. The best thing is that you can build this covered area yourself using your intermediate-level woodworking skills. Even though it is super-easy to make this shelter, you can still watch the video tutorial for detailed steps and instructions. This pergola-style covered BBQ area would be a great revamping option for your backyard. You can also get used supplies and tools details to make this cover by watching the tutorial.
6. DIY BBQ Cover for Under $300
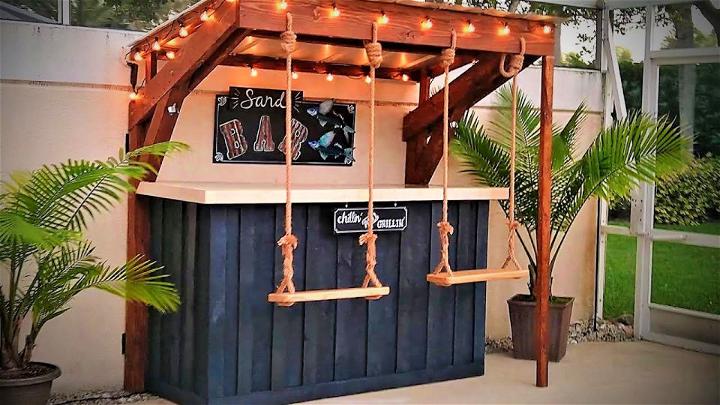
Having a small or moderate budget doesn't mean that you cannot add a shelter to your grill. You can surely go for a considerable DIY plan to build an affordable shelter for your grill. If you are still looking for an idea, this DIY plan is surely for you. All you need to do is watch the video tutorial to make a BBQ cover for under $300. The best thing about this cover is that it will also add some style to your backyard or outdoor kitchen area. Add swing chairs next to this BBQ cover to make this area a little bit more appealing.
7. Handmade Backyard Gazebo for $500
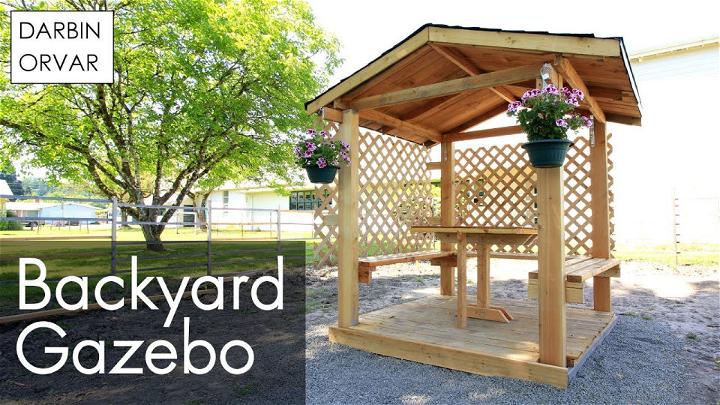
Do you want to add comfortable sitting space to your yard without investing too much money? If yes, this DIY backyard Gazebo plan is surely for you. You can construct this gazebo for your yard for $500 without any difficulty. Even if you are an intermediate-level woodworker, you can still go for this activity by watching a tutorial and following the detailed steps. The needed supplies for this DIY plan are wood boards, plywood, wood screws, wood glue, tape measure, miter saw, power drill, speed square, clamps, table saw, sandpaper, and wood stain.


8. Homemade BBQ Shack for Backyard
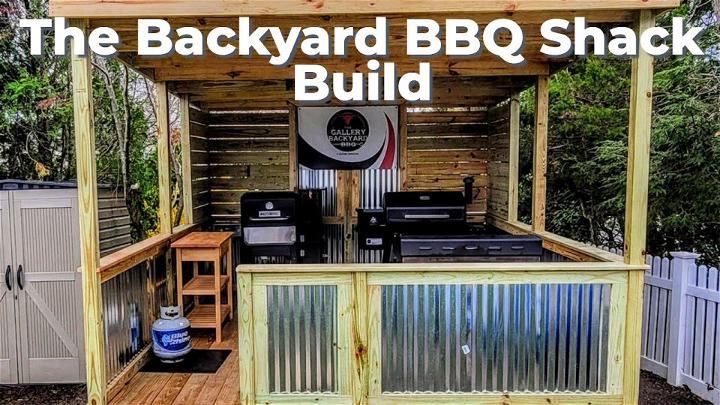
This homemade BBQ shack can also be used as an outdoor kitchen. This shack is an ideal consideration to make your backyard a little bit more comfortable and productive especially for gatherings. You will surely enjoy making your BBQ under this shack even in the cold evening. To make this shack in an exact pattern, ensure to watch the video tutorial. Moreover, you can also get the needed tools and supplies details to make this shack by watching the tutorial. This shack can also be used as a permanent outdoor kitchen area.
9. DIY Pergola Over the Grill
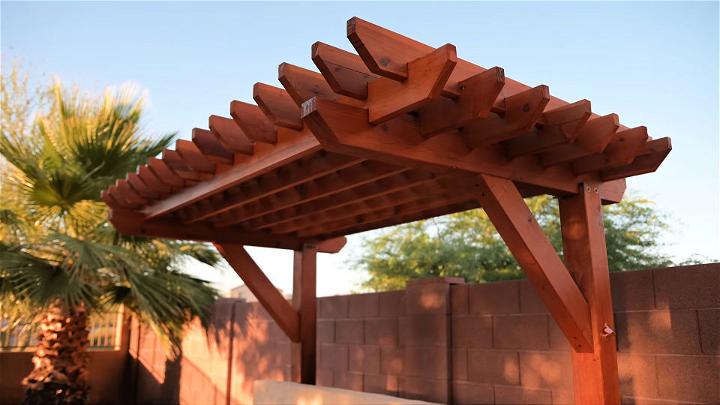
Do you want to keep your grill safe and long-lasting? If yes, it wouldn't be possible without a cover over a shelter. We have a DIY plan that will help you to build a pergola for your grill within a few steps. You can consider working on this idea on a weekend using your intermediate-level woodworking skills. If you still need guidelines and instructions, consider watching the video tutorial for detailed steps. The best thing is that you can modify the height, width, or other dimensions of this pergola according to the specifications of your grill.
10. Outdoor Rustic Grill Station With Roof
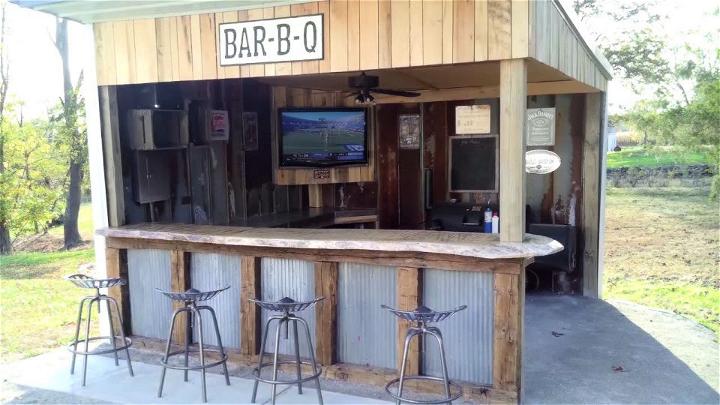
This outdoor rustic grill station is an ideal consideration if you are looking for an affordable outdoor grilling area. You can simply place your grilling machines or stoves in this station without any difficulty. Moreover, you can also enjoy making or having a BBQ with your friends around this station. It would be best to add a small sitting space by placing some chairs in this station to make it a little bit more comfortable. If you are going to build this station for the first time, it would be best to watch the tutorial for detailed steps and considerations.
11. DIY Outdoor Cooking Shed
Add this DIY shed to your outdoor cooking area to keep it safe, especially in the rainy season. You will love to know that you can build this shed for your grill or outdoor stoves yourself easily with this DIY plan. This plan also includes a video tutorial to offer step-by-step instructions and guidelines for intermediate-level woodworkers. To build this shed, the needed supplies are lumber, shed strips, power drill, wood screws, nails, a nail gun, screwdriver, miter saw, table saw, tape measure, sandpaper, and wood stain.

12. Ultimate BBQ Pit Deck With Slant Roof Cover
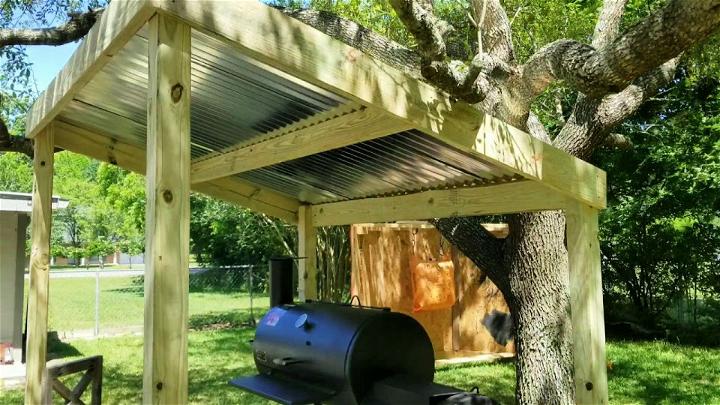
This ultimate BBQ pit deck with a slant roof is an ideal consideration if you have small space in your yard for placing the grill separately. You can keep your BBQ grill station safe and appropriately covered under this slant roof. Excitingly! it is super-easy to construct this slant roof even for non-professional DIY woodworkers to make a roof by watching the video tutorial. If you also want to work on this DIY idea, it would be best to make a layout of a slant roof first even before buying supplies for desired or exact results.
13. DIY Grill Shelter for Back Patio
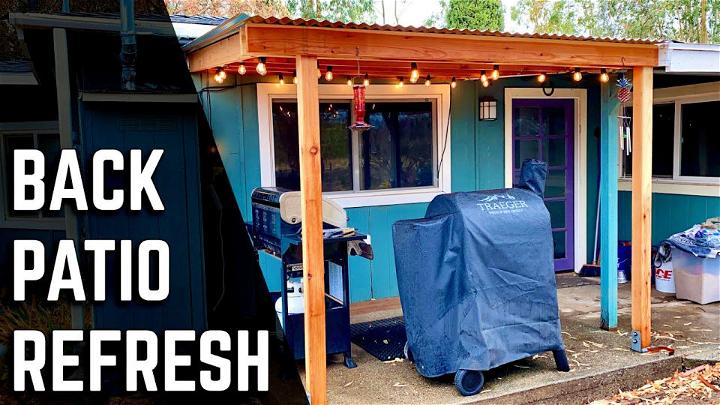
Are you looking for an affordable and quick patio makeover idea? If yes, what could be a better option than adding a grill shelter to your patio? Of course, it would be the best idea to enjoy a BBQ or grilling session with your friends in any season. If it is your first DIY grill shelter project, make sure to watch the video tutorial for step-by-step instructions and guidelines. You can modify the dimensions or design of this patio grill shelter according to your needs and requirements. However, it would be best to take start with small steps. You can use lumber or plywood boards to build this shelter inexpensively.
14. Make Your Own Grill Enclosure with Roof
Learn how to make your own grill enclosure with a roof within a few hours with this super-easy DIY plan. You will love to know that this DIY plan also comes with a video tutorial. So, it would be easier and full of fun even for the intermediate-level woodworkers to work on this idea. Indeed, this plan would be the best way to get a simple outdoor kitchen without stepping out of your budget. You can also add a wood base to this enclosure if you don't want to build it directly in your yard. Watch the video tutorial to get used supplies and tools details for this grill enclosure.
15. Building a 8x5 Saxon Grill Gazebo
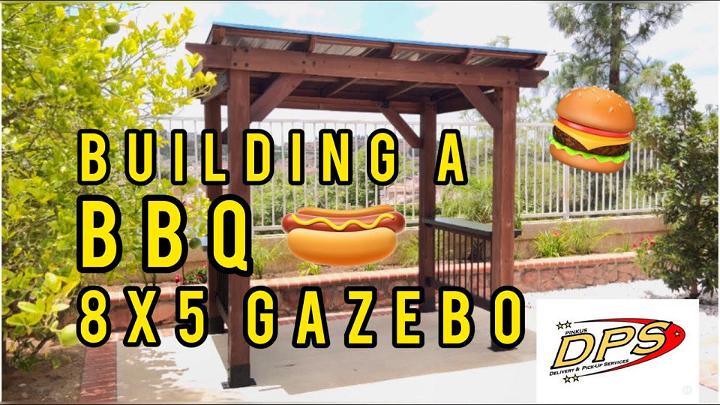
Consider this video tutorial to learn to make an 8*5 Saxon grill gazebo yourself. All you need to do is watch the video tutorial to get your hands on an exact gazebo for your yard. Once you have understood all steps, you are all set to build this gazebo without any difficulty. The needed supplies and tools for this Saxon gazebo are lumber boards, plywood, wood screws, power drill, drill bits, tape measure, brad nails, a nail gun, table saw, miter saw, clamps, outdoor wood stain, and sandpaper.
Conclusion:
Wrapping up, these 15 easy DIY grill shelter ideas provide practical and creative solutions to protect your outdoor cooking space. From simple constructions to more elaborate designs, there is something for every homeowner looking to keep their grill safe and functional. Implementing these shelter ideas will not only enhance your outdoor cooking experience but also prolong the life of your grill.
Related posts:
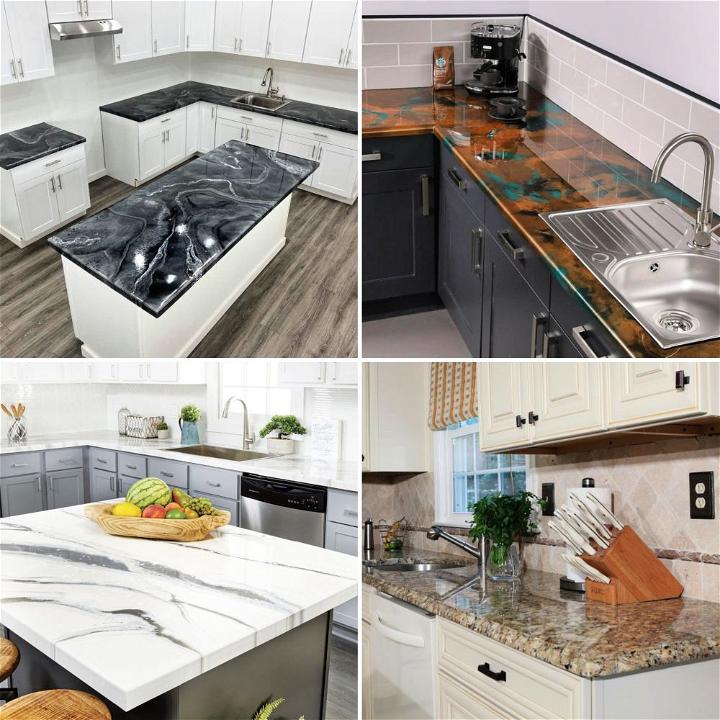 DIY Epoxy Countertops - Step by Step Instructions
 DIY Macrame Curtains - Step by Step Instructions
 DIY Garage Cabinets - Step by Step Instructions
 DIY Axe Throwing Target - Step by Step Instructions
 DIY Pontoon Boat - Step by Step Instructions
 DIY Rooftop Tent - Step by Step Instructions
 DIY Welding Cart - Step by Step Instructions
 DIY Power Hammer Plans - Step by Step Instructions
 DIY Tonneau Cover - Step by Step Instructions
 DIY Placemats - Step by Step Instructions
 DIY Engine Hoist - Step by Step Instructions
 DIY Wall Sconce - Step by Step Instructions