Making a glitter tumbler can seem daunting for beginners. However, with this step-by-step guide, you'll be able to craft a beautiful and durable glitter tumbler from scratch. We'll cover everything from preparing your cup to applying the final coats of epoxy.
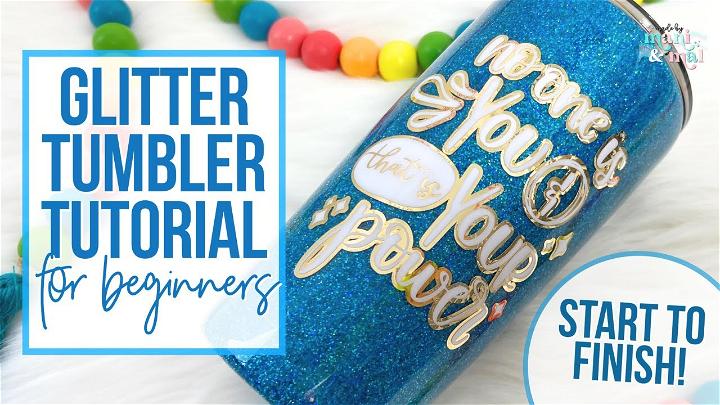
How to Make a Glitter Tumbler - Step by Step Guide
Learn how to make a glitter tumbler in this step-by-step guide. Make a stunning and personalized tumbler with our easy tutorial.
Step by Step Instructions
Step 1: Prep Your Tumbler
- Sanding the Cup: Begin by sanding the surface of your tumbler using an 80 or 60 grit sanding block or band. This roughens the surface, allowing paint, glitter, and epoxy to adhere better. After sanding, your cup should have visible sanding marks.
- Cleaning: Wash off the sanding residue with dish soap and water or use rubbing alcohol. Ensure the cup is completely dry before proceeding.
Step 2: Apply Base Coat
- Choosing Paint: Select a paint color that matches your glitter. This provides better coverage so you may only need one coat of glitter.
- Painting: Apply one coat of acrylic paint using a fluffy brush for a smooth finish. Let it dry for about an hour.
Step 3: Applying Glitter
- Epoxy Method: Mix a small amount of epoxy and apply a thin coat to the tumbler. Immediately sprinkle your chosen fine cut glitter over the wet epoxy, ensuring full coverage.
- Sealing the Glitter: Allow about four hours for the epoxy to cure, then seal the glitter using a watered-down glue mixture or a clear spray sealer. This step is crucial for a smooth final finish.
Step 4: Applying Epoxy Coats
- First Coat of Epoxy: After the sealer has dried, mix and apply a layer of epoxy over the glitter. Use enough to cover but not so much that it drips or sags. Let this coat cure for at least four hours.
- Second Coat of Epoxy: Apply a second epoxy coat for added durability and smoothness. Let it cure overnight.
Step 5: Sanding and Preparing for Decals
- Sanding: Lightly sand the tumbler to smooth out any rough patches or bumps, focusing on the rim and bottom.
- Cleaning: Wash and dry the tumbler thoroughly to remove any dust from sanding.
Step 6: Applying Decals
- Selecting and Cutting Decals: Choose your decal design. For an elevated look, consider using an offset—a background layer that makes the main decal stand out.
- Applying the Decal: Carefully transfer your decal to the tumbler. If you're using an offset, apply it first, followed by the main decal layer.
Step 7: Final Epoxy Coats
- Sealing the Decal: Apply a thin layer of polycrylic over the entire tumbler, including over the decal, to seal it. This prevents lifting and bubbles.
- Final Epoxy Coats: Once the sealer is dry, apply one to two final coats of epoxy, ensuring each coat is smooth and bubble-free. Allow the tumbler to cure for the recommended time.
Step 8: Finishing Touches
- Cleaning the Rim: Use a craft knife to clean up any excess epoxy around the rim.
- Washing the Tumbler: Wash the tumbler with soap and water, ensuring it's perfectly clean.
- Curing: Allow your tumbler to fully cure based on the epoxy manufacturer's recommendations before use or shipping.
Video Tutorial
For a visual step-by-step guide on making a glitter tumbler, watch this YouTube video tutorial.
It pairs well with this written guide, showing the techniques discussed here in an engaging and easy-to-follow format.
By following these steps and utilizing the resources provided, you'll make a glitter tumbler that's both beautiful and durable. Happy crafting!
Discover 25 Stunning DIY Glitter Tumbler Ideas to Add Sparkle to Your Drinkware Collection
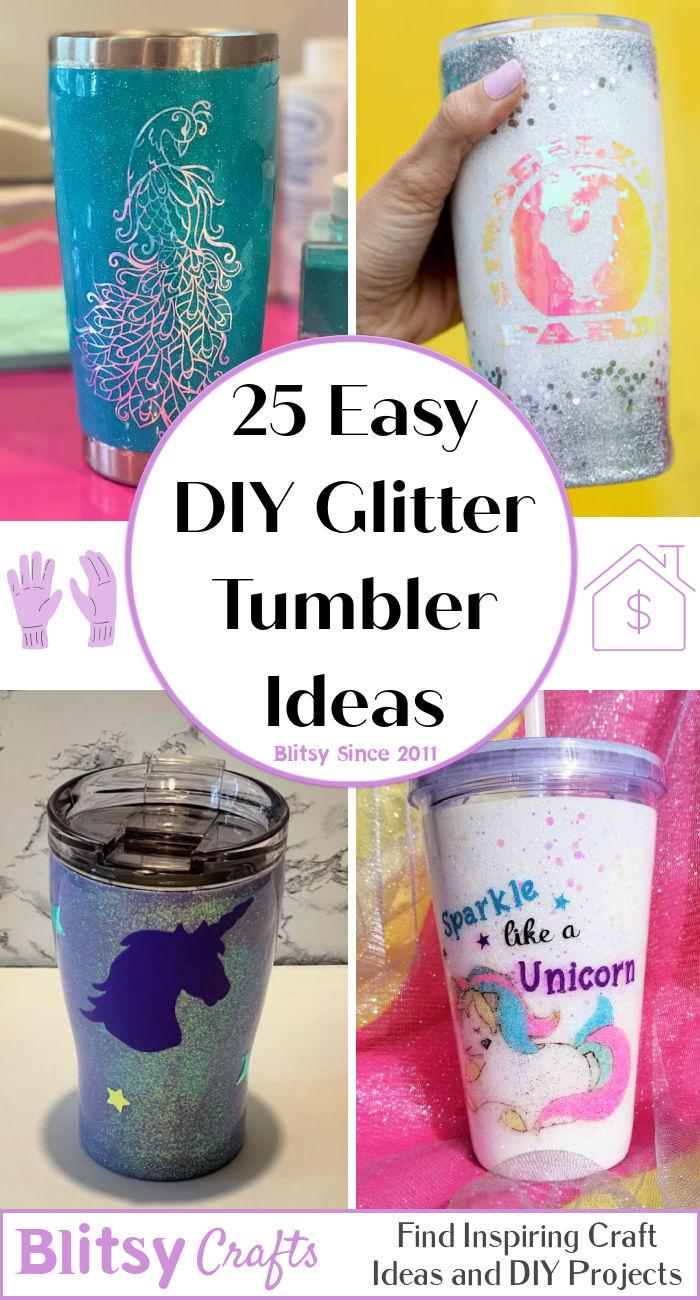
1. Rainbow Glitter Tumblers with Cricut
Do you want to have some glitter tumblers in your collection? If yes, don't consider buying the tumblers from a store or a shop. Excitingly! You can craft adorable and magical glitter tumblers yourself using your Cricut skills. Even if you are unfamiliar with the Cricut machine, you can still go for this activity by following this DIY's guidelines and instructions. For sure, this glitter tumbler would be a perfect gifting option for your friend. So, craft it using an insulated wine tumbler, painter's tape, spray paint in rainbow colors, glitter, resin, Cricut explorer, transfer tape, premium vinyl and a weeding tool. happinessishome
2. Personalized Resin Glitter Tumblers
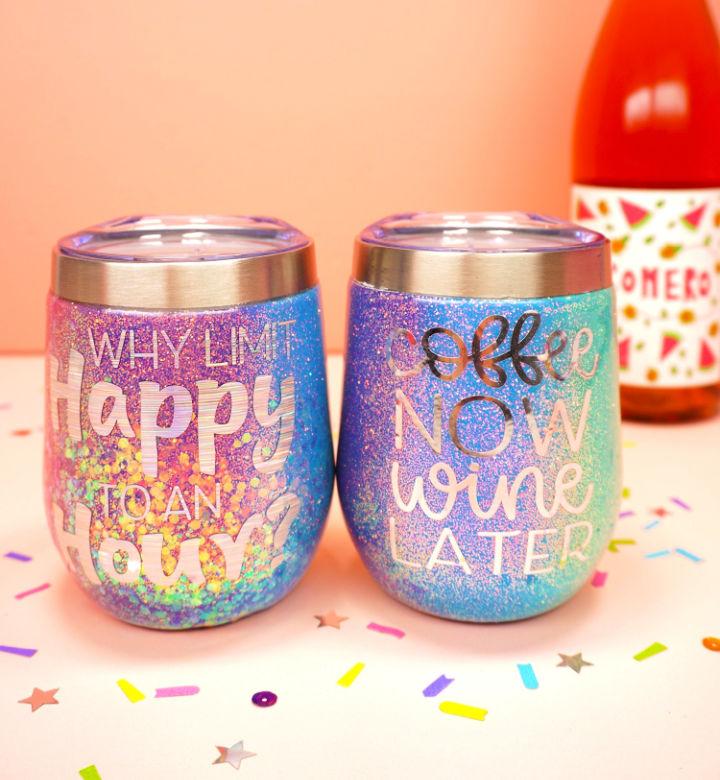
Learn how to make super-fascinating personalized glitter tumblers yourself with this DIY plan. Even if you are going to make these tumblers for the first time, you can still work on this activity proficiently with the help of written guidelines and instructions. This tumbler will be the best consideration if you love to add some colors to your table. The needed supplies for this personalized tumbler are stainless steel tumbler, clear cast resin, wooden popsicle sticks, powdered Mica, a heat gun, sandpaper, Isopropyl alcohol and paper towels. Ensure to clean the tumbler appropriately before pouring resin on it. craftbuggy
3. DIY Glitter Tumblers with Epoxy
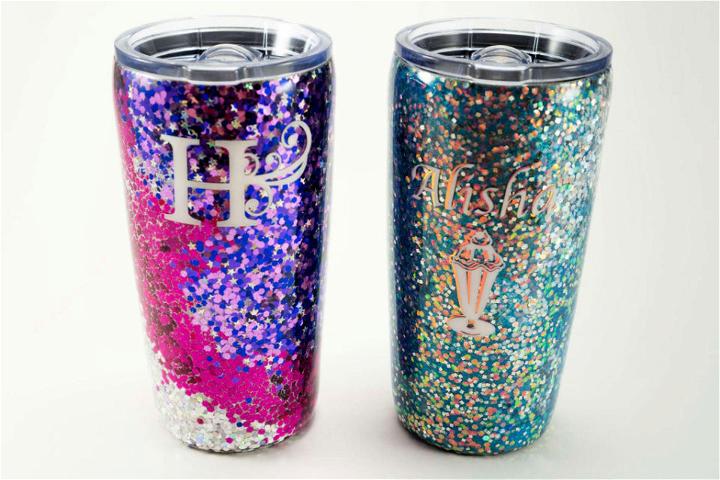
Do you know some basic tips about epoxy resin? If yes, you can use that knowledge to DIY a really adorable and colorful glitter tumbler. Even if it is your first attempt to make a customized tumbler, you can still go for it by following detailed steps and illustrations. The things you will need to make this tumbler include a stainless-steel tumbler, paint spray, painter's tape, mod podge, silicone brushes, fine glitter, clear coat spray, epoxy, popsicle sticks, gloves and measuring cups. It would be best to paint the tumbler before spraying the glitter all over it. silhouetteschool
4. DIY Glitter Tumblers for Beginners
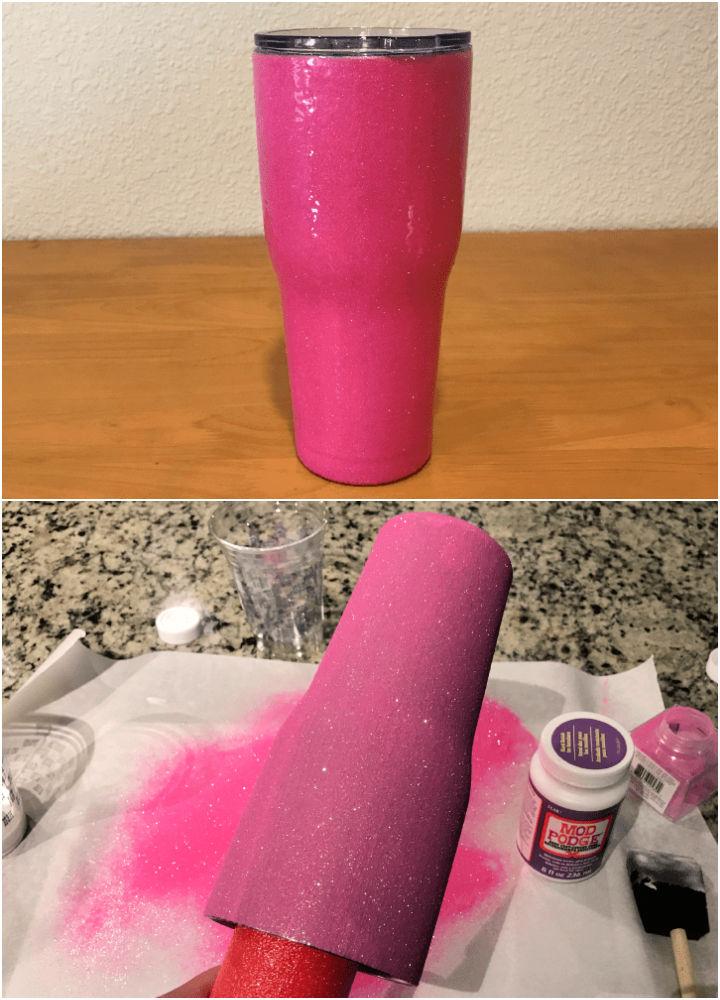
Are you a beginner DIYer and still want to add a colorful tumbler to your collection? If yes, you can do it effortlessly and fun-lovingly with this DIY plan. Even if you are a professional artist or a DIYer, you can still go for this activity to add something new to your art collection. The basic required supplies to work on this colorful activity are stainless steel tumbler, rubbing alcohol, paper towels, foam brushes, fine glitter, epoxy resin, plastic cups, popsicle sticks, PVC pipe, a cardboard box and pool noodles. securcareselfstorage
5. Glitter Resin Tumbler with Cricut Vinyl
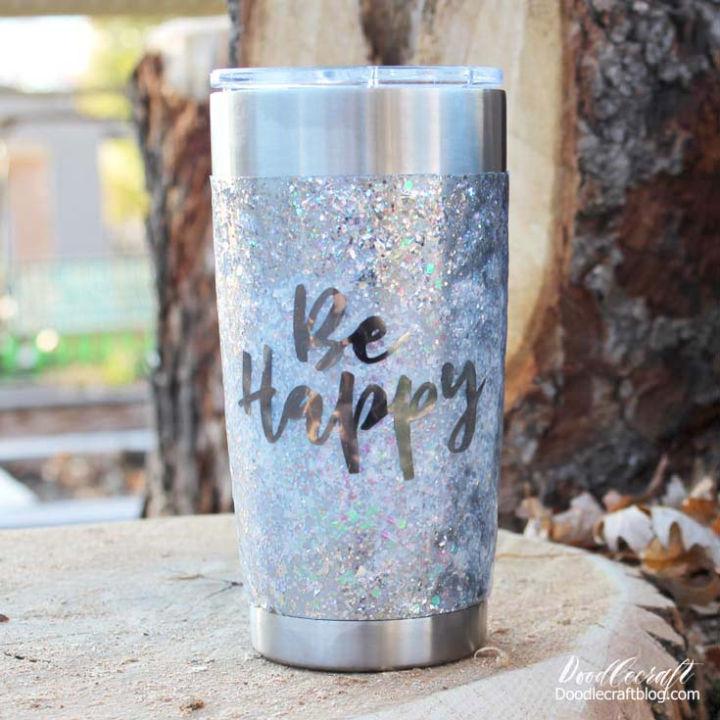
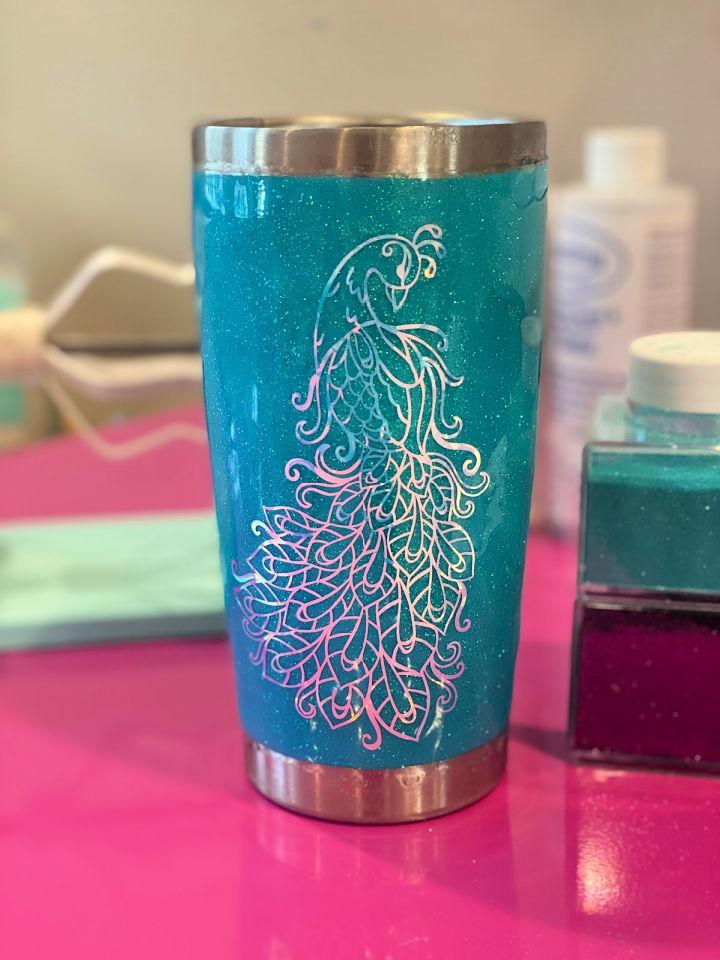
Use your Cricut skills to craft a mesmerizing tumbler yourself within a few steps. Excitingly! You don't need to be a professional Cricut worker if you want to work on this idea. All you need to do is follow provided instructions and steps to have this tumbler in your hand. The basic things you will require to work on this plan include a tumbler, glitter, high gloss finish, safe mod podge, Chrome vinyl Cricut maker, painter's tape, rubbing alcohol, sandpaper and cup turner. Use blue painter's tape to cover the top and bottom edges of the tumbler while paint spraying. doodlecraft
6. Making Glitter Tumblers Without a Cricut
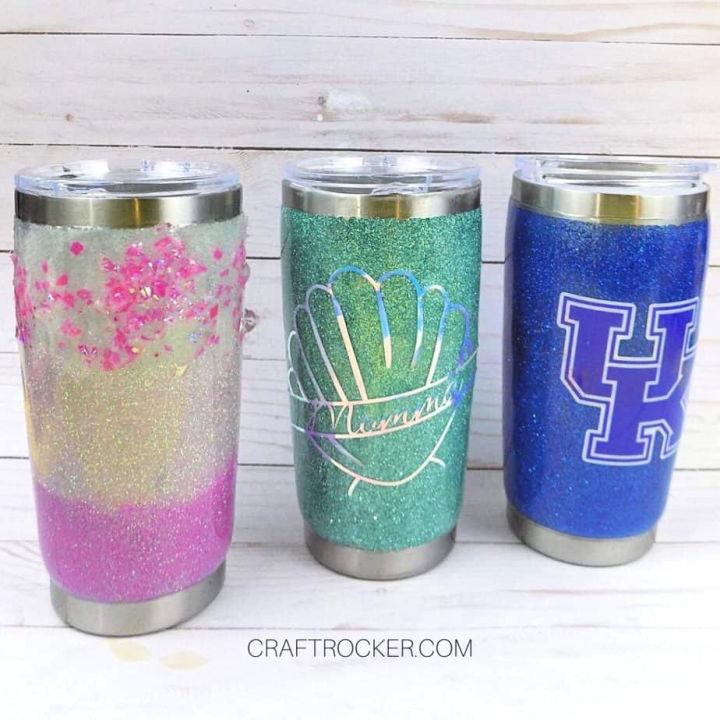
It is not essential to have a Cricut machine or skills if you really want to make a tumbler yourself. The reason is that there are endless options to customize a glitter tumbler without a Cricut maker. This DIY is for you if you also want to make a personalized tumbler! Make sure to follow each provided step to get your hand on a fascinating tumbler. If you have decided to work on this idea, collect your supplies, including a tumbler, glitters, paint sprays, epoxy resin, masking tape, measuring cup and stirring sticks. craftrocker
7. How to Make Epoxy Glitter Tumbler
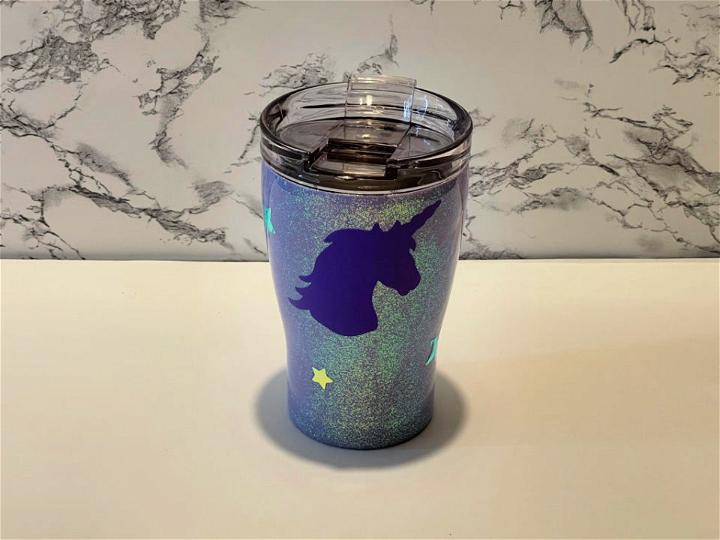
Consider this DIY plan to learn to make a glitter tumbler within a few steps. Even if you are a beginner DIYer, this plan is also for you! You can complete working on this activity without any difficulty by following provided instructions and guidelines. This project would be the best way to change the entire look of your simple tumbler. So, use a stainless-steel tumbler, paint sprays of your choice, painter's tape, glitters, epoxy, measuring cups, sticks, sandpaper, cup turner, paper plate, paper towels and mini SVG bundle of your choice. lovesvg
8. Ultimate DIY Glitter Tumbler
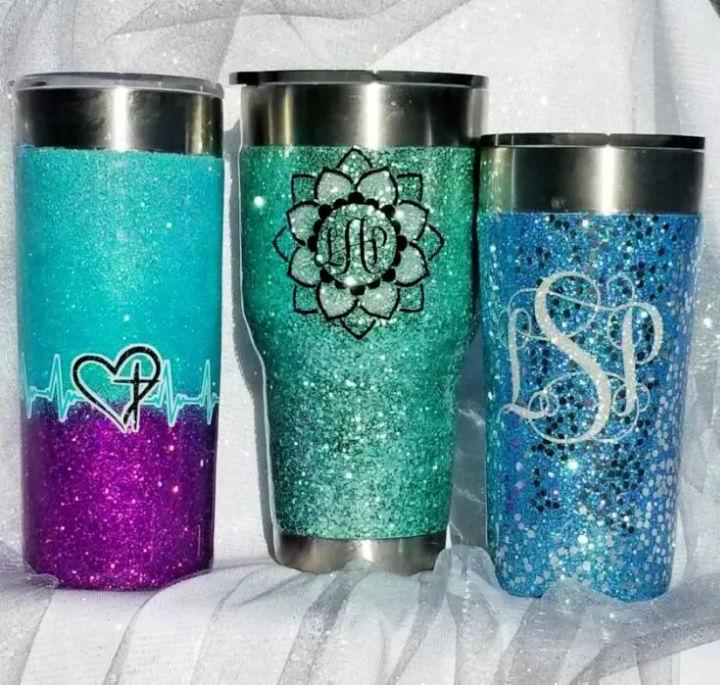
This ultimate DIY glitter tumbler can be customized to gift anyone of your choice. It would undoubtedly be a perfect gift for your friend on Friendship Day. Moreover, you can also customize it if you want to get rid of your traditional and boring tumbler. Working on this idea is super-easy, even for beginner DIYers. The needed items and supplies for this activity are epoxy, stainless steel tumbler, colorful paint sprays of your choice, cups, stirring sticks, spray paint, mod podge, vinyl decals, dry sandpaper, painter's tape and electric tape. leapoffaithcraft
9. Cool Omber Glitter Tumbler Design
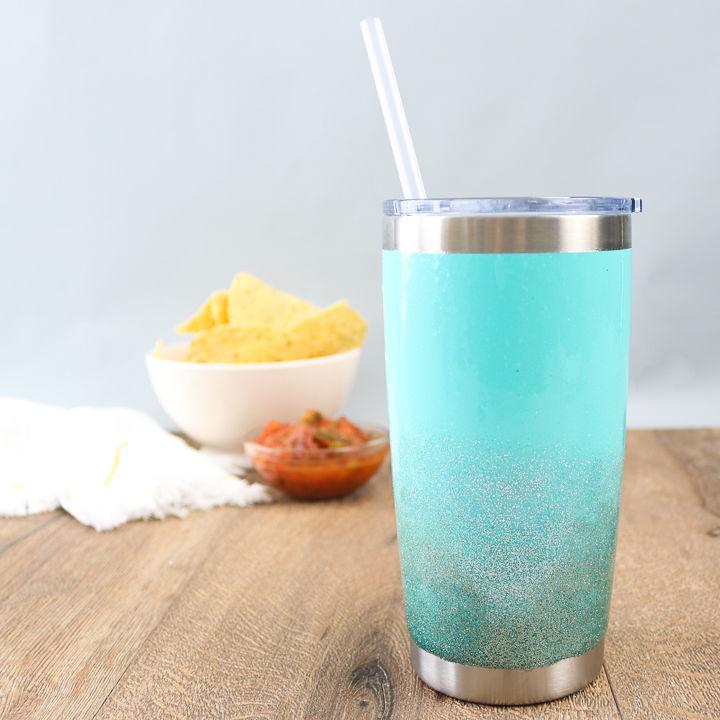
This super-cool ombre glitter tumbler will be the best consideration if you want a minimal and classic tumbler design. The best thing is that you can design or customize a tumbler yourself rather than searching for it in stores. This DIY would be a perfect addition to your tumbler craft. So, go for this project using a stainless-steel tumbler, clear cast resin, measuring cups, stirring sticks, resin, glitters, ombre paint spray, painter's tape, sandpaper and a paper towel. You can spray the entire tumbler with the same color or different tones of ombre according to your choice. thecountrychic
10. Beach-Themed Glitter Stripes Tumbler
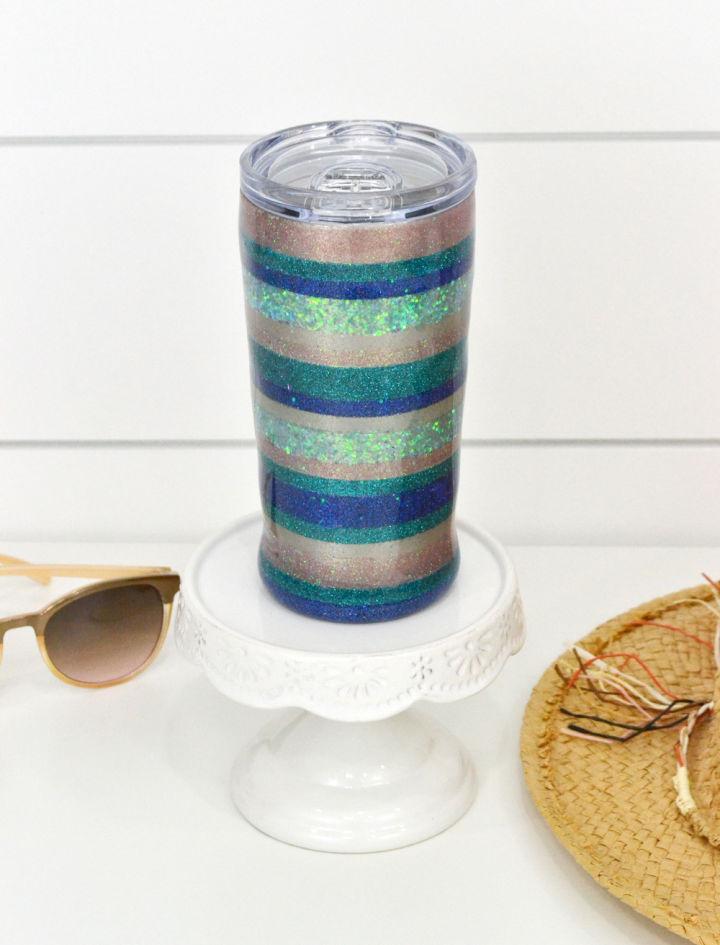
Do you love to add beach-themed arts and other décor pieces to your home? If yes, you will surely adore having this beach-themed glitter stripes tumbler in your collection. Not only for your home, especially kitchen décor, but you can also design this tumbler for gifting to your friends and loved ones. Indeed, it would be an ideal way to make someone feel special. To make this personalized tumbler, you will need a stainless-steel tumbler, glitters, epoxy resin, Cricut vinyl decals, painter's tape, colorful paint sprays, transfer tape, a cutting mat, a paper towel and sandpaper. wermemorykeepers
11. Cute Glittered Acrylic Tumbler
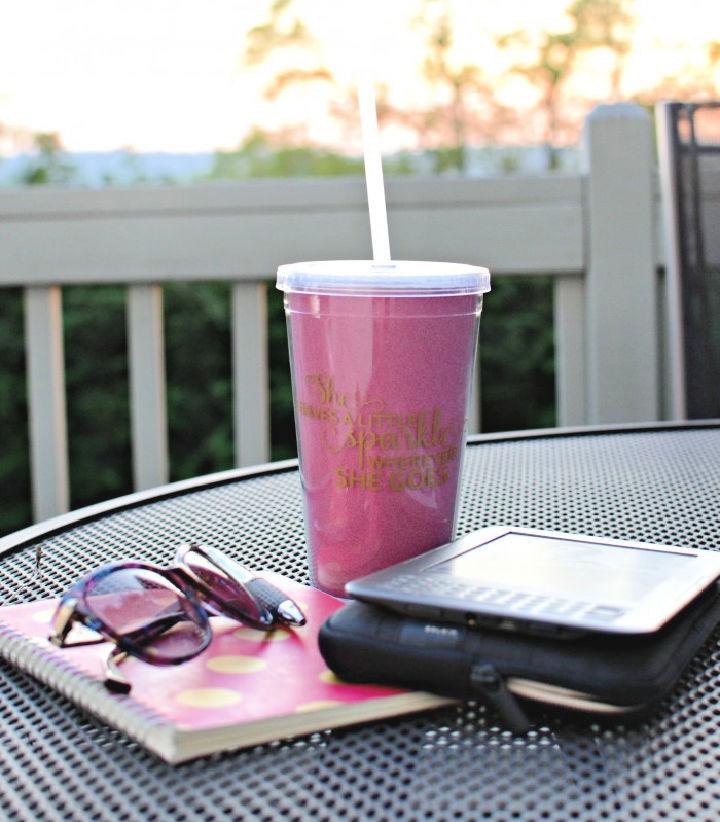
If you love funky and super-cool things to carry while going out, especially in the summer, you will surely have fun crafting this super-cute glittered acrylic tumbler yourself. Not only for you but you can also DIY this tumbler for your friends, family members and kids according to your choice. To work on this DIY plan, you will need a plastic glass tumbler, pink paint spray, vinyl decals, clear cast resin, cup turner, painter's tape, sandpaper, a paper towel, measuring cups and stirring sticks. Not only in pink color, but you can also go for any base color of your choice for this tumbler. taylorbradford
12. Unique DIY Epoxy Tumbler Cup
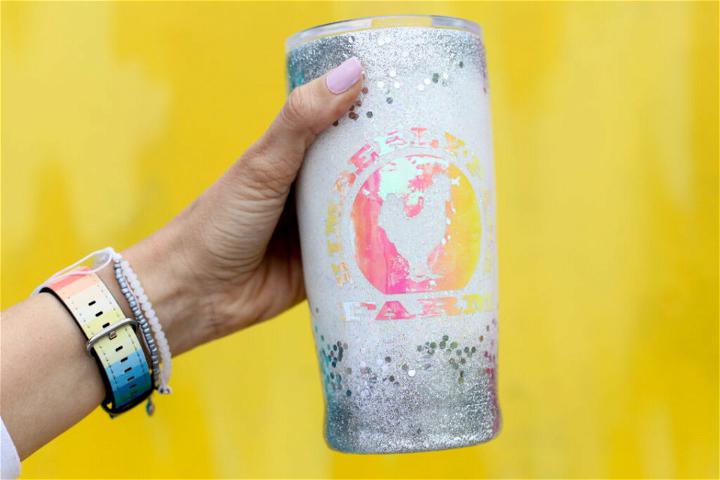
Well, there are many design ideas for tumbler cups. However, all designs are not worthy and appealing to the eyes. This DIY plan is for you if you are looking for a unique and fascinating tumbler idea. Following step-by-step instructions and guidelines, you can learn how to design a completely new and super-cute tumbler with this idea. The supplies you will need to make this unique tumbler cup include a blank steel tumbler, epoxy resin, painter's tape, measuring cup, cup spinner, desired glitters, vinyl decals of your choice, wood craft stick, fine sandpaper and a heat gun. sugarbeecrafts
13. DIY Unicorn Glitter Tumbler
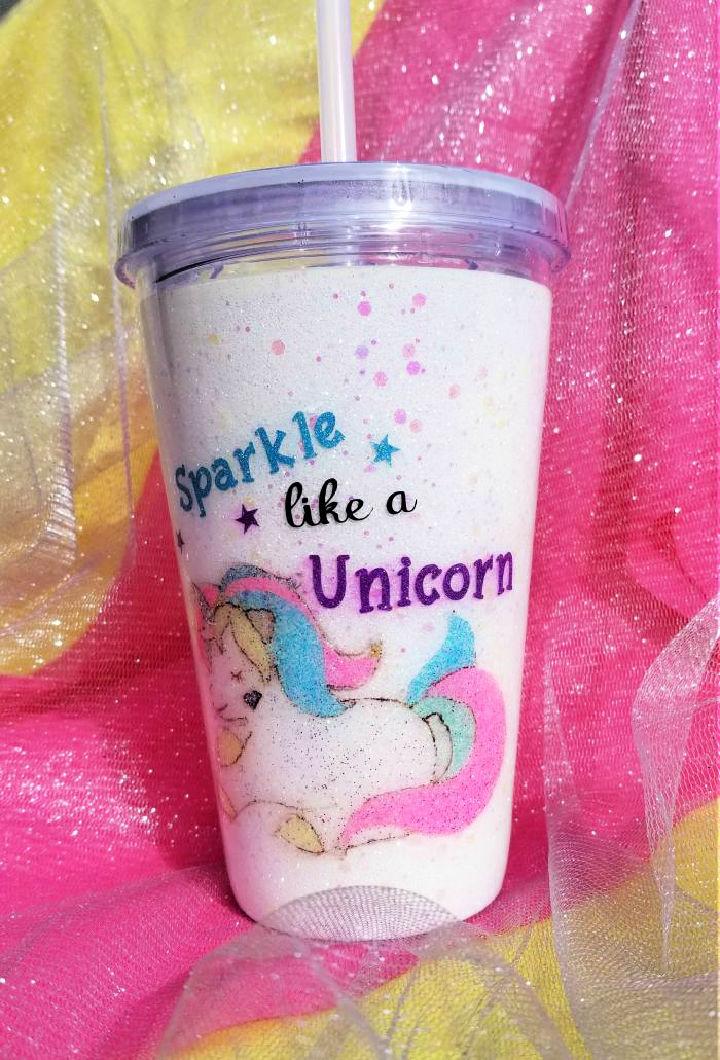
No doubt, kids and girls are great fans of a unicorn. If you also have a unicorn lover friend, consider crafting this really adorable unicorn-themed glitter tumbler for him. Excitingly! It is easy and quick to work on this idea, even if it is your first tumbler customization project. The only thing you need to do is follow detailed steps to get your hands on this tumbler. So, make it using an empty tumbler with a straw, mod podge, white spray paint, painter's tape, fine glitters, epoxy resin, measuring cups, stirring sticks, a double-sided adhesive sheet, a circuit and a cutting mat. leapoffaithcraft
14. Snow Globe Glitter Tumbler
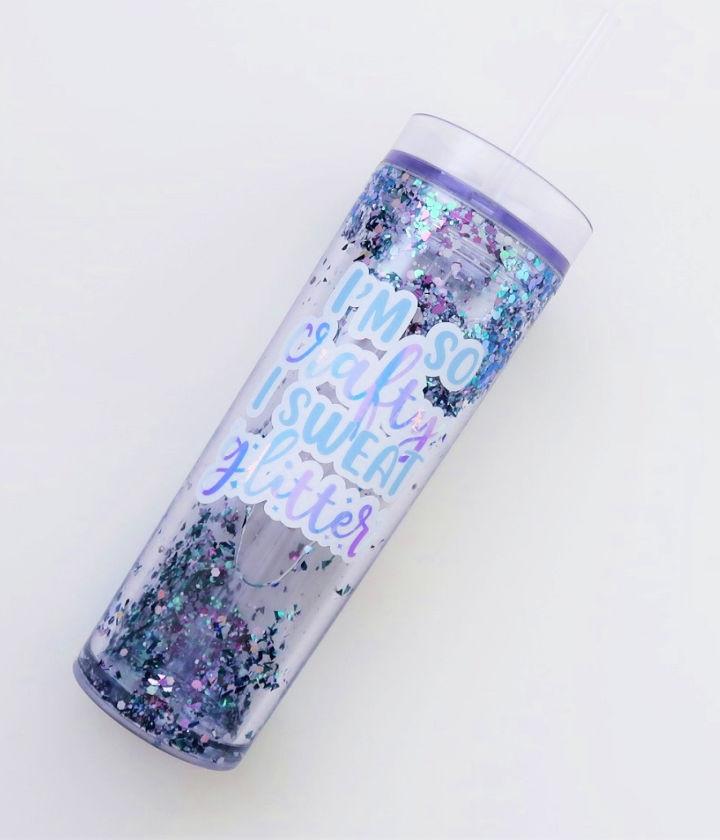
This snow globe glittered tumbler would be an ideal gift for a teenage girl. However, you can also make it for people of all ages according to their interests and love for the tumbler. The basic purpose of this project is to let you add something new to your tumbler craft. If you want to work on this idea, use a double-walled skinny tumbler, glitters, epoxy resin, mixing cup, drill bits, vinyl, transfer tape, SVG file, a cutting mat and a weeding tool. If you are unfamiliar with Cricut, you can also use vinyl decals for ease of work. designbundles
15. Dishwasher Safe Modge Podge Glitter Tumbler
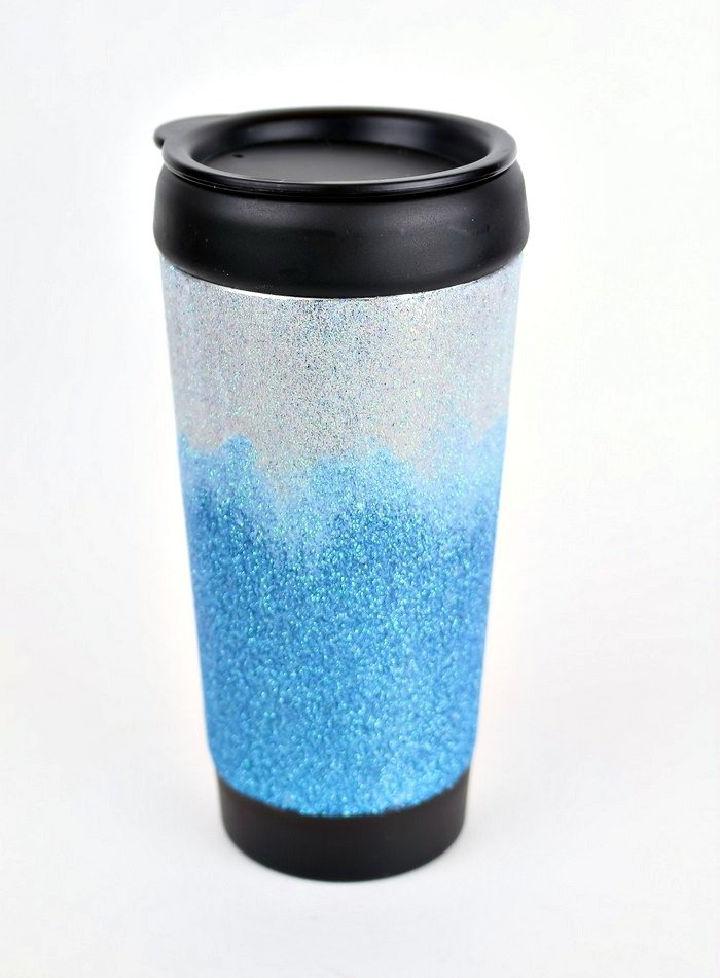
Learn how to make a dishwasher-safe mod podge glittered tumbler yourself affordably with this super-easy DIY Plan. Even if you are not a DIYer or a beginner crafter, you can still go for this activity by following provided steps and guidelines. Indeed, this tumbler would be a perfect addition to your summer accessories, especially while going out. The needed supplies to work on this customized tumbler are a coffee tumbler, dishwasher-safe mod podge, fine glitter, paintbrushes, painter's tape and a wet cloth. The best thing is that you can also use this mod podge on other tumbler surfaces, such as stainless steel, for similar results. madincrafts
16. DIY Glitter Tumblers with Vinyl Decal
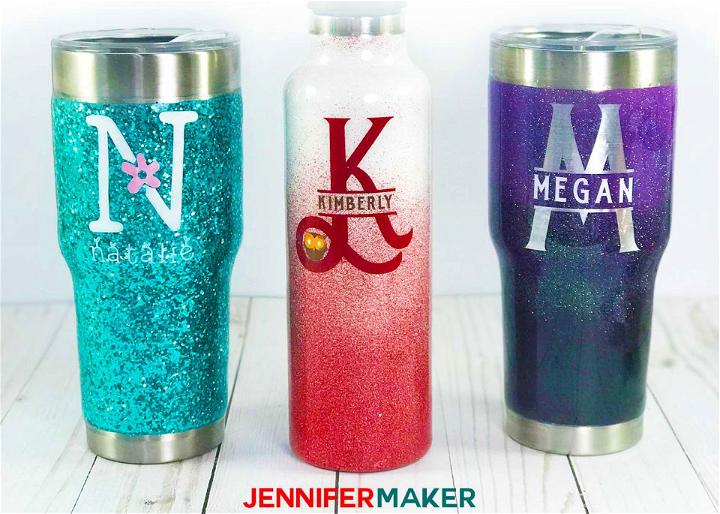
Learn how to prepare really cute and lovable glittered tumblers with vinyl decals yourself in this DIY plan. Considering the decals will be the best choice if you don't know how to use the Cricut machine. So, you can complete this activity in no time and effort simply by considering the provided steps and guidelines. The needed items to work on this personalized tumbler are a stainless-steel tumbler, spray paint for the base coat, epoxy resin, fine glitters, spray sealer, electric tape, isopropyl alcohol, cup spinner and fine grit sandpaper. jennifermaker
17. Ombre Glittery Iced Tea Tumblers
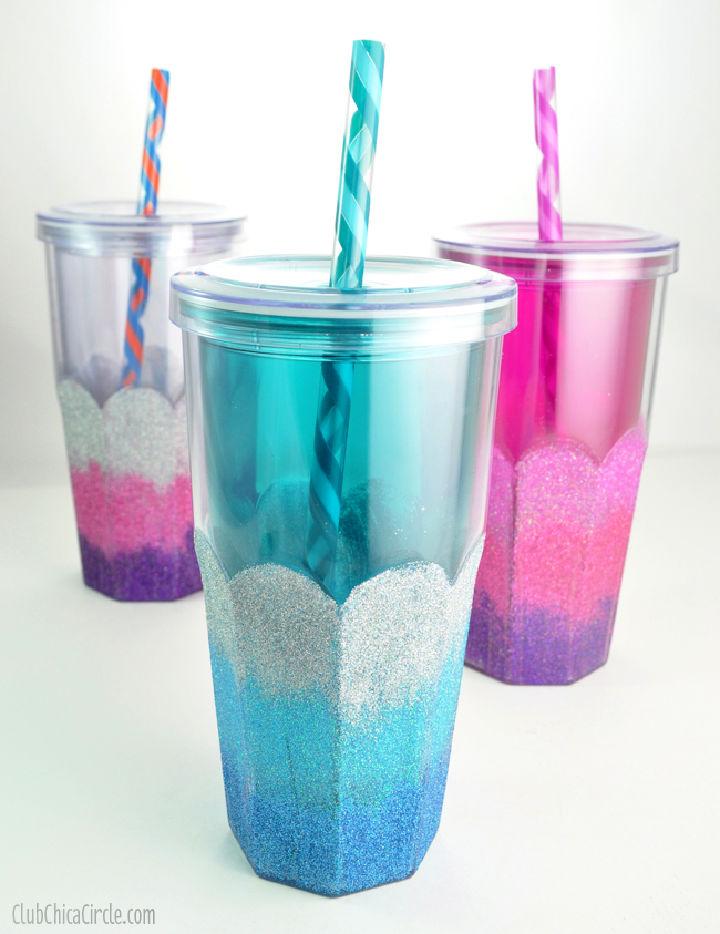
By customizing that cup yourself, give your iced-tea simple tumblers a completely new look. Yes! With this DIY Plan, you can get really adorable and super-cool tumblers for your ice coffee in no time and effort. You don't need to be a professional artist or a DIYer to get your hands on these cups. These ombre cups would be the best addition to your coffee table, especially in the summer season. So, work on it yourself using iced coffee tumblers with straws, ombre paint sprays, painter's tape, glitters, sandpaper, rubbing alcohol cup turner, epoxy resin, measuring cups and stirring sticks. chicacircle
18. Homemade Floating Glitter Tumbler
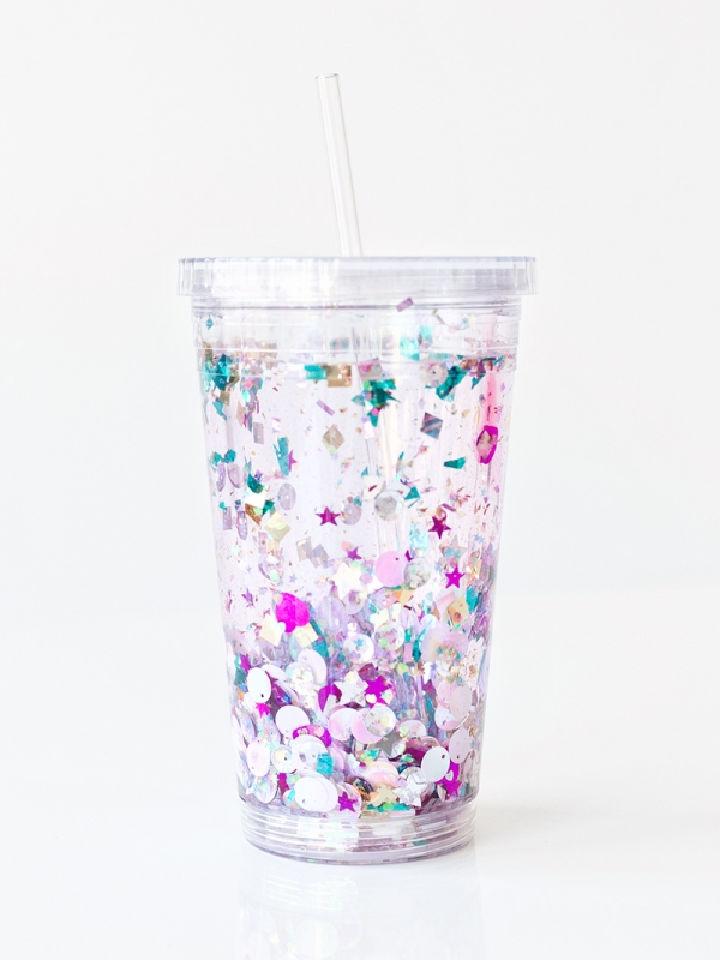
If you love cute stuff, you will surely adore having this floating glittered tumbler for water or iced coffee. If you are thinking about buying this tumbler from a store, you might not be able to find it. The reason is that most stores don't have customized tumblers. However, you can make one yourself with this DIY Plan. Don't worry; you don't need to put too much time and effort into making this tumbler. You can work on it simply by following step-by-step instructions and guidelines. For this project, the needed supplies are a clear photo tumbler, glitters, sequins of your choice and water. studiodiy
19. How to Decorate Tumbler with Glitter and Resin
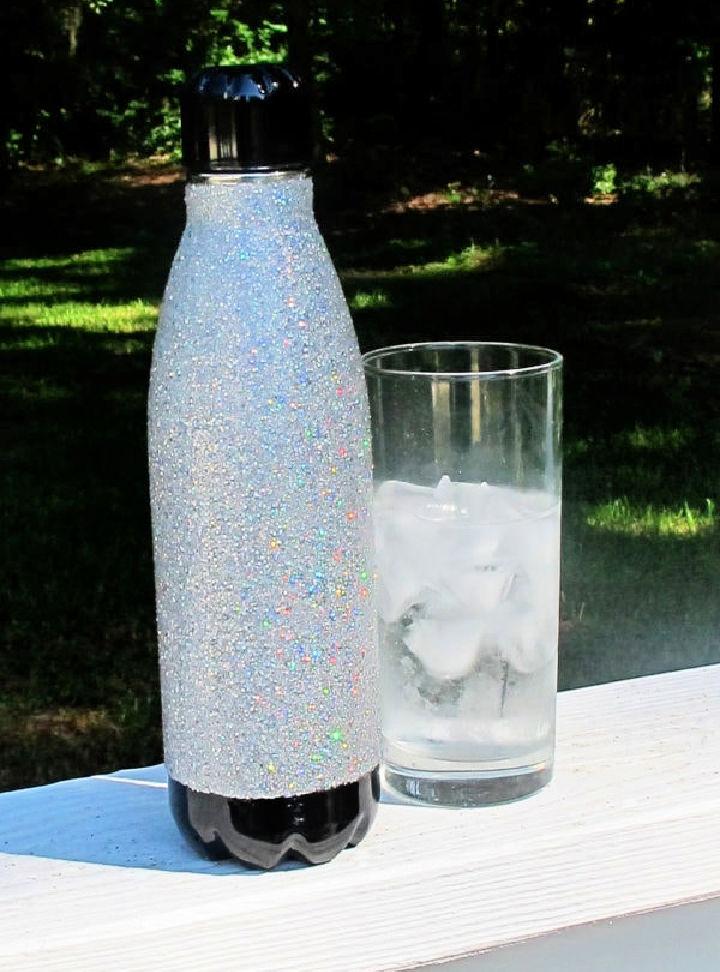
Do you want to learn to decorate a simple and boring tumbler yourself to add some colors? If yes, you can surely do it easily with this DIY Plan. Once you have customized this tumbler, you can also go for others for selling or décor purposes according to your choice. The items you will require to work on this plan include a stainless-steel tumbler, clear dying white glue, foam brushes, fine glitters, painter's tape, food safety epoxy resin, measuring cups and stirring sticks. Ensure to wash the bottle appropriately before spray painting. resinobsession
20. Neon Rainbow Milky Way Glitter Tumbler
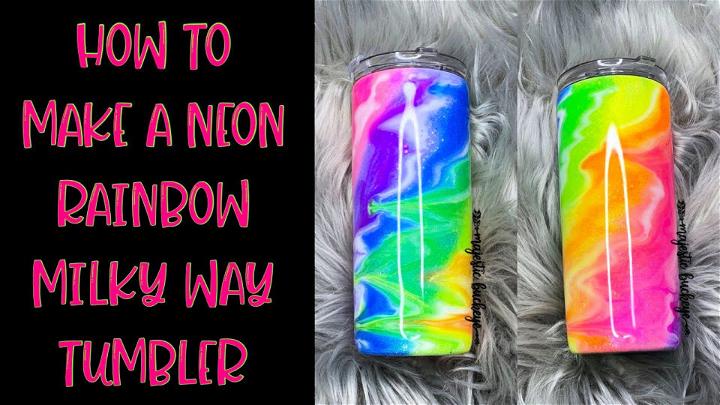
If you love neon colors and tones, you will have fun making this neon rainbow milk way glitter tumbler yourself. Don't worry; you don't need to learn professional painting skills to get your hands on this fascinating tumbler. You can work on it simply by watching a video tutorial and following discussed steps. Once you have understood all steps, you are ready to work on this idea like a pro. The required items to complete this DIY are a stainless-steel tumbler, neon paint sprays, painter's tape, cup spinner, epoxy resin, fine glitters, measuring cups, stirring sticks and gloves.
21. Snow Globe Glitter Acrylic Tumbler
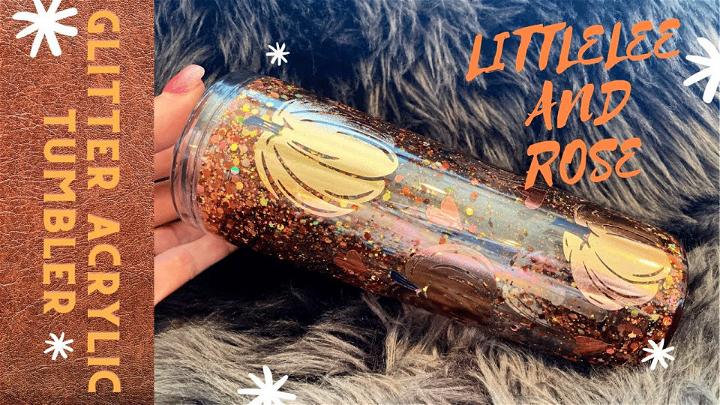
It is always fun to paint the tumblers, even for normal people. If you are also one of them and want to add a new customized tumbler to your collection, nothing would be a better option than working on this snow globe acrylic glitter tumbler. It might not look easy initially to work on this idea. The items you will require to work on this plan include a clear tumbler, epoxy resin, fine glitters, sequins of your choice, painter's tape, paint spray of your desired color for base coat, rubbing alcohol, cup spinner and measuring cups with stirring sticks. youtube
22. DIY Glitter Ombre Tumbler
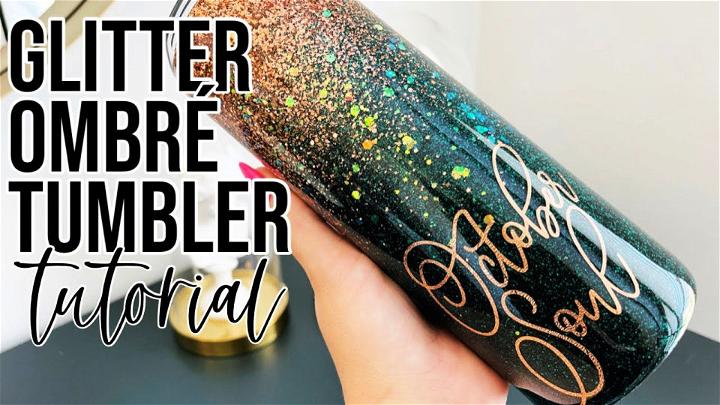
This plan teaches how to DIY a fascinating and super-cool Ombre glitter tumbler. Excitingly! This DIY Plan also includes a video tutorial to offer detailed steps and instructions. So, it would be fun for beginner tumbler crafters to work on this plan. All they need to do is watch the tutorial to complete this plan in an exact pattern. So, use a clear tumbler, ombre paint spray for the base coat, fine glitters, epoxy resin, painter's tape, rubbing alcohol, a paper towel, vinyl decals and a cup turner.
23. Halloween Glitter Globe Tumblers
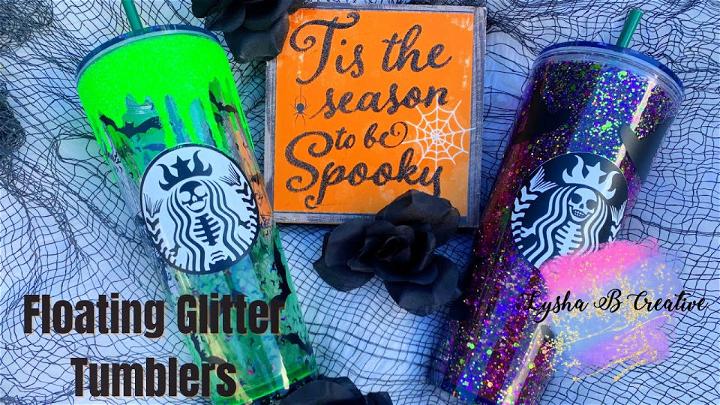
Are you looking for an engaging craft activity to perform with your kids on Halloween night? If yes, what could be a better option than working on this Halloween glitter globe tumbler? Excitingly! You can DIY this globe tumbler within a few minutes and steps by watching the video tutorial. You can also make this tumbler to gift to your guests on a spooky night to welcome them overwhelmingly. To work on this DIY tumbler, you will need a clear tumbler with a straw, painter's tape, fine glitters, vinyl decals of your choice, paint spray, rubbing alcohol, mod podge and a foam brush.
24. Watermelon Floating Glitter Tumbler
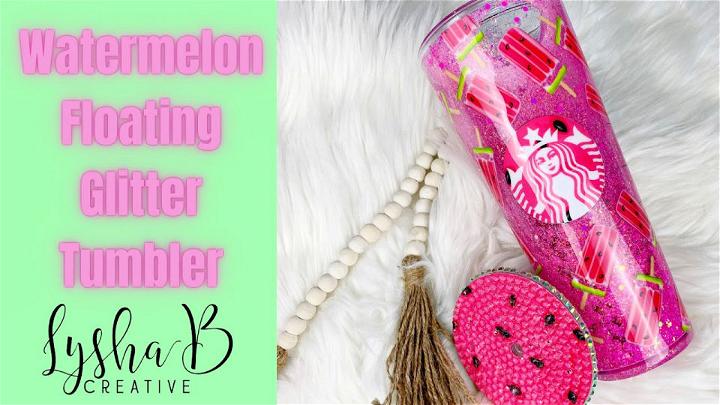
This watermelon floating glitter tumbler is an ideal consideration for the kids. Parents can consider making these tumblers for their kids to motivate them to return to school in a more fun-loving way. Excitingly! You don't need to step out of your budget to get your hands on this customized tumbler. You can DIY it simply within a few already available craft supplies. So, use a clear tumbler, paint spray for the base coat, fine glitters, sequins related to watermelon, epoxy resin, measuring cups, stirring sticks, painter's tape, sandpaper and a cup turner.
25. DIY Starbucks Glitter Tumbler
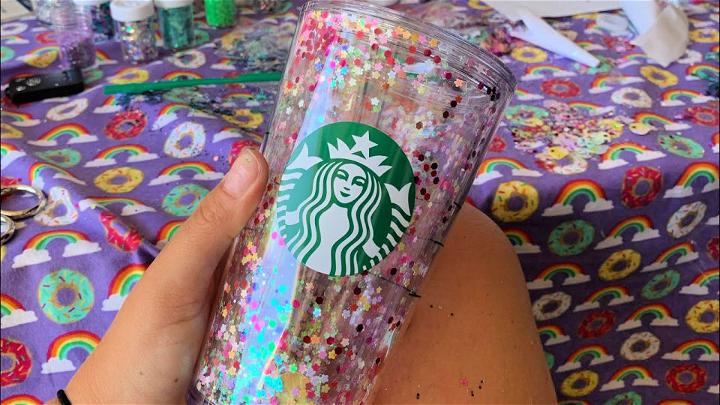
This super-easy video tutorial gives a customized and adorable look to your Starbucks tumbler within a few steps. This video plan is ideal if you love to work on tumbler craft. It would help if you watched the tutorial to get your hands on this really pretty Starbucks tumbler. The items you will need to work on this idea include a Starbucks tumbler, epoxy resin, fine glitters, mini sequins of your choice, painter's tape, a paper towel and sandpaper. You can also paint spray the tumbler if you want to change the base color.
Conclusion:
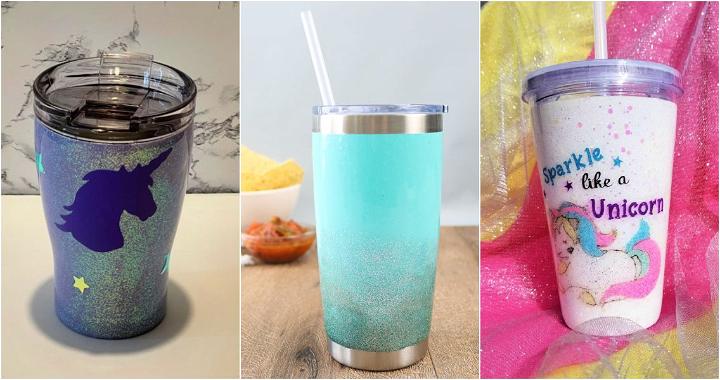
Wrapping up the article and crafting your own DIY glitter tumbler can be a fun and rewarding project. With the right materials and a bit of creativity, you can customize your tumbler to reflect your unique style. Whether it's for yourself or as a gift, these personalized tumblers are sure to impress. So, gather your supplies and start making your own dazzling tumbler today!

