When it comes to DIY epoxy countertops, the type of epoxy you choose is crucial for the project’s success. Epoxy resins are known for their strength, versatility, and excellent adhesion, making them ideal for creating durable and attractive countertops.
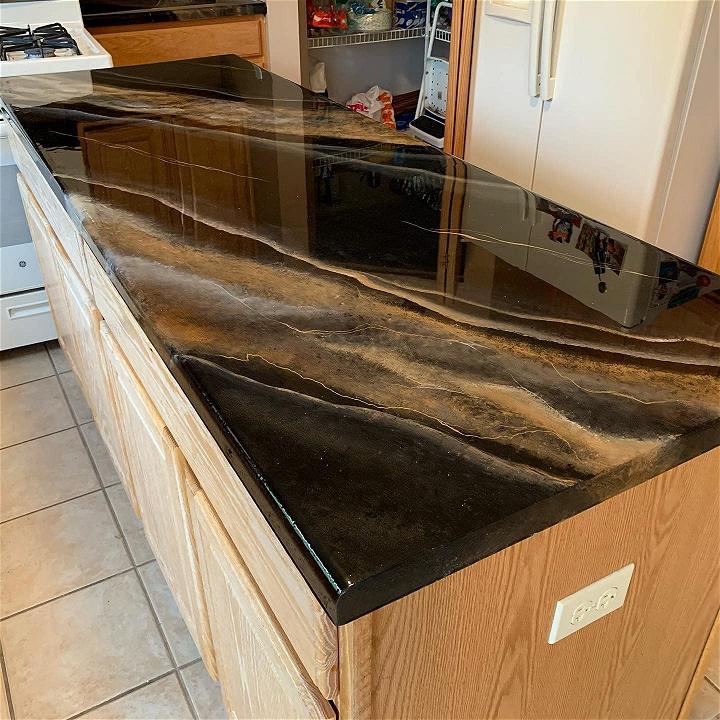
Types of Epoxy Resins
Epoxy resins fall into two main categories: glycidyl and non-glycidyl. Glycidyl resins include glycidyl-amine, glycidyl-ester, and glycidyl-ether, while non-glycidyl varieties are either aliphatic or cyclo-aliphatic. The choice of resin depends on the specific needs of your project, such as the desired finish, working time, and resistance to factors like heat and UV light.
Epoxy Resin Brands
Several brands offer high-quality epoxy resins suitable for countertop projects. Here are a few top picks:
- Naked Fusion: Known for its clarity and durability, ideal for art projects and countertops.
- Nicpro: Offers a crystal clear finish at an affordable price, making it a great option for those on a budget.
- FGCI: Provides deep pour epoxy that’s perfect for river tables and large projects.
How to Epoxy Countertops: Step by Step Instructions
Making epoxy countertops is a DIY project that turns old surfaces into high-end masterpieces. This guide shares personal experiences to help you succeed in making a beautiful, durable countertop.
What Will This Guide Teach You?
By the end of this guide, you'll have learned how to prepare your surface, mix and apply epoxy, add colors and effects to mimic natural stone, and seal your new countertop for long-lasting durability. Whether you're refurbishing your kitchen, bathroom, or workspace, these skills will enable you to achieve professional-looking results at a fraction of the cost.
Materials Needed and Their Purpose
- Epoxy Resin and Hardener: The base of your countertop material, providing durability and gloss.
- Primer: Ensures strong adhesion between the surface and the epoxy.
- Sandpaper (60 Grit and 220 Grit): For surface preparation and smoothing between coats.
- TSP Cleaner: To thoroughly clean your existing countertop before starting.
- Painters Tape and Plastic Sheeting: To protect surrounding areas from spills and drips.
- Mixing Sticks and Mixing Containers: For preparing the epoxy mixture.
- Decorative Metallic Powders and Pigments: To create color and the appearance of natural stone.
- Notched Trowel: To spread epoxy evenly.
- Foam Brush and Paint Roller: For applying primer and base coats.
- Propane Torch or Heat Gun: To remove air bubbles from the epoxy.
Step-by-Step Instructions
Surface Preparation
- Clean Your Countertop: Use teaspoon cleaner to remove all grease and residues. This is crucial for ensuring the primer and epoxy adhere properly.
- Sand the Surface: Starting with 60 grit sandpaper, sand the entire surface to create a texture that the epoxy can grip onto. Finish with 220 grit for a smoother base.
- Apply Primer: Once the surface is clean and sanded, apply a bonding primer to help the epoxy adhere. Let it dry according to the manufacturer's instructions.
Mixing the Epoxy
- Measure Accurately: Epoxy resin and hardener must be mixed at the exact ratio recommended by the manufacturer. Use a mixing stick to stir thoroughly for at least 3 minutes.
- Add Color and Effects: Incorporate metallic powders or pigments into the mixture if desired. Experiment on a small sample to ensure you're happy with the color before applying to the whole countertop.
Applying the Epoxy
- First Coat: Pour the mixed epoxy onto your surface, using the notched trowel to spread it evenly. Cover the entire countertop, including edges. Use a foam brush for hard-to-reach areas.
- Remove Bubbles: Pass a propane torch or heat gun over the surface to pop any air bubbles. Hold the tool a few inches above the epoxy and keep it moving to avoid overheating any area.
- Let it Cure: Allow the first coat to cure as per the manufacturer's instructions. Conditions like temperature and humidity can affect curing time.
Adding Details and Second Coat
- Second Coat (If Desired): For added thickness or to embed objects like coins or photos, apply a second layer of epoxy using the same method as the first coat. Additional effects or colors can also be added at this stage.
- Final Touches: Apply a sealant if desired for extra protection against UV light and scratches.
Conclusion and Care
Your new epoxy countertop will be durable, but it's not indestructible. Avoid cutting directly on the surface and use trivets for hot items. Clean with gentle detergents to maintain shine and beauty.
Video Tutorial
For a visual demonstration, watch this step-by-step video tutorial on YouTube.
It provides a clear and easy-to-understand walkthrough, complementing this written guide.
By leveraging this guide, you're well on your way to transforming your countertops into stunning and durable surfaces. Enjoy your project, and get ready to admire the finished result of your efforts.
Updates and Trends in Epoxy Countertop Design
Keeping up with the latest trends can give your countertops a modern and stylish look. Here are some of the current trends in epoxy countertop design:
- Warm Neutral Colors: Warm neutral colors are gaining popularity, moving away from stark whites and cool grays. These hues create a welcoming and cozy atmosphere in the kitchen.
- Textured Finishes: Textured finishes like honed or leathered surfaces are making a comeback. They add depth and character to countertops, offering a break from the traditional polished look.
- Colorful Marbling: Countertops with colorful marbling, including deep blues, terracotta hues, and vibrant veining, are on the rise. These designs can turn your countertops into a statement piece.
By adding elements to your DIY epoxy countertop project, create a functional space that follows current trends. Choose the right epoxy and brand, and try new design trends for a fresh look.
FAQs on DIY Epoxy Countertops
Creating your own epoxy countertops can be a rewarding DIY project. Here are some common questions and answers to help you get started:
What are the necessary tools for applying epoxy to countertops?
To apply epoxy to countertops, you’ll need a drill, mixing paddle, notched trowel, foam roller, and a propane torch or heat gun to remove bubbles. Ensure you have protective gear such as gloves and a respirator mask for safety.
How do I prepare my countertops for epoxy application?
Preparation involves cleaning the surface thoroughly, sanding it to create a rough texture for better adhesion, and repairing any cracks or chips. It’s also important to protect surrounding areas with plastic sheeting.
Can I apply epoxy over my old laminate countertops?
Yes, epoxy can be applied over laminate countertops. The key is to ensure the surface is clean, sanded, and free from any grease or residue before application.
How long does it take for epoxy to cure?
Epoxy curing times vary depending on the product and environmental conditions. Generally, it takes about 24 hours for epoxy to dry to the touch and up to 72 hours for a full cure.
What should I do if bubbles form in the epoxy?
If bubbles form, you can remove them by gently waving a propane torch or heat gun over the surface. The heat helps the bubbles rise to the surface and pop. Be careful not to hold the heat too close or too long in one spot to avoid damaging the epoxy.
15 DIY Epoxy Countertop Ideas and Inspirations
Discover 15 stunning DIY epoxy countertop ideas to elevate your space. From marble to metallic finishes, get inspired with these creative designs.

1. How to Make an Epoxy Countertop
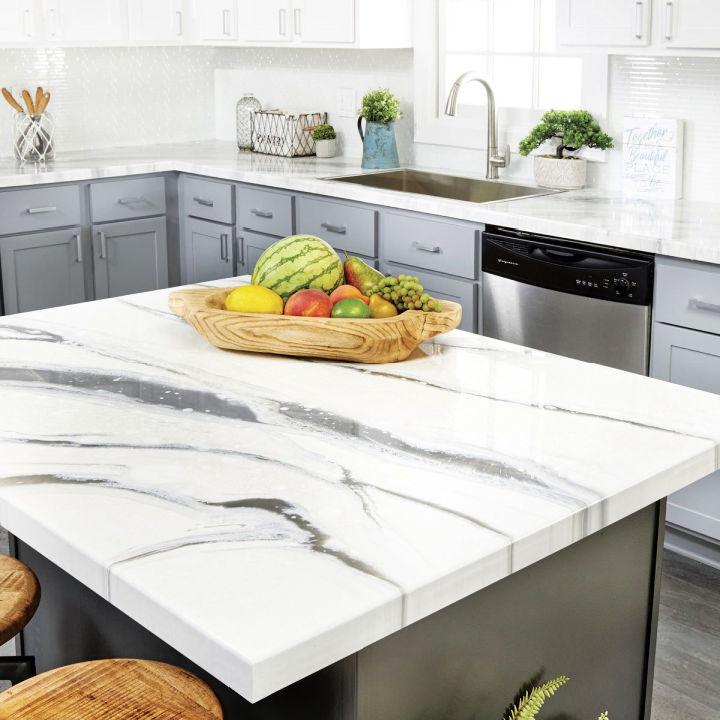
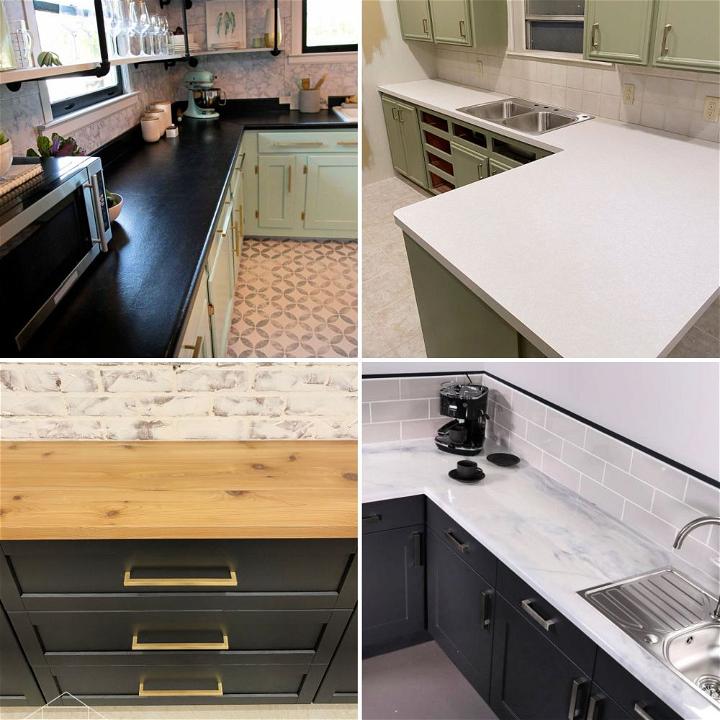
Making an epoxy countertop can breathe new life into your kitchen or workspace, offering both durability and style. Besides being heat and stain-resistant, epoxy countertops provide you with a seamless surface that's easy to clean and maintain. Designing one involves selecting colors and patterns that mimic anything from polished stone to whimsical scenes, making it a creative project with a high-end finish.
2. Making an Epoxy Countertop

Embarking on an epoxy countertop project allows for a custom creation that reflects your personal style. This material is celebrated for its versatility, enabling the incorporation of unique colors and objects into the design for a one-of-a-kind finish. With proper preparation, the end result is a glossy, robust surface that elevates the look of any room.
3. Epoxy Resin Countertop for Kitchen
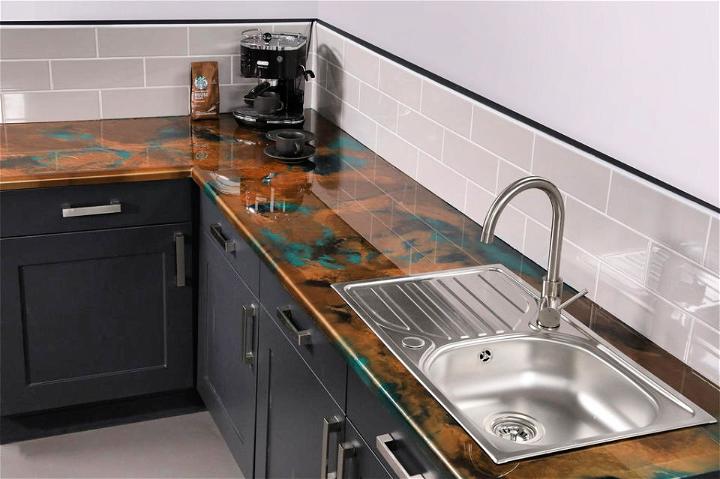
Considering an epoxy resin countertop for your kitchen brings numerous advantages, including resistance to water and heat, which is paramount for such a high-traffic area. The glossy finish not only adds a luxurious touch but also makes cleaning a breeze, ensuring your kitchen counters remain hygienic and stunning.
4. DIY Epoxy Countertops Step-by-Step
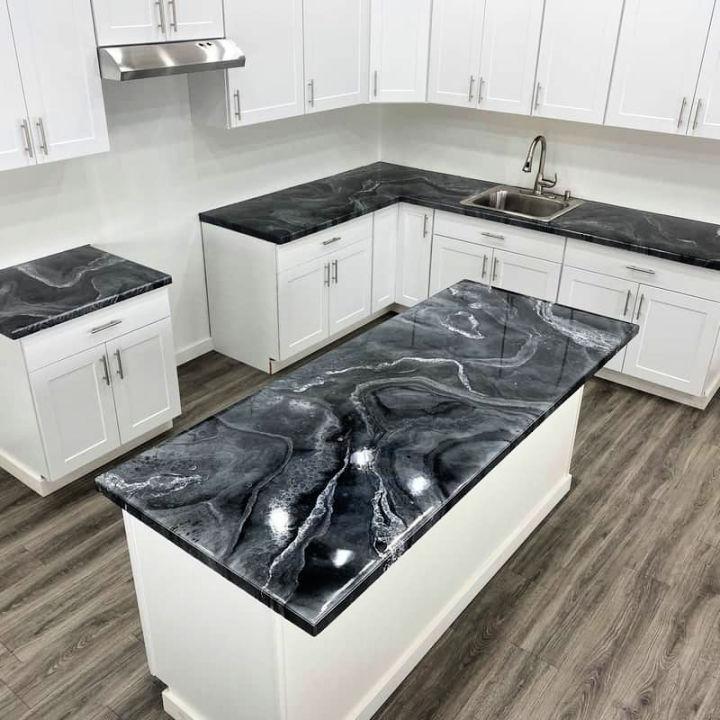
A DIY approach to epoxy countertops opens the door to a world of creativity and savings. By following a step-by-step guide, even beginners can achieve a professional-looking surface. This method offers a sense of accomplishment and personalization, allowing you to tailor every detail to your space.
5. Epoxy Countertop for Under $200
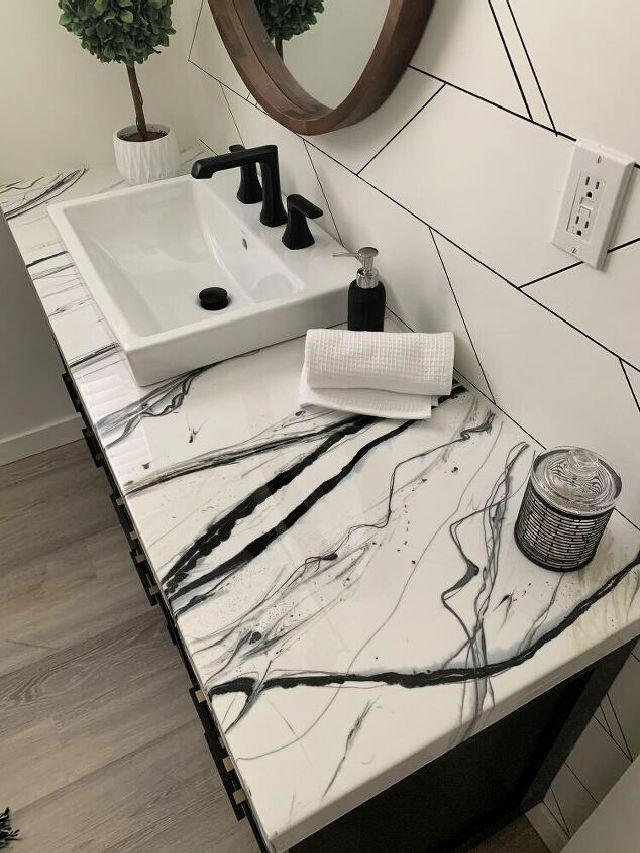
Making an epoxy countertop for under $200 is achievable and can dramatically transform your space without breaking the bank. This affordable makeover option offers the appeal of stone or granite countertops at a fraction of the cost while being a fun weekend project.
6. DIY Epoxy Kitchen Countertop
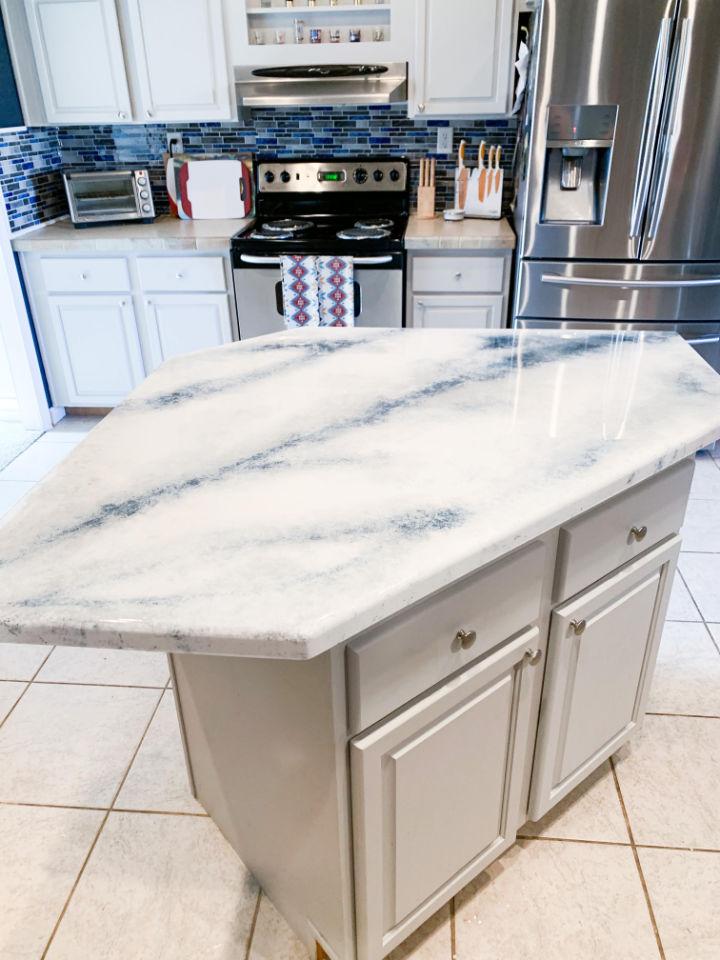
DIY epoxy kitchen countertops are a savvy choice for those looking to upgrade their kitchen aesthetics and functionality. This DIY project provides an opportunity to customize your kitchen's look, ensuring it stands out or perfectly matches your existing decor.
7. Make Your Own Epoxy Countertop
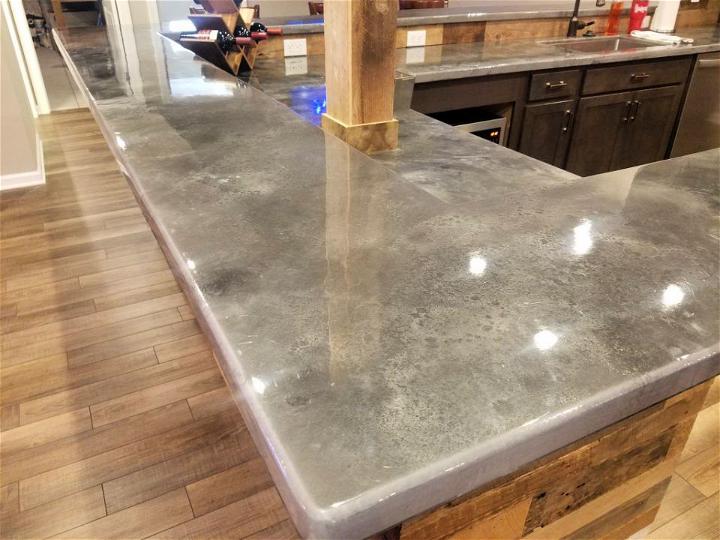
Making your own epoxy countertop is an empowering DIY project that lets you engineer a durable, stylish surface. The flexibility in design, from simple elegance to elaborate patterns, means you can create a countertop that truly represents your taste and enhances your home's character.
8. Epoxy Granite Kitchen Countertop

An epoxy granite kitchen countertop combines the timeless beauty of granite with the resilience and easy maintenance of epoxy, providing a cost-effective alternative to natural stone. This approach offers the high-end look of granite without its usual expense and complexity of installation.
9. Stone Coat Epoxy Countertop
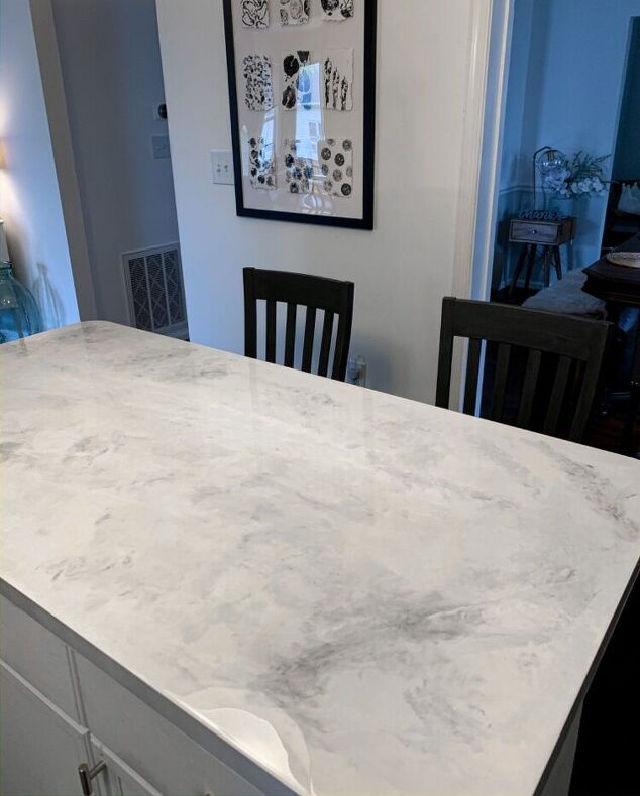
Opting for a stone coat epoxy countertop brings the aesthetics of real stone into your home with added durability and without the hefty price tag. This option is perfect for those seeking a natural stone appearance with the benefits of modern materials.
10. Bathroom Vanity Countertop with Epoxy Resin
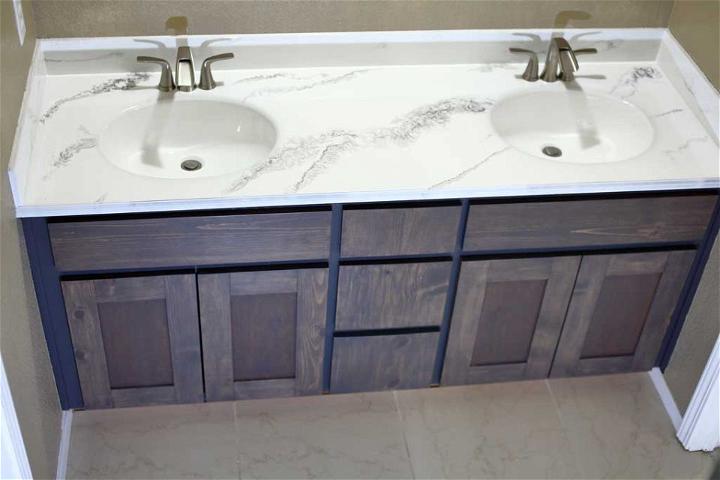
Transforming a bathroom vanity countertop with epoxy resin not only updates the look but also provides a moisture-resistant surface ideal for such environments. This DIY remodel can instantly elevate the bathroom's style, making it a focal point of relaxation and beauty.
11. Best Epoxy Countertop for Decoration
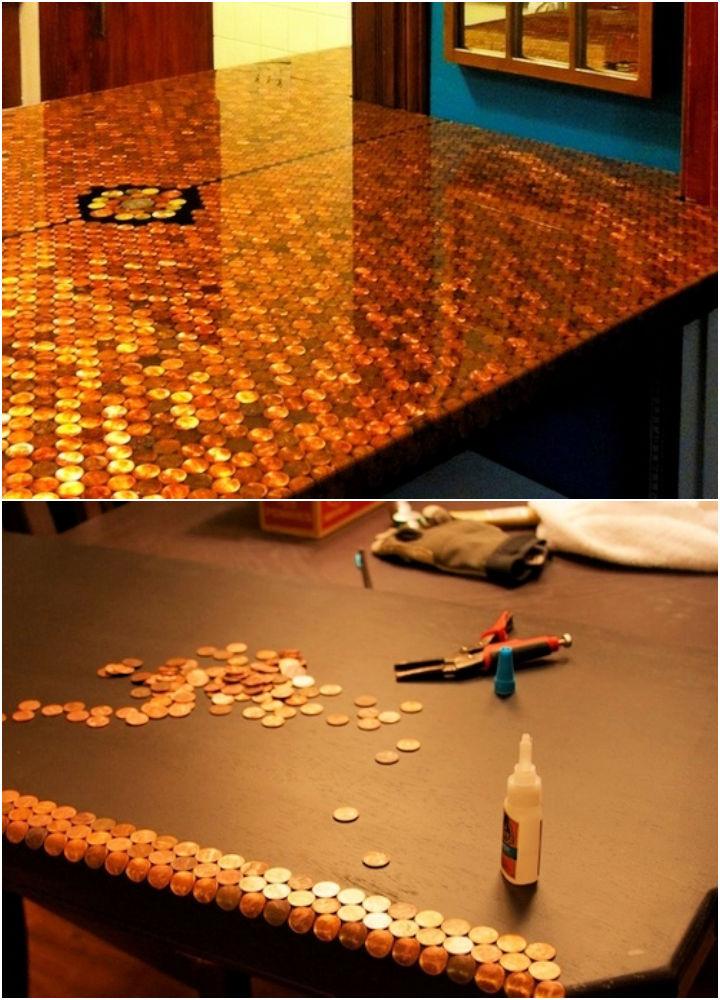
Selecting the best epoxy countertop for decoration means embracing the versatility of epoxy to achieve any desired look, from minimalist and sleek to bold and artistic. This choice is perfect for those looking to make a statement or simply add a durable yet stylish surface to their home.
12. Cosmic Black Granite Epoxy Resin Countertop
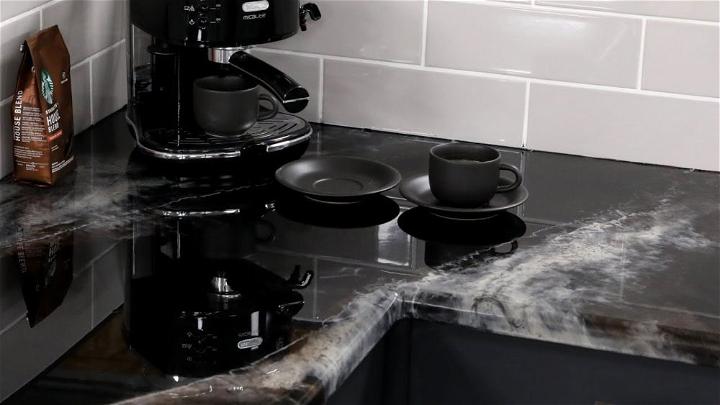
A cosmic black granite epoxy resin countertop brings the mysterious beauty of the night sky into your kitchen. This design choice is perfect for creating a dramatic focal point, blending durability with unmatched elegance.
13. Carrara White Marble Epoxy Resin Countertop
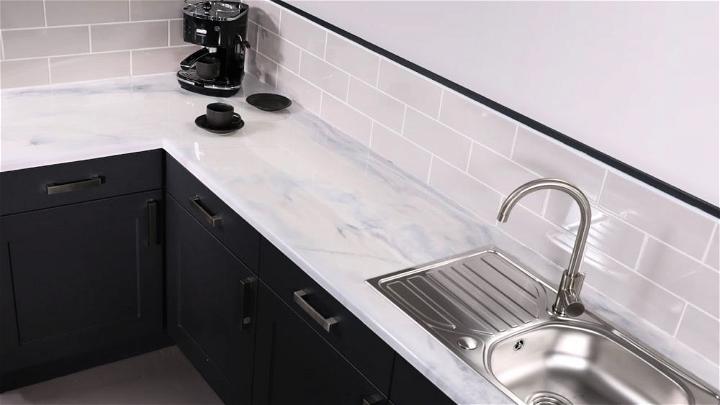
Choosing a Carrara white marble epoxy resin countertop offers the luxurious look of marble without its susceptibility to staining or scratching. This option is ideal for those wishing to brighten their space with a classic, yet practical, countertop solution.
14. Amazing DIY Epoxy Countertop
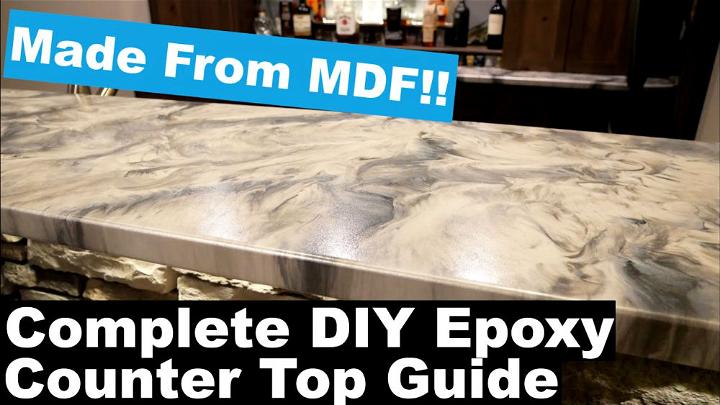
Discovering the amazing possibilities of DIY epoxy countertops showcases the ability to transform ordinary materials into stunning surfaces. This process allows for endless customization, ensuring that each creation is as unique as its maker's imagination.
15. Epoxy Countertop from Ugly Colors
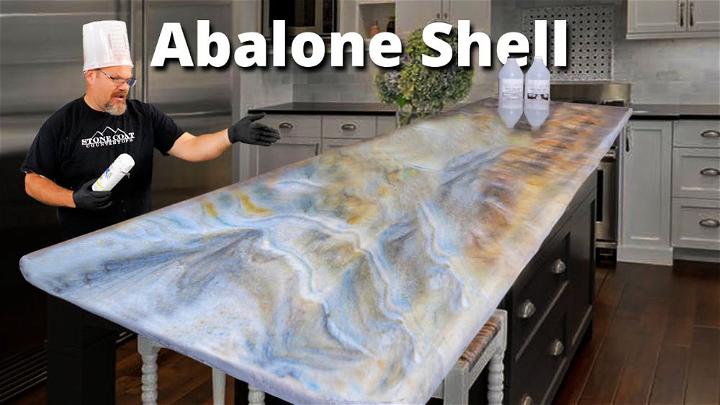
Revamping an epoxy countertop from ugly colors to a beautiful, eye-catching surface underscores the transformative power of epoxy. This cost-effective solution can refresh any countertop, turning a dated or damaged surface into a modern masterpiece.
Conclusion:
Wrapping up this guide, DIY epoxy countertops allow you to transform your space with beautiful and durable surfaces. By following the steps outlined in this article, you can create a stunning epoxy countertop that reflects your style and personality. With a little bit of creativity and patience, you can achieve professional-looking results while adding value to your home.


