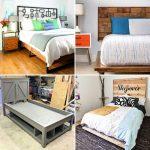
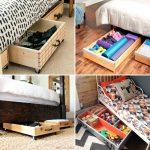
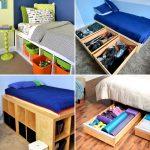
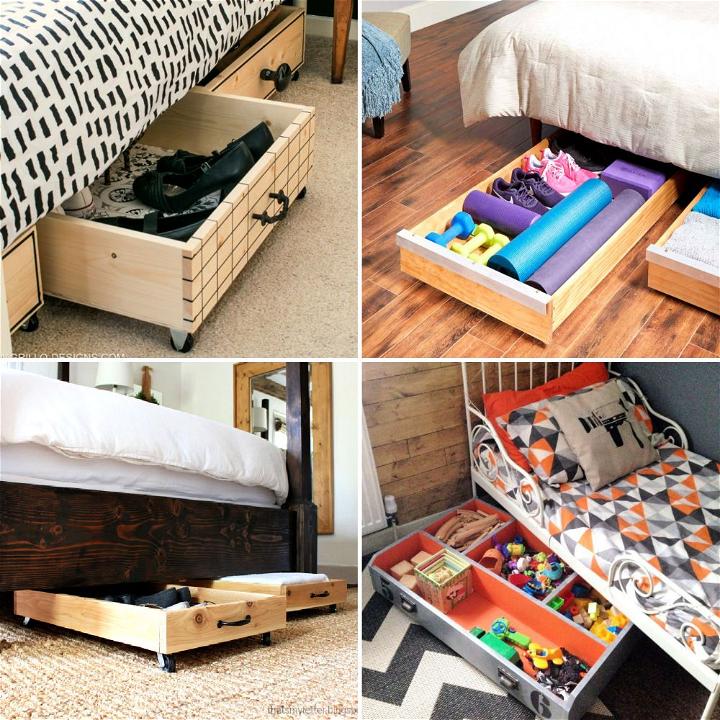
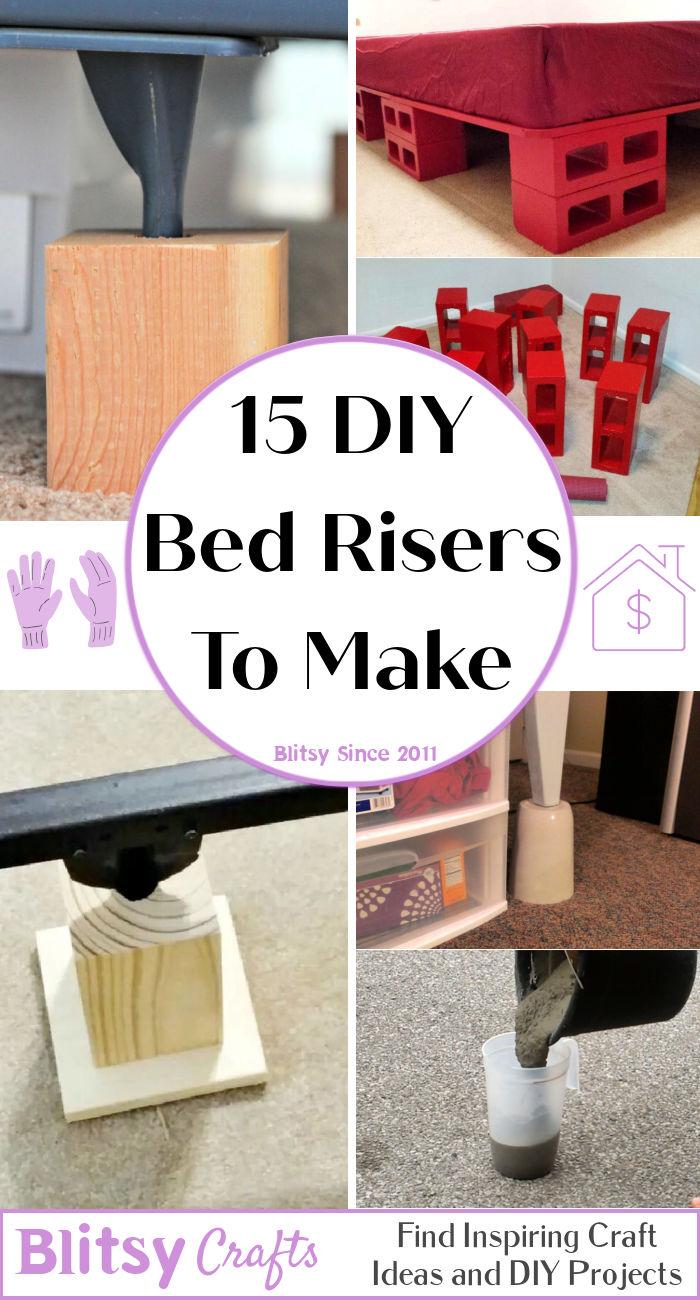
Bed risers are a simple yet effective solution for those looking to increase the height of their bed. Whether you're seeking extra storage space or just prefer a higher sleeping surface, bed risers can provide a stable and secure lift.
What Are Bed Risers?
Bed risers are small, often stackable, supports that fit under the legs or corners of a bed frame to raise it off the ground. They come in various materials like wood, plastic, or metal, and can add anywhere from a few inches to a foot or more in height.
Benefits of Using Bed Risers
Using bed risers can offer several advantages:
- Increased Storage Space: By elevating your bed, you make additional room underneath for storage bins, suitcases, or other items.
- Ease of Cleaning: A higher bed allows for easier access when vacuuming or sweeping under the bed.
- Accessibility: For those with mobility issues, a higher bed can make getting in and out of bed easier.
Customizing Bed Risers
Customization is key when it comes to DIY bed risers. You can choose the height, material, and even color to match your bedroom's decor. The goal is to make a riser that not only serves its purpose but also blends seamlessly with your furniture.
How to Make Bed Risers - Step by Step Guide
Making DIY bed risers saves money, maximizes space, and offers sturdier and safer options than store-bought plastic ones. Follow this guide for step-by-step instructions.
Materials and Tools Required
- Leftover 2x10 wood boards
- 1 x 3 * ½ inch board
- Table saw or handsaw
- Wood glue
- Nails and hammer or nail gun
- Paint or stain (optional)
- Paintbrush (if painting or staining)
Step by Step Instructions
Step 1: Cutting the Wood
Begin by cutting your 2x10 wood boards into 4-inch squares. This size is ideal for stability and provides ample height. If you don't have 2x10 boards, any sturdy wood of similar dimensions will work.
Step 2: Milling the Wood
Once you have your 4-inch squares, use a table saw to mill the thickness down to 1 * ½ inches. This step ensures that your risers are not too bulky while maintaining their strength.
Step 3: Doubling the Height
To achieve the desired height of 3 inches, glue two of the 1 * ½ inch thick squares together. Press them firmly to ensure they adhere well. For extra durability, you can also nail the two pieces together once the glue has dried.
Step 4: Adding the Border
Cut the 1 x 3 * ½ inch board into strips that will serve as a border around the edge of the block. This border should be a half inch high to make a lip that prevents the bed's wheels or legs from sliding off. Attach these strips around the outer edge of the glued squares using glue and nails.
Step 5: Finishing Touches
If desired, paint or stain your bed risers to match your bedroom's decor. This step is optional but can add a personalized touch to your DIY project. Allow the paint or stain to dry completely before using the risers.
Positioning Your Bed Risers
Carefully lift each corner of your bed and place a riser underneath. Ensure that the bed sits securely on all four risers before letting go.
Video Tutorial
For a step-by-step video tutorial on making these DIY bed risers, watch this informative video by Just Build It Canada: Bed Risers Cheap and Easy DIY.
It complements the written guide, enhancing understanding of each step and making DIY easier and more enjoyable.
Transform bed into storage-friendly furniture without spending much. Repurpose and customize bedroom with homemade bed risers.
FAQs About Bed Risers
When considering DIY bed risers, you might have some questions. Here are some common inquiries:
How Much Weight Can Bed Risers Support?
Most commercially available bed risers can support a significant amount of weight, often up to 1,000 pounds or more. However, when making your own, ensure that the materials and construction can handle the weight of your bed and any additional load.
Can Bed Risers Damage Floors?
To prevent any potential damage, choose risers with a padded or smooth bottom surface. Additionally, ensure that the risers are stable to avoid any shifting that could scratch the floor.
Are Bed Risers Safe?
Safety is paramount. Ensure that your DIY bed risers are stable and securely support the bed frame. Avoid stacking risers, as this can compromise stability.
1. DIY Bed Elevation Wooden Blocks

Elevate your bed stylishly with wooden blocks, adding both charm and functionality to your bedroom. An easy, cost-effective solution for storage and potential relief from health issues.
2. How to Make Bed Risers for Under $2

Making bed risers on a budget? Discover how less than $2 can uplift your bed, making space and improving comfort. A smart, frugal tip for savvy DIYers.
3. Illuminated Bed Risers for Beginners

Brighten up your bedroom with illuminated bed risers. Perfect for beginners, these make a cozy ambiance while offering practical bed elevation. A dual-purpose addition that's both useful and enchanting.
4. Homemade Bed Risers for Under $15
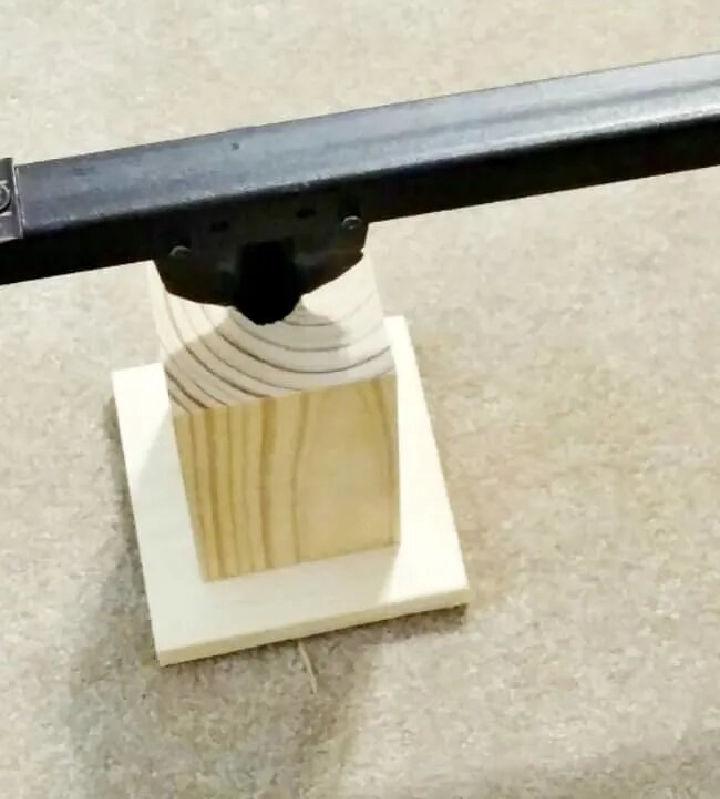
Transform your bed's height without breaking the bank. With materials under $15, make homemade bed risers that blend well with your décor, offering a personalized touch to your bedroom.
5. DIY Cinder Block Bed Risers

Redefine rugged functionality by using cinder blocks as bed risers. This cost-effective, durable option brings an industrial chic to your room while providing sturdy elevation.
6. Easy and Functional Bed Risers
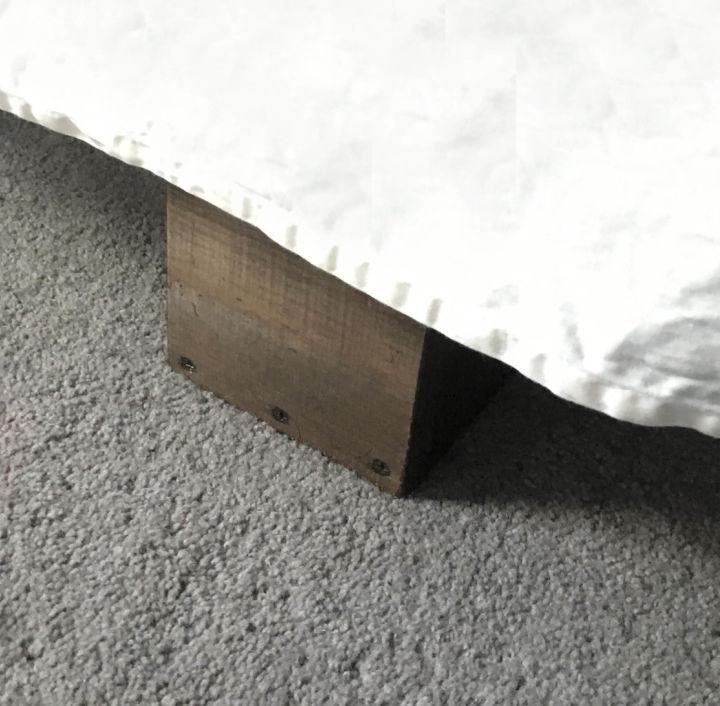
Seeking a simple solution to raise your bed? Try easy and functional bed risers for an instant lift, making more storage space and enhancing your bedtime experience.
7. DIY Bed Risers Using Scrap Wood
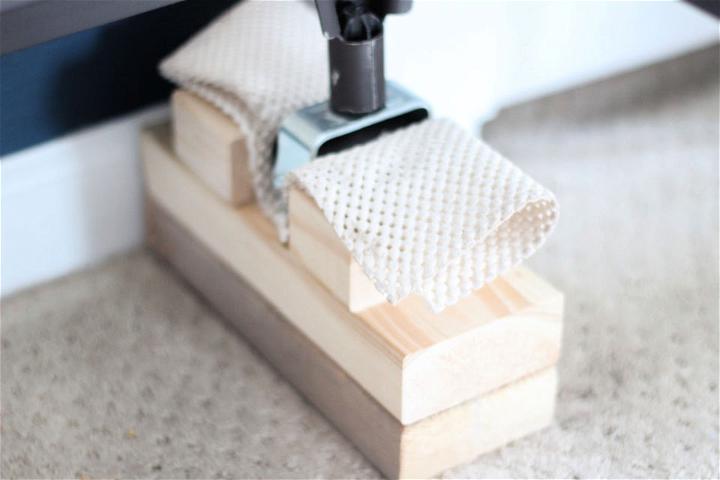
Repurpose scrap wood into practical bed risers. A creative, eco-friendly way to elevate your bed, adding storage space and a unique touch to your bedroom's look.
8. Make Your Own Concrete Bed Risers

Dabble in DIY with your own concrete bed risers. This project offers a modern, minimalist flair to your bedroom, combining durability with a sleek design for a restful night's sleep.
9. Cheap DIY 4 inches Bed Risers
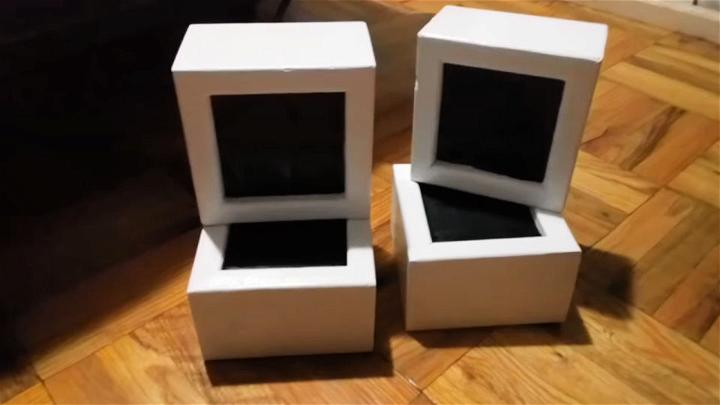
Elevate your bed affordably with DIY 4-inch bed risers. Increase under-bed storage and improve bed access. A quick, inexpensive project for noticeable functionality and space enhancement.
10. How to Build Furniture Risers
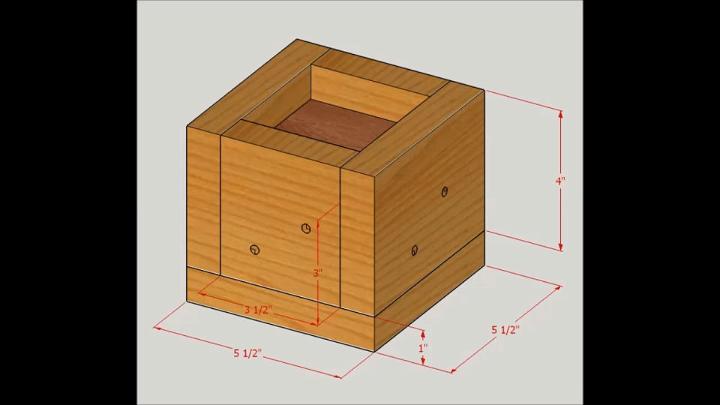
Not just for beds, learn how to build risers that can elevate any furniture piece. Increase storage and add an interesting visual tier to your room, a versatile solution for any home.
11. DIY Adjustable Bed Higher

Elevating your bed can be a game changer for storage and comfort. DIY adjustable bed risers provide a customizable solution, fitting perfectly with your unique space and needs. They're an ingenious, cost-effective way to make the most out of your bedroom's layout and design.
12. Free Bed Riser Plan

Looking to lift your bed without spending a fortune? Free bed riser plans offer an affordable way to add height, enhancing under-bed storage space or simply revamping your bedroom's aesthetic. It's an accessible project for everyone, offering great satisfaction without hitting your wallet.
13. Heavy Duty 6-inch Bed Risers for Decoration
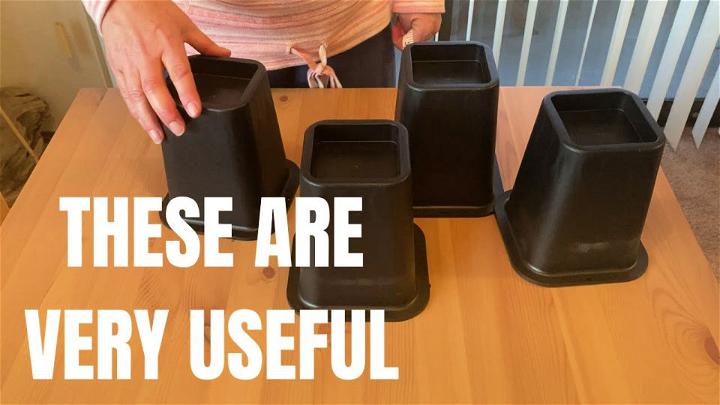
Not just functional, heavy-duty 6-inch bed risers bring a new layer of style to any room. Designed to reliably support your bed, they also come in various finishes that contribute to your bedroom's décor. A practical yet stylish solution to refresh your space.
14. Solid Wood 2 Inch Bed Risers

Crafted from solid wood, these 2-inch bed risers blend seamlessly with any bedroom furniture, offering a subtle lift. They promise durability and a classic touch to your décor, adding just the right height for easier cleaning or a bit more storage underneath. A delicate balance of form and function.
15. Best DIY Bed Risers

Discovering the best DIY bed risers means unlocking the full potential of your bedroom. Whether seeking extra storage space or aiming to customize your bed's height for comfort, these solutions offer a personal touch to your bedroom setup. The perfect blend of practicality and creativity awaits.
Conclusion:
Wrapping up, utilizing DIY bed risers is a practical and budget-friendly solution to make additional storage space and elevate your bed. These customizable risers can be personalized to match your decor and are easy to assemble with basic materials. Try this simple project today to optimize your bedroom organization and enhance your living space effortlessly.

