My first attempt at bullseye tie dye was during a family reunion. We wanted a fun activity that could involve everyone, from my youngest cousin to my grandparents. I found some simple instructions online for making bullseye patterns, which seemed perfect. We laid out our white T-shirts and followed the steps to fold and tie them. There was something truly special about working together, twisting and securing the rubber bands, anticipating the vibrant patterns that would soon emerge.
After dyeing our shirts and waiting eagerly for them to dry, the reveal was a moment of collective joy. Each shirt had unique bullseye patterns, with colors blending beautifully. Mine had bright blues and purples that made the circles pop. It wasn't just about the shirts, though. It was about the memories we made and the laughter we shared. That day, I learned that bullseye tie dye could bring people together, creating more than just colorful patterns, but moments of happiness.
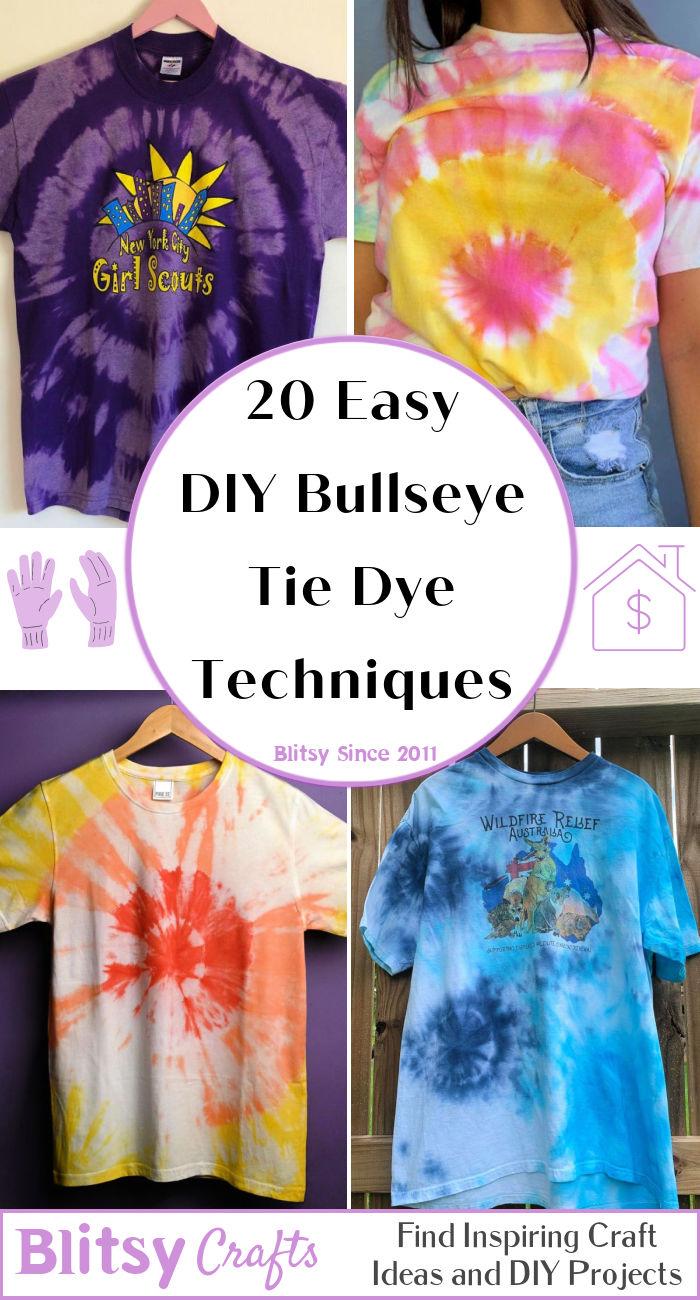
I'm here to guide you through making your own bullseye tie dye patterns. Whether it's for a family gathering or simply to add some fun colors to your wardrobe, this technique is a great way to start. Let’s create something beautiful together, filled with color and life.
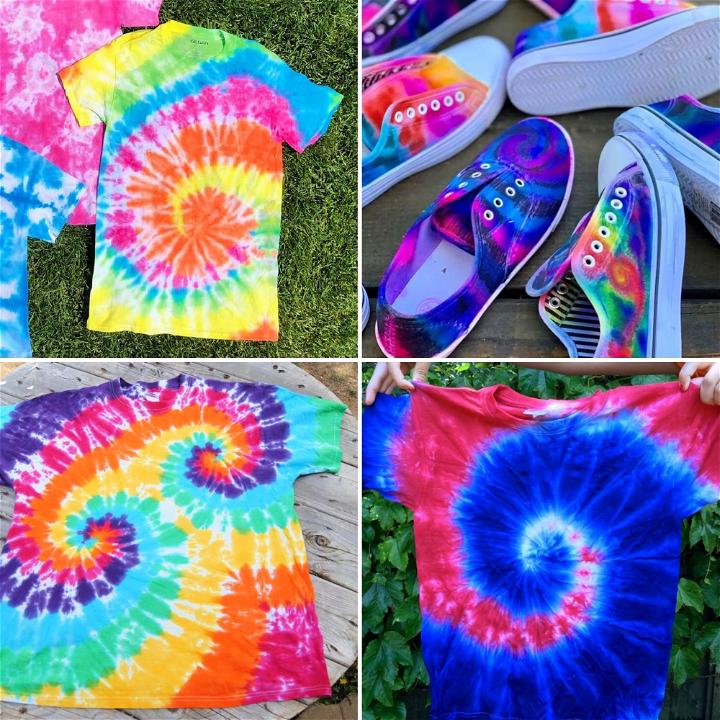
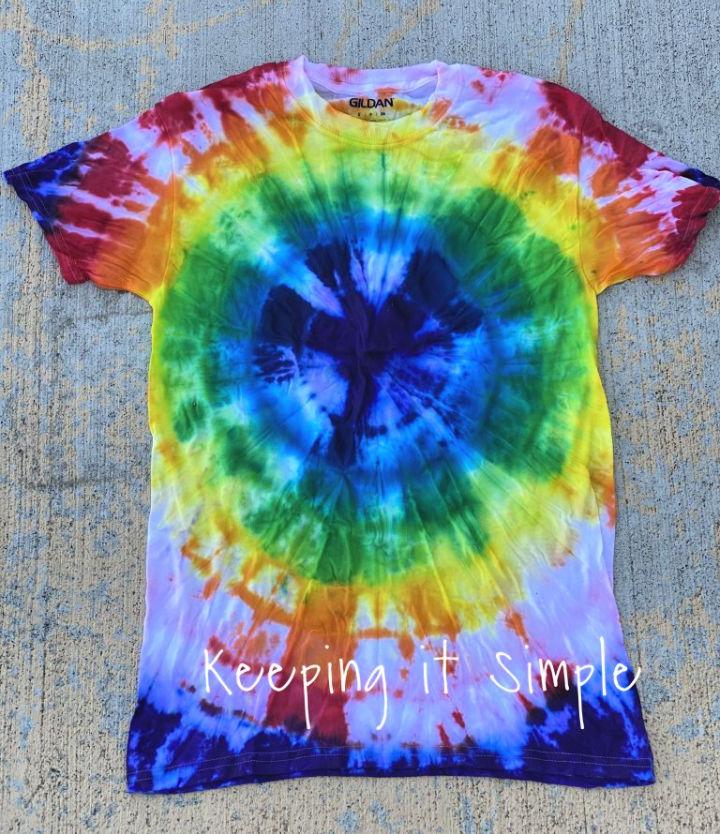
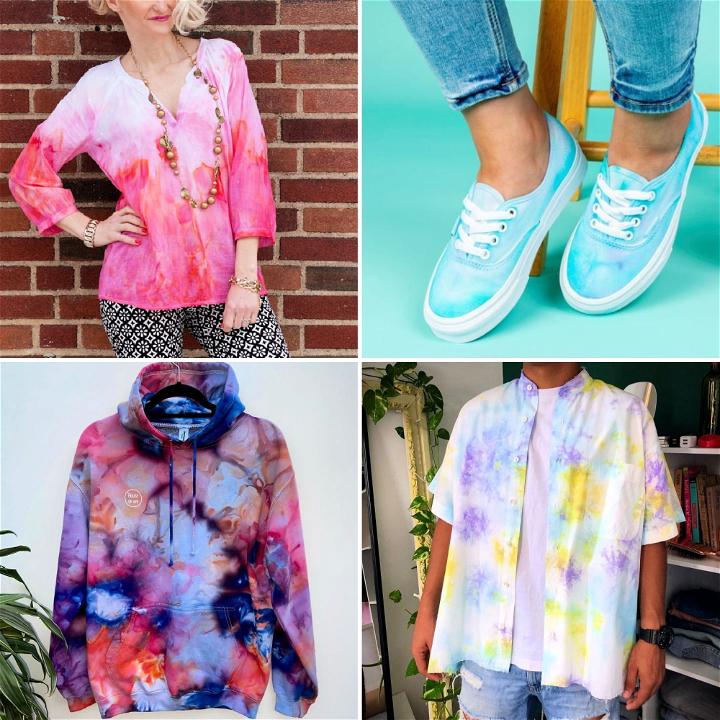
1. Classic Multiple Bullseye Tie Dye Technique
Dive into a vibrant world with the classic multiple bullseye tie-dye technique. This method brings life to your wardrobe with unique patterns and bright colors, suggesting an artistic and personalized touch to your clothing collection.
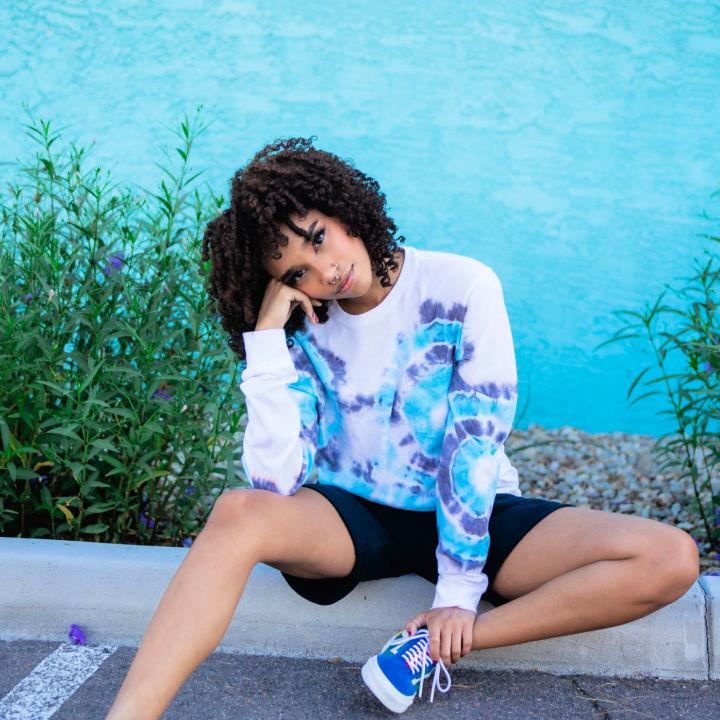
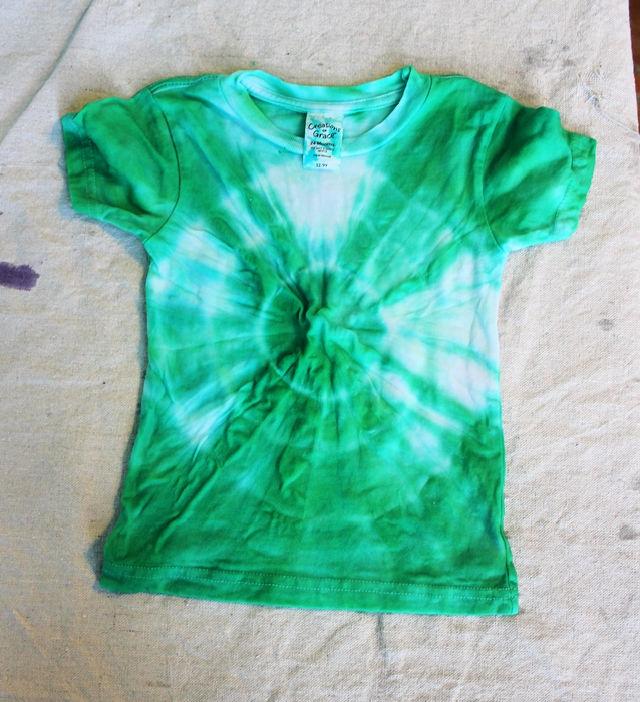
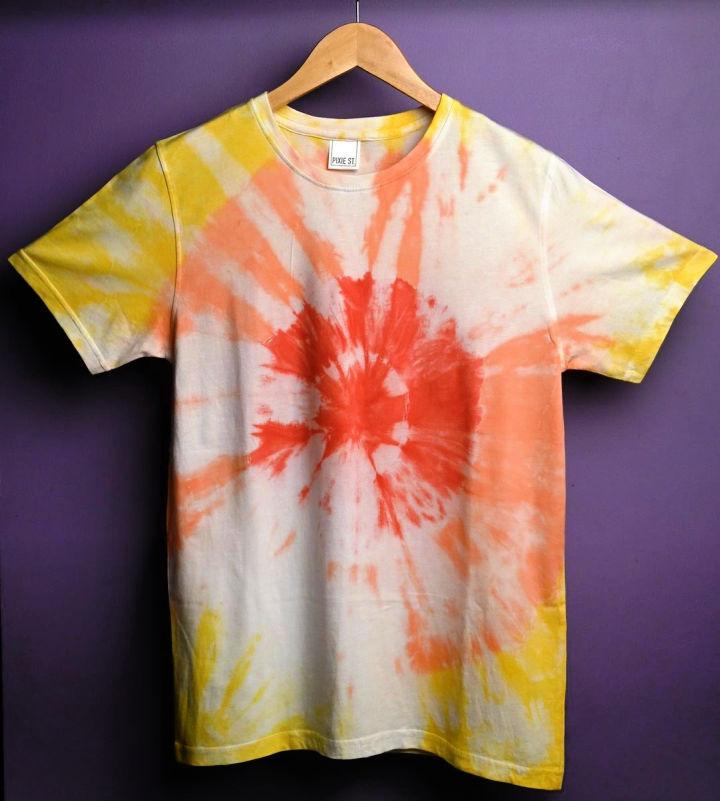
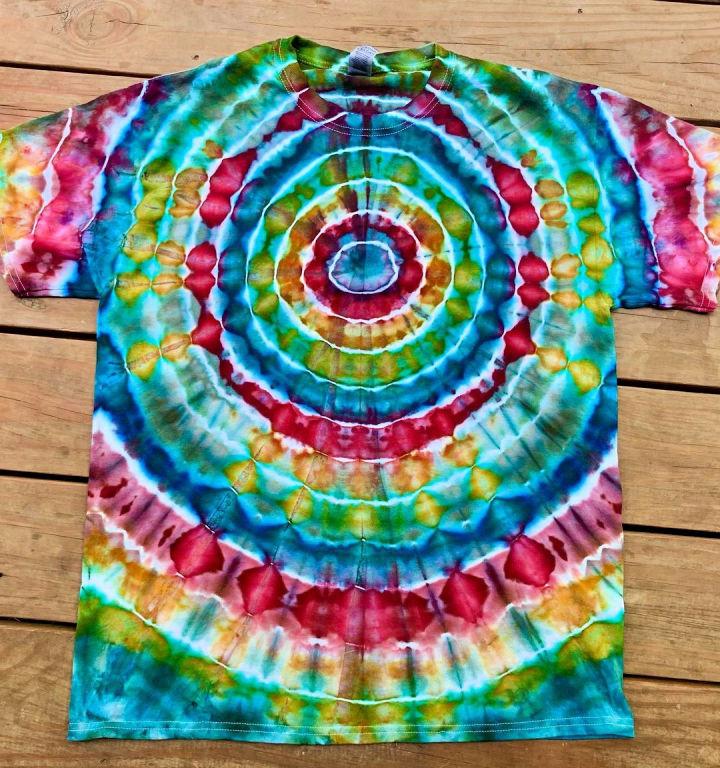
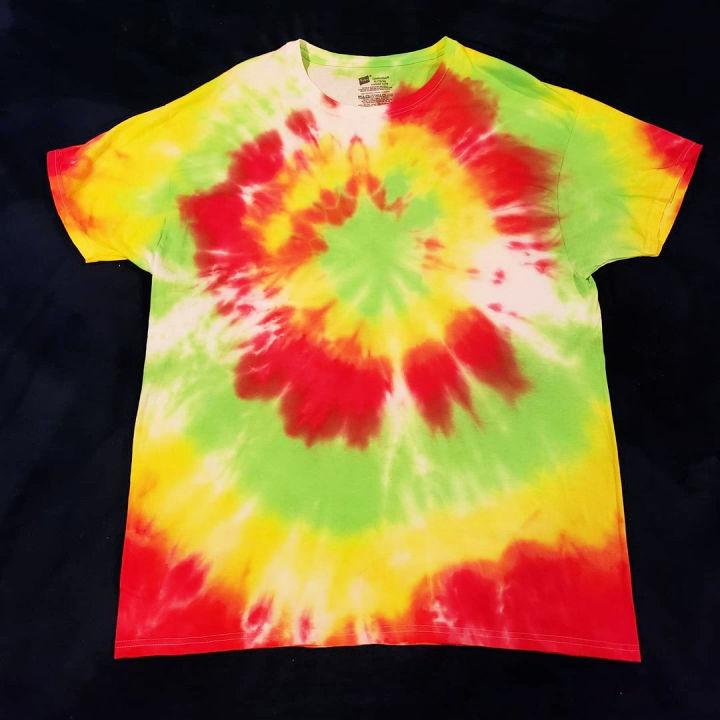
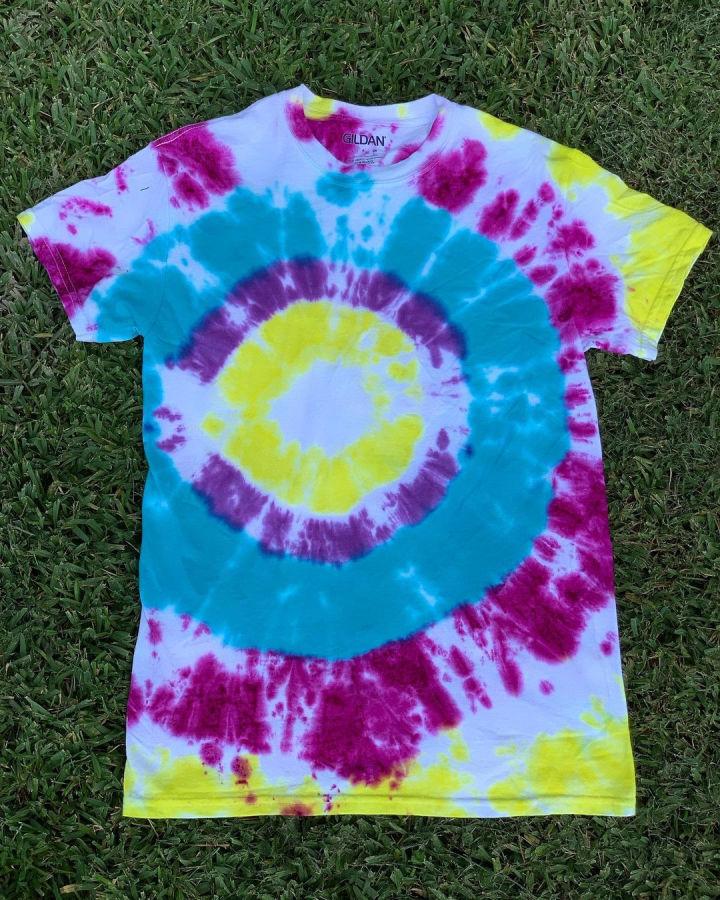
2. Ultimate Bullseye Tie Dye Shirts
Ultimate bullseye tie-dye shirts stand out with their precise concentric circles. They offer a bold statement piece for those looking to add a pop of color and pattern to their daily attire, seamlessly blending style and creativity.
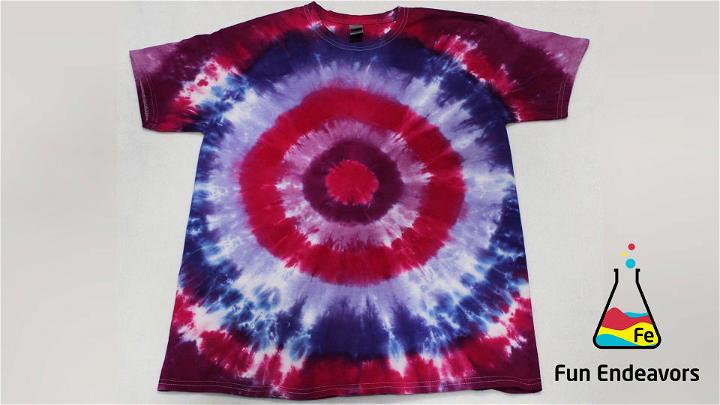
3. How To Bullseye Tie Dye - 2 Techniques

Discovering how to bullseye tie-dye involves exploring two engaging techniques. Each approach allows for a different artistic expression, allowing you to create a masterpiece that truly represents your individual style.
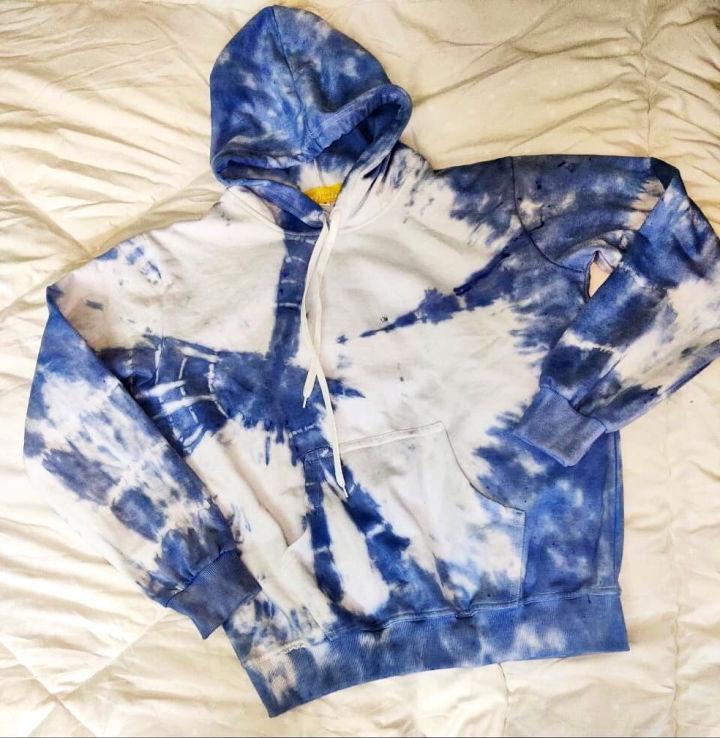
4. Bullseye Pattern For Tie Dye Shirt

Designing a bullseye pattern for tie-dye shirts involves careful planning and execution. This simple method transforms simple garments into eye-catching art pieces, showcasing your creativity and attention to detail in every swirl.
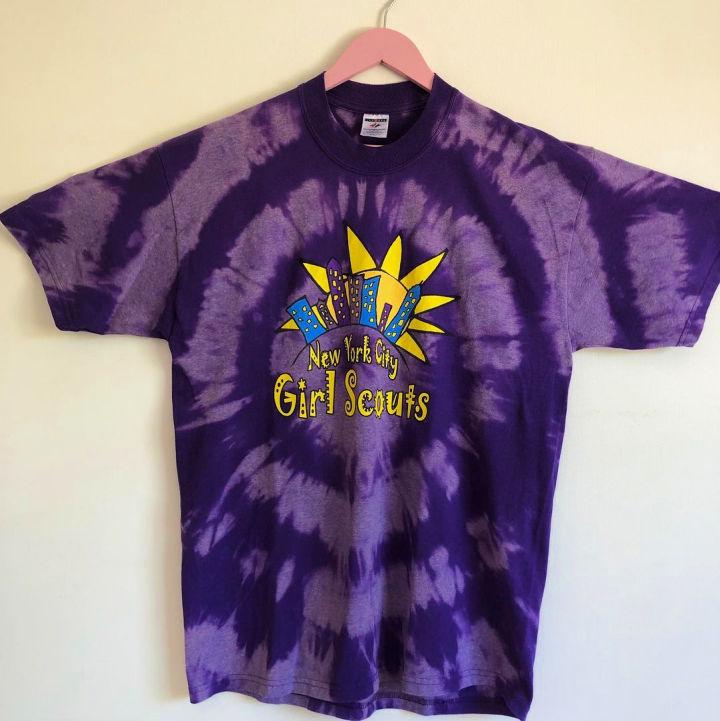
5. Bullseye Tie Dye T-shirts For All The Cousins
Bullseye tie-dye t-shirts for all the cousins create a fun and unified look for family gatherings. These shirts bring joy and a sense of belonging, making every reunion colorful and memorable.
6. How to Bullseye Tie Dye Shirt
Learning how to bullseye tie-dye a shirt is an enjoyable adventure. This process not only teaches you a unique skill but also gives you the satisfaction of wearing your own handcrafted design and tailoring your wardrobe to your tastes.
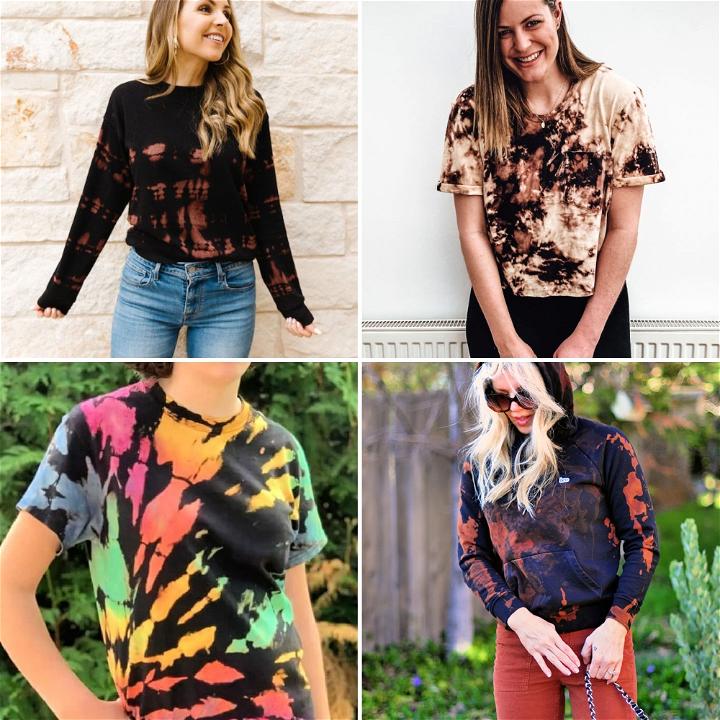
7. Bullseye Tie Dye Unisex Hoodie
A bullseye tie-dye unisex hoodie introduces comfort and style in a single piece. Its versatile design caters to everyone, offering a cozy and stylish option that stands out in any casual setting.
8. Bullseye Tie Dye Shirt
Bullseye tie-dye shirts capture the essence of creativity and freedom. Each piece tells a story, with swirling patterns and vibrant hues that invite compliments and spark conversations wherever you go.
9. Bullseye Style Tie Dye Shirt
The bullseye style tie-dye shirt is a must-have for those who love to showcase their dynamic personality. Its distinctive design serves as a wearable expression of art, perfect for anyone looking to brighten up their ensemble.
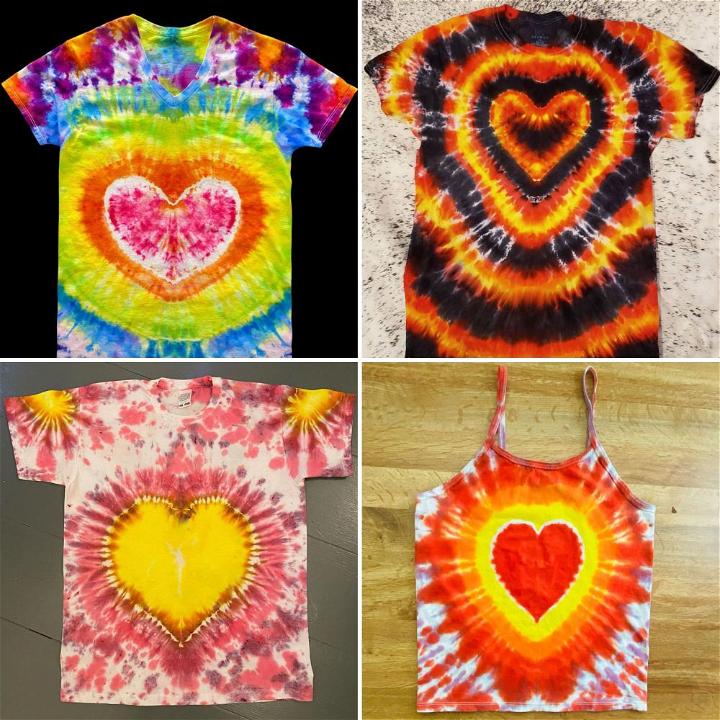
10. Orange Bulls Eye T-shirt
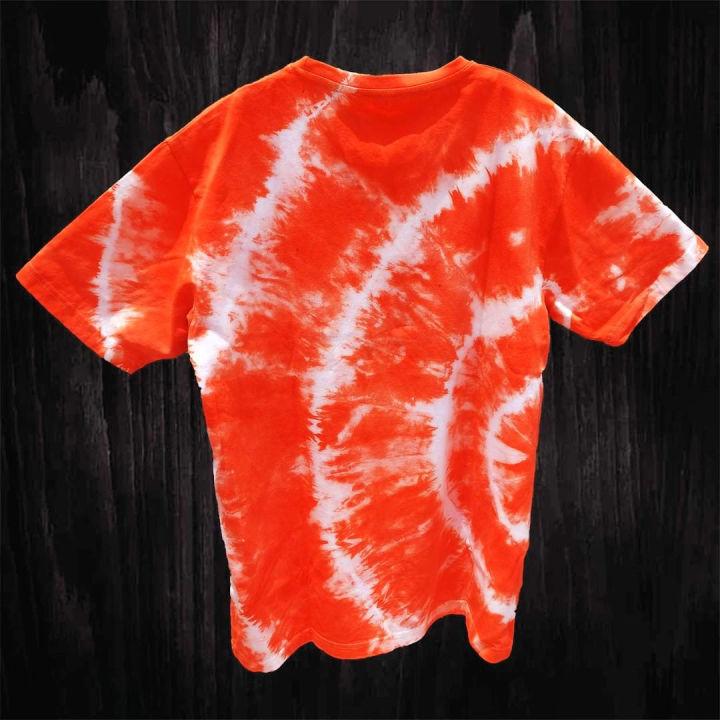
An orange bulls-eye t-shirt radiates energy and enthusiasm. Its striking design and warm color make it an ideal choice for those sunny days out, adding a cheerful vibe to your casual outings.
11. Heart Rainbow Bullseye Tie Dye Shirt
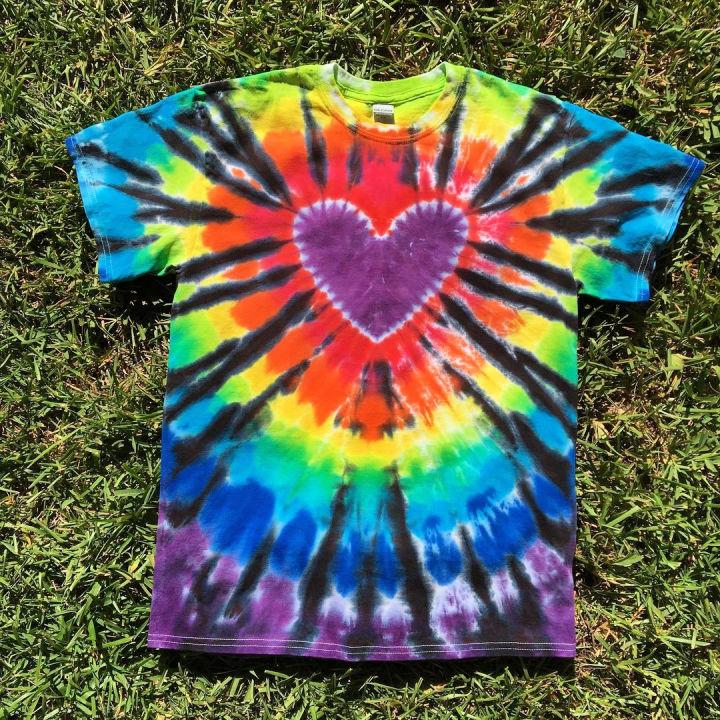
Embrace love and color with a heart rainbow bullseye tie-dye shirt. This design combines the universal symbol of love with a splash of colors, offering a wearable piece of art that spreads positivity.
12. Bullseye Tie Dye Brother Sister Matching Hoodies
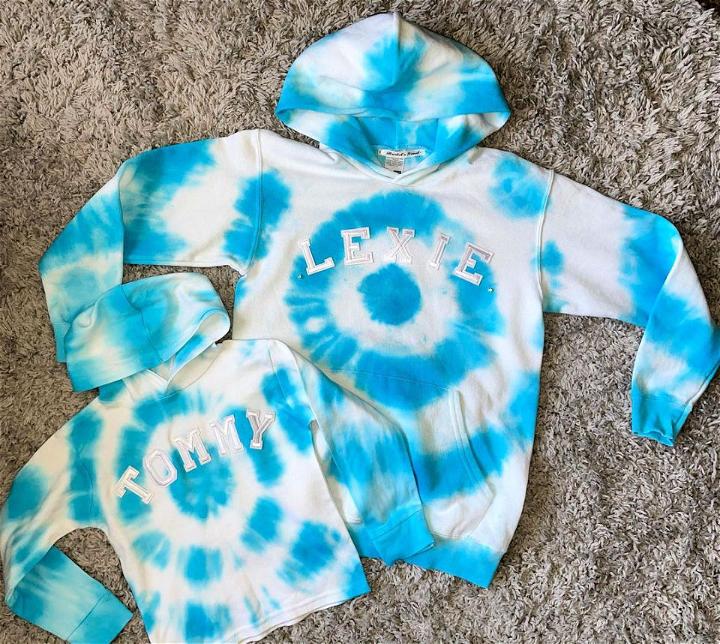
Bullseye tie-dye brother-sister matching hoodies strengthen the bond through fashion. These matching set pieces are a fun way to show unity and sibling love, making every wear a special occasion.
13. Corner Bullseye Tie Dye Hoodie

The corner bullseye tie-dye hoodie adds an intriguing twist to the classic design. Positioned uniquely, the bullseye draws attention, making this hoodie a statement piece that combines creativity with a hint of mystery.
14. Easy Bullseye Tie Dye Shirt
Making an easy bullseye tie-dye shirt is a fantastic way to dive into the world of DIY fashion. This project is not only rewarding but also allows you to experiment with colors and patterns, resulting in a uniquely personal garment.
15. Bullseye Tie Dye T-shirt
Bullseye tie-dye t-shirts offer a timeless appeal with a modern twist. These shirts are perfect for those who cherish individuality and creativity, providing a vibrant addition to any casual wardrobe.

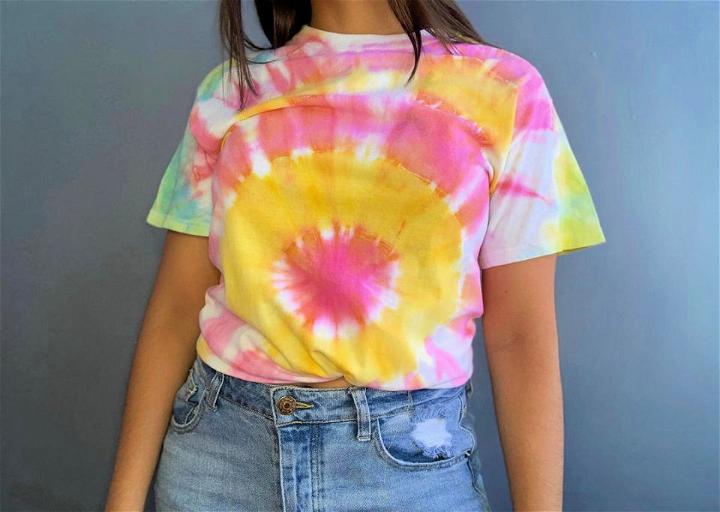
16. Pink Green Blue Bullseye Tie Dye Shirt
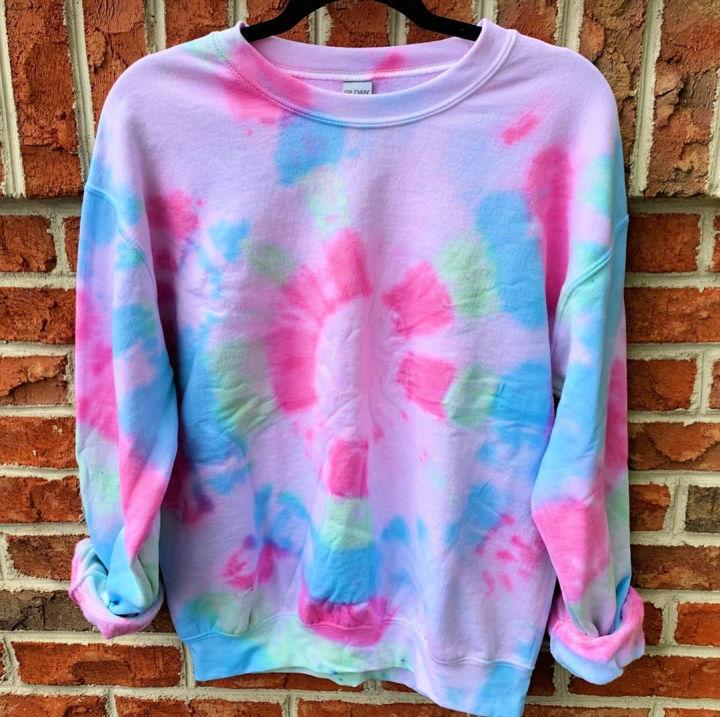
The pink, green, and blue bullseye tie-dye shirt is a visual delight. Its harmonious blend of colors captures the essence of spring, making it an excellent choice for anyone looking to add a splash of freshness to their look.
17. Bullseye Tie Dye Shirt For Girls
Specifically designed for girls, the bullseye tie-dye shirt enchants with its playful patterns and bright colors. It's a fun way to express personality through clothing, perfect for the young and the young at heart.
18. Bullseye Tie Dye Shirt For Adults
Adults can also enjoy the whimsy of dyeing with a bullseye tie-dye shirt crafted just for them. Its mature palette and design speak to those who appreciate craftsmanship, blending artistry with everyday fashion.
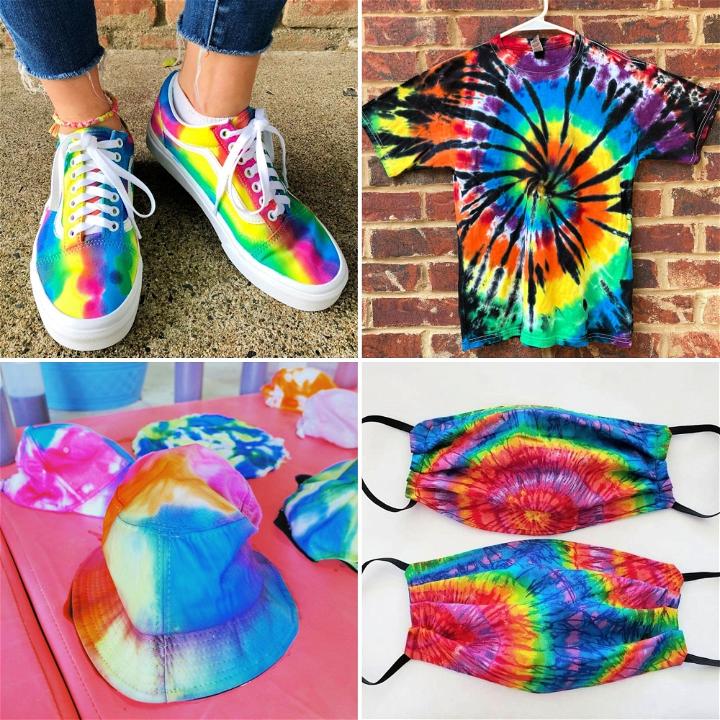
19. Classic Bullseye Technique T-shirt

The classic bullseye technique t-shirt is a nod to traditional tie-dye methods while keeping it fresh and relevant. This shirt appeals to those who value both history and personal expression in their style.
20. Animal Lover Bullseye Tie Dye Shirt
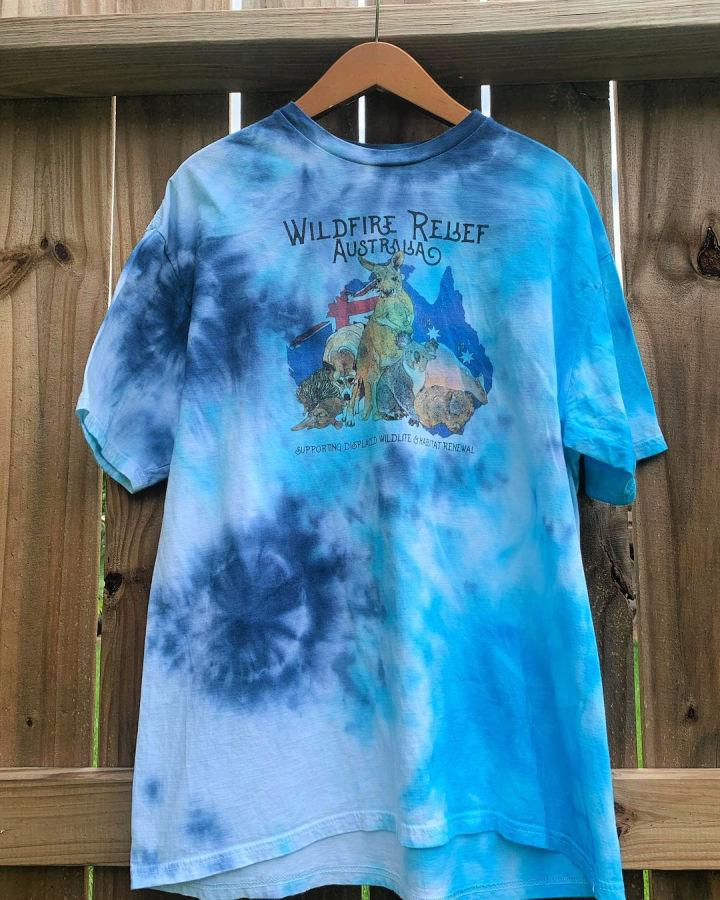
For those who adore their furry friends, the animal-lover bullseye tie-dye shirt is a must. It combines the playful spirit of pets with the artistic touch of tie-dye, resulting in a heartwarming and stylish piece.
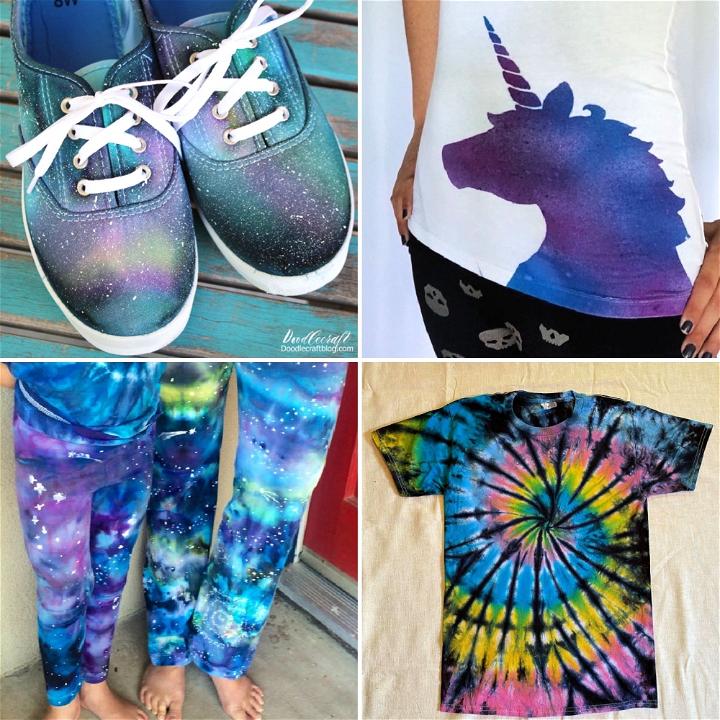
Related Tie Dye Patterns:
Explore the vibrant world of tie dye and learn all the different patterns and techniques you can create with just a few simple supplies. Unlock your inner artist and get creative!
- Heart Tie Dye Patterns: Show your love for fashion with fun and exciting heart-shaped tie dye patterns! Whether you're looking to make a bold statement or create a unique gift.
- Galaxy Tie Dye Techniques: Master the art of beautiful galaxy tie dye techniques and transform ordinary fabrics into celestial masterpieces with our easy-to-follow guide.
- Ice Tie Dye Tutorials: Explore the stunning effects of gorgeous ice tie dye tutorial, and learn to create mesmerizing patterns on your favorite garments and accessories.
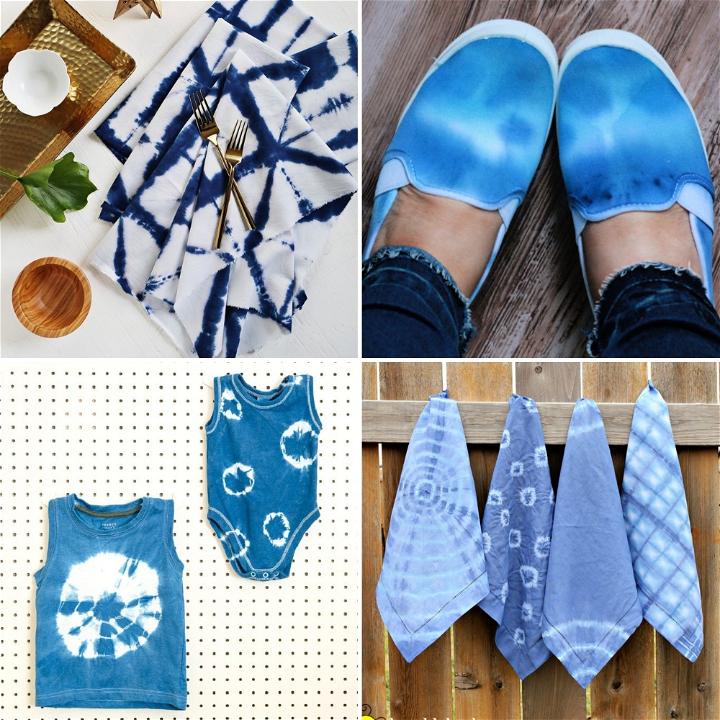
- Shibori Tie Dye Techniques: Discover the beauty of traditional Japanese shibori tie dye patterns with our detailed instructions and expert tips for stunning results.
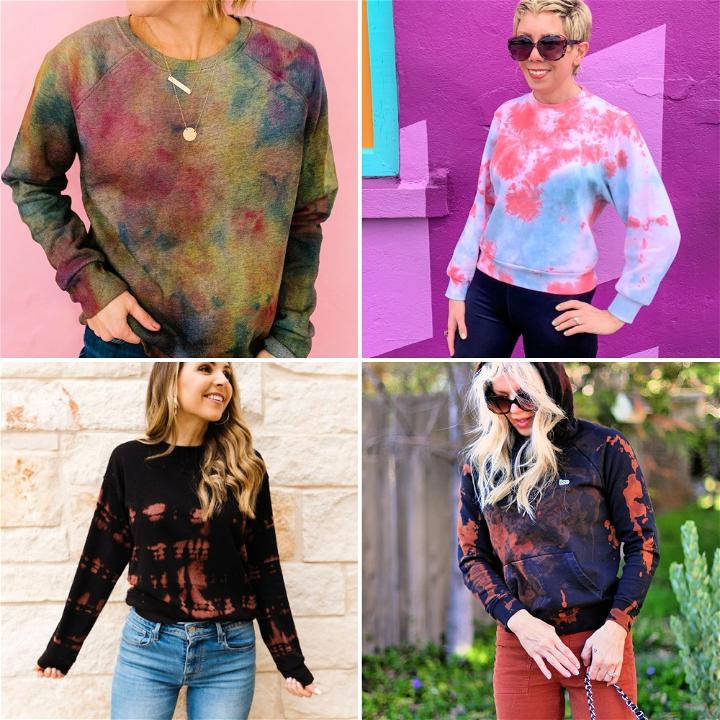
- Reverse Tie Dye Patterns: Unleash your creativity with this awesome reverse tie dye technique, turning plain fabric into striking, one-of-a-kind designs.
- Pastel Tie Dye Tutorials: Create soft, pretty pastel tie dye patterns on your favorite fabrics with our easy-to-follow instructions for a delicate, stylish touch.
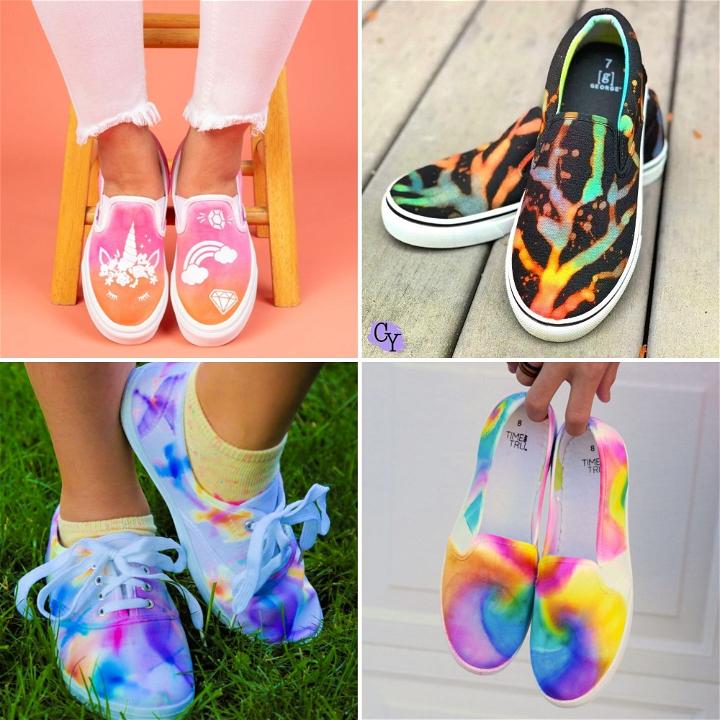
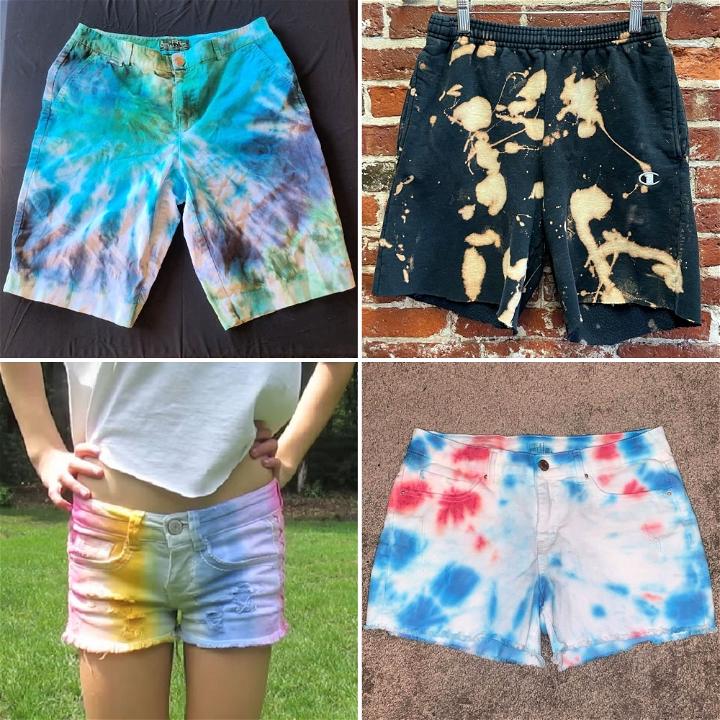
- How to Tie Dye Shorts: Customize your wardrobe with our guide on how to tie dye incredible shorts, perfect for a fun, personalized summer look.
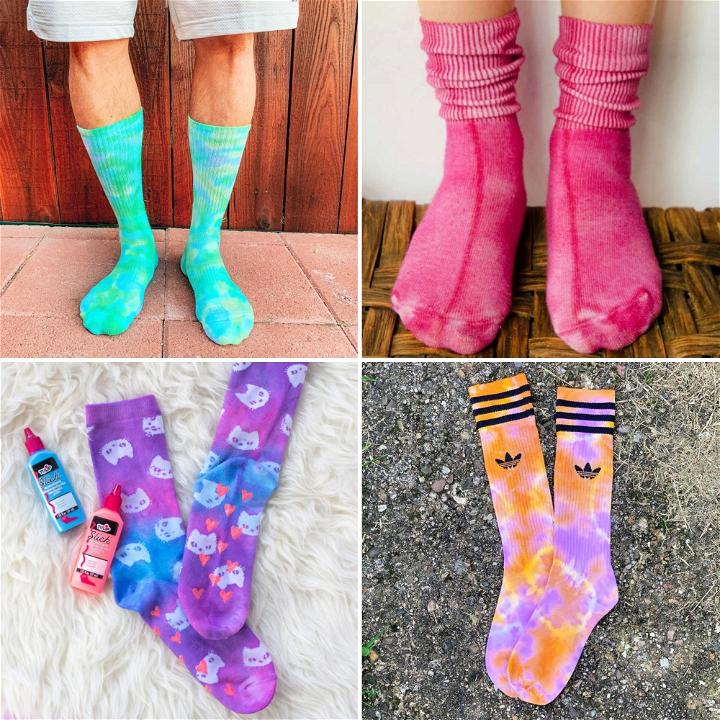
- Tie Dye Socks Patterns: Make a bold statement with these unbelievable tie dye sock patterns, guaranteed to transform ordinary footwear into colorful masterpieces.
Conclusion:

Going through the process of creating bullseye tie dye patterns myself, I found joy in every twist and turn. I encourage you to dive in and experience the thrill of unwrapping your creation, seeing the vibrant circles come to life. It’s a simple pleasure that resonates deeply, and I'm excited for you to try it.
Related posts: