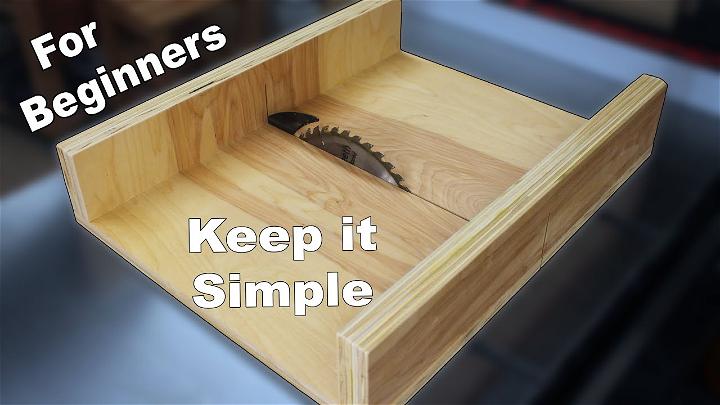
Building a crosscut sled for your table saw can transform it into a more versatile and safe tool, especially for beginners in woodworking. This guide will walk you through making a basic, yet effective crosscut sled, tailored for novice woodworkers. Not only does it aim to simplify the process but also provides insights into avoiding common pitfalls and ensuring your sled serves you well for years to come.
What Will I Get Out of This?
Upon completing this guide, you will have crafted a simple crosscut sled that enhances the safety and versatility of your table saw. This sled will allow you to make perpendicular cuts with greater accuracy and reduce the risks associated with free-hand cuts. Additionally, the guide includes tips for maintaining your sled and ensuring its longevity.
Understanding the Need for a Crosscut Sled
A crosscut sled provides stability and precision when making crosscuts on a table saw. By securely holding the wood in place and offering a reliable reference point, it ensures straight, accurate cuts every time. This not only improves the quality of your work but significantly enhances safety by keeping your hands away from the saw blade.
Materials Required
- Plywood (¾ inch preferred): The base of the sled, chosen for its stability and minimal warping.
- Hardwood: For the runners that fit into the saw's miter slots, ensuring durability and precise movement.
- Wood Glue and Screws: To assemble the sled securely.
- Painter's Tape: To minimize tear-out when cutting the plywood.
- Paste Wax: For smoothing the sled's movement across the table.
Step-by-Step Instructions
Step 1: Measuring and Cutting the Base
- Determine the size of the sled based on your table saw's dimensions. For smaller saws, scale down accordingly to prevent it from being unwieldy.
- Cut a piece of plywood to the desired dimensions. Use a factory edge as your reference to ensure the sled's front edge is perfectly straight.
- Apply painter's tape along the cut line to minimize tear-out.
Step 2: Building the Runners
- Measure your table saw's miter slots and cut hardwood strips to fit snugly, with no side-to-side movement. The height should be slightly less than the depth of the slots.
- Glue the runners to the underside of the sled base, aligning them with the miter slots. Add weights until the glue dries to ensure a strong bond.
Step 3: Assembling the Front and Back Fences
- Cut four pieces of plywood for the fences. Glue them into two thicker pieces to enhance durability and minimize warping.
- Attach one fence to the rear of the sled, ensuring it's perfectly perpendicular to the saw blade's direction. This fence's alignment is crucial, as it determines the cut's accuracy.
Step 4: Finishing Touches
- After the glue has dried, use paste wax on the bottom of the sled and the runners to facilitate smooth movement.
- Consider adding a safety feature behind the rear fence to protect your hands from the blade.
Troubleshooting and Maintenance
- Sticking Movement: If the sled sticks or does not slide smoothly, apply more paste wax or lightly sand the runners for a better fit.
- Accurate Cuts: Recheck the fence alignment periodically to ensure continuous accuracy. Minor adjustments may be necessary over time.
Video Tutorial
Want a visual demonstration? Watch a step-by-step video tutorial on YouTube for further guidance. It provides a clear and easy-to-understand visual walkthrough of the techniques, making it a great companion to this written guide.
This guide, while simple, covers the essentials of building a functional crosscut sled for beginners, emphasizing safety, accuracy, and ease of use. With your new sled, you'll find that your table saw becomes a more versatile and indispensable tool in your woodworking projects.
FAQs About DIY Table Saw Sleds
Building a DIY table saw sled can be a rewarding project that enhances your woodworking capabilities. Here are some frequently asked questions that can help guide you through the process.
What materials do I need to build a table saw sled?
To build a table saw sled, you'll need a sturdy base, typically made from plywood or MDF, and hardwood strips for the runners that fit into the miter slots of your table saw. You'll also need wood glue, screws, a measuring tape, a square, a saw, a drill, and sandpaper.
How do I ensure my sled is square to the saw blade?
Ensuring your sled is square to the saw blade is crucial for accurate cuts. After assembling the base and fence, check the alignment by making a test cut on a piece of scrap wood. Adjust the fence as necessary until you achieve a perfectly square cut.
Can I use a table saw sled for angled cuts?
Yes, a well-designed table saw sled can be used for making angled cuts. You can build an adjustable fence or use a tapering jig attachment to your sled to achieve precise angled cuts.
How do I maintain my table saw sled?
Maintain your table saw sled by keeping it clean and free of sawdust. Regularly check the runners and fence for wear and ensure they are secure. Apply a dry lubricant to the runners to keep them moving smoothly in the miter slots.
Are there any safety tips I should follow when using a table saw sled?
Always wear eye protection and keep your hands clear of the blade path. Use a push stick or handle when moving the sled, and never reach over the sled while the blade is spinning. Ensure the blade height is set so that it just clears the thickness of the material you're cutting.
20 DIY Table Saw Sled Plans and Inspirations
Discover 20 DIY table saw sled plans and inspirations to improve your woodworking skills and precision cuts. Start making today!
1. How to Build a Table Saw Sled
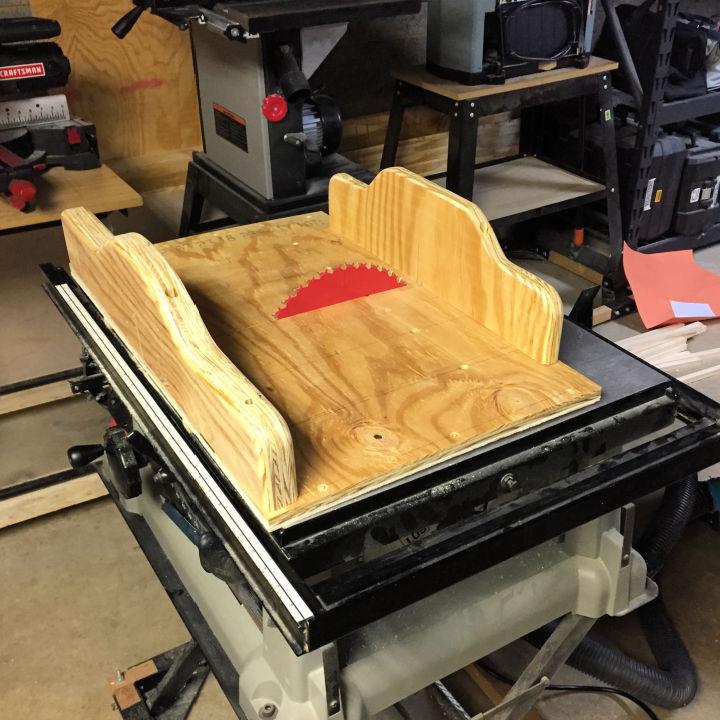
Building a table saw sled can revolutionize your woodworking projects, allowing for precise and safe cuts. Imagine cutting wood with accuracy and confidence, a sturdy sled guiding each piece smoothly. It's about enhancing both precision and safety in your workspace.
2. Free Crosscut Sled Plan
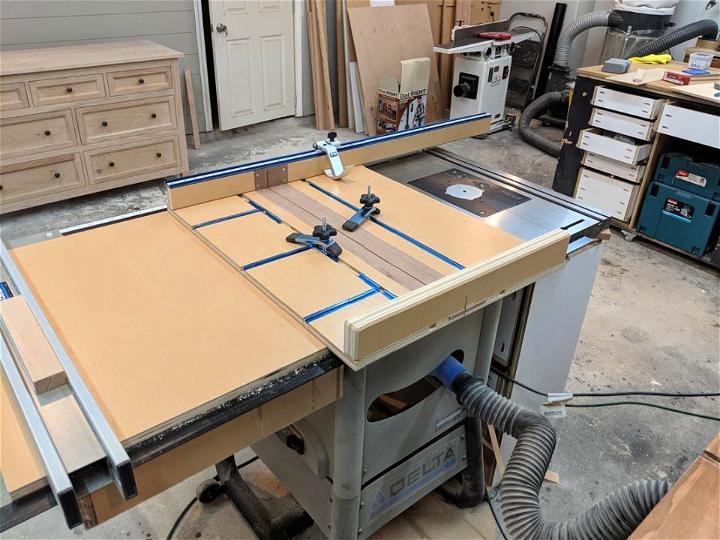
Who doesn't love complimentary resources, especially when they boost your woodworking game? A free crosscut sled plan can be your gateway to achieving cleaner, more precise cuts with your table saw. It's about getting professional results without straining your budget.
3. DIY Table Saw Sled Using Scrap Wood
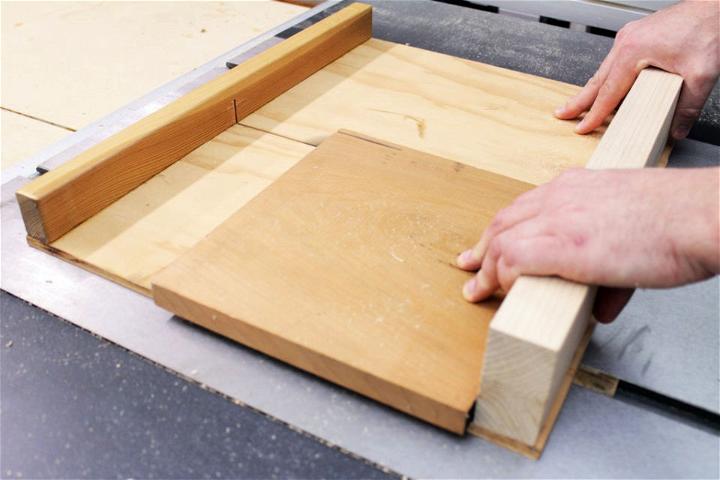
Transform those leftover pieces of lumber into a valuable workshop tool by crafting a DIY table saw sled using scrap wood. It's a fantastic way to recycle while upgrading your cutting accuracy. A little creativity can go a long way in enhancing your cutting techniques.
4. How to Make a Table Saw Sled
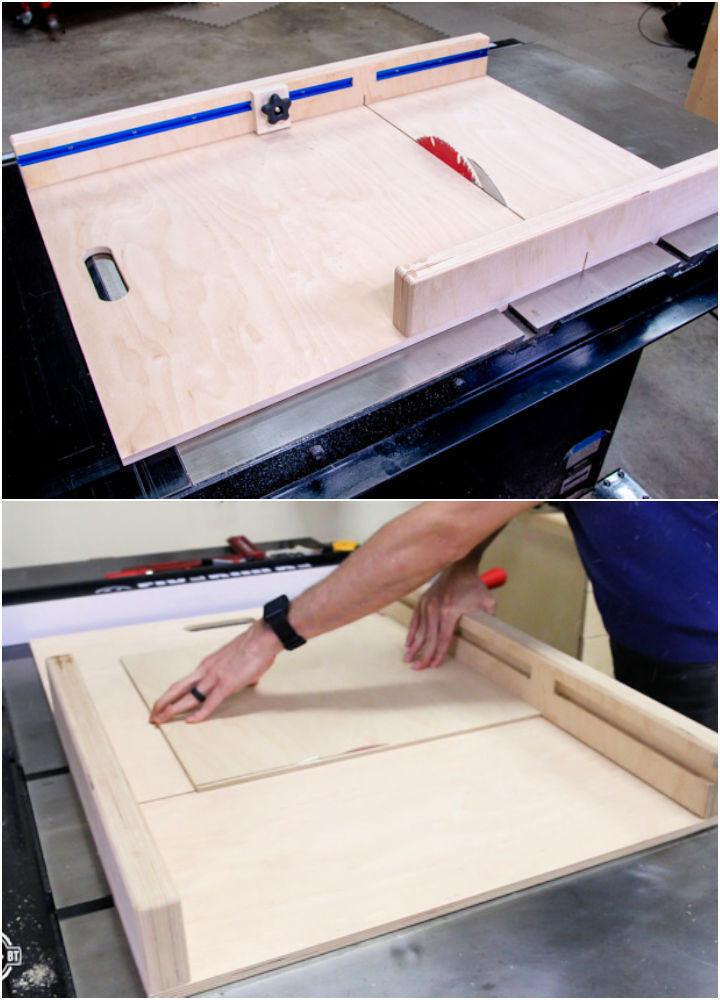
The journey of making a table saw sled is about marrying functionality with finesse. It's not just about making a tool but about refining your woodworking skills. A well-crafted sled can be a game-changer, introducing precision to your projects like never before.
5. DIY Mini Table Saw Sled
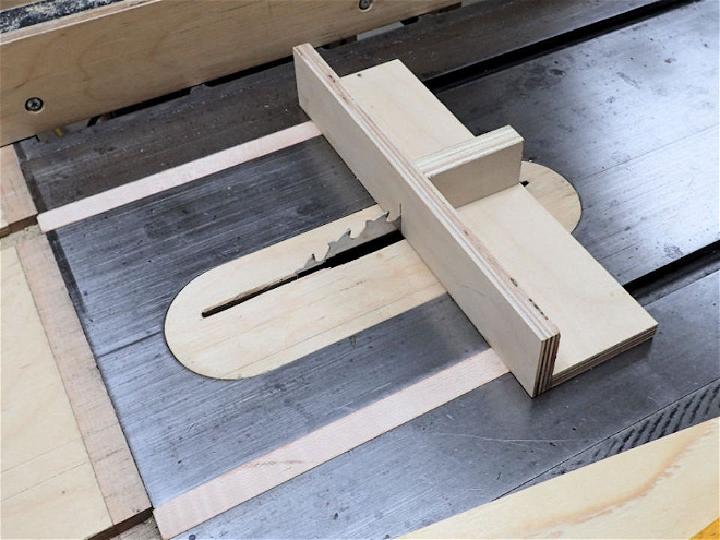
Consider making a DIY mini table saw sled for those smaller, intricate projects that demand utmost precision. It's perfect for detailed work, offering control and accuracy on a smaller scale. This compact companion can make a big difference in your craftsmanship.
6. Building a Table Saw Crosscut Sled
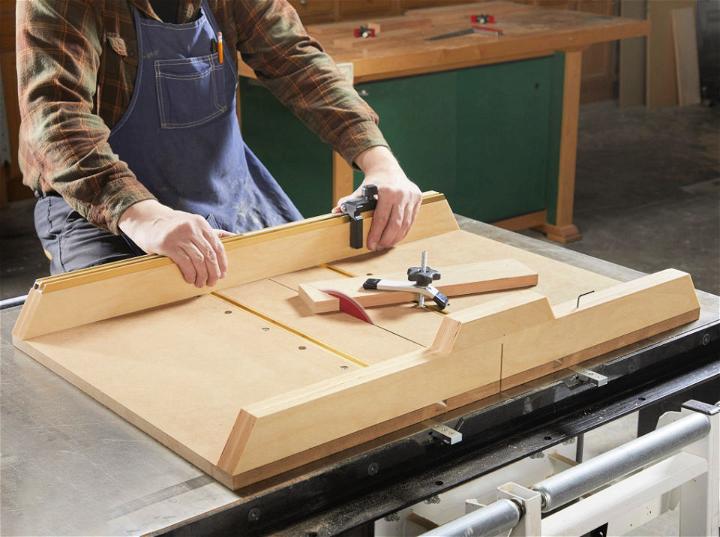
Diving into building a table saw crosscut sled opens up a world of woodworking possibilities. It's about achieving flawless crosscuts every time. The satisfaction of making something both practical and precise from scratch is unmatched, not to mention the improvement in your woodworking endeavors.
7. DIY Improved Crosscut Sled
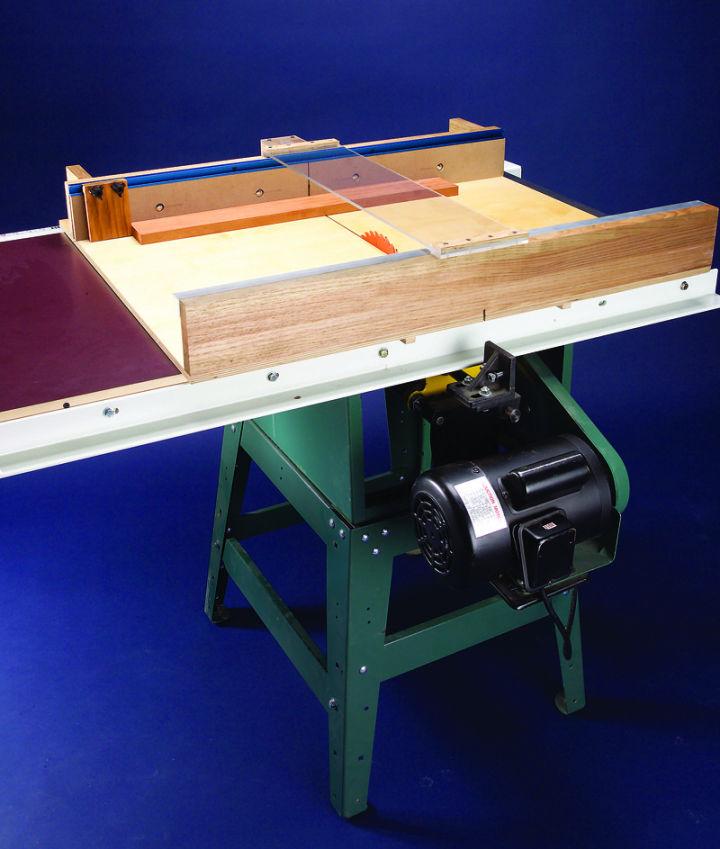
An improved DIY crosscut sled tackles common woodworking challenges with innovative tweaks. It's about taking a good thing and making it even better, enhancing your saw's accuracy and your own efficiency. A few adjustments can lead to leaps in your project's quality.
8. Simple Crosscut Sled for Table Saw
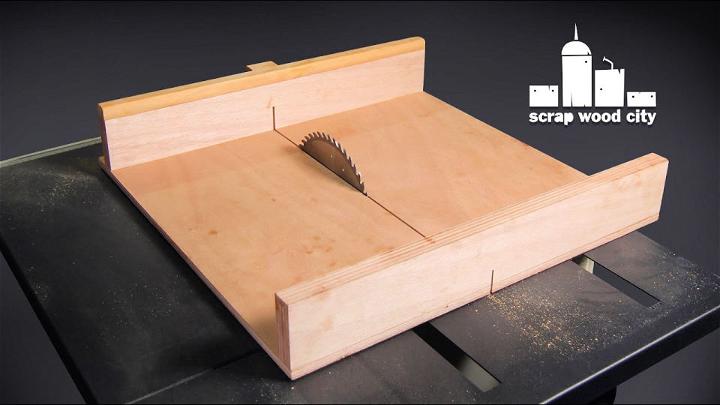
Crafting a simple crosscut sled for your table saw doesn't have to be complex. This project is all about keeping it straightforward yet effective. A basic design can still yield highly accurate cuts, proving that sometimes, simplicity is the ultimate sophistication.
9. Adjustable Table Saw Sled Plan
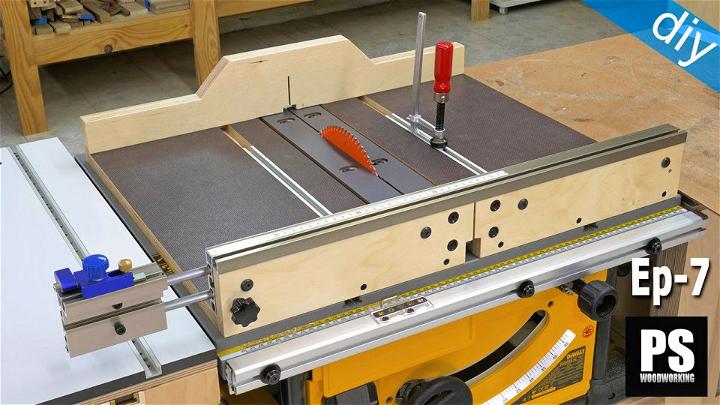
The adjustable table saw sled plan is like having a custom-fit suit. It adjusts to your project's needs, offering flexibility and precision. It's a step-up for those looking to refine their woodworking skills further, providing an adaptable tool for various projects.
10. Free Table Saw Sled Plan
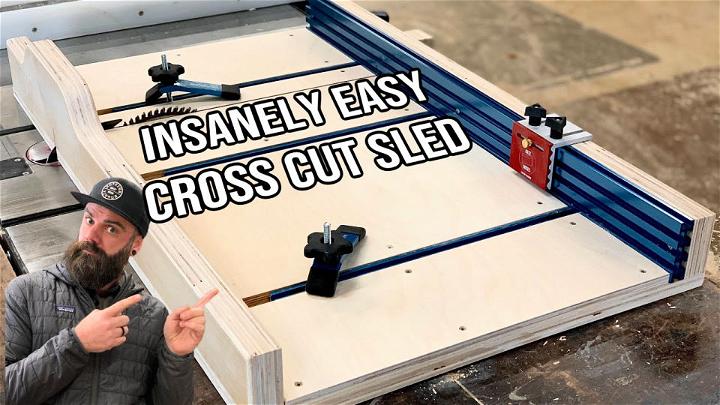
Having access to a free table saw sled plan means you're a step closer to enhancing your woodworking precision without financial investment. It's about elevating your craftsmanship through insightful guidance and plans, bringing professional-quality cuts within reach.
11. DIY 10 Minutes Table Saw Sled
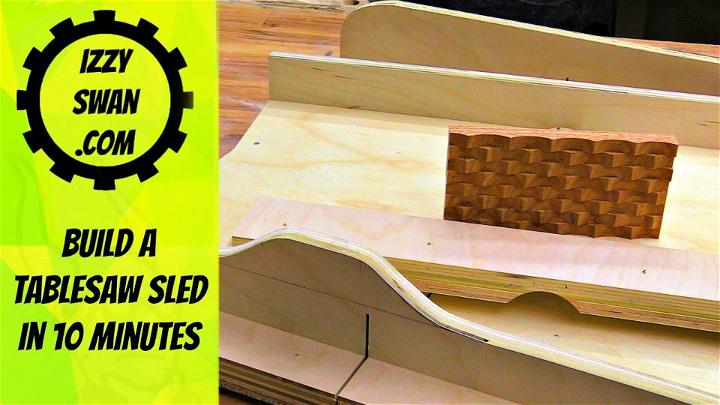
Building a table saw sled in just 10 minutes might seem ambitious, but with the right plans, it can become a reality. This DIY shortcut doesn't skimp on precision; it's designed for quick assembly, providing an immediate boost to accuracy and safety for your projects. It's a small time investment for a big improvement in your woodworking.
12. Making a Table Saw Sled with Handles
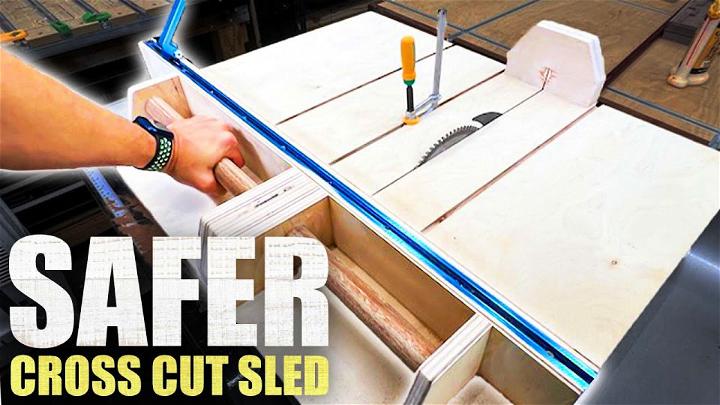
Crafting a table saw sled with handles adds a touch of convenience to your woodworking tasks. The handles give you better control and safety, making your cuts smoother and more precise. This design also allows for comfort during use, ensuring that your focus remains on the precision of your work, not on maintaining your grip.
13. Quick and Simple DIY Mini Table Saw Sled
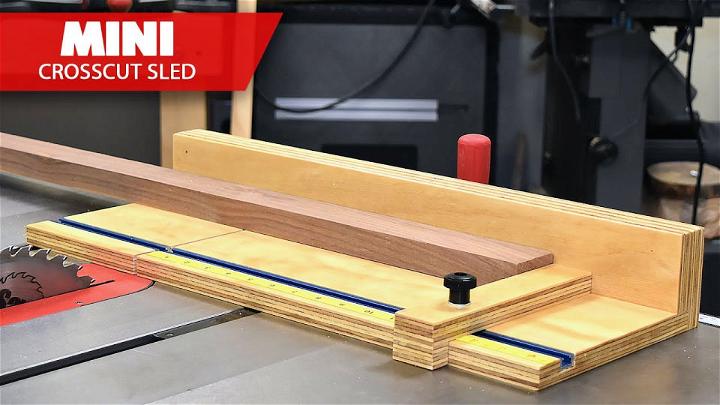
Embarking on a quick and simple DIY mini table saw sled project can streamline smaller woodworking tasks. Its compact design makes it perfect for limited workspace areas, and it's straightforward to construct. Despite its size, it brings big benefits, like enhanced accuracy and safe handling of small pieces, to your collection of tools.
14. Easy Table Saw Sled Building Plan
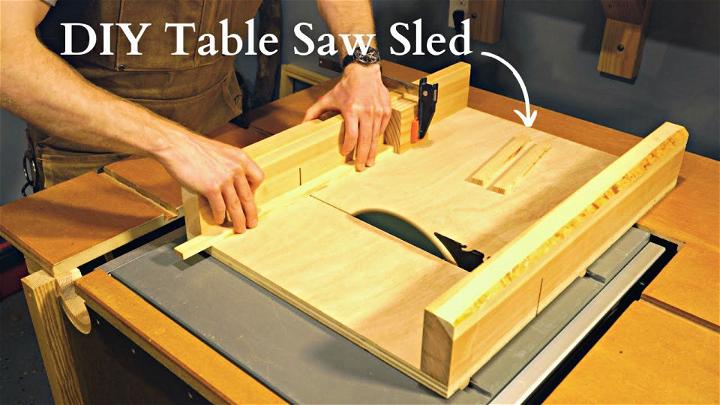
Opting for an easy table saw sled building plan is a great way to introduce yourself to woodworking enhancements. This plan focuses on straightforward construction and effective operations. It's the perfect starting point for those looking to improve their skill set without getting overwhelmed. The sleek design ensures your projects turn out just right, every time.
15. How to Make Accurate Table Saw Sled
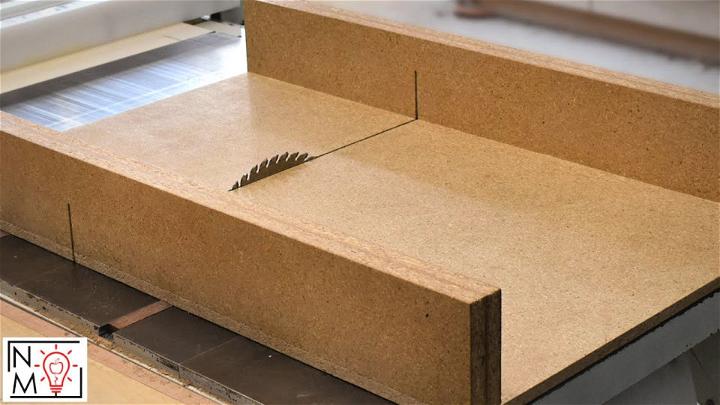
Learning how to make an accurate table saw sled can transform your woodworking projects. This process focuses on precision, with designs that ensure your cuts are clean and straight every time. It's an essential tool for anyone looking to elevate the quality of their work, made approachable through clear, step-by-step guidance.
16. Small Table Saw Sled Project
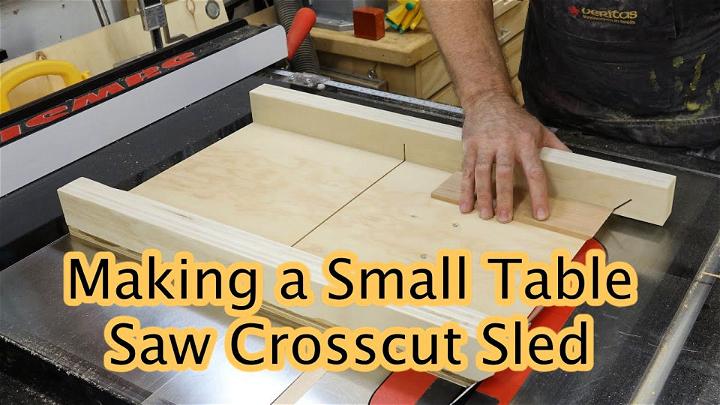
Tackling a small table saw sled project can be a game-changer for managing more intricate or smaller scale work. Its compact size is designed for ease of use and storage, ensuring that even the most modest workshop can accommodate this tool. The emphasis is on precision, making detailed cuts safer and more manageable.
17. Do It Yourself Table Saw Sled
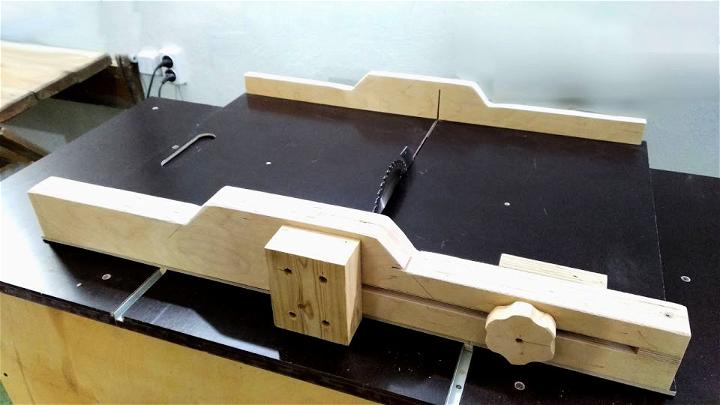
Venturing into a DIY table saw sled project brings a sense of accomplishment along with improved woodworking capabilities. This endeavor encourages personalized adjustments to fit your specific needs, marrying functionality with customization. It's a rewarding project with immediate benefits for your accuracy and safety when cutting.
18. DIY Miter Sled for Table Saw
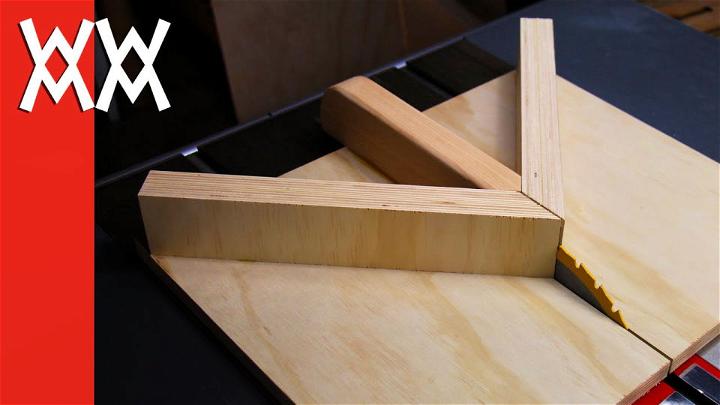
Building a DIY miter sled for your table saw broadens the scope of your woodworking projects. Specifically designed for making flawless miter cuts, this sled enhances precision while simplifying the process. It's a clever addition to your workshop, bringing efficiency and accuracy to complex angles and joints.
19. Ultimate Crosscut Sled for Table Saw
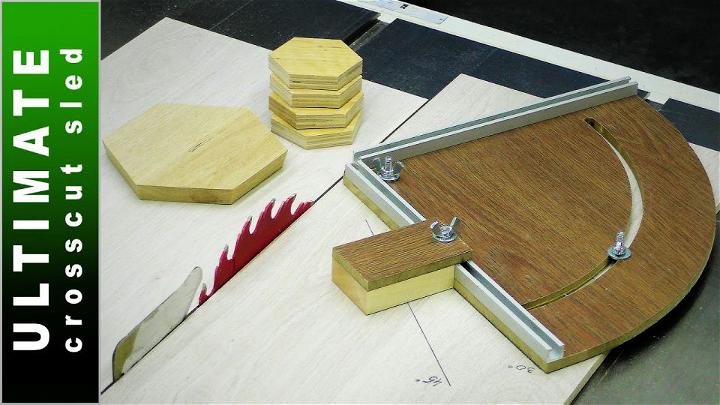
The ultimate crosscut sled for your table saw is about enhancing the precision and safety of your straight and angled cuts. Its robust design is tailored for a multitude of projects, turning challenging cuts into simple tasks. This upgrade is a cornerstone for serious woodworkers aiming for perfection in their craft.
20. Baltic Birch Table Saw Crosscut Sled
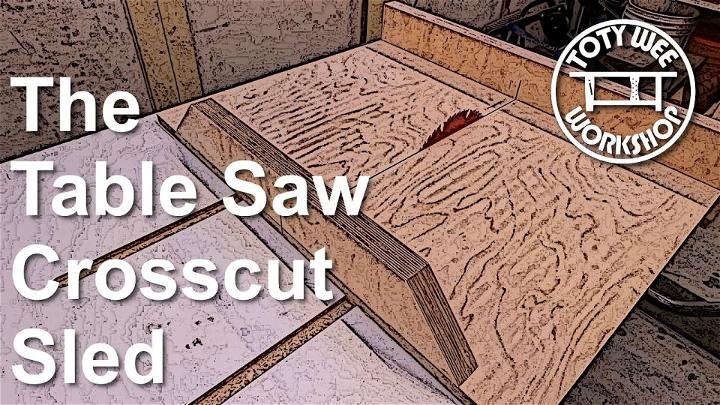
Choosing to build a Baltic Birch table saw crosscut sled combines reliability with precision. Baltic Birch is known for its strength and stability, ensuring your sled withstands the test of time. This sled design is not only durable but also promotes accuracy in every cut, making it a wise investment for your woodworking projects.
Conclusion:
In conclusion, making a DIY table saw sled is a practical and versatile project that can enhance your woodworking skills. With its ability to make accurate and safe cuts, this tool is a valuable addition to any workshop. By following the step-by-step guide provided, you can customize your sled to meet your specific needs and enjoy improved precision in your woodworking projects.
