Making your own light box can transform your photography, giving your images a professional look. Whether you're capturing products, food, or any creative project for social media or commercial use, a light box provides evenly distributed light, eliminating shadows and highlights. This step-by-step guide will help you build a simple yet effective light box.
Materials and Tools Needed
- Miter saw (or circular saw/hand saw with miter box)
- Pocket hole jig
- Brad nailer
- Wood glue
- Wood filler
- Sandpaper
- Diffusion fabric
- Staple gun
- Clamps
- Light source (e.g., studio lights)
- Poster boards or interchangeable backdrops
- 1 by 2 lumber for the frame
Step by Step Instructions
Step 1: Cutting the Wood
First, measure and cut your lumber to the desired dimensions of your light box. A general size would be 32 inches long, 21 inches deep, and 19 inches tall, but you can adjust it based on your needs. Be efficient with your cuts to minimize waste.
Step 2: Assembling the Frame
Using pocket holes, screw the pieces together to build frames. This project mainly uses butt joints, making it accessible to beginners. For repeatability, consider making a jig to ensure consistent alignment of the screws. This would comprise making two outside trims, two sides, a top, a back, and a support piece for added structure.
Step 3: Attaching the Frames
Begin assembling the frames to each other. Use a square to ensure everything's aligned and attach using wood glue and brad nails for a secure fit. Remember to orient the pocket holes so they're less visible in the final build.
Step 4: Filling and Sanding
Fill in any gaps or holes with wood filler, including those from the nails and pocket holes, to ensure a seamless appearance. Once dry, sand down all surfaces to build a flat and smooth exterior. This step is crucial for the fabric attachment process.
Step 5: Attaching the Diffusion Fabric
Cut your diffusion fabric to fit each side of the light box, leaving some excess. Starting with one side at a time, stretch the fabric taut and secure it with a staple gun. Trim the excess fabric for a neat look. The fabric diffuses light, making soft, equal lighting inside the box.
Step 6: Finishing Touches
Install additional trim to hide any exposed ends of the fabric and staples, enhancing the light box's aesthetic. This trim can be secured with brad nails but avoid using glue if you wish to replace the fabric later.
Step 7: Adding a Backdrop
Finally, for versatility, consider making interchangeable backdrops from poster boards or other materials. This allows you to customize the background for each project, achieving a variety of looks.
Video Tutorial
For a step-by-step video tutorial on making a light box, watch this helpful video here.
It pairs well with this written guide, offering a visual perspective on each step, enhancing clarity and comprehension for visual learners.
By following these steps, you can build a light box that suits your photography needs, elevating your work to a professional standard with minimal investment. Whether you're a hobbyist or a professional, this tool is a valuable addition to your creative toolkit, ensuring your photos stand out with quality lighting.
Discover 20 Easy DIY Light Box Ideas to Add Ambiance and Style to Your Space
1. How to Build a Photo Light Box

Making a photo light box can shine a new light on your photography, literally. Soft illumination ensures your pictures come out vibrant and free of harsh shadows, perfect for showcasing small items.
2. How To Make A Light Box
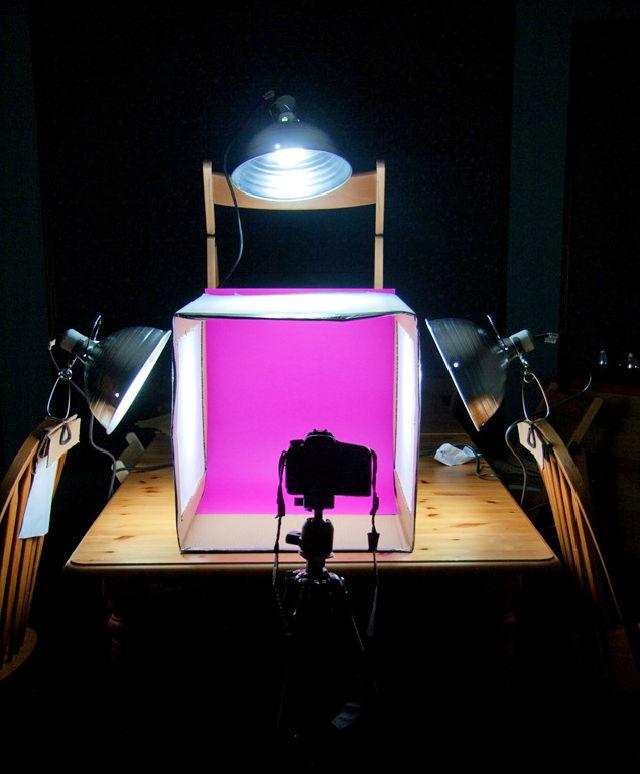
Making a light box might just be the project you need to elevate your photography or artwork presentations. It's about filtering light to cast even, diffused lighting over subjects, making details pop and colors true to life.
3. DIY Photo Light Box
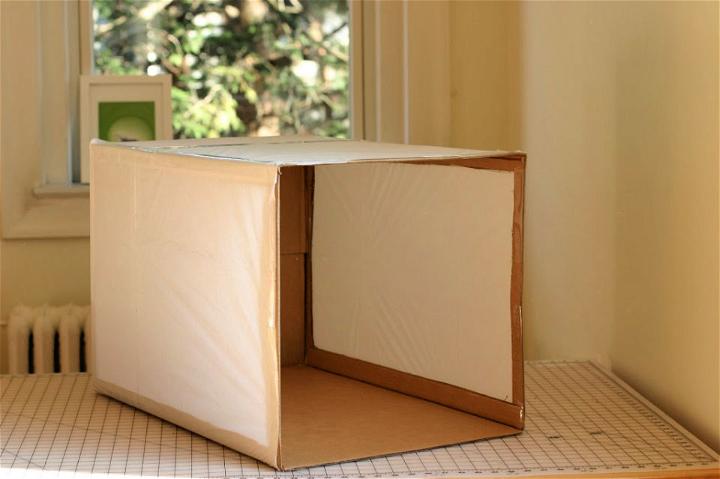
A DIY photo light box turns your home into a mini photography studio. Imagine capturing the essence of your objects with stunning clarity and professional quality, using materials you might already have!
4. Making A Hamper Light Box
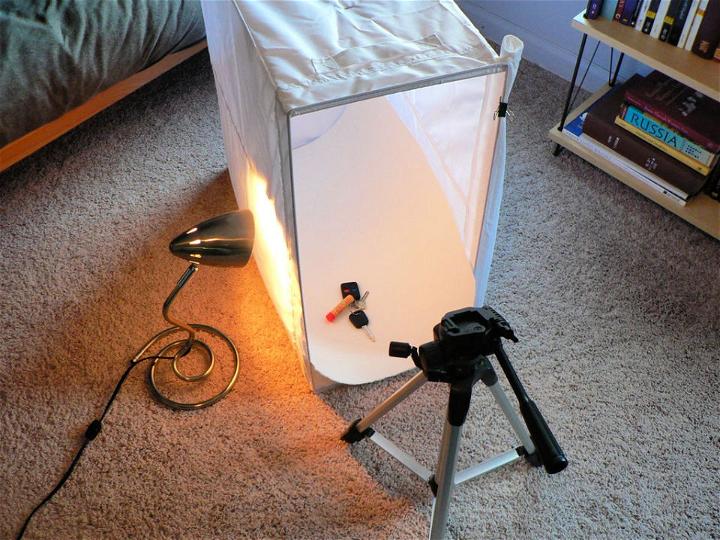
Ever thought about a hamper light box? It's a nifty, eco-friendly choice, especially if you're aiming for a larger scale box. Repurposing a hamper not only saves money but also supports sustainable practices.
5. Light Box for Product Photography

A light box for product photography can be a game changer for your business. Highlighting the best features of your products with flawless lighting can attract more customers by presenting your items in their best light.
6. Inexpensive Light Box From Scratch
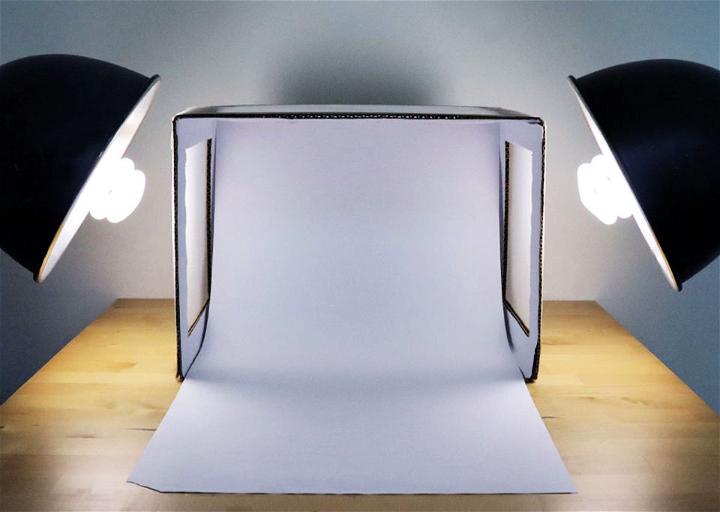
An inexpensive light box from scratch? Absolutely possible! With a simple frame, some white fabric, and a couple of lamps, you can make a functional space to take those flawless shots without breaking the bank.
7. How to Make an LED Light Box
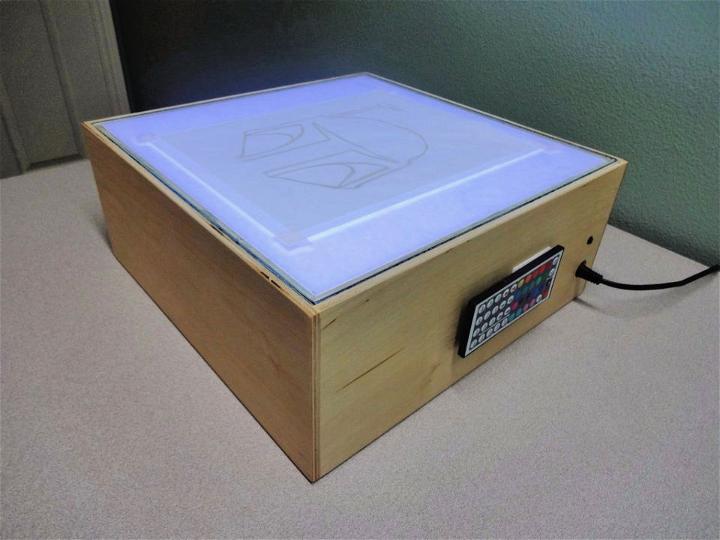
Making an LED light box comes with the perk of adjustable brightness. Whether you're illuminating delicate jewelry or vivid art, LED lights offer versatility and longevity, not to mention they're energy-efficient.
8. DIY Lightbox For Expert Photos

A DIY lightbox for expert photos doesn't require expert skills to build. Anyone with a knack for creativity and some basic supplies can assemble a setup that brings professional-level depth and detail to every shot.
9. Homemade Light Box

A homemade light box is all about personal touch. Tailor the size, modify the light intensity, and choose materials that meet your specific needs. It's custom photography equipment without the custom price tag.
10. How To Make A Lightbox For Photography

Making a lightbox for photography opens up a world where shadows and highlights dance at your command. It's your ally in capturing images that tell a story through their impeccable clarity and detail.
11. Foldable Photography Light Tent
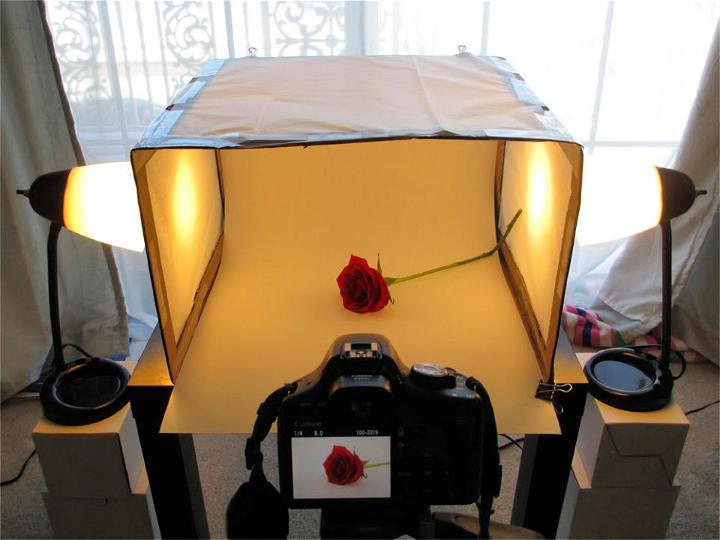
A foldable photography light tent is a blessing for photographers on the go. Its collapsible design means you can bring it anywhere, ensuring you always have the right setup for impromptu shoots.
12. How To Build A Light Box

Building a light box can be quite rewarding. Not only does it improve photo quality by leaps and bounds, but it also offers a sense of accomplishment. Imagine making something that directly enhances your creative work!
13. Best Photography Light Box Tent

The best photography light box tent is the one that fits your unique needs. Whether it's about the size, the type of light, or even the portability, choosing the right model makes all the difference in your photography.
14. Portable Photo Light Box
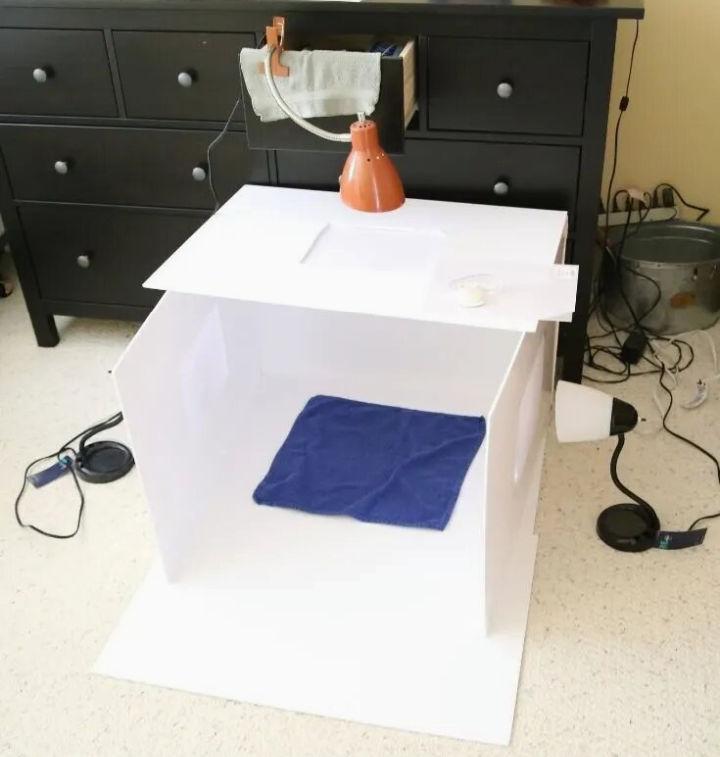
A portable photo light box is your compact solution for achieving studio-quality pictures. Whether you're at a café or outdoors, this travel-friendly tool ensures your photos look impeccable anywhere.
15. Light Box IKEA Hack
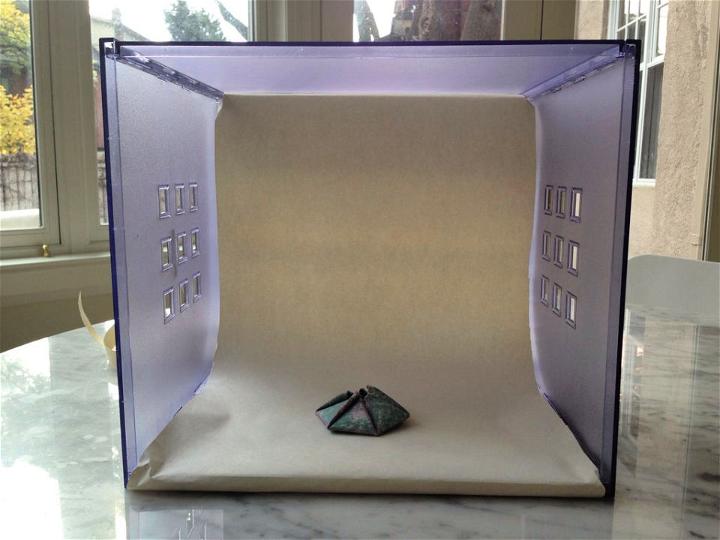
The lightbox IKEA hack is a fun, creative project. With a few IKEA items, some ingenuity, and a sprinkle of DIY magic, you can have a stylish, functional light box that doesn't dent your wallet.
16. How to Make a Lightbox
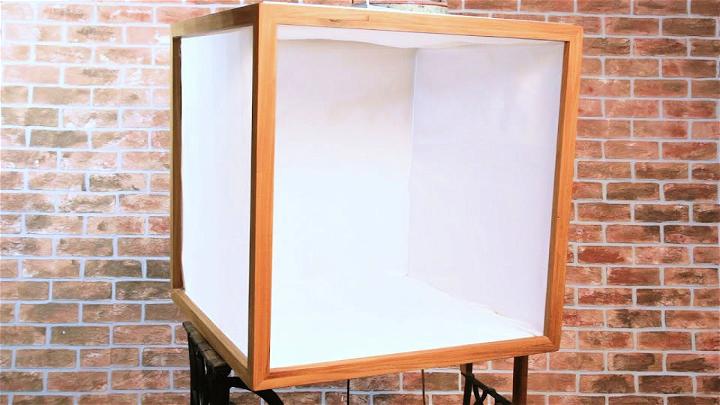
Making a lightbox is easier than you think. It's about harnessing light in a way that flatters your subject, whether for professional use or just for the joy of making beautiful images.
17. Making Your Own Light Box
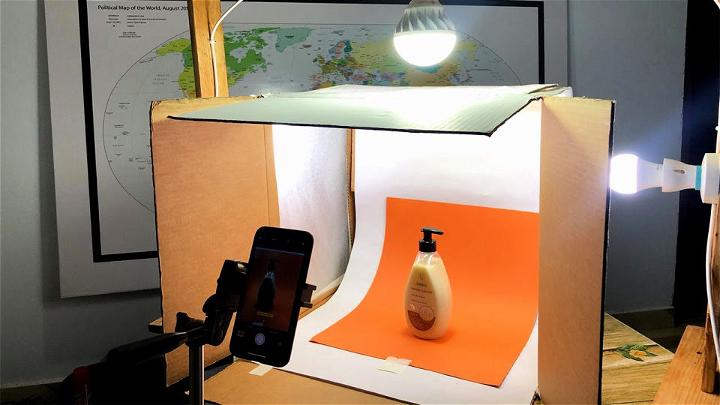
Making your own light box is a journey of exploration. You'll learn not just about crafting a tool but also about light's role in photography and how it can be manipulated to enhance your creative vision.
18. Foldable Small Light Box

A foldable small light box answers the call for convenience and functionality. It's perfect for photographers looking for a light-weight, space-saving solution, proving that great things indeed come in small packages.
19. Building A Lightbox
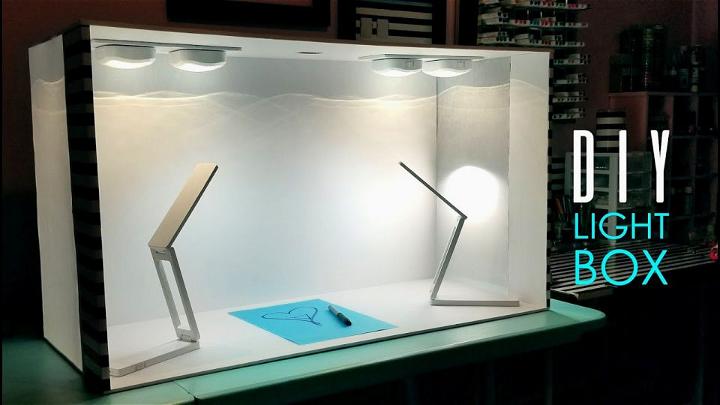
Building a lightbox can be a delightful project for photographers and hobbyists alike. It's about transforming simple materials into a tool that can significantly elevate the quality of your photos.
20. DIY Photo Light Box

A DIY photo light box is a step toward mastering the art of photography. By controlling the light, you make the rules—deciding how your subject is perceived and captured, one snapshot at a time.
Conclusion:
Wrapping up this article on making a DIY light box at home, you now have all the tools and knowledge needed to showcase your photography skills in the best light. From the step-by-step guide to the essential materials, you are ready to start crafting your own lightbox and elevate your photography game. Get ready to see your images shine with this simple and effective solution.
