Making beautiful pressed flowers is a wonderful hobby that can help preserve memories from your garden, special occasions, or even your daily walks. Using a traditional flower press is simple and rewarding. Follow this step-by-step guide to turn your favorite flowers into lasting keepsakes.
What You Will Need
- A traditional flower press
- Scissors
- Flowers or leaves you wish to press
- Cardboard sheets
- Blotting paper
Step by Step Instructions
Step 1: Prepare Your Flower Press
Take out the backboard of your flower press and insert all screws into their designated holes. Flip the press over so the screws are pointing upwards, ready for assembly.
Step 2: Begin Layering
Start by placing a cardboard sheet on the backboard, directly over the screws. Follow this with a sheet of blotting paper. The blotting paper plays a crucial role by absorbing moisture from the botanicals as they dry.
Step 3: Arrange Your Flowers
Choose the flower or stem you want to press. If it's too long or bulky, trim it to a suitable size. For pressing flower heads, trim them at the base. Place them facing down on the blotting paper. This position helps them sit better and press more evenly.
Step 4: Continue Layering
After laying down your flower or stem, cover it with another sheet of blotting paper, then a sheet of cardboard. If you're pressing stems, ensure there is at least one to two centimeters of space between them to avoid overlap and ensure an even press.
Step 5: Repeat
Repeat the pattern of adding a layer of blotting paper followed by a layer of cardboard for each new set of flowers or stems. Use your hands to gently press down with each new layer to compact the materials slightly. This helps in pressing the flowers more effectively.
Step 6: Trim Unwanted Parts
As you layer, you might notice parts of the flowers or stems sticking out beyond the edges of the press. Trim any unwanted parts to ensure a neat press and avoid any mess.
Step 7: Last Layer and Closing
Finish your layering with a final piece of blotting paper and a cardboard sheet on top. Place the top board of the press onto the assembled layers, ensuring the screws pass through the corresponding holes.
Step 8: Secure the Press
Attach washers to the screws, followed by the butterfly bolts. Tighten all four bolts by hand initially, then turn the press onto its side to screw them in more tightly. You want the press to be as tight as possible to ensure a good press.
Step 9: Wait
Leave your flower press undisturbed for about two weeks. This waiting period allows enough time for the flowers to dry completely.
Step 10: Check and Remove
After two weeks, open your press to check if the flowers have dried fully. Gently peel back the blotting paper to remove the pressed flowers. The blotting paper can be reused for your next pressing project.
Video Tutorial
For a step-by-step video tutorial on using a traditional flower press, watch this YouTube video.
It pairs excellently with this guide, giving you a visual perspective on each step, ensuring clarity and ease of understanding.
Remember, pressing flowers is not just about preserving botanical beauty; it's about capturing moments in time. With this guide, you're well on your way to building beautiful, pressed flower arrangements that can be enjoyed for years to come. Happy pressing!
Discover 20 Creative DIY Flower Press Ideas to Preserve Your Favorite Blooms
1. How to Make a Flower Press
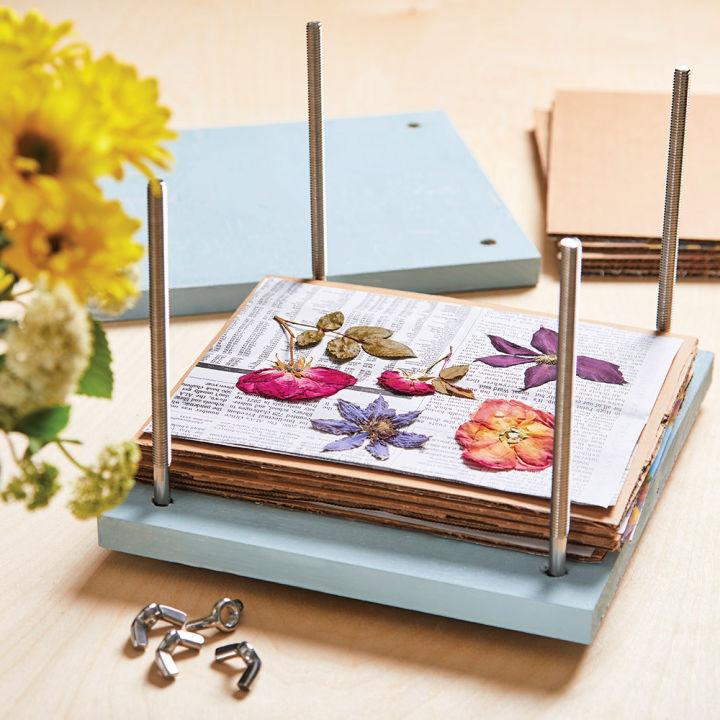
Discover the beauty of preserving flowers with a homemade flower press. It's a wonderful way to hold onto the beauty of blooms for crafting and decoration.
2. Make Your Own Plywood Flower Press
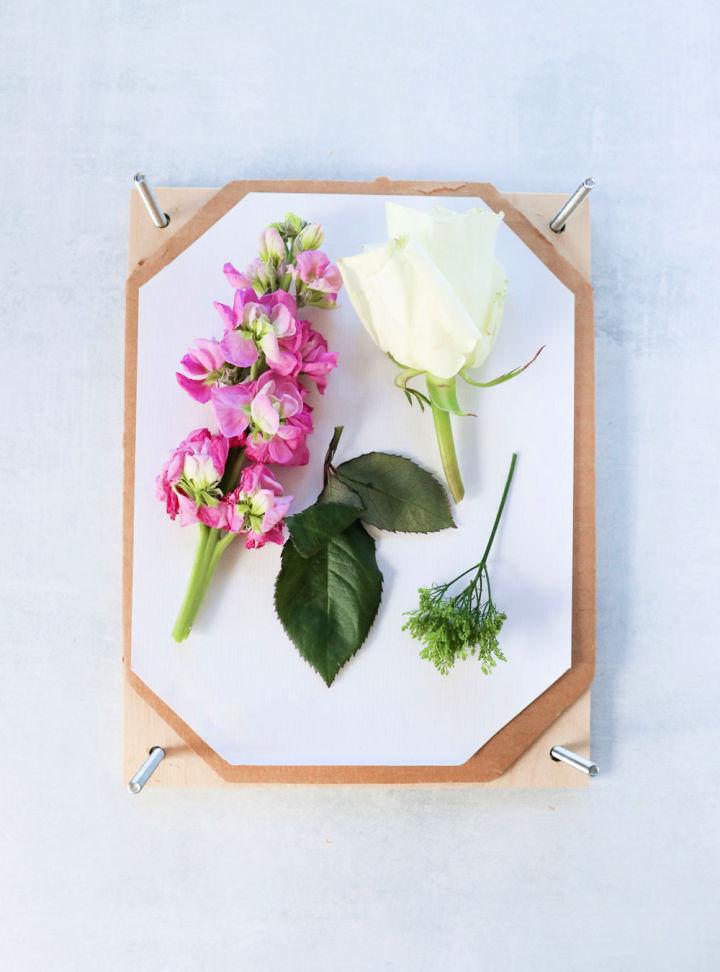
Making your own plywood flower press adds a personal touch to preserving botanicals. It's both an affordable and fulfilling project, allowing you to keep memories from gardens and hikes alive.
3. DIY Wood Flower Press on Budget
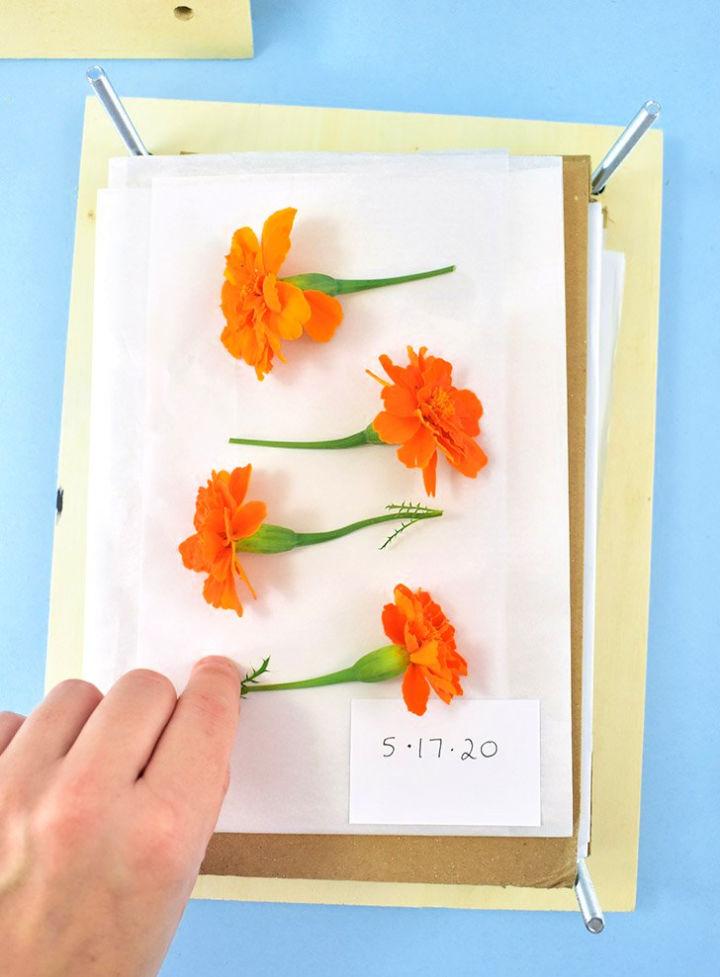
A DIY wood flower press on a budget can be a simple yet effective way to save and cherish your favorite flowers. It's an economical solution for hobbyists and craft-lovers.
4. Homemade Wood Flower Press
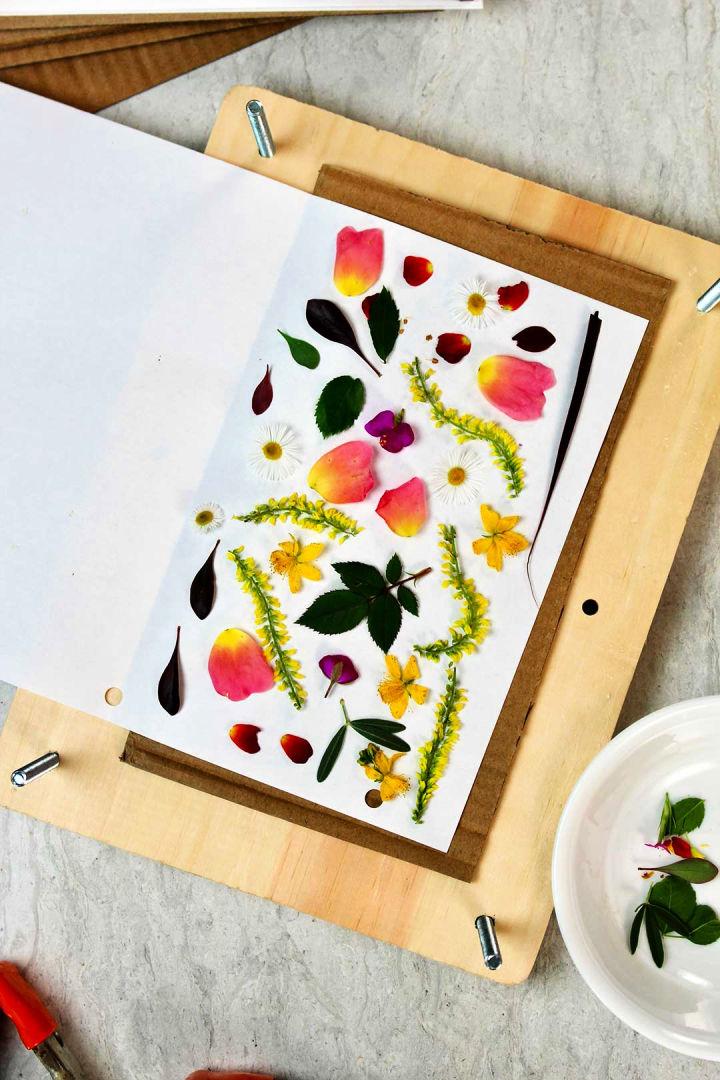
Making a homemade wood flower press is a fulfilling weekend project. This hands-on activity lets you treasure the beauty of nature in a very personal and creative way.
5. DIY Large Flower Press - Step by Step Instructions
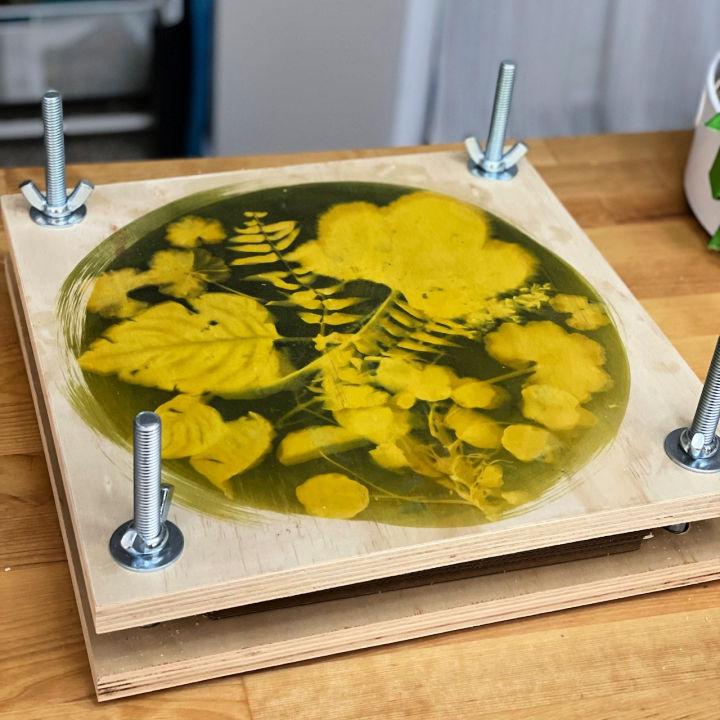
Follow step by step instructions to make your own large flower press. This size is perfect for bigger projects, allowing more space for creativity and preservation.
6. Lavender Flower Press from Bookshelves
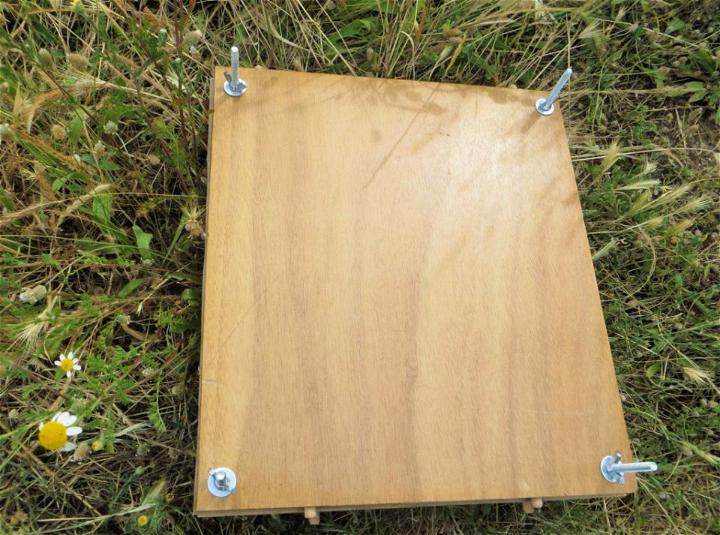
Transform a bookshelf into a functional lavender flower press. This innovative approach not only saves space but also surrounds your home with the fragrance of dried lavender.
7. How to Build a Flower Press
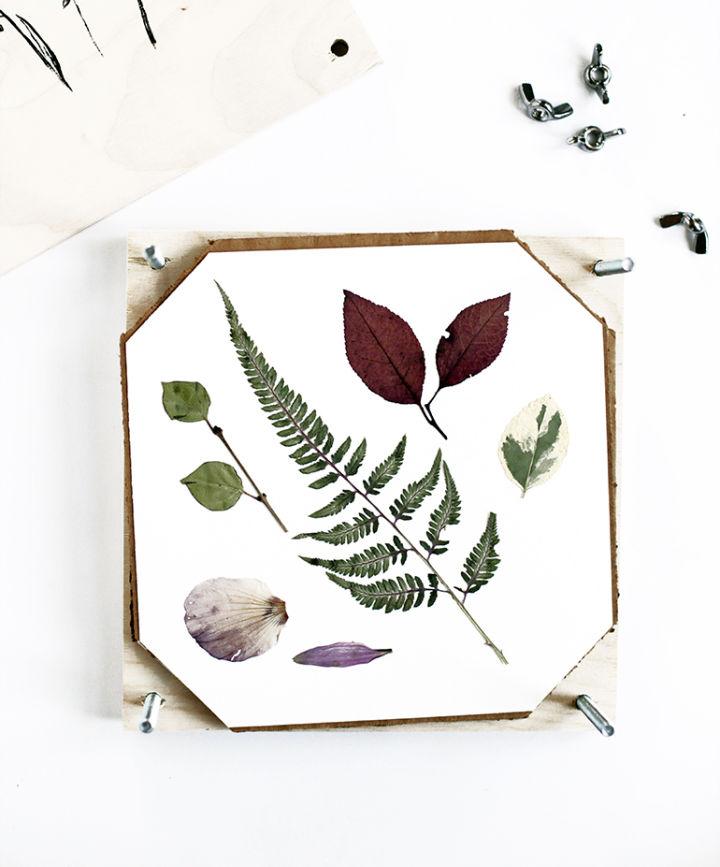
Learning how to build a flower press opens up new avenues for crafting and preserving flowers. It's a skill that offers endless creative possibilities.
8. DIY Flower Press Using Wooden Plaques
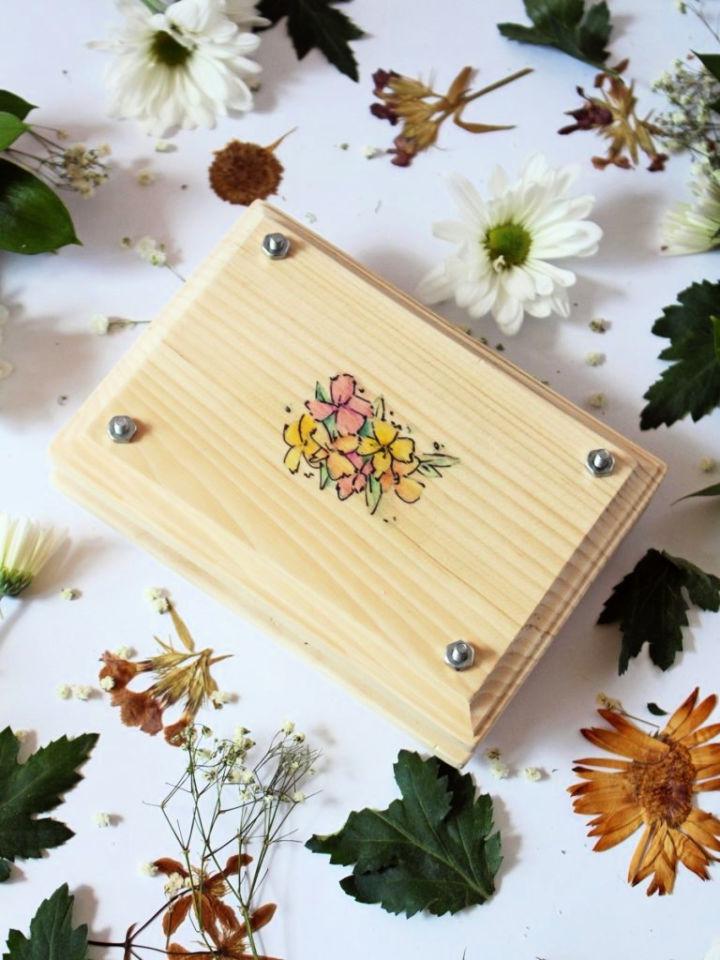
Using wooden plaques, build a unique DIY flower press. This method delivers an aesthetic and functional piece perfect for pressing your precious blooms.
9. Easy to Make Flower Press
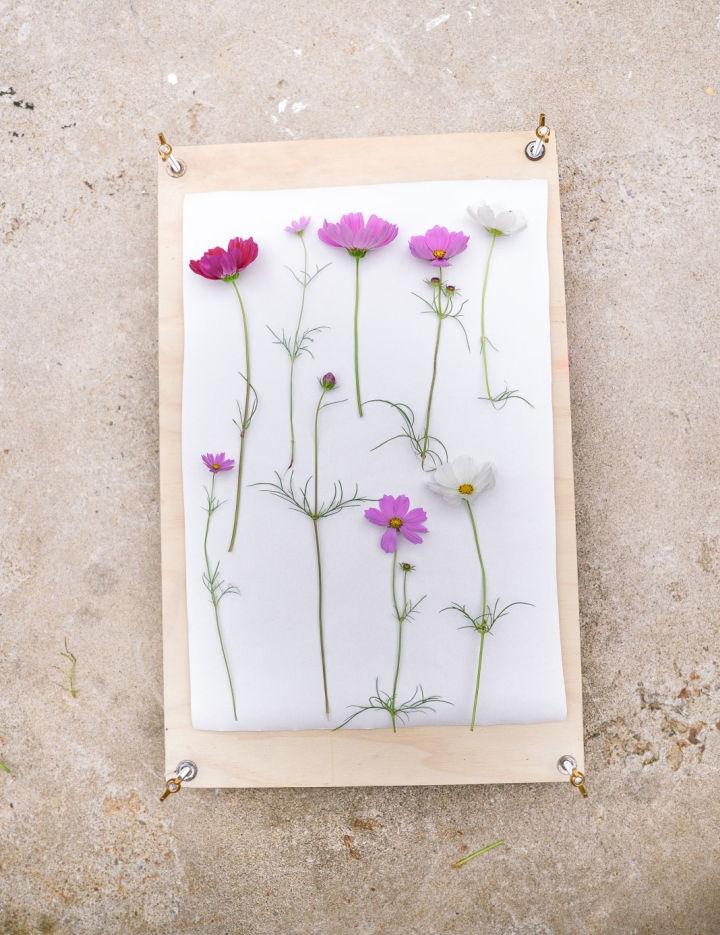
For those seeking simplicity, making an easy-to-assemble flower press could be the answer. It's quick to set up and offers a straightforward way to press and preserve flowers.
10. Build Flower Press from Leftover Board
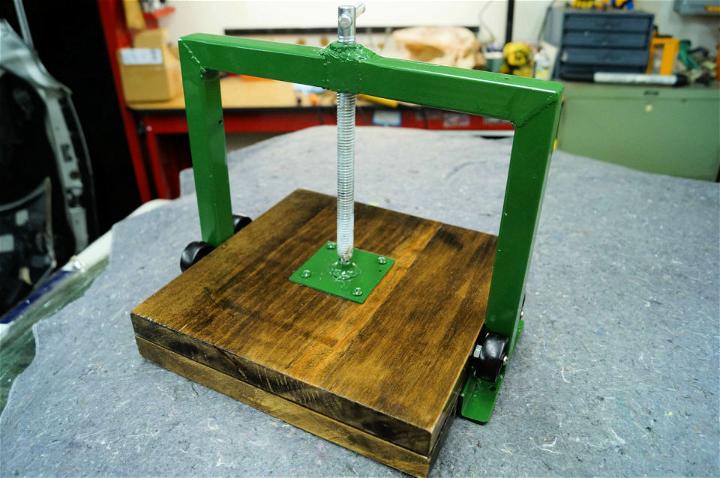
Repurposing leftover boards into a flower press is not only eco-friendly but also a trendy way to keep your favorite flowers pressed and preserved.
11. DIY Flower Press Out of Boards and Bolts
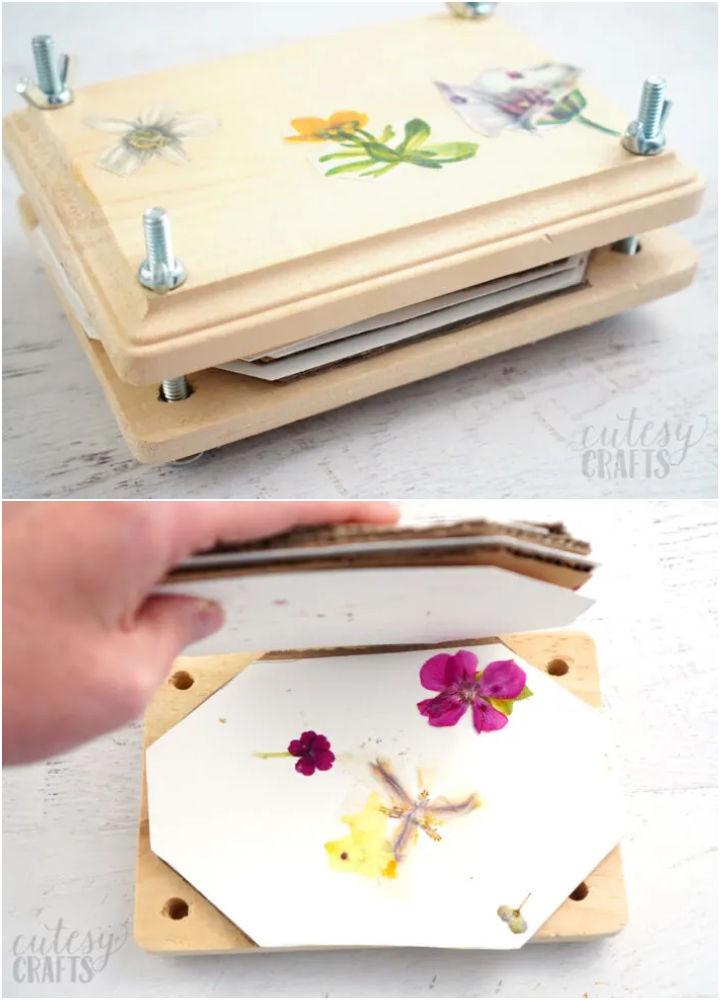
A DIY flower press made from boards and bolts is a sturdy, reliable choice for flower pressing enthusiasts, blending simplicity with effectiveness.
12. Build a Wooden Flower Press
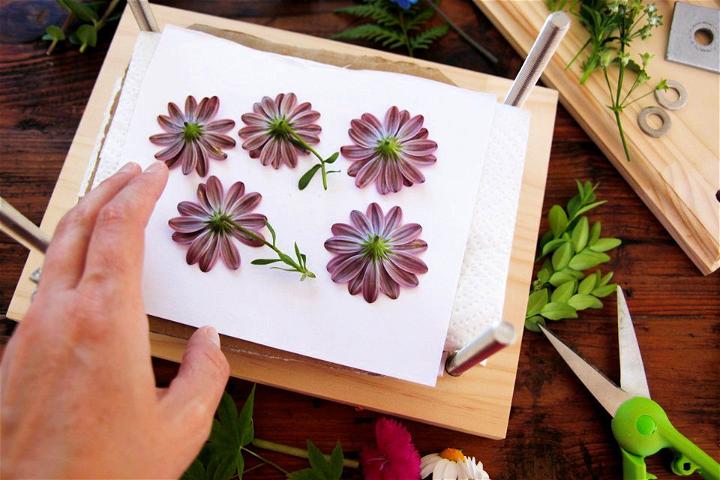
Building a wooden flower press from scratch can be a fun project, fostering both creativity and a love for nature as you preserve flowers.
13. Handmade Flower Press - Great Woodworking Project
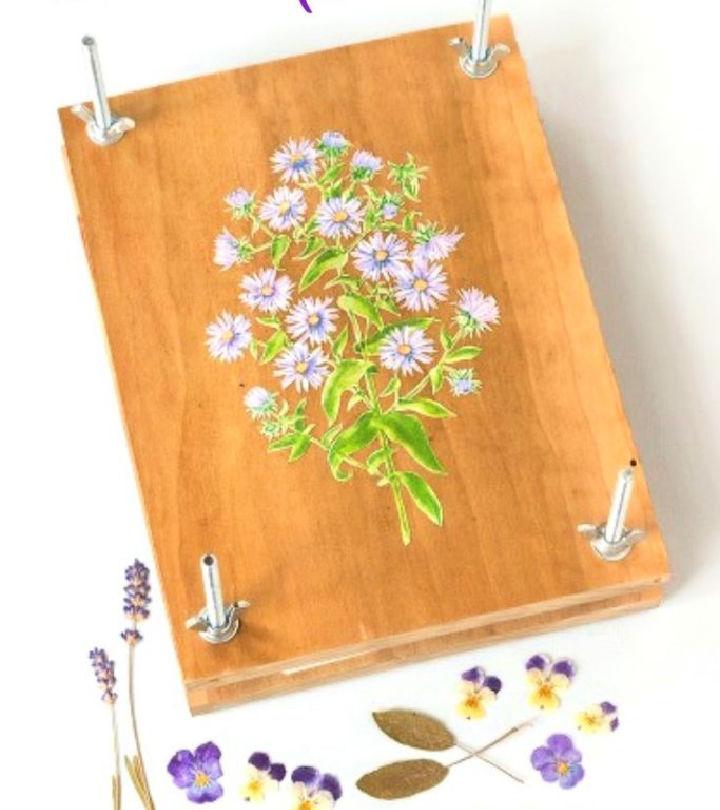
Making a handmade flower press is a great woodworking project. It offers the satisfaction of building something functional and beautiful for preserving botanical finds.
14. DIY Montessori Flower Press
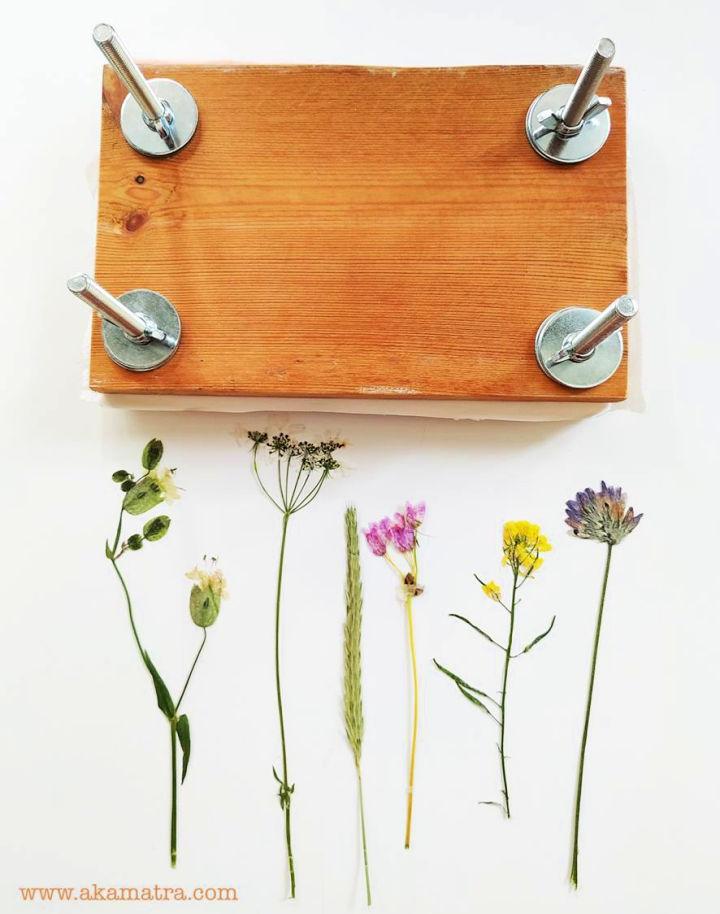
Construct a DIY Montessori flower press for an educational and fun activity. It's a fantastic way to get kids involved in nature and crafting.
15. Do It Yourself Flower Press
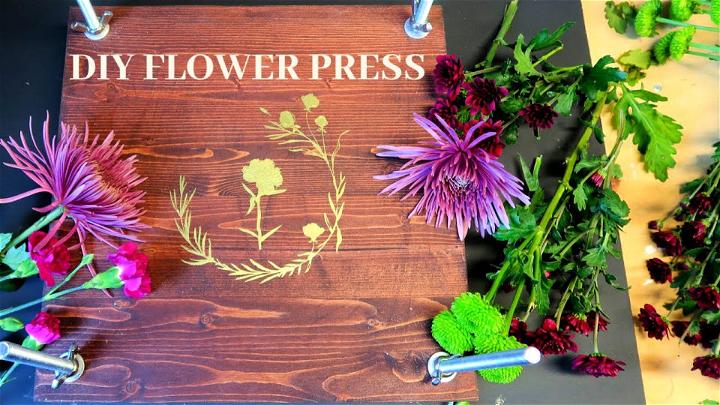
Embarking on building your flower press can be a rewarding endeavor. It gives a personal touch to the age-old art of flower pressing.
16. Making a Flower Press for Under $15
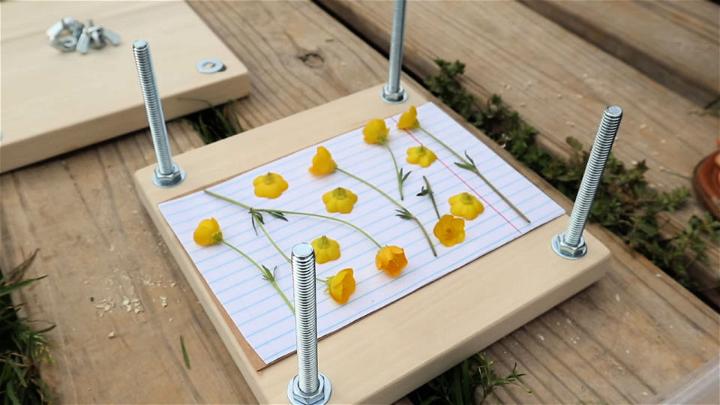
Making a flower press for under $15 is not only budget-friendly but also a testament to how easy and accessible this craft can be for everyone.
17. Extra Large DIY Flower Press
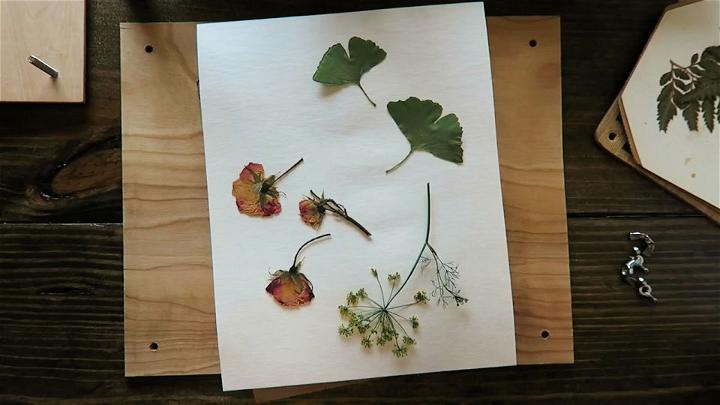
An extra-large DIY flower press allows for more extensive projects. It's perfect for those who want to preserve larger specimens or multiple flowers at once.
18. Traditional Flower Press Design
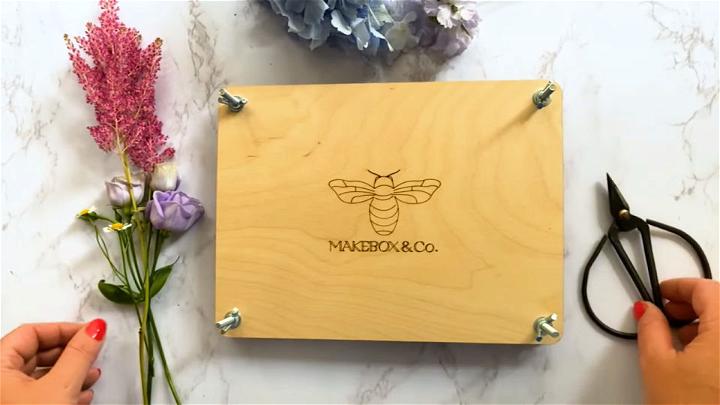
Adopting a traditional flower press design brings a classic touch to your crafting toolkit. It's timeless and effective for preserving the beauty of each season.
19. Flower Press to Dry Petals and Leaves
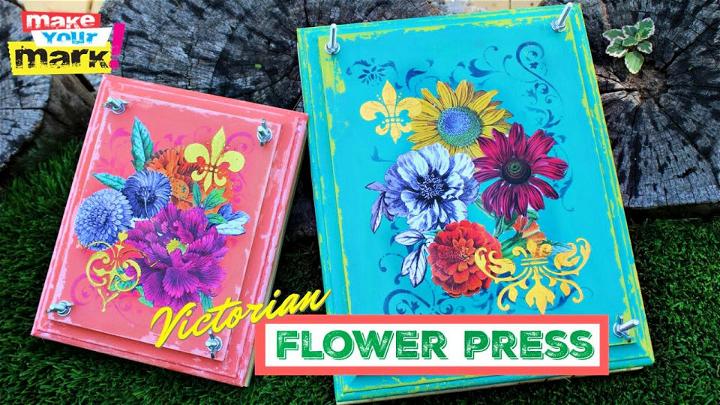
A flower press designed to dry petals and leaves can open up new possibilities in crafting and decoration, allowing you to keep the essence of your garden year-round.
20. Quick and Easy DIY Flower Press
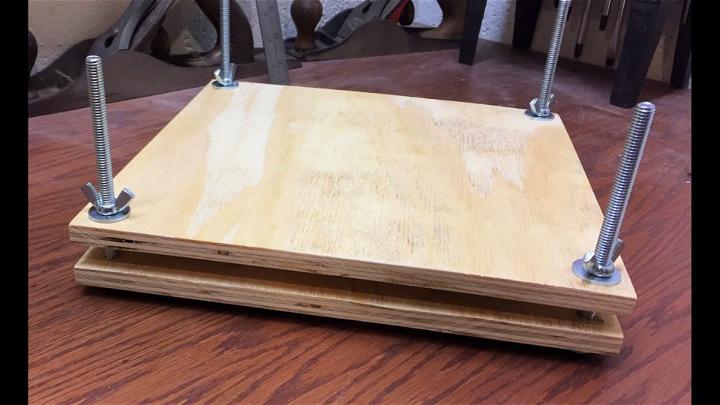
For those who seek simplicity and speed, a quick and easy DIY flower press is the perfect project. It offers a straightforward solution for preserving flowers effortlessly.
Conclusion:
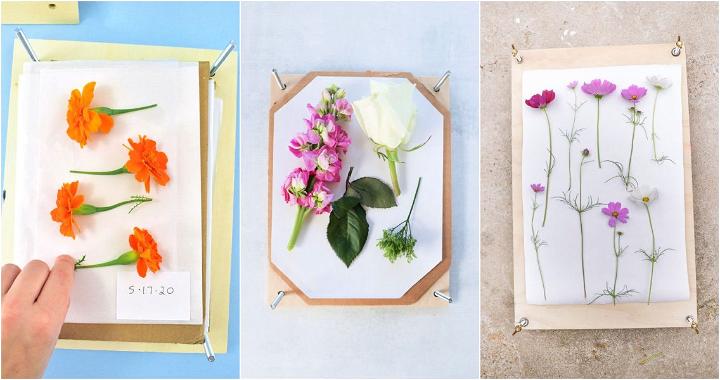
In conclusion, building a DIY flower press is a simple and enjoyable project that allows you to preserve the beauty of your favorite blooms. With just a few materials and some creativity, you can make stunning pressed flowers to use in various crafts and projects. Embrace this fun and rewarding DIY activity to add a personalized touch to your creations.
