Disco balls, those glittering symbols of celebration, have a history as dazzling as their appearance. Their journey began long before the disco era of the 1970s, tracing back to the late 19th century. The first recorded mention of a mirrored ball was in 1897, at an electricians' union event in Massachusetts, where it was used to reflect light from a carbon arc lamp.
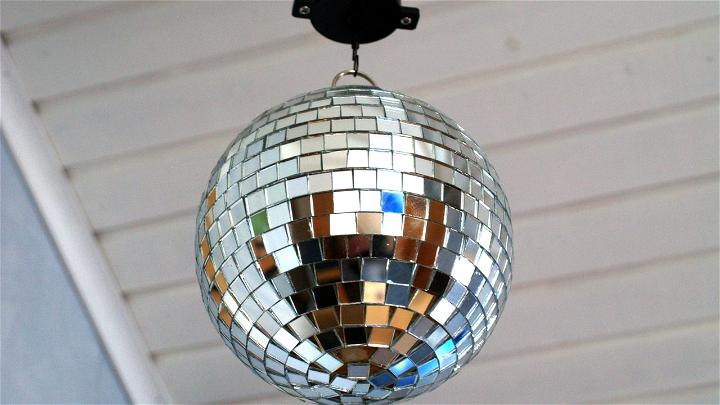
However, it wasn't until 1917 that the disco ball began to take shape as we know it today. Patented as a “myriad reflector,” these early disco balls promised to fill dance halls with “dancing fireflies of a thousand hues” and became a modest hit in various entertainment venues. Despite a dip in popularity during the Great Depression, the disco ball made a triumphant return in the 1940s and 1950s, thanks to Omega National Products' production of flexible mirrored sheets for Art Deco furniture, which were also perfect for making disco balls.
Culturally, disco balls became synonymous with the freedom and exuberance of the disco era, spinning above dance floors across the world and reflecting not just light, but the spirit of an age. Today, they continue to be a beloved fixture in clubs and parties, embodying the timeless joy of dance and music.
How to Make a Disco Ball - Step by Step
Make a budget-friendly disco ball with creativity and $46, following this simple guide.
What You'll Need
- Giant foam half sphere (buy an extra just in case)
- Cardboard for backing
- Stuffing material (e.g., junk mail, tin foil)
- Duct tape
- Mirror sheets with sticker backing
- Scissors
- Patience and creativity
Step-by-Step Instructions
Step 1: Make the Base
Draw and cut out the shape you want on cardboard. This will serve as a skeleton for your disco ball, giving it structure and something to attach other elements to.
Step 2: Make the Drips
Use your stuffing material to make the "drippy" parts of the melting disco ball. Scrunch and shape your material to mimic melting portions, attaching them to the base. Flexibility in materials is key; use whatever you have on hand that can hold a shape well.
Step 3: Assemble and Tape
Once you've established the base shape and drips, it's time to bind everything together. Duct tape adds durability and a silver hue, reducing the need for painting. Apply tape vertically for a smoother application, trimming and overlaying pieces as needed to avoid bunching.
Step 4: Adding the Disco Shine
Now, for the most exciting part. Apply the mirrored sheets to your structure. Starting horizontally from the middle and working out ensures an even layout. For a true disco ball effect, aim for a brick pattern by overlapping seams row by row. This might require cutting individual pieces for a more precise fit but is well worth the additional effort.
Step 5: Address Gaps Strategically
It's normal to encounter some gaps, especially around edges and curves. Don't stress about perfection; small spaces can add to the authenticity of your disco ball. Use leftover mirror pieces to fill as many gaps as you can.
Troubleshooting & Tips
If gaps in the mirror pieces bother you, remember that the unevenness can contribute to the melting effect. The goal is to make something unique and eye-catching, not perfect. Embrace minor imperfections for a truly handmade aesthetic.
Video Tutorial
For a step-by-step video tutorial on making your own melting disco ball, check out this helpful resource on you tube: making that $5,000 melting disco ball for $46.
It pairs well with this written guide, delivering the visual cues and hands-on demonstrations that enrich your crafting experience.
Making a melting disco ball adds cheap, sparkly décor to your space for just $46. Let creativity guide you.
FAQs About DIY Disco Balls
Making a DIY disco ball can be a fun and rewarding project. Here are some of the most common questions people have about making their own disco balls, answered in a clear and straightforward manner.
What materials are needed to make a disco ball?
To make a disco ball, you'll need a foam or Styrofoam ball, mirror tiles or old CDs cut into small squares, a low-temp glue gun, and a hook for hanging. Make sure you have enough mirror pieces to cover the entire ball.
How do I attach the mirrors to the ball?
Start at the top of the ball and work your way down, gluing the mirror pieces in rows. Use a low-temp glue gun to place a small dot of glue on the back of each mirror piece before attaching it to the ball.
Can I use CDs instead of mirror tiles?
Yes, CDs can be a great alternative to mirror tiles. Cut them into small squares and follow the same process as you would with mirror tiles.
How can I hang my disco ball?
Insert a screw hook into the top of your foam ball before you start attaching the mirrors. Make sure it's secure, as this will be used to hang your finished disco ball.
What size should I make my disco ball?
The size of your disco ball can vary depending on your preference and where you plan to hang it. They can be as small as a tennis ball or as large as a basketball.
How do I fill in gaps between the mirrors?
If there are small gaps between the mirrors, you can cut the mirror tiles or CD pieces to fit. If your ball is white, these gaps will be less noticeable.
How do I maintain my disco ball?
To maintain your disco ball, gently wipe it with a soft cloth to remove dust. Avoid using water or harsh cleaning agents, as they can damage the mirrors.
Discover Easy DIY Disco Ball Ideas to Add Sparkle and Shine to Your Next Party or Event

1. Homemade Disco Ball for Decoration
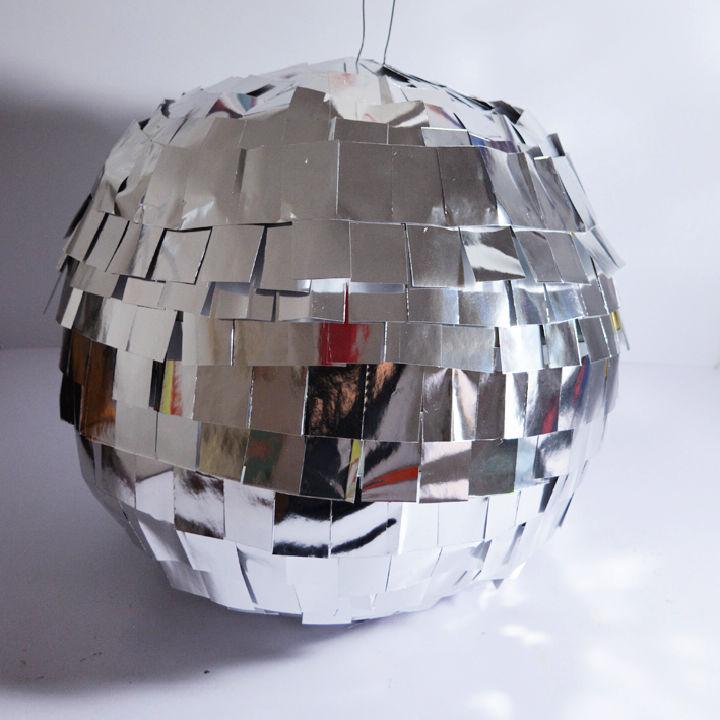
Light up your living space! Making a homemade disco ball adds a personal touch to your décor. It's an affordable way to bring dynamic light patterns and a festive atmosphere to any room, perfect for those who love adding a unique flair to their surroundings.
2. Disco Balls Using Styrofoam Balls
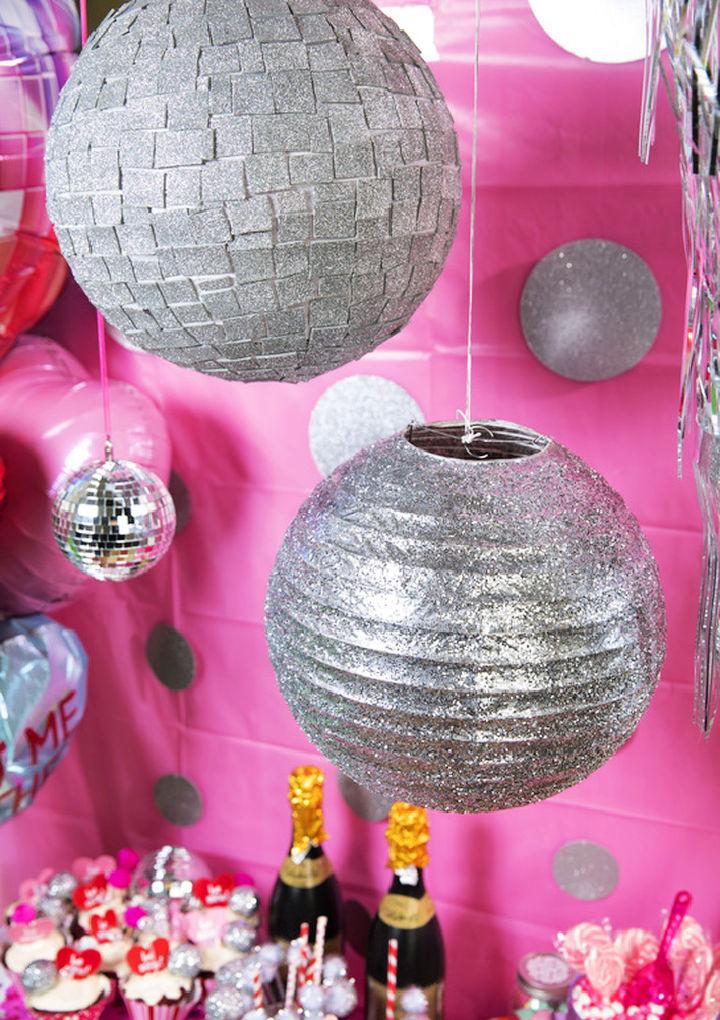
Transform styrofoam balls into eye-catching, shiny disco balls. It's a simple, eco-friendly way to recycle materials while achieving a glamorous look. Ideal for parties or as a room accent, these lightweight creations can hang anywhere, adding sparkle and charm effortlessly.
3. DIY Paper Glitter Disco Ball
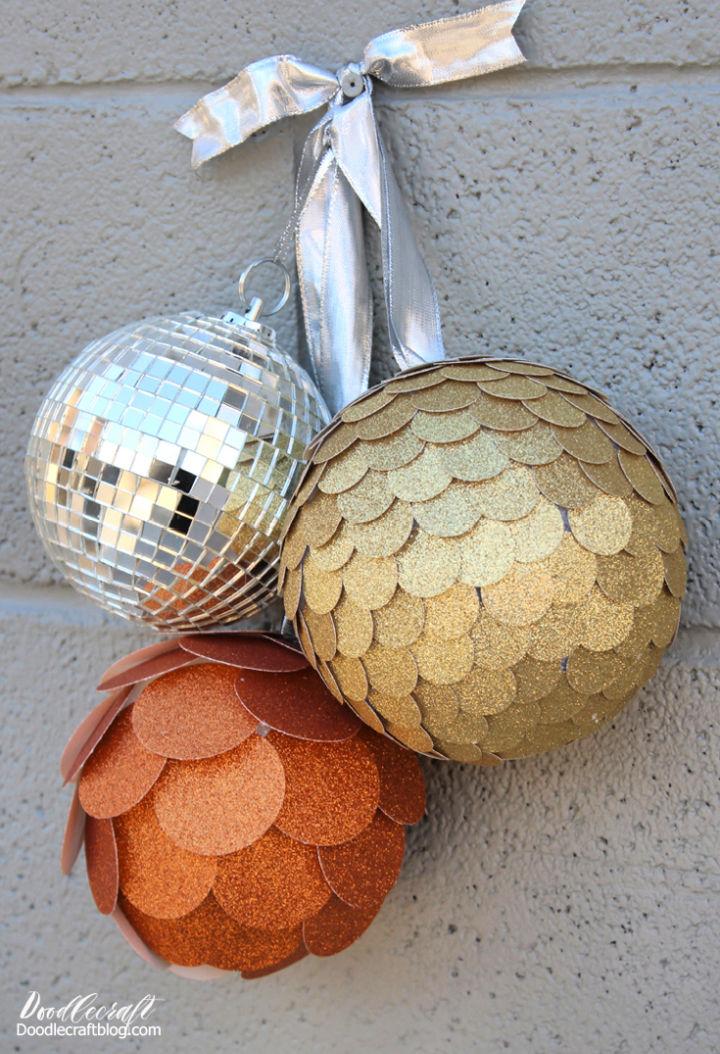
Ever thought about combining paper and glitter? Making a disco ball from these materials offers an engaging project with stunning results. Perfect for themed events or as a captivating room accessory, it brings a sparkle that's both fun and easy to make.
4. Colorful DIY Disco Ball Makeover
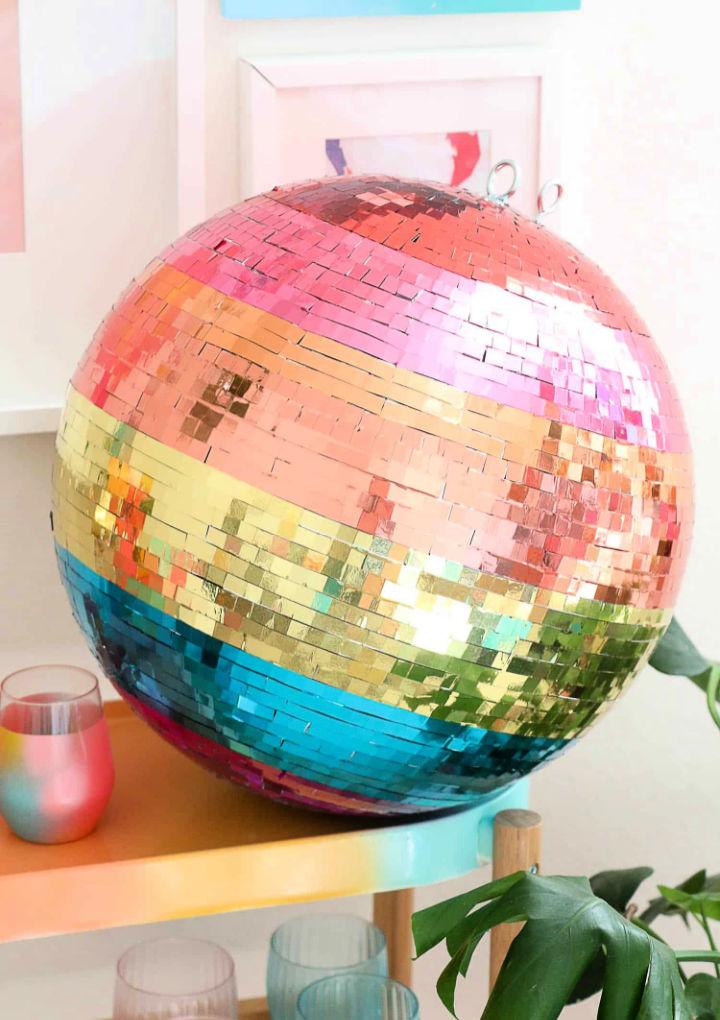
Inject some color into your space! A DIY disco ball makeover lets you customize colors to match your mood or décor. It's a great way to refresh older disco balls or to make vibrant focal points in your home, brimming with personality and bright vibes.
5. Paper Disco Ball with Glue Gun
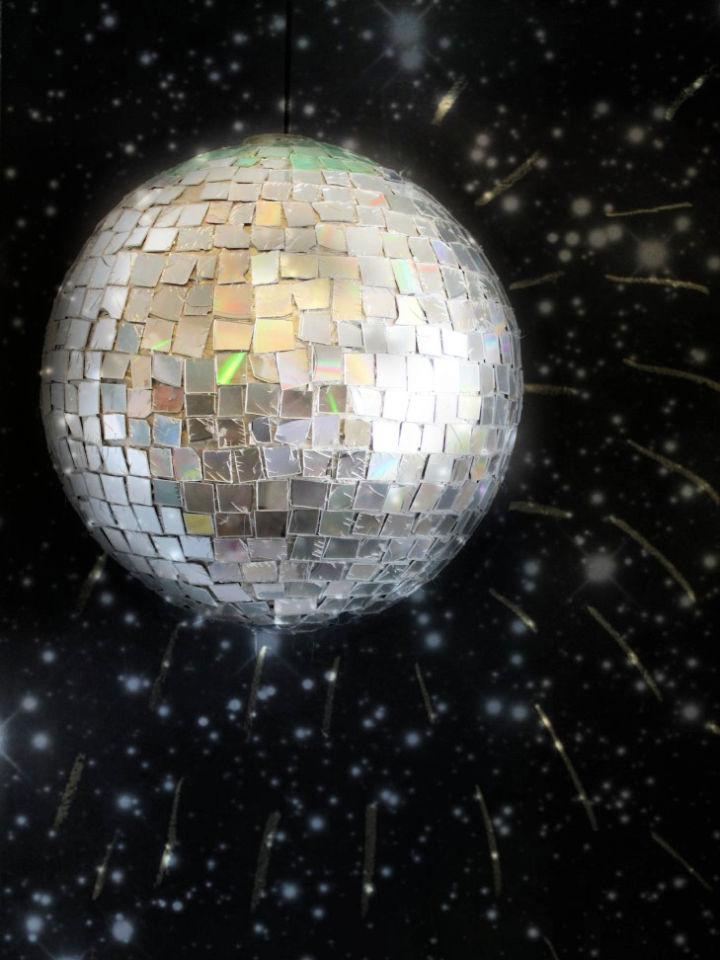
Get creative with paper and a glue gun. This DIY approach allows for intricate designs and durable construction, resulting in a unique disco ball that reflects light beautifully. It's a crafty, hands-on project that enables personalized decorations for any occasion.
6. DIY Rainbow Disco Ball
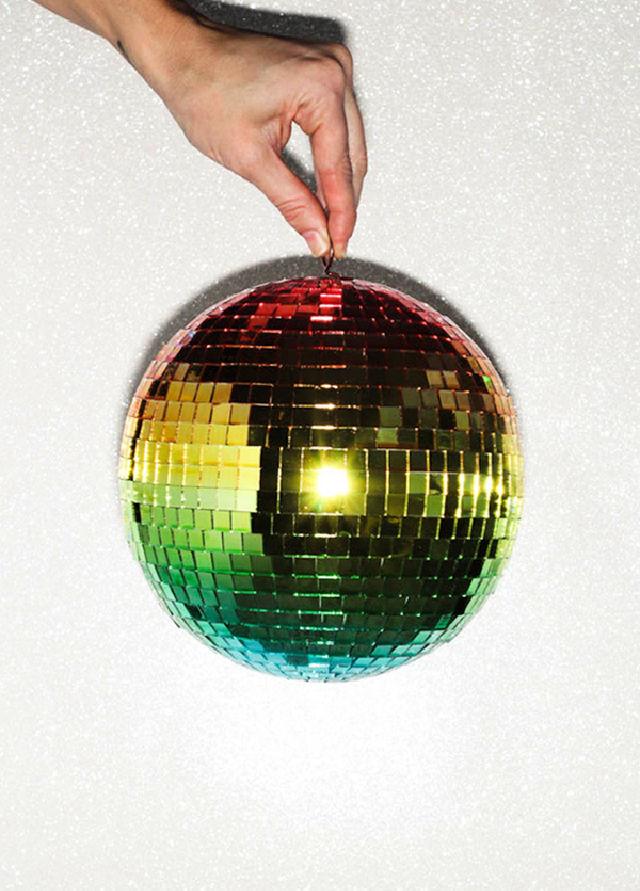
Imagine a splash of colors swirling around your room—that's the magic of a rainbow disco ball. This DIY project is not just visually stunning but also a celebration of color. Perfect for uplifting the mood, it's a joyful addition to any creative space.
7. How to Make a Styrofoam Disco Ball
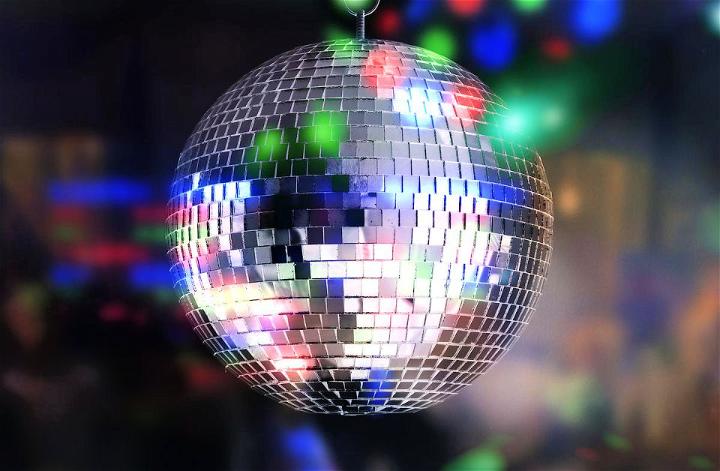
Making a disco ball from styrofoam is not only easy but also highly customizable. This method gives you the freedom to choose the size and finish, suiting your space perfectly. It's a fun, budget-friendly project, ideal for parties or adding a bit of dazzle to your décor.
8. Make Your Own Gold Disco Ball
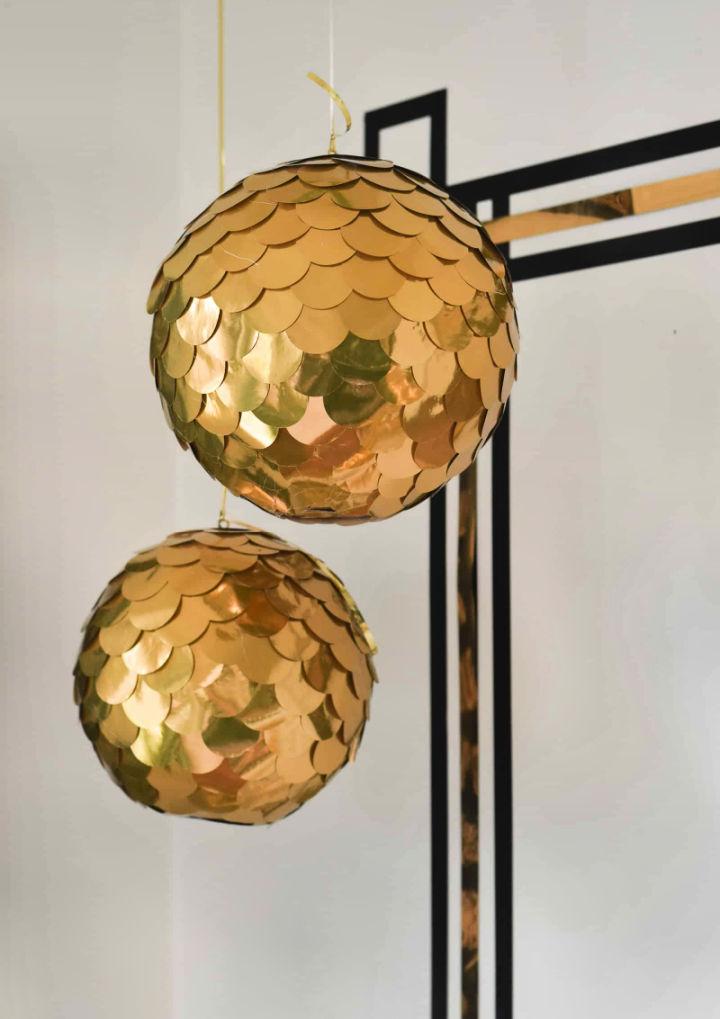
Gold disco balls exude elegance and warmth. Making your own lets you decide the shade and shine, perfectly complementing your interior design. This DIY project is a chic and modern way to add a luxurious touch to your celebration or everyday home life.
9. DIY Disco Ball for Home Decor
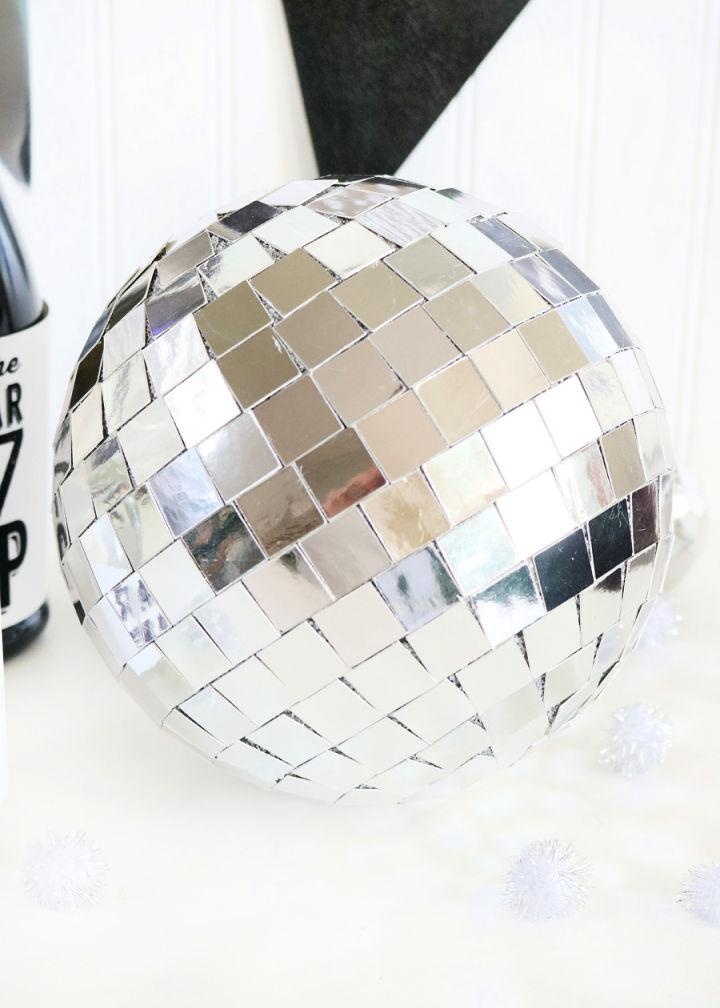
Making a disco ball for home decor is a rewarding project. It's a unique way to bring energy and movement into a room with reflective light. Ideal for DIY enthusiasts, this craft enhances your decor with a personal, artistic touch that's both beautiful and functional.
10. Disco Ball Using the Hard Plastic
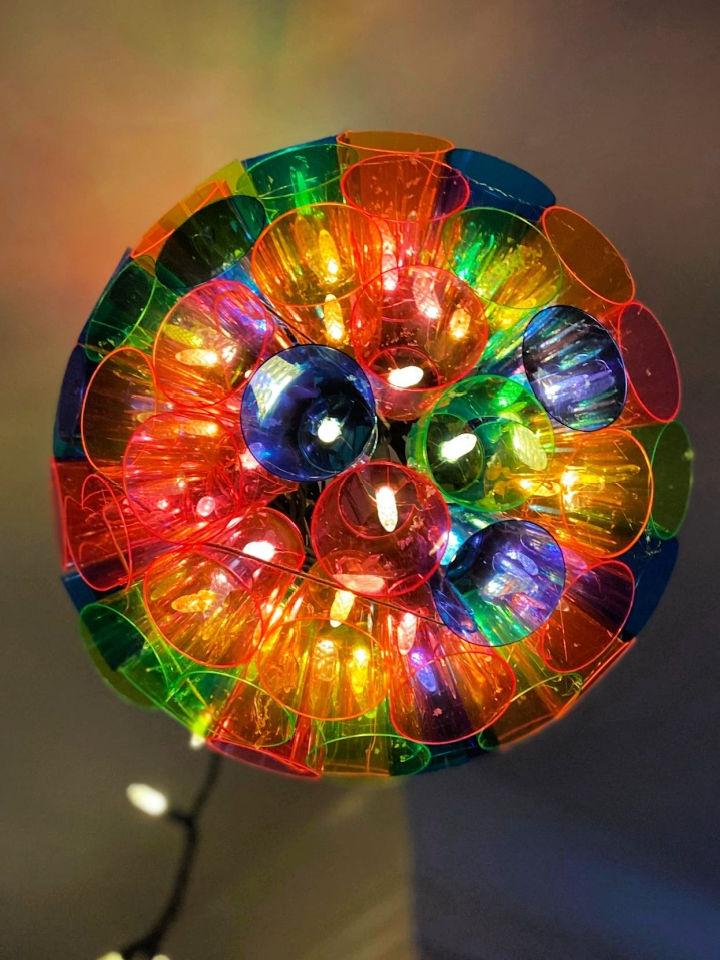
Utilizing hard plastic to make a disco ball offers durability and a brilliant shine. This method provides a resilient decoration that can withstand outdoor conditions, perfect for garden parties or as a permanent fixture in entertainment spaces. It's a creative way to add sparkle anywhere you please.
11. Easy Handmade Disco Ball
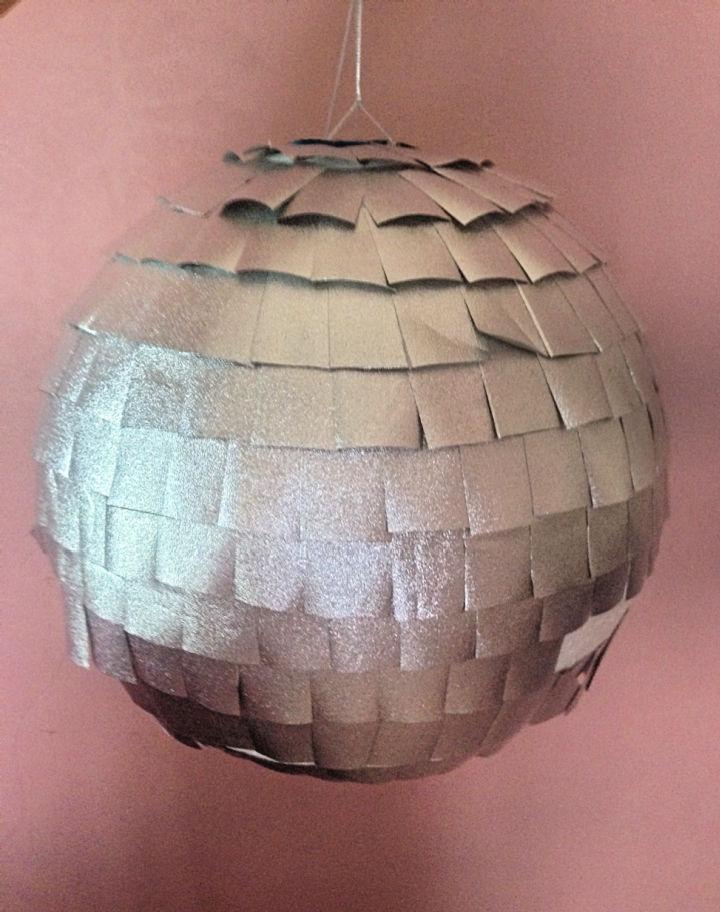
Who knew making a dazzling focal point could be so simple? An easy handmade disco ball brings light and life to any space, offering a cost-effective way to spruce up your ambiance. Ideal for those looking for a quick and satisfying DIY project.
12. Simple Styrofoam Disco Ball
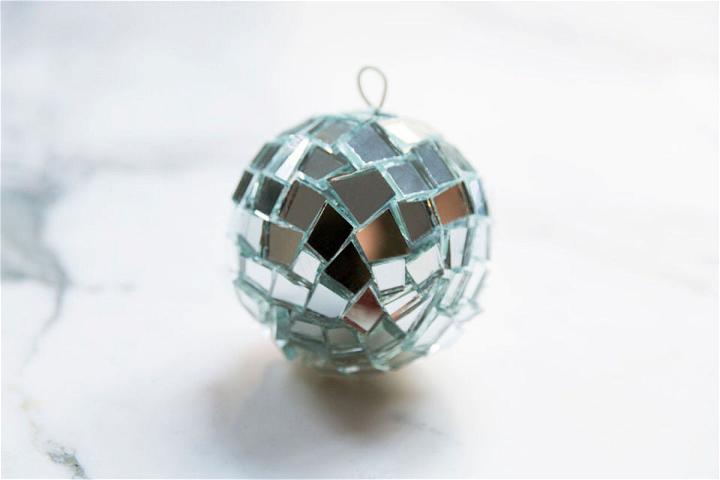
Simplicity meets sparkle. A styrofoam disco ball is a straightforward project that promises a delightful outcome. Its lightweight nature makes it perfect for hanging in various spots, providing a touch of shimmer where needed. Great for those after an uncomplicated yet effective decorative piece.
13. DIY Heart Shaped Disco Ball
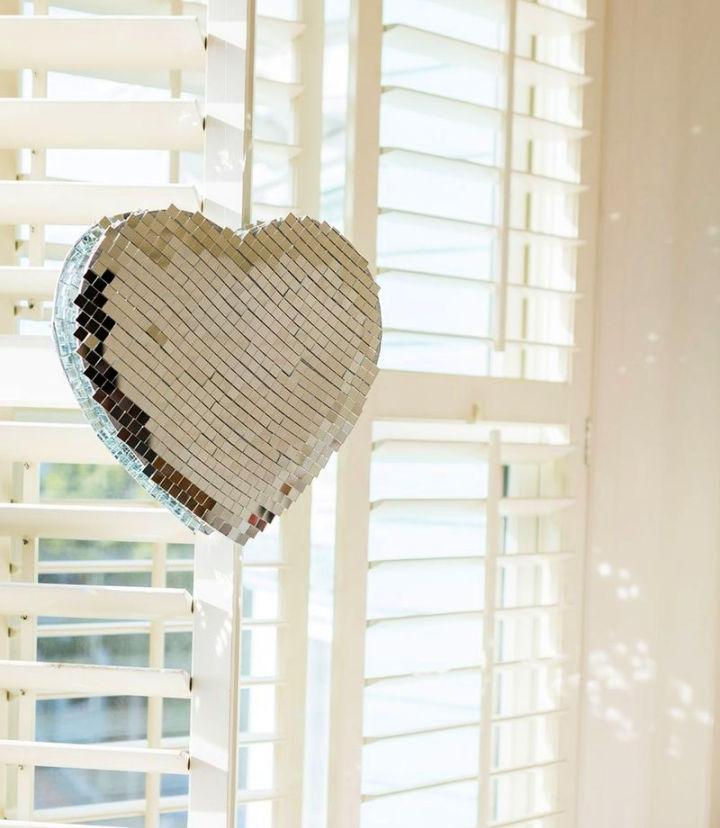
Spread the love with a DIY heart-shaped disco ball. It's not just a decoration; it's a statement. Perfect for themed parties or as a unique gift, this creative twist brings warmth and whimsy, alongside the usual glittery fun of a disco ball.
14. Make a Disco Ball without Foil
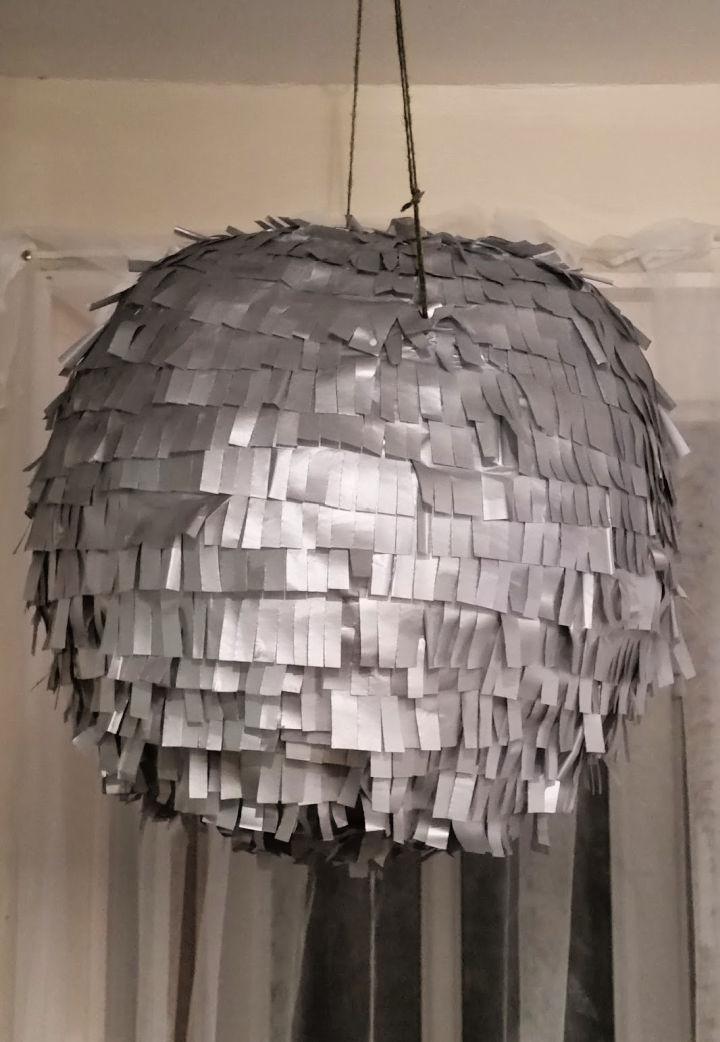
Breaking away from traditional methods opens up new creative avenues. Making a disco ball without foil can involve alternative materials like mirrored paper or shiny fabrics, offering a refreshing take on the classic disco ball. It's an innovative approach for those looking to experiment.
15. Disco Ball Hanging Planter
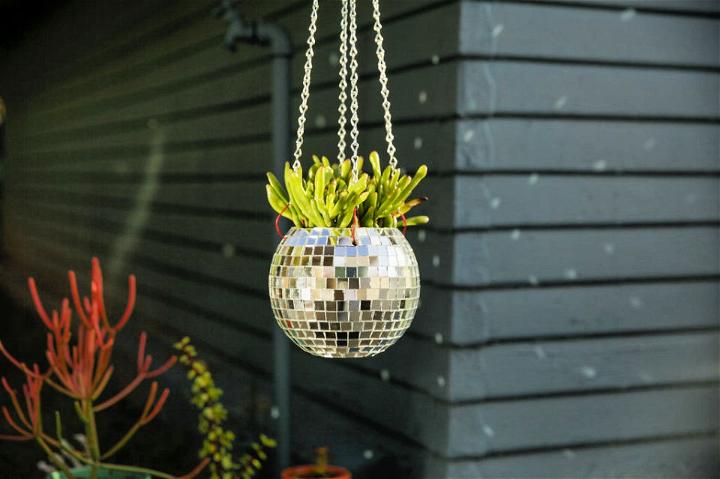
Combine greenery with grooviness. A disco ball hanging planter adds a lively, eclectic touch to your indoor garden. Watch as the reflections dance around your plants, making a lively display. It's a creative way to merge décor with nature.
16. DIY Disco Ball Wreath
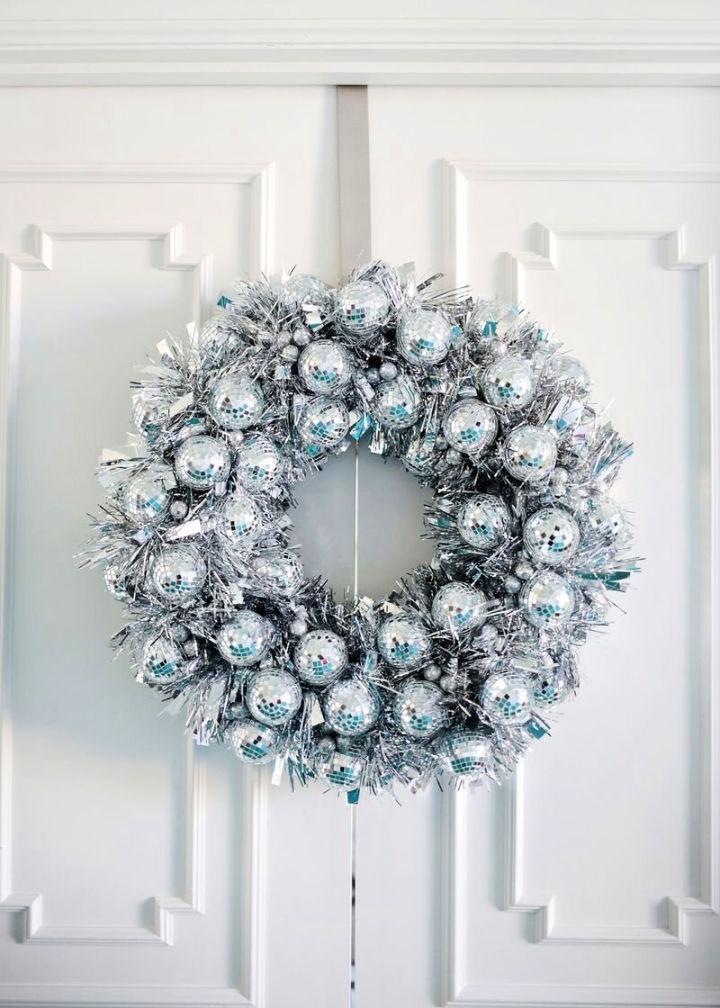
Welcome guests with a twist! A DIY disco ball wreath is a unique blend of festive cheer and funky flair. Perfect for seasonal decorations or year-round sparkle, it's an inviting way to add a bit of brightness to your doorway.
17. Handmade Disco Ball Helmet
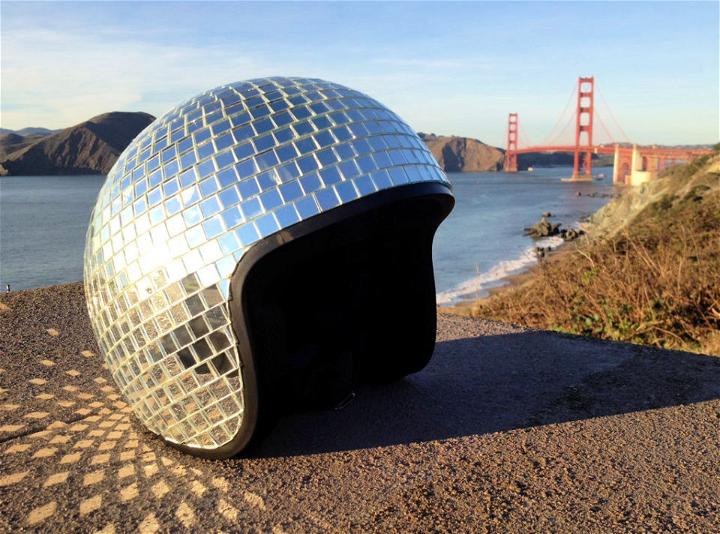
Turn heads and light up the room with a handmade disco ball helmet. This DIY project is not just a fashion statement but a movable party accessory. Ideal for festivals or costume parties, it quite literally lets you shine wherever you go.
18. Disco Ball Costume Using Newspaper
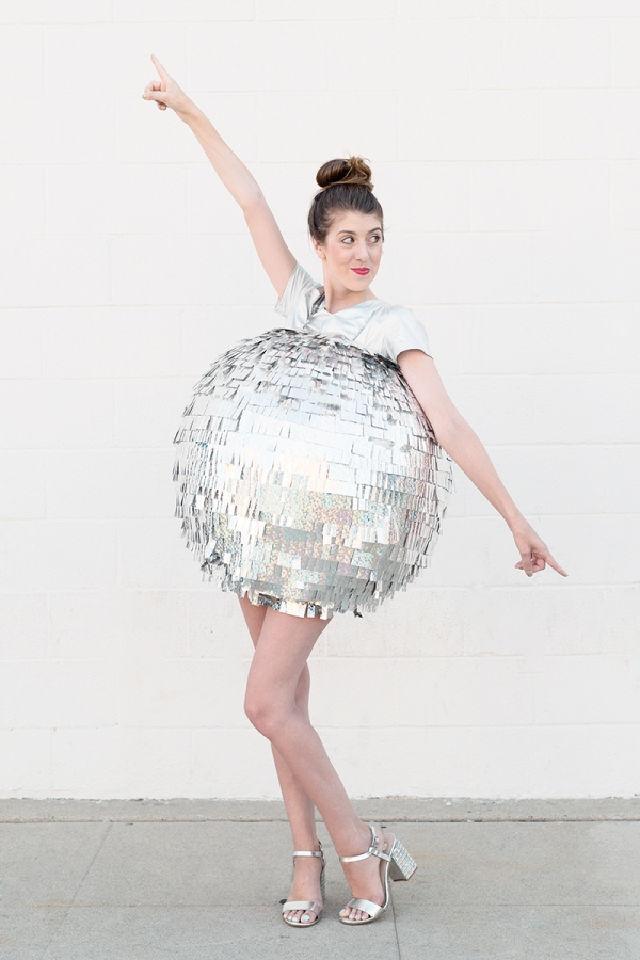
Who says newspapers are only for reading? Turn them into a dazzling disco ball costume with a bit of creativity. This eco-friendly approach not only recycles old materials but ensures you stand out with a unique, sparkly outfit perfect for any party.
19. DIY Disco Ball Pumpkin Craft
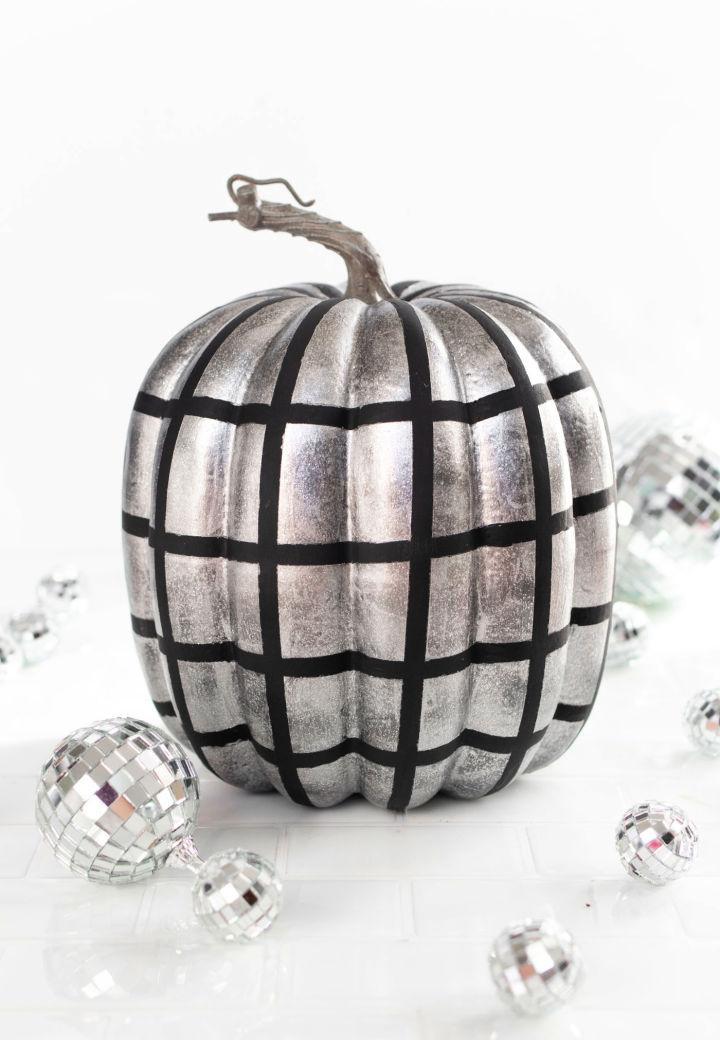
Blend the spirit of Halloween with disco fever. A DIY disco ball pumpkin craft combines seasonal fun with a glittery twist, making it a standout decoration. It's a fresh take on autumn celebrations, adding a bit of glamour to your spooky decor.
20. Disco Ball with Paper Lanterns
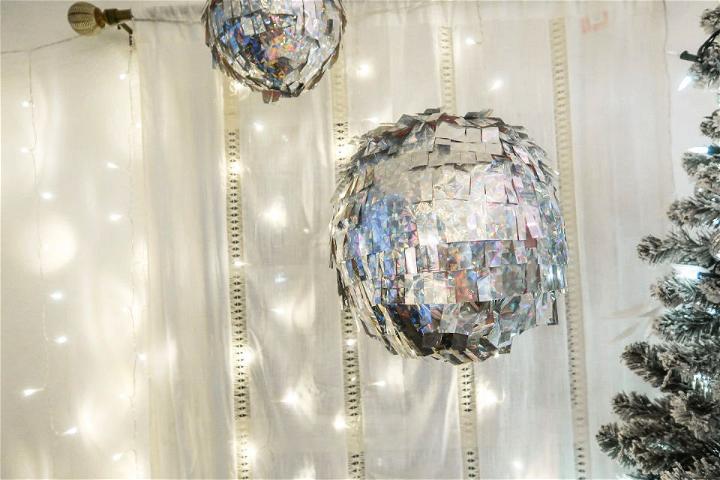
Light up your evenings with disco ball paper lanterns. By combining the ethereal glow of lanterns with the reflective joy of disco balls, you make a magical atmosphere. Ideal for outdoor events or as cozy indoor lighting, it's a charming way to brighten up any gathering.
Conclusion:
In conclusion, making a DIY disco ball is a fun and rewarding craft project that can add a touch of glam to any party or event. By following these simple steps and using affordable materials, you can unleash your creativity and make a stunning decoration that will impress your guests. Try making your own disco ball today and shine bright on the dance floor!

