Pouring a concrete driveway addition is an excellent way to extend your parking or walking space at home. This task may seem daunting for beginners, but with the right tools, materials, and instructions, it's entirely feasible as a DIY project. In this guide, based on the experience and techniques of David Odell from Odell Complete Concrete, you will learn how to successfully add to your driveway. David Odell's vast experience in concrete work, including his specific knowledge of driveway extensions, brings valuable insights and tips that you won't find easily elsewhere.
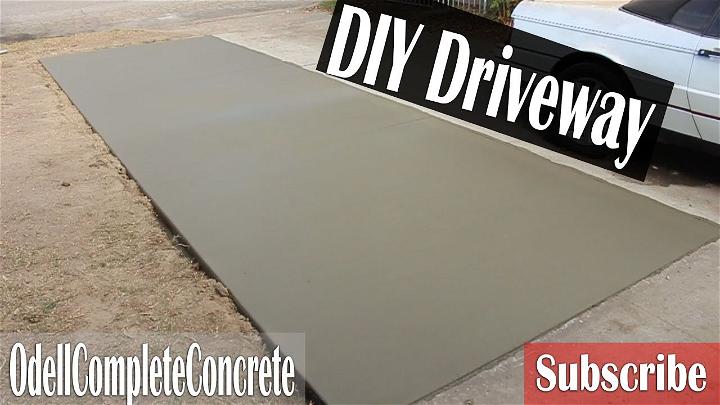
What Will I Get Out of This?
By following this guide, you will learn how to:
- Properly prepare the site for a driveway addition.
- Choose the right materials and understand why they are needed.
- Pour concrete to extend your driveway efficiently.
- Finish the concrete for long-lasting durability and aesthetic appeal.
Materials Needed and Why:
- Concrete Mix: A 30 to 50 PSI mix is recommended for driveways due to its strength and durability. Opting for a slightly higher PSI, like 45, may offer added durability.
- Wire Mesh or Rebar: Wire mesh helps reinforce the concrete, preventing cracks and ensuring the longevity of your driveway. Rebar is an alternative that offers even more strength.
- Wooden Forms: These will define the shape and thickness of your driveway. Ensure they are securely placed and straight.
- Compactor: Essential for compacting the soil and base material, providing a solid foundation for the concrete.
- Concrete Tools: Including trowels, floats, edgers, and a broom for finishing the concrete surface effectively.
Step-By-Step Instructions:
Step 1: Site Preparation
- Clear the area where you will be adding the driveway extension. Ensure any grass, debris, and loose soil are removed.
- Use a compacting machine to compact the soil. This provides a solid base for the concrete.
Step 2: Building Forms
- Measure and cut wooden boards to build forms around the perimeter of the new driveway section. These forms should reflect the desired thickness and shape of your addition.
- Secure the forms with stakes ensuring they are straight and sturdy.
Step 3: Adding Reinforcement
- Lay wire mesh or rebar within the formed area for added strength. If using wire mesh, ensure it's adequately supported off the ground to sit within the middle of the concrete slab.
Step 4: Pouring Concrete
- Mix the concrete following the manufacturer's instructions or have it delivered. Pour the concrete into the forms, spreading it evenly.
- Use a screed board to level the concrete surface initially.
Step 5: Initial Finishing
- Once the concrete starts to firm up, use a float to smooth out the surface. This pushes the aggregate down and brings the cream to the top, building a smooth finish.
Step 6: Final Finishing
- Edge the concrete to build neat borders.
- Cut control joints every 8-10 feet to prevent random cracking.
- Finally, use a broom to build a non-slip texture on the surface.
Step 7: Curing
- Allow the concrete to cure for at least seven days. Keep the surface moist by spraying it with water, especially in hot, dry conditions to prevent cracking.
Common Pitfalls and Troubleshooting:
- Cracking: Ensure adequate reinforcement and proper joint placement to minimize cracking.
- Uneven Surfaces: Use a screed board and float to level out the concrete before it sets.
- Weak Concrete: Ensure the mix is correctly proportioned and thoroughly mixed. Avoid adding too much water.
The "Why" Behind the Steps:
Understanding the purpose of each step ensures you can adapt if conditions vary. For instance, the reinforcement mesh prevents cracks from spreading, while control joints strategically allow the concrete to crack where you want it to, preserving the surface's appearance.
Video Tutorial
Want a visual demonstration? Watch this step-by-step video tutorial on YouTube: Odell Complete Concrete.
It provides a clear and easy-to-understand visual walkthrough of the techniques, making it a great companion to this written guide.
Adding a concrete driveway can boost your home's value. Dedication and patience are crucial for a durable, professional result.
Hiring Professionals vs. DIY for Concrete Driveway Installation
When it comes to installing a concrete driveway, homeowners often face the decision of whether to hire professionals or attempt a DIY project. Both options have their advantages and disadvantages, which we will explore to help you make an informed decision.
Advantages of Hiring Professionals
- Expertise and Experience: Professional contractors bring years of experience and expertise to your project, ensuring that the job is done correctly. They are familiar with local building codes and regulations, which is crucial for passing inspections and avoiding future legal issues.
- Time-Saving: Hiring professionals can significantly reduce the time it takes to complete the driveway. They have the necessary tools and manpower to expedite the process, allowing you to enjoy your new driveway sooner.
- Quality and Longevity: A professionally installed driveway often means higher quality workmanship, which translates to a longer-lasting driveway. Professionals know how to properly prepare the site, mix the concrete, and apply finishes that can withstand the test of time.
- Warranty and Liability: Many professional contractors offer warranties on their work, giving you peace of mind. Additionally, they carry liability insurance, which protects you in case of accidents or damage during the installation process.
Disadvantages of Hiring Professionals
Cost: The primary disadvantage of hiring professionals is the cost. Professional installation is typically more expensive than a DIY project, as you are paying for labor, expertise, and often a faster timeline.
Advantages of DIY
- Cost Savings: The most apparent advantage of a DIY driveway installation is the potential cost savings. By doing the work yourself, you can save on labor costs.
- Personal Satisfaction: Completing a driveway on your own can provide a sense of accomplishment and personal satisfaction. It allows you to have complete control over every aspect of the project.
Disadvantages of DIY
- Risk of Mistakes: Without the proper experience, there is a higher risk of making mistakes that could compromise the driveway’s integrity and appearance. Mistakes can be costly to fix and may require hiring professionals anyway.
- Time and Effort: A DIY project can be very time-consuming, especially if you are learning as you go. It requires a significant amount of physical labor and dedication to complete.
- Tools and Equipment: You may need to purchase or rent specialized tools and equipment, which can add to the overall cost and complexity of the project.
- No Warranty: DIY projects do not come with a warranty. If something goes wrong, you are responsible for the repairs and additional costs.
FAQs for DIY Concrete Driveway Installation
Learn how to install a DIY concrete driveway with our comprehensive FAQ guide. Discover tips, tricks, and expert advice for a successful project.
What is the recommended thickness for a concrete driveway?
The recommended thickness for a concrete driveway is 4 inches for passenger cars and 5 inches for heavier vehicles. This ensures durability and longevity.
How do I prepare the ground before pouring concrete?
Ground preparation involves clearing the area of debris, leveling the ground, and ensuring proper drainage. It’s essential to compact the soil and add a sub-base layer if necessary.
Can I pour concrete directly on dirt?
Pouring concrete directly on dirt is not recommended. A proper sub-base, such as gravel, should be used to provide stability and prevent cracking.
How long does it take for a concrete driveway to cure?
Concrete driveways typically take about 7 days to cure enough for vehicle traffic. However, it can take up to 28 days for the concrete to reach its full strength.
Do I need to seal my concrete driveway?
Sealing your concrete driveway is recommended to protect it from weather, stains, and wear. It should be done every 2-3 years to maintain its appearance and longevity.
15 DIY Concrete Driveway Ideas and Inspirations
Discover 15 easy DIY concrete driveway ideas and inspirations to enhance your home's curb appeal. Transform your driveway with these innovative designs.

1. Concrete Driveway Makeover
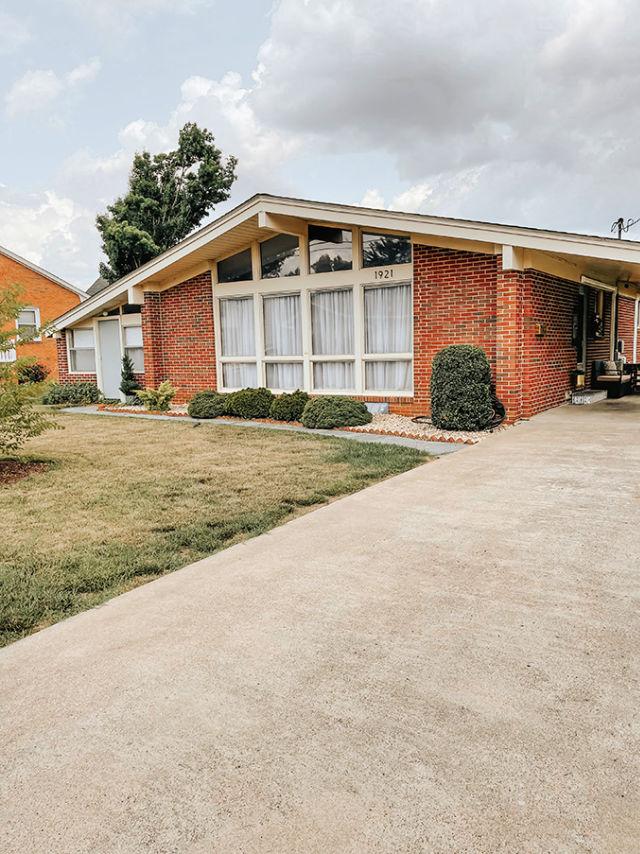
A concrete driveway makeover transforms the entrance of your home, providing a durable and aesthetically pleasing surface. It's an upgrade that enhances curb appeal and requires minimal maintenance over time.
2. DIY Cement Driveway

Embarking on a DIY cement driveway project can be quite rewarding. It allows you to personalize your space while saving on labor costs. Plus, the satisfaction of building something durable and practical with your own hands is hard to beat.
3. How To Pour A Concrete Driveway

Pouring a concrete driveway is a solid choice for a lasting and resilient surface. This procedure lays the foundation for a smooth, sleek access path to your home, combining both functionality and style.
4. Decorative Concrete Driveway

A decorative concrete driveway is not just a path to your garage; it's a design statement. With various colors and patterns available, it can complement your home's exterior decor, adding charm and value to your property.
5. Stamped Concrete Driveway
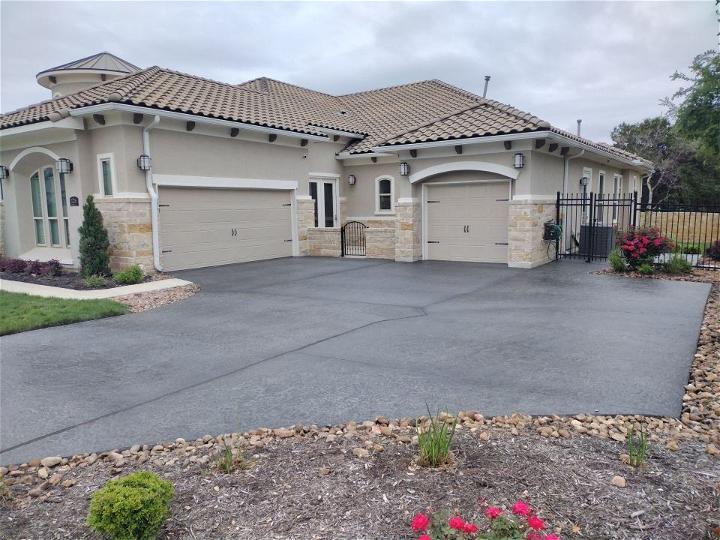
Opting for a stamped concrete driveway means choosing a surface with personality. It mimics other materials like brick, slate, or stone, offering a touch of elegance and uniqueness without the high cost of actual premium materials.
6. Grey Modern Concrete Driveway

The grey modern concrete driveway brings a sleek, minimalist aesthetic to your home's exterior. Its neutral color easily matches any architectural style, proving that simplicity does not compromise on sophistication.
7. Concrete Driveway Design

Making a concrete driveway design opens a realm of possibilities. It allows you to tailor your driveway's shape, texture, and color, ensuring it perfectly aligns with your home's architecture and landscaping vision.
8. Simple Concrete Driveway
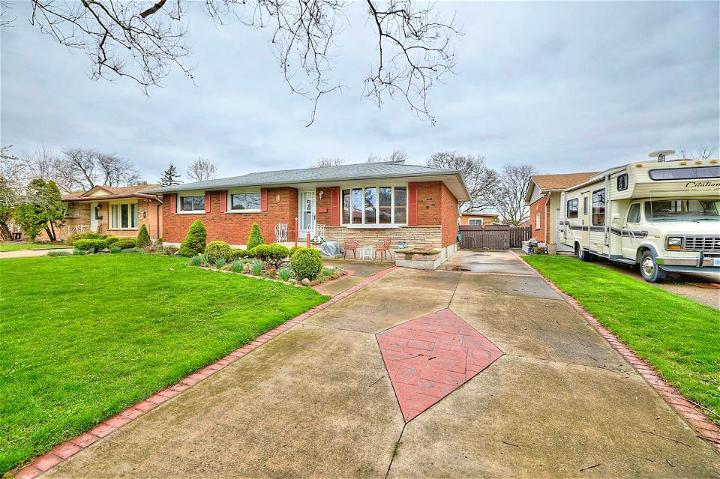
A simple concrete driveway focuses on functionality and efficiency. It offers a straightforward, clean path to your home, proving that sometimes, less is more. This option promises durability with minimal fuss.
9. Charcoal Colored Concrete Driveway
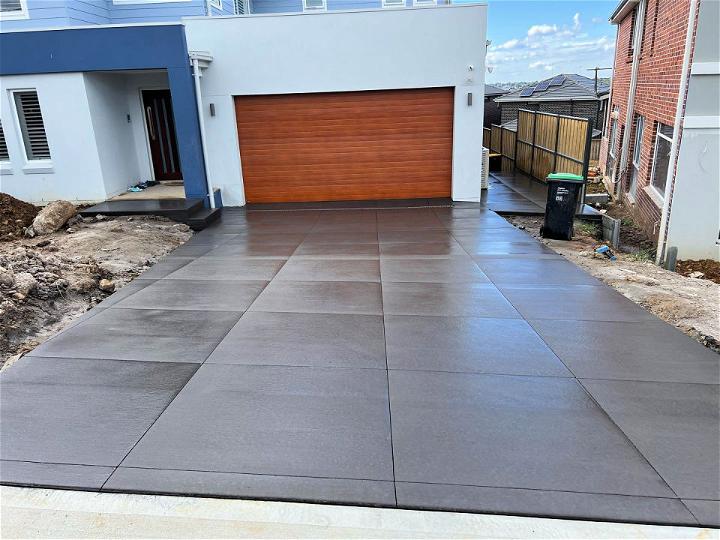
A charcoal-colored concrete driveway offers a bold and sophisticated touch. This darker hue adds depth to your home's exterior, standing out against lush green landscaping or complementing modern and contemporary styles.
10. Cheap Concrete Driveway
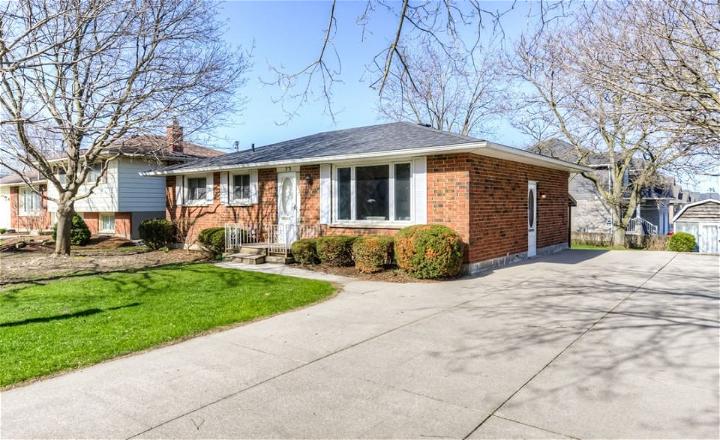
Opting for a cheap concrete driveway doesn't mean sacrificing quality. With the right materials and a bit of hard work, you can achieve a durable and attractive driveway on a budget, proving cost-effective solutions can also be charming.
11. Modern Concrete Driveway
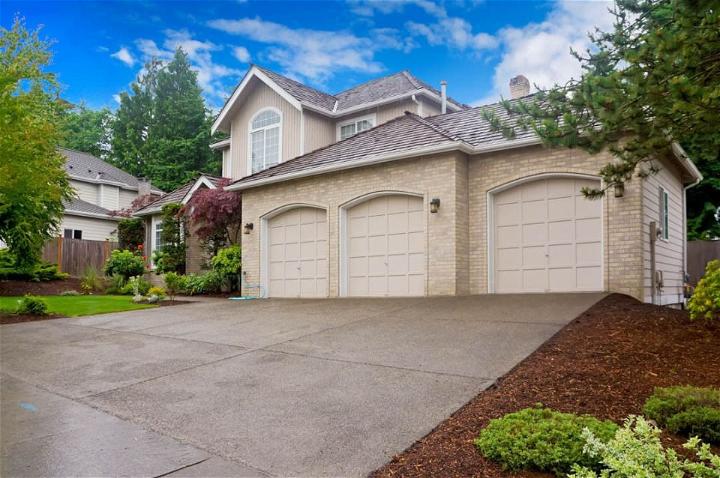
A modern concrete driveway uses clean lines and smooth finishes to build a contemporary look. It's a practical, stylish choice that complements newer homes and updates older ones, blending seamlessly with modern landscapes.
12. Concrete Driveway Pattern
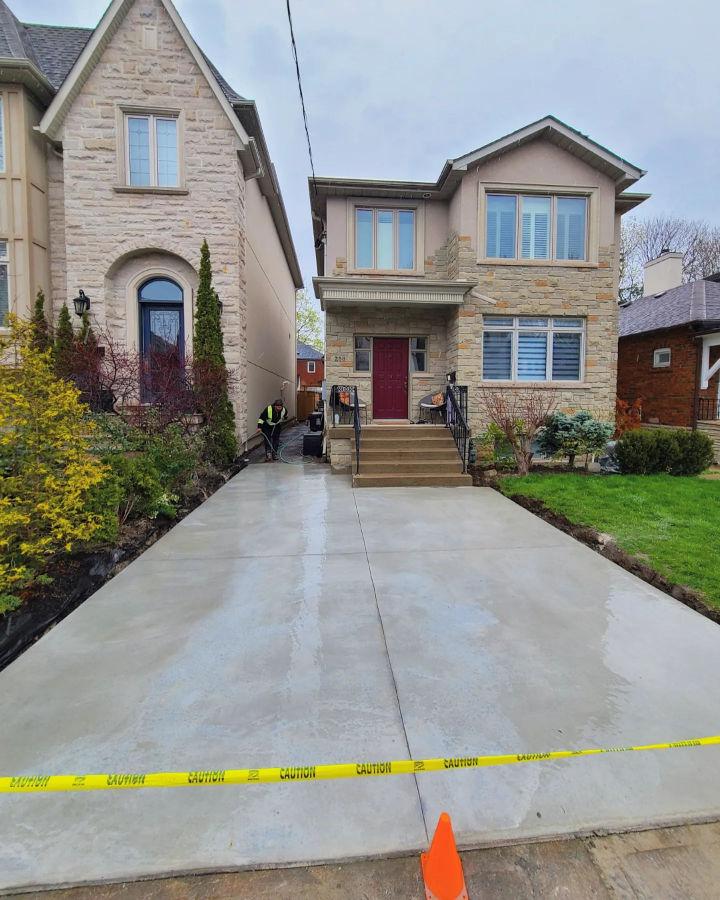
Incorporating a concrete driveway pattern adds a unique flair. From geometric arrangements to intricate designs, these patterns elevate the visual interest of your driveway, making it a standout feature of your home's exterior.
13. Plain Concrete Driveway Design
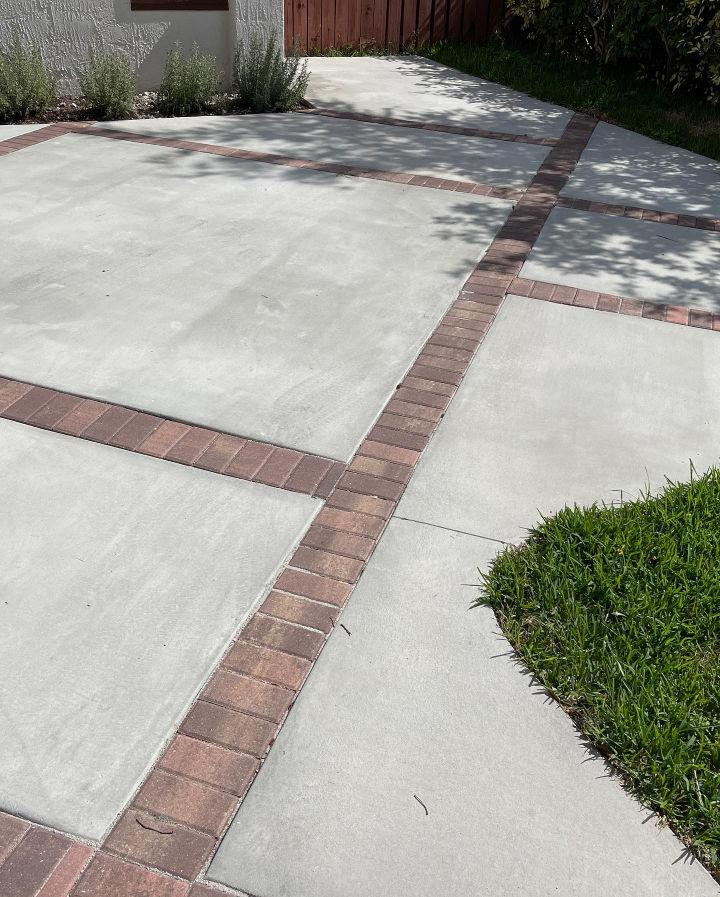
A plain concrete driveway design signifies elegance in simplicity. It offers a reliable, low-maintenance surface that withstands the test of time, emphasizing practicality without neglecting the overall aesthetic.
14. Painted Concrete Driveway
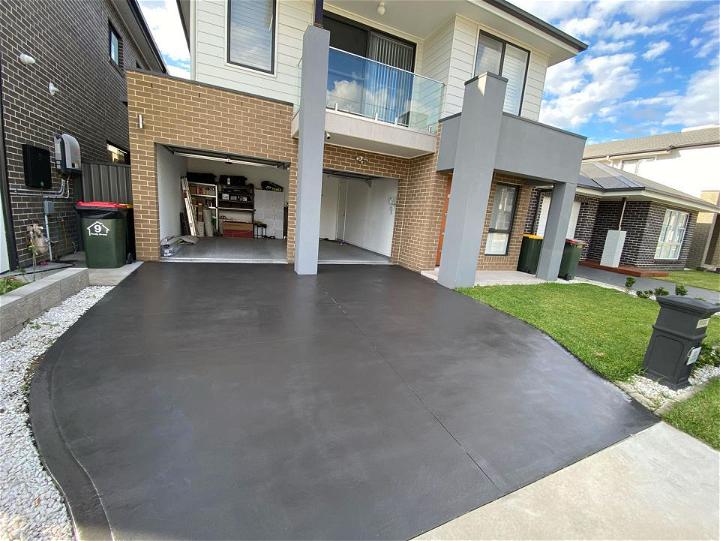
A painted concrete driveway allows for creative expression. With a range of colors available, you can enhance your home's curb appeal by adding a vibrant or subtle hue, making the entrance to your home truly your own.
15. Adorable Concrete Driveway

An adorable concrete driveway adds a welcoming touch to your home. Combining durability with charm, it sets the tone for your home's entrance, inviting guests with its appealing and sturdy pathway.
Conclusion:
Wrapping up the article on DIY concrete driveway installation, taking on this project can enhance your home's curb appeal and property value. By following the steps outlined, you can build a durable and impressive driveway. Remember to prioritize safety, gather the necessary materials, and carefully plan each step for a successful outcome. Happy building!
