Making a reliable compressed air dryer for your workshop can significantly enhance the performance and longevity of your air-powered tools and CNC machinery. This detailed guide, inspired by an insightful video tutorial by Beck's Armory LLC, walks you through building a highly effective air dryer system. We'll break down the process into simple steps to make it easy for you to achieve clean and dry shop air.
What You'll Need:
- 1-inch Copper Tubing
- Copper Fittings
- Soldering Kit
- Air Compressor (with minimum requirements as per your tools)
- Water Separator and Fine Mist Separator (optional for additional filtration)
- Shut-off Valves
Step-by-Step Guide:
Step 1: Understanding the Basics
Recognize that cooling the air in your shop helps separate and condensate moisture from it. This principle is what you're applying by building this compressed air dryer.
Step 2: Gathering Materials
Acquire all the necessary materials listed above. Note that although the initial cost might seem high (around $250 as reported), the investment significantly improves your air tools' performance and durability.
Step 3: Preparing the Copper Tubing
Measure and cut the 1-inch copper tubing to your desired length. For Beck's Armory LLC setup, the total dimension was 56 inches by 26 inches, with the tubing 47 inches long. Buying longer pieces and cutting them to size is more economical.
Step 4: Soldering
If you're new to soldering, this project is a perfect opportunity to learn. Solder the copper fittings to make a layout where the air comes in and slows down due to increased tubing size, allowing moisture to fall out of the air. Remember, learning to solder is a valuable skill that will serve you well in this and future projects.
Step 5: Installation and Configuration
Set up your tubing system to introduce air at the top, letting it slow down and drop moisture as it travels through the tubing. Use shut-off valves strategically placed to drain collected moisture. Ensuring a hard corner in your setup can help with making enough turbulence to knock more moisture out of the air.
Step 6: Testing and Tweaking
After installation, test your setup by running your air compressor and checking for moisture at different points in your system. Adjustments may be needed based on the amount of moisture collected in different sections.
Step 7: Adding Additional Filtration (Optional)
For those requiring extra-clean air, especially for CNC plasma cutting or painting, consider adding a water separator and a fine mist separator after your DIY dryer for even finer air filtration.
Video Tutorial
For a step-by-step video tutorial on making a compressed air dryer, watch here.
This video pairs well with this written guide, offering a visual perspective on the techniques discussed, making complex steps easier to understand and follow.
Investing in a compressed air dryer for your shop can improve tool life and performance, paying off setup cost. Whether you're experienced or new, it's a chance to enhance skills and workshop.
Advanced Modifications for Your DIY Compressed Air Dryer
When you've built your own compressed air dryer, you might find that you want to improve its performance or add new features. Here are some advanced modifications you can make to enhance your DIY project:
Upgrade the Desiccant Material
The desiccant is the material that absorbs moisture from the air. While silica gel is a common choice, you might consider upgrading to a more efficient desiccant like activated alumina or molecular sieve. These materials offer better moisture absorption, leading to drier air.
Install a Pre-Filter
To extend the life of your desiccant, install a pre-filter before the air enters the dryer. This filter will remove larger particles and contaminants, protecting the desiccant from clogging and degradation.
Add a Humidity Indicator
Knowing the humidity level of the output air can be very useful. You can add a humidity indicator to your system to monitor the air dryness. This can be as simple as a color-changing card or a more advanced digital hygrometer.
Implement a Regeneration System
Desiccants need to be regenerated after they've absorbed moisture. You can make a regeneration system using a small heater and a timer to warm the desiccant and drive off the absorbed water. This will prolong the life of the desiccant and maintain the efficiency of your dryer.
Automate the System
For convenience, you can automate the operation of your compressed air dryer. Using a microcontroller like an Arduino, you can control valves, monitor pressure levels, and even set up alerts for maintenance needs.
By upgrading your air dryer, you'll boost its performance and enhance your knowledge of its operation. Safety first – seek expert advice for any uncertainties.
FAQs About DIY Compressed Air Dryers
When building a DIY air dryer, many questions may arise. Here are some frequently asked questions with clear answers to help you succeed.
What is a compressed air dryer and why do I need one?
A compressed air dryer is a device that removes moisture from compressed air. This is important because moisture can cause corrosion in pneumatic systems, spoil paint jobs, or even damage air-powered tools.
What types of desiccants can I use in my air dryer?
Common desiccants include silica gel, activated alumina, and molecular sieves. Each has different absorption capacities and regeneration requirements, so choose one that fits your needs.
How often should I replace the desiccant?
The frequency of replacement depends on usage and the type of desiccant. Monitor the performance of your air dryer, and when you notice a decrease in efficiency, it's time to replace or regenerate the desiccant.
Can I build a compressed air dryer without any technical experience?
Yes, with detailed instructions and proper safety precautions, anyone can build a basic compressed air dryer. However, for more complex systems, some technical knowledge may be beneficial.
What safety measures should I take when building my air dryer?
Always wear protective gear, such as gloves and safety glasses. Ensure all electrical connections are secure and follow all guidelines for working with pressurized systems.
How do I know if my air dryer is working properly?
You can use a moisture indicator or a hygrometer to measure the humidity level of the output air. If the air is dry, your system is working correctly.
What is the best way to maintain my DIY air dryer?
Regularly check for leaks, replace the desiccant when necessary, and clean any filters. Keeping the system well-maintained will ensure its longevity and efficiency.
How can I increase the efficiency of my air dryer?
Consider adding a pre-filter to remove larger particles before they reach the desiccant or upgrade to a more efficient desiccant material.
Is it possible to automate the regeneration process of the desiccant?
Yes, you can set up a timer and a heater to automatically regenerate the desiccant, which can save time and maintain the effectiveness of your air dryer.
Can I use my DIY air dryer for commercial purposes?
While a DIY air dryer can be quite effective, commercial applications often require more robust systems. Ensure your DIY system meets the necessary standards before using it commercially.
12 DIY Compressed Air Dryer Ideas
Discover 12 easy DIY compressed air dryer ideas for improved efficiency and performance. Save money and maximize productivity with these projects.
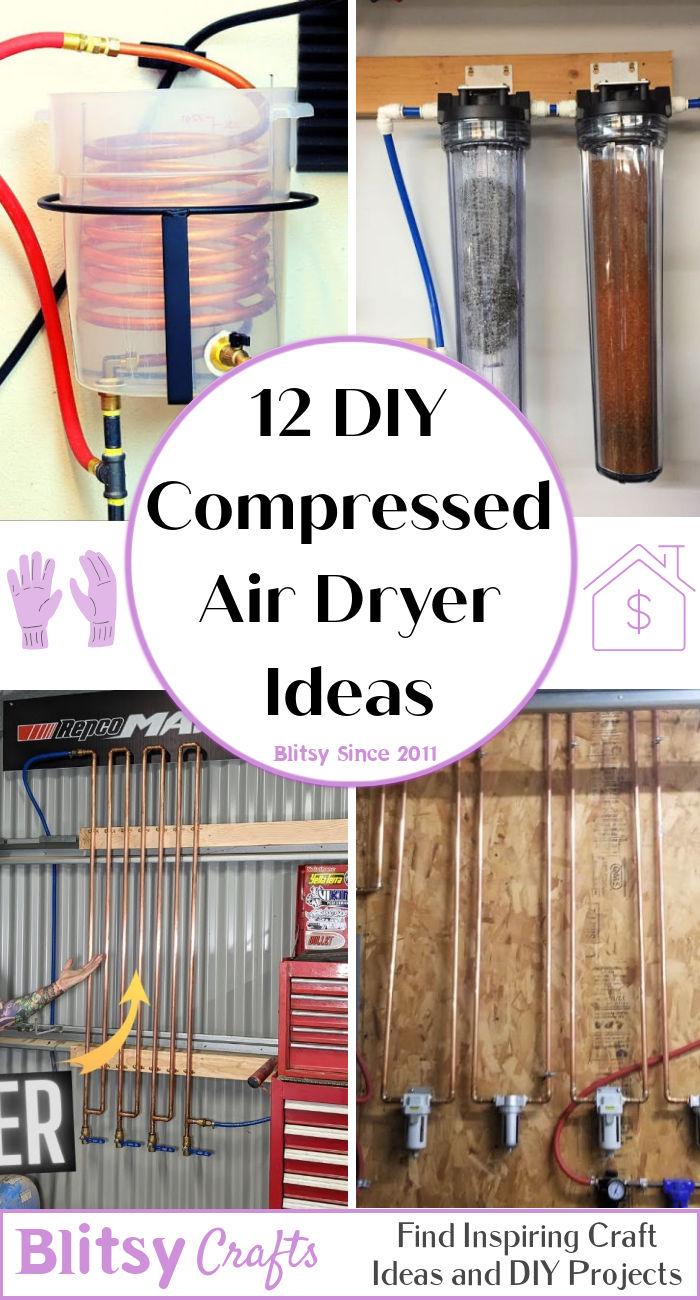
1. How to Make an Air Compressor Dryer
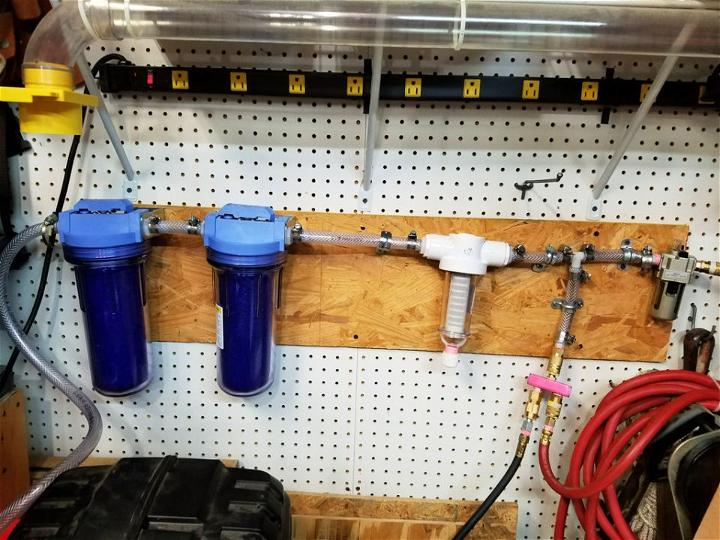
Making an air compressor dryer at home is a satisfying project. It ensures your tools work efficiently by reducing moisture in the air supply. With commonly available materials and simple tools, you can make a system that extends the life of your pneumatic tools.
2. How to Build a Compressed Air Dryer
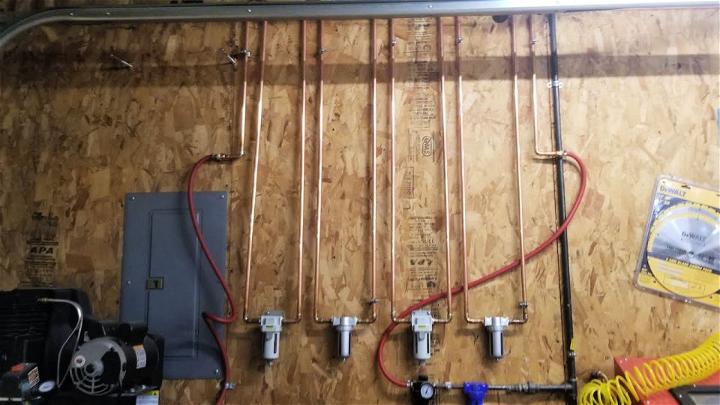
Building your own compressed air dryer offers a tailored solution for managing moisture in your workshop. This approach allows for adaptations to specific needs, enhancing the performance of air tools and safeguarding them against water damage.
3. DIY Compressor Air Dryer
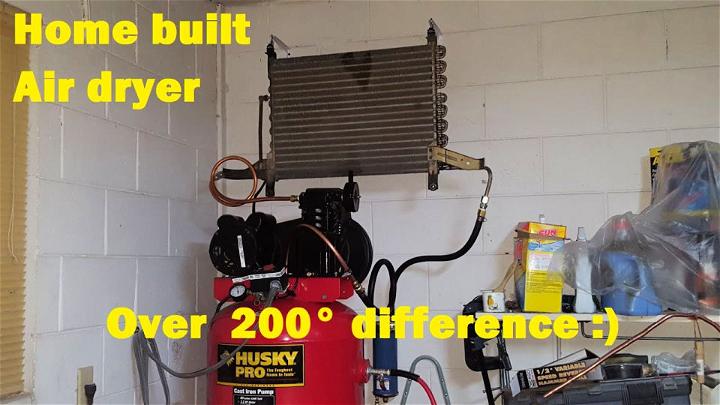
Pursuing a DIY compressor air dryer project can be both economical and rewarding. By assembling a dryer using basic components, you contribute to a cleaner, drier air supply, promoting better results in your work and preserving tool condition.
4. Homemade Compressed Air Dryer
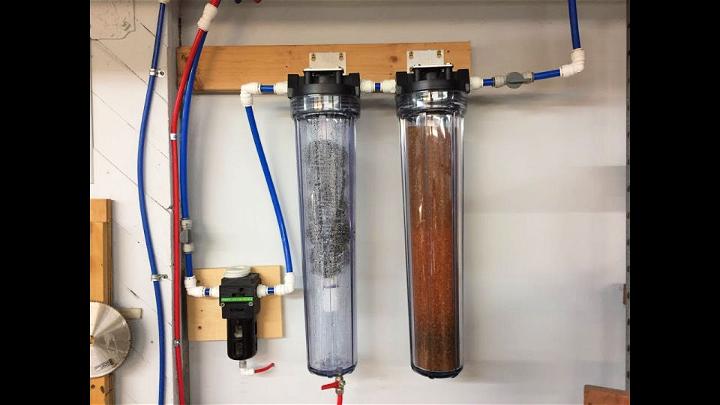
A homemade compressed air dryer is an excellent addition to any workshop. Eliminating moisture can prevent rust in tools and ensure your projects are completed with a professional touch. This simple solution can be made with off-the-shelf items and a bit of ingenuity.
5. DIY Refrigerated Compressor Air Dryer
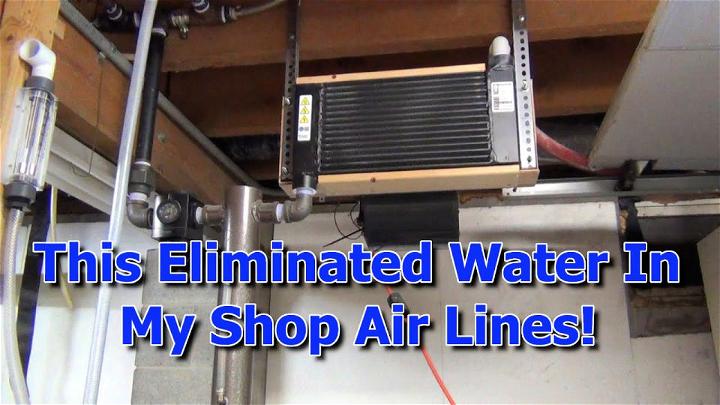
Make a DIY refrigerated compressor air dryer involves a bit more sophistication but offers superior moisture removal. Using a refrigeration cycle, it cools the air to condense moisture out, perfect for demanding applications or climates with high humidity.
6. Dual Air Compressor Dryer Setup
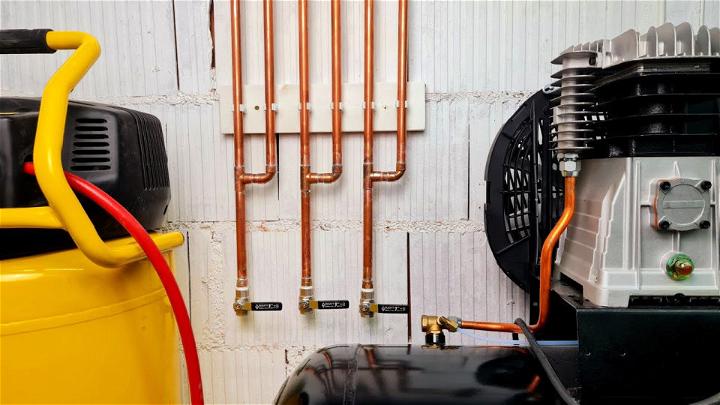
Setting up a dual air compressor dryer system doubles your defense against moisture. This setup offers redundancy and increased capacity, ensuring dry air even under heavy usage or in extremely humid conditions. It's an ideal choice for those needing consistent performance.
7. Dessicant Air Dryer Out of PVC Pipe
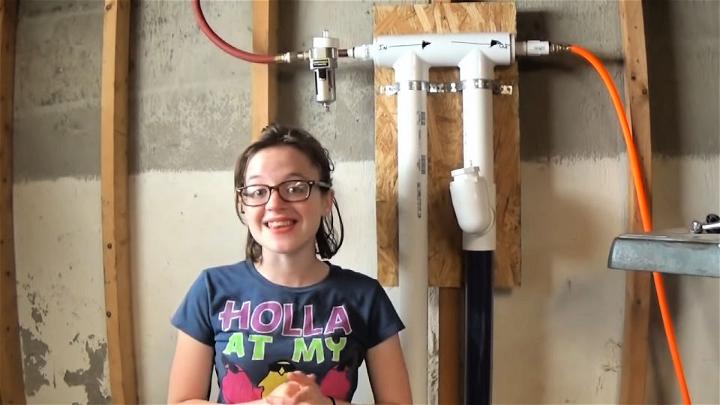
Making a desiccant air dryer from PVC pipe is a genius hack for those on a budget. It uses absorbent material to trap moisture as air passes through, providing an effective moisture removal solution for occasional use or lightweight applications.
8. How to Install an Air Dryer System
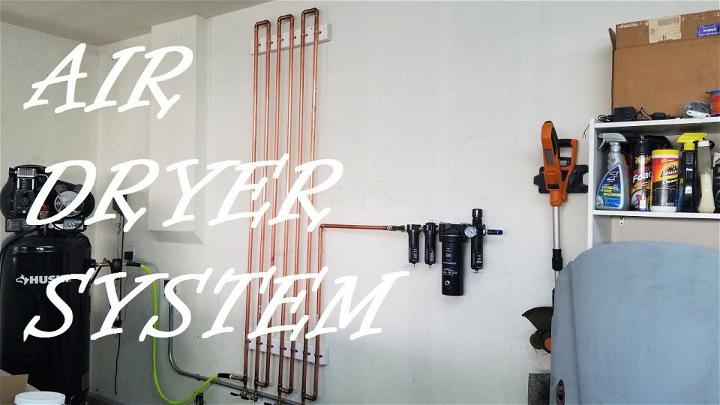
Installing an air dryer system might sound daunting, but it's absolutely doable. It's all about choosing the right type for your needs, whether desiccant or refrigerated, and following the manufacturer's guidelines for a smooth setup, ensuring quality air flow for your projects.
9. DIY Water Separator Air Compressor
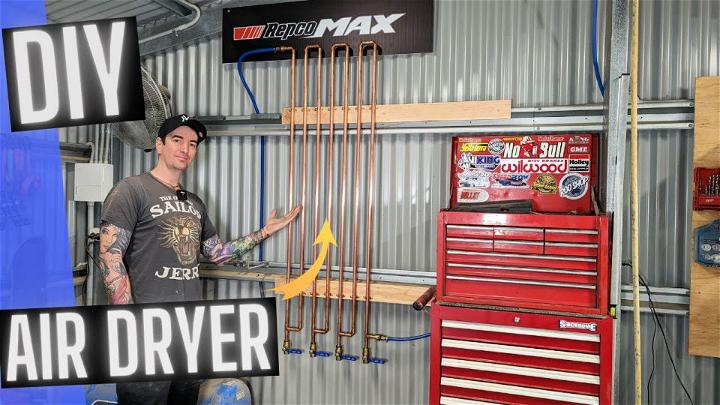
A DIY water separator for your air compressor is a straightforward yet effective way to remove excess moisture. This addition can significantly improve air quality, which is crucial for painting, woodworking, or any task where moisture can compromise the finish.
10. Copper Coil Compressed Air Dryer
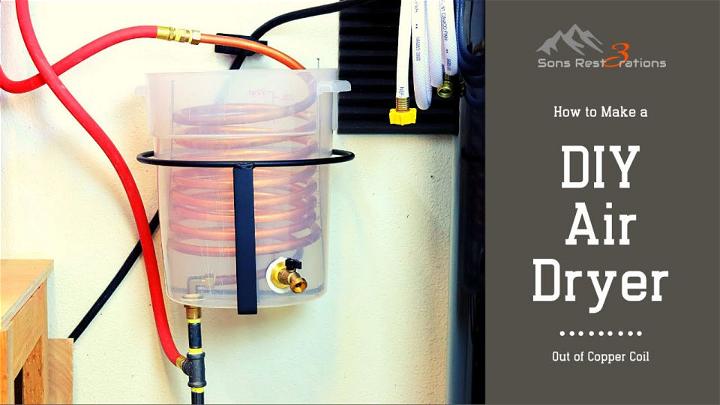
Utilizing a copper coil as a compressed air dryer introduces a natural, efficient way to cool and condense moisture out of the air. This method, appealing for its simplicity and effectiveness, can be especially useful for small workshops or hobbyist spaces.
11. Air Compressor Dryer for Painting
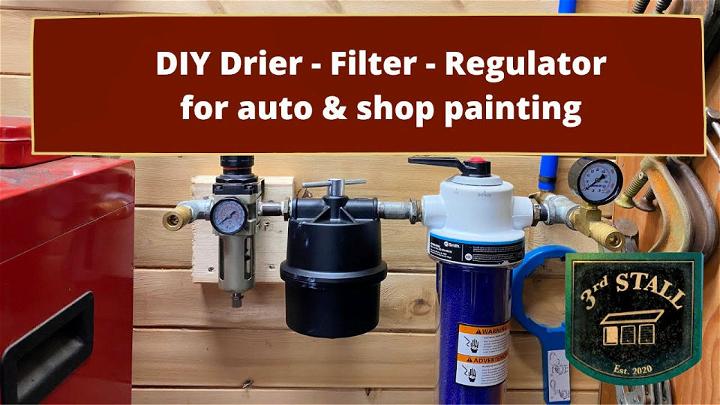
An air compressor dryer tailored for painting ensures that your finishes are flawless and free from water spots. This setup is critical for achieving professional-quality results in automotive painting, woodworking, or any project where finish quality is paramount.
12. Cheap DIY Dessicant Air Dryer
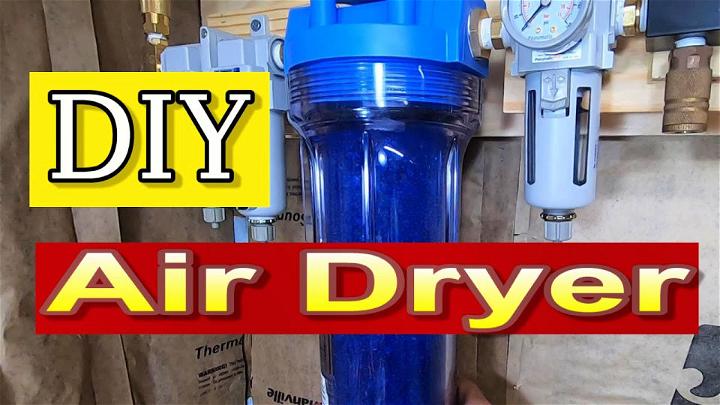
Making a cheap DIY desiccant air dryer is about value and efficiency. Using easily sourced materials, it's possible to make a dryer that significantly improves air quality for pneumatic tools and painting, all while keeping costs low.
Conclusion:
In conclusion, making a DIY compressed air dryer is a practical and cost-effective solution for your compressed air system. By following the steps outlined in this guide, you can ensure the quality and efficiency of your compressed air while saving money in the process. Don't overlook the importance of proper air filtration and moisture removal in maintaining your equipment and achieving optimal performance.


